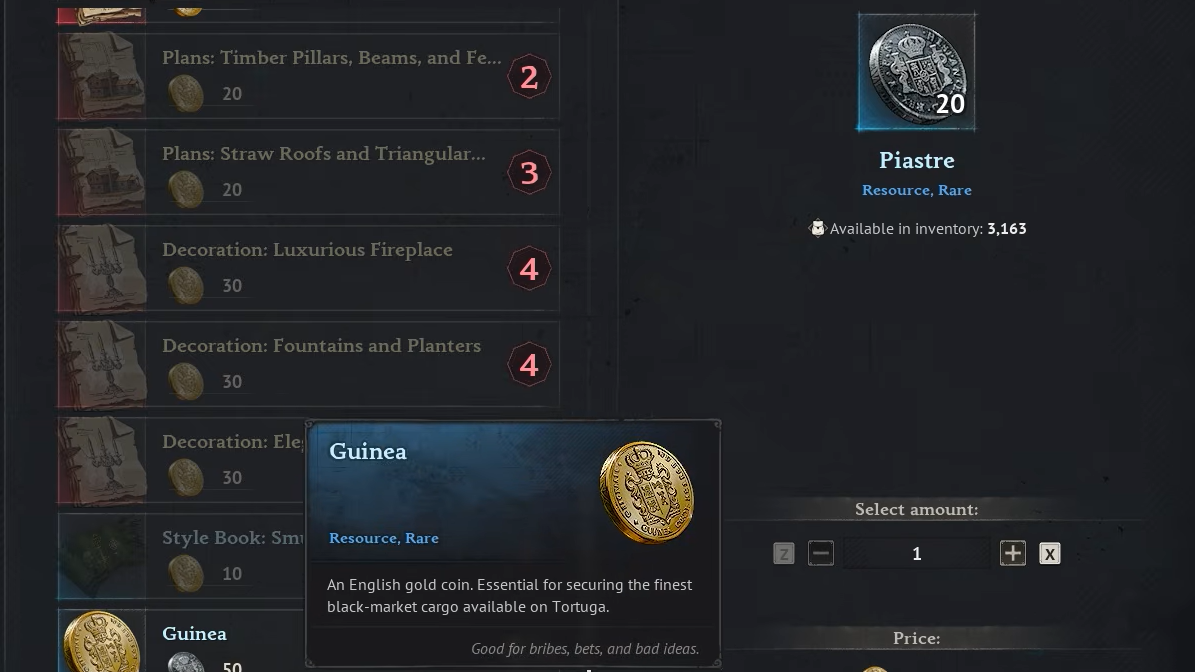
Guinea coins sit in your inventory looking valuable but buy almost nothing outside cosmetic vendors in Windrose. The silver Piastre is the currency that actually moves gear, crafting materials, and ship parts, so converting your gold stash is often the fastest way to unblock progression. The trade exists, but it is gated behind the second biome and a specific faction quest.
Requirements before you can trade
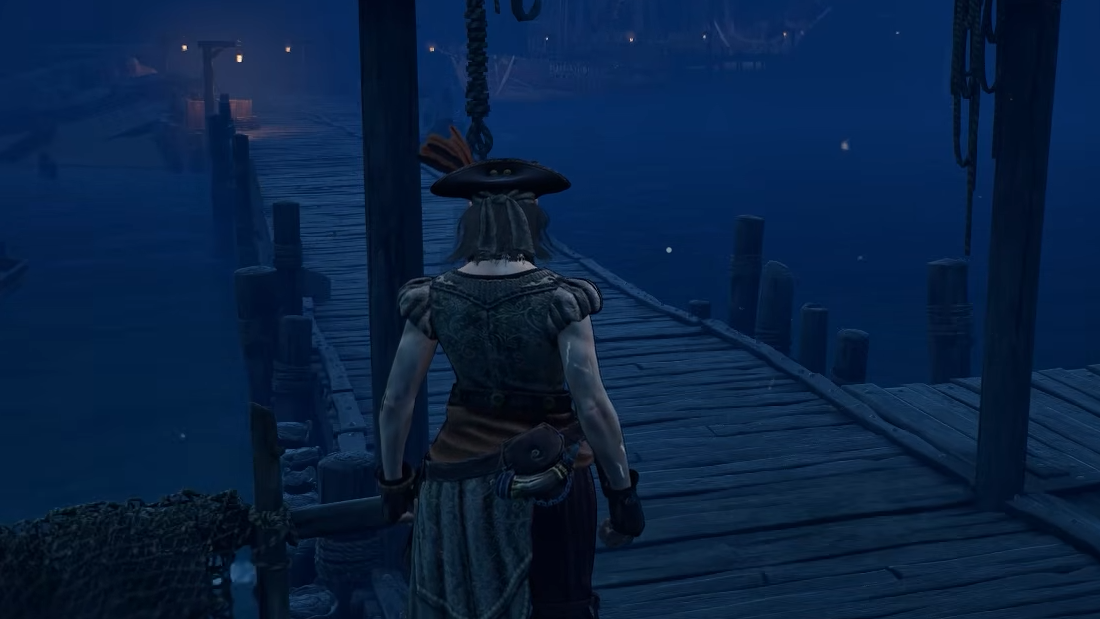
The exchange is not available from any generic merchant. You need access to Tortuga in the second biome and the right vendor unlocked through a faction questline. Bring upgraded gear and a seaworthy ship, because the route attracts hostile pirates.
| Requirement | Detail |
|---|---|
| Location | Tortuga (second biome) |
| Unlock path | Final objective of the How My Sea Adventure Began quest |
| Vendor gate | Complete the Underground Network faction quest |
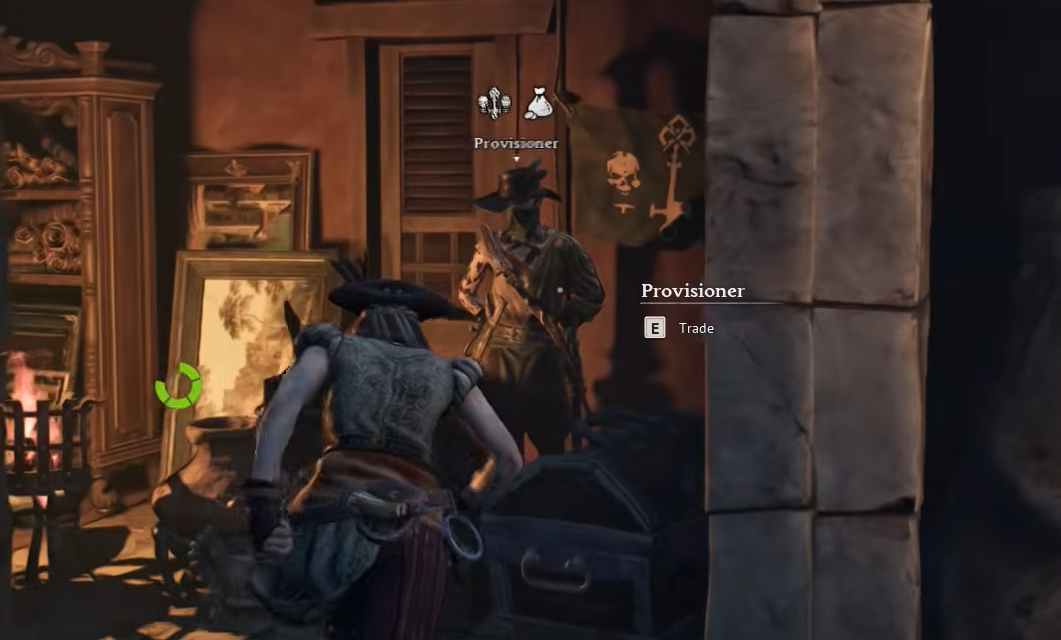
| Vendor type | Provisioner (Smuggler Provisioner) |
| Exchange rate | 1 Guinea = 20 Piastres |
| Reverse rate | 50 Piastres = 1 Guinea |
Reach Tortuga
Complete the Underground Network quest
Landing in Tortuga is not enough on its own. The Provisioner who handles coin exchanges only becomes interactable after you run the Underground Network faction quest, which introduces the port’s hidden vendor network.

Trade Guineas at the Provisioner
The Provisioner sits in the Tortuga market area once the quest is done. Their shop functions like any other vendor, but the currency swap is buried at the end of the list rather than sitting at the top.
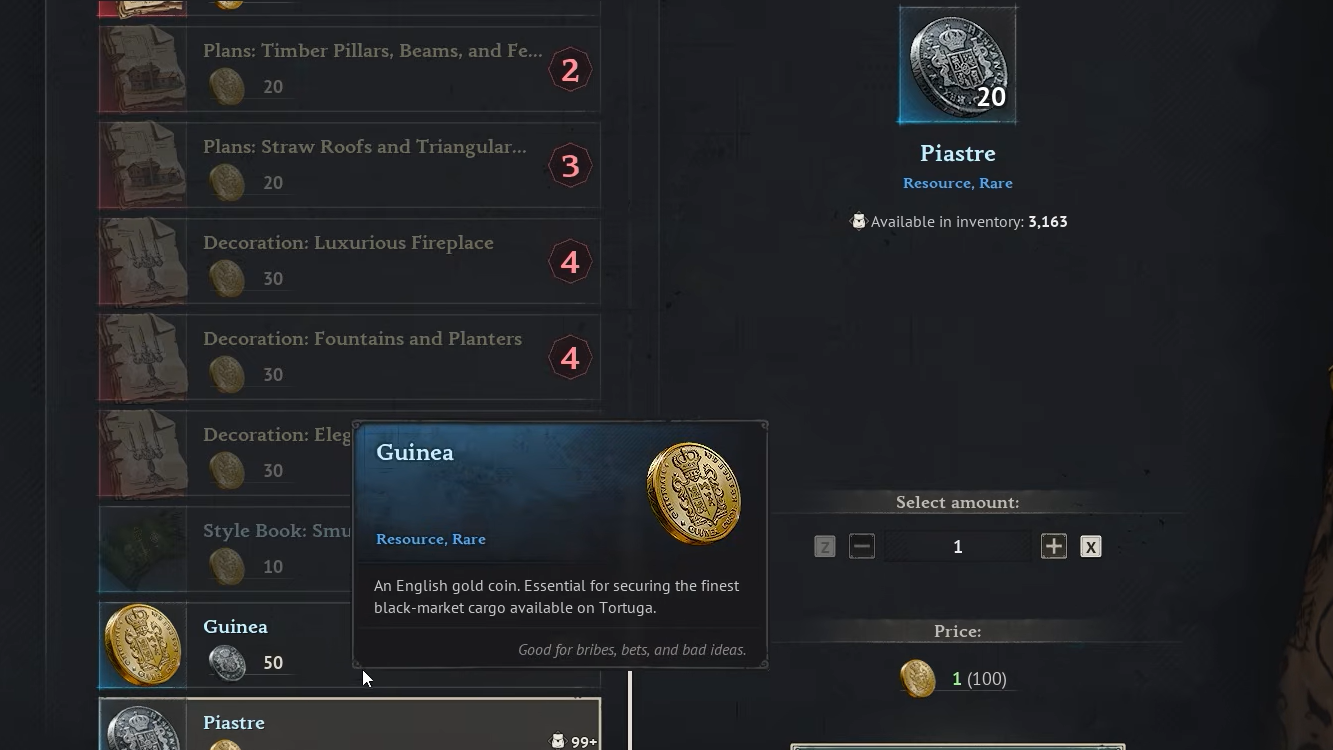
You will know it worked when your Guinea count drops, the Piastre count climbs by twenty per coin, and the trade confirmation clears from the shop window.
Rate, reverse trade, and when it makes sense
The exchange runs both ways, but the math is not symmetrical. Selling Guineas is efficient. Buying them back is expensive and usually only worth it when a specific cosmetic, building set, or style book is locked behind Guineas.
| Direction | Rate | Best use |
|---|---|---|
| Guinea → Piastre | 1 : 20 | Converting surplus cosmetic currency into spendable Piastres for gear and crafting |
| Piastre → Guinea | 50 : 1 | Only when a decoration, building set, or style book requires Guineas you do not have |
Because Guineas primarily drop from buried treasure chests and world quest rewards, most players accumulate them passively while chasing other objectives. If you are not decorating a base or collecting building sets, offloading them at the Provisioner is one of the steadier Piastre income streams in the mid game.
If the exchange option does not appear
There are only a few reasons the trade line is missing from the Provisioner’s menu, and all of them trace back to quest state or vendor identity.
| Symptom | Cause |
|---|---|
| No exchange entry at bottom of shop | Underground Network quest not yet completed |
| Cannot talk to Provisioner | Quest chain not started or earlier Tortuga objective still open |
| Provisioner shop has no coin options at all | Wrong vendor; the exchange is handled by the Smuggler Provisioner in Tortuga, not faction buyers at other bases |
| Trade button greyed out | Not enough Guineas (or Piastres for the reverse) in inventory to complete the minimum swap |
Faction buyers at other main bases handle commodity sales like Contraband, Naval Supplies, and Provisions, but they do not exchange coins. Keep the currency swap errand tied to Tortuga specifically.
Once the Provisioner is unlocked, the conversion becomes a routine stop whenever your Guinea pile grows faster than you can spend it on cosmetics. Sell the surplus, walk out with twenty times as many Piastres, and put them straight into the gear, ship upgrades, or crafting materials that actually move you forward.