
We are connected to the internet for the most part of the day, be it for work or personal use. You may want to connect to the internet to make a purchase off an e-commerce website, send a work-related email, or connect with friends on social media, all this will require a stable internet connection.
The connection can often be interrupted by various errors, the ‘DNS Server Unavailable’ being one of the most common. It could be caused to due various reasons, and an effective fix is required to get your connection up and running. But, before we move to the fixes, it’s imperative that you understand what the error is all about.
What is the ‘DNS Server Unavailable’ Error?
A DNS (Domain Name System) server stores the domain names of the website that you visit. This helps ensure quick loading of the website on your subsequent visits. When you search for a website/domain name, it is forwarded to a DNS server via your router which then translates it to the corresponding IP address.
While we understand and remember the domain names or hostnames, computers on the other hand rely on the corresponding IP address. It’s a quick and efficient way to locate the network of the website.
Many a time, the DNS server might not be available due to various reasons, thus the ‘DNS Server Unavailable’ error shows up. In some cases, it could be an issue with the server itself while most of the time, the error can be easily fixed. Running multiple antivirus software can cause a conflict between them, thus resulting in the error.
Now that you understand the error and its probable causes, let’s walk you through the various fixes.
1. Restart Router
Restarting the router is known to fix a lot of problems pertaining to the internet connection. To restart a router, unplug it from the power source, wait for a minute or two and then replug it. After the router restarts, check if the error is fixed.
2. Flush DNS
If the entries in the DNS cache get corrupted, flushing it will help resolve the issue. This should be the second fix you go for since corrupted DNS is the prime reason for the error.
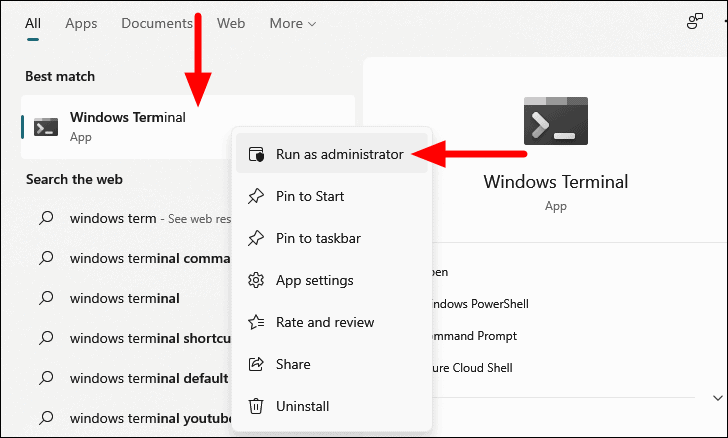
To flush the DNS, enter ‘Windows Terminal’ in the Search Bar, right-click on the relevant search result, and select ‘Run as administrator’ from the context menu.
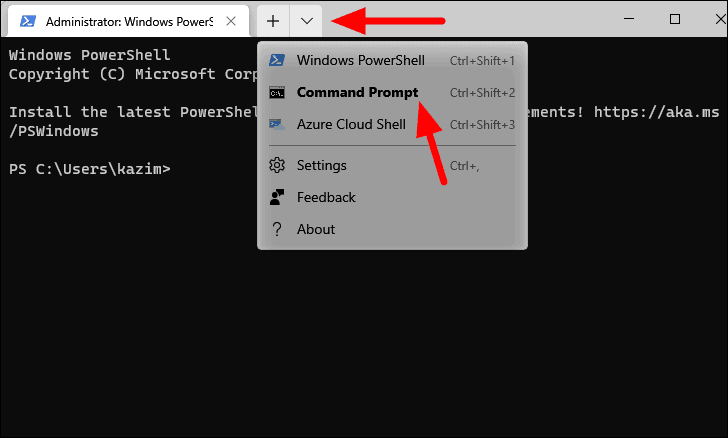
If you haven’t set ‘Command Prompt’ as the default profile, the Windows PowerShell tab will open by default when you launch Terminal. To open the Command Prompt, click on the carrot arrow icon at the top and select ‘Command Prompt’ from the menu. Alternatively, you can press CTRL + SHIFT + 2 to launch Command Prompt.
In Command Prompt, type the following command and press ENTER to execute it.
ipconfig /flushdns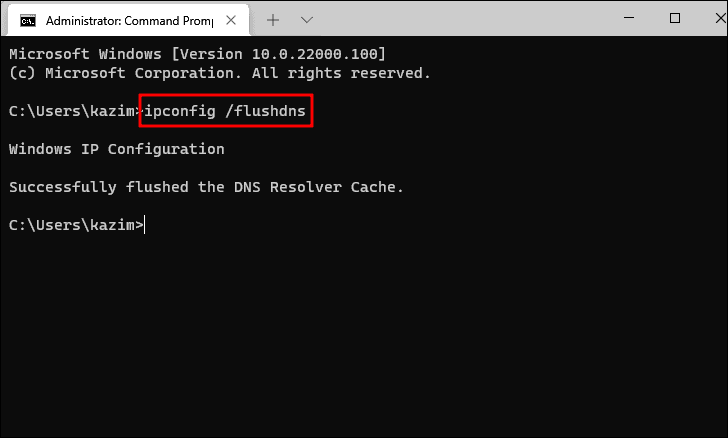
Next, type the following command and press ENTER.
ipconfig /release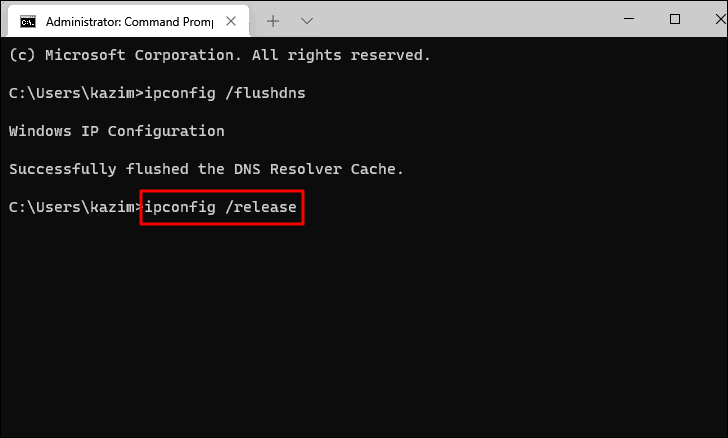
Finally, enter the following command and press ENTER.
ipconfig /renew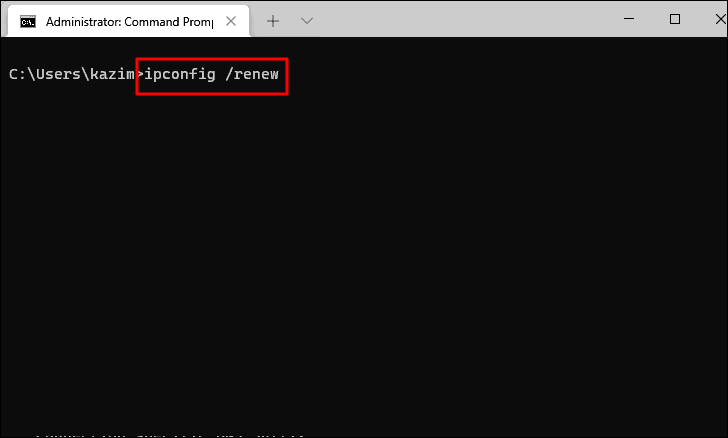
Now, close the Command Prompt window and reboot the system. Once the system restarts, check if you can connect to the internet. If not move to the next fix.
3. Manually Change the DNS Server
Your system obtains DNS server addresses automatically by default. If there’s an issue with your current DNS server address, you can manually switch it to Google servers. This has worked as a fix for many users.
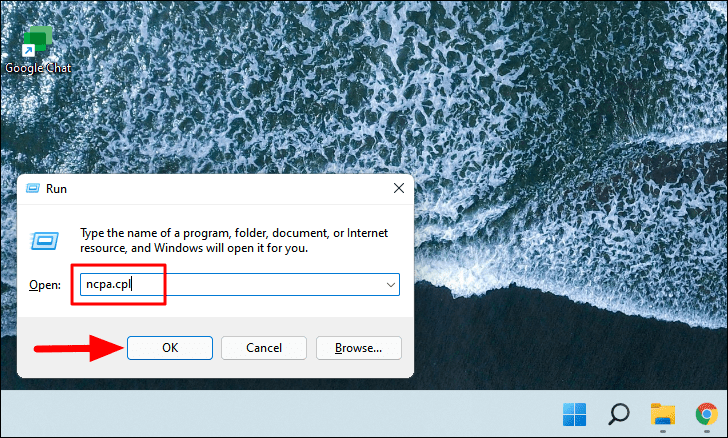
To manually change the DNS server, press WINDOWS + R to launch the ‘Run’ command, enter ‘ncpa.cpl’ in the text field, and either click on ‘OK’ at the bottom or press ENTER to launch the Network Connections panel.
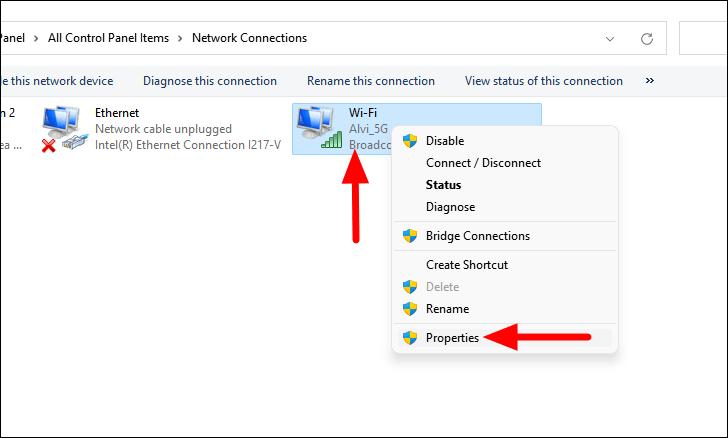
Now, right-click on the network adapter in use and select ‘Properties’ from the context menu.
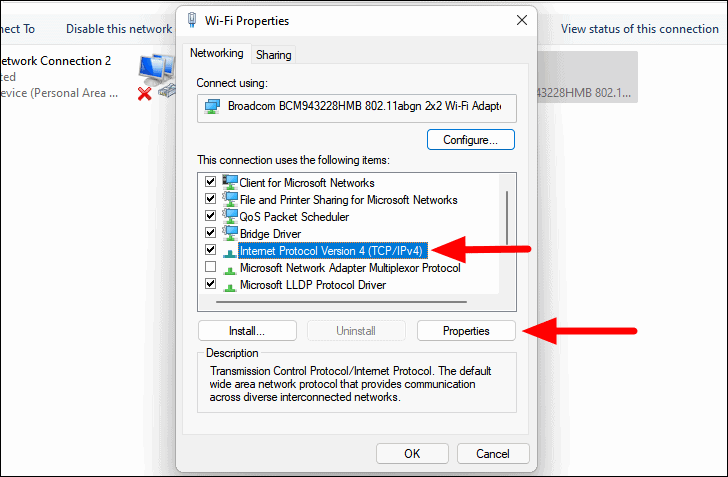
In the properties window, select the ‘Internet Protocol Version 4 (TCP/IPv4)’ and click on ‘Properties’.

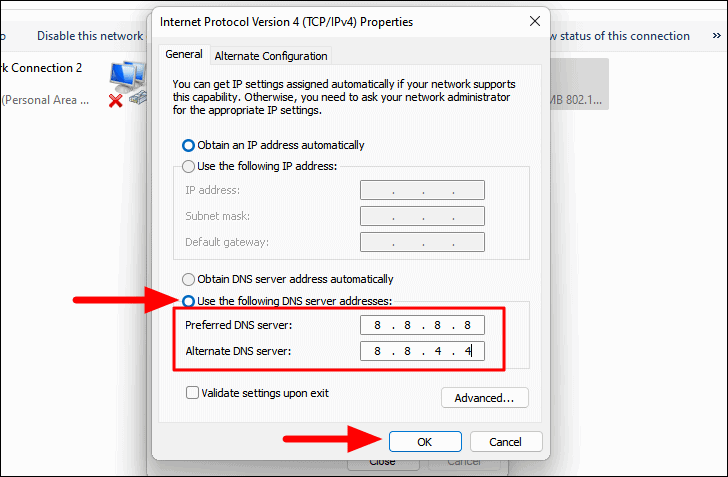
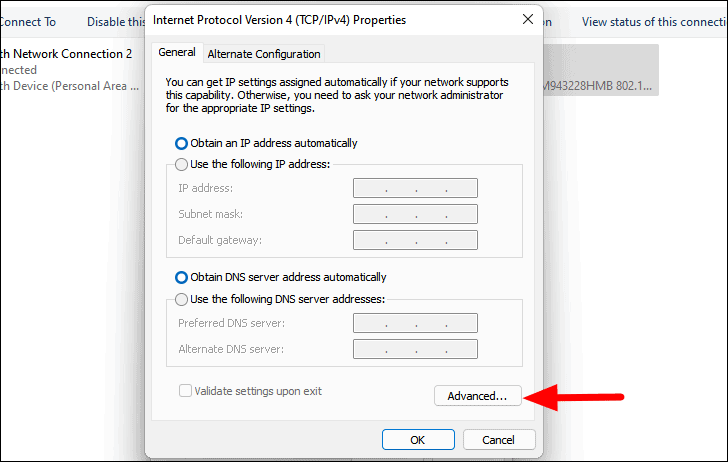
In the IPv4 properties, select the radial for ‘Use the following DNS server addresses’ and then enter the following value.
- Preferred DNS server: 8 . 8 . 8 . 8
- Alternate DNS server: 8 . 8 . 4 . 4
After entering the values, click on ‘OK’ at the bottom to save the new settings.
Now check if you are able to connect to the internet. If not, move to the next fix.
4. Remove DNS Server Addresses
If the above two fixes didn’t resolve the issue, you can try and remove the stored DNS server addresses from the network properties. It has worked for many users and is worth a shot.
To remove DNS server addresses, network properties as you did earlier, select the ‘Internet Protocol Version 4 (TCP/IPv4)’ option and click on ‘Properties’.
In the Properties window, click on the ‘Advanced’ option.
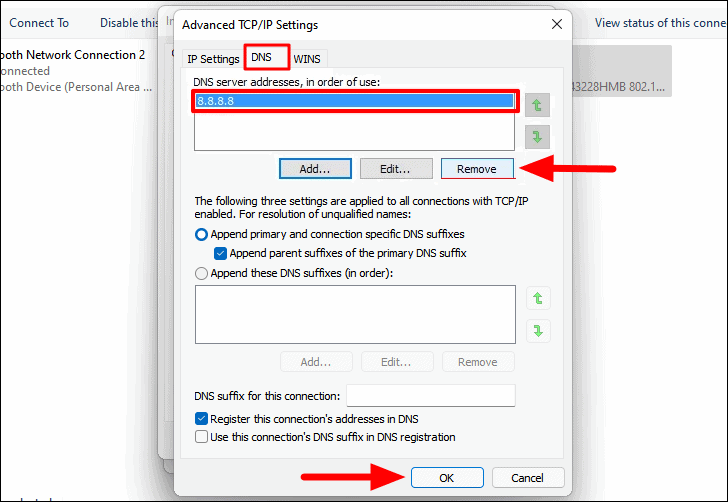
In the ‘Advanced TCP/IP Settings’, navigate to the ‘DNS’ tab, select an entry listed under ‘DNS server addresses, in order of use’ and click on ‘Remove’. Do this for all the entries here and then click on ‘OK’ at the bottom to save the changes.
Follow the same process to remove the DNS server addresses for ‘Internet Protocol Version 6 (TCP/IPv6)’. Once done, check if you can connect to the internet.
5. Disable Antivirus
Running multiple antiviruses may seem like a good option to enhance security, but a lot more goes on in the background. When you have multiple antiviruses, they may conflict with each other and lead to the DNS server issue on Windows 11. Therefore, it’s recommended that you keep a single antivirus and uninstall the rest.
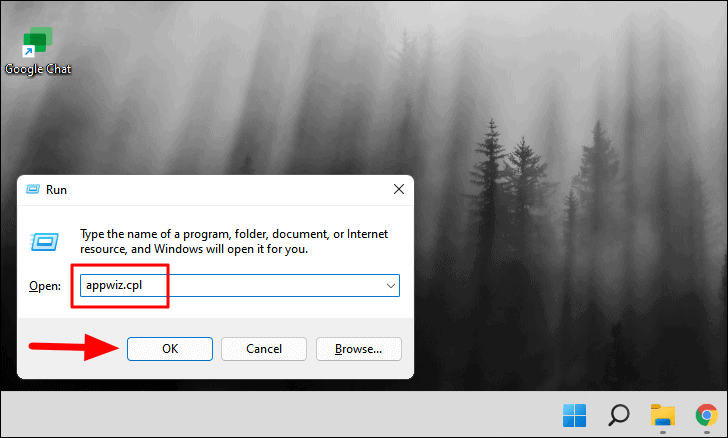
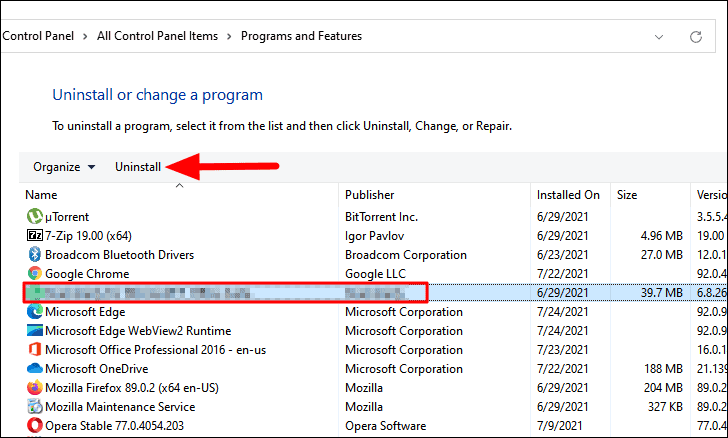
To uninstall an antivirus, press WINDOWS + R to launch the Run command, enter ‘appwiz.cpl’ in the text field, and either click on ‘OK’ at the bottom or press ENTER to launch the ‘Program and Features’ panel.
Now, locate and select the antivirus that you want to remove, and click on ‘Uninstall’ at the top.
Similarly, uninstall all the antivirus except the one that you want to keep and then reboot the computer. After the computer restarts, check if the issue is resolved and you are able to connect to the internet.
6. Run Internet Connections Troubleshoter
Windows offers built-in troubleshooters to diagnose problems with your system and fix them. They come in handy for a lot of issues including the ‘DNS server’ issue. If you are not acquainted with the internet settings that we discussed here, go with this as the first fix.
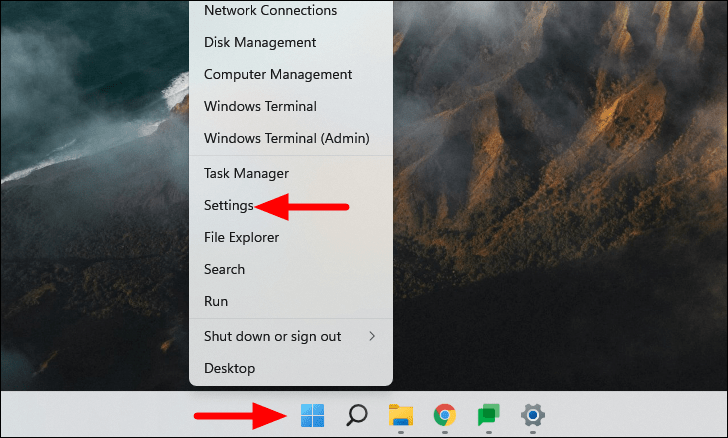
To run the troubleshooter, click on the ‘Start’ icon in the Taskbar or press WINDOWS + X to launch the Quick Access menu, and then select ‘Settings’ from the list of options.
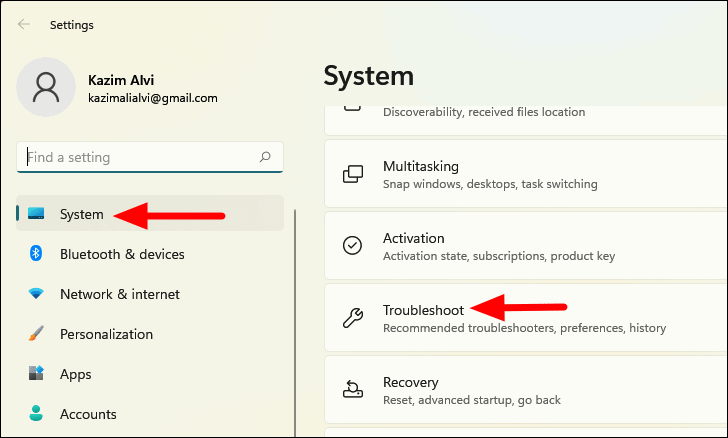
In the ‘System’ tab of Settings, click the ‘Troubleshoot’ option on the right.
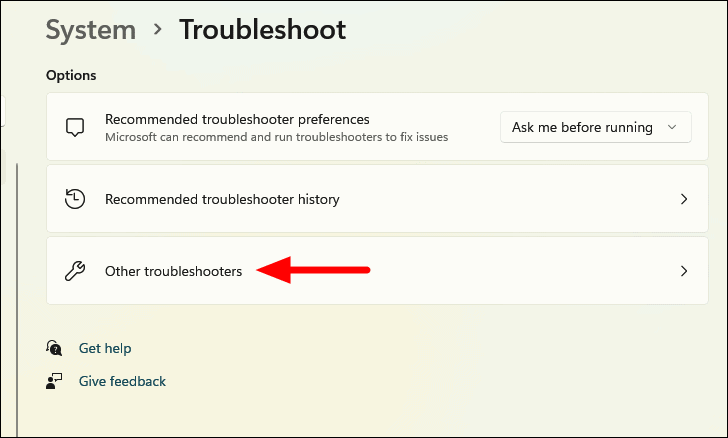
Next, click on ‘Other troubleshooters’ to view and run the various available troubleshooters.
Now, locate the ‘Internet Connections’ troubleshooter, and click on the ‘Run’ option next to it.

Follow the instructions and chose the necessary response when prompted to complete the troubleshooting process.
7. Disable Proxy Server
If you have ‘Proxy Server’ enabled on the system, it might lead to issues with the DNS server. Therefore, it’s recommended that you turn it off and check if that fixes the issue.
To disable Proxy Server, press WINDOWS + R to launch the ‘Run’ command, enter ‘inetcpl.cpl’ in the text field, and then either click on ‘OK’ or press ENTER to launch the Internet Properties panel.

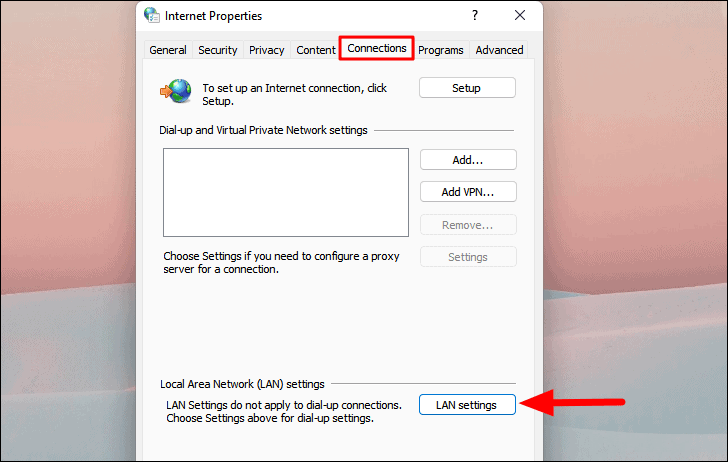
In the Internet Properties panel, navigate to the ‘Connections’ tab and click on ‘LAN settings’ at the bottom.
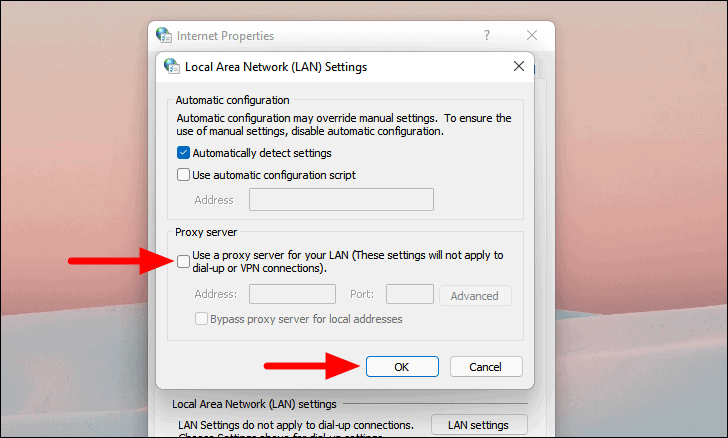
Now, untick the checkbox for ‘Use a proxy server for your LAN’ under ‘Proxy server’, and click on ‘OK’ at the bottom to save the settings.
After you have made the changes, restart the system and the issue should be fixed.
With the above fixes, you would easily be able to resolve the ‘DNS Server Unavailable’ error on Windows 11 and get your Internet back up and running.


