
Desktop Window Manager (DWM) is a system process that is responsible for rendering every item that is displayed on your Desktop. It is also responsible for menus, system animations, and transparency elements on Windows.
Desktop Window Manager typically uses the onboard graphics card to fulfill all the requirements. Many users have been experiencing high GPU usage by the process even when no demanding apps are running. Moreover, high-end GPUs, which have plenty of processing power, have also been facing the same issues.
Fortunately, some known issues can cause this mayhem on your computer and they are simple and easy to resolve. That being said, before you proceed, it can pay off to learn more about the issue.
What Causes High GPU Usage by DWM? How much is the Normal Usage?
Since DWM high GPU usage is a software-based issue, there can be plenty of underlying issues that can cause the problem to pop up on your computer. That being said, below is the list comprising the most common culprits:
- Outdated or Corrupt Graphics Driver
- Outdated Windows Version
- Outdate Intel Drivers (For PCs Running Intel CPUs)
- GPU Hardware Acceleration Enabled
- Misconfigured Nvidia Control Panel Settings
- Corrupted/Damaged System Files
As mentioned earlier, users have been experiencing GPU usage of more than 70% even when the system is idle, which is not normal. The typical range for DWM to use the GPU fluctuates between 1-3%.
Now that you understand the causes of the issue, keep reading further to resolve them once and for all on your computer.
1. Update Windows
If you have not updated your PC in quite a while, there could be a high possibility that a simple update will fix your problem.
First, head to the Start Menu and click on the ‘Settings’ tile.

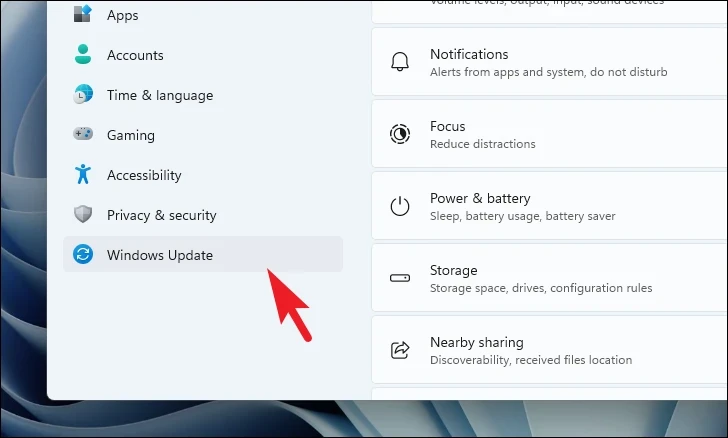
After that, click on the ‘Windows Update’ tile from the left sidebar to proceed.
Then, from the right section of the window, click on the ‘Check for updates’ button. Otherwise, click on the ‘Download & Install’ button to download the updates.
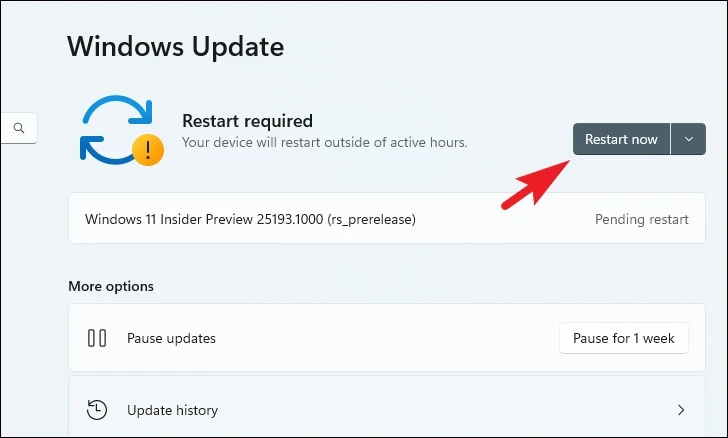
Then, see if the issue was resolved.
2. Update Graphics Driver
There are 3 major ways you can update the graphics driver on your Windows device. You can either update it from the Settings app, use the Device Manager to search for the latest driver, or force update it.
To update the driver using the Settings app, head to the Start Menu and click on the ‘Settings’ tile.

Then, click on the ‘Windows Update’ tab from the left sidebar.

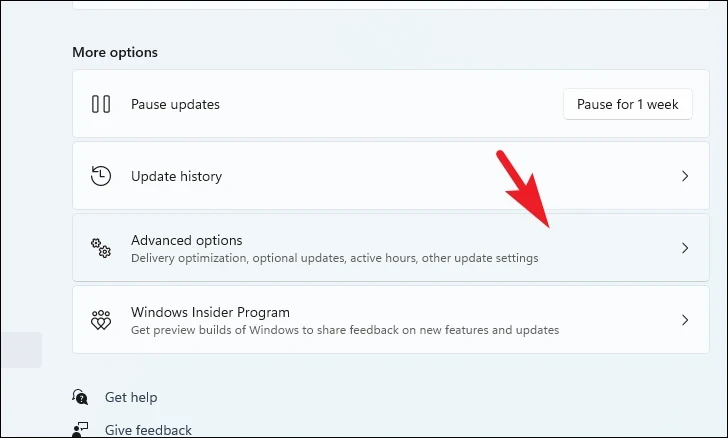
Next, click on the ‘Advanced Options’ tile from the right section to continue.
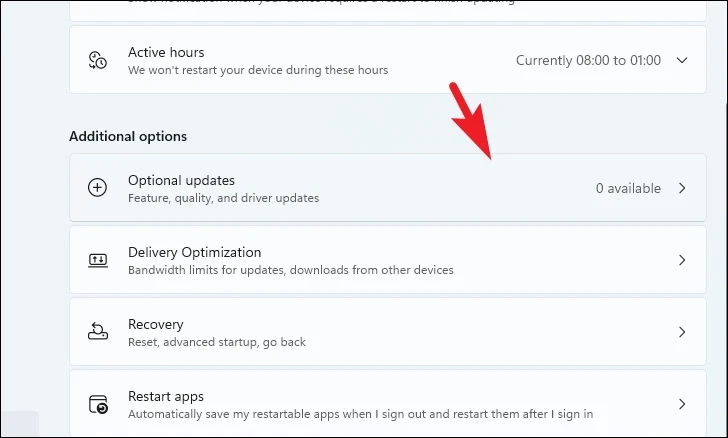
Then, click on the ‘Optional Updates’ tile to proceed.

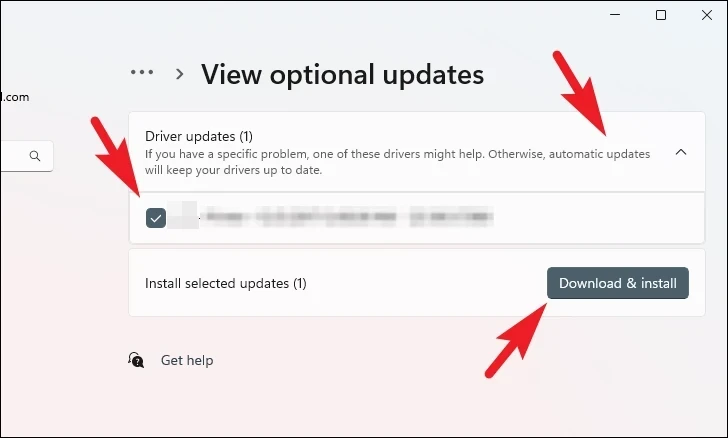
Now, select the updates having ‘Graphics’ as a suffix or prefix by clicking on the individual checkboxes. Then, click on the ‘Download & Install’ button.

Once installed, restart your PC, if not automatically restarted. Then, check if it resolved the issue.
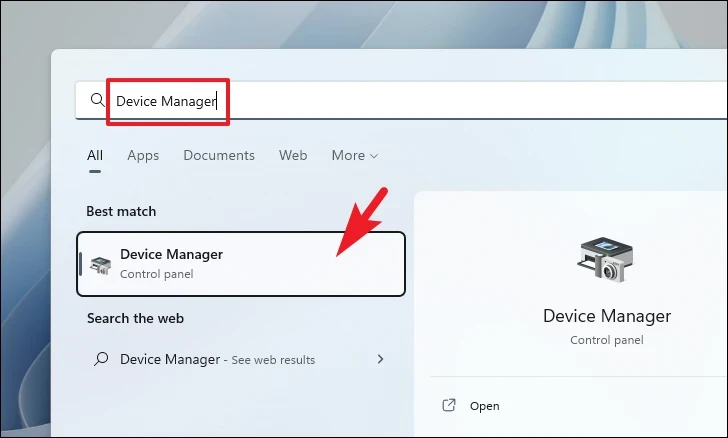
If you wish to update the driver using the Device Manager, head to the Start Menu and type Device Manager. Then, click on the ‘Device Manager’ tile to proceed.
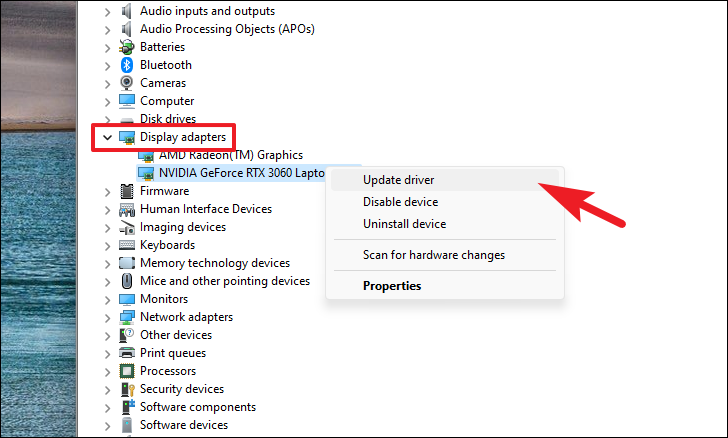
After that, double-click on the ‘Display adapters’ option to expand the section. Then, right-click on one of the components (if you have more than one graphics card installed) and click on the ‘Update driver’ option. This will open a separate window on your screen.
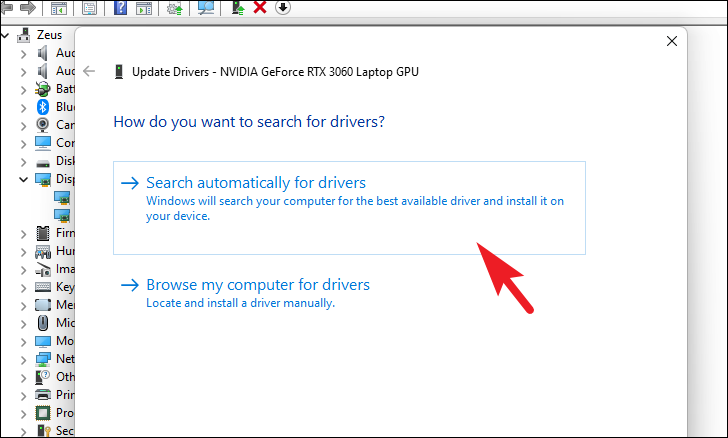
Now, from the separately opened window, either click on the ‘Automatically search for drivers’ to let the Windows search for a driver. Otherwise, click on the ‘Browse my computer for drivers’ option to install the drivers manually.
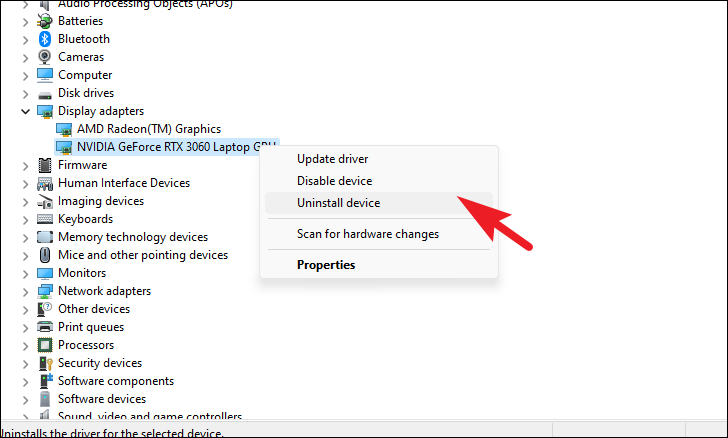
You can also force update the driver. Right-click on one of the ‘Display adapter’ components and select the ‘Uninstall device’ option. This will bring a prompt to your screen.
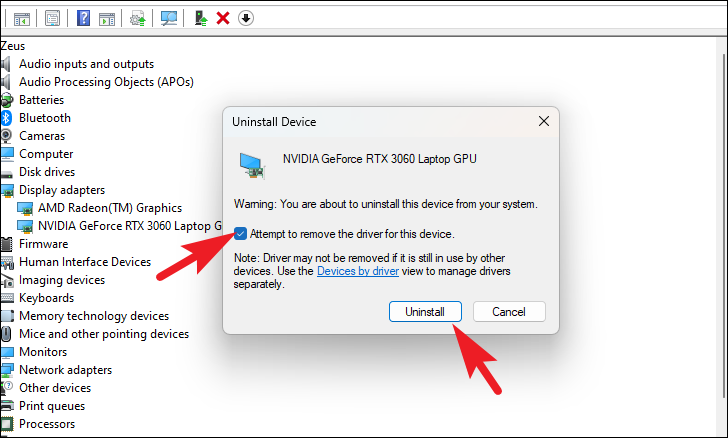
Click on the checkbox preceding the ‘Attempt to remove the driver for this device option and click on the ‘Uninstall’ button to initiate the process.
After you have uninstalled the driver, restart your device. After the restart, head to the ‘Windows Update’ tab from the Settings app.
Next, head to the ‘Optional Updates’ section.
Now, select available updates by clicking on the checkbox having the ‘Graphics’ prefix/suffix and then click on the ‘Download & Install’ button.
Once the update is complete, restart your PC and check if it has resolved the issue.
3. Run DISM, SFC, and CHKDSK
DISM will renew the cached copy of the operating system files from the Microsoft server. SFC will then use the cached copy to repair the existing system if it is damaged or corrupted. Then, the CHKDSK command will scan the physical bad sectors on the secondary storage of your system. You must execute the commands in the order stated below.
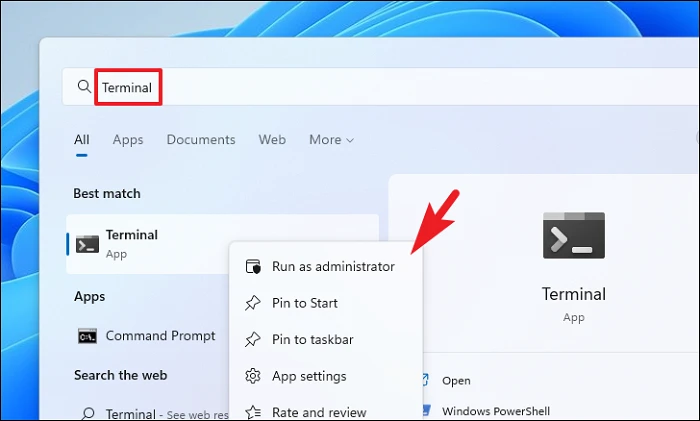
First, head to the Start Menu and type Terminal to perform a search for it. Then, right-click on the ‘Terminal’ tile and select the ‘Run as administrator’ option.
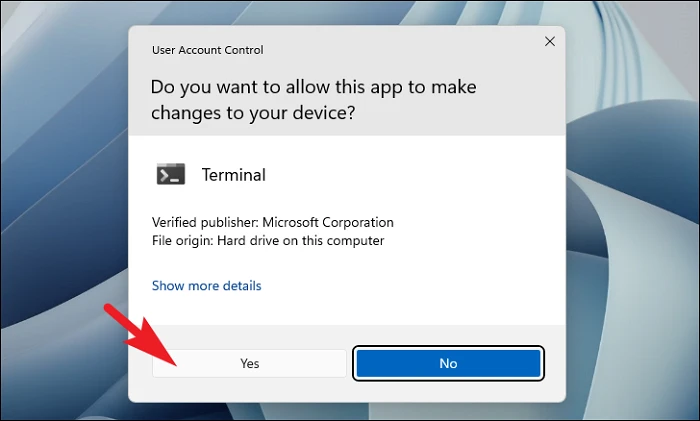
Now, a UAC (User Account Control) window will appear on your screen. If you are not logged in with an admin account, enter the credentials for it. Otherwise, click on the ‘Yes’ button to proceed.
In the Command Prompt, type or copy+paste the below-mentioned command and hit Enter on your keyboard. This will restore the currently installed OS image on your device.
DISM/Online/Cleanup-Image/RestoreHealth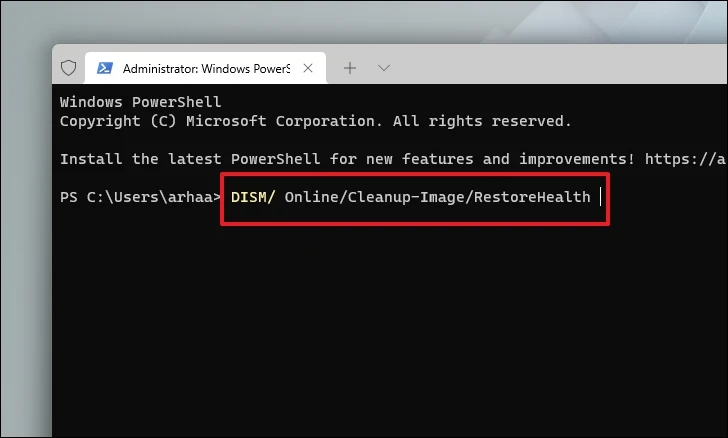
Once completed, type or copy+paste the following command to check and repair the system files on your PC.
SFC /scannow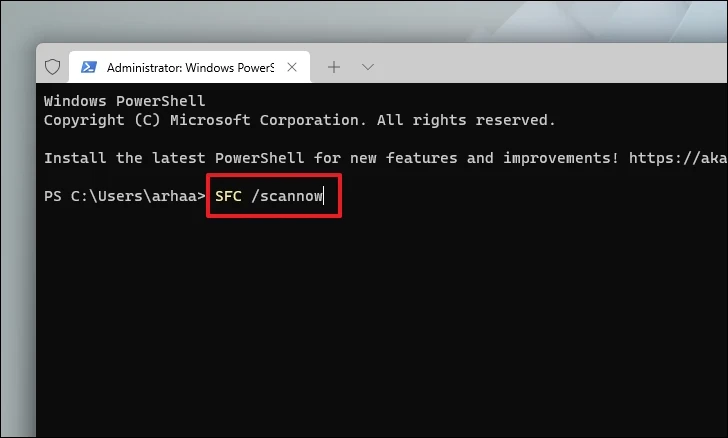
Now to run the CHKDSK command, type or copy+paste the below-mentioned command and hit Enter on your keyboard to execute the command.
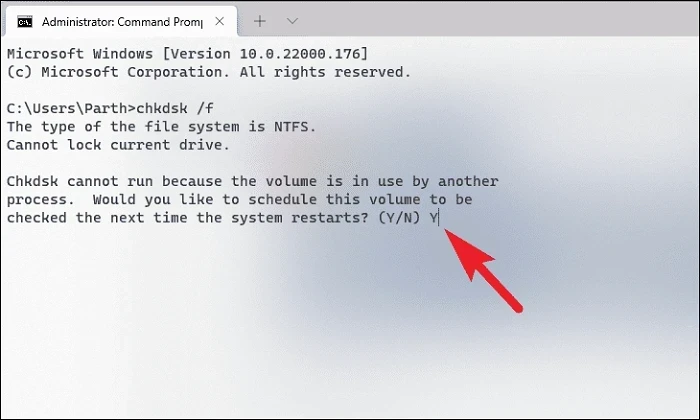
chkdsk /f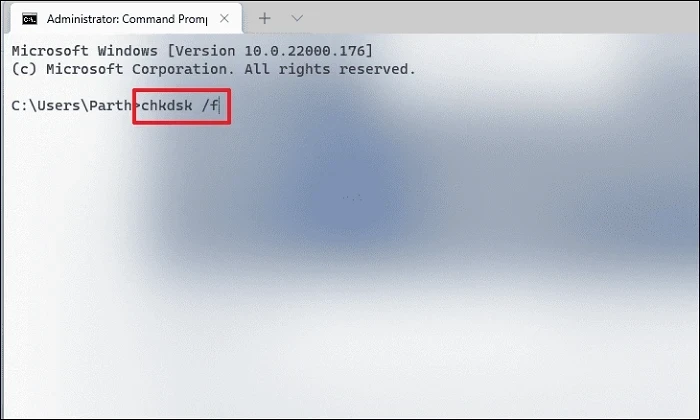
After that, press the Y key to schedule the scan to be initiated when you boot up your PC next time.
4. Change Process Status Using Task Manager
One of the known causes of DWM using all the available GPU memory is when the task priority is set as ‘High Priority’. All you need to do is change the task priority to ‘Efficiency Mode’ and you will be good to go. Client Server Runtime (crss.exe) is also a process that is often found hogging GPU memory, you should also make sure to change its task priority as well.
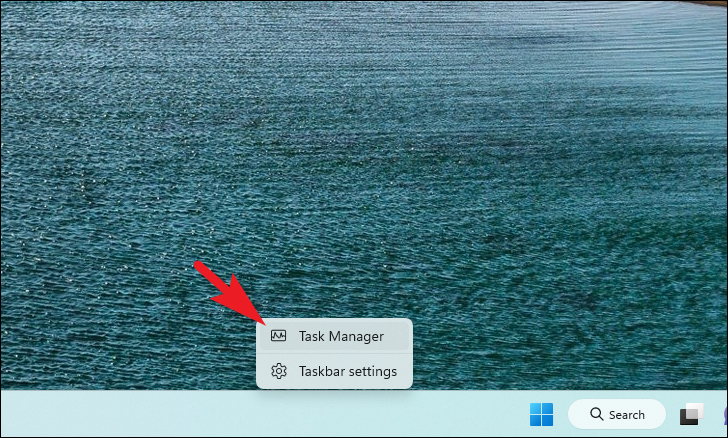
First, either right-click on the Taskbar and then click on the ‘Task Manager’ option. Otherwise, press the Ctrl+Shift+Esc keys together on your keyboard.
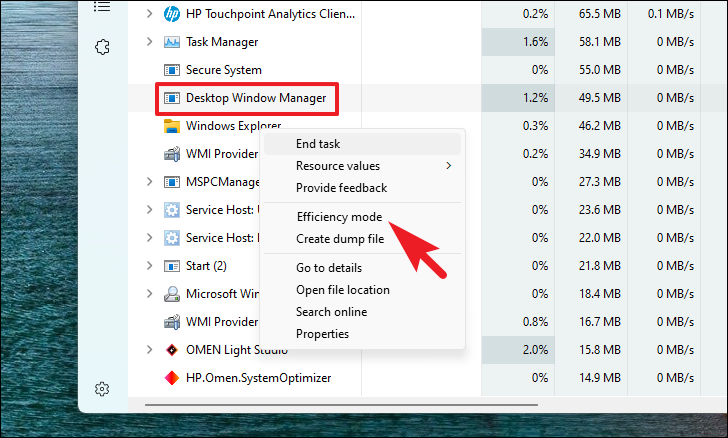
Then, make sure you are on the ‘Process’ tab from the left sidebar. After that, search for ‘Desktop Window Manager’ or ‘crss.exe’ processes from the list and right-click on them. Next, click on the ‘Efficiency Mode’ option to proceed. Make sure you do it individually for both processes.
Finally, restart your PC and check if the issue has been resolved.
5. Download Intel Driver & Support Assistant
Many users have been able to resolve the issue by updating drivers for all Intel hardware installed on their PC. Thankfully, instead of manually hunting for each driver, you can simply install Intel assistant which will curate a list of all identified hardware installed on your PC and facilitate a one-click update for all of them.
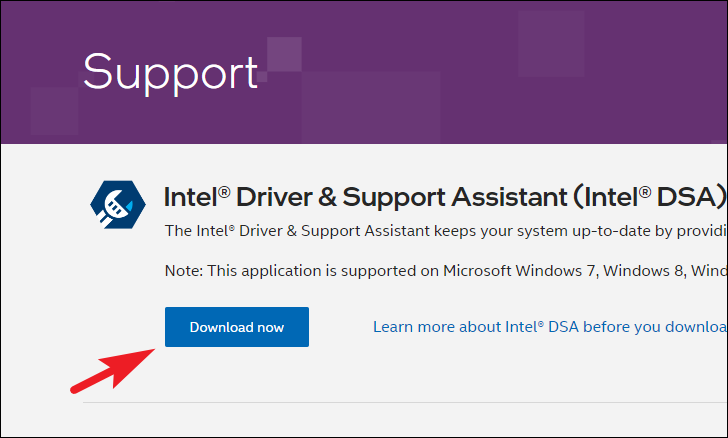
First, head to www.intel.in/support and click on the ‘Download now’ button to proceed. Once downloaded, a File Explorer window will appear on your screen; navigate to the directory where you wish to save the file.
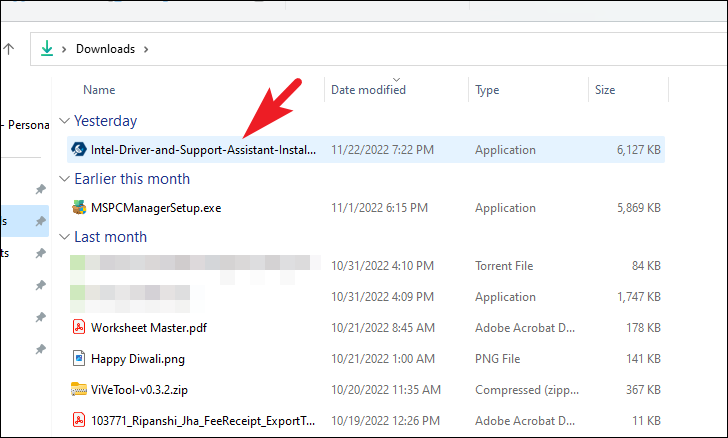
After that, head to the directory of the downloaded file. Then, double-click on the .EXE file to run the installer.
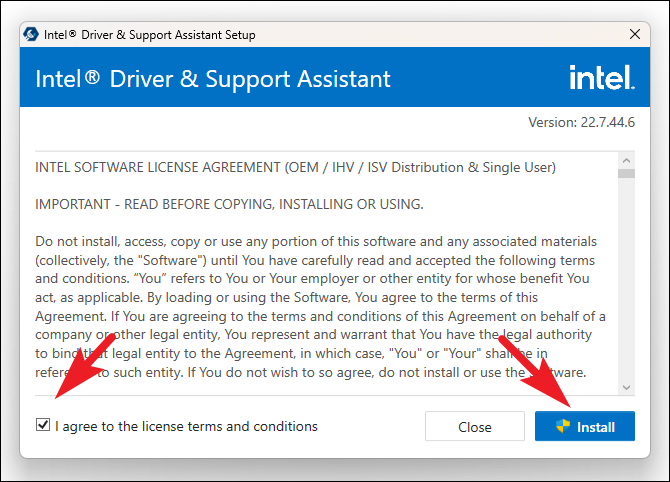
Then, click on the checkbox preceding the ‘I agree to the license terms and agreement’. Next, click on the ‘Install’ button.
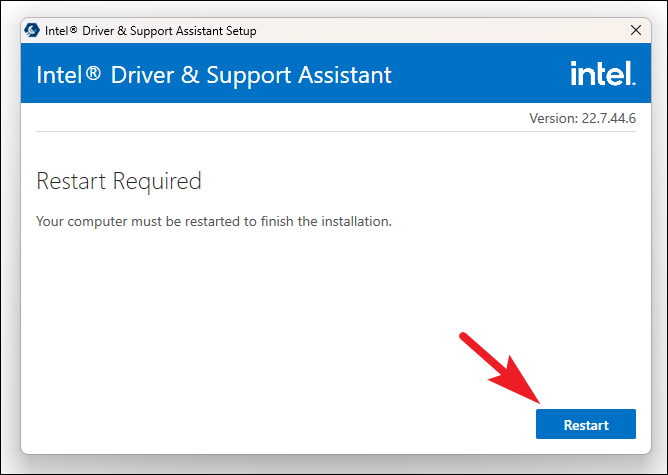
Once installed, you might be required to restart your device. To do so, click on the ‘Restart’ button.
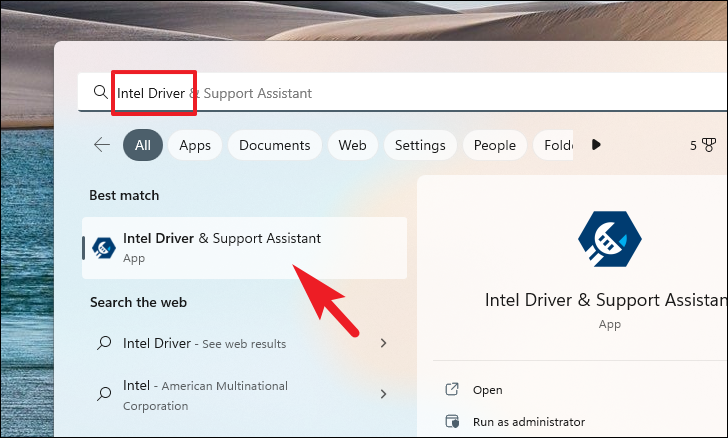
After the restart, head to the Start Menu and type Intel Driver to perform a search. Then, from the search results, click on the ‘Intel Driver & Support Assistant’ tile. This will open a webpage on your default browser.
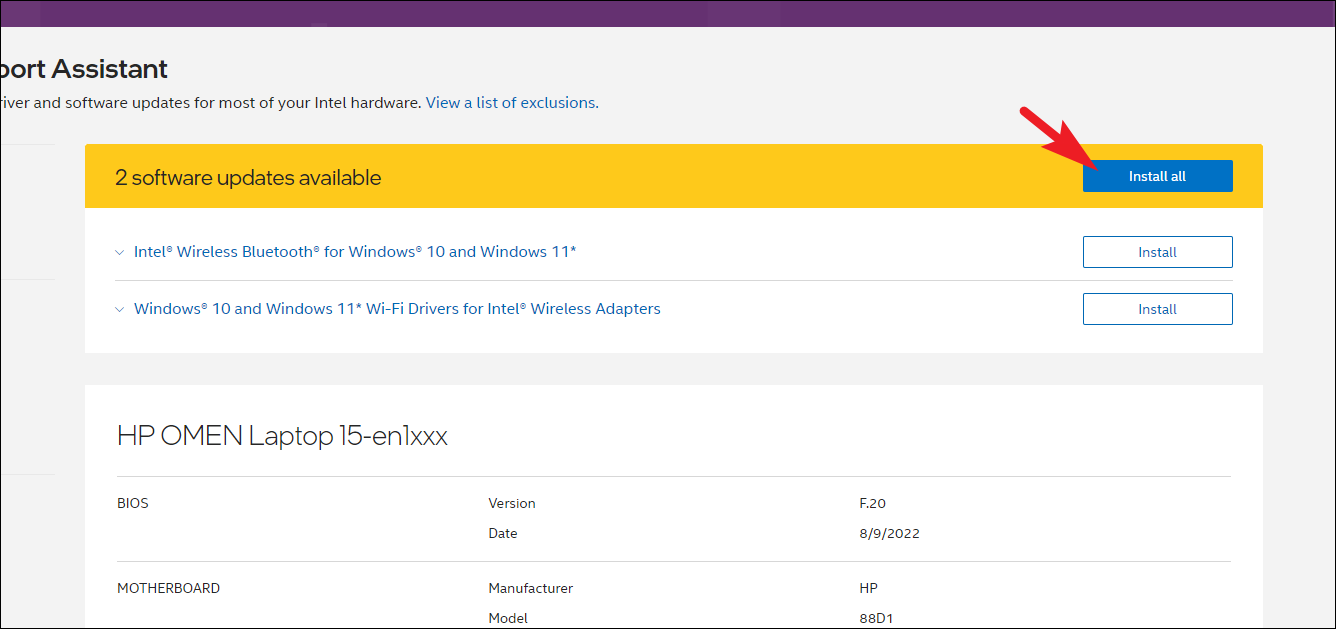
Finally, click on the ‘Download All’ button to download all the available updates. All the drivers that need to be updated will be listed down below.
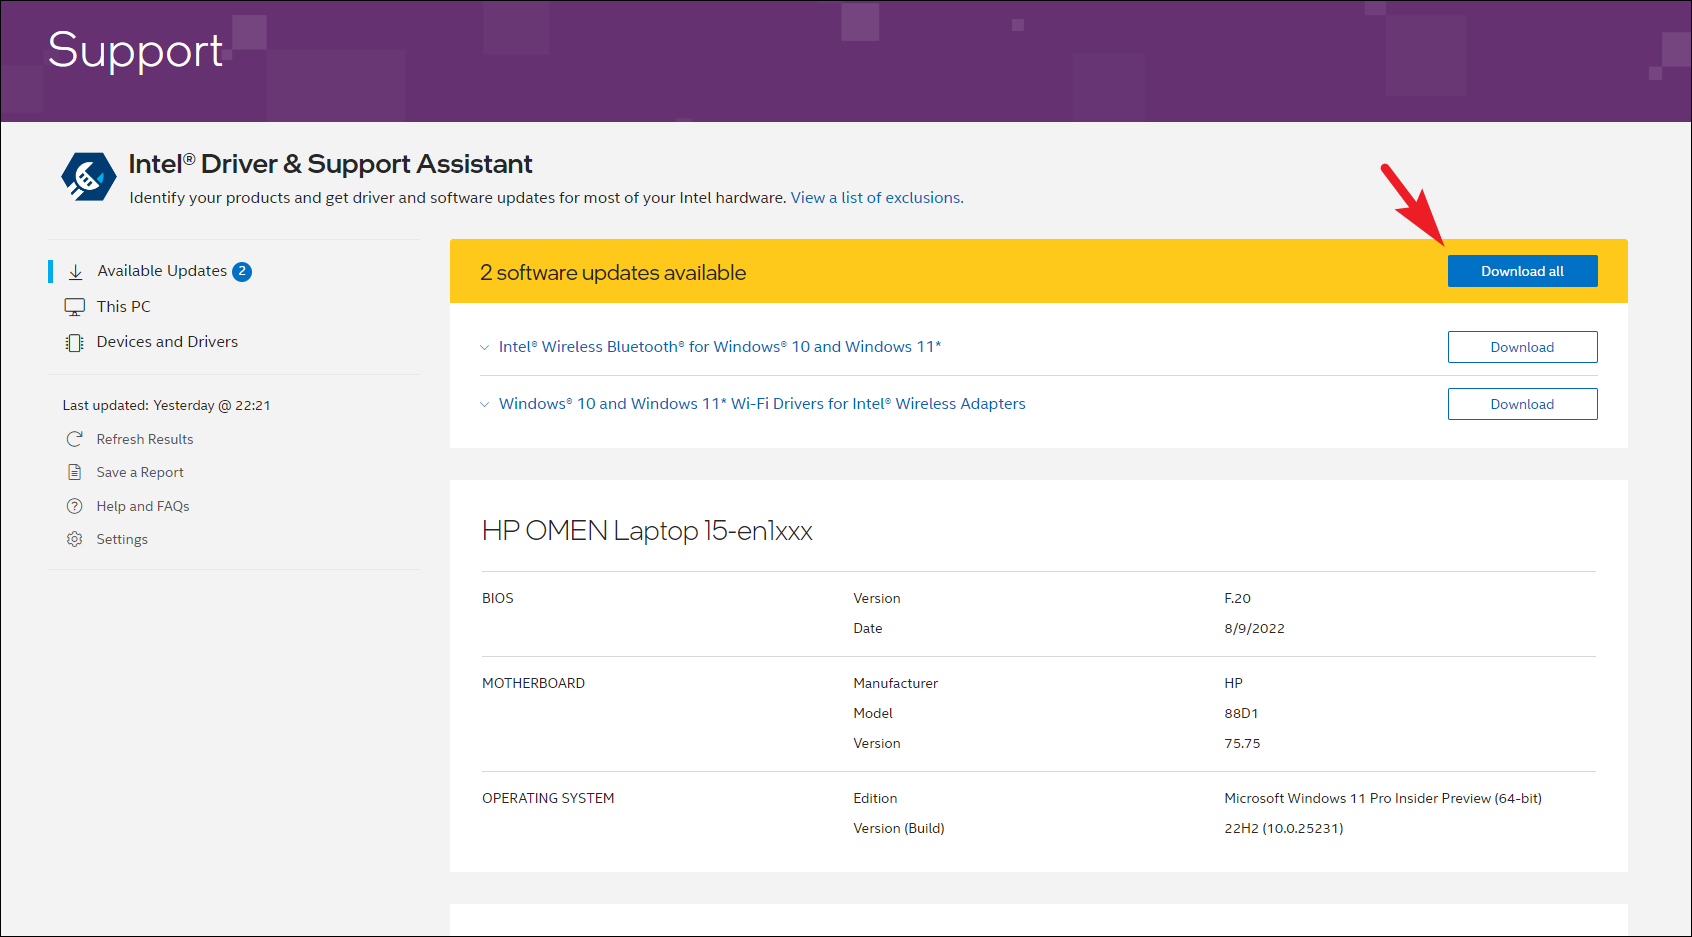
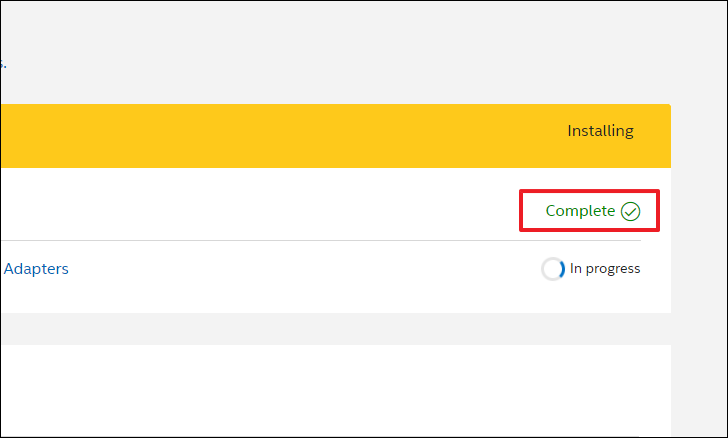
Once the download is complete, click on the ‘Install All’ button to start installing the updates. This will open the installation wizard of each driver one by one. Go through the installation wizard and complete all the steps to install the drivers.
You will also be able to check if the driver is installed properly using the Intel Assistant webpage.
Once all the drivers have been installed, restart your computer and check if the problem persists.
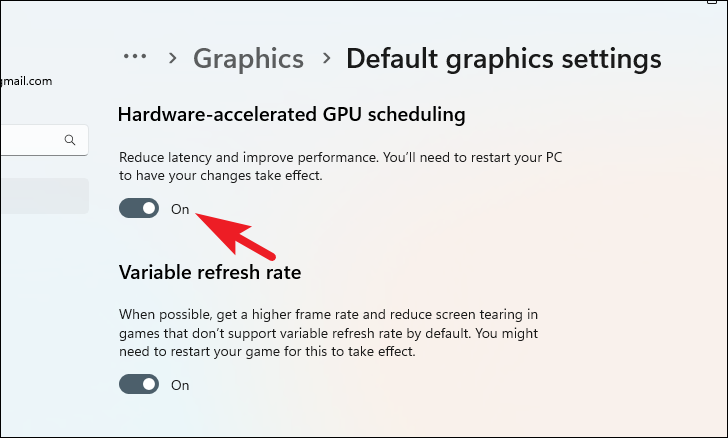
6. Disable GPU Hardware Scheduling
DWM exhibits high GPU usage when GPU hardware scheduling is enabled on your device. Many users have been able to resolve the issue by simply disabling the option from the Settings app.
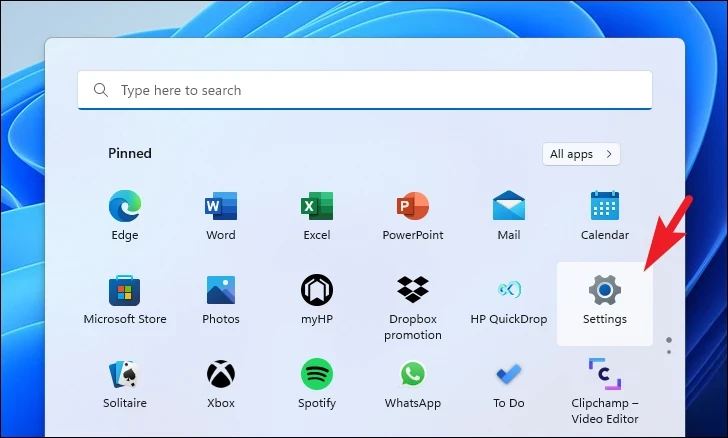
First, head to the Start Menu and click on the Settings tile icon to proceed.
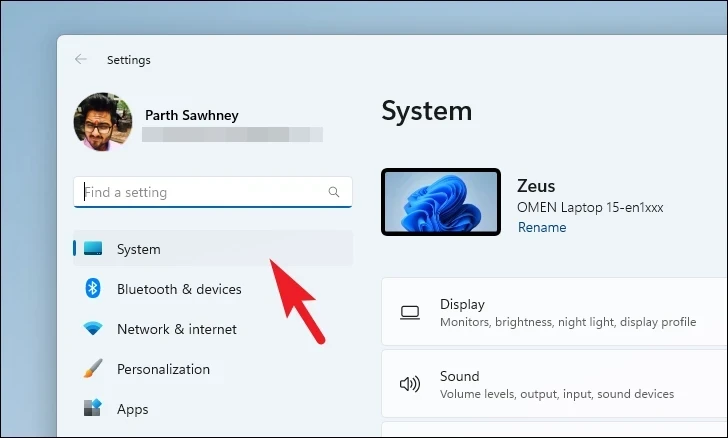
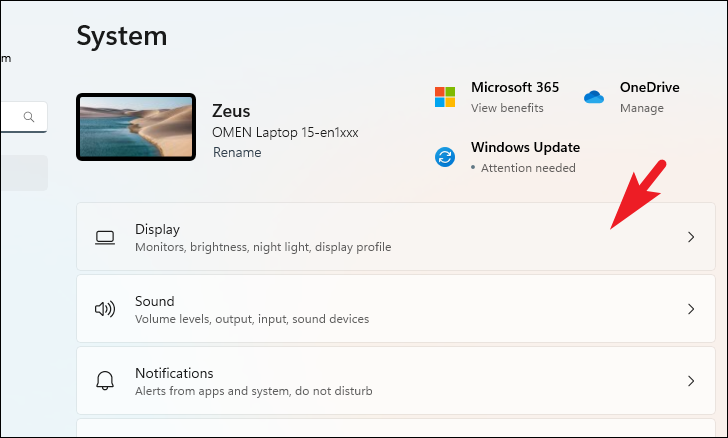
Then, make sure you have selected the ‘System’ tab from the left sidebar.
Next, click on the ‘Display’ tab from the right section to continue.
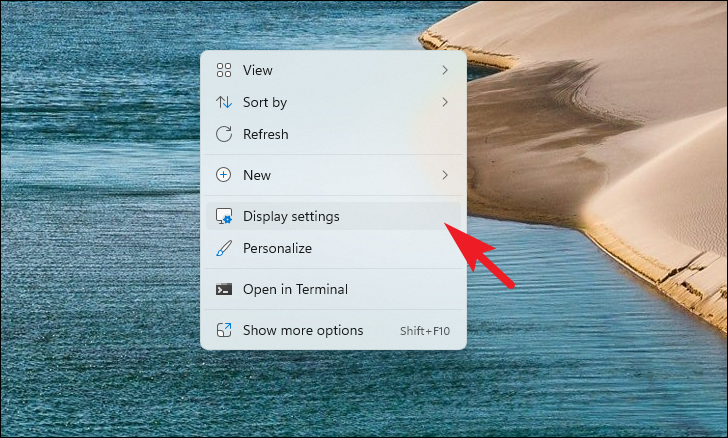
Otherwise, to directly jump to the Display settings page, right-click on the Desktop and then click on the ‘Display Settings’ option to proceed.
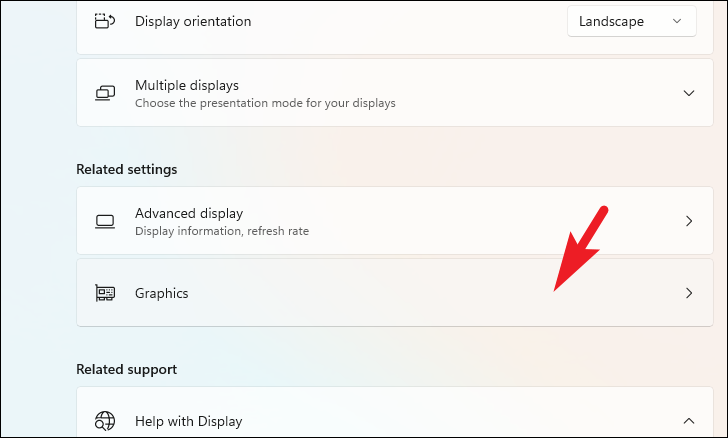
Now, click on the ‘Graphics’ tab to continue.
After that, click on the ‘Change default graphics settings’ option.
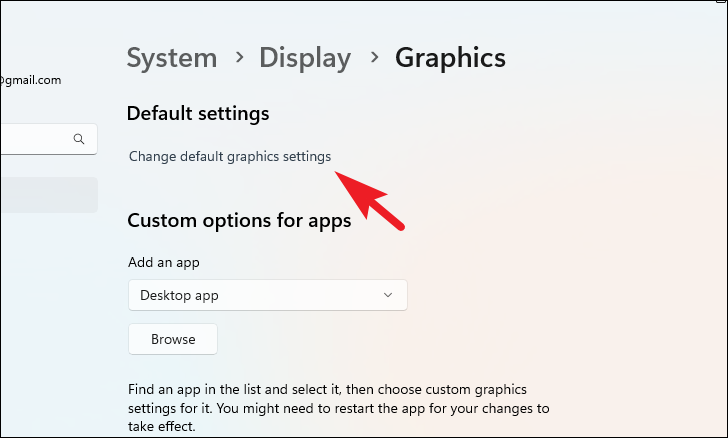
Then, click on the toggle present under the ‘Hardware-accelerated GPU scheduling’. Once done, restart the computer and check if the issue has been resolved.
7. Change Global Nvidia Settings (Only for NVIDIA Hardware)
If you have an NVIDIA graphics card and you have been facing high GPU usage by DWM only when accessing certain apps, there is a high chance you can simply change the ‘Power Management’ settings to fix the issue.
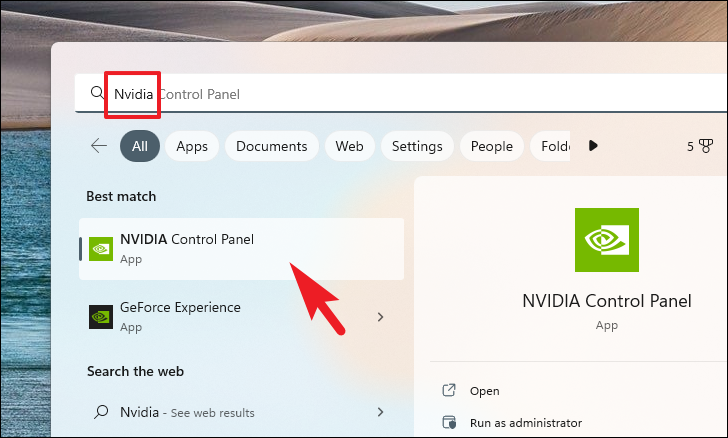
First, head to the Start Menu and type Nvidia to perform a search for it. Then, from the search results, click on the ‘NVIDIA Control Panel’ tile to proceed.
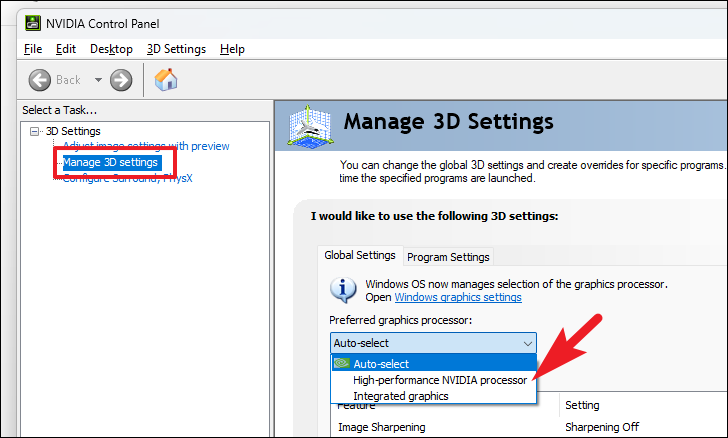
Then, make sure you have selected the ‘Manage 3D settings’ option from the left sidebar. After that, make sure you have selected the ‘Nvidia processor’ from the drop-down situated under the ‘Preferred graphics processor’ field.
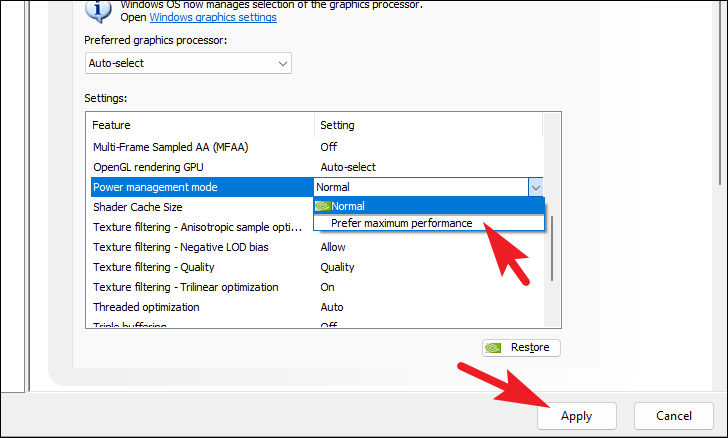
Then, search for the ‘Power management mode’ from the list below and change the setting to the ‘Prefer maximum performance’ option using the drop-down menu. Finally, click on the ‘Apply’ button to save the changes.
Once changed, restart your computer and check if the issue persists.
8. Roll Back to a System Restore Point
If you have reason to believe that a recent software upgrade or a third-party software installation might be the culprit behind the issue, you can also roll back to a system restore point.
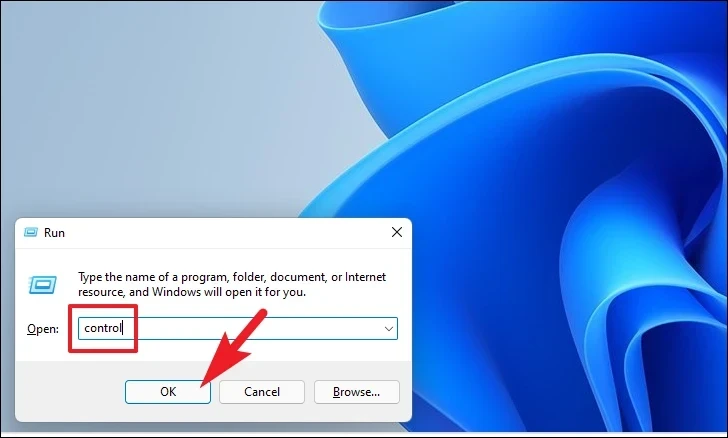
Press the Windows+R shortcut on your keyboard to bring up the ‘Run Command’ utility. Then, type ‘Control’ and hit Enter on your keyboard.
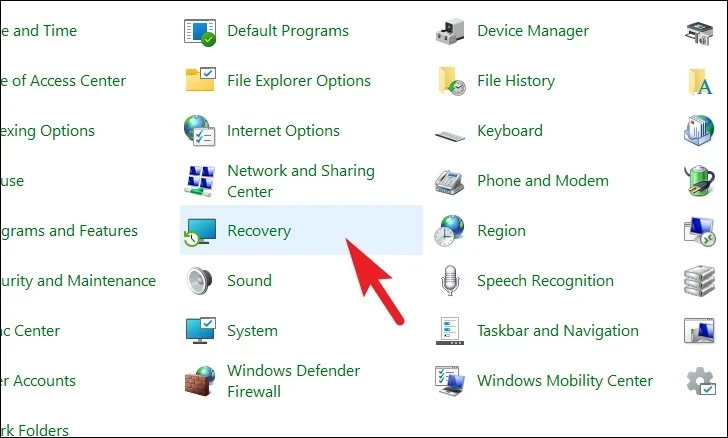
After that, locate and click on the ‘Recovery’ tile from the grid of icons.
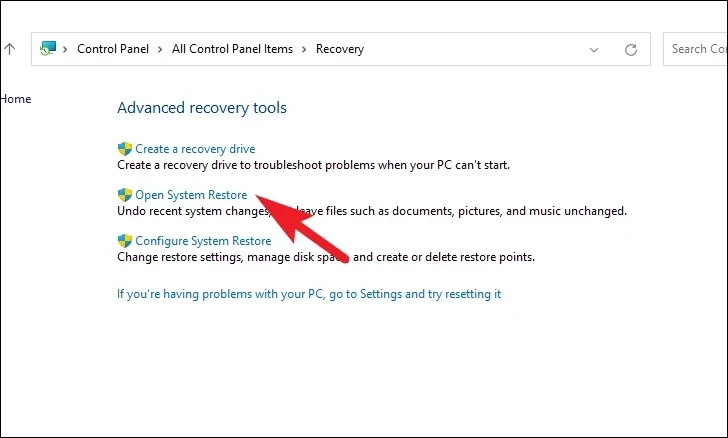
Next, click on the ‘Open System Restore’ option from the list. This will open a separate window on your screen.
From the separately opened window, click on the ‘Next’ button.
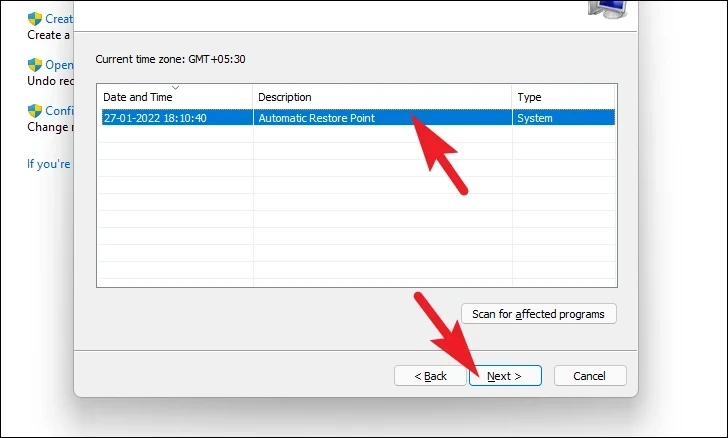
You will then see the list of System Restore points you can roll back. Click to select from the list and click on the ‘Next’ button.
You will now see the drives that will be rolled back using the chosen restore points from the ‘Drives’ section. If you also wish to see the files and programs that will be impacted, click on the ‘Scan for the affected programs’ option. This will open a separate window.
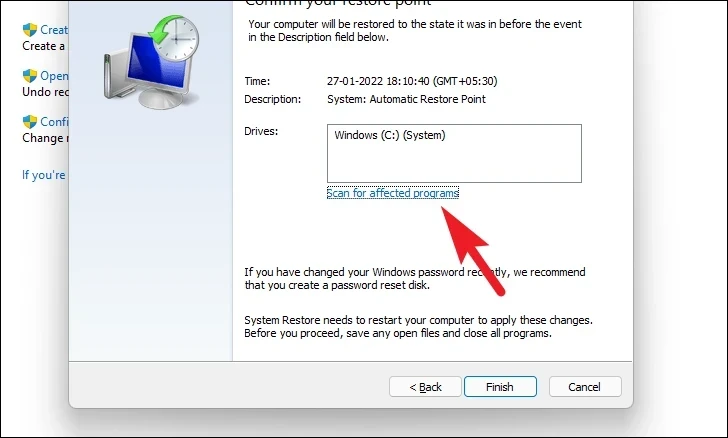
On the new window, you can view the programs that will be deleted and the ones that will be restored (no programs will be affected on the test PC and hence, the list in the screenshot below is empty). Click on the ‘Close’ button.

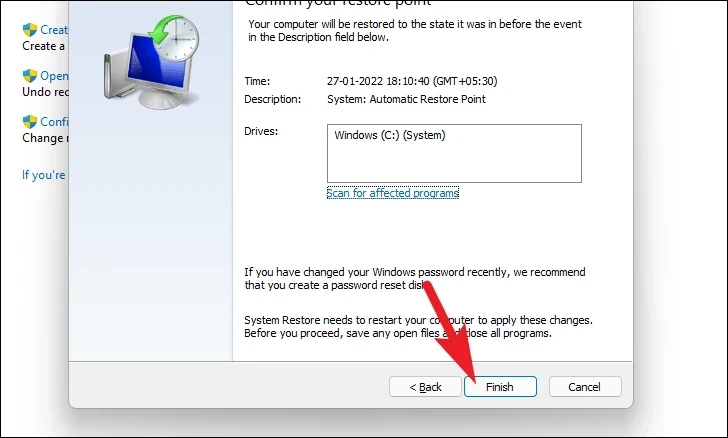
Finally, click on the ‘Finish’ button to start the System Restore process on your Windows PC.
If the issue was brought up due to a recent update or any third-party software installation, you should no longer face the problem. However, in case you are still facing the error, hop on to the next solution.
9. Reset your PC
In case no method has been able to fix the issue on your PC, the last resort is to reset your PC. Thankfully, you will not lose your personal files and folders. However, resetting your PC will remove all the programs that you have installed and also bring all the settings to their default configuration.
To reset your PC, head to the Start Menu, and click on the ‘Settings’ tile present under the ‘Pinned apps’ section. Alternatively, type Settings in the menu to perform a search.

After that, from the Settings window, make sure you have selected the ‘System’ tab present on the left sidebar.

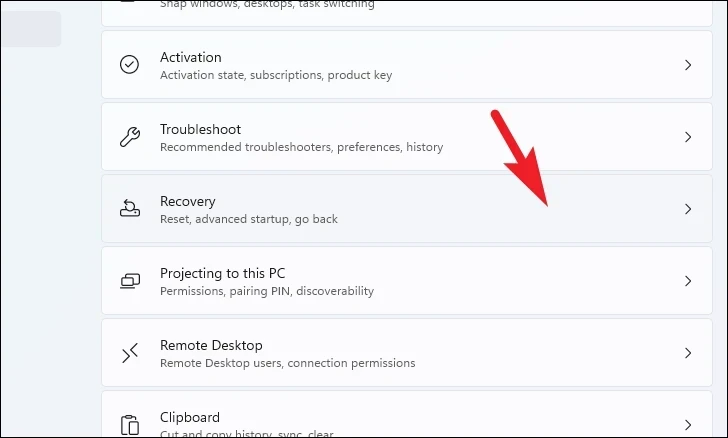
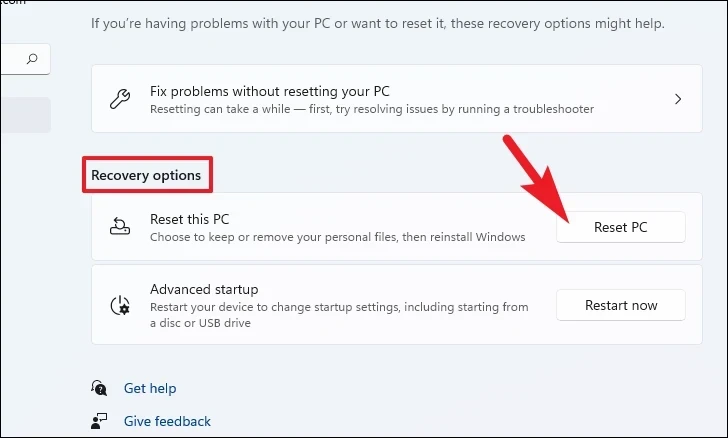
Then, from the right section of the window, scroll down to locate and click on the ‘Recovery’ tile to proceed.
Then, on the ‘Recovery’ settings screen, locate the ‘Reset this PC’ tile and click on the ‘Reset PC’ button present on the far right edge of the tile to proceed. This will open a separate window on your screen.
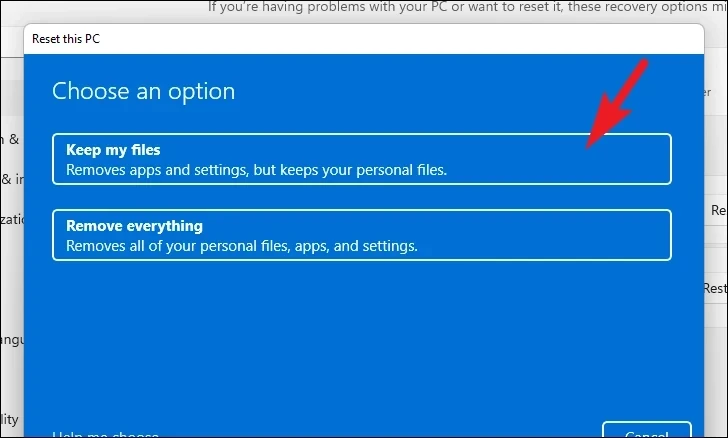
Now, from the separately opened window, click on the ‘Keep my files’ tile to proceed. In case you wish to remove all your personal files as well when resetting, click on the ‘Remove everything’ option.
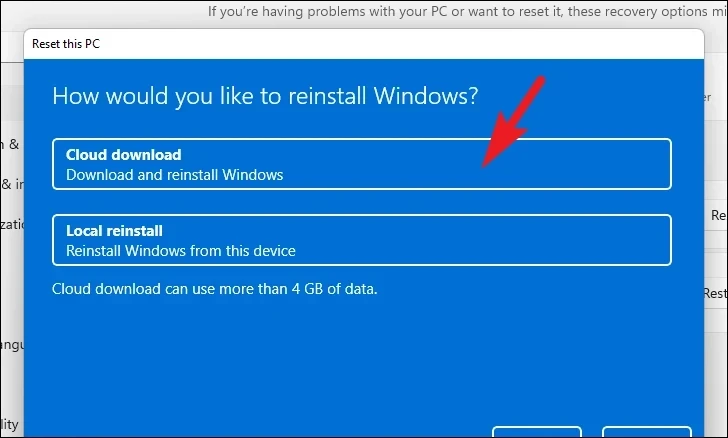
On the next screen, you will need to choose a method for reinstalling the operating system on your machine. Since there could be an issue with the copy already present on your system, we recommend that you click on the ‘Cloud download’ option.
Note: ‘Cloud download’ will require an active internet connection and will consume upwards of 4GB of data.
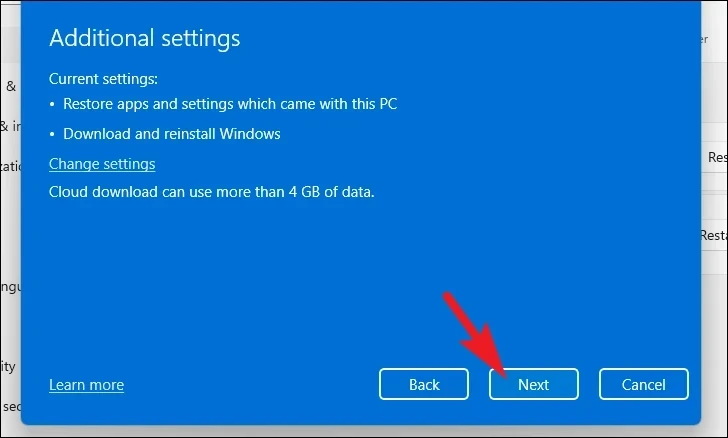
After that, Windows will list the settings that you have chosen. In case you wish to change any of it, click on the ‘Change settings’ option to continue.
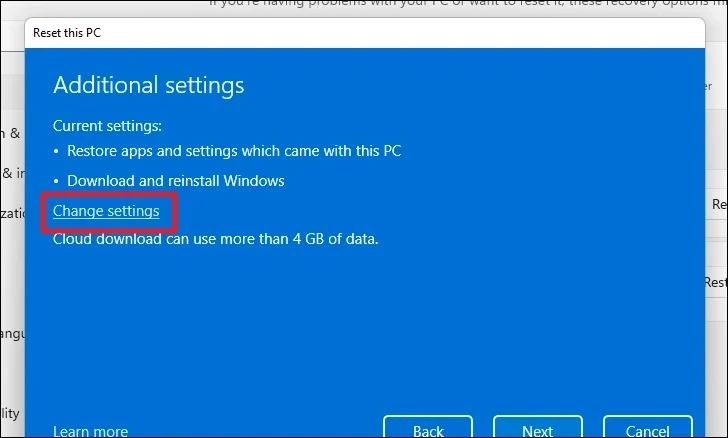
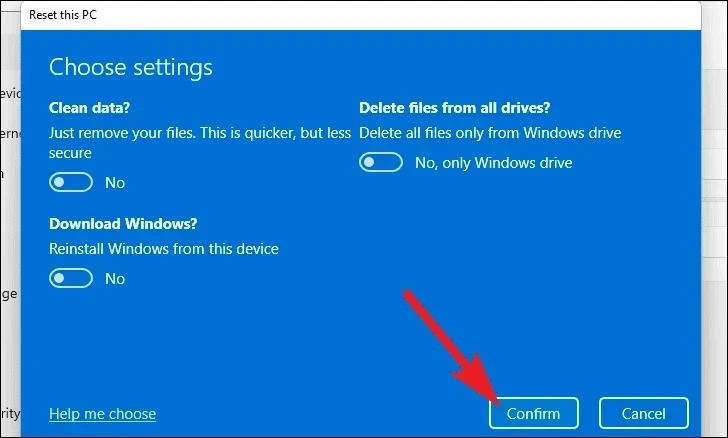
If you chose to change the settings, you can configure the following settings on the next screen. You can choose to not restore the apps and settings by clicking on the toggle switch present under the ‘Restore preinstalled apps?’ option and bringing it to the ‘No’ position. Additionally, you can switch from the Cloud download to local installation by clicking on the toggle switch present under the ‘Download Windows?’ option to change the installation method. Once adjusted according to your preference, click on the ‘Confirm’ button to proceed.
After that, from the main window, click on the ‘Next’ button to continue.
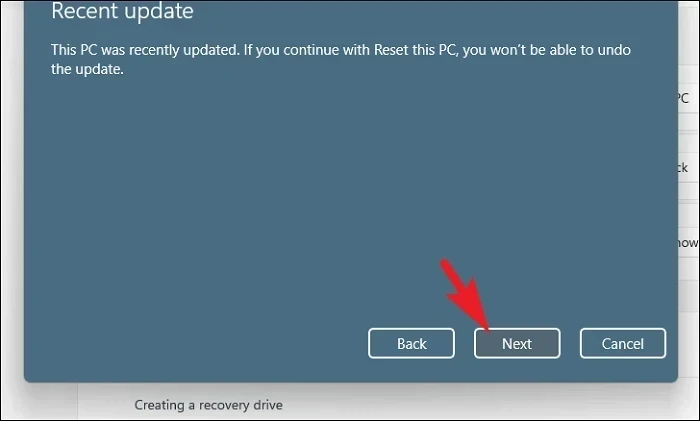
In case your PC was updated recently, you will receive a message on the screen stating that you will not be able to roll back once you reset the PC. To continue, click on the ‘Next’ button.
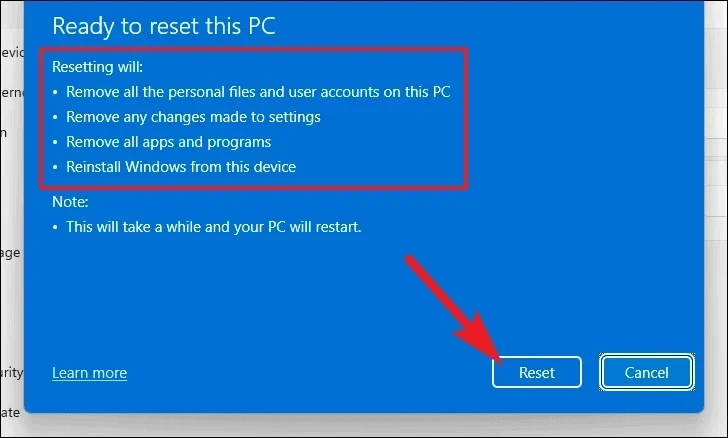
After that, Windows will list out all the impacts resetting your PC will have on your system. Read them carefully and click on the ‘Reset’ button to commence the resetting process.
There you have it. Using the methods above, you’ll be rid of the High GPU Usage by Desktop Window Manager issue on your Windows PC in no time.