
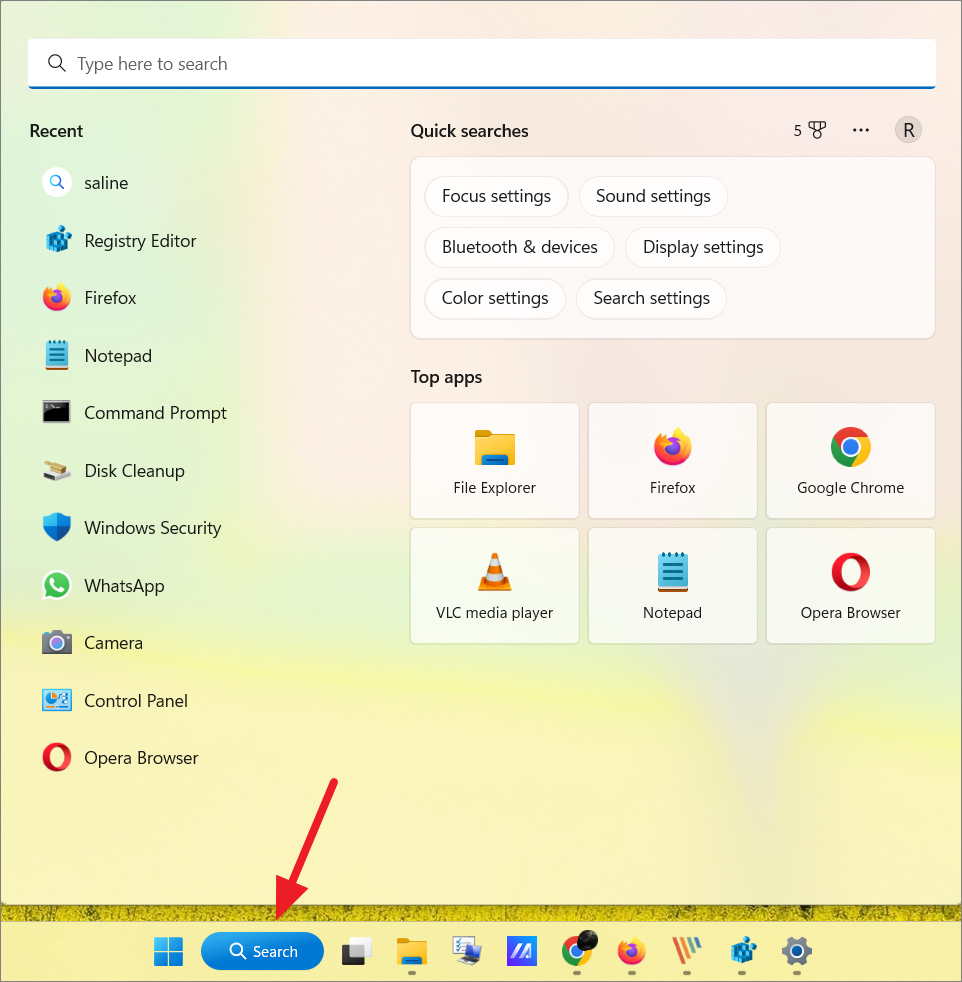
Windows 11 introduces Search Highlights, a feature that displays daily content such as holidays, anniversaries, trending searches, and more directly within the search interface. While this can be useful for some, others may find it distracting or unnecessary. It might also impact system performance by making the search function slower. If you prefer a cleaner search experience without these additional suggestions, there are several ways to disable Search Highlights and web content suggestions. This guide outlines different methods to turn off these features, whether for a single user or across all users on your system.
Disable Search Highlights Using Registry Editor (For All Users)
The Registry Editor allows you to enable or disable Search Highlights for all user accounts on your Windows 11 device. This method is particularly useful if you’re running Windows 11 Home edition, which doesn’t include the Group Policy Editor. Here’s how to disable Search Highlights system-wide using the Registry Editor:
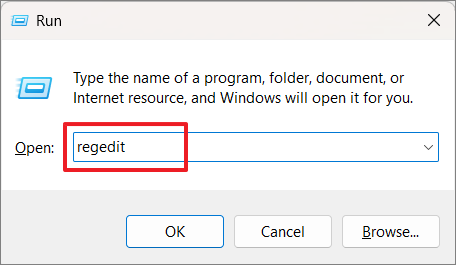
Windows+R to open the Run dialog box. Type regedit and press Enter to launch the Registry Editor. Click ‘Yes’ if prompted by the User Account Control.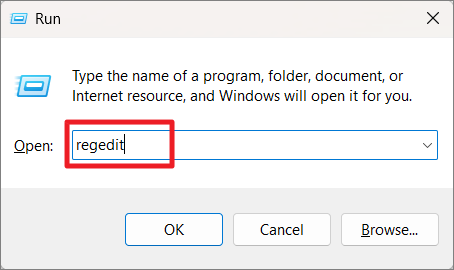
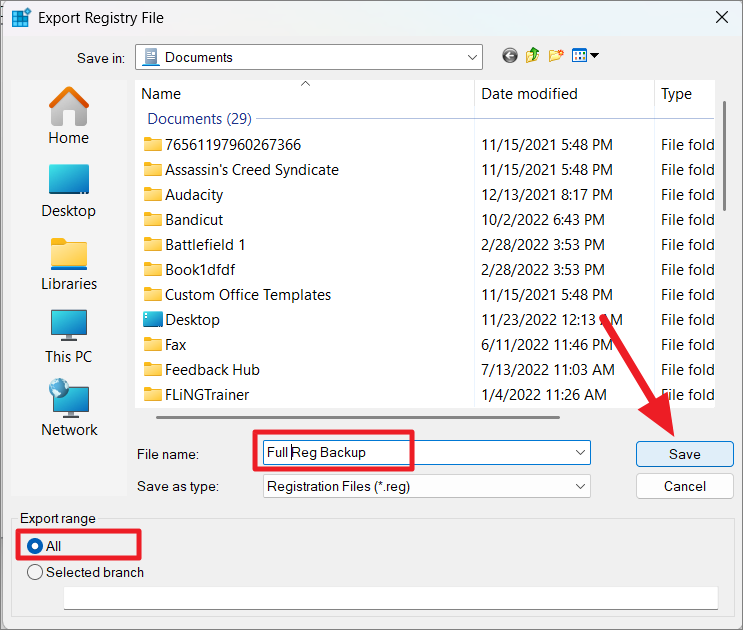
We recommend backing up your registry before making any changes. To do this, click on the ‘File’ menu in the Registry Editor and select ‘Export…’. Choose a location to save the backup file, ensure ‘All’ is selected under Export range, name the file, and click ‘Save’.
HKEY_LOCAL_MACHINE\SOFTWARE\Policies\Microsoft\Windows\Windows Search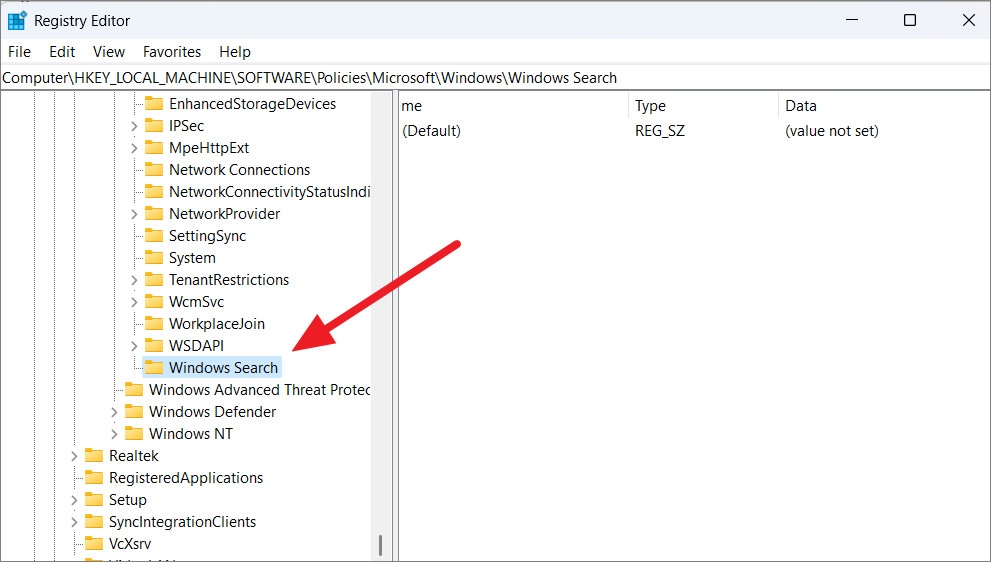
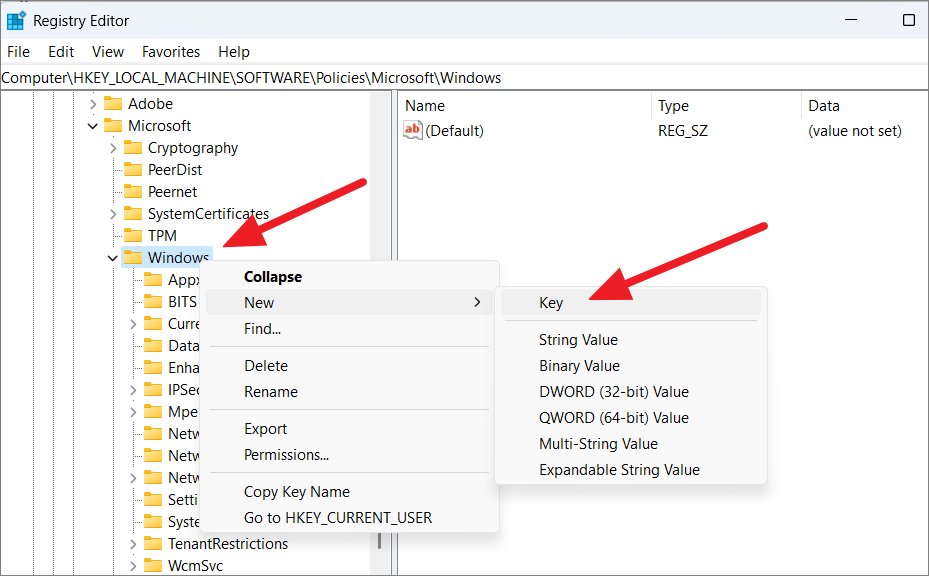
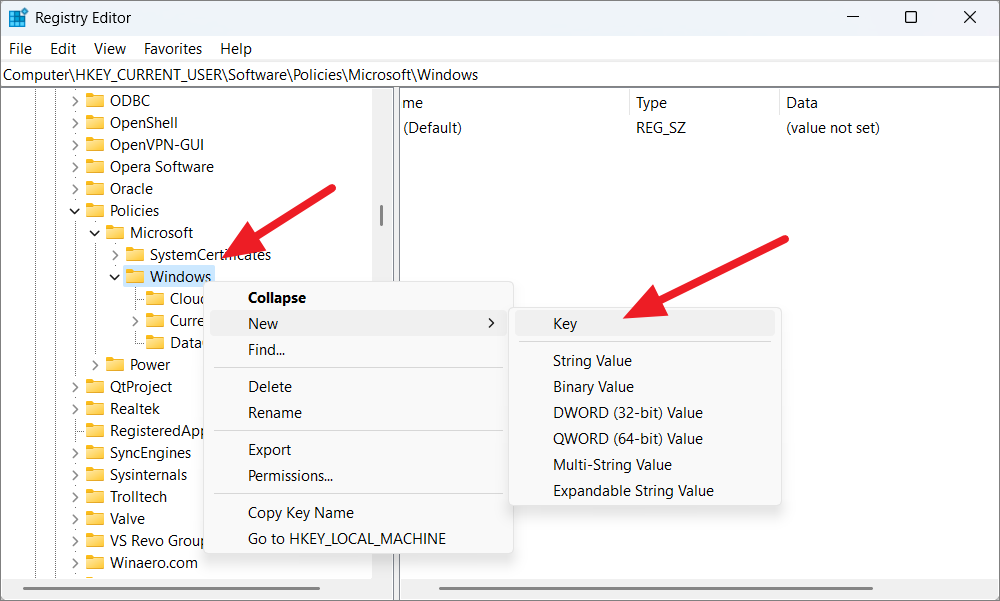
If the ‘Windows Search’ key doesn’t exist, you’ll need to create it. Right-click on the ‘Windows’ folder, select ‘New’ > ‘Key’, and name it ‘Windows Search’.
EnableDynamicContentInWSB.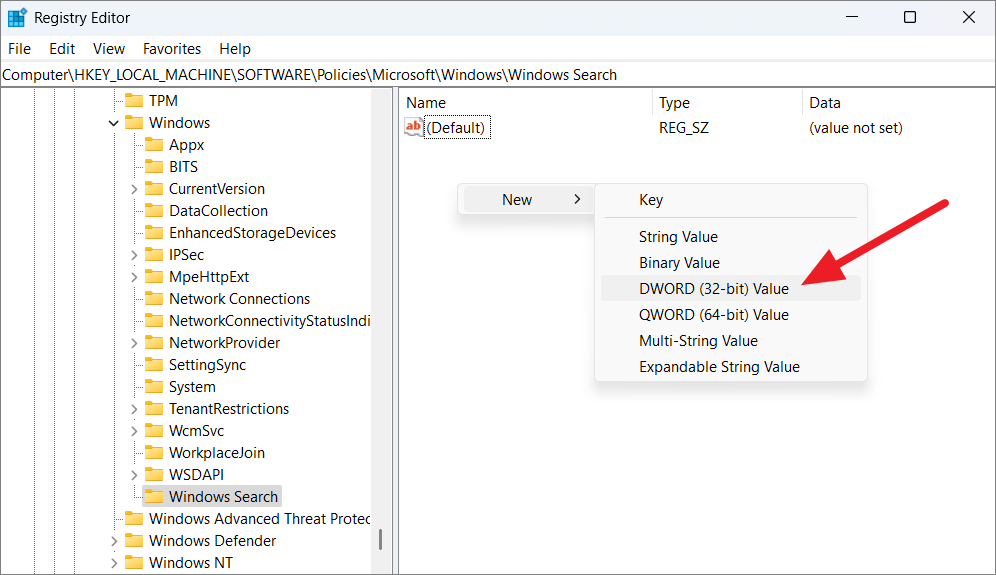
EnableDynamicContentInWSB value you just created. Set the ‘Value data’ to 0 and click ‘OK’ to disable Search Highlights.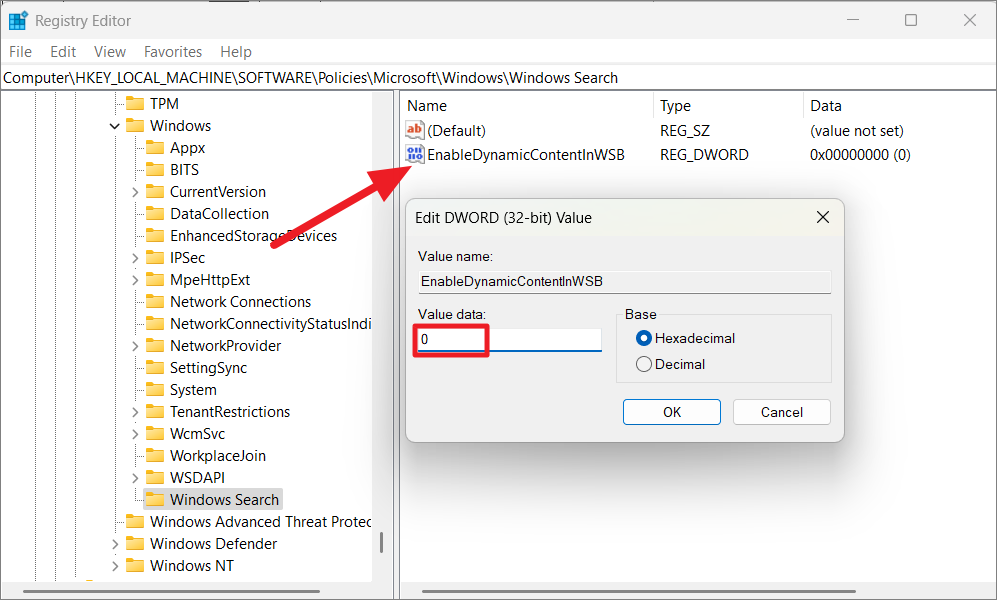
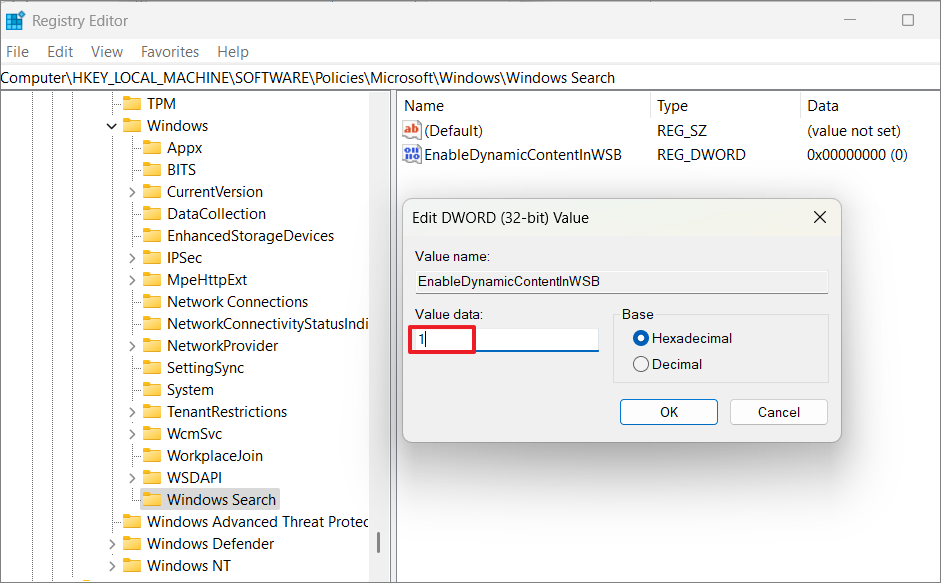
If you wish to re-enable Search Highlights in the future, navigate back to the EnableDynamicContentInWSB value and change the ‘Value data’ to 1.
Note: When using the Registry Editor to disable Search Highlights, this setting will override any settings in the Windows Settings app.
Disable Search Highlights Using Group Policy Editor (For All Users)
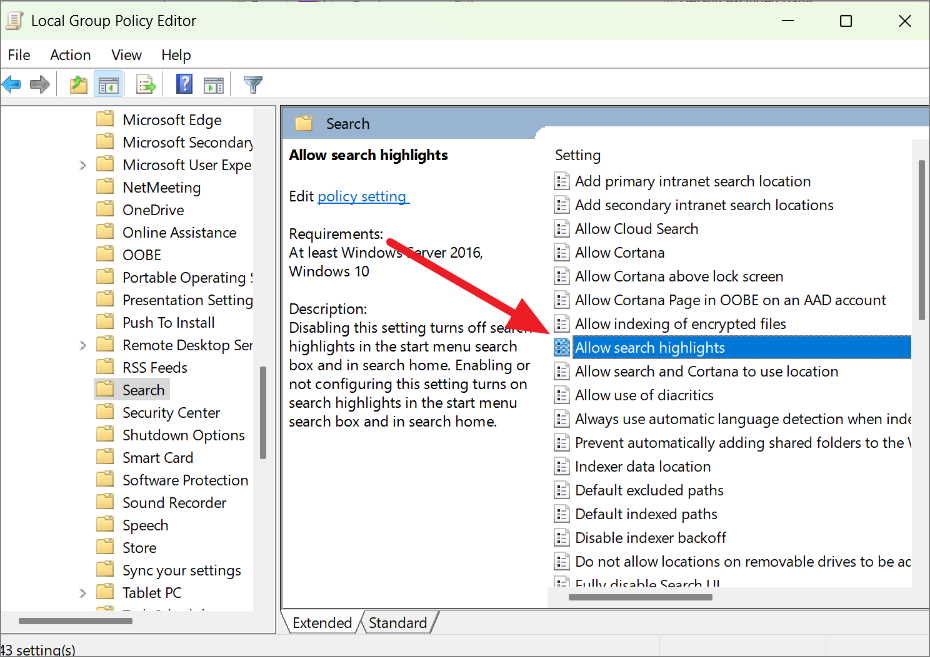
For users with Windows 11 Pro, Enterprise, or Education editions, the Group Policy Editor offers a straightforward way to disable Search Highlights for all users. Here’s how to do it:
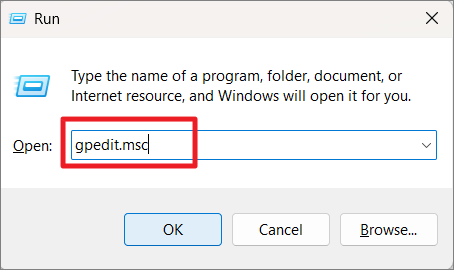
Windows+R. Type gpedit.msc and press Enter to open the Local Group Policy Editor.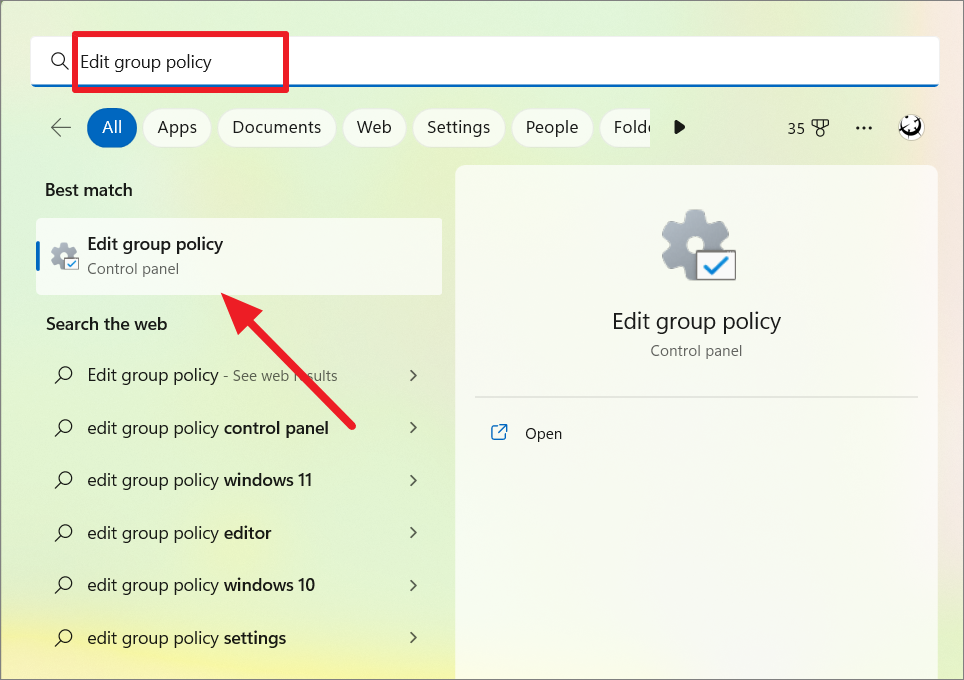
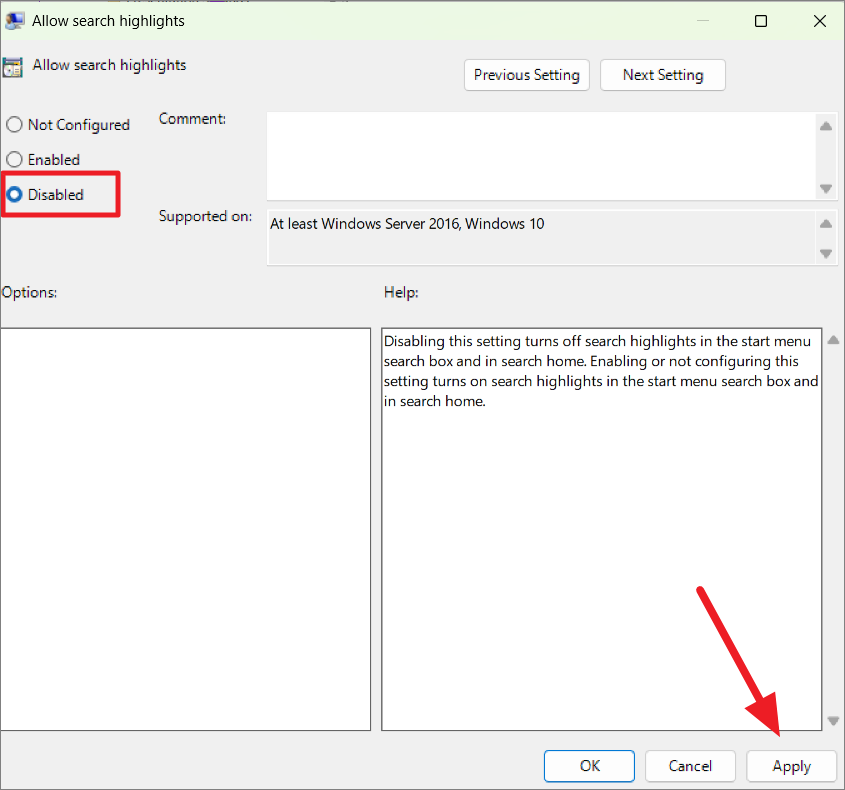
Computer Configuration > Administrative Templates > Windows Components > Search
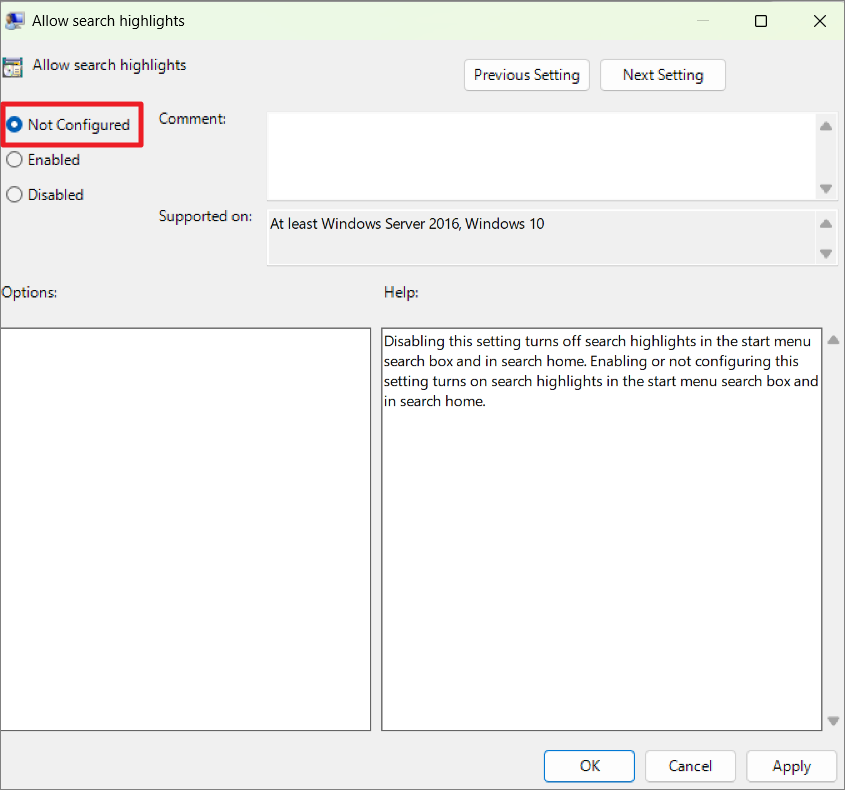
To re-enable the feature, follow the same steps but select ‘Not Configured’ or ‘Enabled’ in the ‘Allow search highlights’ window.
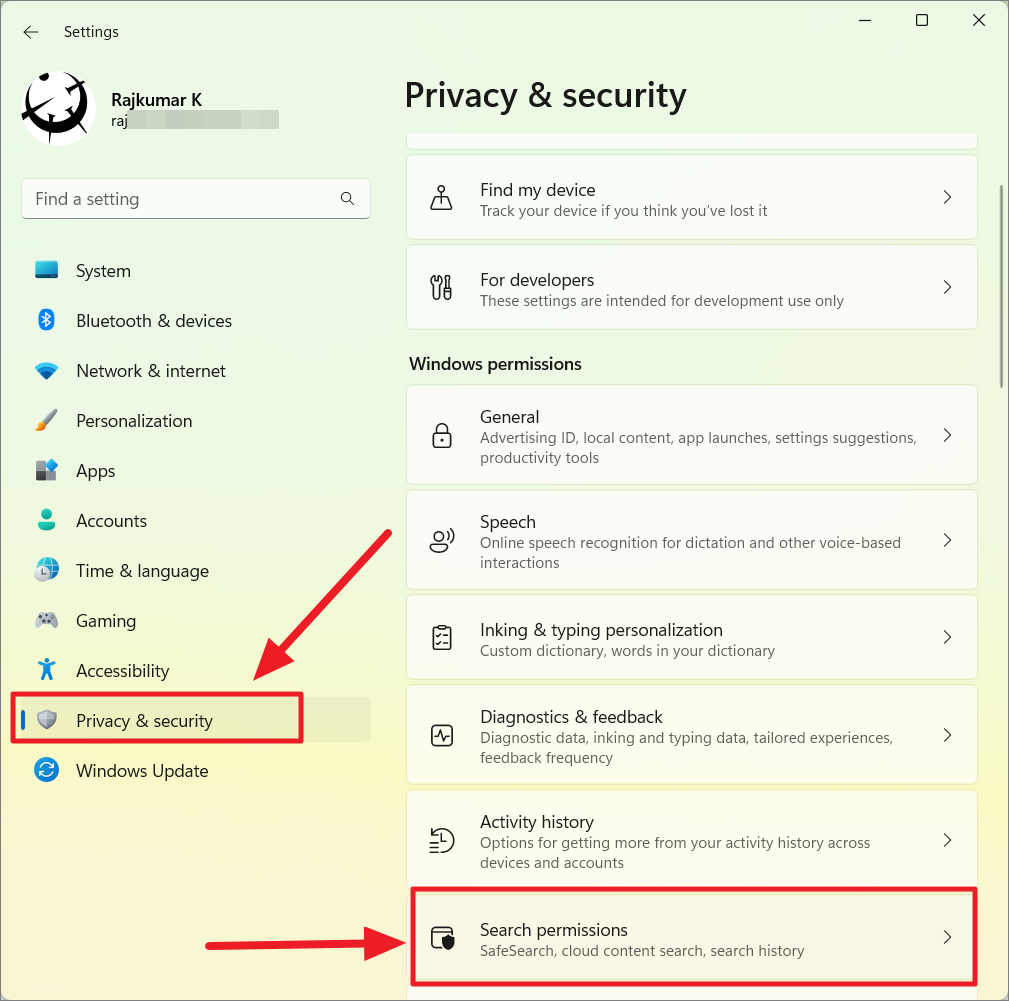
Disable Search Highlights Using Settings (For Current User)
If you wish to disable Search Highlights only for your user account, you can easily do so through the Windows Settings app. Here’s how:
Windows+I on your keyboard.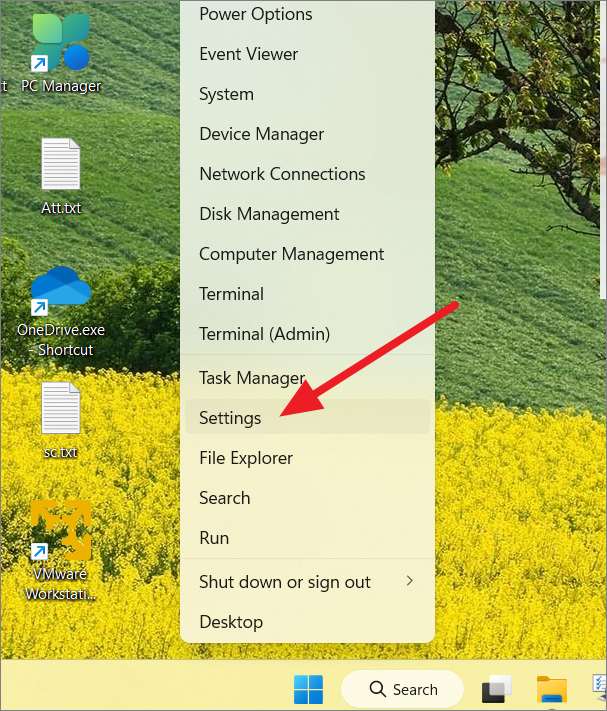
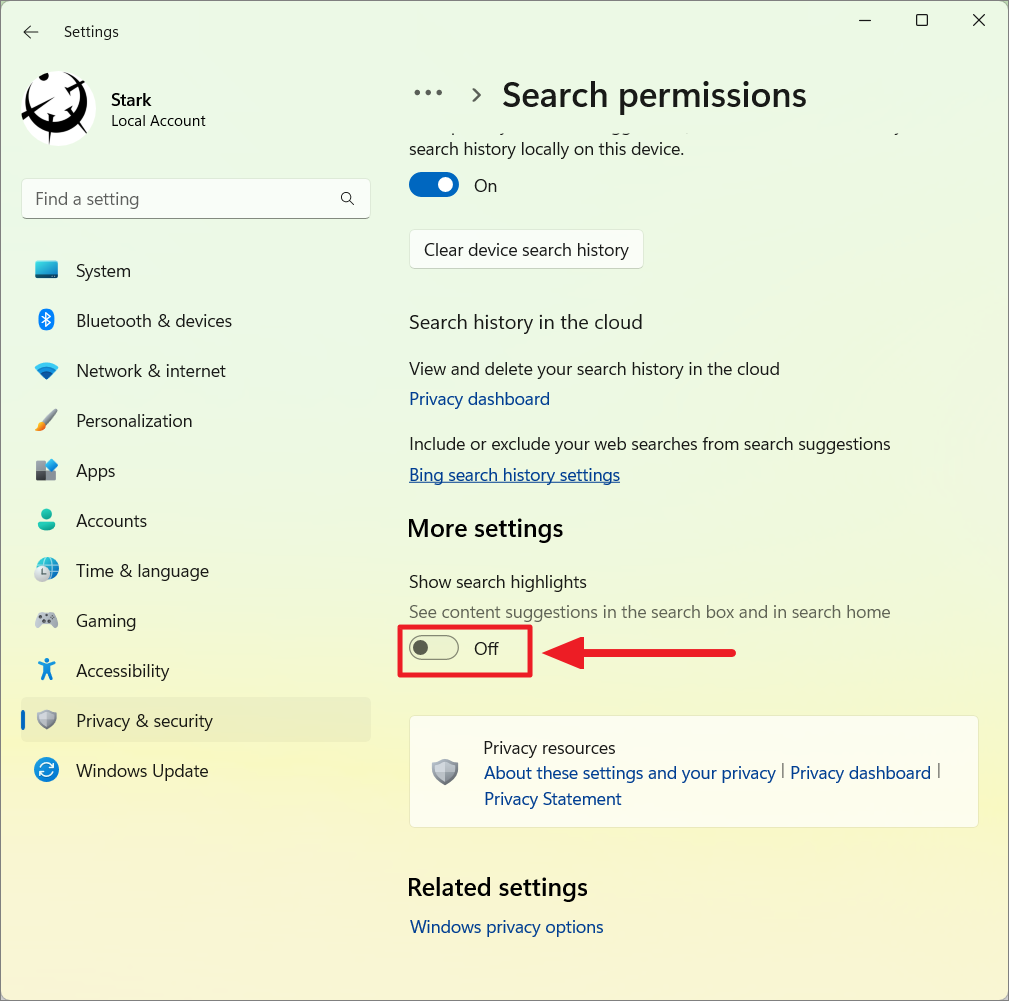
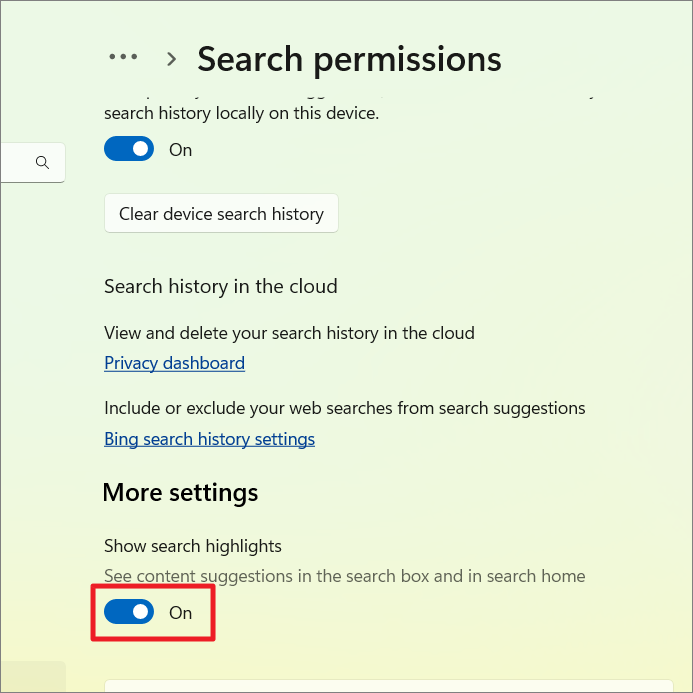
If you decide to enable Search Highlights again, simply return to the ‘Show search highlights’ option and toggle it back on.
Disable Web Results in Windows Search on Windows 11
Even after disabling Search Highlights, Windows Search may still display web results from Bing when you search for something. If you prefer to see only local results from your files, apps, and settings, you can disable web results entirely. Here’s how to do it:
Disable Web Results Using Registry Editor on Windows 11
This method works on all editions of Windows 11, including the Home edition.
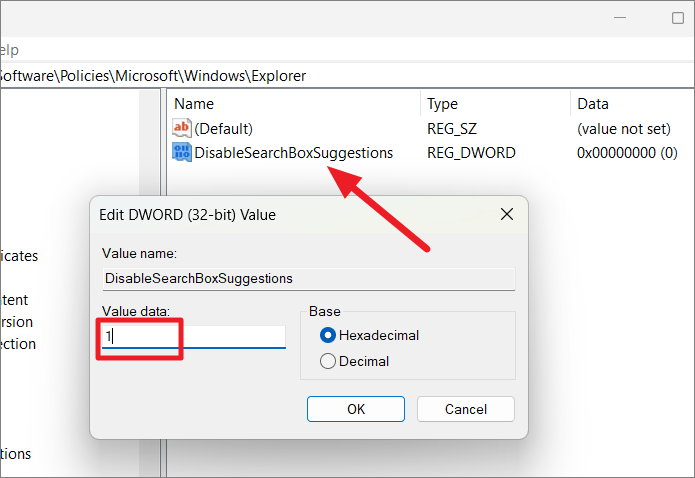
HKEY_CURRENT_USER\SOFTWARE\Policies\Microsoft\Windows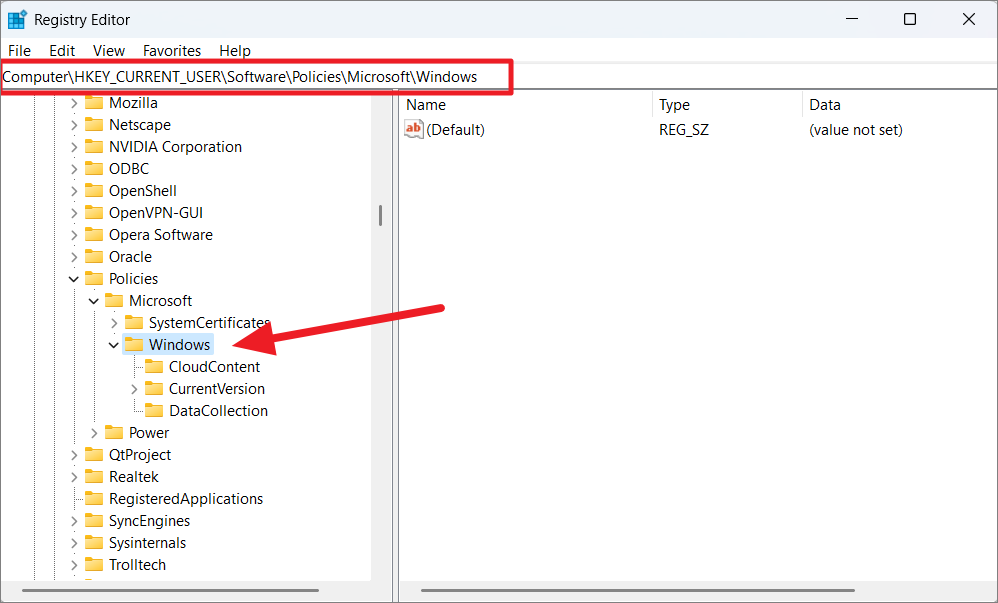
DisableSearchBoxSuggestions.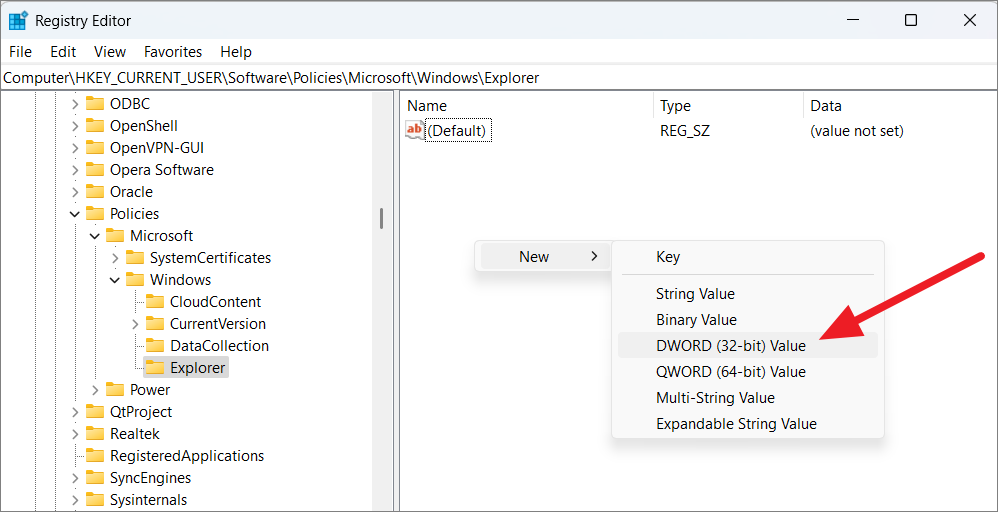
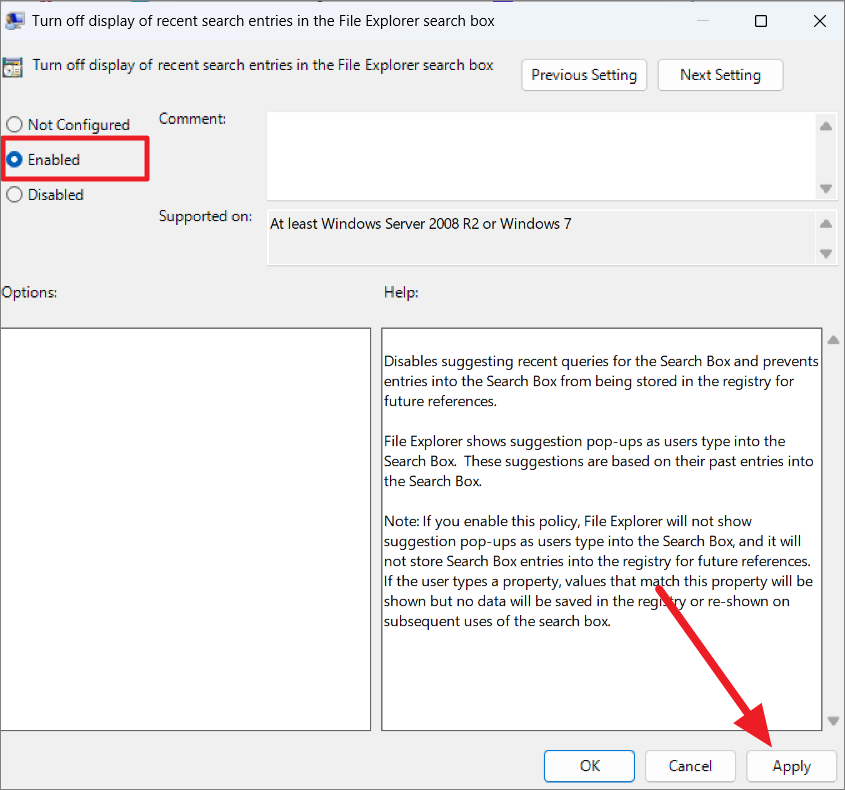
Disable Web Results Using Group Policy Editor on Windows 11
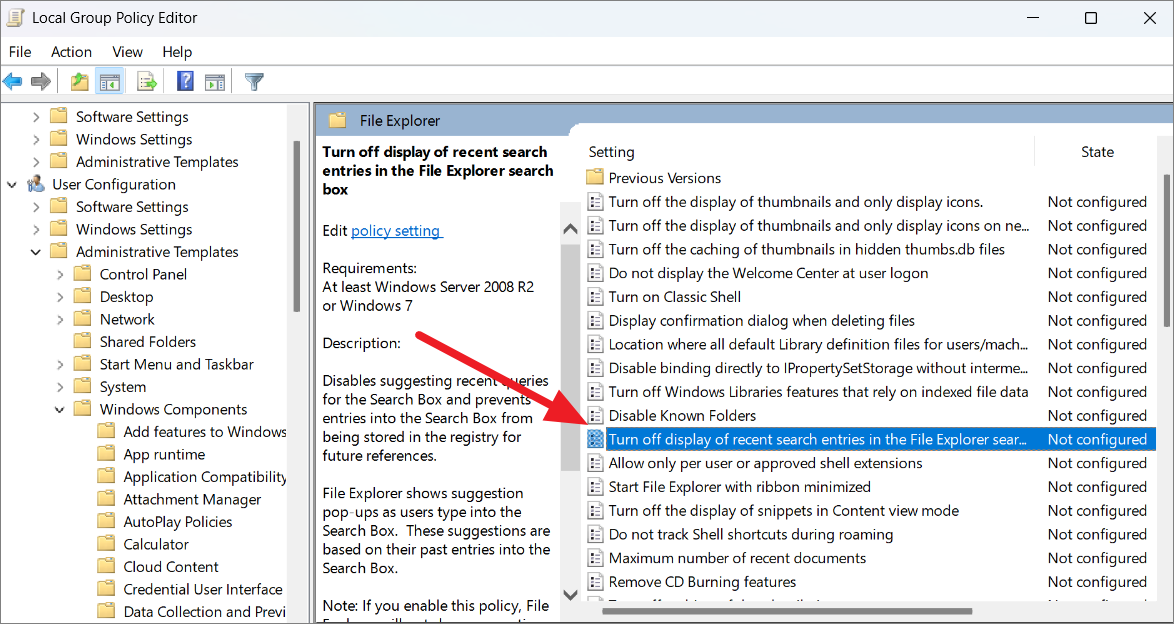
If you’re using Windows 11 Pro, Enterprise, or Education editions, you can disable web results through the Group Policy Editor:
User Configuration > Administrative Templates > Windows Components > File Explorer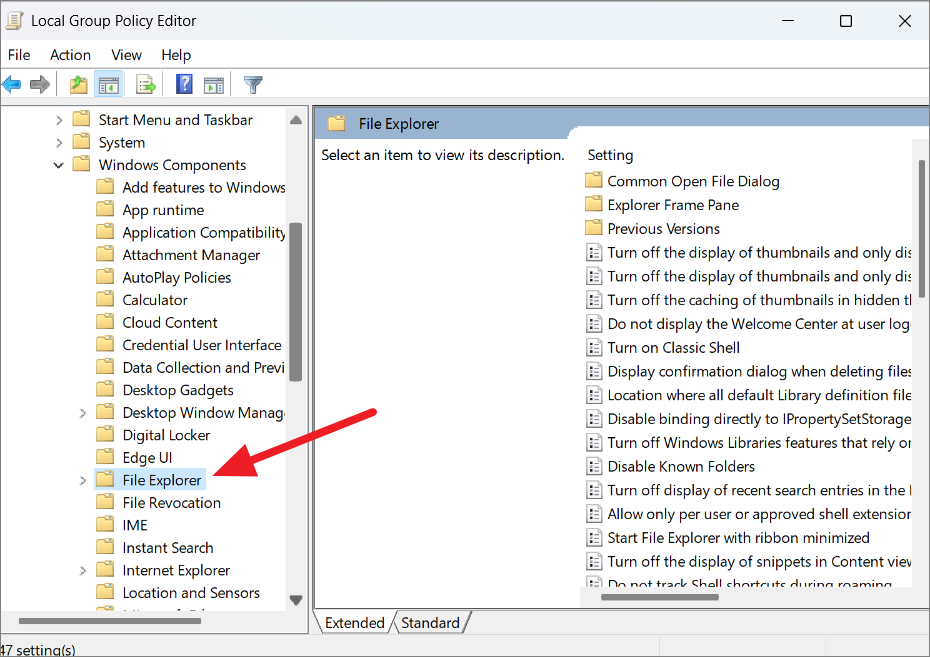
By following these methods, you can disable Search Highlights and web content suggestions in Windows 11, providing a cleaner and more efficient search experience.


