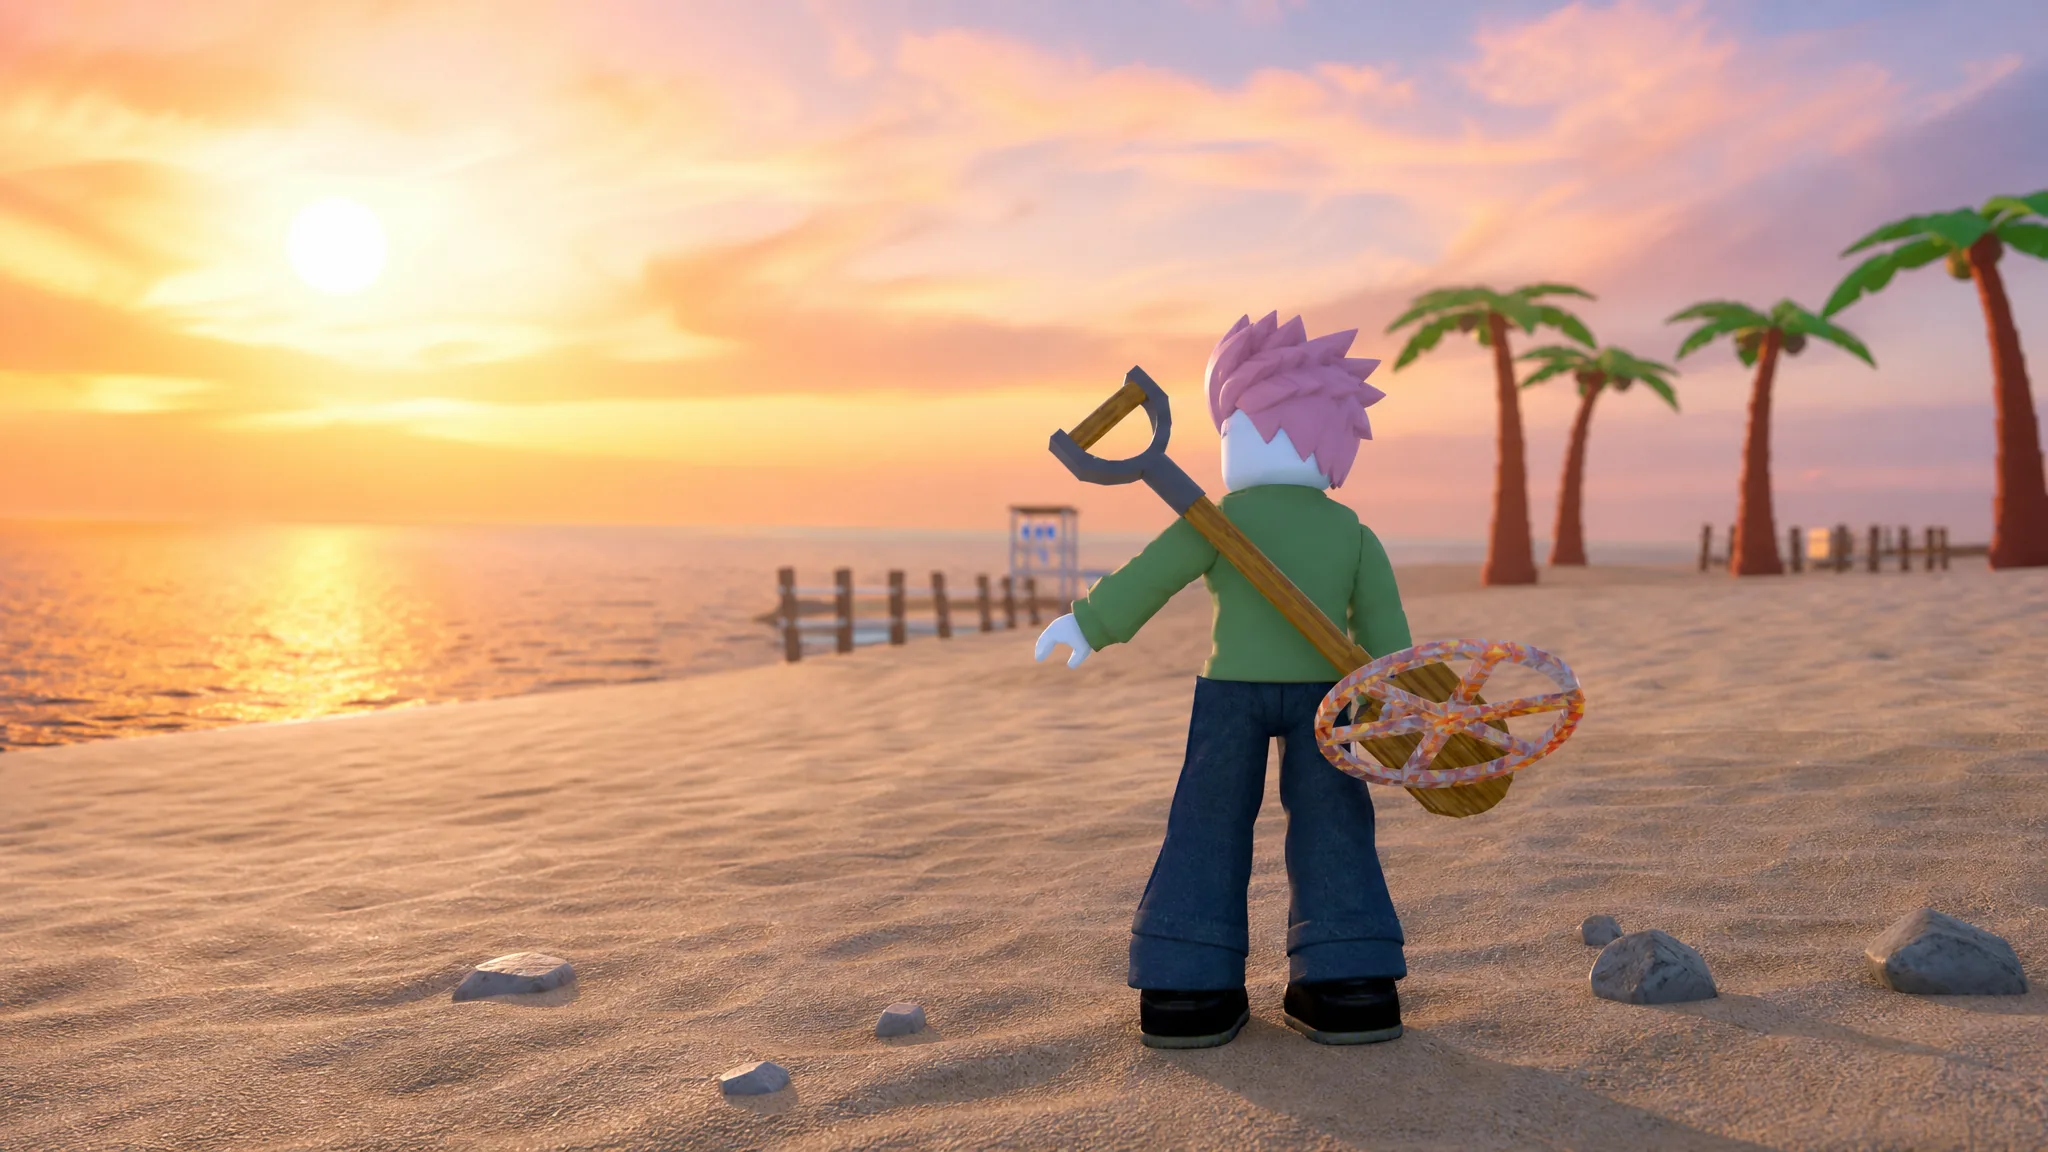
Gold moves slowly in Dig and Clean, and the wrong upgrade can stall your treasure hunting for a long time. The three gear lines sold at the Gear Shop, Shovels, Detectors, and Sprays, all pull your Gold in different directions, and not every step up the ladder is worth buying. The ranking below sorts every piece into tiers so you can see which upgrades earn back their cost and which ones to skip entirely.
Quick answer: Prioritize your Detector first for its Luck multiplier, then a high Walk Speed Shovel like the Diamond Shovel, and only upgrade Sprays once both are settled. The Diamond Shovel (S tier) and Crystal Detector (S tier) are the strongest value picks before the late-game gear.
Rankings weigh each item’s stat gain against its Gold cost, not raw numbers alone. For Shovels that means Walk Speed carries as much weight as Dig Power, for Detectors the Luck multiplier outranks Range, and for Sprays cleaning Power matters most. This reflects the current Gear Shop catalog as of August 2026.
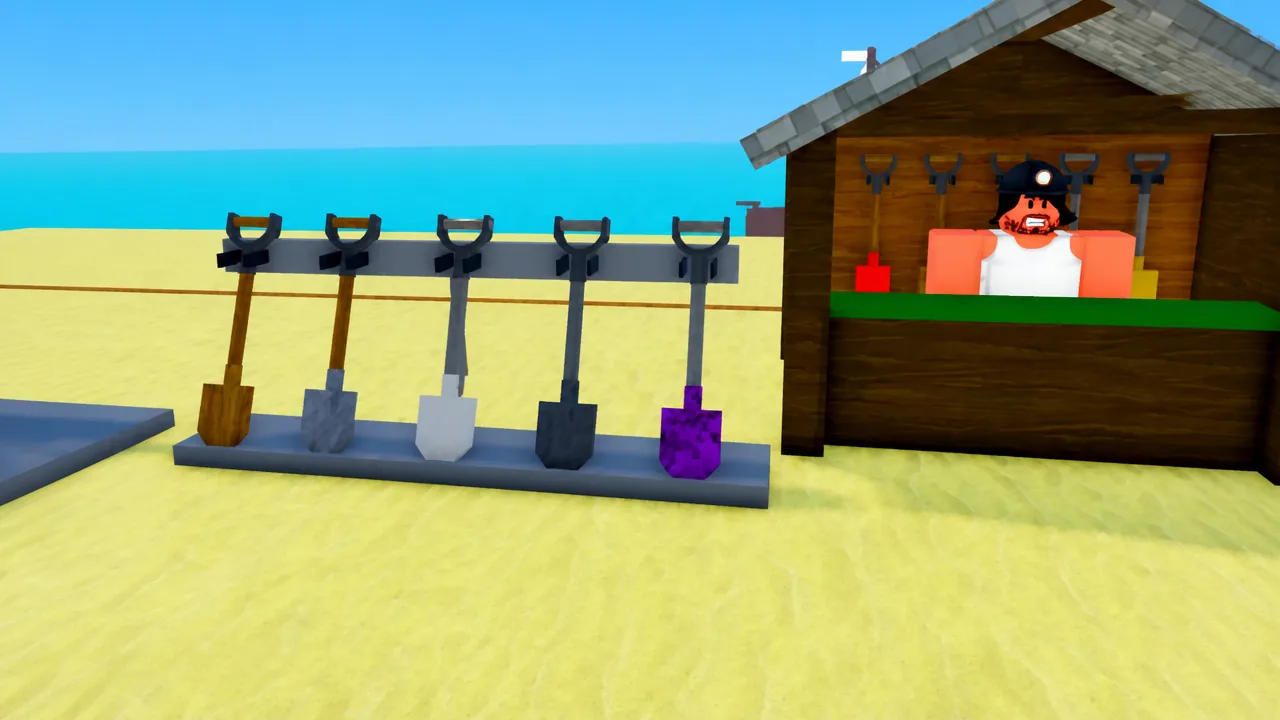
Shovel tier list: Dig Power and Walk Speed
Shovels are the backbone of your setup. Dig Power decides which buried items you can pull up, while Walk Speed controls how fast you move between dig spots. Speed matters more than it looks, since covering ground faster means more digs and more Gold per session.
| Tier | Shovels |
|---|---|
| S | Aquamarine Shovel, Diamond Shovel |
| A | Malachite Shovel, Ruby Shovel, Carbon Shovel |
| B | Scarab Shovel, Cobalt Shovel, Amber Shovel, Titanium Shovel |
| C | Gold Shovel, Sandstone Shovel, Amethyst Shovel |
| D | Metal Shovel, Stone Shovel, Wood Shovel, Plastic Shovel |
The Diamond Shovel earns its S tier spot despite lower Dig Power than the Aquamarine Shovel. It hits 50% Walk Speed, the highest in the game, which speeds up every part of the farming loop. The Aquamarine Shovel wins on raw strength at 160 Dig Power, but its Walk Speed drops to 22%, so it only pulls ahead in the late game when you are already moving quickly and want maximum digging efficiency.
Watch out for the Sandstone Shovel. At 9,000,000 Gold it costs nearly the same as the Diamond Shovel at 9,200,000 Gold, yet it trades away a huge chunk of speed. Sandstone gives 50 Dig Power and 18% Walk Speed, while Diamond delivers 40 Dig Power and 50% Walk Speed. Unless you specifically need those extra 10 points of Dig Power, Diamond is the better buy at almost the same price.
Shovel stats and costs
| Shovel | Cost | Dig Power | Walk Speed |
|---|---|---|---|
| Aquamarine Shovel | 145,000,000 | 160 | 22% |
| Diamond Shovel | 9,200,000 | 40 | 50% |
| Malachite Shovel | 66,000,000 | 100 | 21% |
| Ruby Shovel | 2,900,000 | 26 | 45% |
| Carbon Shovel | 1,300,000 | 21 | 40% |
| Scarab Shovel | 30,000,000 | 78 | 20% |
| Cobalt Shovel | 650,000 | 17 | 35% |
| Amber Shovel | 15,000,000 | 62 | 19% |
| Titanium Shovel | 390,000 | 14 | 30% |
| Sandstone Shovel | 9,000,000 | 50 | 18% |
| Amethyst Shovel | 190,000 | 9 | 25% |
| Gold Shovel | 45,000 | 7 | 20% |
| Metal Shovel | 9,000 | 5 | 15% |
| Stone Shovel | 1,600 | 3 | 10% |
| Wood Shovel | 500 | 2 | 5% |
| Plastic Shovel | Free | 1 | 0% |
Detector tier list: Luck over Range
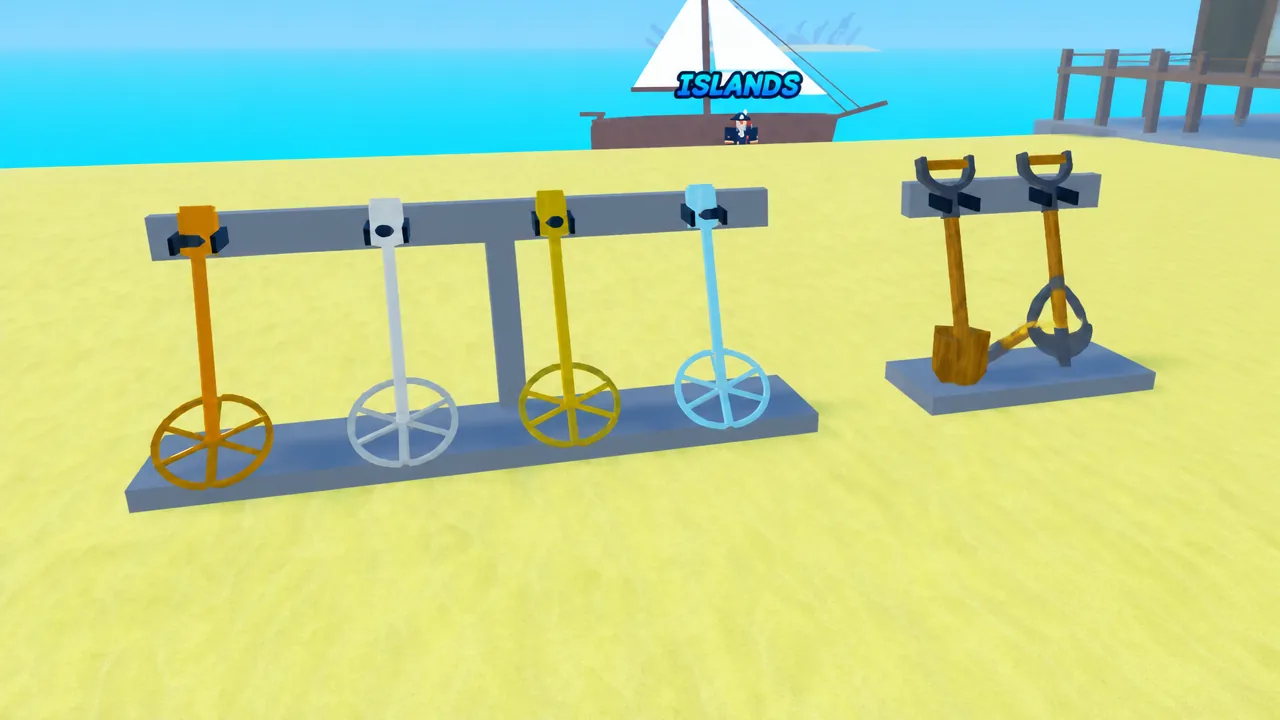
Detectors set the quality of what you dig up. The Luck multiplier raises your odds of pulling rarer, higher-value treasures, while Range only decides how far away you can spot dig spots. When two Detectors compete, always take the one with more Luck.
| Tier | Detectors |
|---|---|
| S | Aquamarine Detector, Malachite Detector, Crystal Detector |
| A | Scarab Detector, Amber Detector |
| B | Sandstone Detector, Topaz Detector, Jade Detector |
| C | Sapphire Detector, Onyx Detector, Platinum Detector |
| D | Gold Detector, Silver Detector, Copper Detector, Rusty Detector |
The Crystal Detector is the standout value pick. At 6,400,000 Gold it delivers x110 Luck and 12 Range, making it the place to park your Gold through the mid game before you can reach the Malachite or Aquamarine Detectors. The Aquamarine Detector tops the chart with x850 Luck and 14.5 Range, but its late-game price of 92,000,000 Gold puts it well out of early reach.
Detector stats and costs
| Detector | Cost | Luck | Range |
|---|---|---|---|
| Aquamarine Detector | 92,000,000 | x850 | 14.5 |
| Malachite Detector | 52,000,000 | x570 | 14 |
| Crystal Detector | 6,400,000 | x110 | 12 |
| Scarab Detector | 23,000,000 | x380 | 13.5 |
| Amber Detector | 12,000,000 | x250 | 13 |
| Sandstone Detector | 7,500,000 | x165 | 12.5 |
| Topaz Detector | 2,300,000 | x70 | 11.5 |
| Jade Detector | 1,000,000 | x44 | 10.75 |
| Sapphire Detector | 530,000 | x28 | 10 |
| Onyx Detector | 330,000 | x18 | 9.5 |
| Platinum Detector | 140,000 | x12 | 9 |
| Gold Detector | 28,000 | x8 | 8.5 |
| Silver Detector | 5,000 | x5 | 8 |
| Copper Detector | 500 | x3 | 7.5 |
| Rusty Detector | Free | x1 | 7 |
Spray tier list: cleaning Power and Range
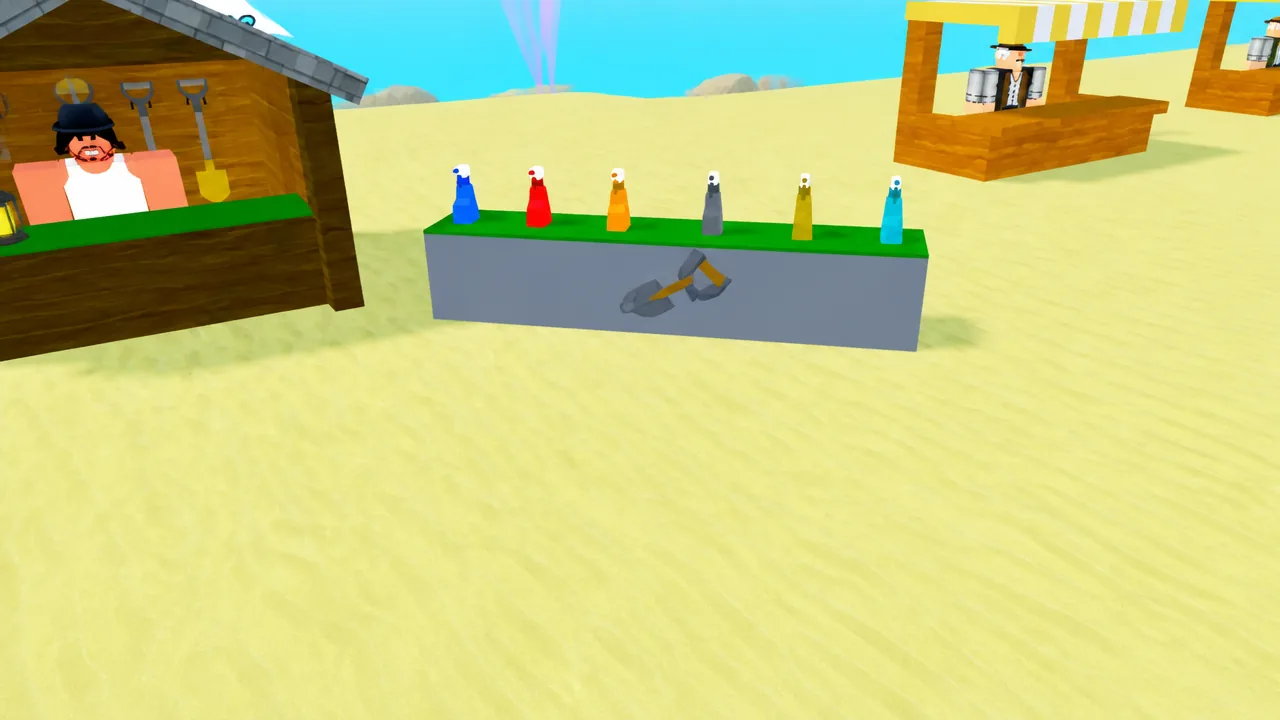
Sprays handle the cleaning step, revealing treasures after you dig them up. Their Power controls cleaning speed and Range covers the spray area. This is the least urgent gear line, since cleaning is the shortest part of the dig, clean, sell loop, and even a lower-tier Spray gets the job done quickly.
| Tier | Sprays |
|---|---|
| S | Aquamarine Pressure Washer |
| A | Malachite Pressure Washer, Scarab Pressure Washer |
| B | Amber Pressure Washer, Sandstone Pressure Washer, Garnet Pressure Washer |
| C | Opal Pressure Washer, Obsidian Pressure Washer, Metal Pressure Washer, Plastic Pressure Washer |
| D | Turquoise Spray Bottle, Gold Spray Bottle, Steel Spray Bottle, Copper Spray Bottle, Plastic Spray Bottle, Rubber Spray Bottle, Basic Spray Bottle |
The Aquamarine Pressure Washer sits alone in S tier with 625 Power and 54 Range, the ceiling for cleaning gear. Below it the ranking tracks cost against Power closely, since Sprays gain little beyond faster reveals. Hold off on these upgrades until your Shovel and Detector are where you want them, then spend on a Spray to smooth out the full digging cycle.
Spray stats and costs
| Spray | Cost | Power | Range |
|---|---|---|---|
| Aquamarine Pressure Washer | 125,000,000 | 625 | 54 |
| Malachite Pressure Washer | 64,000,000 | 535 | 52 |
| Scarab Pressure Washer | 36,000,000 | 459 | 50 |
| Amber Pressure Washer | 23,000,000 | 394 | 48 |
| Sandstone Pressure Washer | 14,500,000 | 335 | 45 |
| Garnet Pressure Washer | 5,200,000 | 285 | 44 |
| Opal Pressure Washer | 2,800,000 | 235 | 42 |
| Obsidian Pressure Washer | 1,600,000 | 196 | 40 |
| Metal Pressure Washer | 1,000,000 | 164 | 38 |
| Plastic Pressure Washer | 640,000 | 137 | 36 |
| Turquoise Spray Bottle | 400,000 | 114 | 34 |
| Gold Spray Bottle | 220,000 | 101 | 32 |
| Steel Spray Bottle | 100,000 | 85 | 30 |
| Copper Spray Bottle | 26,000 | 71 | 28 |
| Plastic Spray Bottle | 5,500 | 57 | 26 |
| Rubber Spray Bottle | 900 | 43 | 24 |
| Basic Spray Bottle | Free | 34 | 22 |
Which gear to buy first
Spread across all three lines, the smart order is Detector, then Shovel, then Spray. The Detector’s Luck multiplier directly raises the quality and value of your finds, which feeds every other purchase. A strong Shovel then lets you dig those better items up quickly, and the Spray only cleans what you have already found.
Tip: Skip closely matched upgrades and save for the next real jump. Many mid-tier Shovels and Sprays sit only a few points apart, so buying every step wastes Gold that would go further toward an S or A tier piece.
The Gear Shop sits in the middle of the map, stocks all three lines in unlimited supply, and sells to anyone with enough Gold. Walk up to a display, interact with it, and pick Buy. Follow the tiers above and your Gold lands on the gear that actually moves your treasure hunting forward.