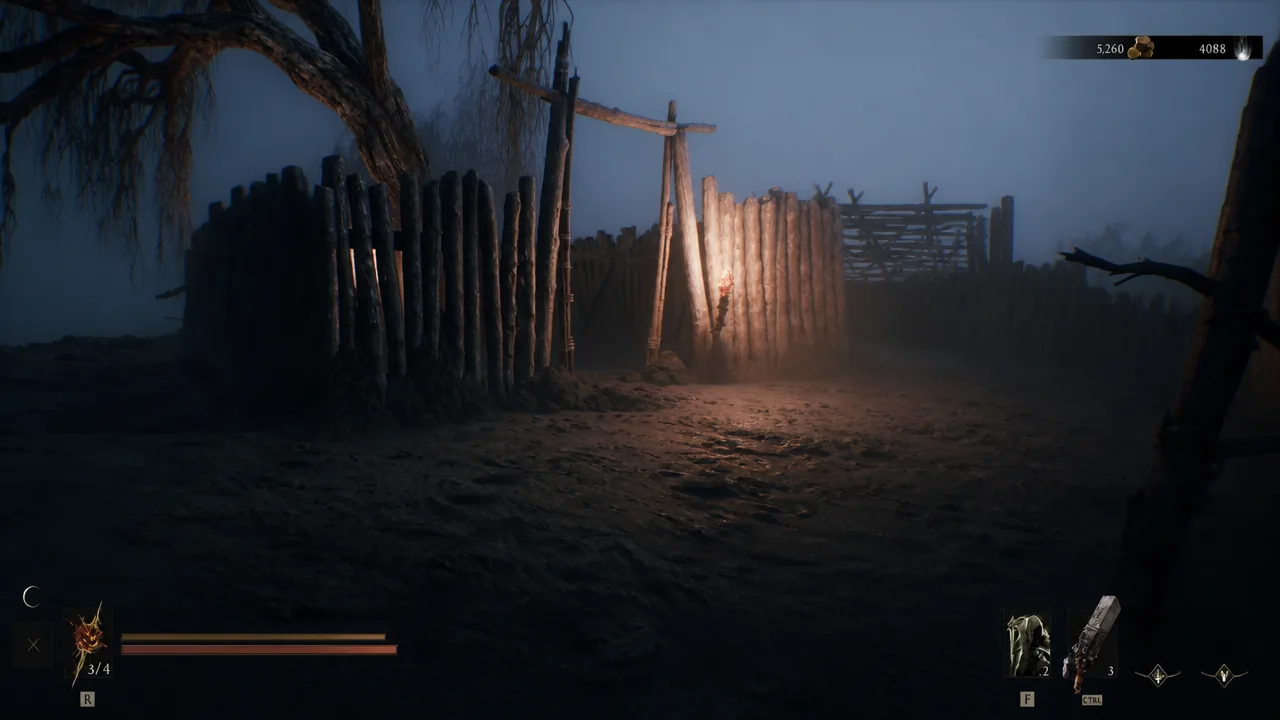
Shrine of Sorrows Walkthrough in Mortal Shell 2: All Puzzle Solutions
Every step to reach the first-person dungeon, solve its book and frozen-lake puzzles, and claim the Blackmarrow Key.
Every step to reach the first-person dungeon, solve its book and frozen-lake puzzles, and claim the Blackmarrow Key.
by AllThingsHow Staff
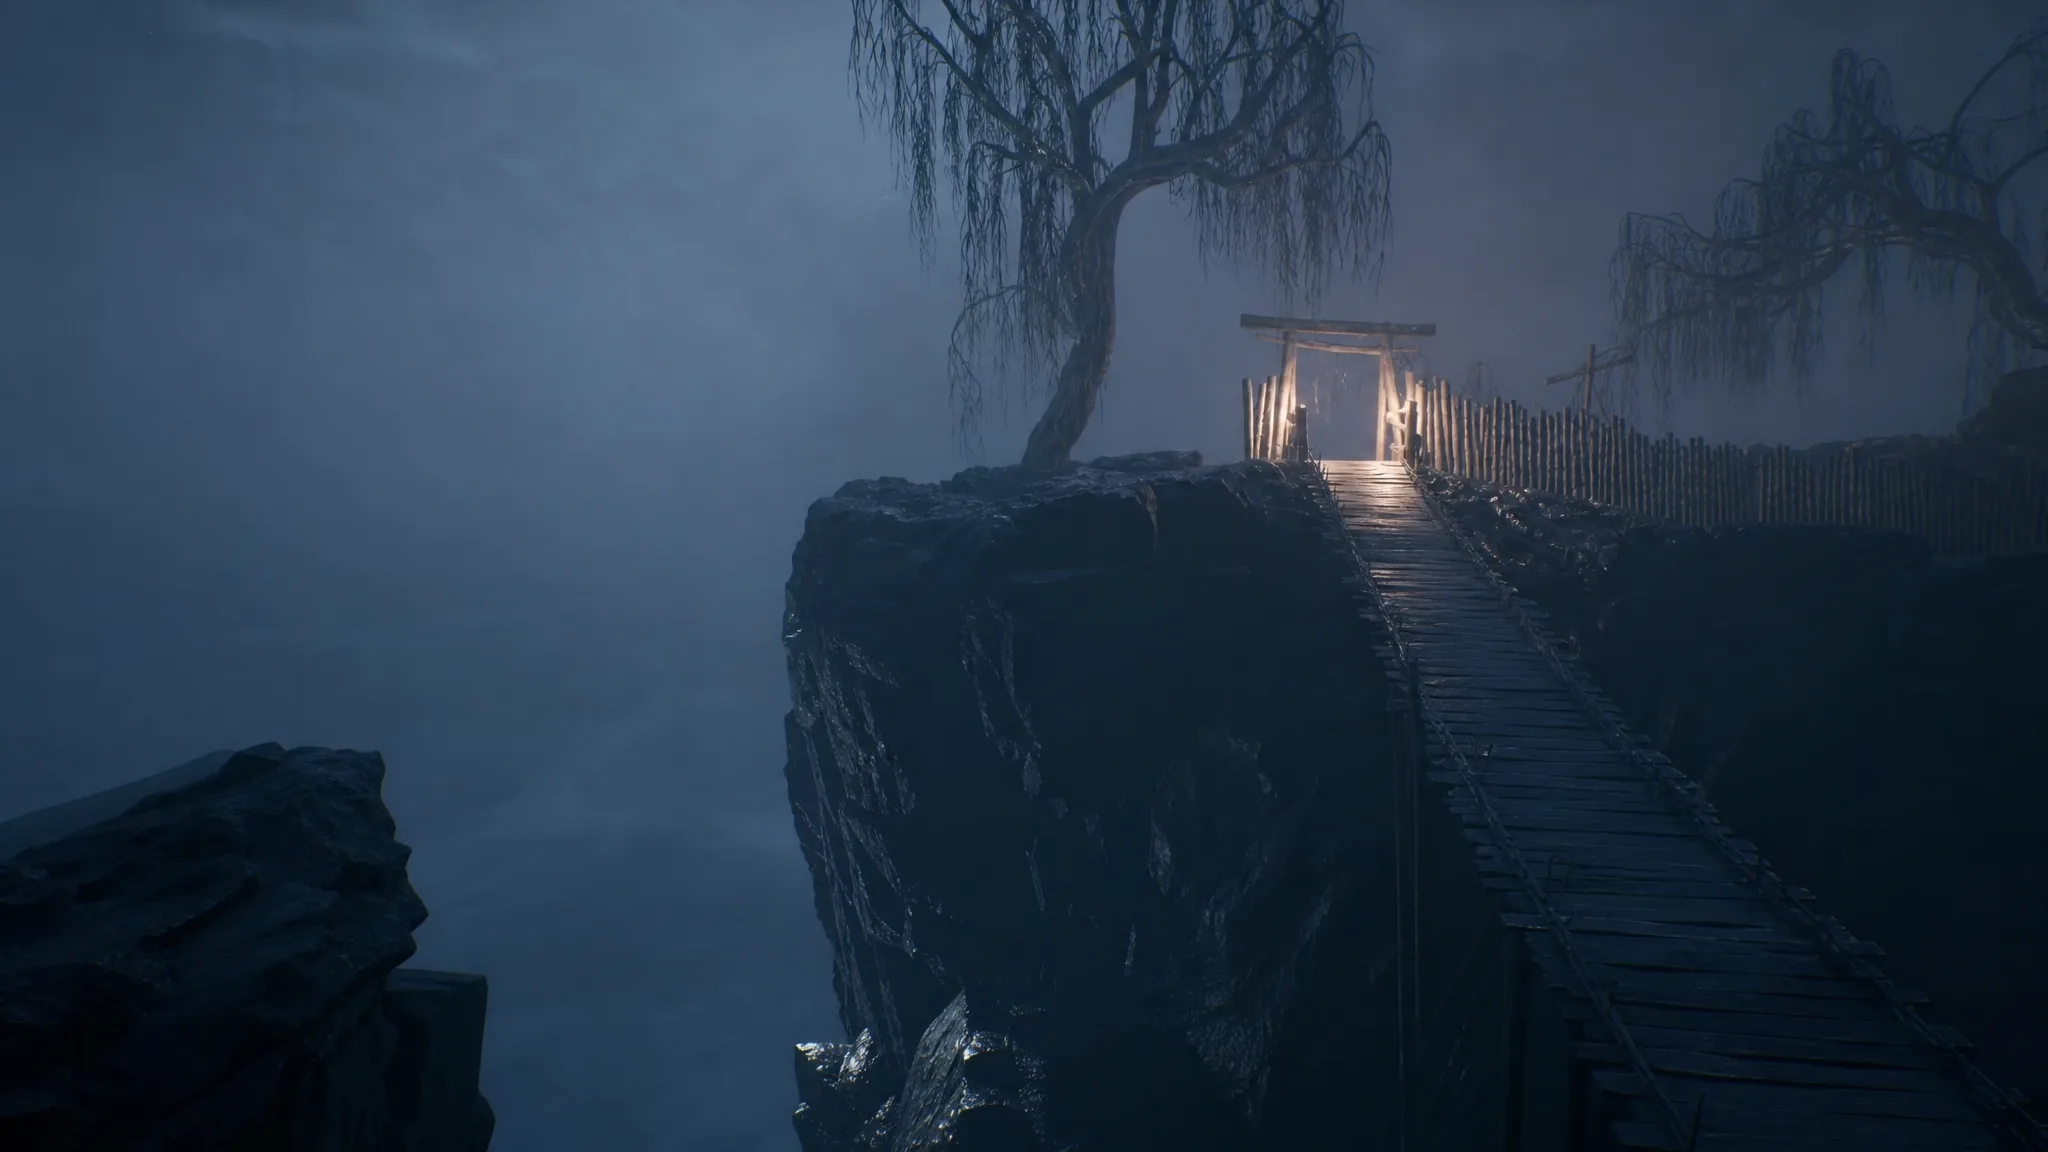
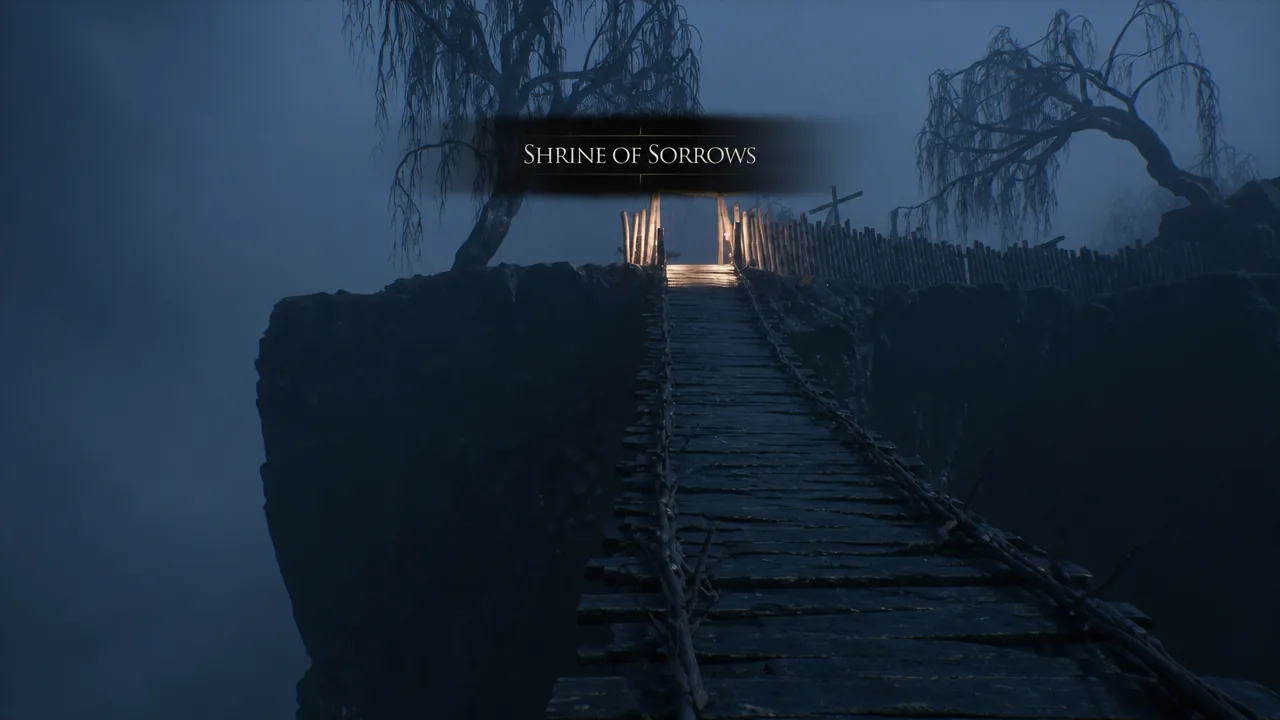
The Shrine of Sorrows is the only first-person dungeon in Mortal Shell 2, and it hides its progress behind offerings, three scattered books, and a disorienting puzzle built around a severed head. It exists only while Night Mode is active, which changes how you reach it and what you find inside.
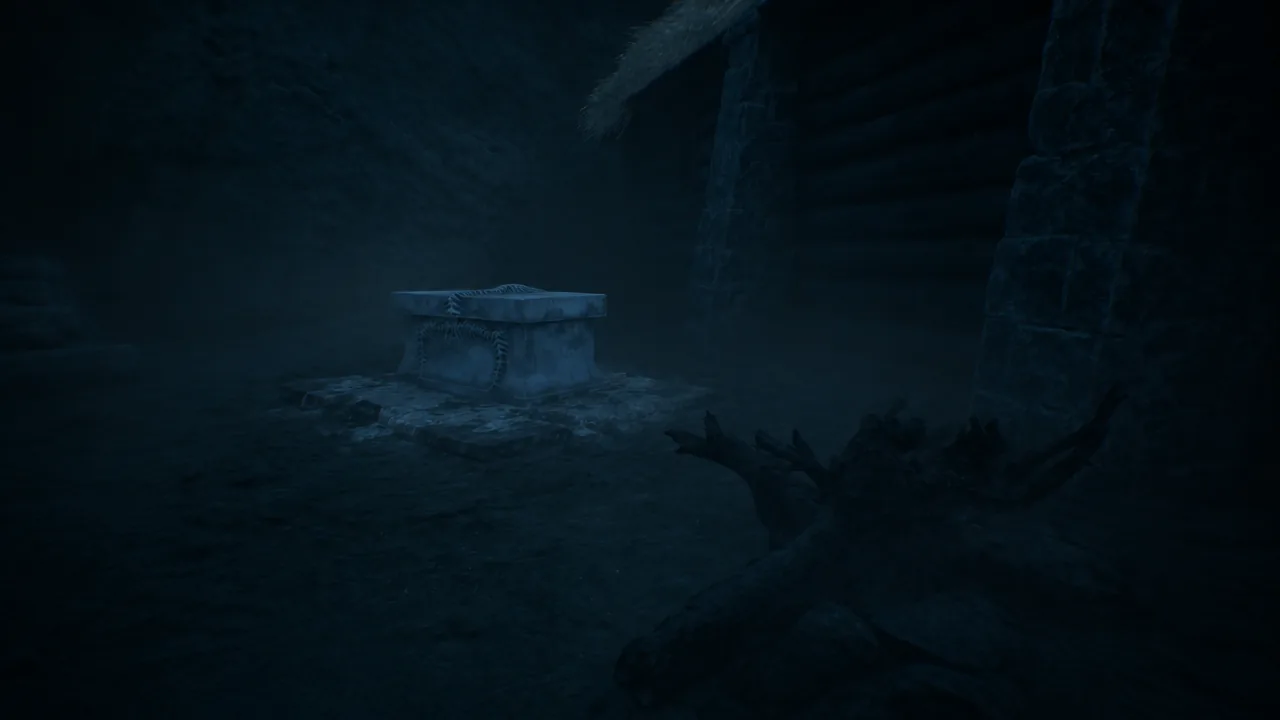
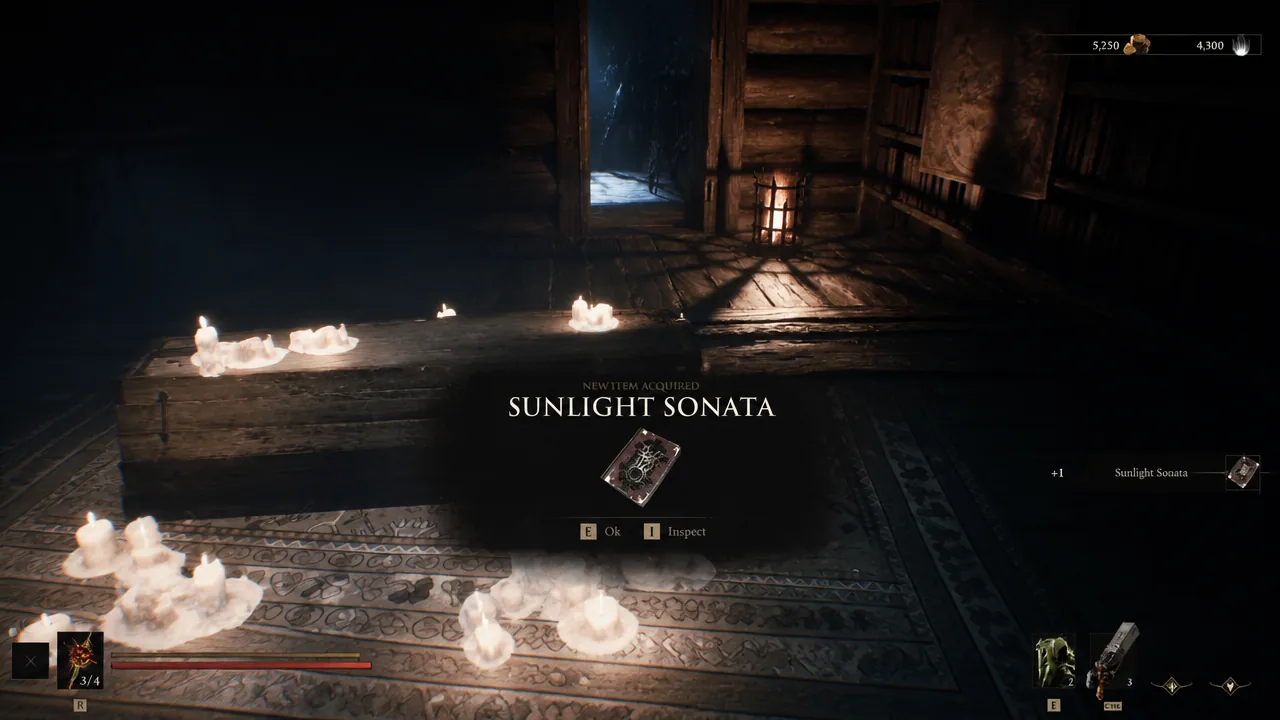
Quick answer: Turn on Night Mode, fast travel to the Mushroom Village Beacon and head right to the cocoon, then inside the house collect the Moonlight, Sunlight, and Starlight Sonatas, place all three in the box, brew the Alluring Mushrooms in the cauldron, drink the result, grab the Basement Key, and descend to trigger the ending.
Requirement: Activate Night Mode first
The shrine cannot be entered during the day. To switch the world to night, bring the Gloombound Flame to the top of Marrow Keep and speak with Thestus. Night Mode makes every enemy significantly stronger, so expect even basic foes to hit harder while you work through this area.
Note: You only need night active long enough to reach and clear the dungeon, so there is no reason to leave the world in this state longer than necessary.
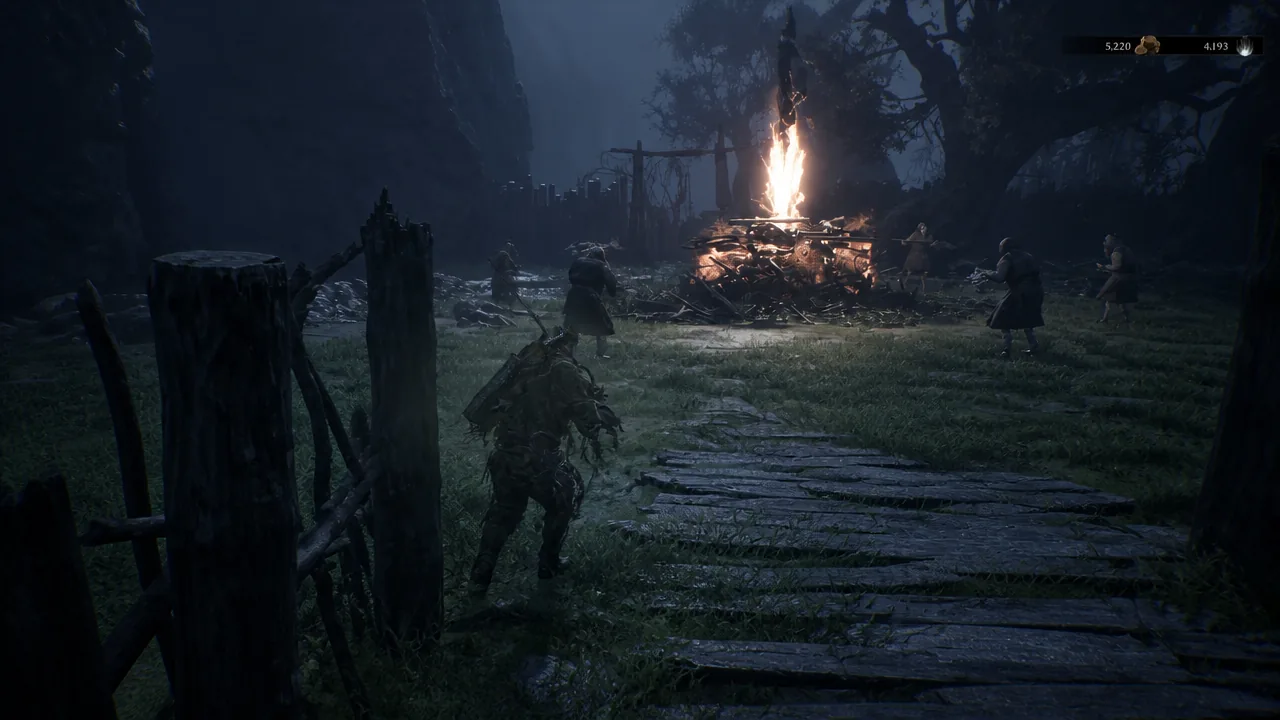
Cross the second wooden bridge and approach the cocoon-like structure ahead. Accept the invitation it offers to open the path toward the Shrine of Sorrows.
Before entering the house, look left for a locked chest. Like other offering chests in the game, this one only opens after you light three offerings nearby.
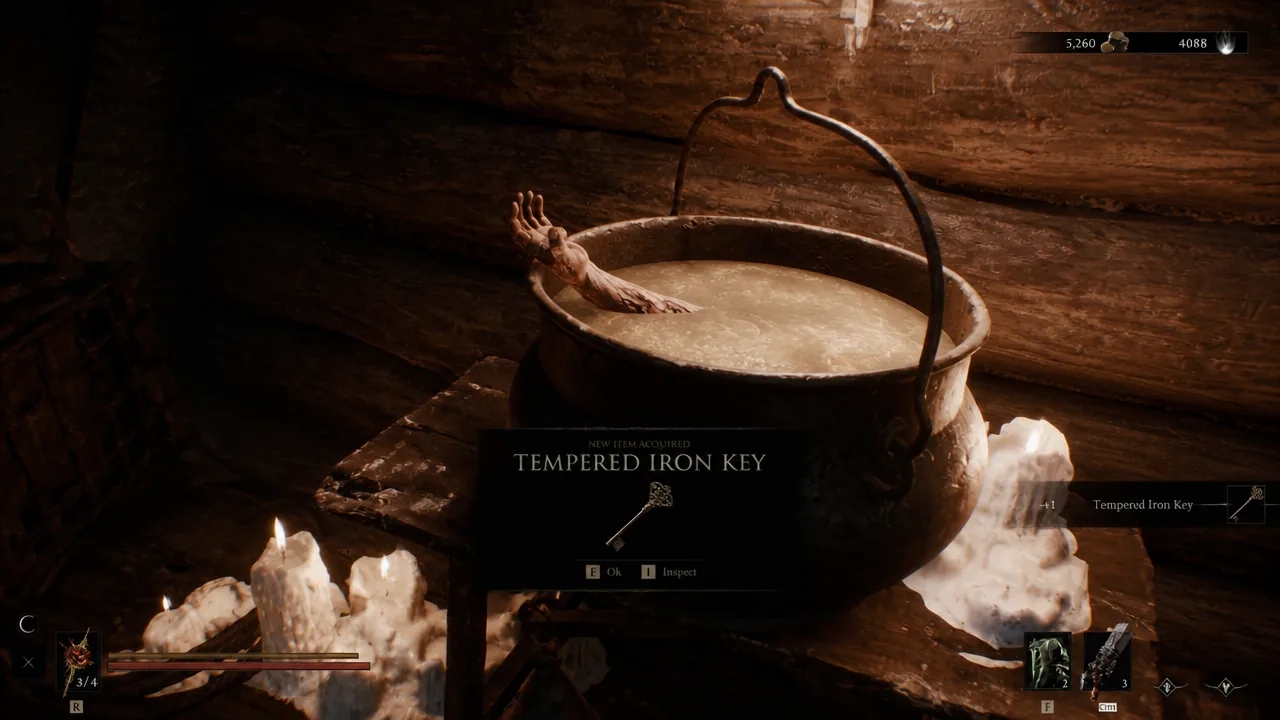
Enter the house and approach the figure sitting in the chair. Read the note beside them, then interact with the cauldron to pick up the Tempered Iron Key.
Head toward the main door to check the banging sound. A headless corpse drops to the ground as you get close. Leave it for now and step outside to hunt down the last book.
Head-on-a-stick puzzle: Starlight Sonata solution
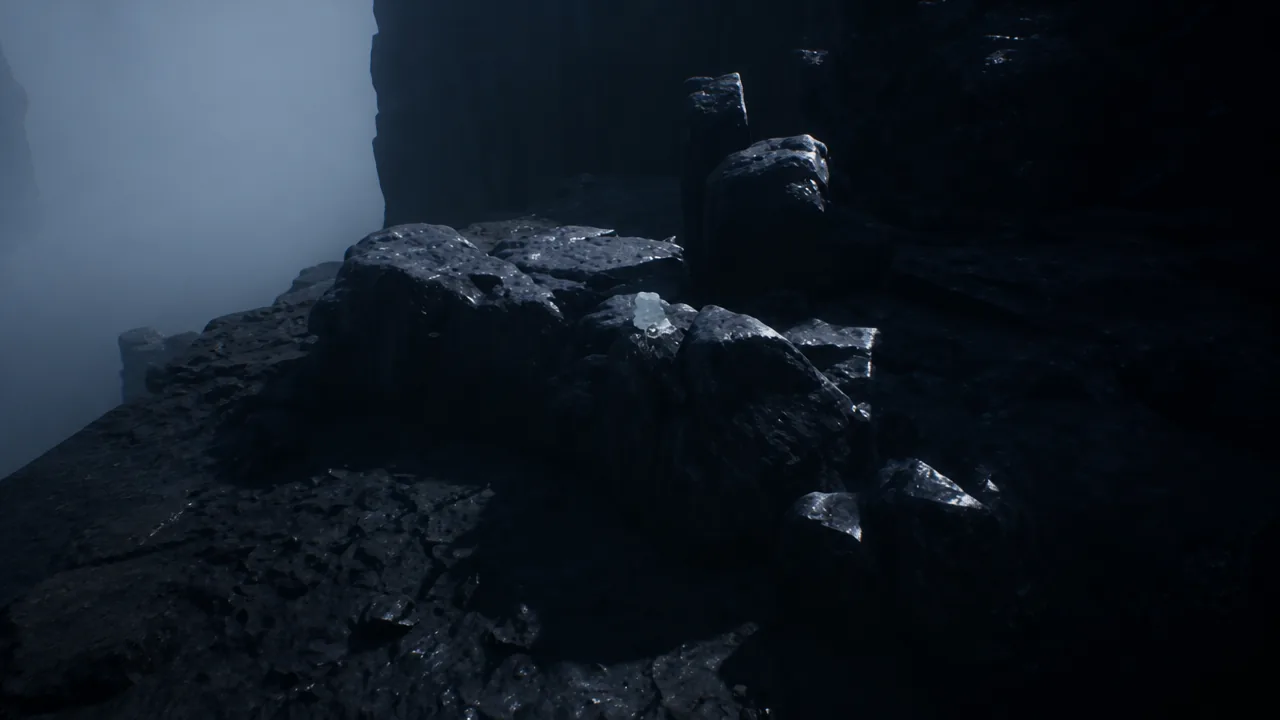
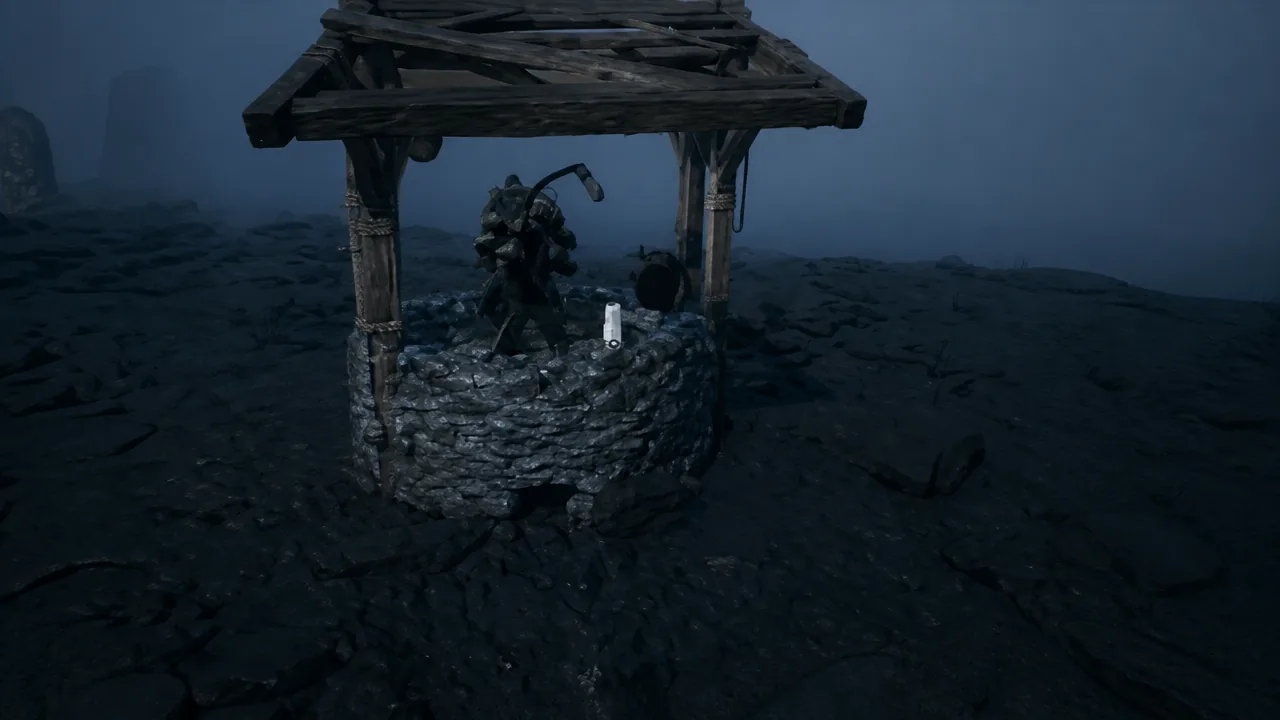
The third book is guarded by the shrine’s signature puzzle. It relies on repeatedly turning in place while looking at a severed head mounted on a stick, which warps you to a hidden frozen lake.
Turn around and locate the head mounted on the stick. Perform a full 360-degree turn, then look at the head. Do a second 360-degree turn and look at it again.
Put the Alluring Mushrooms into the cauldron and drink the concoction it produces. You are teleported outside the house, and the surroundings now look far darker and more unsettling.
Open the basement door and head downstairs. A group of witches is performing a ritual. When you turn around, one of them grabs you, which ends the Shrine of Sorrows sequence.
You know the dungeon is complete when you receive the Blackmarrow Key and the Tooth of Nochte afterward. The Tooth of Nochte can be sold to Merrick for Gold if you have no other use for it.
Reward
Where it comes from
Dorsalite
Offering chest outside the house
Alluring Mushrooms
Placing all three Sonatas in the box
Blackmarrow Key
Completing the basement ending
Tooth of Nochte
Completing the basement ending (sellable to Merrick)
With the Blackmarrow Key in hand, you can switch the world back to daytime and continue the rest of your run through Mushroom Village.