

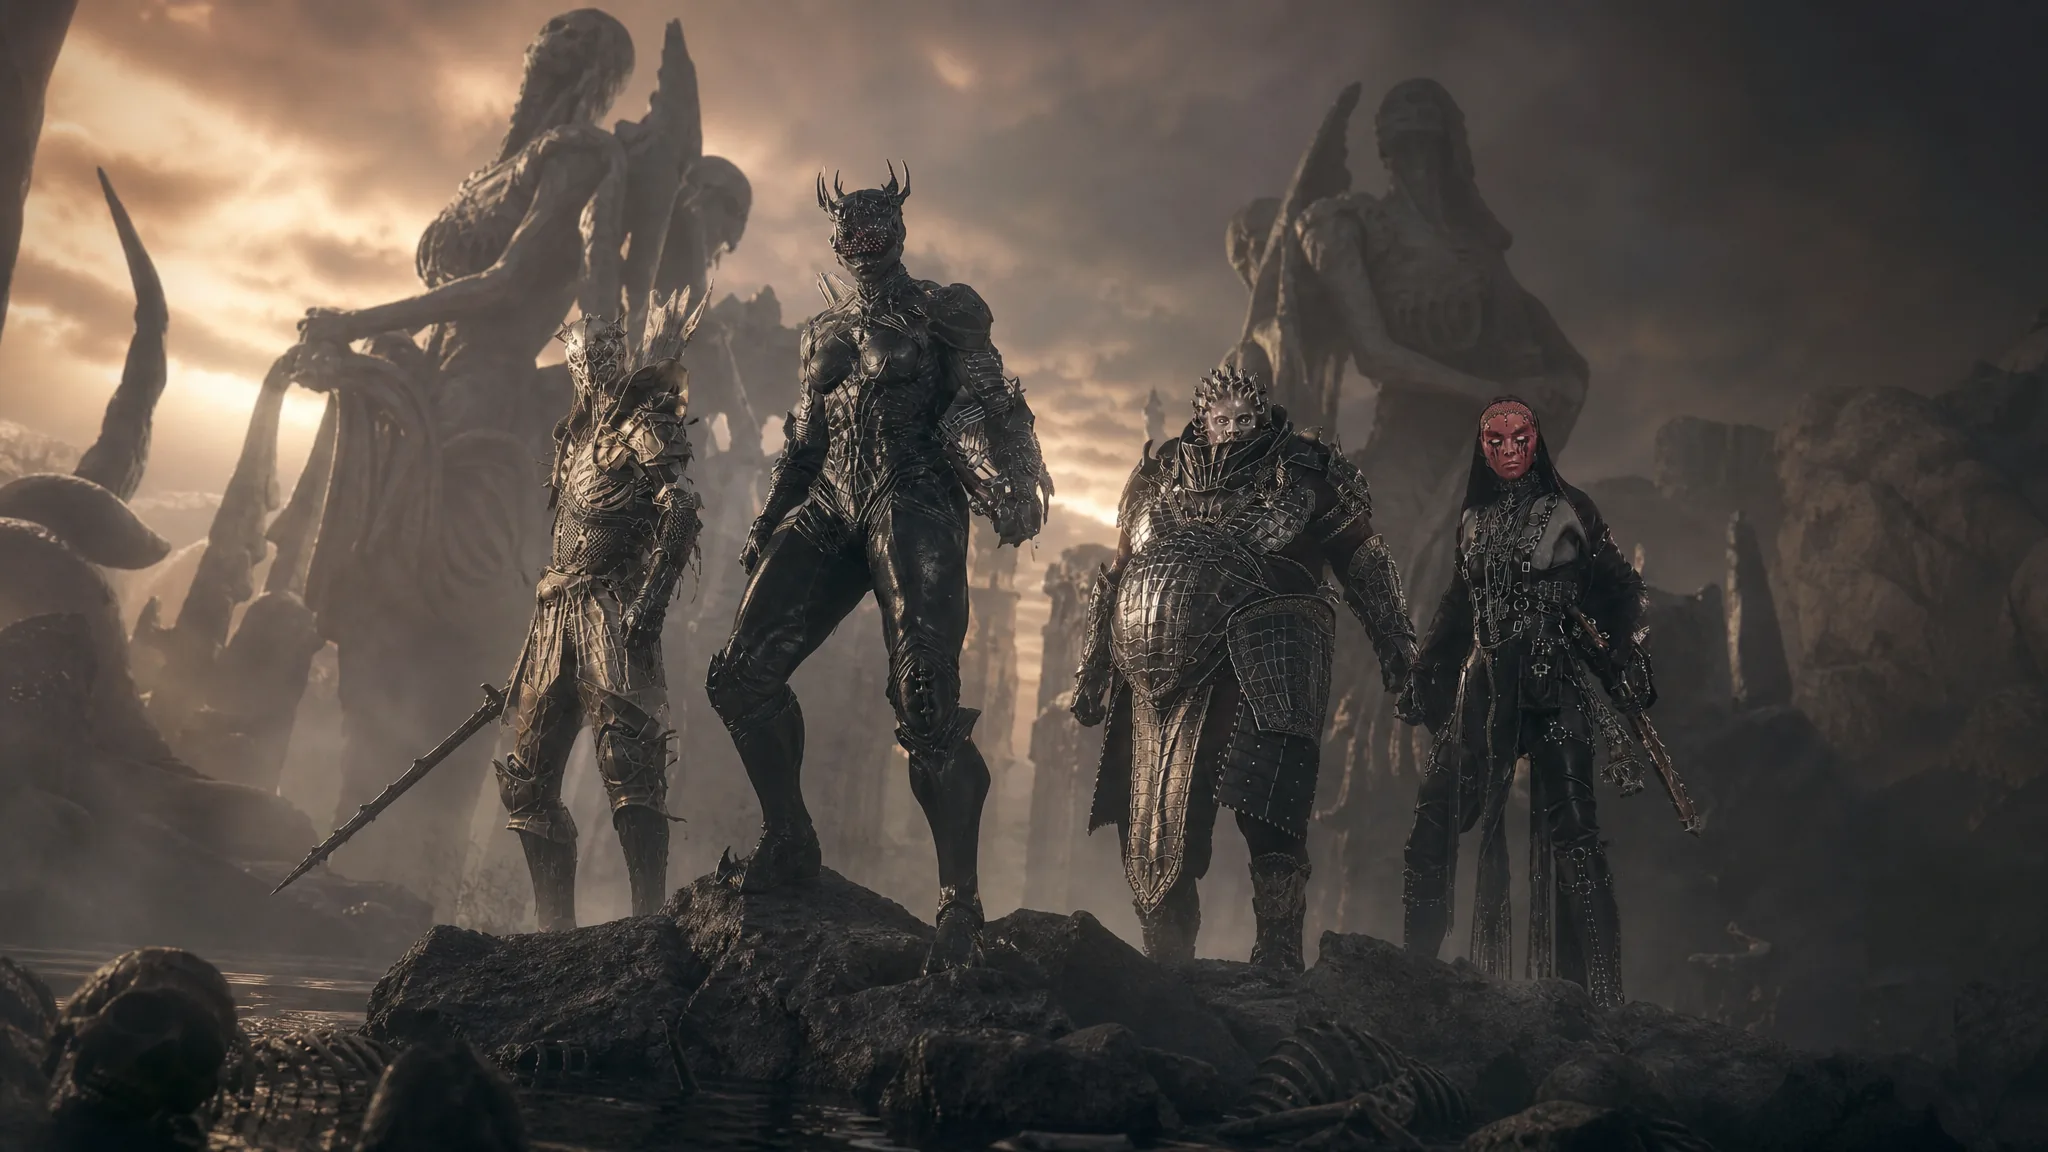
Your Harbinger starts out as a bare husk with almost no combat identity of its own. Shells fix that. Each one is the corpse of a fallen warrior you can inhabit for a distinct set of stats, abilities, and a unique playstyle. There are nine Shells in Mortal Shell 2 in total, one of which you only hold during the prologue, and the rest are spread across the regions of Fainweald and Mammon.
Quick answer: Interact with each Shell’s remains and complete its first memory sequence to unlock it permanently. Harros is a temporary prologue Shell. The eight you keep are Tiel, Proxima, Gragu, Eredrim, and Smert in Fainweald, plus Lazlo, Sariel, and Genessa in Mammon.
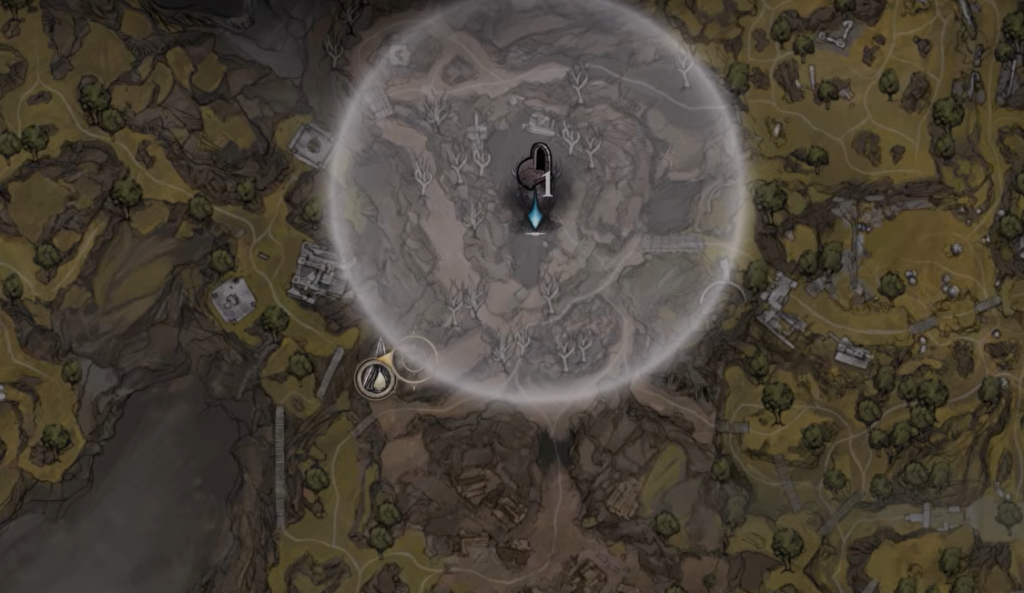
How unlocking a Shell works
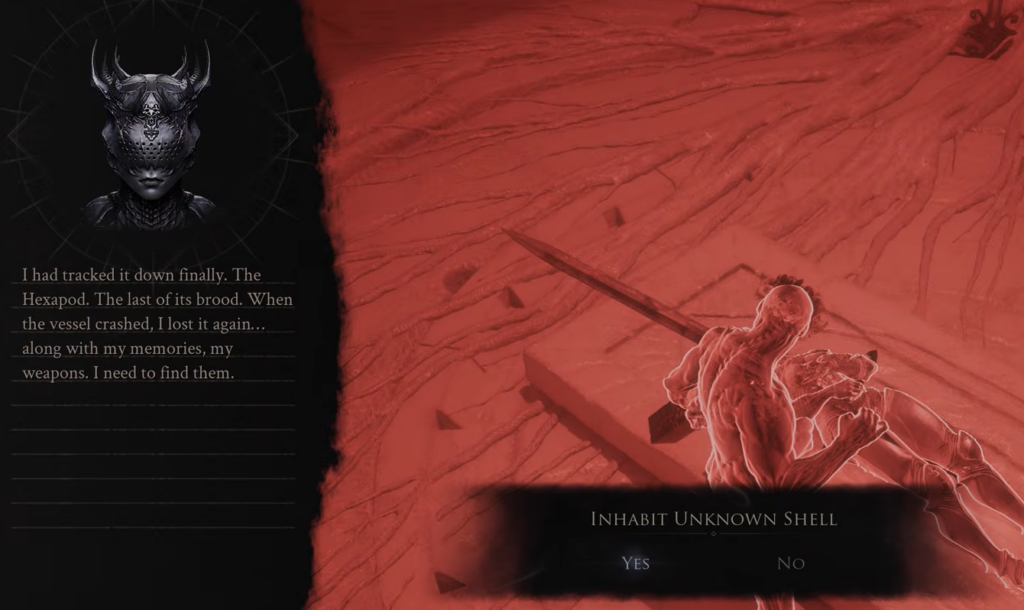
Finding a Shell’s body is only half the job. When you interact with the remains, a memory sequence plays. Once you finish that first memory, the Shell is unlocked for good and you can swap to it whenever you want.
After that, you raise your bond with each Shell using a resource called Glimpse. You spend it at the Shellkeeper NPC in the Marrow Keep hub, and every bond level opens up higher perk tiers for that Shell. There’s an individual trophy or achievement tied to each Shell, plus one more for collecting them all.
When a Shell breaks and you lose your last health state, you drop into your Harbinger form. You can climb back into your Shell by landing enough melee hits, which matters for a couple of the unlock encounters below.
All Shell locations and unlock conditions
| Shell | Region | How to unlock |
|---|---|---|
| Harros | Prologue | Given automatically, then lost at the end of the prologue. |
| Tiel | Fainweald | Interact with the buried corpse near Widow’s Overlook. |
| Proxima | Fainweald | Enter the Shattered Beacon near Blackridge Pass. |
| Gragu | Fainweald | Bring the Heart of Vatra to Gragu in the One-Legged Wolf Tavern. |
| Eredrim | Fainweald | Defeat the Warden inside the Citadel of Penance. |
| Smert | Fainweald | Fill the ritual pools with blood at the Outskirts of Nochte. |
| Lazlo | Mammon | Defeat Vellen and reach the crypt behind the arena. |
| Sariel | Mammon | Defeat Sariel in the Chamber of Becoming. |
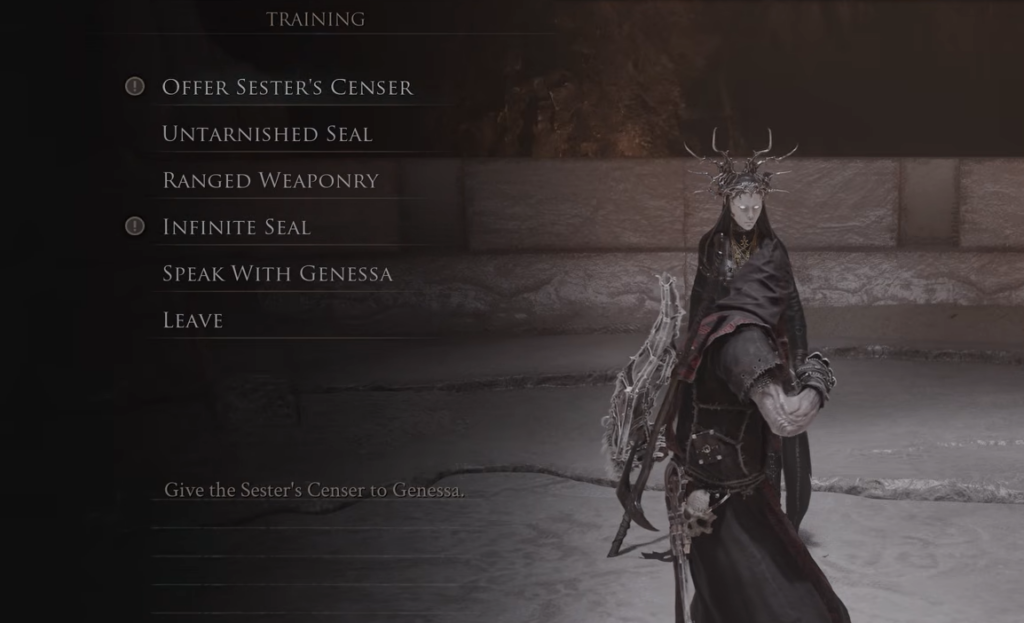
| Genessa | Mammon | Defeat Sester Secundus, then return the Sester’s Censer to Genessa. |
Harros, the prologue Shell
Returning players will recognize Harros the Vassal, the balanced starter Shell from the first game. He’s handed to you during the prologue and is a good teacher for the harden mechanic. Once the prologue ends, you lose him permanently. It’s part of the story and can’t be reversed, so don’t get too attached.
Fainweald Shells
Five Shells live in Fainweald. Tiel and Proxima sit closest to the early beacons, while Gragu, Eredrim, and Smert require more travel and specific objectives.
Tiel
Fast travel to the Widow’s Overlook beacon and head down the dirt path toward the small camp with wooden walls, past the Great Arbiter boss arena. As you enter, the screen pulses red. Tiel is in a shallow, partly buried coffin off to the side. Interact with the corpse, let the memory finish, and the nimble dual-wielding Acolyte is yours.
Proxima
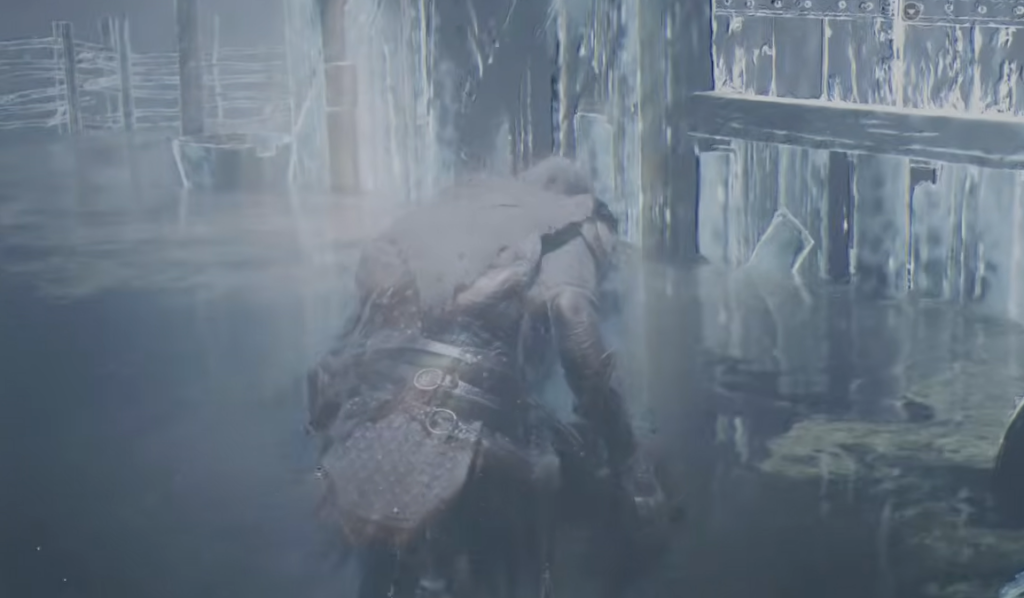
Proxima sits close to Tiel. From the Blackridge Pass beacon, head northeast up the sloping path and cross the ravine. When you reach the spot where enemies are fighting each other, take the path on the left and deal with the four-legged insectoid creature guarding the way. Enter the glowing Shattered Beacon ahead to inhabit Proxima’s remains.
Gragu
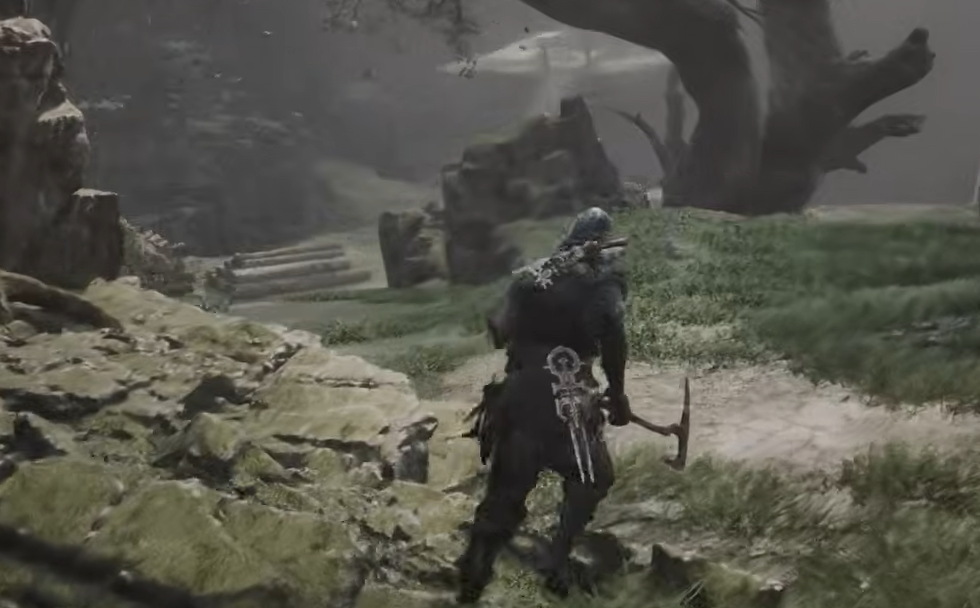
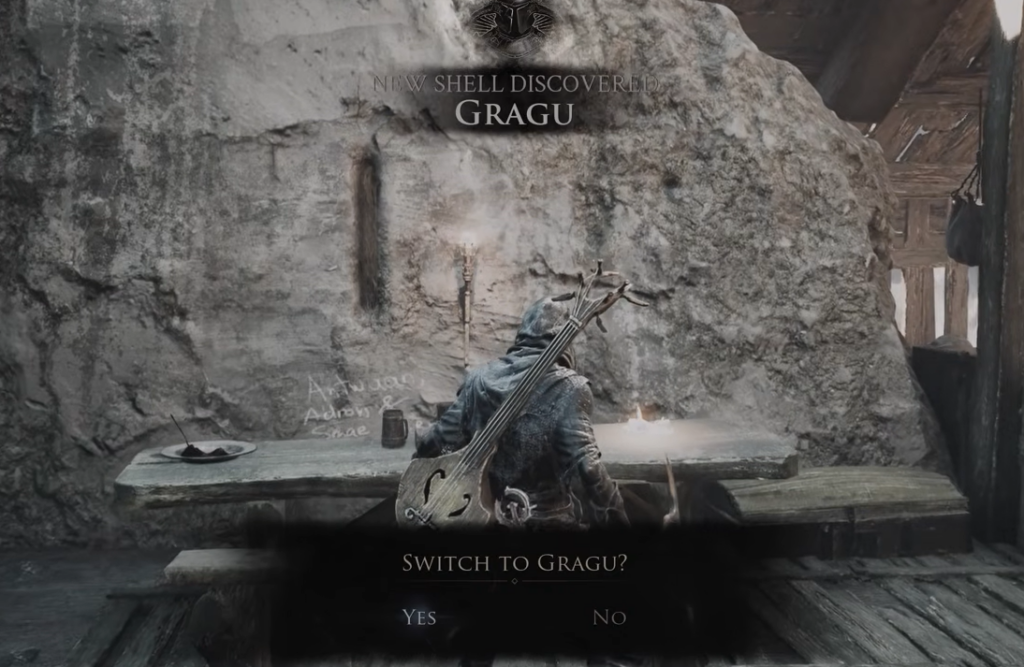
Gragu waits in the One-Legged Wolf Tavern in eastern Fainweald, but he won’t help until you bring him the Heart of Vatra.
Eredrim
Eredrim the Venerable is locked inside the Citadel of Penance in northwestern Fainweald. You can force the main gate open with the Citadel Gate Lever, which drops from a Lithopod boss to the southeast, or fast travel to the One-Legged Wolf beacon, take the first left toward the ruins, and interact with the candle to teleport into the cells.
Either way, escape the cells, ride the lift up, and head for the center of the base. The floor collapses into a fighting pit. Interact with the coin pouch to start the Warden boss fight, tag Eredrim’s remains, and beat the Warden to secure this heavy, durable Shell.
Smert
The warrior monk Smert is out at the Outskirts of Nochte, the swampland in western Fainweald. The quickest route runs through the jump gate just past the Great Arbiter of Flesh’s spawn area, which also holds the item that toggles Night Mode.
From the Outskirts of Nochte beacon, head west to the ritual ground with three circular pools. One is already filled, and you need to fill the other two. Approach an empty pool and offer your blood. This costs a full health state and knocks you into Harbinger form, so clear the surrounding cultists and wait until you regain your Shell before feeding the second pool. Do not offer blood while in Harbinger form, since that kills you outright. With both pools filled, interact with Smert’s body to claim him.

Mammon Shells
Three more Shells sit in the Mammon region. These areas come later in the campaign and are harder to navigate before you’ve cleared the fog and gathered map fragments, so expect tougher enemies like Armored Knights and Coffin Eye Beholders along the way.
Lazlo
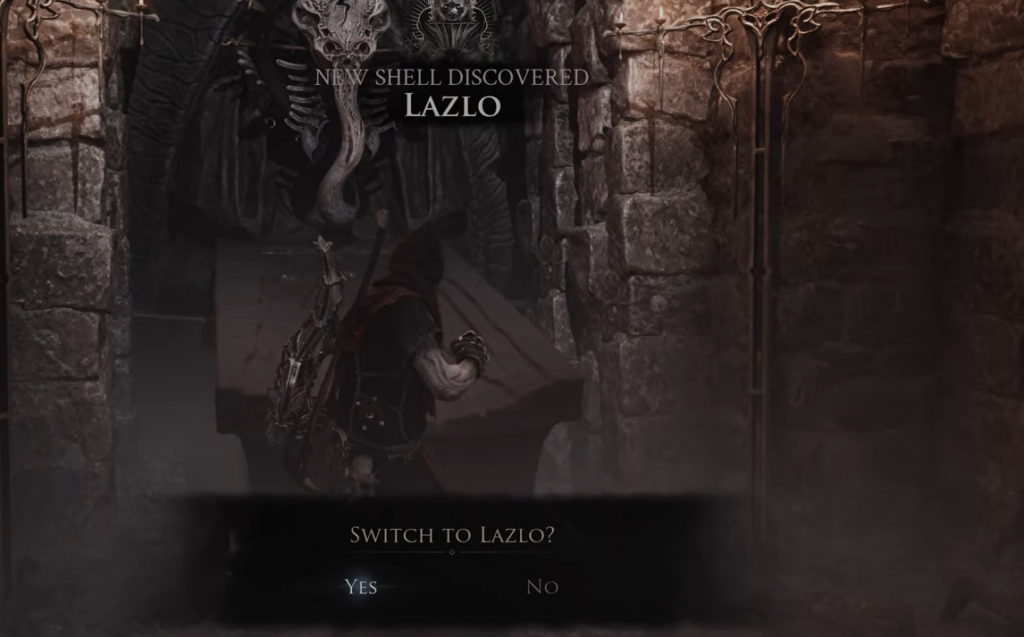
Lazlo the Justiciar rests in the Royal Crypt of Mammon in the western part of the region. From the Outskirts of Mammon beacon, push west to the High Lord’s Courtyard and find the entrance to the keep. The prize is straight ahead, guarded by Vellen, High Lord of Mammon. You can lure other enemies into the arena to fight him if you want the help. Once Vellen falls, check the final chamber behind the arena to find Lazlo’s corpse.
Sariel
Sariel, the Endless is in the southeastern part of Mammon. Tag the Silent Steps beacon for a rest point, then use the jump gate to reach the high ledges. Sariel attacks in the open area but flees once you deal enough damage. Follow him up the steps into the Chamber of Becoming dungeon.
The fight continues inside. Destroy the lightning rods around the room to stop Sariel from resurrecting. Killing him rewards the Clockwork Scythe weapon, and you can inhabit his Shell to watch his memories before fully unlocking him. The last chamber also holds the Caged Hystrix sidearm.
Genessa
Sester Genessa is the most hidden of the group. She’s an NPC in the Marrow Keep training grounds, and unlocking her Shell means tracking down the Sester’s Censer.
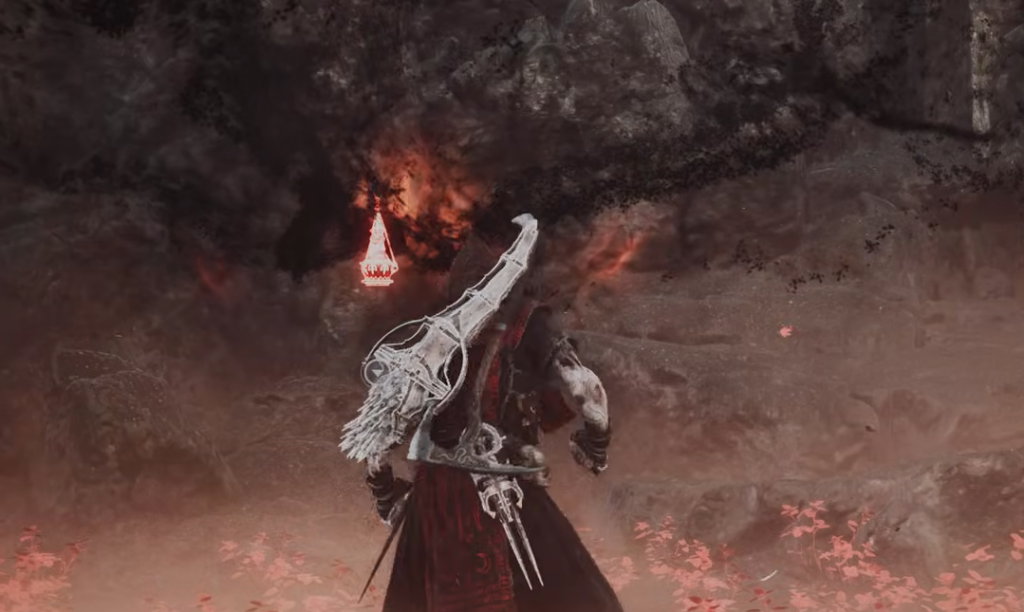
Once each memory sequence plays out, that Shell is permanently added to your roster and the matching achievement pops. Collect all eight from Fainweald and Mammon, and you’ll also earn the reward for finding every Shell in the game. From there, it’s just a matter of feeding Glimpse to the Shellkeeper to push each one toward its higher perk tiers.





