The Tarforge sits in Marrow Keep and starts out mostly dead. It only becomes a full upgrade bench once you feed it five key items scattered across the campaign, and the game never marks them on your map. Four go to Franz, the smith standing beside the machine. The fifth gets installed through the Tarforge’s own menu.
Quick answer: Collect the Muradean Actuator (Village Outskirts beacon dungeon), Obsidian Lathe (Martyr’s Tomb), Etching Needles (Glutted Mire, before Magdalena), Foundry Stone (south of the Outskirts of Mammon beacon), and Endless Core (Hidden Nave beacon dungeon). Hand the first four to Franz; install the Endless Core at the Tarforge.
All five Tarforge upgrades and what they unlock
| Item | Where it is | What it turns on |
|---|---|---|
| Muradean Actuator | Village Outskirts beacon dungeon (tutorial area) | Activates the Tarforge and enables melee weapon upgrades |
| Obsidian Lathe | Martyr’s Tomb, southeast of Widow’s Overlook in Fainweald | Sidearm upgrades |
| Etching Needles | Glutted Mire, past the Tarblighted Shepherd | Tempering Tarstones (and earning Tarcore) |
| Foundry Stone | South of the Outskirts of Mammon beacon | Smelting weapons and sidearms to refund materials |
| Endless Core | Hidden Nave beacon dungeon, in The Unfound Path | Lifts the upgrade cap on weapons and sidearms |
None of these are permanently missable. Every one of them can still be picked up in free roam after the final boss, before you commit to New Game+. They all live in chests, and no chest is forced, so it is entirely possible to walk past several of them on a normal run.
Killing Franz unlocks four Tarforge functions immediately
Before you go hunting, know that there is a shortcut. Killing Franz in Marrow Keep instantly opens Enhance Weapons, Enhance Sidearms, Temper Tarstones, and Smelt Equipment, with no item collection required. It works from the very start of a playthrough and carries no known penalty.
If you kill him and then find the items anyway, they are not wasted. Turning in the Muradean Actuator, Obsidian Lathe, Etching Needles, or Foundry Stone at that point pays out 7 Ventrium, 4 Laterite, and 3 Dorsalite each. The Endless Core is separate and still has to be installed through the Tarforge menu.
Muradean Actuator location: the tutorial chest most people trip over
This one comes from the prologue, inside the Village Outskirts beacon’s cleanse dungeon in the Disciple’s Path. Cleansing that beacon is mandatory, so you will pass the chest whether you mean to or not. It sits in the room you run through on your way to the elevator that drops you into the dungeon proper.
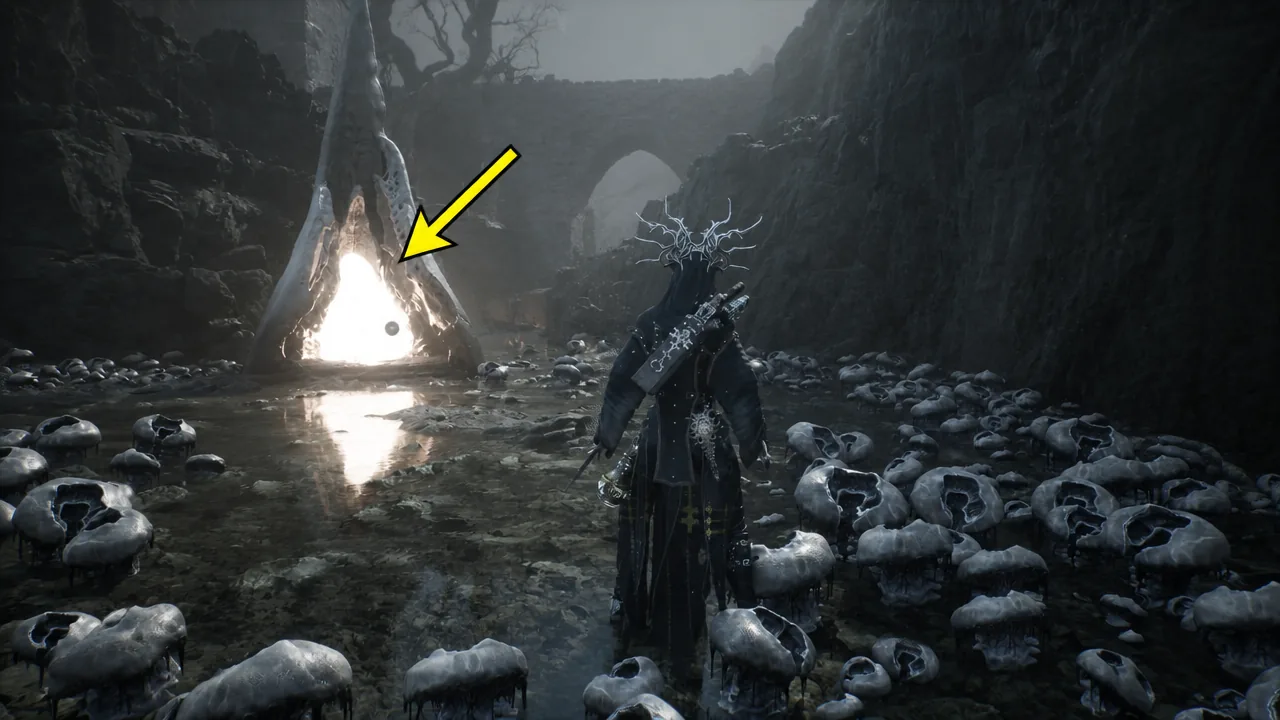
Started the game from a beta save and skipped the tutorial? The Muradean Actuator is already sitting in your inventory when you reach Marrow Keep. If you skipped the chest the normal way and left the tutorial zone, you can still go back once fast travel is online, which means collecting at least 7 Ova from cleanse dungeons and spending them at the Gloom Siphon in Marrow Keep to get Mether’s Breath.
Foundry Stone location: a chest you can steal on day one
The Outskirts of Mammon beacon is unlocked from the start, which makes the Foundry Stone the easiest early pickup on the list. Face south from the beacon and follow the slope down into the ruined battlefield near the castle wall.
The chest is pressed up against the wall fortifications, ringed by regular soldiers and elites. You do not have to fight any of them. Sprint the length of the field in a straight line, open the chest, and leave.
Obsidian Lathe location in Martyr’s Tomb
Head to the Widow’s Overlook beacon in Fainweald and turn southeast, past the arena where the Great Arbiter of Flesh fight takes place. A large church-like structure marks the entrance to the Martyr’s Tomb dungeon.
Work through to the final room, where priest enemies guard a chest sitting next to a sarcophagus. That chest holds the Obsidian Lathe. The door out stays shut until you use your sidearm on the target mounted above it, so shoot the device and the gate opens.
Note: there is also a Tarstone in the same dungeon, and the grave that unlocks the Tiel shell is right beside the Lathe’s room. Worth sweeping the area properly while you are down there.
Etching Needles location in the Glutted Mire
The Glutted Mire is the swamp behind the Corrupted Gate on the eastern side of the map, next to the Mushroom Village Gate beacon. Push through the level as normal until you light the Sunken Village beacon.
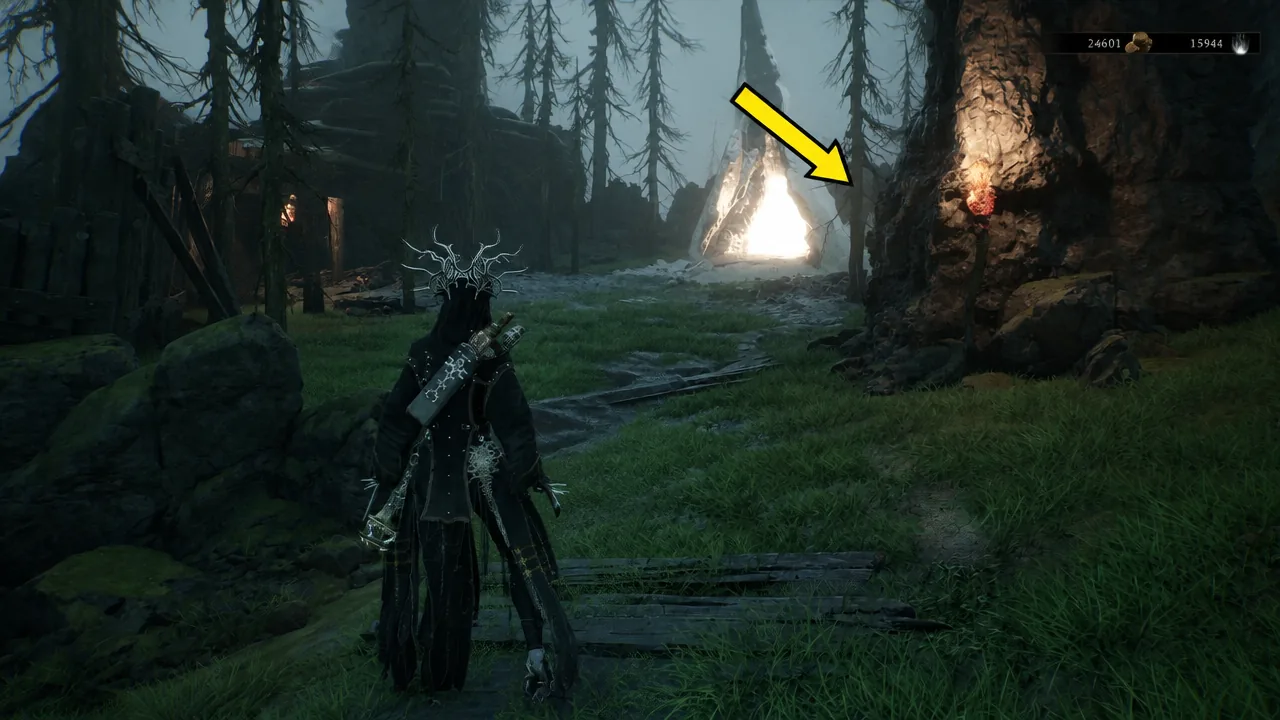
From there, cross the rope bridge and take down the Tarblighted Shepherd, the boss who keeps turning his sheep into demons. Squeeze through the gap in the wooden boards behind his arena and keep going along the walkways until you spot Ruk perched on an arch, warning you about what is coming.
The chest holding the Etching Needles is directly below him, tucked between a tree and a lit torch. It is unguarded, and it sits just short of the Magdalena, Lady of the Woods fight, so grab it before you commit to that boss.
Endless Core location in the Hidden Nave
This is a late pickup. You need to clear the corrupted gates, gather enough Ova to trigger the final stretch, and reach The Unfound Path. Clearing out the corrupted tendrils there opens the Hidden Nave beacon, the last one before the fight against Zmei.
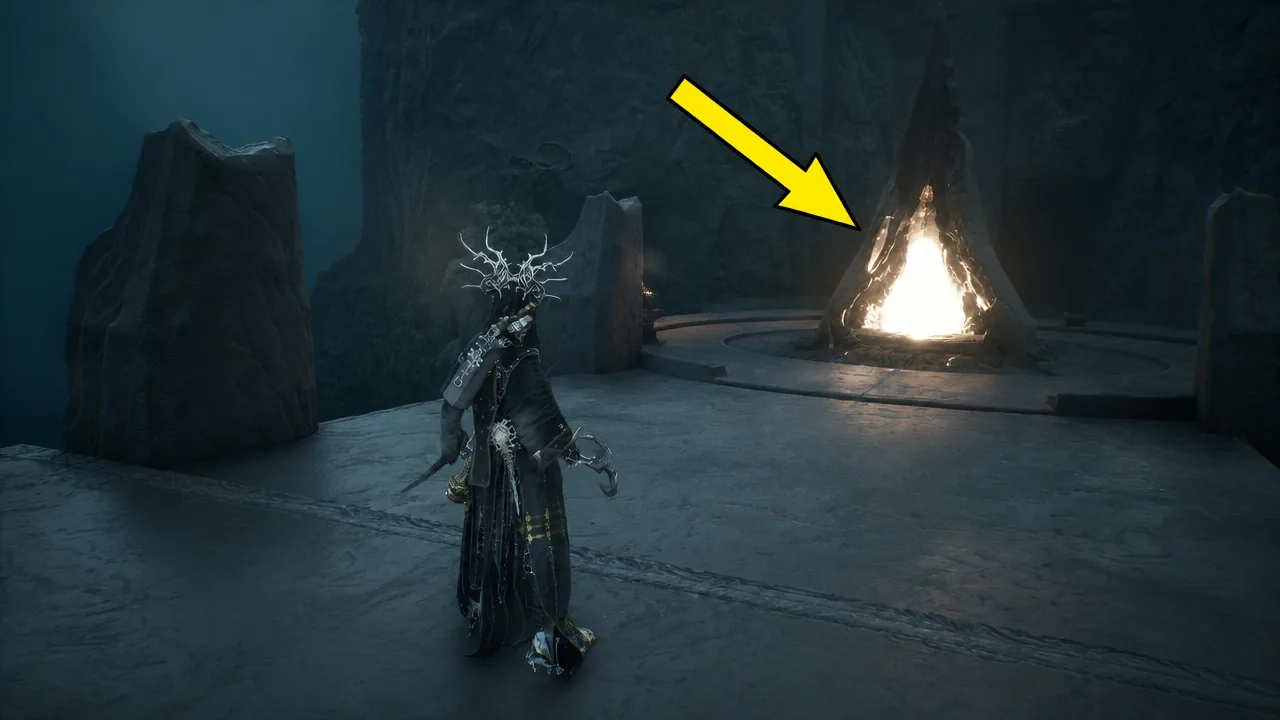
There are gloom chests down here too, but interact with the doorway before you open them. That doorway demands every point of gloom you are carrying, so clearing it first lets you scoop up the rest without losing anything.
Once installed, the Endless Core removes the standard ceiling on gear upgrades, letting weapons and sidearms climb to +17 and beyond.
How to confirm each upgrade is installed
Hand an item to Franz and the corresponding option appears in the Tarforge menu the next time you interact with it. Enhance Weapons, Enhance Sidearms, Temper Tarstones, and Smelt Equipment show up one by one as you deliver the parts. The Endless Core is different, since it gets slotted in through an Install option in the Tarforge menu rather than through Franz.
If a function is still greyed out, the usual cause is a chest you ran past rather than a bug. Picking the item up is not enough on its own either, since three of the four still need to physically reach Franz.
What each Tarforge function costs to use
| Function | What it consumes |
|---|---|
| Enhance Weapons / Sidearms | Coins plus smithing materials such as Ventrium, Laterite, Dorsalite, Thoracium, and Ossinite |
| Temper Tarstones | Coins and Tarstone XP; higher tiers also demand Tarcore |
| Smelt Equipment | Gloom, and it refunds the materials sunk into that weapon or sidearm |
Tarstones only gain XP while they are slotted into a weapon or sidearm you actually have equipped, and you do not need to use their effect for the XP to tick up. The first threshold sits at 10,000 XP, and levelling past it costs just 100 coins while handing you a Tarcore. The next tier at 20,000 XP is the expensive one, since maxing a stone there burns six Tarcore.
That maths is why it pays to temper stones you have no intention of using. Every stone pushed from level 1 to level 2 is another Tarcore banked toward the one you really want maxed out.