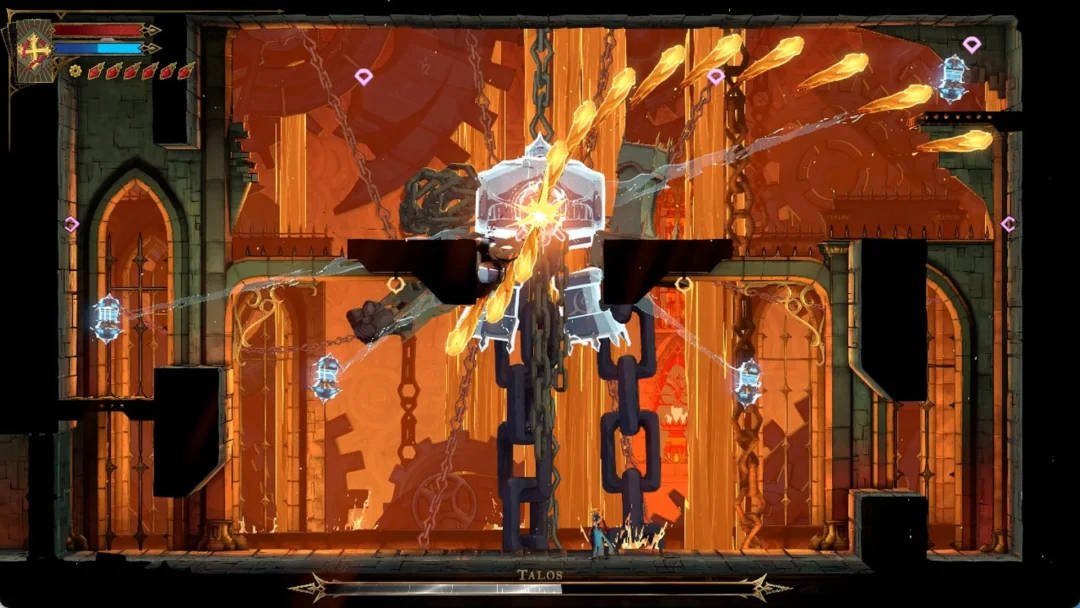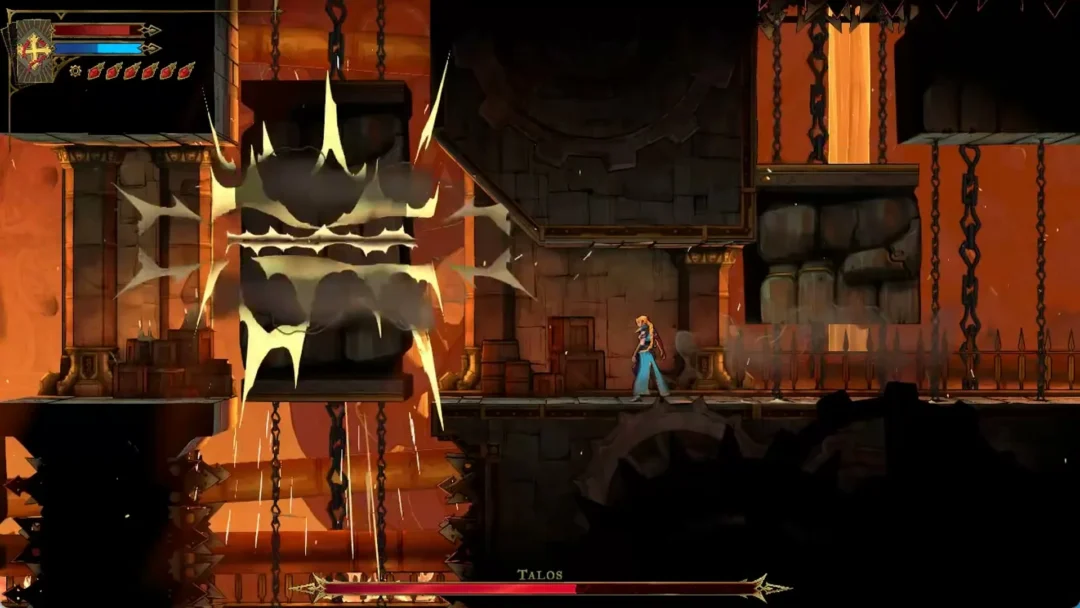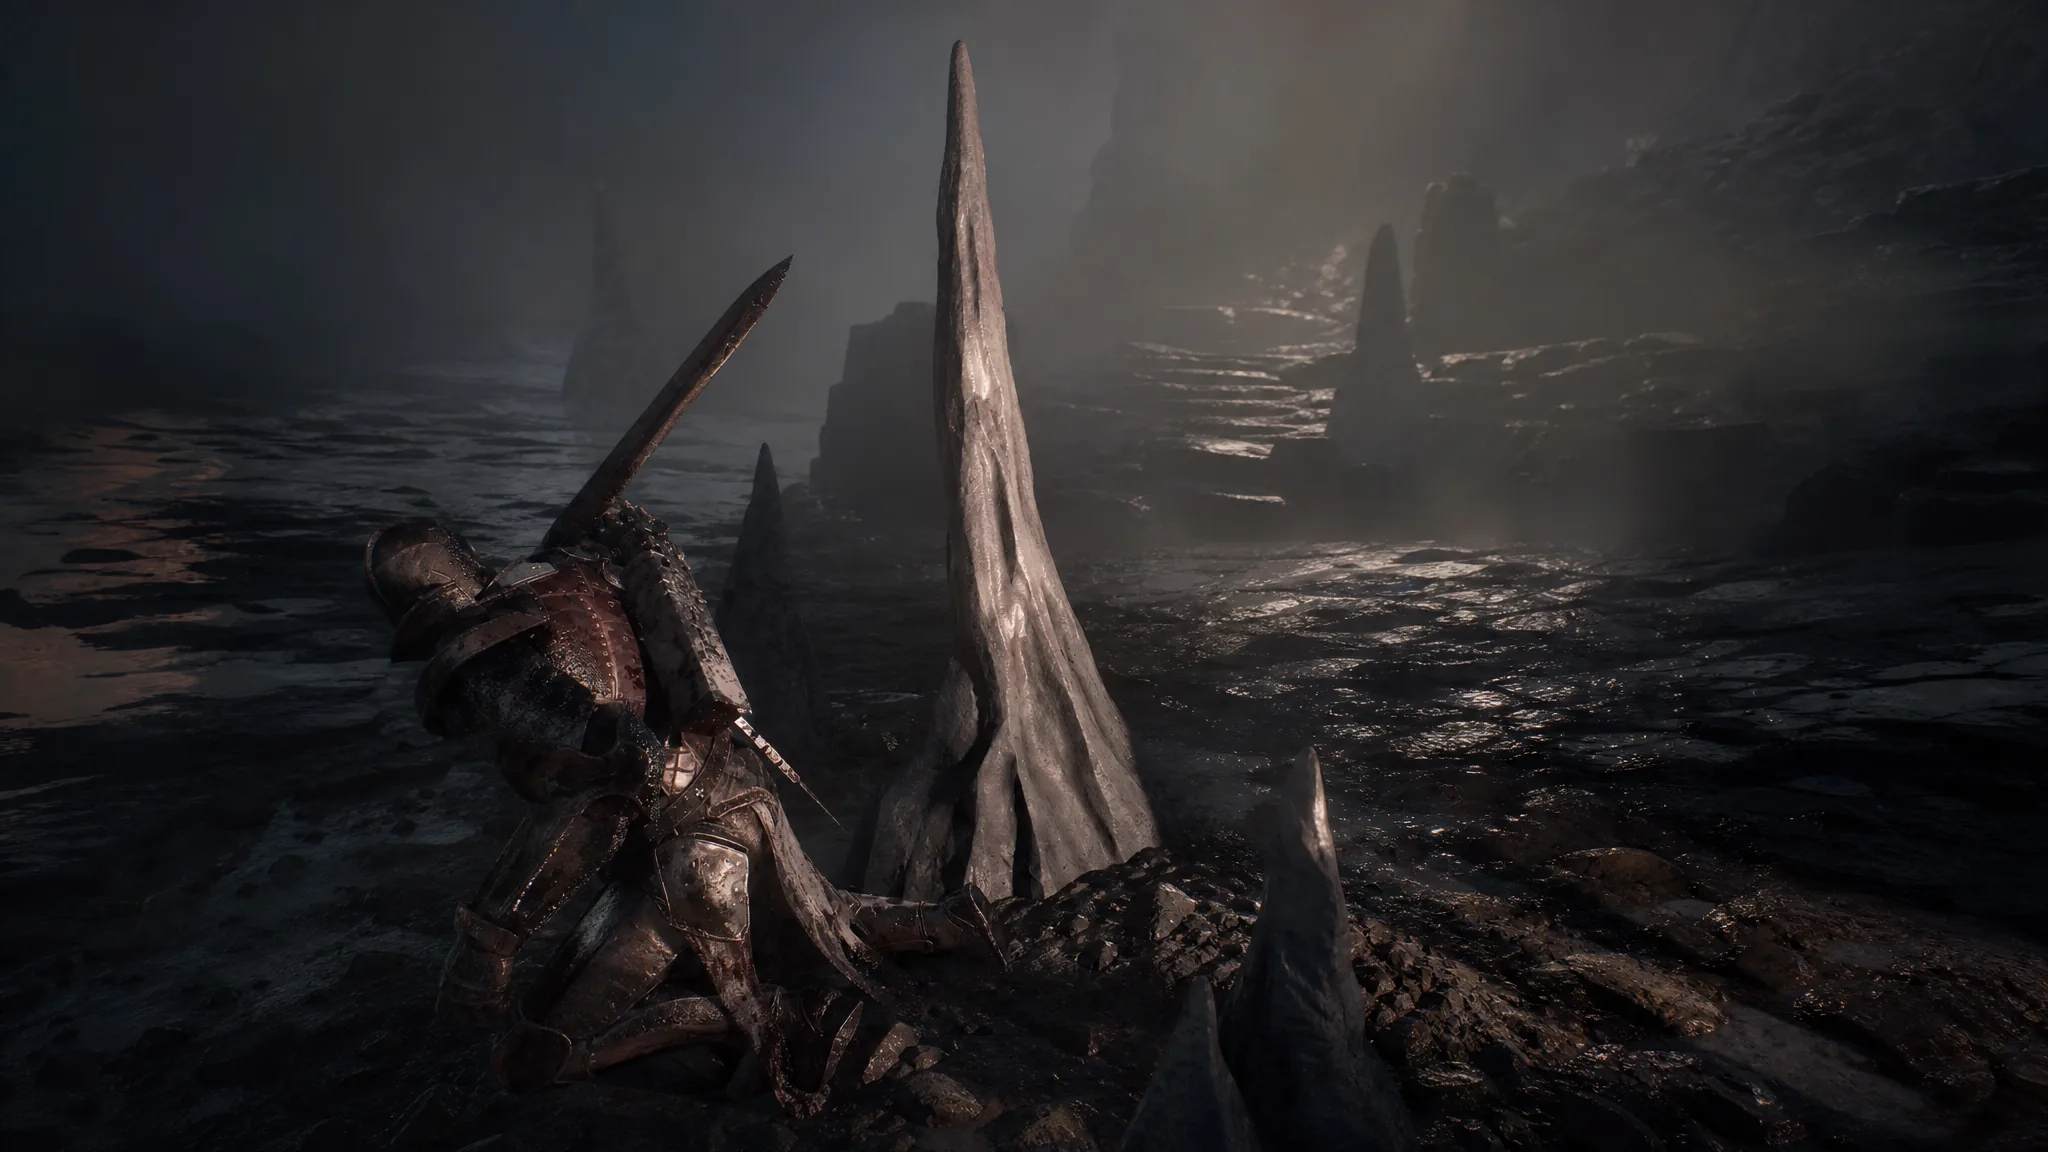
The Disciple’s Grotto is the second major stretch of Mortal Shell 2’s opening, a dark cave-and-canyon route that ends at the game’s first big boss, the Tar Golem. It is a linear zone with one dungeon beacon, a couple of optional detours for loot, and a set of launch portals that carry you across the gaps toward the boss arena.
Quick answer: Cleanse the Derelict Hideout from the Disciple’s Grotto Beacon, take the downward path to defeat the halberd knight, ride the white launch portals to the stone ruins, and interact with the torch to start the Tar Golem fight while inhabiting Harros.
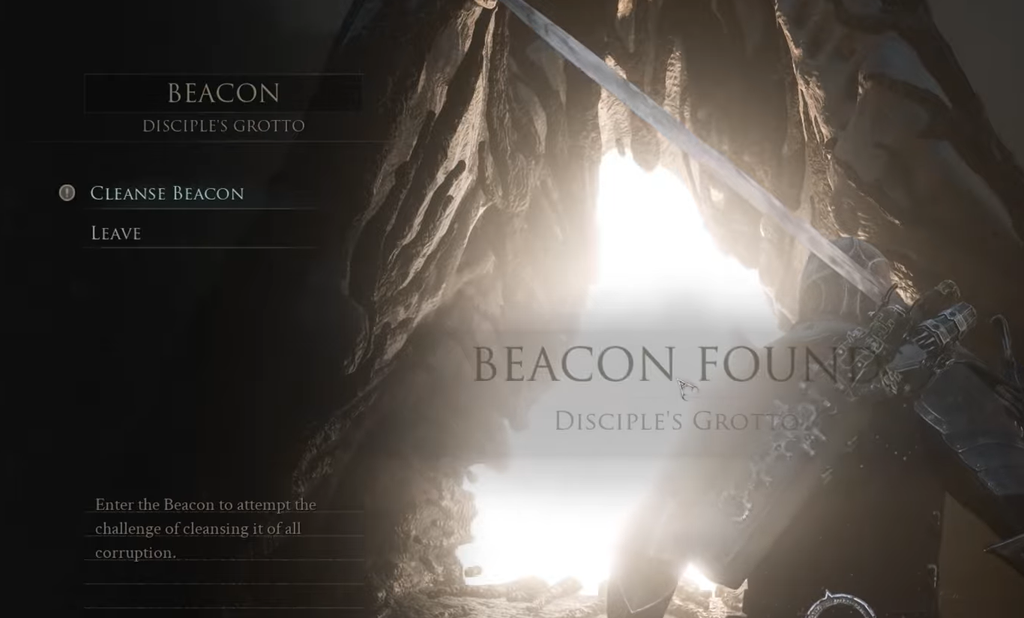
Disciple’s Grotto Beacon and the Derelict Hideout
You reach the Disciple’s Grotto Beacon after clearing the bridge fight against the lance-wielding knight at the end of the Village Outskirts. As with the earlier beacon, the way forward stays blocked until you cleanse the corruption inside, so head in and select the Cleanse Beacon option before doing anything else.
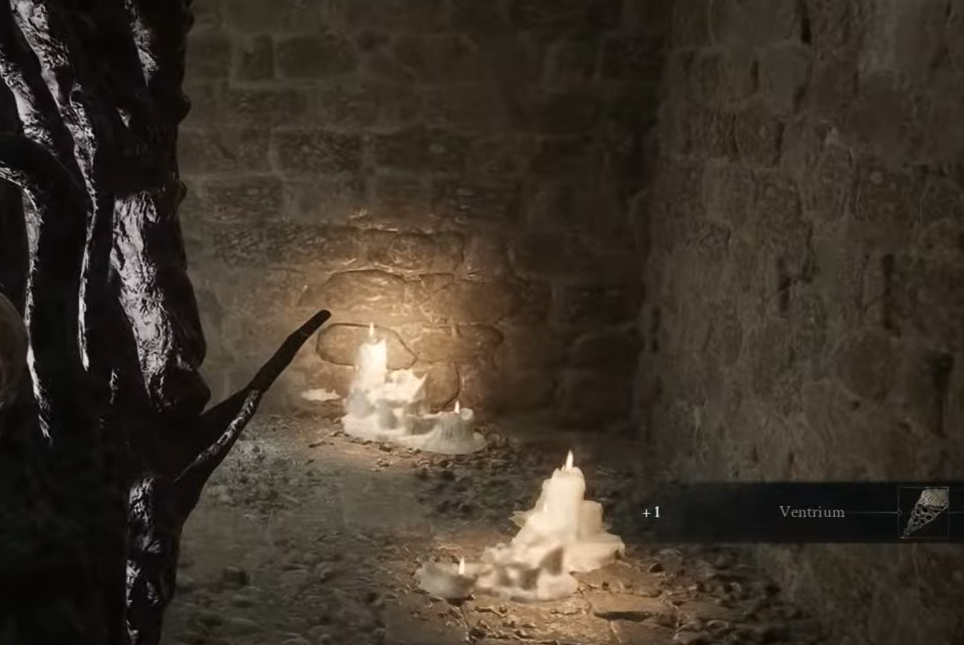
Completing the Derelict Hideout rewards you with a Glimpse, which is used to locate and level up your bonds with Shells. Rest at the beacon to heal before pushing on, since a scripted boss is not far ahead.
Optional detour: Garrick’s Den
From the Disciple’s Grotto Beacon the area opens into several directions. Taking the upward path leads to Garrick’s Den, an optional dungeon that holds extra gold. It is a short side trip and worth grabbing before you commit to the boss, but it is not required to progress.
Route to the Tar Golem arena
The main path down from the beacon runs through a dark cavern into an open combat area, then across a canyon to the stone ruins where the boss waits. There is one heavily armored enemy in the way and two launch portals to carry you over the gaps.
Tar Golem boss fight
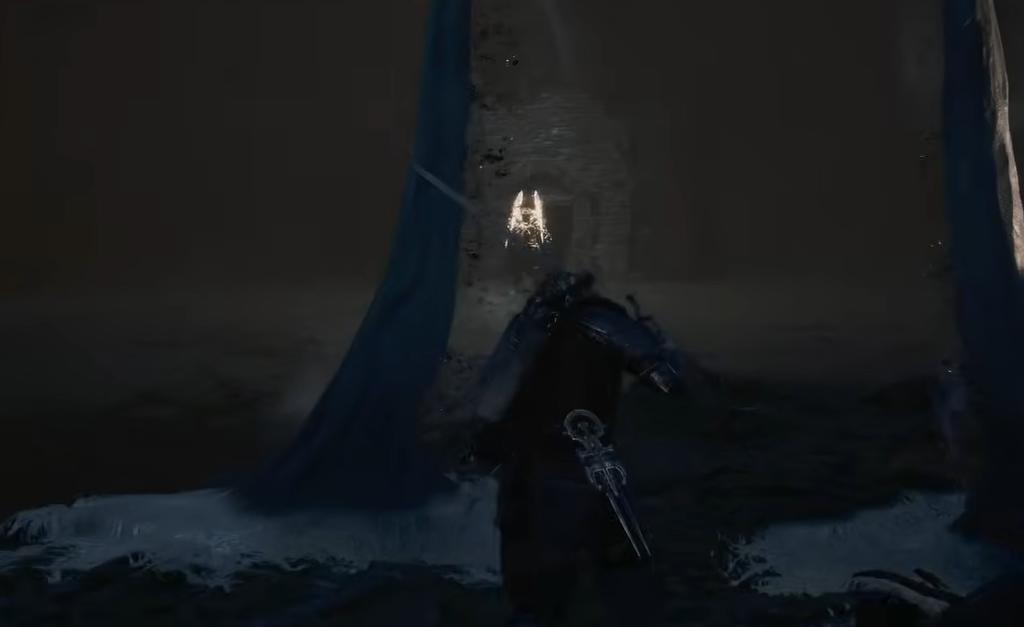
Inside the arena, interact with the torch at the far end to awaken the Tar Golem. This is a scripted fight, and it uses fire-based attacks throughout. The outcome is fixed no matter how well you do, so the encounter is really about how you engage it.
Make sure you enter the arena while inhabiting the Harros Shell. If you arrive as the naked Harbinger (Lavender) and do not resummon Harros, you will have to redo the fight. While inside Harros, you will eventually lose all your health and revert, which triggers the cutscene where Harros’s Shell steps in and sacrifices himself so you can escape.
Defeating the golem is optional and grants no meaningful reward beyond the Finish the Fight achievement. Whether you win or fall, the Tar Golem kills Harros and leaves you without that Shell.
After the cutscene, interact with Harros’s stone form to obtain Vartra’s Seal, which lets you Harden yourself temporarily. This is your first defensive ability going forward.

Leaving the Grotto for the Marrow Keep
Take the elevator past the arena and navigate out toward the open air. Ruk is waiting on a rock and tells you to take the Ovum. Cleanse the corruption around the egg and claim it, and you will teleport to a new spot where a map becomes available.
Open the map to see the path to the Marrow Keep, the game’s central hub. Before entering, grab the extra Chalice on the left of the entrance for more Gold. Offer the Ovum to the disciples to open the gates, then speak with Zhirelle inside, who explains that Harros is gone but that more Shells can still be claimed.
You know the Grotto is fully behind you once you can rest at the beacon inside the Keep, spend Gloom to level up, and talk to NPCs such as Franz the Forgesmith and Merrick. From here the game opens up, with Widow’s Overlook set as your next destination.