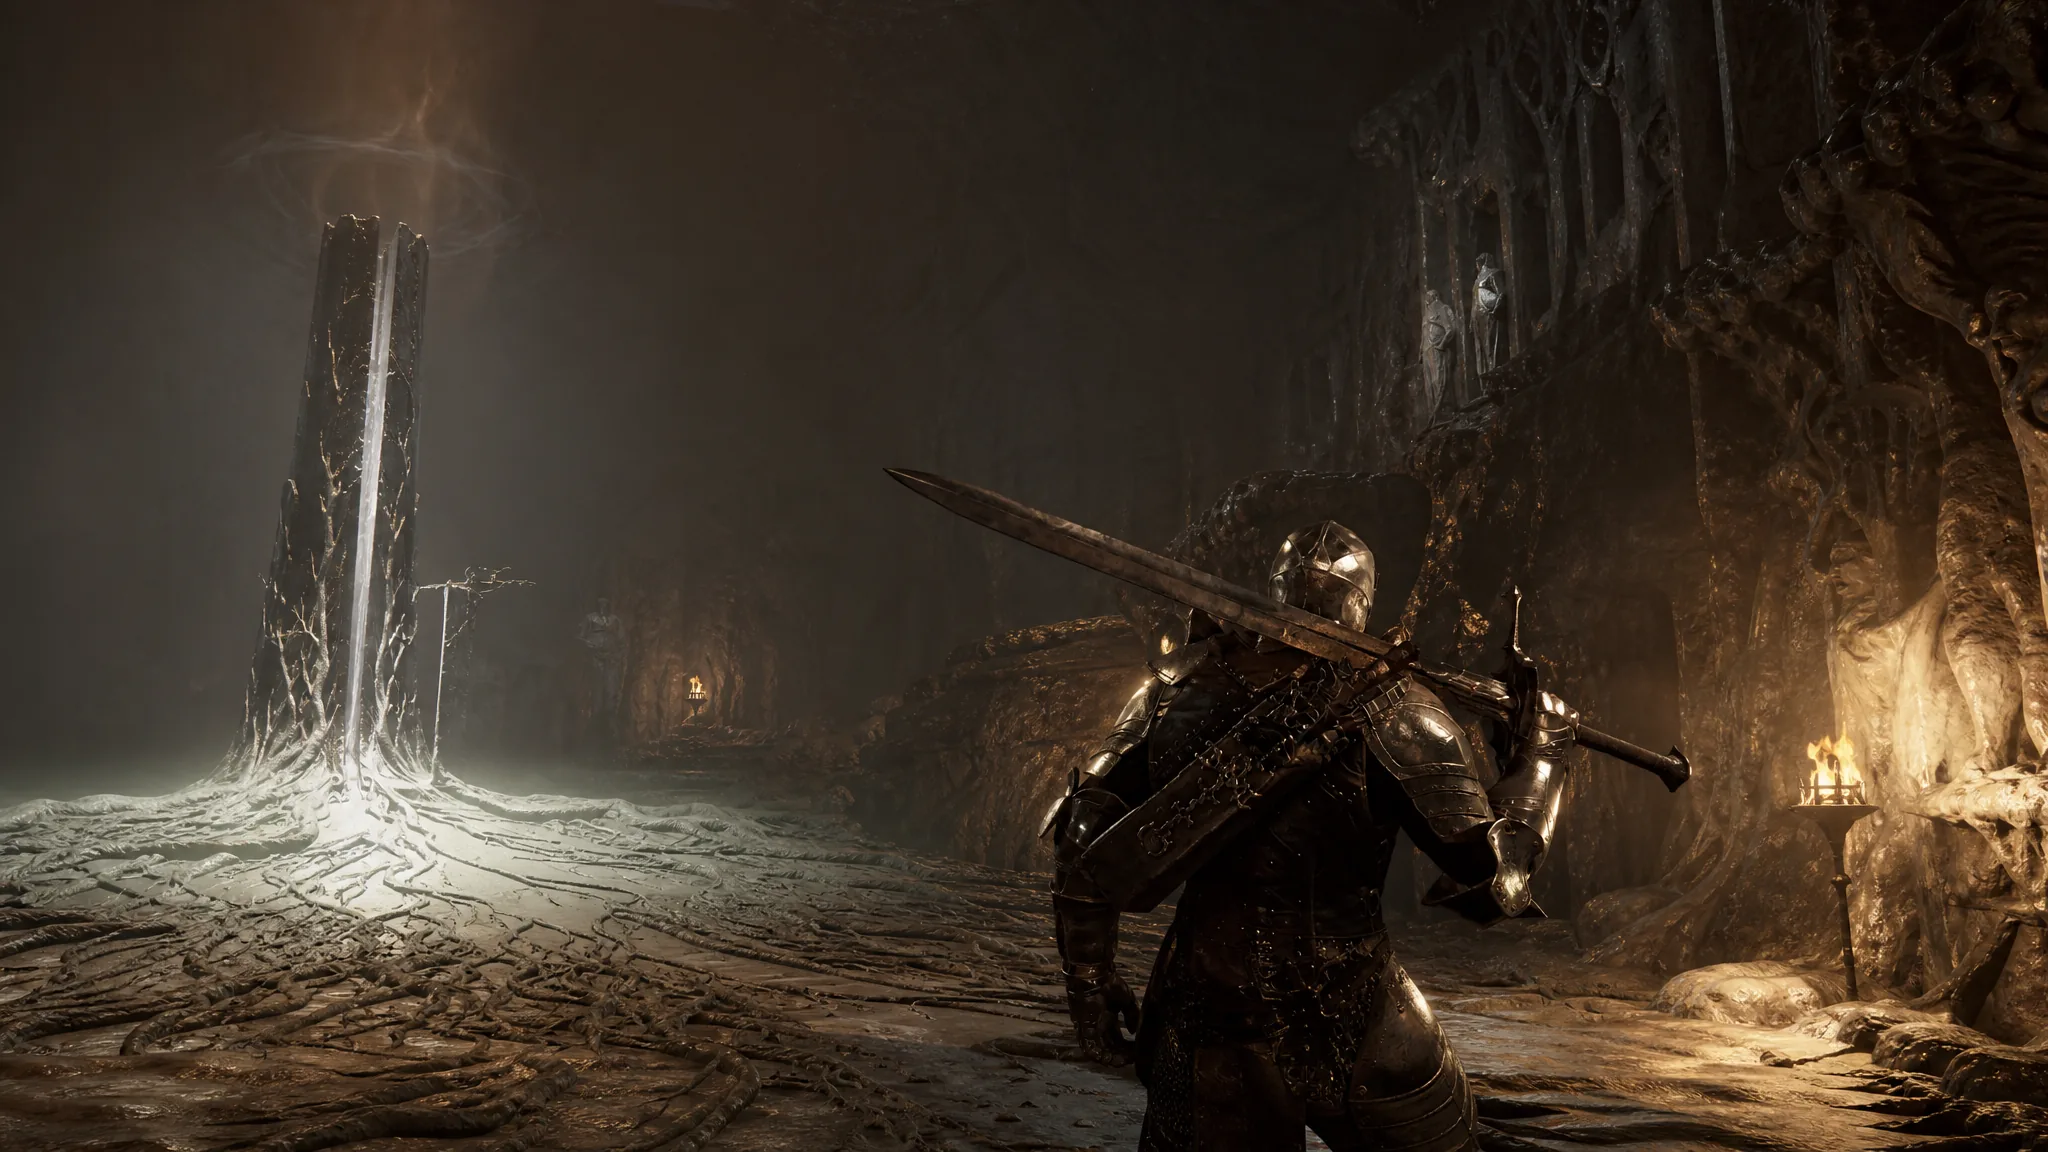
Gloom is the white currency you pour into the Harbinger to raise its stats in Mortal Shell 2. Leveling works a lot like a bonfire in other Soulslikes, but there is one catch that trips up new players: the early Beacons in the prologue only let you rest and refill your Health Flask. You cannot actually spend Gloom until the game hands you the option later.
Quick answer: Push through the prologue, beat the Tar Golem, and carry the Ova to Marrow Keep. Rest at the Beacon near the middle of that hub, pick LEVEL UP, allocate your Gloom, and hold the confirm key to raise your level.
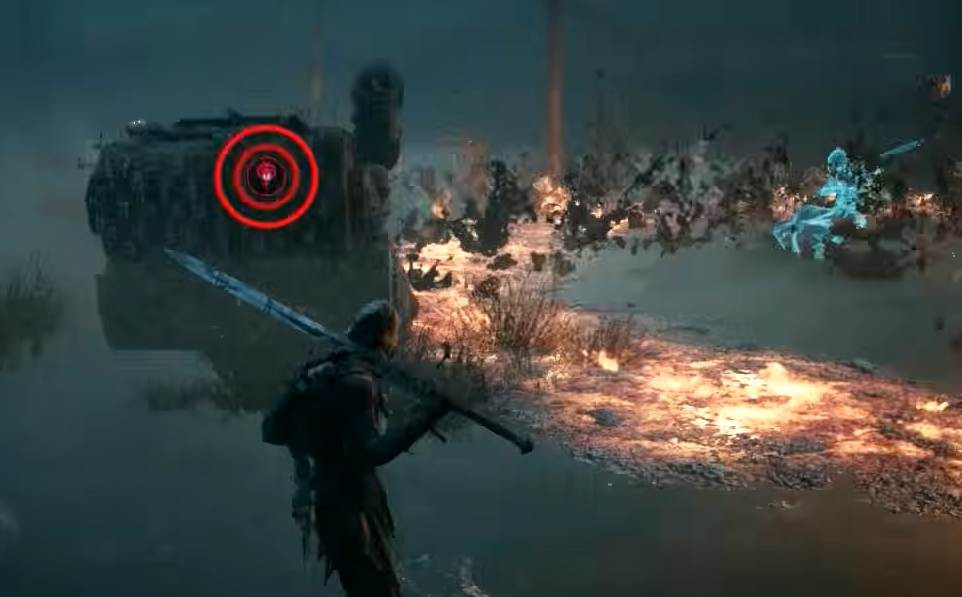
When leveling unlocks at Marrow Keep
The prologue takes you through the opening area and three boss fights, and you will pass several Beacons along the way. None of them offer a level-up option. They only reset nearby enemies, restore your Health Flask charges, and give you a place to rest.
Keep going until you reach the Tar Golem, the final boss of the prologue. The outcome of that fight does not change, and afterward you are sent to carry the Ova to Marrow Keep. Marrow Keep is the central hub, home to merchants and the smiths who upgrade your gear. Explore it and you will find a Beacon around the middle of the area. That is the moment leveling switches on. From then on, every Beacon you touch offers the level-up option.
How to spend Gloom at a Beacon
E, and you will see the REST AT BEACON prompt appear.
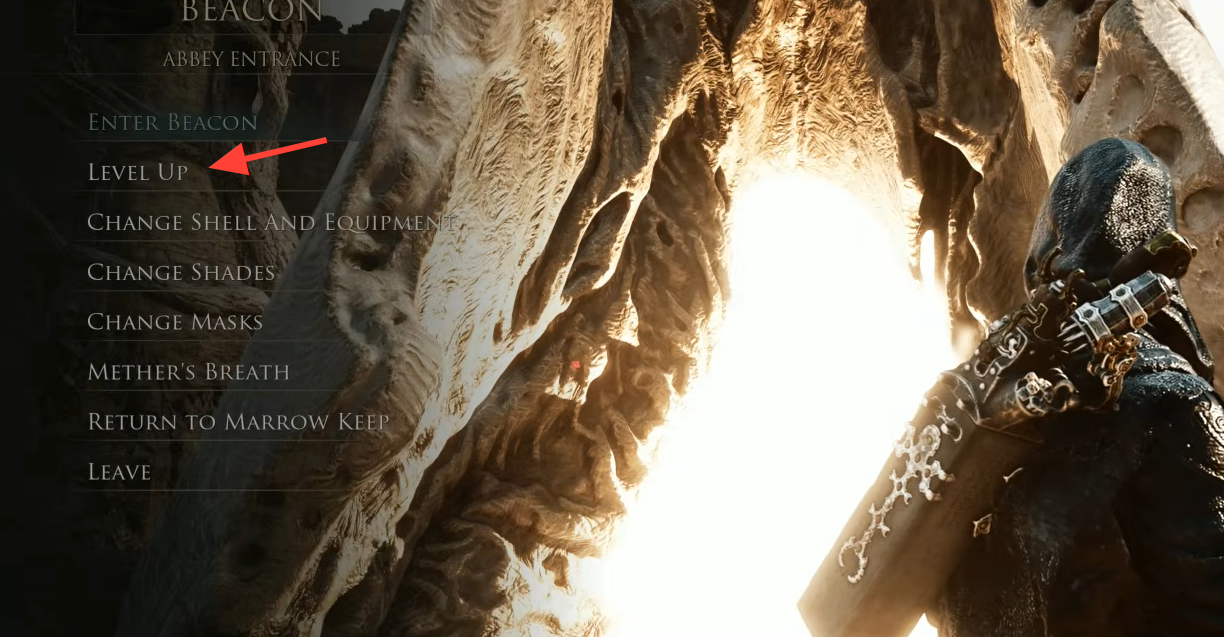
The same Beacon menu also lets you inhabit a different Shell or equip a different Weapon, Sidearm, or Seal through the CHANGE SHELL AND EQUIPMENT option, so it doubles as your loadout station.
What each level adds to the Harbinger
Every level you buy with Gloom pushes up the Harbinger’s core stats. The upgrade screen lists exactly what improves.
| Stat | Effect of leveling |
|---|---|
| Health | Raises your survivable damage before dying |
| Shell Health | Increases the buffer your equipped Shell provides |
| Base Damage | Boosts the damage of your standard attacks |
| Critical Chance / Critical Damage | Improves how often and how hard critical hits land |
| Shell Points | Grows the resource tied to Shell abilities |
How to earn and farm Gloom
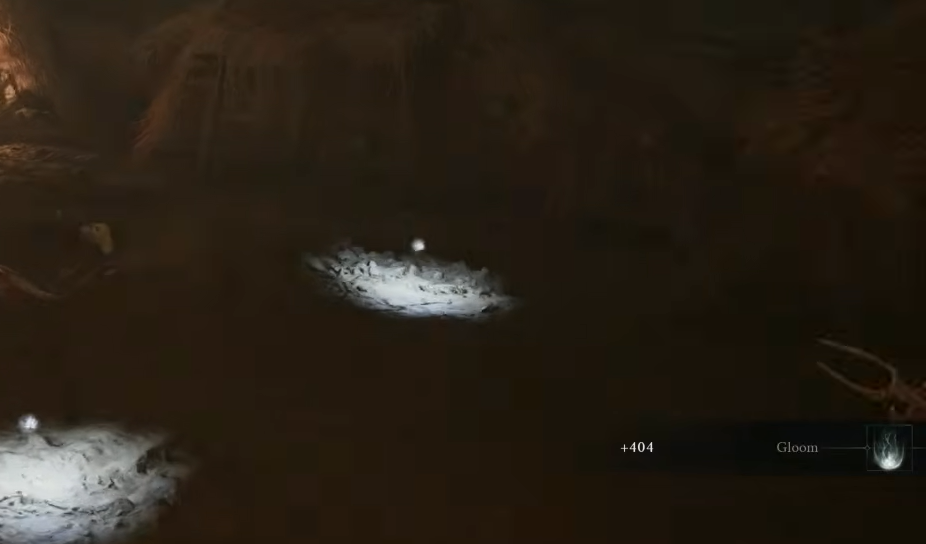
Gloom comes mainly from killing enemies. Regular foes drop small amounts, while bosses and mini-bosses hand over the largest sums. You will also find vine-like tree growths and effigies marked by bluish-white glowing orbs; strike them and the Gloom inside is collected automatically. These only pay out once and do not refill.
Because enemies respawn every time you rest at a Beacon, the reliable farming loop is to clear a high-density area, return to the Beacon to reset the field, and repeat. Equipping the Gloombound Stone Tarstone increases the Gloom you get from slain foes, stacking higher as you upgrade it.
| Farm spot | Yield per loop | Notes |
|---|---|---|
| Gloomshade Grove Beacon clearing | ~1094 Gloom (about every 30 seconds) | Four Grisha Hunters next to the Beacon; they are squishy and respawn on rest |
| Sheep pen near Sunken Village Beacon | Up to ~900 Gloom | Nine sheep across the bridge, after clearing The Wandering Shepherd |
The Gloomshade Grove route is reachable within the first hour if you know the path: start from Widow’s Overlook, head north to Blackridge Pass, cross the wooden bridges over the western chasm, then loop northwest and back around south to the clearing.
Spend Gloom before risky boss fights
Gloom follows the usual Soulslike death rule. When you die, you drop all of it at the spot where you fell. You can walk back and pick it up, but if you die again before recovering it, that Gloom is lost for good.
The practical takeaway is simple. Bank your Gloom into levels at a Beacon before you attempt a boss or push into unfamiliar territory. Holding a huge stockpile through a tough fight is the fastest way to lose it.
Gloom’s other use at the Tarforge
Leveling is not the only thing Gloom pays for. At the Tarforge in Marrow Keep, the Smelt Equipment feature lets you refund upgrades applied to your Weapons and Sidearms. Smelting costs Gloom, and the price climbs the higher the equipment level you are reclaiming.
Keep in mind that Gloom is separate from the currency used to buy items and upgrade weapons. That means your leveling stockpile stays untouched by shopping trips, so the only decision that spends it is choosing when to strengthen the Harbinger.