Chapter 5, “Desolation it wrought,” spreads its collectibles across two sub-chapters: Battle grounds and The four symbols. None of the fixed items are lost if you miss them, since you can return through Chapter Select. The Resonance Points are the exception and demand a single clean run.
Quick answer: Chapter 5 holds 11 fixed collectibles — 5 Artefacts, 5 Charms (one of which is a Theseus Echo), and the Greek Sword — plus a batch of Resonance Points. Grab the fixed items whenever you like via Chapter Select, but collect the Resonance Points in one uninterrupted playthrough.
Why Resonance Points are the only missable collectibles
Resonance Points are the game’s skill points, marked by a glimmering white light. Each pickup is worth one point, and some drop automatically after you clear an enemy group. They do not carry over through Chapter Select. If you reload an earlier chapter, your total resets to whatever you had when you first reached it, so points earned later do not transfer back.
They are only saved when you hit the next checkpoint. If you die before that, you must collect them again. Across the whole game there are 200 Resonance Points, and 165 are needed to buy every skill for the “Like a warrior” trophy. That means you can skip up to 35 total, but if you drop 10 or more inside one chapter it is safer to restart the chapter before moving on.
Chapter 5 collectible checklist
| Type | Name | Sub-Chapter |
|---|---|---|
| Charm | Trinket 2 | 2 – Battle grounds |
| Artefact | Griffin Figurine | 2 – Battle grounds |
| Charm | Seal 2 | 2 – Battle grounds |
| Artefact | Dante’s Inferno – Canto XII | 2 – Battle grounds |
| Charm | Bracelet 3 | 3 – The four symbols |
| Artefact | Scarab Amulet | 3 – The four symbols |
| Charm | Arm Band 3 | 3 – The four symbols |
| Artefact | Condottiero Stamp | 3 – The four symbols |
| Artefact | Ceremonial Blade | 3 – The four symbols |
| Blade | Greek Sword | 3 – The four symbols |
| Charm | Pierced Coin 1 (Theseus Echo) | 3 – The four symbols |
Sub-Chapter 2: Battle grounds collectibles
This stretch runs while your objective is “Reach the central temple.” Two Charms and two Artefacts sit across the ruined battlefield.
Charm: Trinket 2
Defeat the first group of enemies, then take the left path and pull down the wooden barricade. Move through the ruins on the lower floor rather than climbing up, and you reach an abandoned enemy camp in the corner of the area. Climb the rocks on the left to reach the upper tent, where the chest sits.
Artefact: Griffin Figurine
After the first fight, head up to the right of the ruins and clear the three enemies there. Look for the ruin with a large pit of spikes in the floor. In the corner are wooden boards you can shimmy across to reach this Relic of the Past.
Charm: Seal 2
Continue up into the ruins from the Trinket. Around the middle of the ruins an archer stands on top of the pillars. Take the archer down, then go around the left corner just below its position to find the chest.
Artefact: Dante’s Inferno – Canto XII
Push through the ruins until you reach a big green gate, but do not go through it. Facing the gate, turn left and climb down the ladder into an enemy camp. Clear the fighters, then pick up this Relic of the Present between the two white tents at the back.
Sub-Chapter 3: The four symbols collectibles
You reach a room with four pedestals and a locked gate. Each exit has a different symbol above it, and the paths branch toward the four symbols you need. Two of those branches hold every remaining Chapter 5 collectible.
The “Dice” path: Bracelet 3, Scarab Amulet, Arm Band 3
From the four-pedestal room, take the exit marked with the “Dice” icon above the gate. Follow the path until you separate from Leni, then drop down the platforms, jumping over the one with a spike trap. At the bottom, immediately turn left and climb the ruin to reach a chest at the end of the path. That is Charm: Bracelet 3.
Continuing on, you meet a floor puzzle where you leap across platforms fitted with spikes. Five symbols on the floor in front of the middle platform show the safe order, reading Dots – Kraken – Dots – Flower – Kraken. The four columns are labeled 1 (leftmost) through 4 (rightmost). Landing on a wrong platform is fatal.
Scarab Amulet sits in the back left corner of the spike platforms. Jump in this order to reach it and stay safe: Dots (2) – Kraken (3) – Dots (3) – Flower (2) – Kraken (2) – Dots (2) – Kraken (1, jumping left). Then climb the rocks on the left side and shimmy over the gap to grab this Relic of the Past.
After you finish the spike-platform puzzle and take the symbol, you arrive at a beach with enemies. Clear them, then head to the right corner of the beach near the water and a boat to open the chest holding Charm: Arm Band 3.
The “O with 3 lines” path: Condottiero Stamp, Ceremonial Blade, Pierced Coin 1
Back at the four-pedestal room, take the exit whose icon looks like an “O” with three lines. Cross the bridge, then keep to the leftmost route.
For Artefact: Condottiero Stamp, go left after the bridge and drop down the right cliff to a group of enemies. Defeat them, spot the big green gate upstairs, and do not go through it. Instead head the opposite way to an abandoned camp with a large bull pillar. To the right of that pillar, follow the path down and grab the Relic of the Present just before a gap.
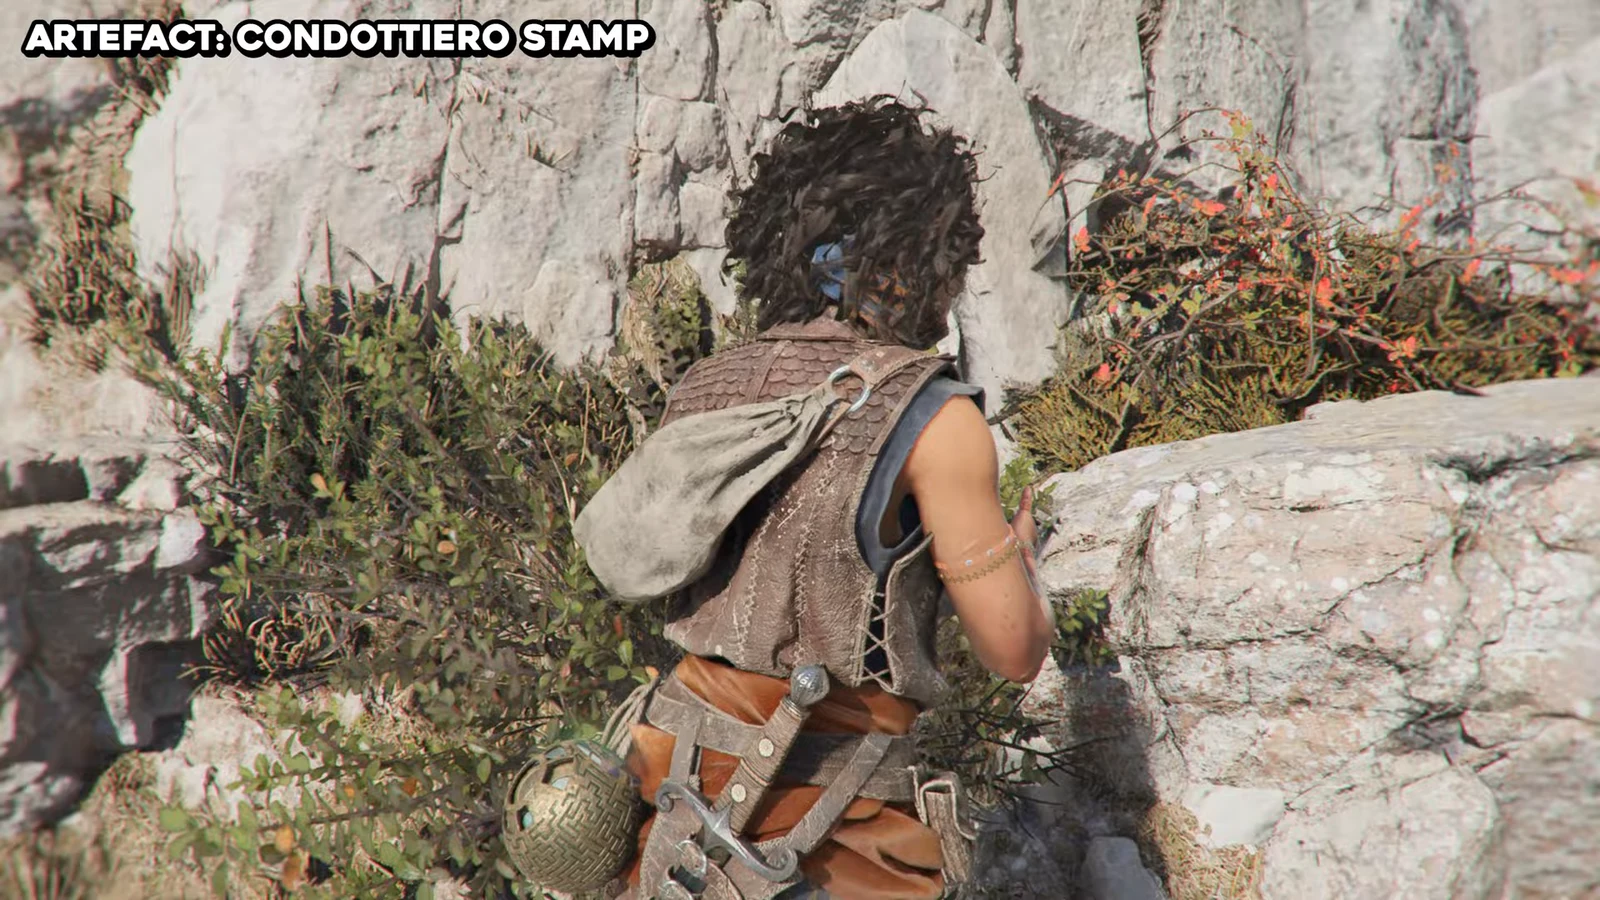
For Artefact: Ceremonial Blade, backtrack upstairs to the bull pillar and this time take the path to its left through the camp. Jump the gap at a small waterfall and follow the path until you can turn right. That route leads to this Relic of the Past near the water, resting under a tree on the cliffside.
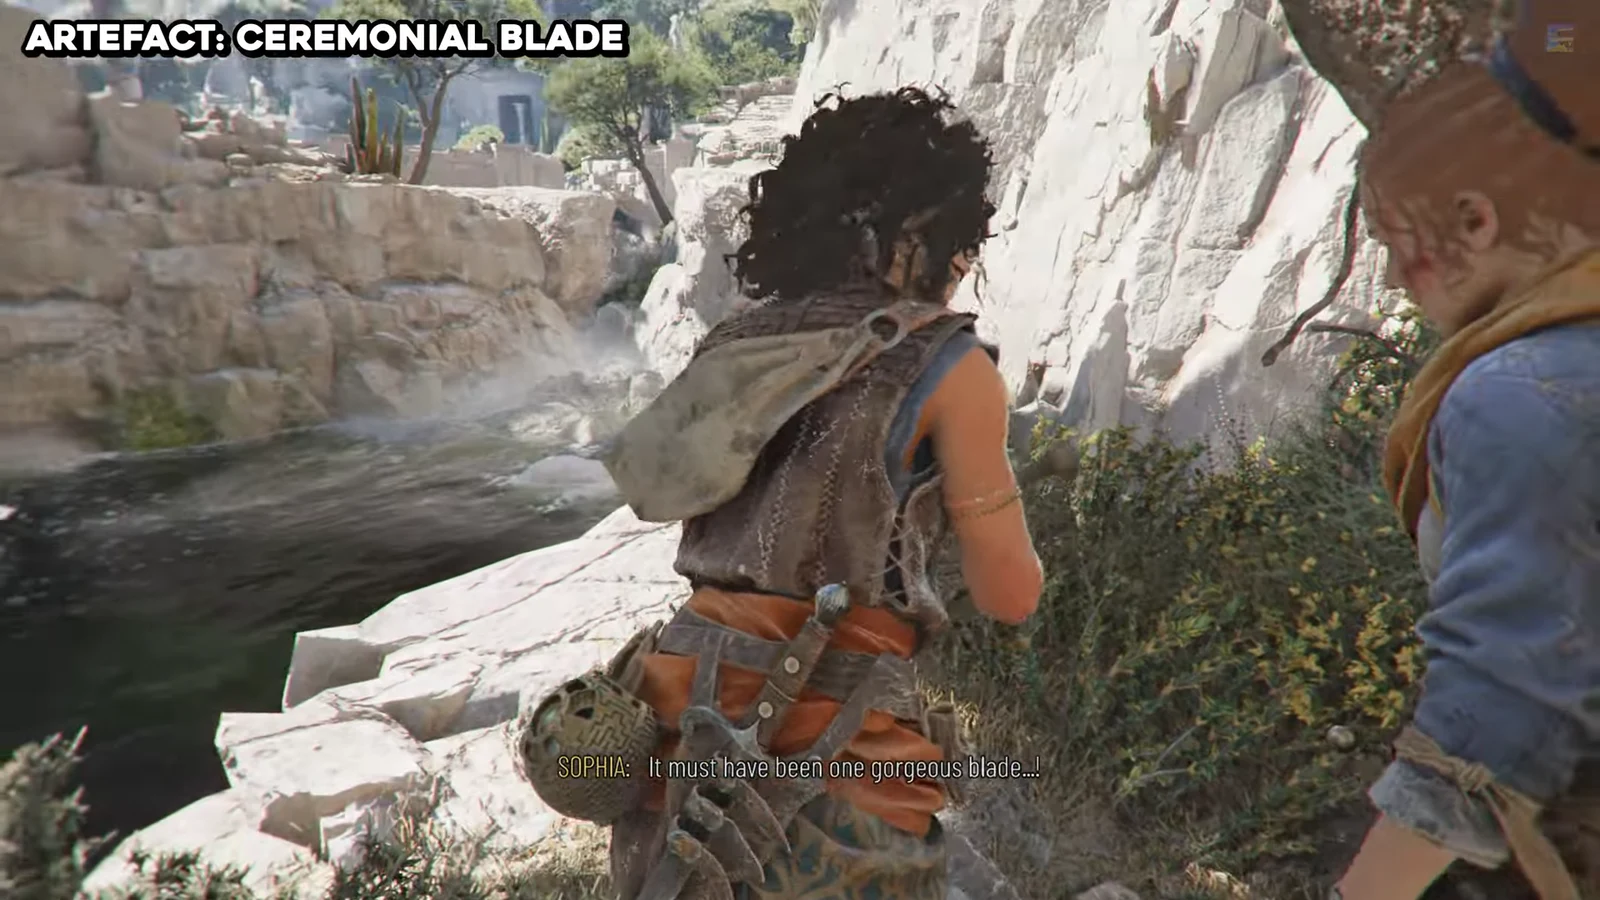
For Charm: Pierced Coin 1, follow the leftmost route past the bridge until you climb a ladder to the top of the area. Defeat the enemies there, then interact with the Axe statue. This is also Theseus Echo #1. The five Theseus Echoes are the Pierced Coin charms you gather from Axe Chalices instead of chests, and each one triggers a flashback of Theseus speaking. They still count toward the full 30-charm total.
Blade: Greek Sword light puzzle
The Greek Sword is found on the “O with 3 lines” path while your objective is “Find the second symbol.” It comes from a light-alignment puzzle at the top of the ruins near the bull pillar.
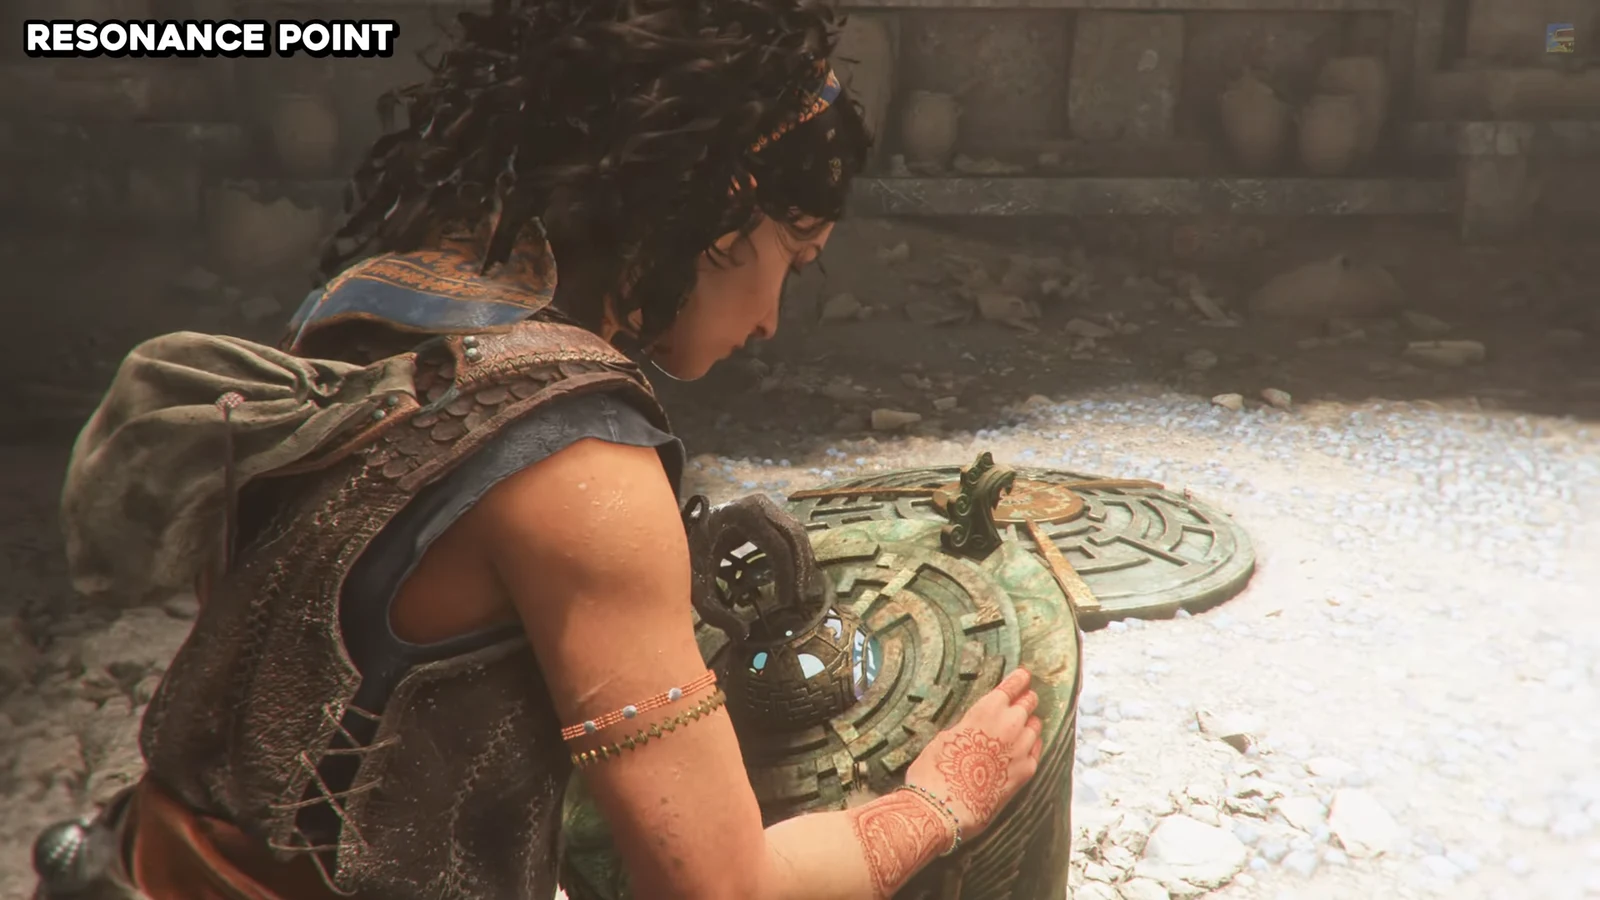
You know it worked when the sword appears in the “Sophia” menu below the skills, and the Chapter Select blade counter ticks up. Remember to land one kill with each blade for the “Adaptable” trophy.
Resonance Points throughout Chapter 5
Chapter 5 is dense with Resonance Points, and a good share of them are handed to you automatically after you clear a group of enemies. Watch for the “Resonance Point x2” prompt that pops after larger fights in the courtyards and campsites.
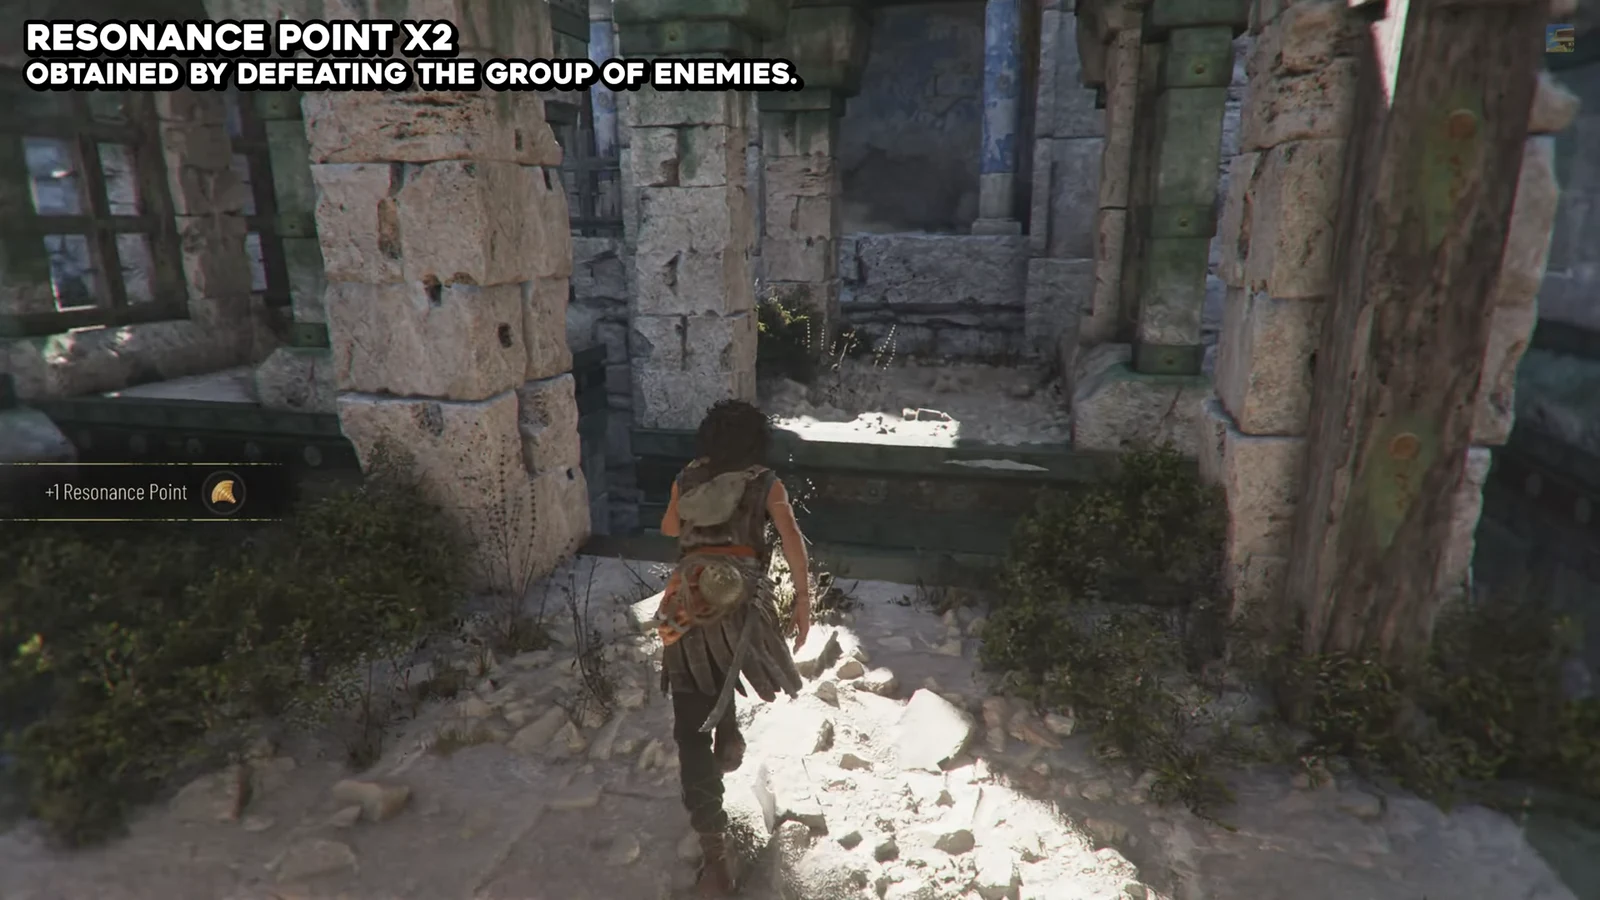
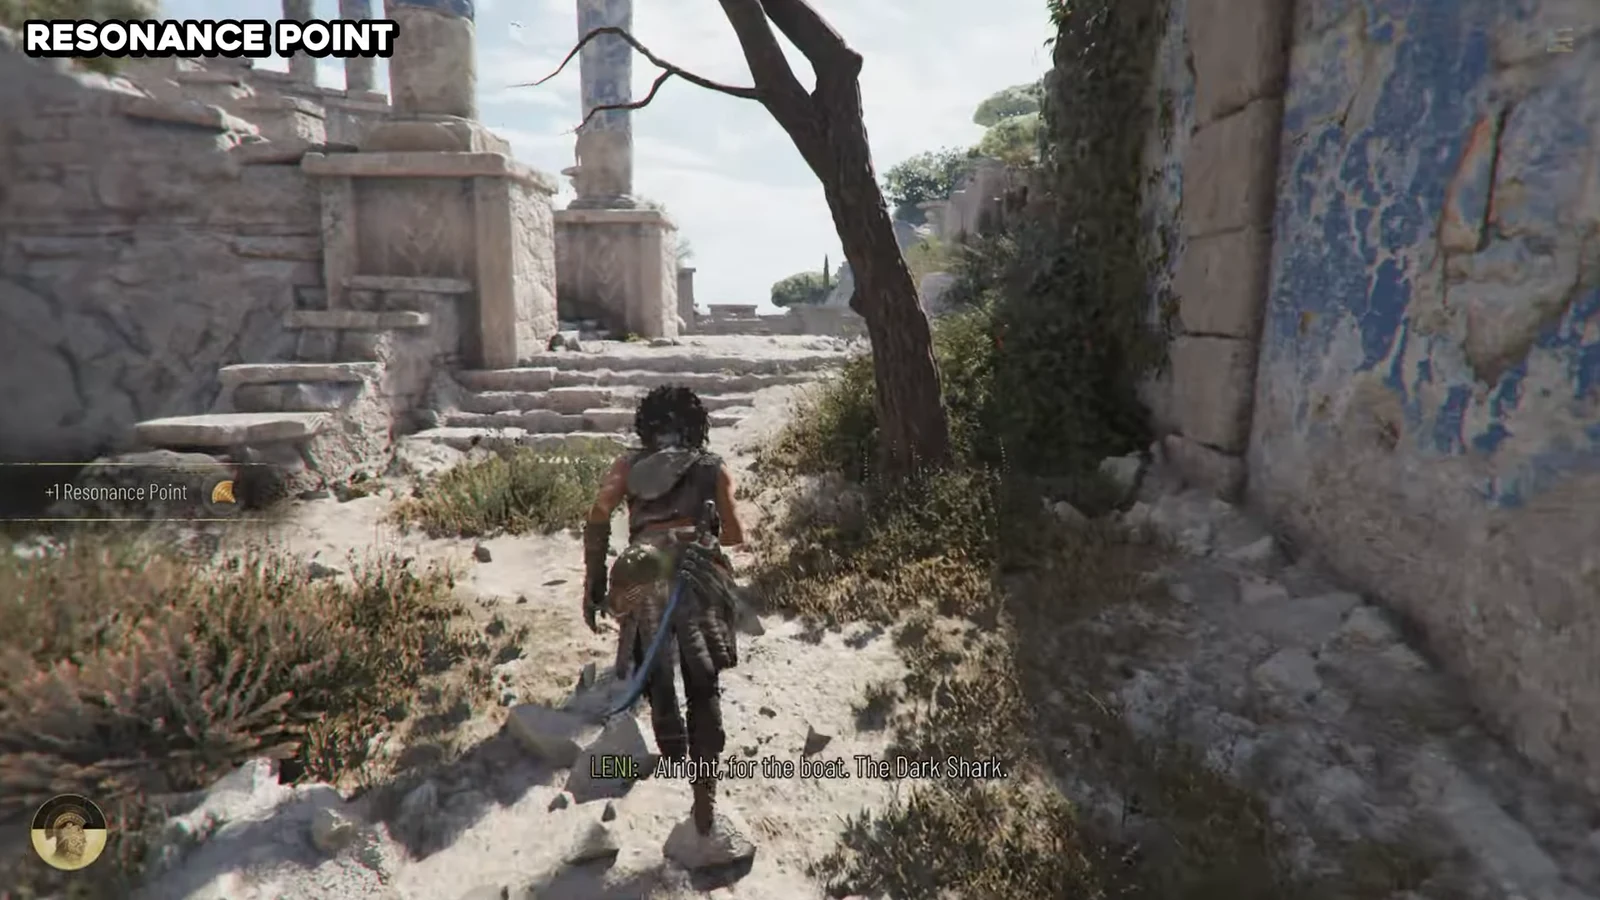
The rest glimmer in the environment as you move through the ruins. Common spots include beside barrels along the stone paths, near the base of ladders, on ledges overlooking the temple, and around the camps by the water. Sweep each area before you trigger the next story checkpoint so nothing is left behind.
Deeper in the chapter, a statue light puzzle inside the cave gates off one more Resonance Point. Solve the alignment with the sphere and the point becomes reachable as you cross the electrified floor with Leni.
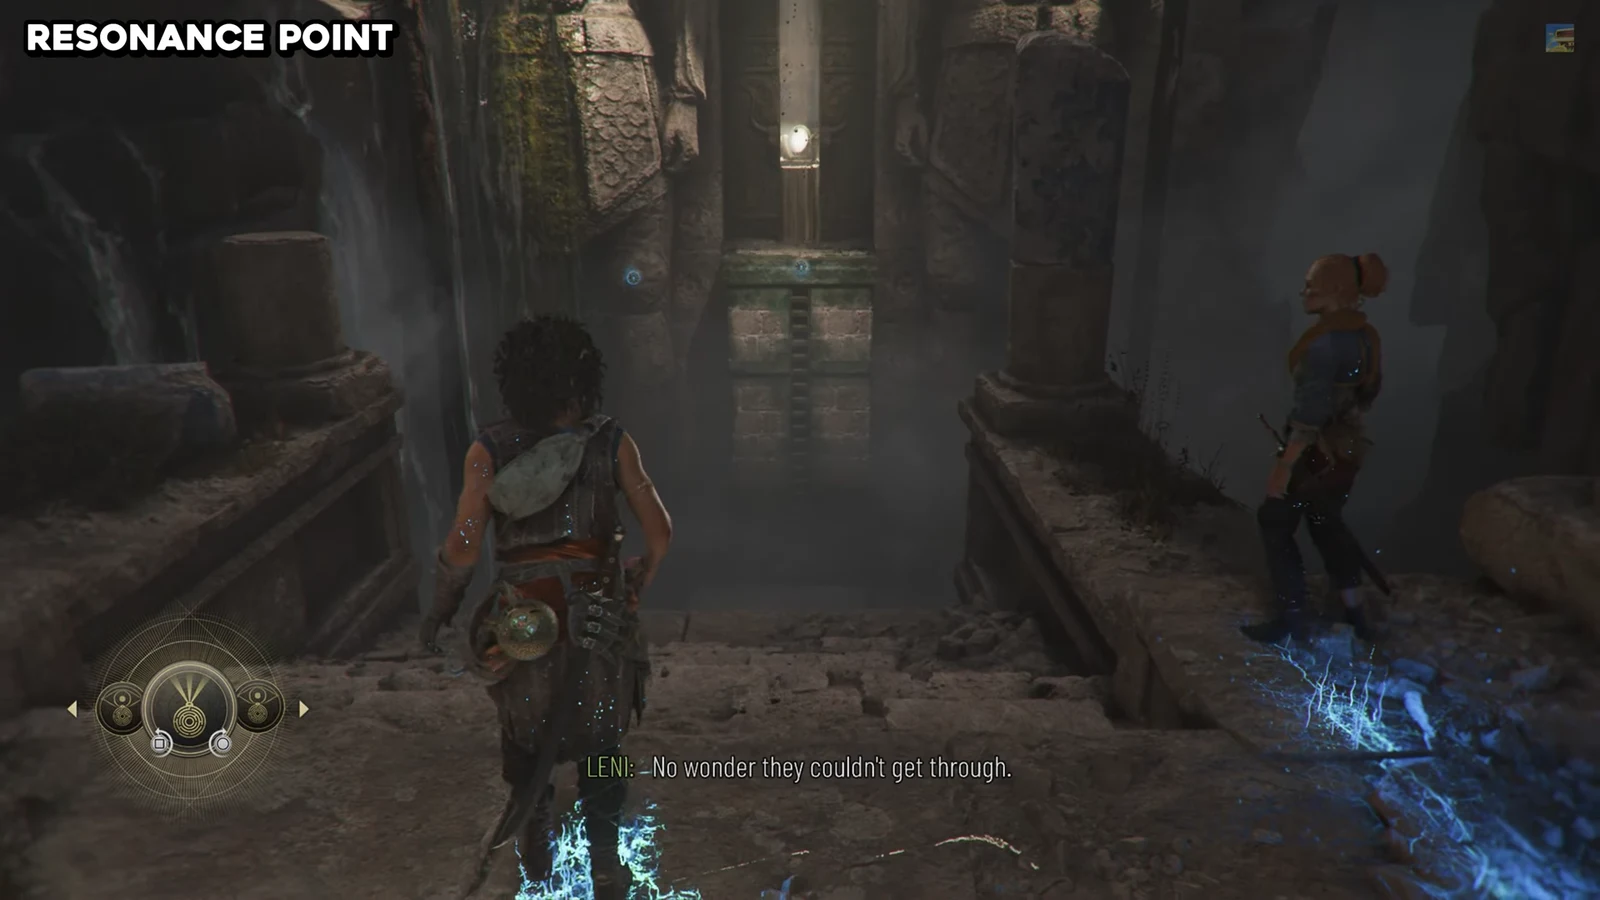
You can track your running total under Touchpad, then Artefacts, in the bottom-left counter. As long as you finish the run with at least 165 Resonance Points, dropping a few here is harmless. Keep the fixed Artefacts, Charms, and the Greek Sword in mind for any Chapter Select cleanup, and Chapter 5 is fully accounted for.