

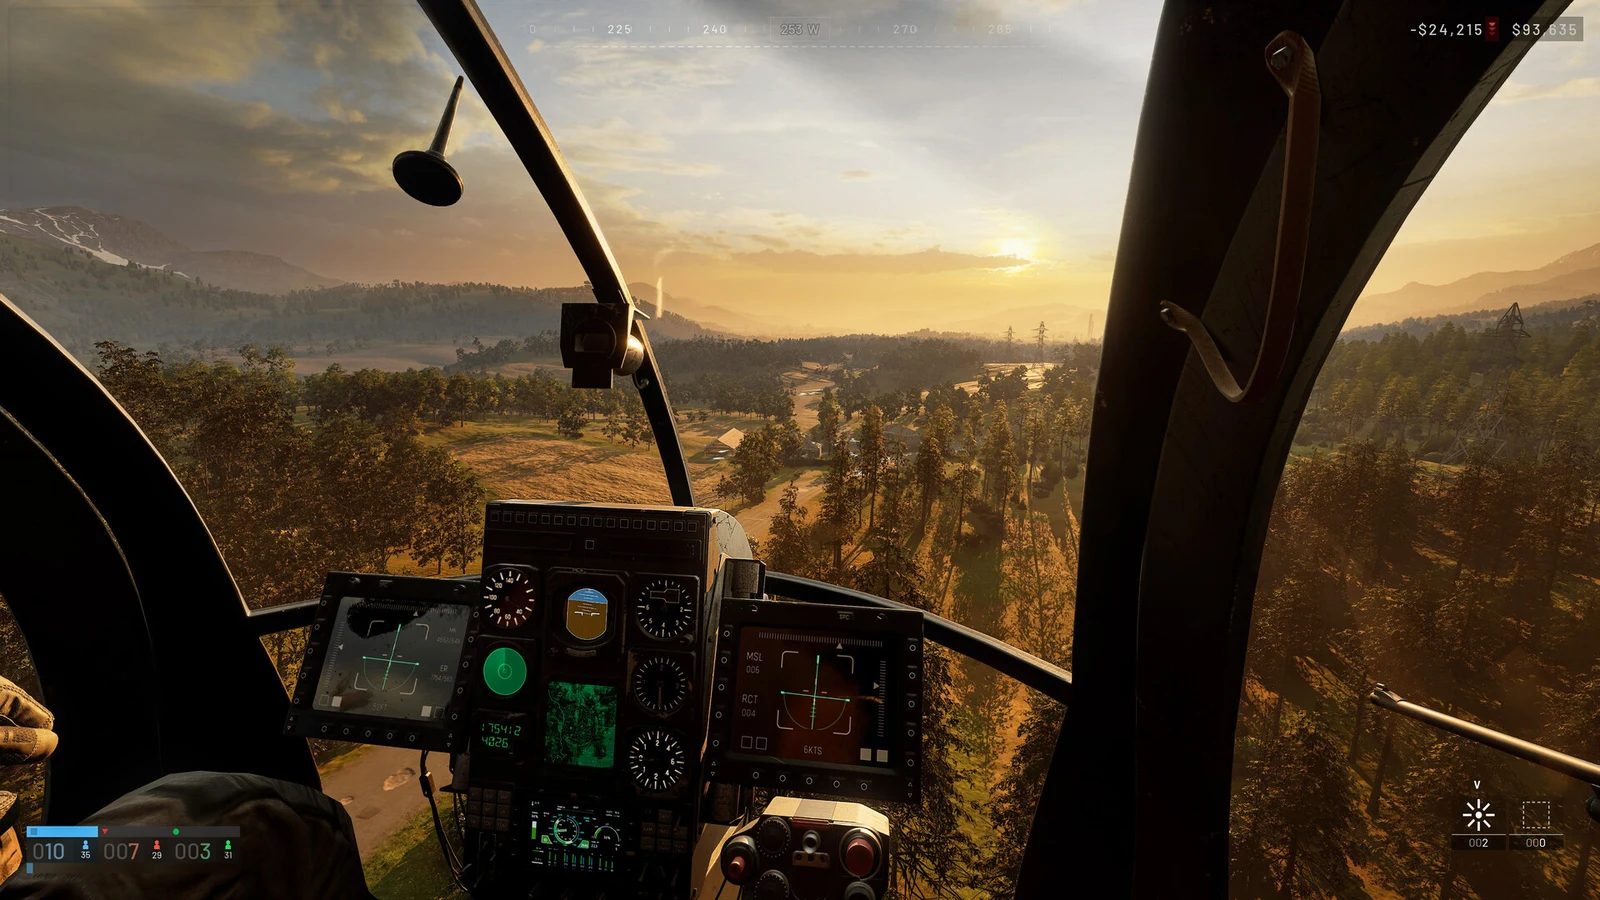
Kills are not how pilots get paid in WARDOGS. The money sits in the transport loop: bodies moved onto a live objective, pallets dropped where the team is building, and crates sold to teammates who have run dry. A full match flown well can clear six figures with a scoreboard that reads zero kills and zero deaths, and the same flights feed the Pilot track, which shooting does not.
Quick answer: Spawn a Z20 Lakota for $7,400, fill it with squadmates and drop them into the Hot Zone. Each survivor pays up to $1,000, and a $400 supply pallet returns $2,500.
What a helicopter run pays
Every useful thing a pilot does fires a cash notification, and most of them stack on the same run. These are the payouts that matter to an airframe.
| Action | Payout |
|---|---|
| Tactical deployment (passenger drop) | +$250 |
| Passenger survives the drop | +$500 to +$1,000 |
| Transported player gets a kill | +$750 |
| Supply pallet delivered to the Hot Zone | +$2,500 |
| Teammate builds a FOB from your drop | +$1,800 |
| Crate item sold to a teammate | +$300 |
The Hot Zone is the whole reason to fly there instead of anywhere else. Actions inside it pay double, so a passenger who survives a normal drop-off is worth $500 and the same passenger in the Hot Zone is worth $1,000. Standing in the zone also ticks its own occupation income, which means the squad you dropped keeps earning while you fly back for the next load.
The income does not stop when passengers get out. Kills scored by players you delivered pay back into your account, so where you put them matters as much as whether they lived. Six people set down behind cover near the fight will out-earn six people dumped into open ground, twice over.
Which helicopter to fly first and what it costs
Use the vehicle vendor’s AIR tab at your faction’s safe zone to get a helicopter. None appear in the world during a match: purchase the airframe, find it on the pad, and pay again whenever you need another. Pilot-track levels and a single unlock charge gate five of the six helicopters.
| Helicopter | Role | Price | Gate |
|---|---|---|---|
 MH-6 MH-6 | Transport | $6,250 | None |
 AH-6M [Miniguns] AH-6M [Miniguns] | Combat | $7,000 | Pilot 4, $50,000 |
 Z20 Lakota Z20 Lakota | Transport | $7,400 | Pilot 10, $35,000 |
| Z20 Lakota [Miniguns] | Combat | $8,000 | Pilot 25, $75,000 |
| AH-6R [Rockets] | Combat | $12,500 | Pilot 20, $250,000 |
 HAVOC HAVOC | Combat | $18,000 | Pilot 35, $500,000 |
For money, the Z20 Lakota is the airframe to unlock. It carries 13 seats, tops out at 445 km/h, holds 120 litres of fuel and burns 4.4 litres per kilometre, which means one purchase can move an entire squad and a pallet run before you need to touch down at base to refuel and repair. The MH-6 is the cheapest way to learn the flight model at all, and it earns the same Pilot progression on supply runs as it does on passenger runs.
The armed Little Birds serve a separate purpose. At $7,000, the AH-6M is the least expensive test of handling weapons and flight together. The rocket model costs $12,500 per life and requires a $250,000 unlock. While you are searching for targets, neither aircraft generates transport income.
The pilot absorbs team-kill expenses. Should a passenger shoot you down, the crash bill is yours rather than theirs.
Passenger runs into the Hot Zone
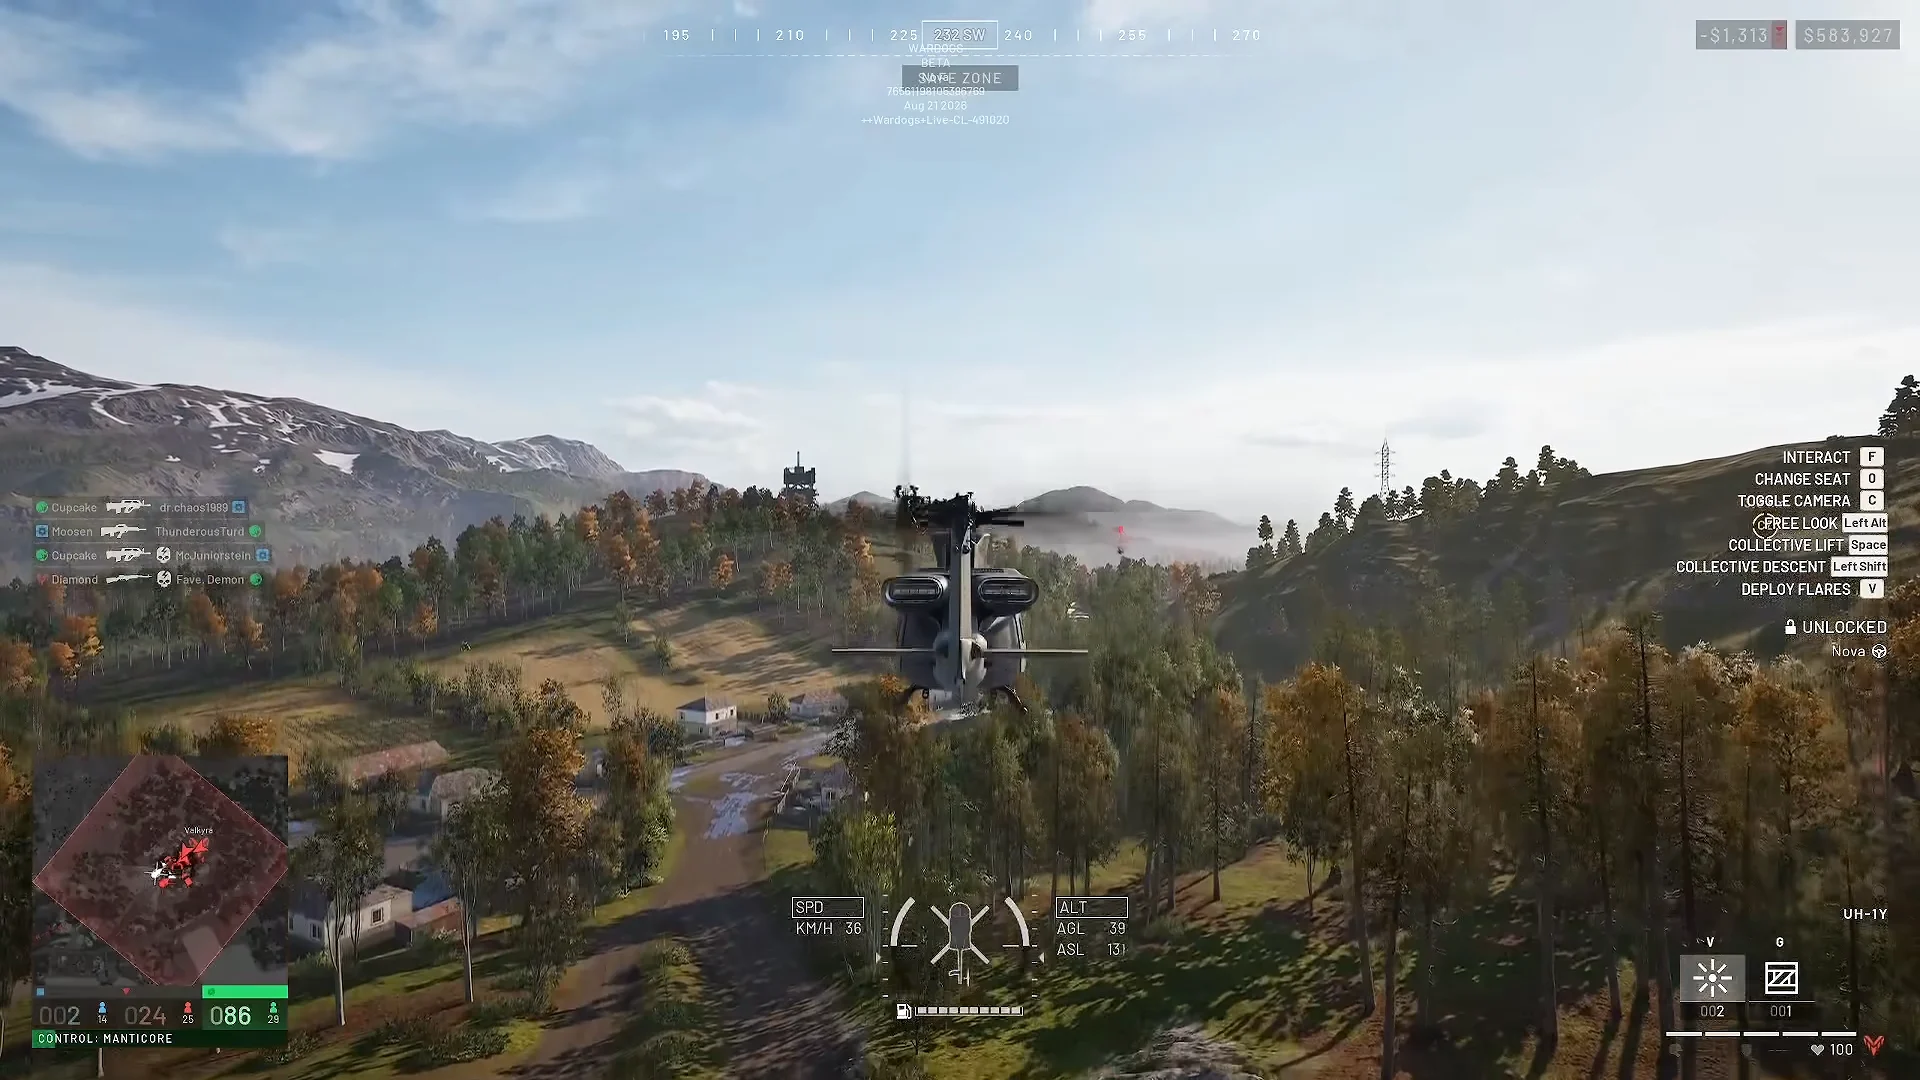
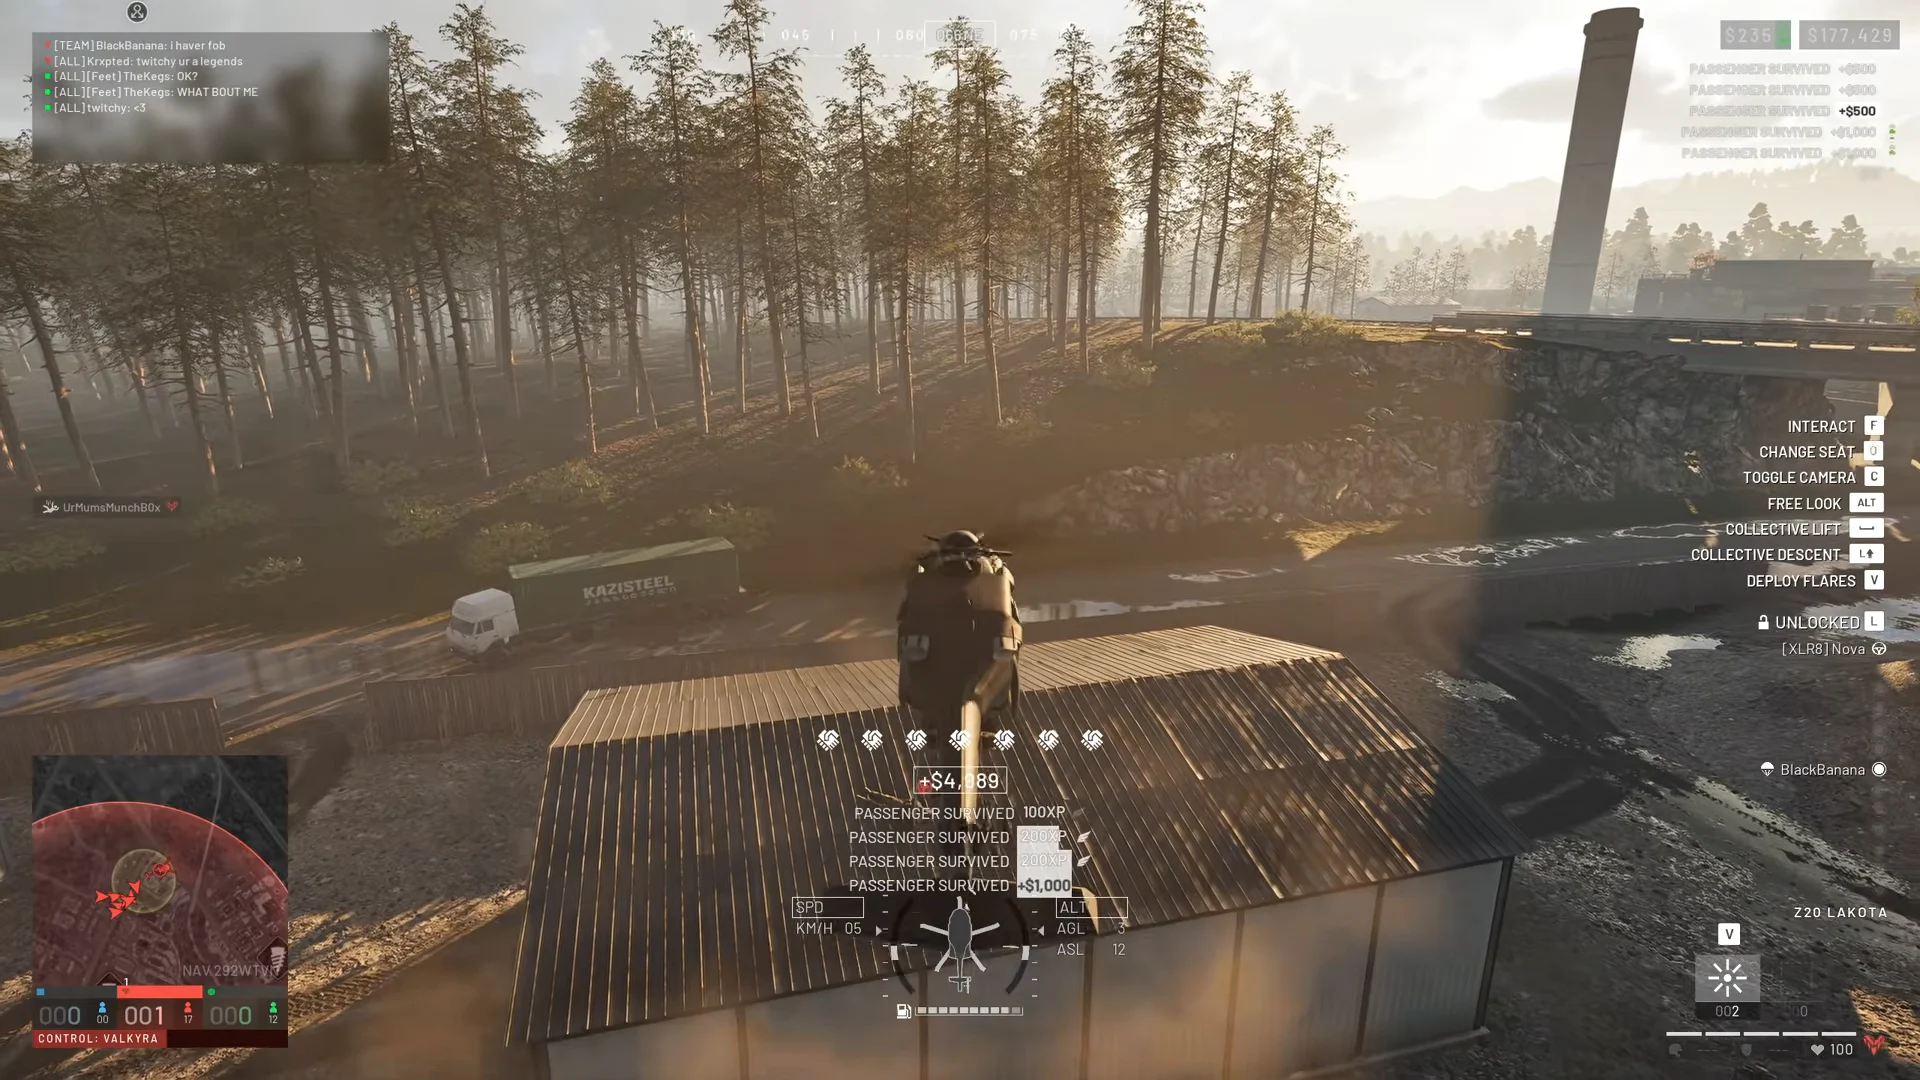
Setting a squad down together also protects the money you already earned. Players who land as a group can heal and revive each other; players scattered across a hillside cannot, and a passenger killed immediately after the drop costs you a penalty instead of a bonus.
Parachute drops from altitude
If the objective lacks a safe place to land, drop passengers beneath canopies instead. Each Basic Parachute costs $100, weighs 2.5kg, works once, requires manual deployment, and offers no steering after opening. Purchase several at the vendor and put them directly in the helicopter inventory, allowing passengers to take one during the flight.
Brief the squad before takeoff, because the payout depends entirely on them surviving the descent. Three things they need to do:
- Use F for the helicopter inventory, move down through the list, and remove a parachute.
- Leave the aircraft above the objective before it loses its height.
- Press spacebar to deploy, with at least 30 feet of clearance for the canopy to open.
Count them down so they leave together rather than trickling out across half a kilometre. Hold your altitude and a steady speed on the run-in, since anyone who jumps too low to open a chute dies on impact and pays you nothing — and a passenger who bails with no parachute at all costs you a penalty.
A player hanging under a canopy is the easiest target on the server. Parachute drops are for objectives you cannot land near, not a default replacement for setting the squad down behind cover.
Supply pallets and crate sales
Empty seats are wasted money, and logistics fills them. Press B over your base to open the logistics menu and buy a Build Supply Pallet for $400. Deliver it to the Hot Zone and the return is $2,500, with another $1,800 if a teammate turns your drop into a FOB. Mechanical, Ammo and Fuel pallets sit in the same menu at the same price.
Pallets are fragile. They survive a free-fall of roughly 90 metres and no more, so come in low and slow before releasing rather than punching one out from cruising height. Delivery to a FOB is what the game recommends, and it is also where the build bonus comes from.
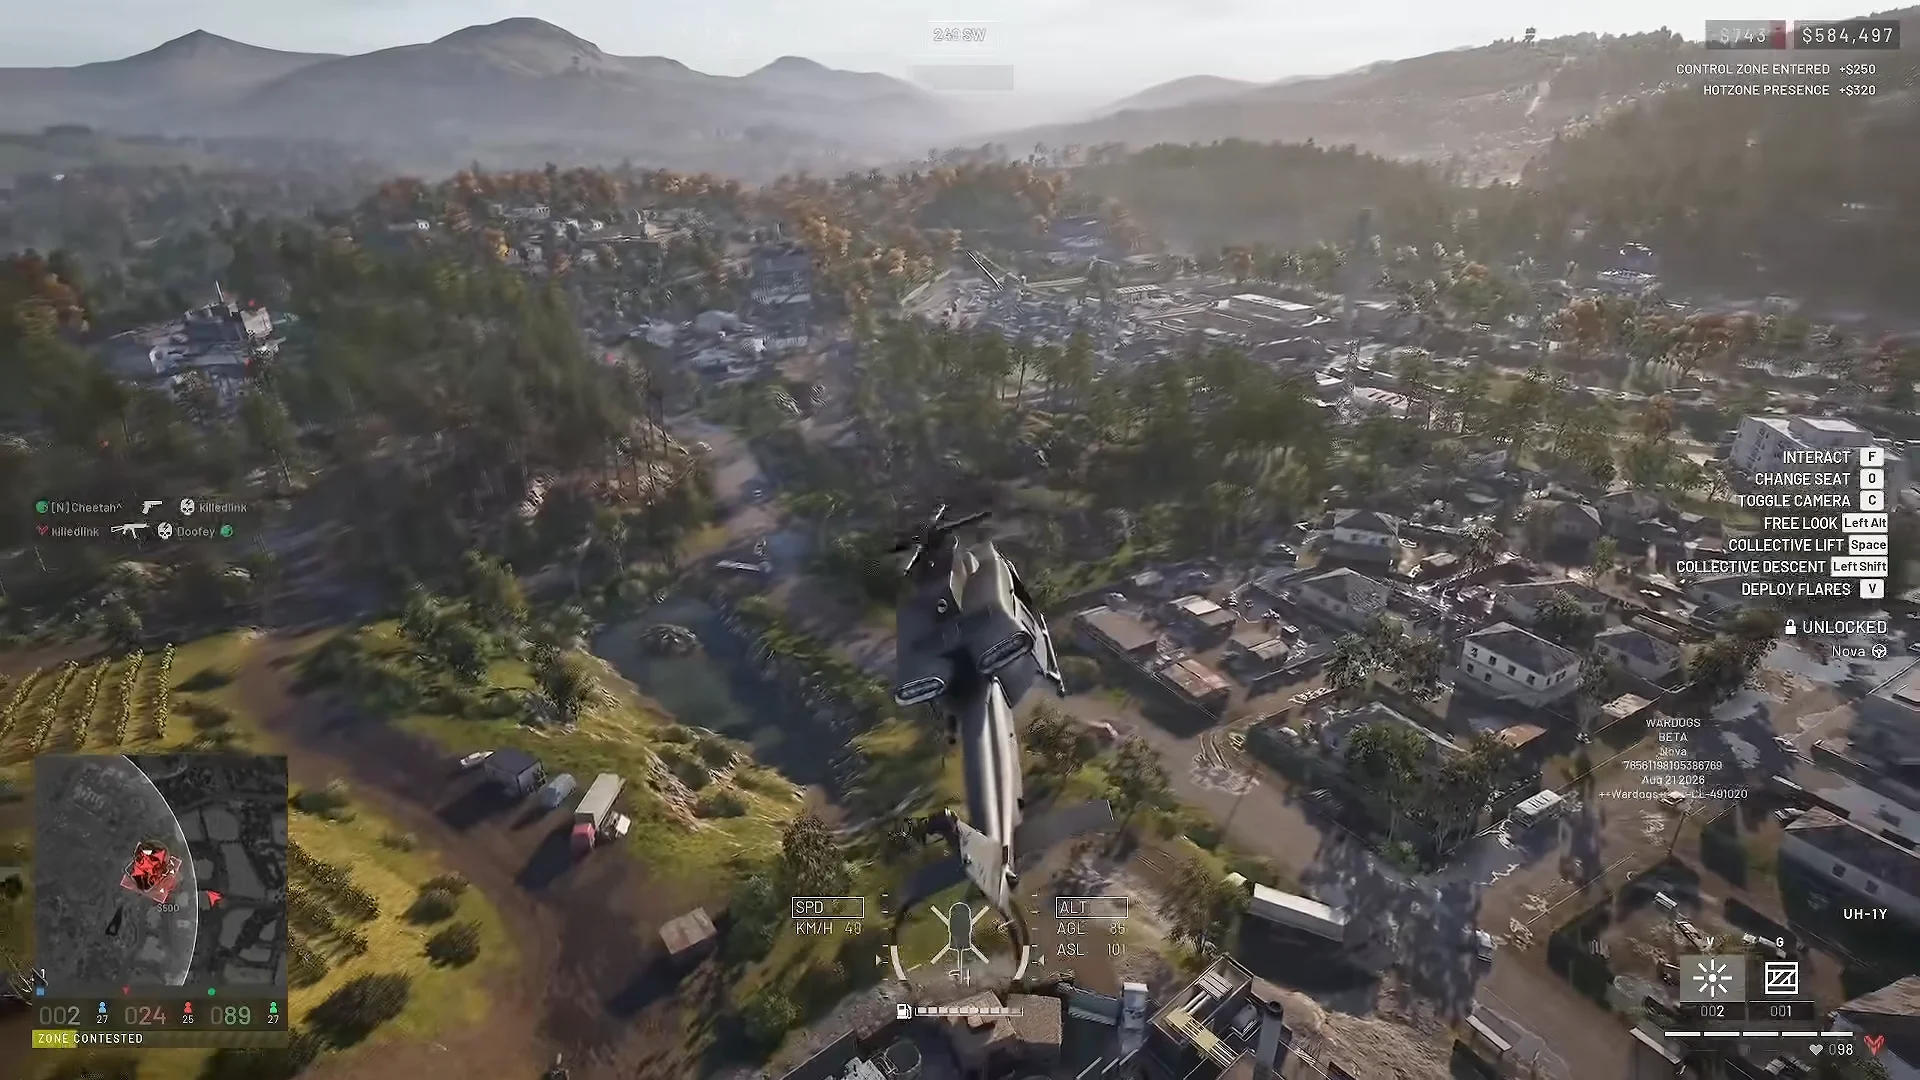
Crates are the other half of the logistics economy, and they pay per item rather than per delivery. Buy a Small Crate, load it with consumables that frontline players run out of — bandages are the obvious one — and set a markup before you fly. A +50% price bump still sells instantly to a squad mid-fight.
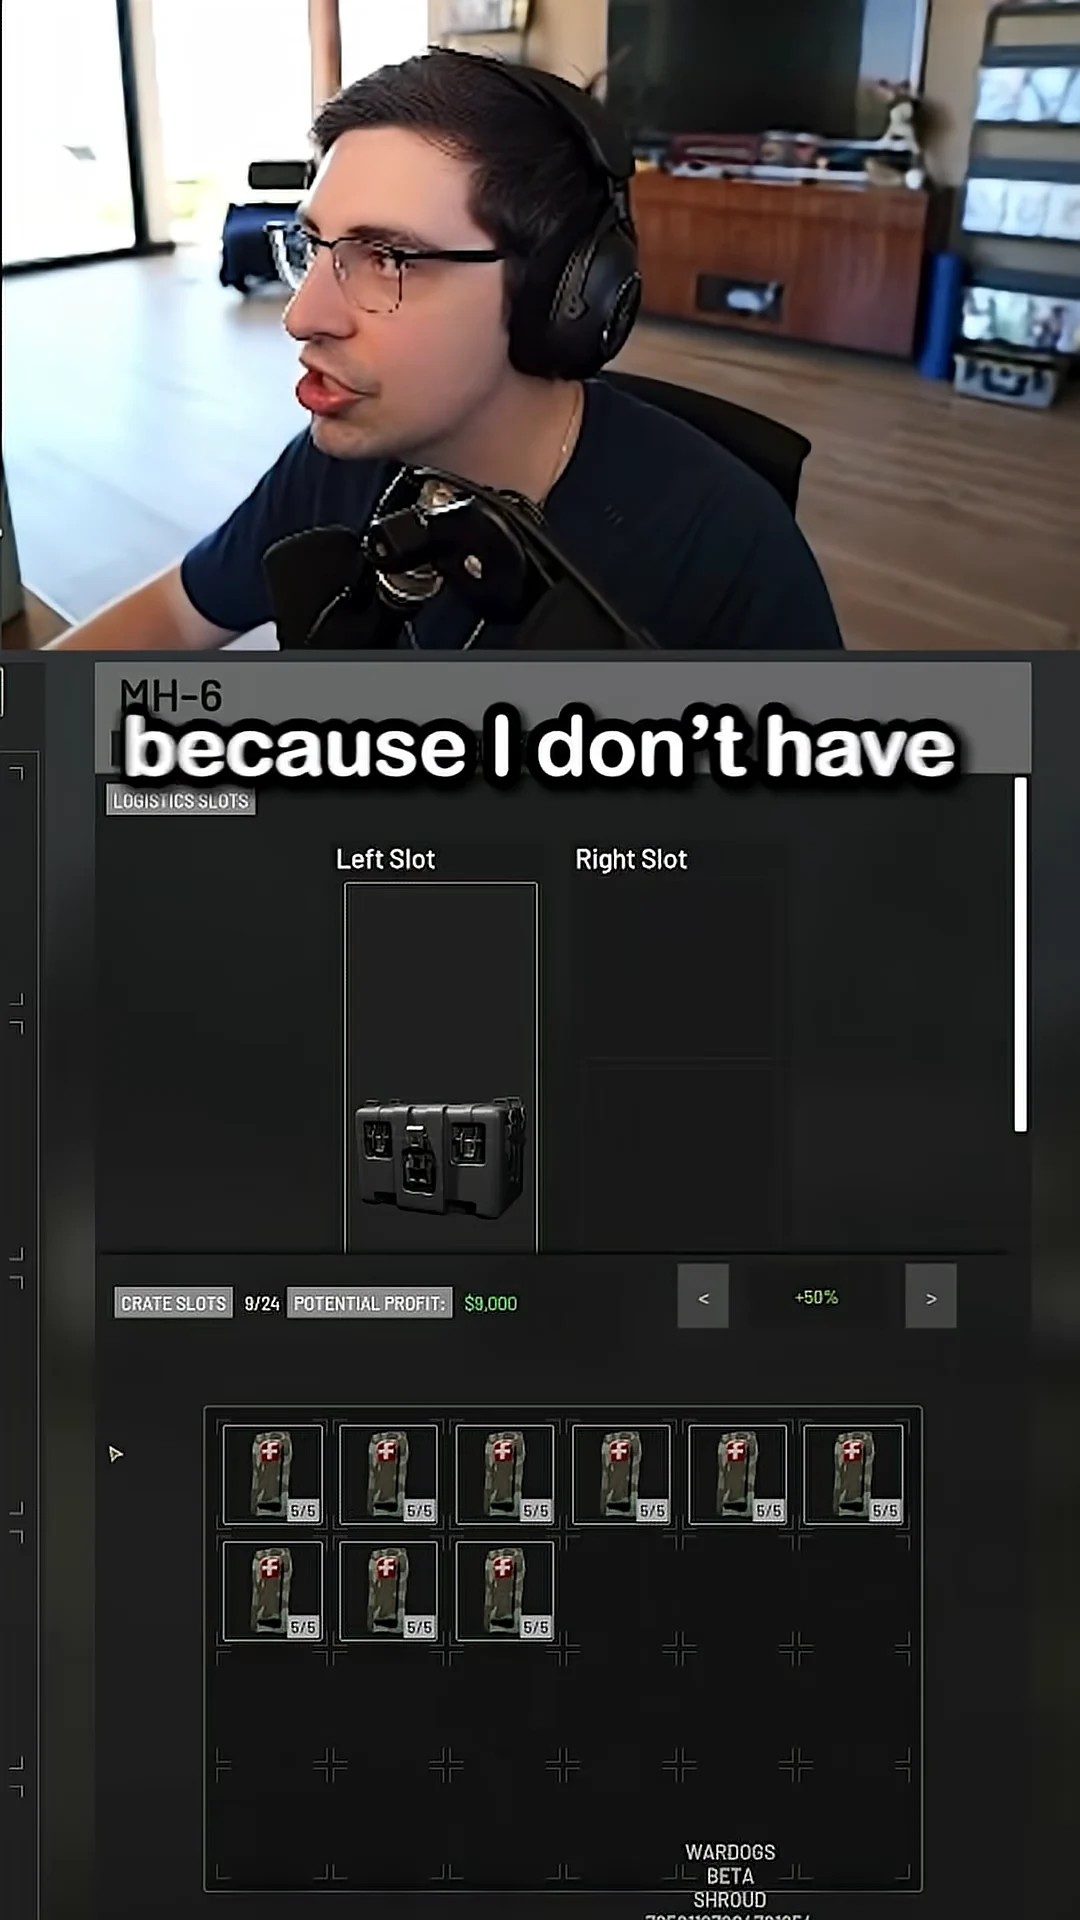
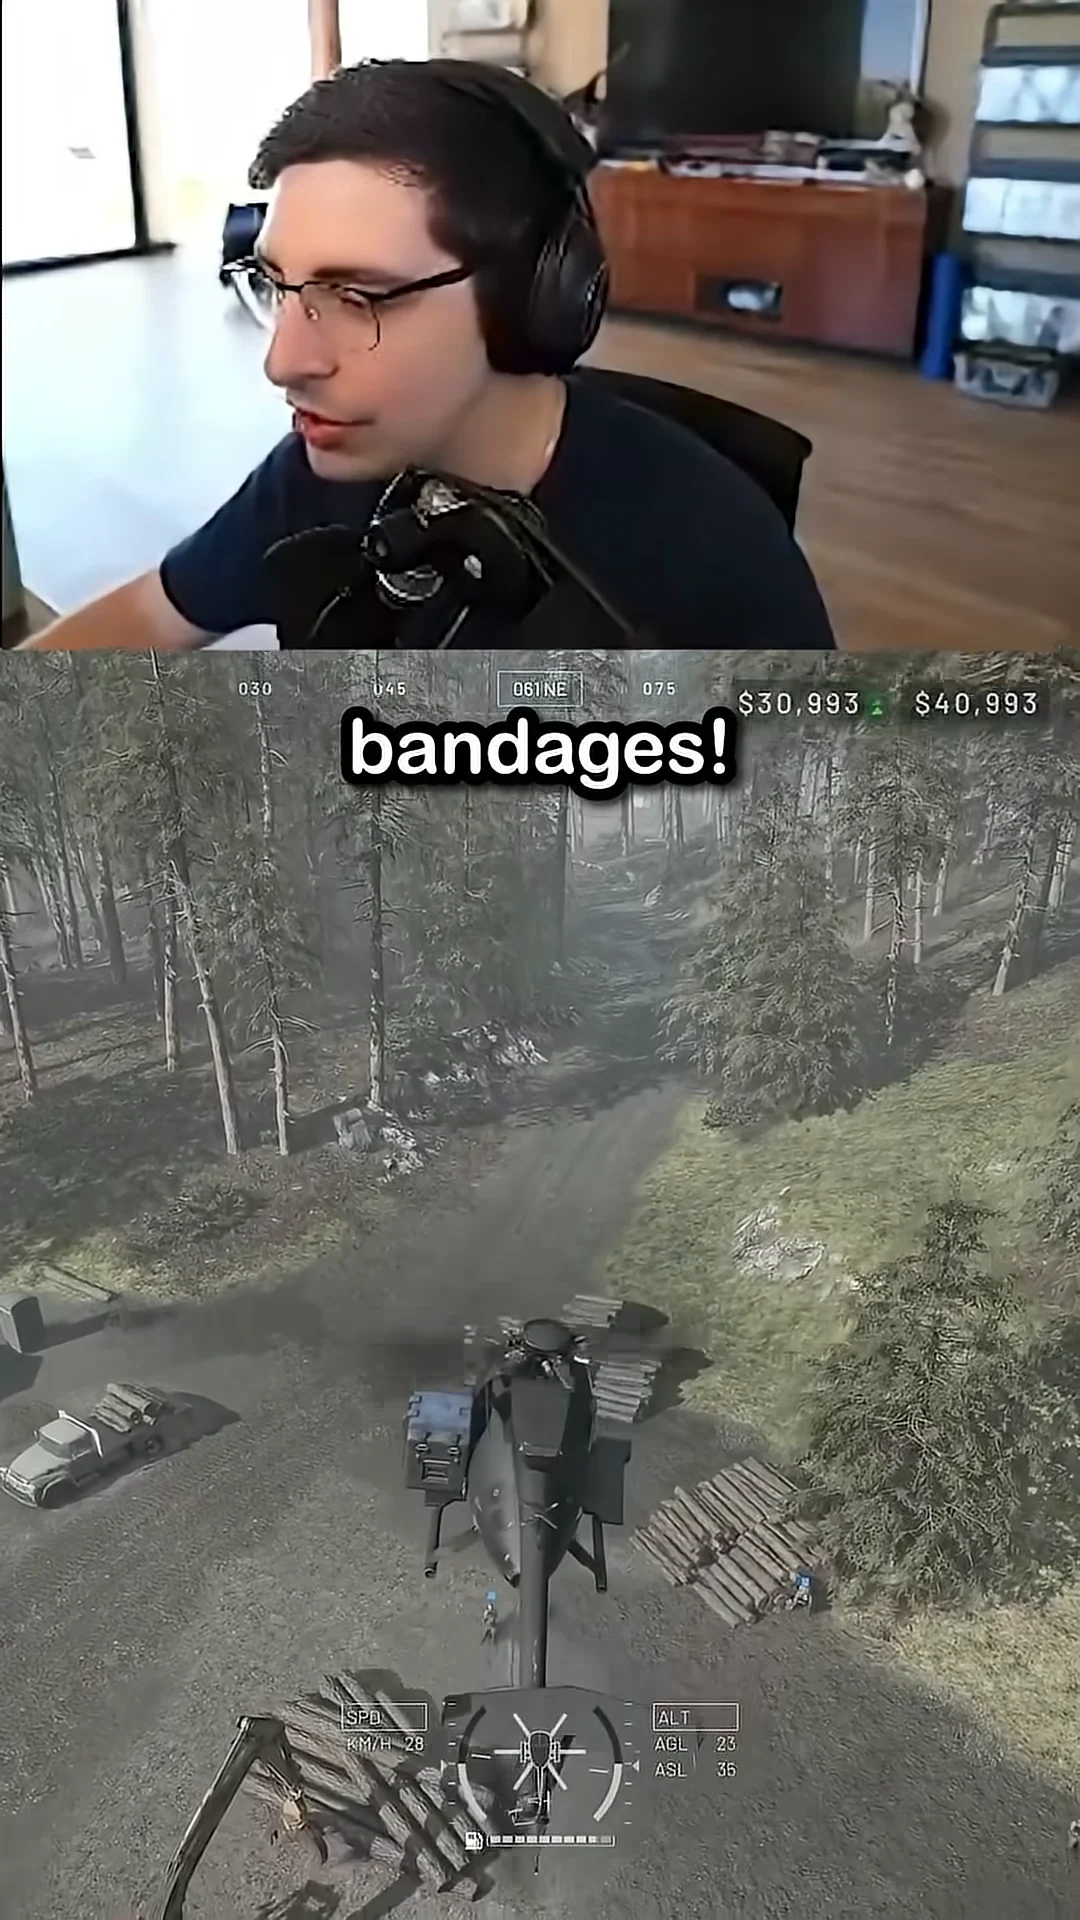
Then land somewhere the team already is, drop the crate and tell them over comms that it is there. Each purchase fires a Supply Crate Item Sold notification worth $300 plus XP, and a well-stocked crate at a busy position can clear five figures on its own.
Helicopter control settings and keybindings
The controls divide the jobs of climbing and traveling: use the collective for height and the cyclic for direction. Most early wrecks happen when a pilot attempts to turn before stabilizing the aircraft. Since there is no practice mode, learn with the inexpensive transport in an out-of-the-way part of the map.
Control settings
| Setting | Value |
|---|---|
| Rotary Vehicle Mouse Control | Enabled |
| Mouse Swipe Left/Right | Yaw |
| Mouse Swipe Up/Down | Pitch |
| Mouse Pitch Sensitivity | 30% |
| Mouse Yaw Sensitivity | 30% |
| Mouse Axis Isolation | 0% |
| Stability Assist | Enabled |
| Auto-Hover Assist | Enabled |
| Turn Coordination | Enabled |
| Envelope Limits | Disabled |
Swipe left/right on yaw and up/down on pitch makes the aircraft aim the way a mouse already behaves, and 30% sensitivity stops small corrections turning into wobble. Stability and auto-hover do the boring work of holding a drop-off steady; envelope limits off removes the ceiling on how hard you can bank when something is shooting at you.
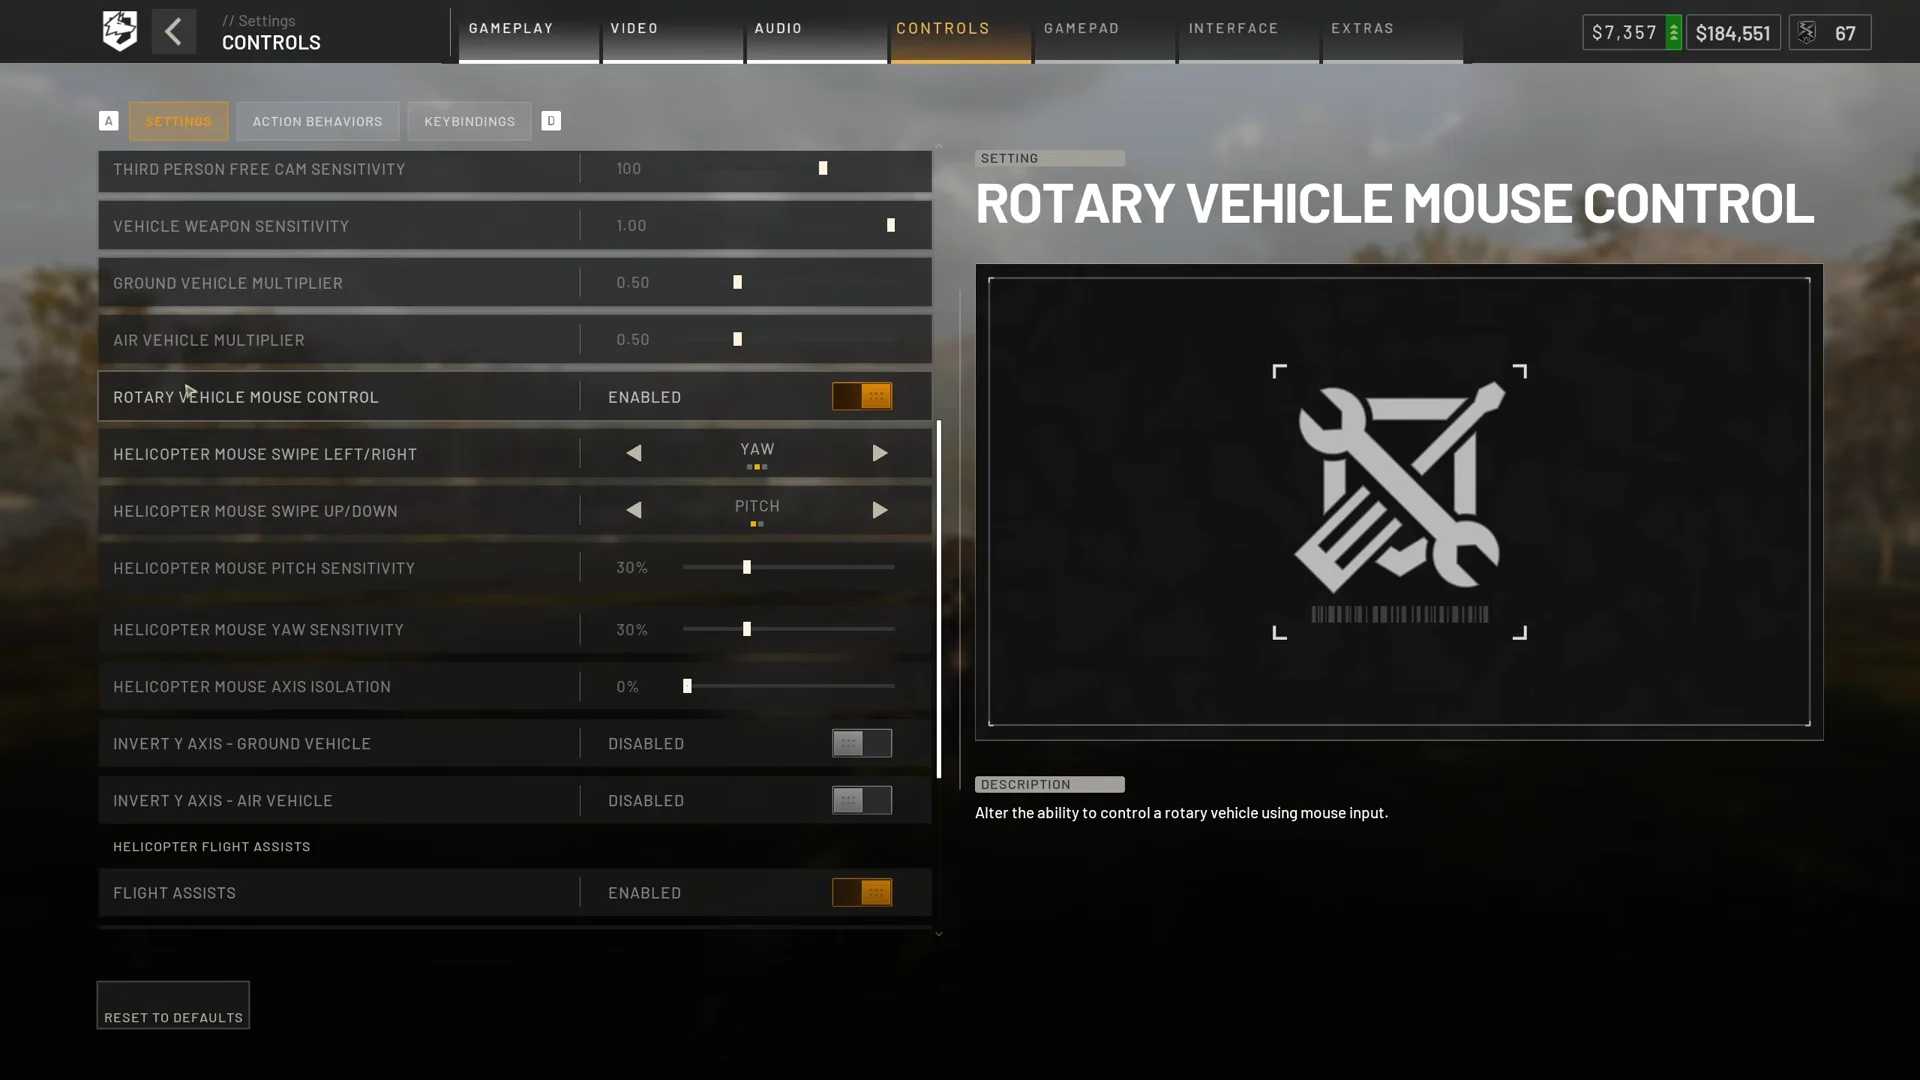
The infantry invert-mouse setting also flips helicopter pitch. Helicopters have no independent invert setting, so inspect that infantry option if the controls seem reversed.
Rotary vehicle keybindings
| Control | Key |
|---|---|
| Collective (Raise) | Space |
| Collective (Lower) | Left Shift |
| Increase Cyclic X (nose down) | W |
| Decrease Cyclic X (nose up) | S |
| Increase Cyclic Y (roll right) | D |
| Decrease Cyclic Y (roll left) | A |
| Yaw Left | Mouse Button 4 |
| Yaw Right | Mouse Button 5 |
Putting yaw on the side buttons of the mouse frees WASD entirely for the cyclic, so you can pitch, roll and pedal-turn at once without lifting a finger off the collective. The in-cockpit HUD shows collective descent on Ctrl by default; moving it to Left Shift keeps both height inputs under the same hand. Freelook is Left Alt, and C toggles first-person, which is the view to use when you are threading under bridges or between buildings on a low approach.
The game supports a flight stick, selecting it automatically when you enter and returning to mouse and keyboard after you exit. It has two recurring drawbacks: you must set the bindings again each session, and a self-centring throttle works against the collective. Gamepad helicopter controls cannot be rebound.
Landing and quick stops
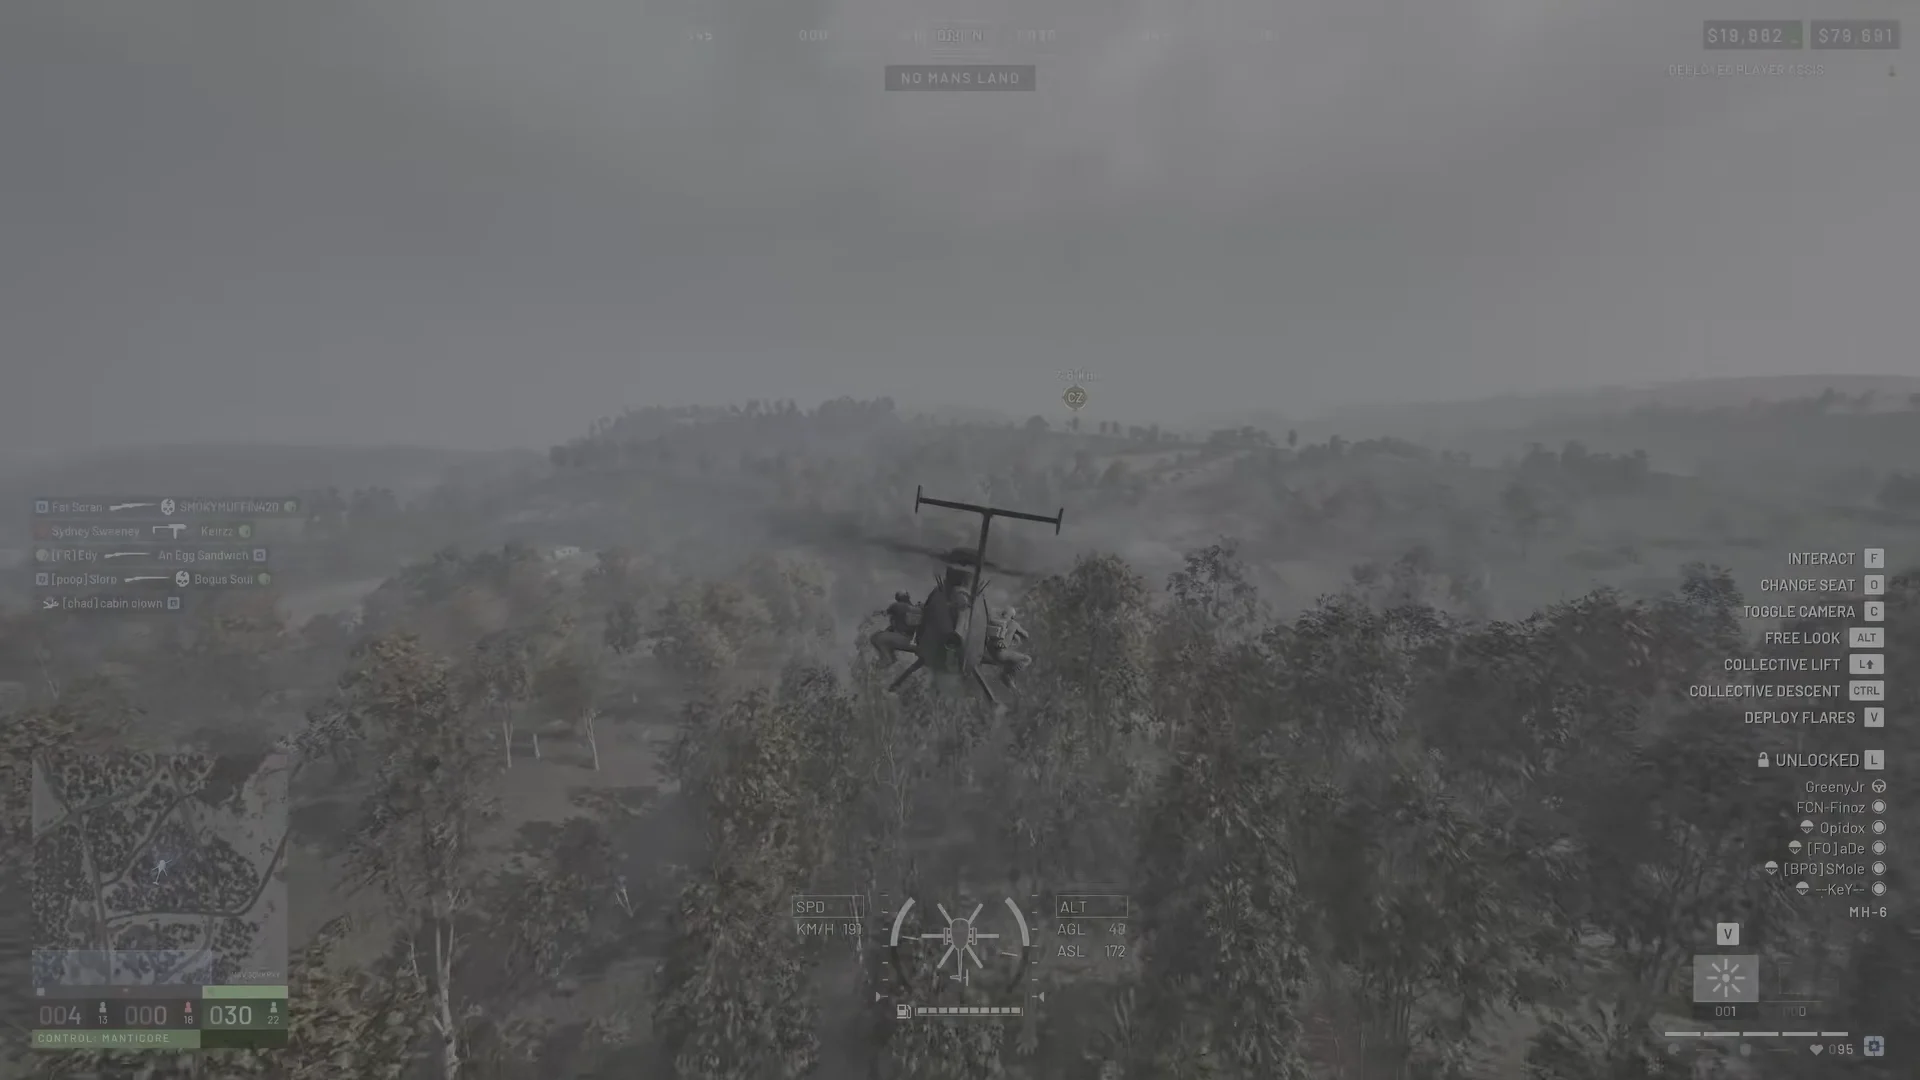
Arriving too fast is what destroys the most money. Plan the landing zone before takeoff, fly the final leg along something straight — a road, a treeline, a fence — and keep an escape direction in mind before the skids touch. Two approaches cover almost every drop.
The low-speed bleed
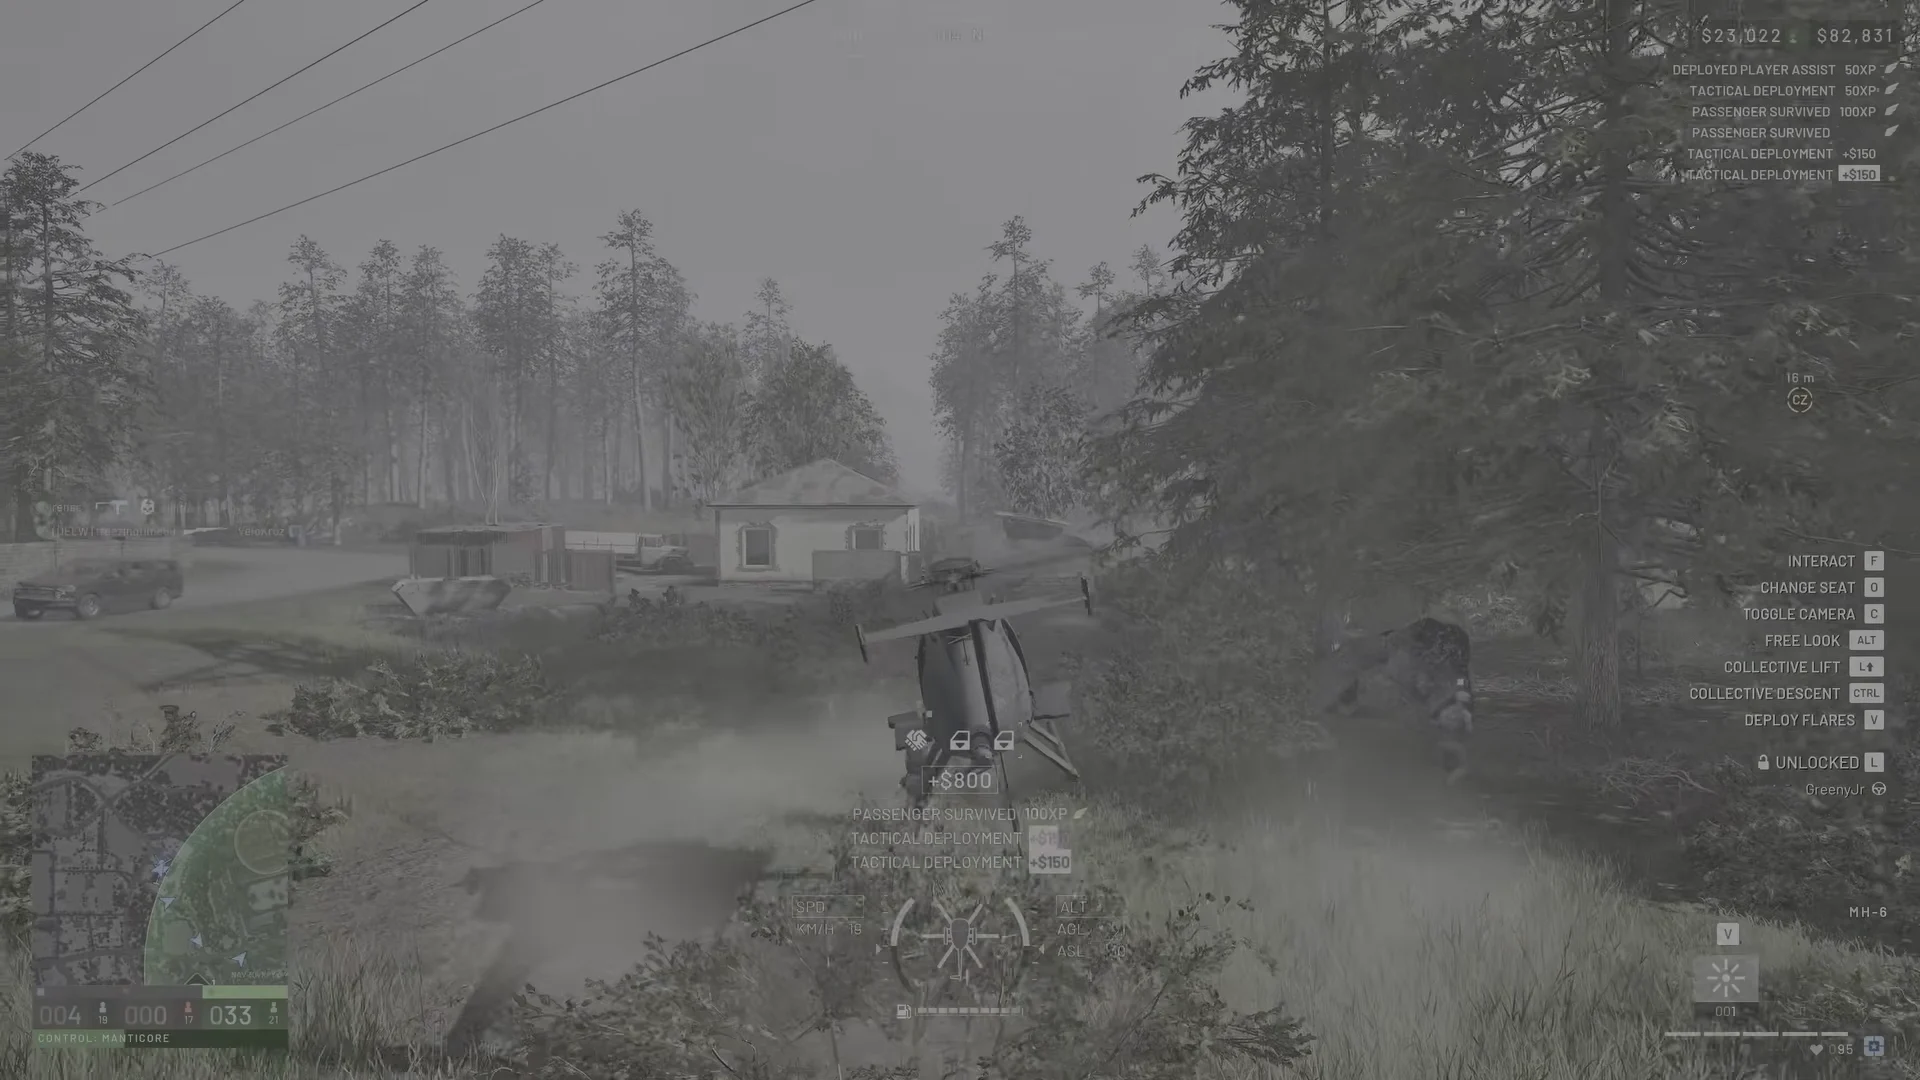
For the straight approach, reduce the collective fully and preserve altitude by gently raising the nose. That attitude bleeds speed, while zero collective prevents a climb. Near 50 km/h, lower the skids softly or let them slide across the ground until you stop. This method is slow, predictable, and difficult to botch.
The J-hook quick stop
Use this quicker option when lingering in the open for ten seconds is unsafe. For a left hook, approach from the landing zone’s right; approach from its left for a right hook. When the zone reaches your side, bank toward it, rotate the nose with yaw, and let the turn remove your speed before landing. In terms of inputs, keep S pressed to pitch back while using Left Shift to reduce the collective as you turn the aircraft broadside.
Never kill your speed by descending vertically in full view of the objective. A slow straight-down approach is the easiest shooting gallery on the map, and your passengers are the targets.
Anti-air threats and losing the airframe
A missile gives no warning: there is neither a lock sound nor a bearing marker, and the hit is your first indication. Flares cost $400 and can pull tracking missiles away, provided you release them at the proper time. Fly on the assumption that you are already being tracked instead of waiting to respond.
Plan for deployable anti-air launchers, since they can go nearly anywhere and are difficult to see; RPG-7 launchers become available at Support level 5; and the Flakpanzer Gepard can relocate because it is a vehicle, not a structure. More altitude does not make you safer—the terrain is a helicopter’s only cover.
A shootdown does not automatically finish the run. A teammate may revive you, after which you can return to base and purchase another airframe using money earned by earlier flights. This also covers a helicopter stolen from your pad: create a replacement, use a Wrench to repair it if necessary, and choose new passengers through the squad menu. Repeating the same purchase after another failed landing is the real mistake; use a different approach.
How to confirm the payout landed
The game confirms the results immediately on screen. Tactical Deployment and Passenger Survived appear as passengers exit, Supplies Delivered appears when a pallet registers at the objective, and crate purchases add up individually as teammates buy from your stock. A payout of nothing means passengers died during descent, most often because the bailout happened too low for the canopy to deploy.
The end-game scoreboard is the real ledger. It lists cash earned against cash spent and prints the difference as total profit, which is where a pure transport life shows its shape: one full match of parachute drops posted $127,731 earned against $20,850 spent for $119,058 profit, with zero kills and zero deaths on the same screen.
That balance carries between matches, which is what makes the loop worth flying properly. Pilot levels only come from flying, though, so a match spent in the air does nothing for your assault, recon or medic tracks — you can finish very rich and still locked out of the guns.





