The Night of Horrors is Lacra’s personal research trip into the swamps of Gallis Sangora, and it ends with one of the few permanent power upgrades in The Blood of Dawnwalker that you cannot buy, loot, or find anywhere else. It is optional, it is easy to miss, and it only appears if you have already worked through her earlier questline in Svartrau City.
Quick answer: Finish Our Rotten Roots, let a couple of in-game days pass, then return to Lacra’s house in Rock Hills and ask about her research. Follow the wisps through The Silts, feed them painful memories at each stopping point, clear Kallias’s crypt, and eat the mandrake to unlock the Mandrake Ward perk and the “Misery Loves Company” trophy.
How to trigger The Night of Horrors
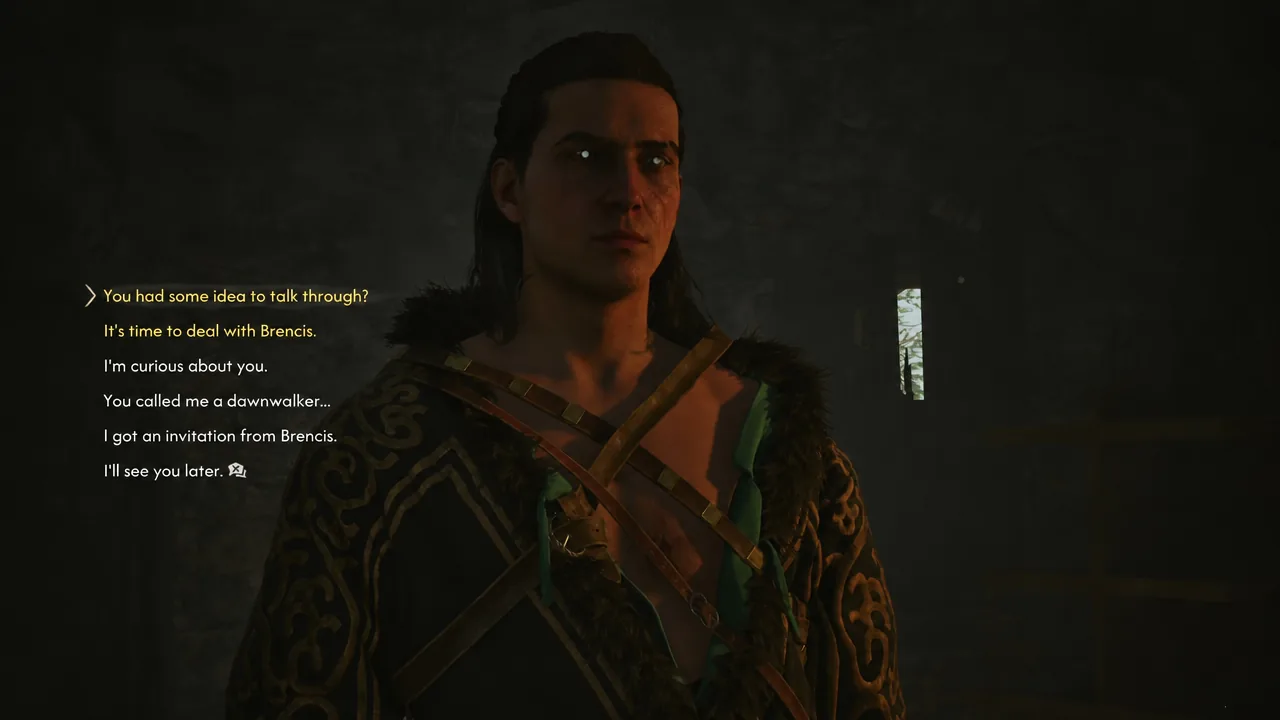
The quest sits at the end of Lacra’s Svartrau City chain, which runs A Friend Like This into Song of the Mountain, Hive and Seek, and then Our Rotten Roots. When Our Rotten Roots wraps up, Lacra says she is ready to move against Brencis but wants time to look into something first.
That “something” is the reason the quest does not appear immediately. Spend a couple of in-game days on other content, then travel to her house in Rock Hills and ask what she has been researching. She wants to find the old battlefield where St. Mihai fought the ancient vrakhir Kallias, on the theory that Kallias used the same kind of power Brencis relies on now.
Every objective in order
The journal tracks the quest in a fixed sequence. Nothing here branches, so the list below doubles as a checklist if you want to know how much is left.
| Objective | What it means |
|---|---|
| Talk to Lacra | Her stone tower in Rock Hills, at the campfire |
| Uncover Kallias’s secrets | Head out to The Silts swamp in Gallis Sangora |
| Reach the roadside shrine | The shrine of St. Mihai, marked on the map |
| Follow the wisps | Chase the red lights, fight ghouls along the way |
| Investigate the stone slab | Broken slab signed by St. Tobias |
| Check in with Lacra | Offer a second memory to summon more wisps |
| Explore the sunken crypt | Murals of darkness, blood, and parasites |
| Inspect the sarcophagus | St. Tobias’s petrified arm with a vrakhir fang in it |
| Defeat the hellhounds | Ambush of hellhounds and undead inside the crypt |
| Explore the hidden cave | Kallias’s Ruined Notes and Kallias himself |
The Silts: Feeding the will-o’-the-wisps
The swamp is far too big to search on foot, so Lacra’s plan is to let the wisps do the navigating. They are drawn to fear, regret, and grief, and they will only light a path if someone pays them in genuine misery. Coen and Lacra take turns, so expect two long confessions across the trip.
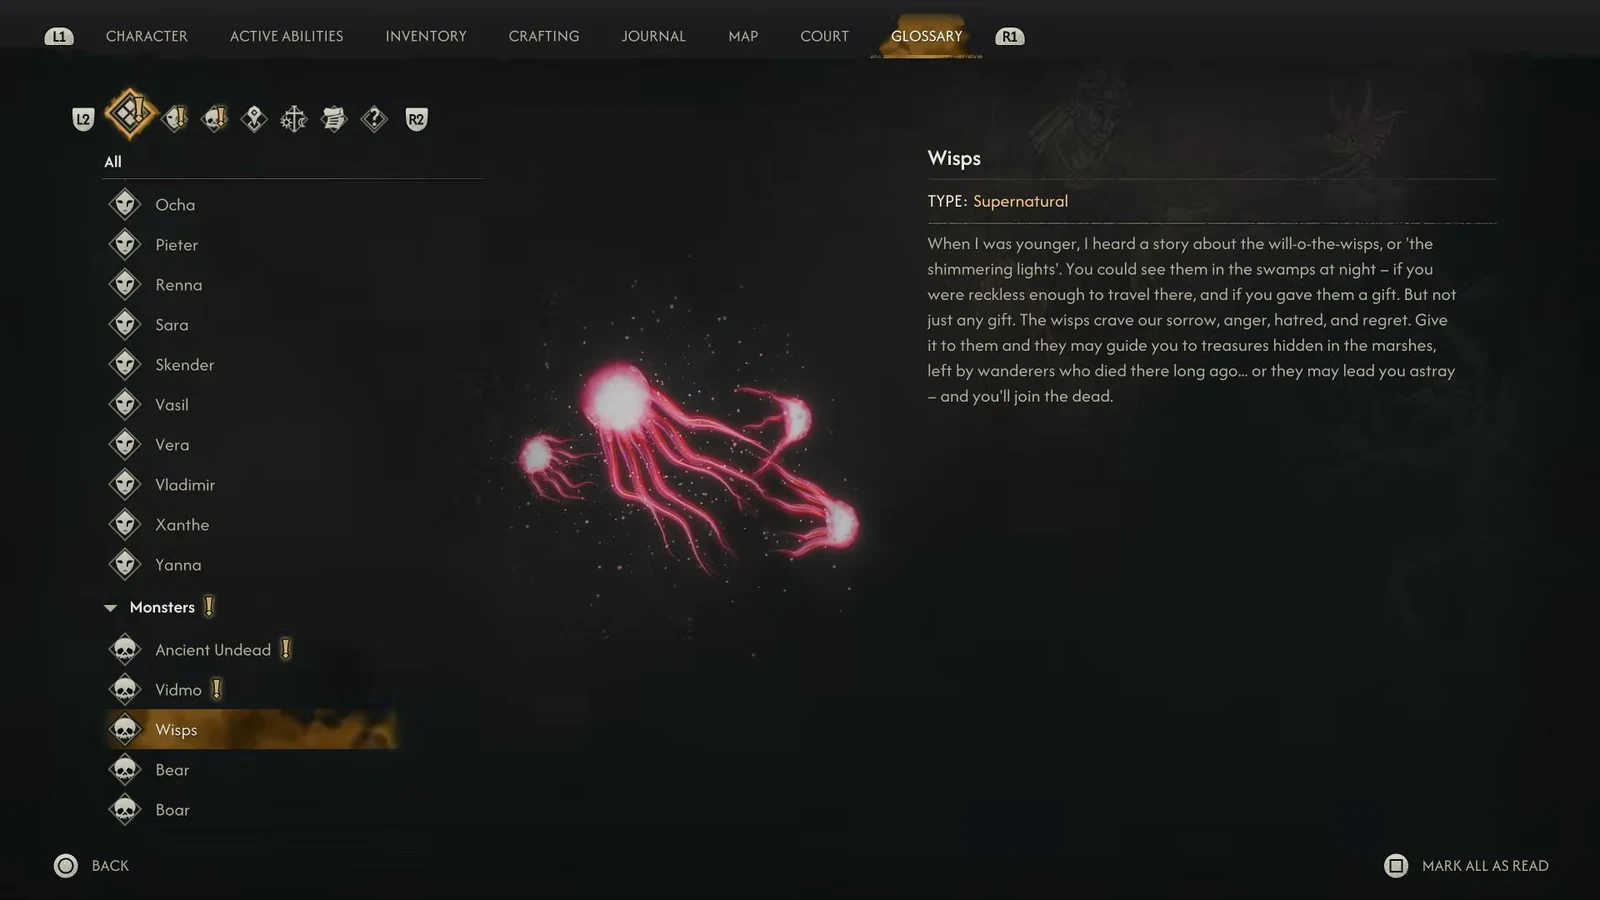
Note: a nearby prayer tablet spells out exactly how the locals feel about the place, and it is worth reading before you go any further in.
Wanderer, in the name of God, turn back from this cursed mire while you can. We came here with a host of men, but walked back alone. Their souls forever forlorn.
Sunken crypt: The sarcophagus and the hellhound ambush
The second wisp trail stops dead at a rockslide burying the crypt entrance. This is scripted rather than a puzzle. Lacra uses blood magic to blow the debris apart and opens the way in.
Kallias, the mandrake, and the blood ritual
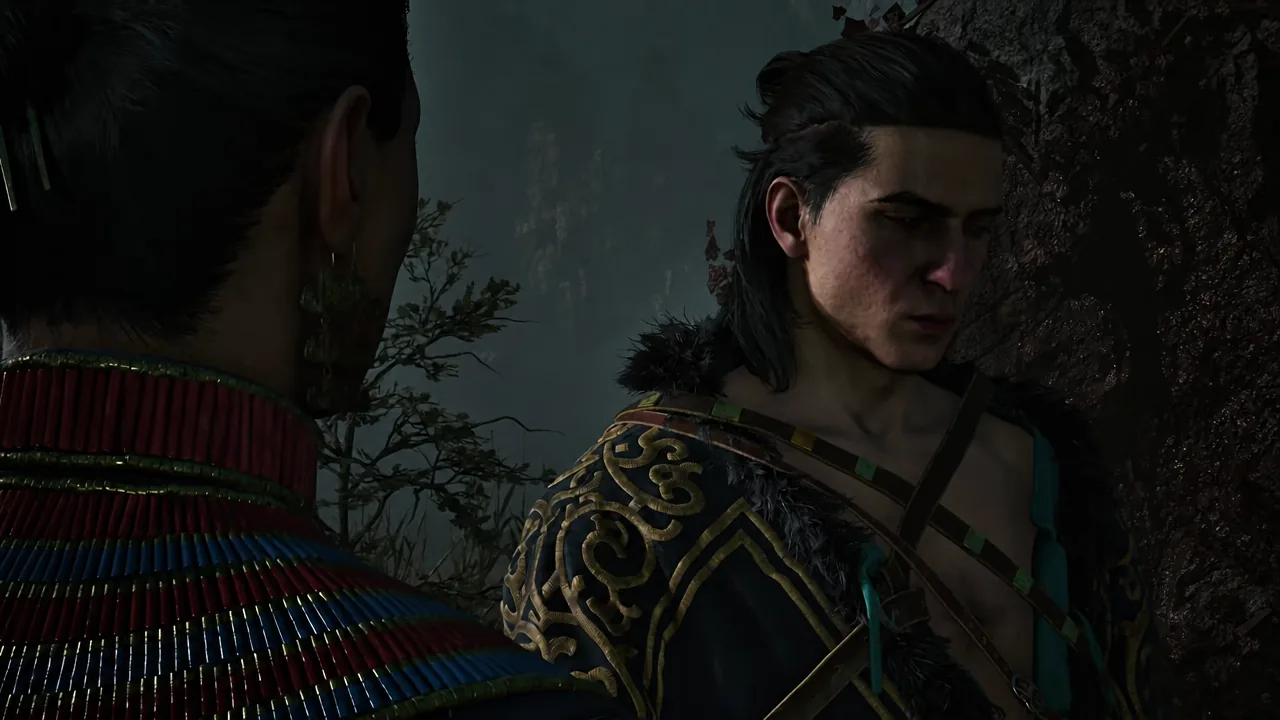
Kallias is still here, fused to the cave wall by the parasitic vines called Anachora. He is holding a mandrake, which is the flower those vines produce. When a vrakhir that powerful is left in one place for centuries, the essence collects in the plant, and eating it hands that power to whoever swallows it.
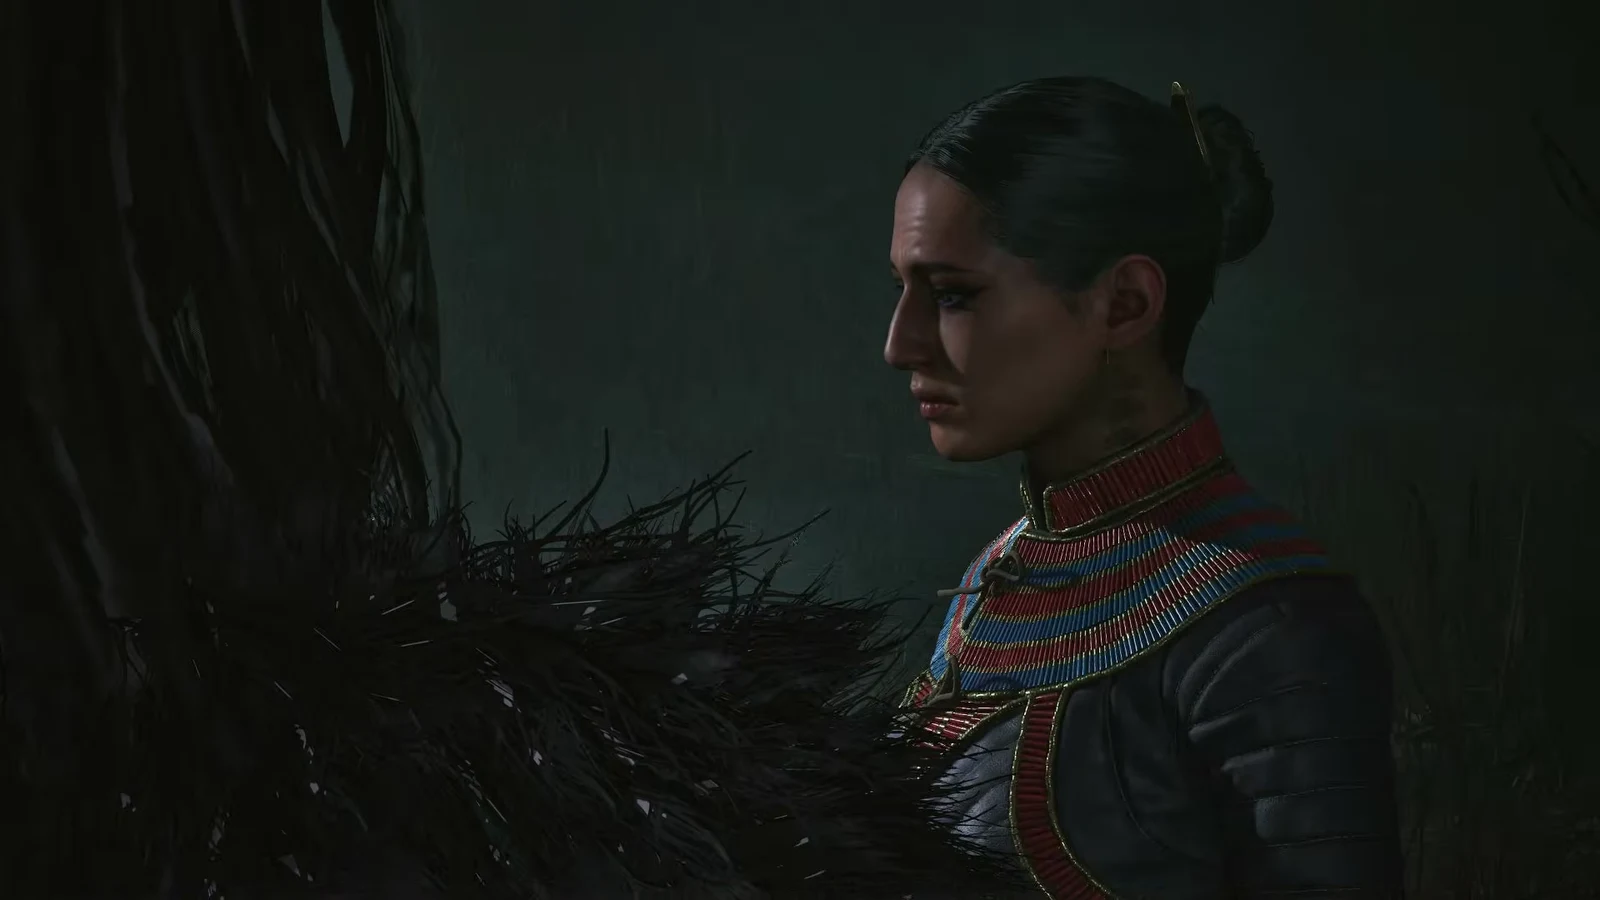
There is no choice to make here. You do not pick between Coen and Lacra the way you do with the Font of Life elsewhere in the game. Consume the mandrake when prompted, Coen feels the surge of power, and Lacra takes her share too. The scene closes with Coen letting her bite him and share his blood, after which he wakes up alone and stripped of his gear.
Rewards and how to confirm the quest completed
The moment Coen wakes up, the journal marks the quest complete and the “Misery Loves Company” trophy pops. The real payoff is the perk, so check the Vampirism skill tree afterward to confirm Mandrake Ward is now listed there.
| Reward | Detail |
|---|---|
| Mandrake Ward | Vampirism perk. Restores 3 health segments when Coen drops close to zero, once per night. |
| Phial of Lacra’s Blood | Quest item handed over as part of the ritual |
| Astral Talisman | Equipment reward for finishing the quest |
| Misery Loves Company | Trophy, unlocked on completion |
Mandrake Ward has no alternate unlock path. If you skip Lacra’s questline, or never come back to her after Our Rotten Roots, the perk stays locked for that save.
Why the quest may not show up
Two things stop it from appearing. Our Rotten Roots has to be finished first, and enough in-game time has to pass for Lacra to get through her research. Time only moves when you spend it, so if you go straight back to her door after the previous quest, there is nothing new to ask about. Take on a few other quests or activities, then return.
The other stall point is inside the swamp itself. The wisps will not lead anywhere until a memory is offered, so if the trail seems to have dried up at the shrine or the stone slab, talk to Lacra and go through the confession dialogue rather than searching the map for a missed marker.
Because the whole thing is optional and gated behind a long side chain, it is worth slotting in before you start burning days on Brencis. The perk pays for itself the first time a night fight goes wrong.