In Aniimo, Mysterious Presence sends you across Astra’s Northside to investigate malfunctioning signs and locate concealed Voxel Cubes. The quest follows a set sequence, moving you through several playground challenges and sliding puzzles before ending in a three-stage boss battle. After collecting all the cubes, identify the anomaly to receive the Aimo Core.
Quick answer: Start by interacting with the glitching sign outside ChillBeanz Cafe in Astra, then collect nine Voxel Cubes across Northside before defeating three Voxelic bosses in the Holo-Lab portal.
How to unlock Mysterious Presence
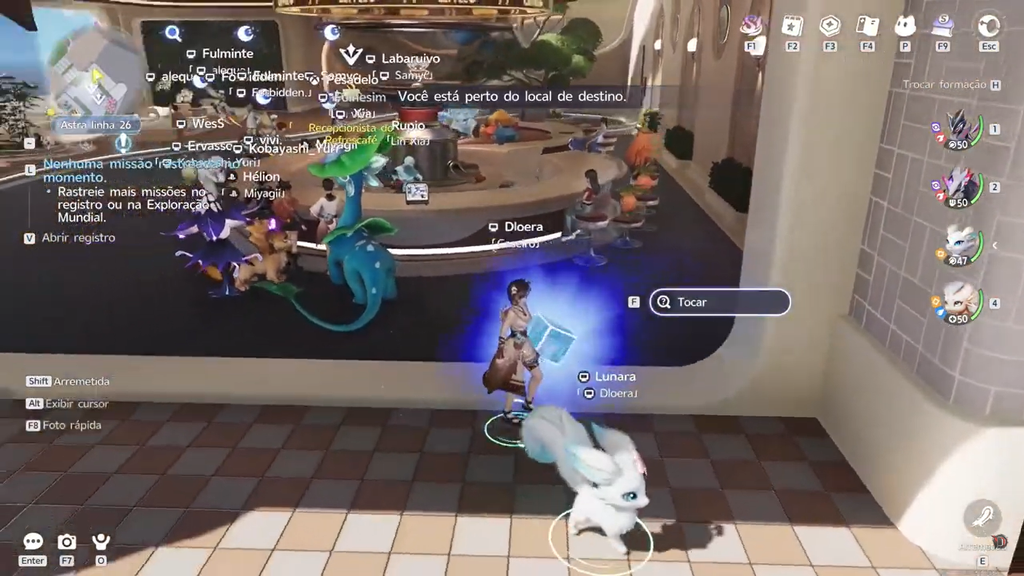
At Astra’s ChillBeanz Cafe, interact with the faulty sign near the entrance to trigger the quest. No level requirement or earlier side quest blocks access, so anyone who can get to ChillBeanz may start it.
All nine Voxel Cube locations in Northside
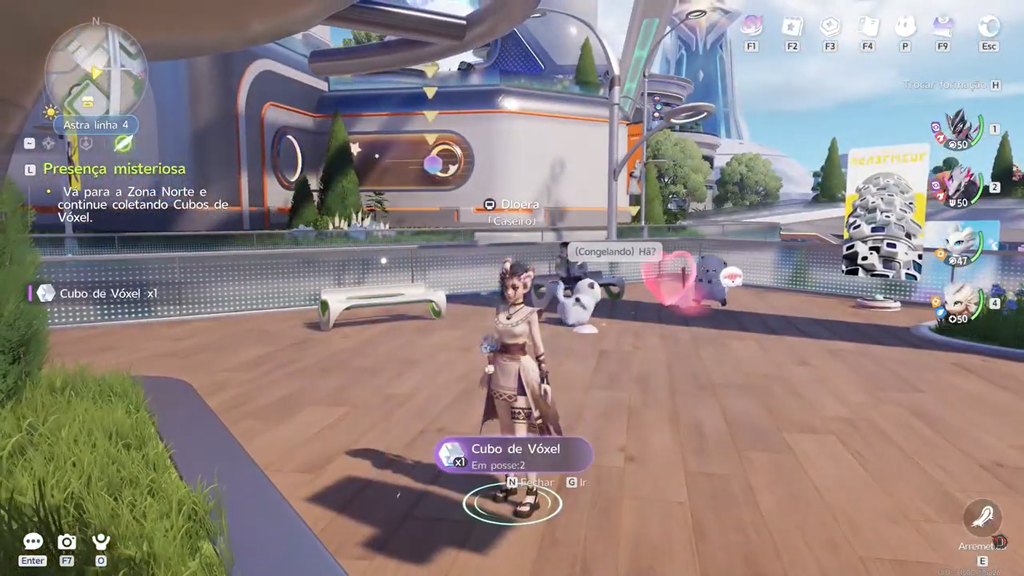
Teleport back to Astra and set the objective to Northside. Track the Clue: Mysterious Presence marker from the map to line up each stop. Early on you hunt the glitch signs yourself, but partway through Nova starts marking the remaining malfunction spots for you.
Cube 1: ChillBeanz poster puzzle
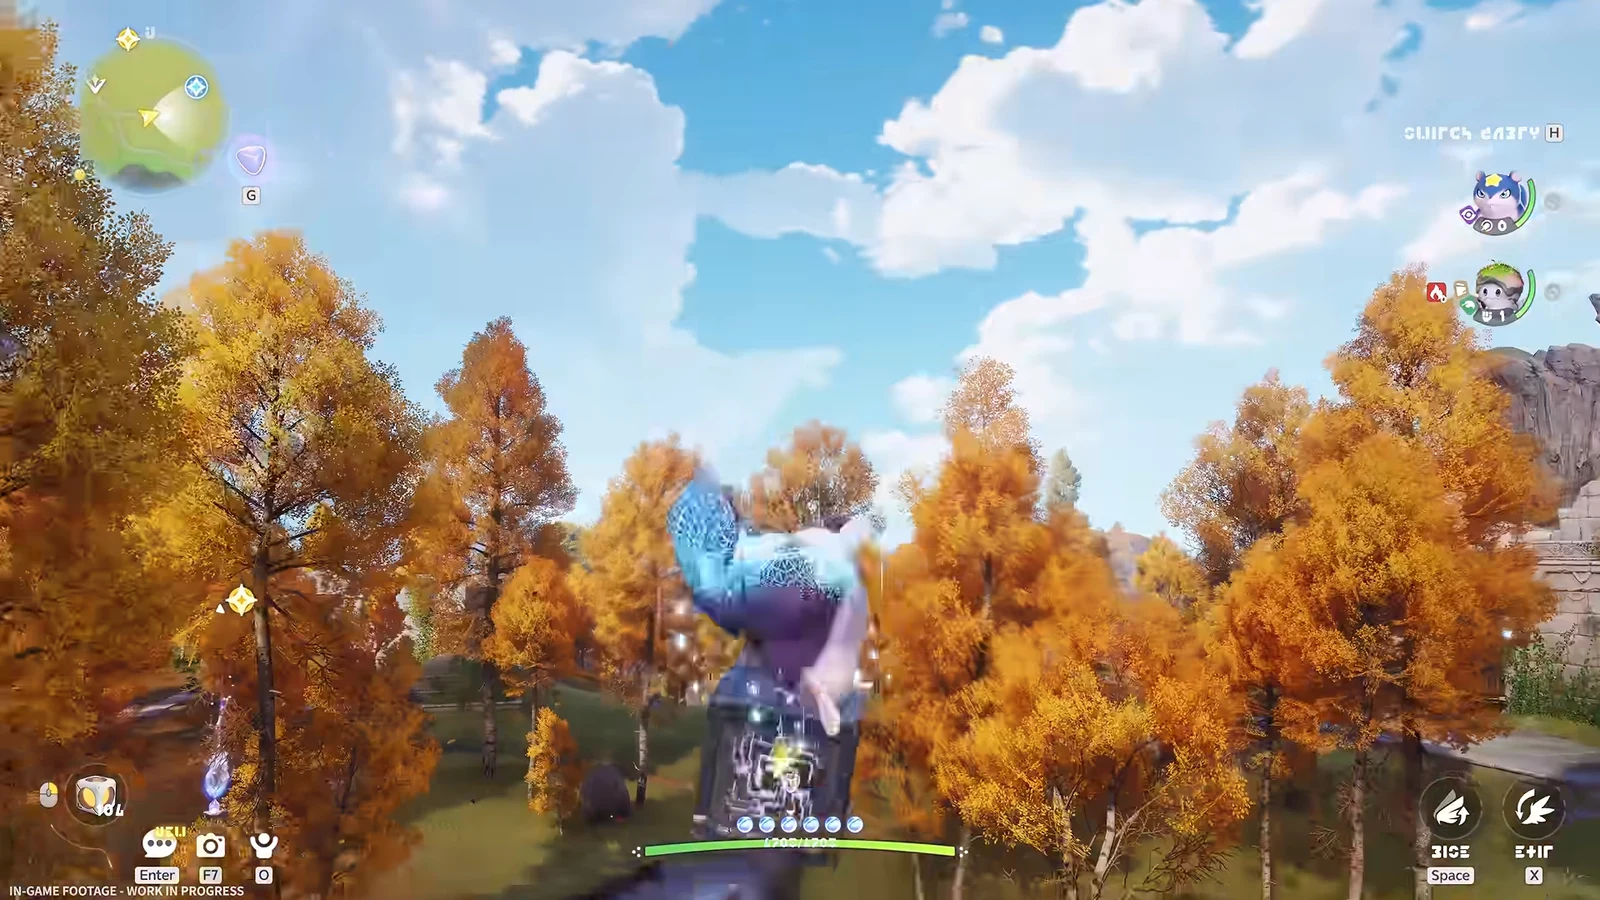
Fast travel to the Boomblast Arena and head north toward ChillBeanz. A glitching poster sits nearby, next to Geezie. Solve the sliding tile puzzle using the reference image shown on the left of the screen, and a Voxel Cube appears on the shop floor. Touch it to collect it.
Cube 2: Anii Apartment poster puzzle
Look a bit southwest of ChillBeanz for the Anii Apartment glitch sign. It uses the same sliding puzzle system, complete with a guide image to match. Finish it to spawn the second cube, then pick it up.

Cube 3: Number path near ChillBeanz
Fast travel to ChillBeanz, leave through the outside area on the right, and travel south until the ground shows numbers 1 to 8. Walk across the numbers from 1 through 8 to trigger the next cube. Nova then contacts you and places markers for all other malfunctions on your map.
Cube 4: Seesaw west of Horizon Square
Go to the seesaw west of Horizon Square and play it with your Aniimo. Press the Q button each time your Aniimo drops to the ground and you swing high, which fills the meter above. When it is full, a cube appears behind the nearby Hummin.
Cube 5: Musical pathway near Chill Street
Follow the marker to the walkway lined with colored icons on the floor. Run across the icons to trigger the cube spawn, then walk to the railing’s edge and touch it to collect the fifth cube.
Cube 6: Battle League poster on Chill Street
Teleport to Chill Street and find the glitching Battle League poster near Starwish Gacha. Solve its sliding puzzle just like the earlier ones. The cube appears behind the large inflatable character, and grabbing it triggers another call from Nova.

Cube 7: Giant swing east of Chill Street
Head to the swing east of Chill Street and sit on it, then press Q to build momentum. Time each press for when the swing reaches the back so you fill the meter and circle all the way around. Once you do, a cube appears on the upper platform edge behind the Helmut.
Cube 8: Judy’s melody puzzle
At the northern side of Horizon Square, find the Aniimos making music and speak with Judy. She is attempting to remember a melody from a dream. Agree to assist, then visit the birds one by one in the specified order to perform the tune.
- Choose Hey. at Chirpi.
- Choose Hey, hey. at Tromber.
- Choose Hey, hey, hey, hey at Cornet.
Talk to Judy again to confirm the melody. She recognizes it as her dream song, and a block spawns near a street light by Cornet. Approach it to collect the cube.

Cube 9: Super Claw rooftop device
Teleport to Super Claw, climb the stairs, and speak with shop owner Jiff. Then jump onto the roof above his shop and interact with the glowing circular device, which dispenses the final cube onto the terrace. Touch it to finish the collection, and Nova calls you back to the lab.
When a playground activity fails to produce a cube, look at the meter along the screen’s top edge. The seesaw and swing will not create theirs until the meter reaches full.
The Voxelic boss fight and the Aimo Core
Return to the Holo-Lab in the Polaris Institute. The cubes you gathered have opened a door portal inside the lab. Talk to Nova, step through, and let the dialogue play out before the fight begins. The boss appears in three consecutive forms, each with a different type.

| Phase | Enemy | Type |
|---|---|---|
| 1 | Voxelic Panpanta | Water |
| 2 | Voxelic Geoclaw | Ice |
| 3 | Voxelic Stellarys | Dark |
Each defeat transforms the boss into the next form, so bring a team that can cover Water, Ice, and Dark. After the final form falls, the arena scatters Voxel Cubes that are actually Data Chips. Read all nine to view the fragments of the Voxel’s memory.
Approach the Holo-Core and keep talking to it to hear its story. You eventually name the cube Aimo, and the Aimo Core is added to your inventory once the conversation ends.
How to finish and confirm the quest
The final stretch is a short round of debriefs, all marked on your map. Talk to Nova in the Holo-Lab about what happened, then step into the Polaris Institute hallway and report to Professor Bohr. Last, head to the Principal’s Office and speak with Professor Oswen.
Talking to Oswen closes out Mysterious Presence and pays out the rewards and EXP. If the objective marker clears and the quest drops off your tracker, it has completed successfully.

Mysterious Presence rewards
| Reward | Amount |
|---|---|
 Voxel Coin Voxel Coin | 200 |
| Glimmer | 50 |
| Credit | 60000 |
| Safaris | 1000 |
On top of that payout, the Aimo Core from the boss encounter is the keepsake most players are really after, and it only becomes available once every Voxel Cube has been recovered and the three Voxelic forms are cleared.