

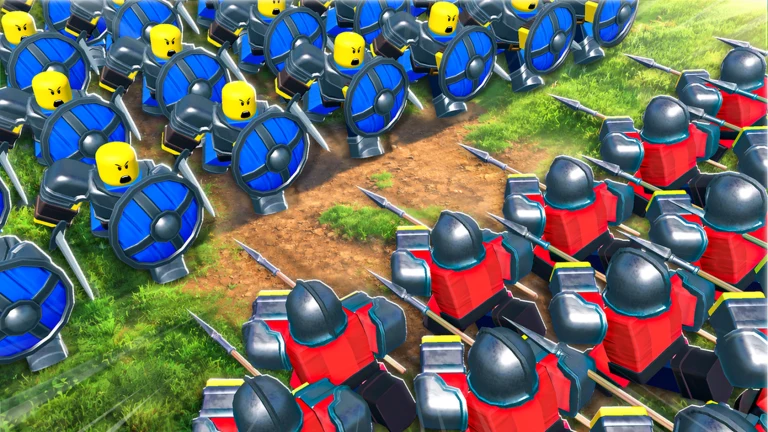
Command An Army drops you into a siege with a squad of AI troops and almost no explanation of why those troops keep dying. The game runs on a rigid counter system, a Star Limit that caps what you can field, and two separate upgrade tracks that both rely on duplicate units. Learn those three things and your win rate climbs long before you pull a four-star unit.
Quick answer: Build a lineup with one shield, one anti-cavalry spear unit, one archer, and one cavalry unit inside your Star Limit, then merge duplicates at the Ascension tree and evolve each unit at mastery level 20.
Finish the tutorial before spending any Gems
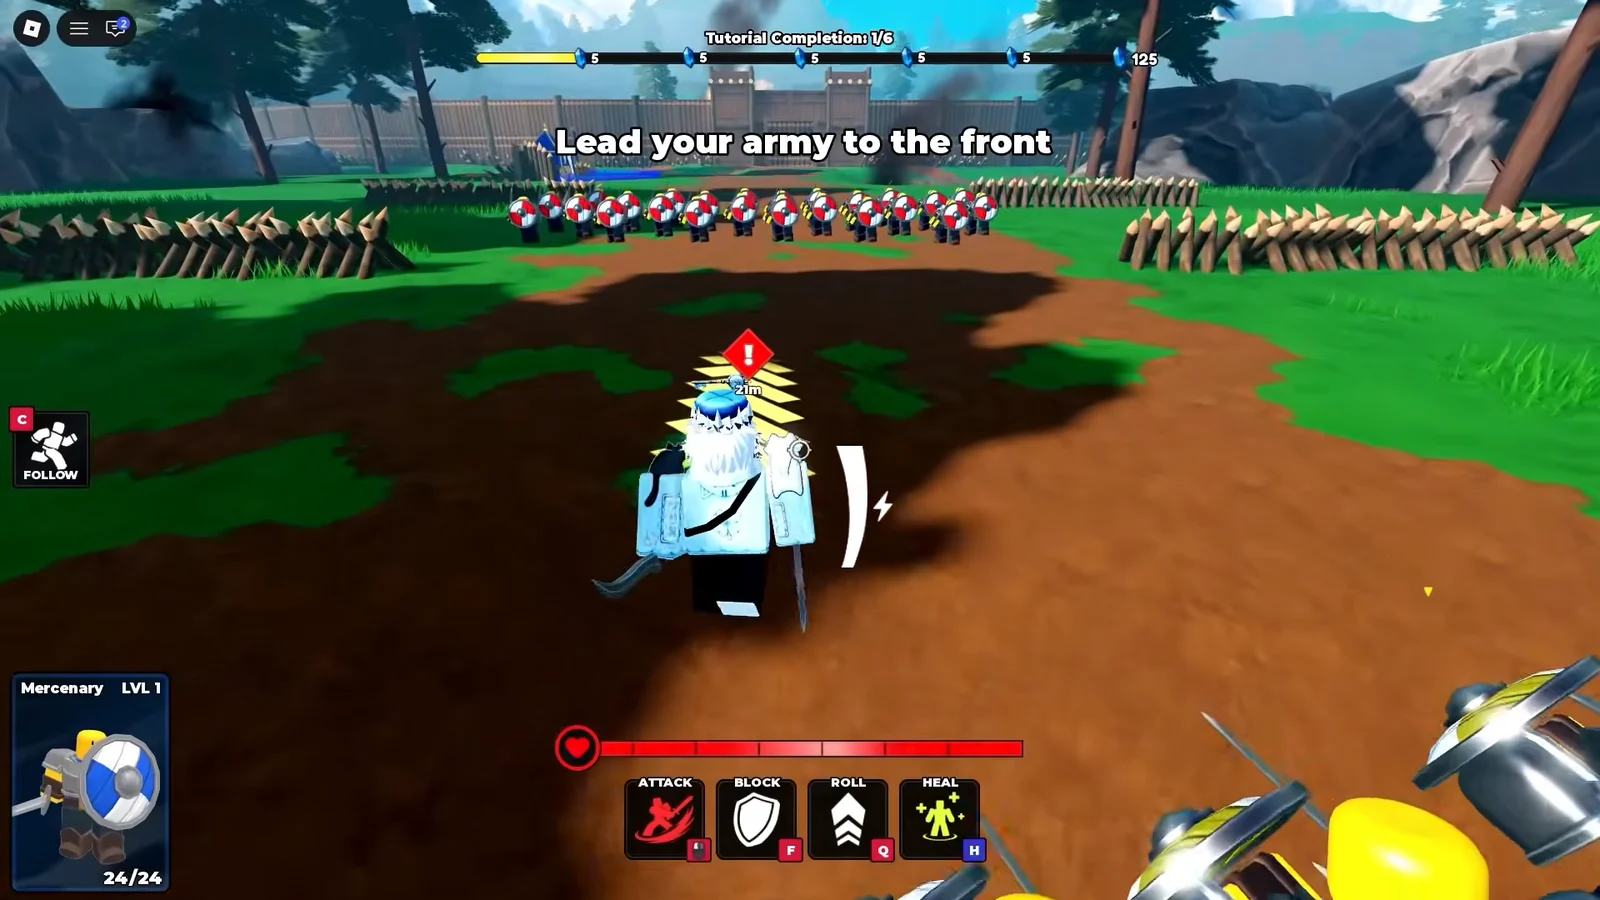
The opening tutorial in Command An Army cannot be skipped, and it is the only place the game walks you through commanding troops, spawning replacements, breaking gates, and capturing objectives. It also hands you your starter troops at the end: Mercenary, Shieldman, Spearman, and Archer. You do not need to agonise over that first pick, because everything you actually build around comes from the summon banner later.
Command An Army unit counters
Five troop categories loop into each other, and the game never spells the loop out. Hammers crack shields, shields hold spears, spears stop cavalry, cavalry runs down archers, and archers shred hammers before they close the gap. Bringing a Scout Rider into a Halberder is a fight you have already lost.
| Unit type | Counters | Countered by |
|---|---|---|
| Hammers | Shields | Archers, spears |
| Shields | Spears | Hammers, Block Damage |
| Spears | Cavalry | Shields, hammers |
| Cavalry | Archers | Spears, Halberder line |
| Archers | Hammers | Cavalry |
Mace is currently the only true hammer unit, so most anti-shield work in practice falls to units that carry block damage instead of a hammer label.
Block Damage is what actually breaks a shield wall
Open any unit card and look for Block Damage. That stat chews through an enemy’s block meter, and once the meter breaks, the unit behind it eats a full hit. If your damage feels like it is bouncing off a stacked defence, the problem is usually that nothing in your lineup has the stat at all. Mace, the Halberder line, and Javelineer were built around it precisely because defenders were parking walls of Spartans and Shieldmen on capture points.
Javelineer is a hybrid worth knowing. It functions as an archer, deals meaningful block damage, and has a low block rating, making it better behind a shield line than at its front. Samurai has neither a printed class nor a block stat, but it cuts through shield formations and strikes quickly enough to punish objective campers.
Star Limit and lineup slots
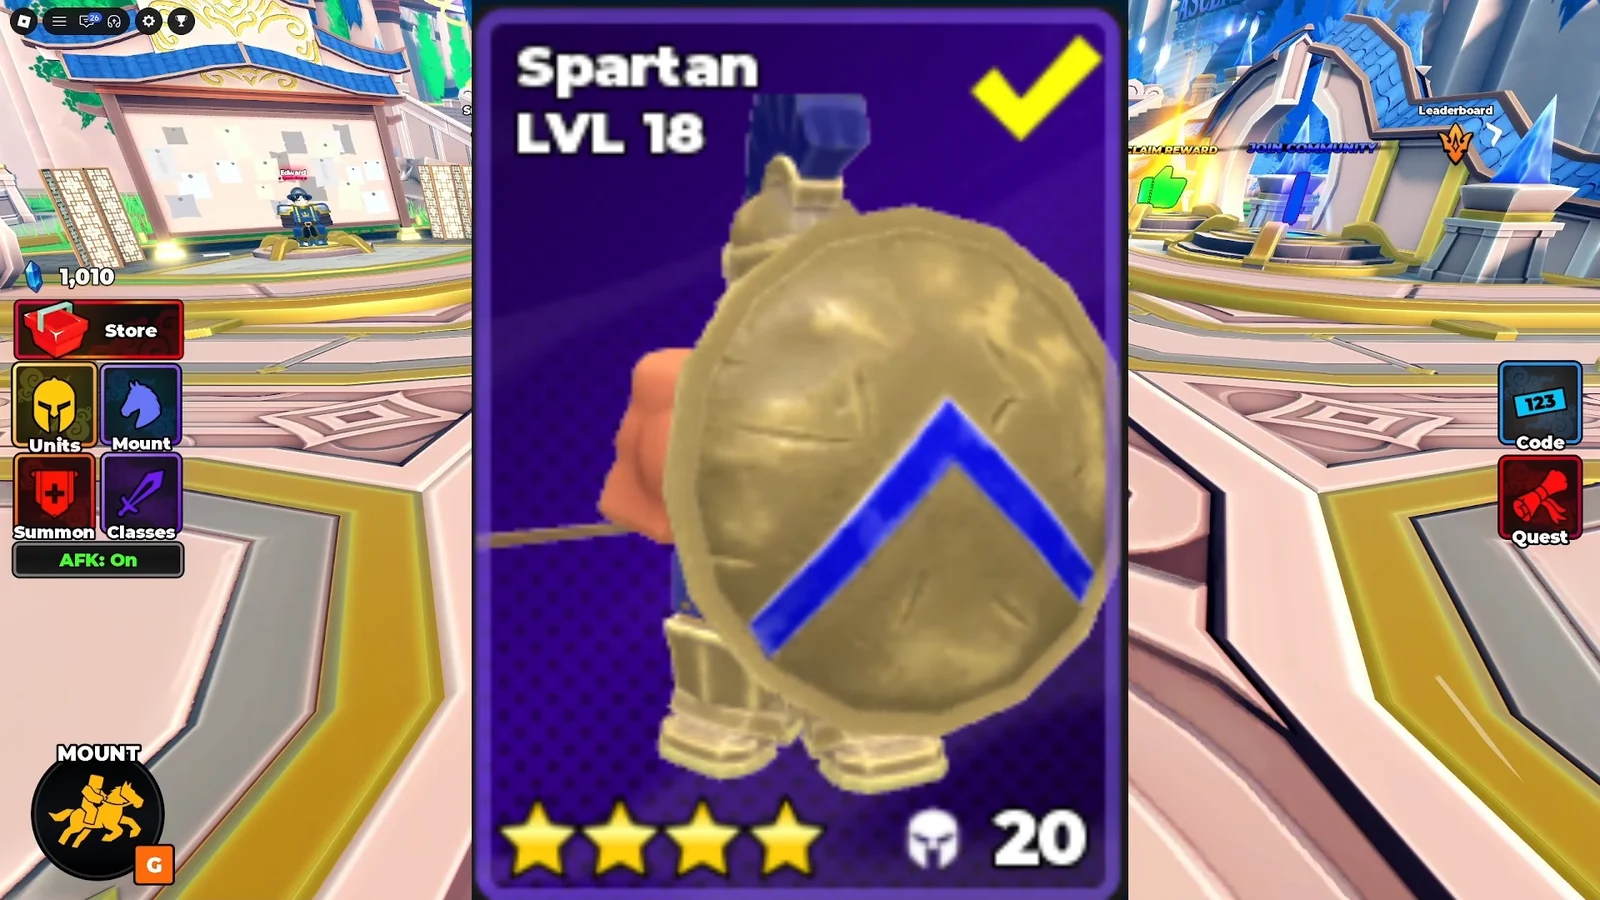
Every unit carries a star value, and your loadout has a hard cap on the combined total. As a beginner that cap is 6 stars, and it rises as you level up by winning battles. You can equip three troops at the start and unlock a fourth slot at level 15. That maths is why a freshly pulled four-star unit often makes your army worse: one expensive body locks out two cheaper ones that would have covered a counter you now have no answer to.
Playing solo, spread your slots across all four bases so you can respond to anything the enemy fields.
- One shield unit to hold the frontline
- One spear unit that stops cavalry and chips shields, such as Halberder
- One archer for ranged damage from the back row
- Use one cavalry unit to flank and deal rush damage
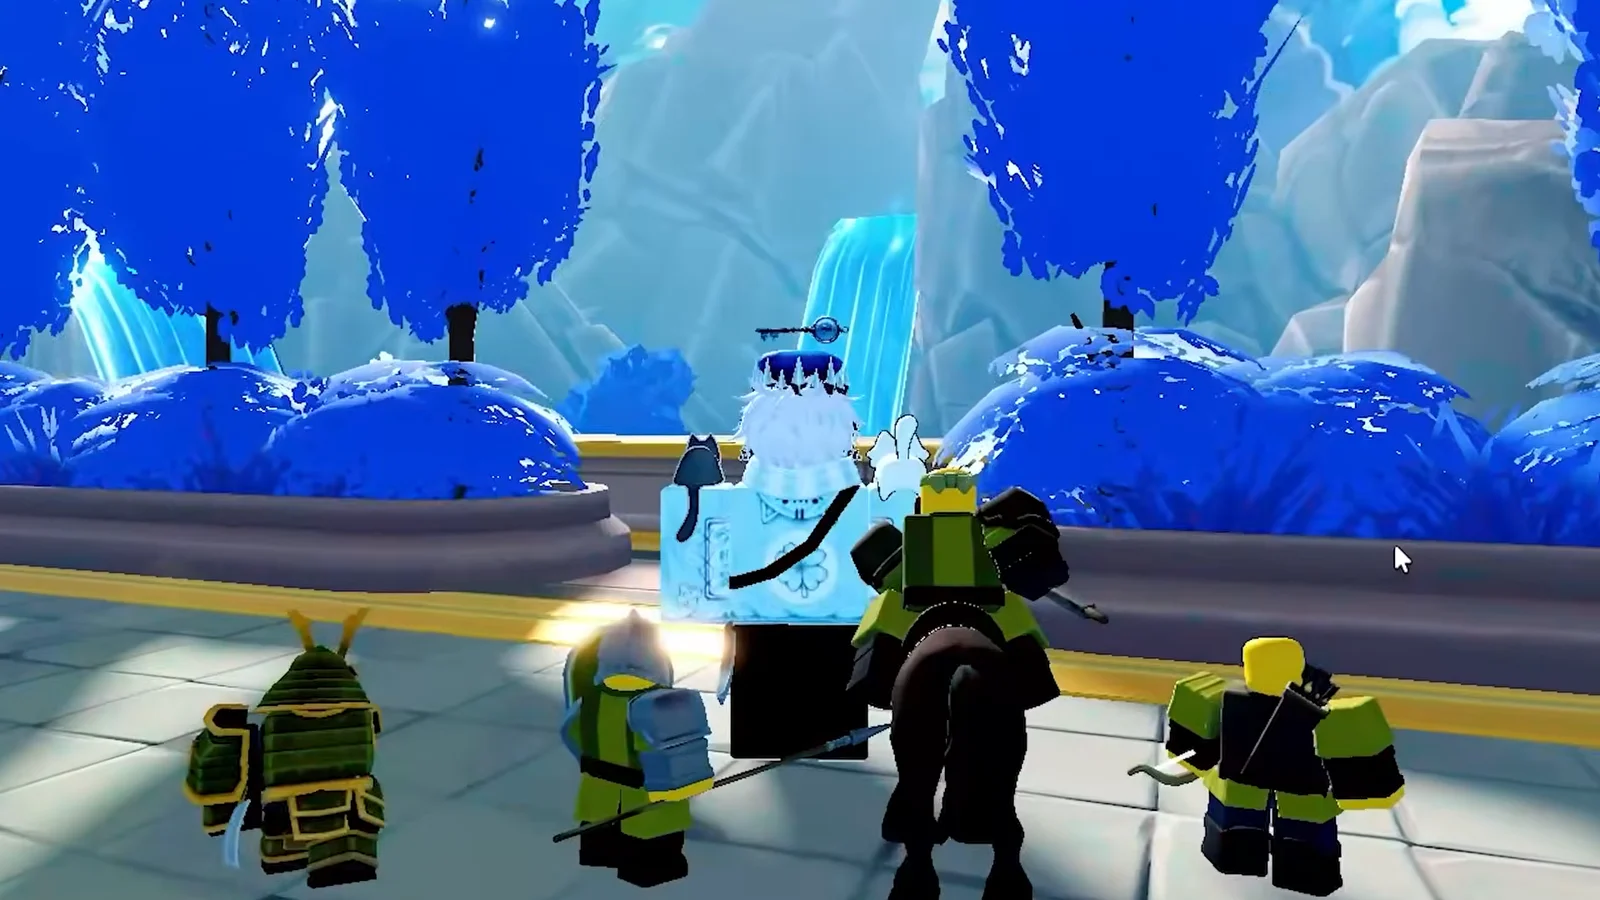
With a coordinated group the maths changes. One player can run all shields while another runs all cavalry, as long as somebody is watching the enemy composition. Check what your teammates are already deploying before you commit; a team with three archers and no frontline collapses the moment cavalry arrives.

Beginner units with the best evolution paths
Rarity is not what wins matches here. Low-star units that evolve into strong late-game forms are the cheapest investment you can make, because levelling only happens by fighting with a unit, and cheap units fit inside a small Star Limit.
| Base unit | Second stage | Final form |
|---|---|---|
| Archer (1★) | Longbowman | Flaming Archers (3★) |
| Shieldman (1★) | Sentinel | Imperial Wall (3★) |
| Halberder (2★) | Imperial Halberder (3★) | — |
| Scout Rider (2★) | Cavalryman | Lancer (4★) |
| Mercenary (1★) | Squire | Knight (3★) |
| Spear Militia (2★) | Spear Vanguard (3★) | — |
Archer is the easiest pickup in the game and the fastest path to a top-tier ranged unit, since Flaming Archers applies burn damage over time. Shieldman is the cheap frontliner that eventually becomes the sturdiest defensive body in the roster, though it never develops real offence. Halberder does double duty, countering cavalry while chipping shields, which makes it the most useful spear-type investment right now. Scout Rider is the longest project of the four, but it ends at Lancer, the strongest mounted unit available.
Samurai is the first four-star to pursue. It has strong armor, attacks rapidly, holds the frontline against most opponents, and excels at breaking the shield stacks defenders favor. Spartan remains a dependable defensive anchor, though the growing number of anti-shield units has weakened its position, and it has no evolution path. Mace is in the same situation, leaving both units permanently at their present tier regardless of leveling. Berserker delivers tremendous damage but falls almost instantly under ranged fire, making it the least effective four-star in practice.

How to ascend units in Command An Army
Ascension merges two identical units into a stronger single copy, and it costs no Gems. Each level raises health, damage, and rush damage. It does not change speed or range, so an ascended foot soldier will never behave like cavalry. A heavily ascended Spearman can genuinely outfight a base Immortal, which is why selling duplicates is the most common beginner mistake.
Only delete a unit once it has reached Ascension 3, which returns a small Gem refund. The “Ascend All Troops” button in the same menu is a Robux purchase that merges everything in your collection automatically.
How to evolve units at mastery level 20
Evolution is a separate progression track that raises a unit by one star tier instead of improving its current form. The evolve command becomes available only at mastery level 20, and mastery increases solely through using that unit in real battles. Ascension 3 and level 20 are different caps, meaning a unit may be fully ascended without yet qualifying for evolution.
You know a unit is eligible when the Evolution screen stops greying out the confirm option for it. Check a unit’s card before you pour battles into it, because several units have no path forward at all.

Class choice and controls
You pick a class during the tutorial from Assassin, Sword & Shield, and Hammer. The choice only changes how your own character fights, not your troops, and switching later costs 50 Gems. Sword & Shield is the forgiving option because blocking protects your HP while you learn the flow of a siege. Assassin is the aggressive pick, strongest when mounted and used to flank into an enemy backline.
| Troop command | Key | Your character | Key |
|---|---|---|---|
| Hold | X | Attack | Left click |
| Follow | C | Block | F |
| Attack | V | Roll | Q |
| Rush | B | Heal | H |
| — | — | Mount | G |
Hold opens a choice of three formations, and the options change depending on which troop you deployed. Follow is the one to lean on early, since it drags your whole force back into position instead of leaving squads scattered. Your horse adds a second health bar that enemies must chew through before they touch you, and it takes one minute to respawn once killed. Rolling drains stamina, which refills quickly while idle or walking, and healing needs distance from the fight to complete.
Reading the map before you commit
Pick attacker or defender based on the layout rather than habit. Maps with only two entry points heavily favour defenders, while wide ground rewards a fast push.
Walled kingdoms
Multiple entrances mean flanking is the default plan. Send cavalry or Scout Riders around the side to reach archers while your shields absorb attention at the main gate.
One-way fields
A narrow stone path leading to a single capture point is brutal to defend. There is nowhere to flank from, so the fight comes down to shields soaking the corridor with archers behind them.
Open fields
Flat, open ground is cavalry territory, and charge damage lands hardest here. Keep a spear unit near your archers, because the enemy is thinking the same thing.
Use the Rush command whenever it is available, especially on cavalry, and circle behind your target first. Shield units can only block from the front, so a rear charge multiplies the damage. On defence, push archers into hidden spots or the back row, never the front line, and use camps and resupply tents to restock troops close to the fight instead of walking back from spawn.
Never push alone. Attacking with teammates and staying focused on the capture point beats farming kills in an isolated corner, where a numbers disadvantage will end you.
How to earn Gems for summons
Gems are the sole currency used to summon units, so take the free supply before spending any. Register with the developer group, like the game, and then favourite it; the lobby reward pedestal immediately pays 400 Gems. Daily and weekly quests provide the most reliable ongoing income afterward, awarding XP together with Gems.
In matches, your end-of-battle score decides the payout. Killing enemy players gives the biggest single boost, with objective captures close behind. Sitting AFK caps you at roughly 10 Gems even on a winning team, and macroing is bannable, which makes it a poor trade for a currency you earn faster by fighting.
Stockpile before pulling on the standard banner. A run of bad luck empties a small Gem balance fast, and the units that actually raise your win rate early are the cheap ones you already own, ascended a few times and pushed toward level 20.





