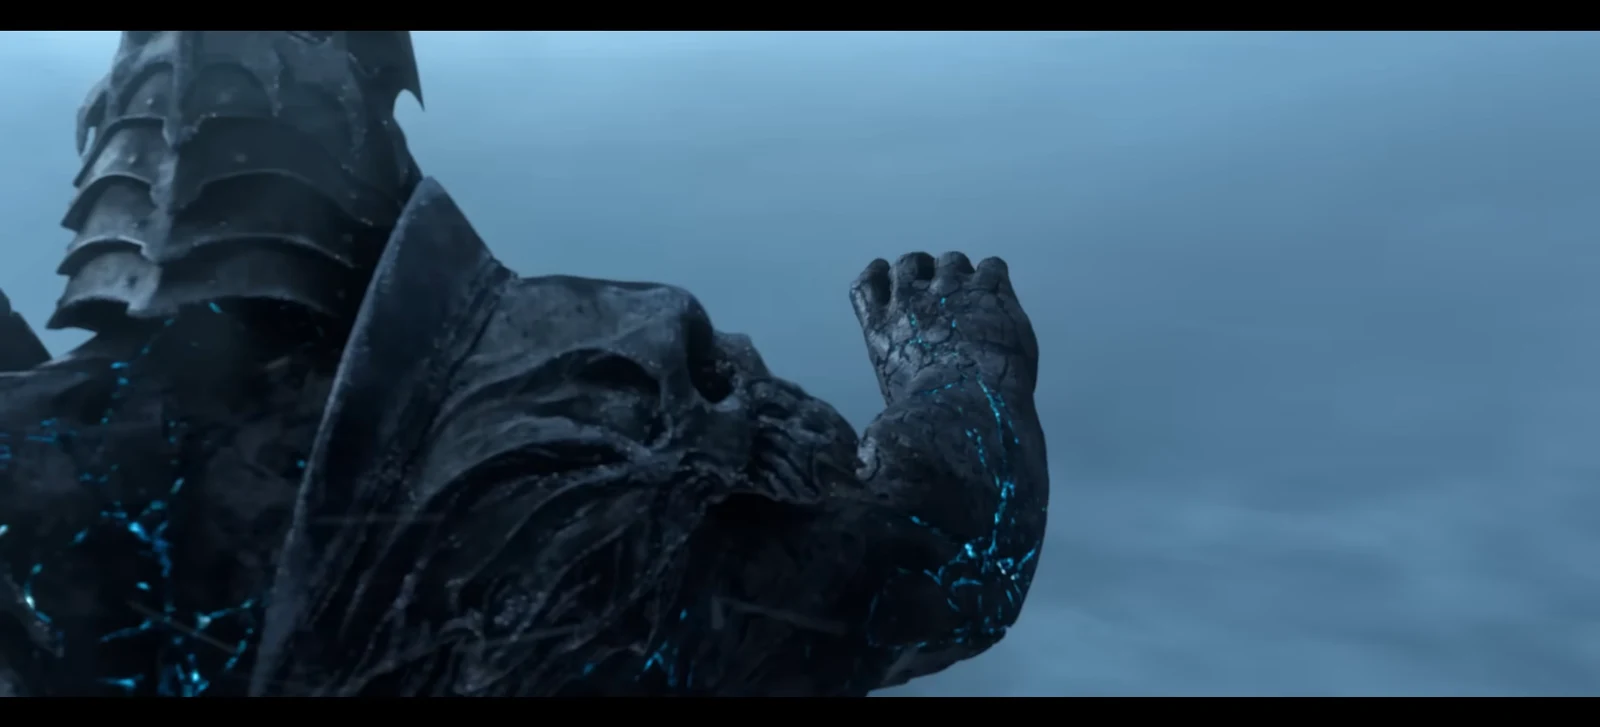
The Ties That Bind is the max-level chapter of the Isle of Dorn story in The War Within, and it is the one that turns the earthen from rule-bound titan servants into a people who choose their own path. It runs 17 quests deep, ends with a city-wide declaration and a fight against a titan construct out over the ocean, and pays out gear, Valorstones, and Council of Dornogal reputation along the way.
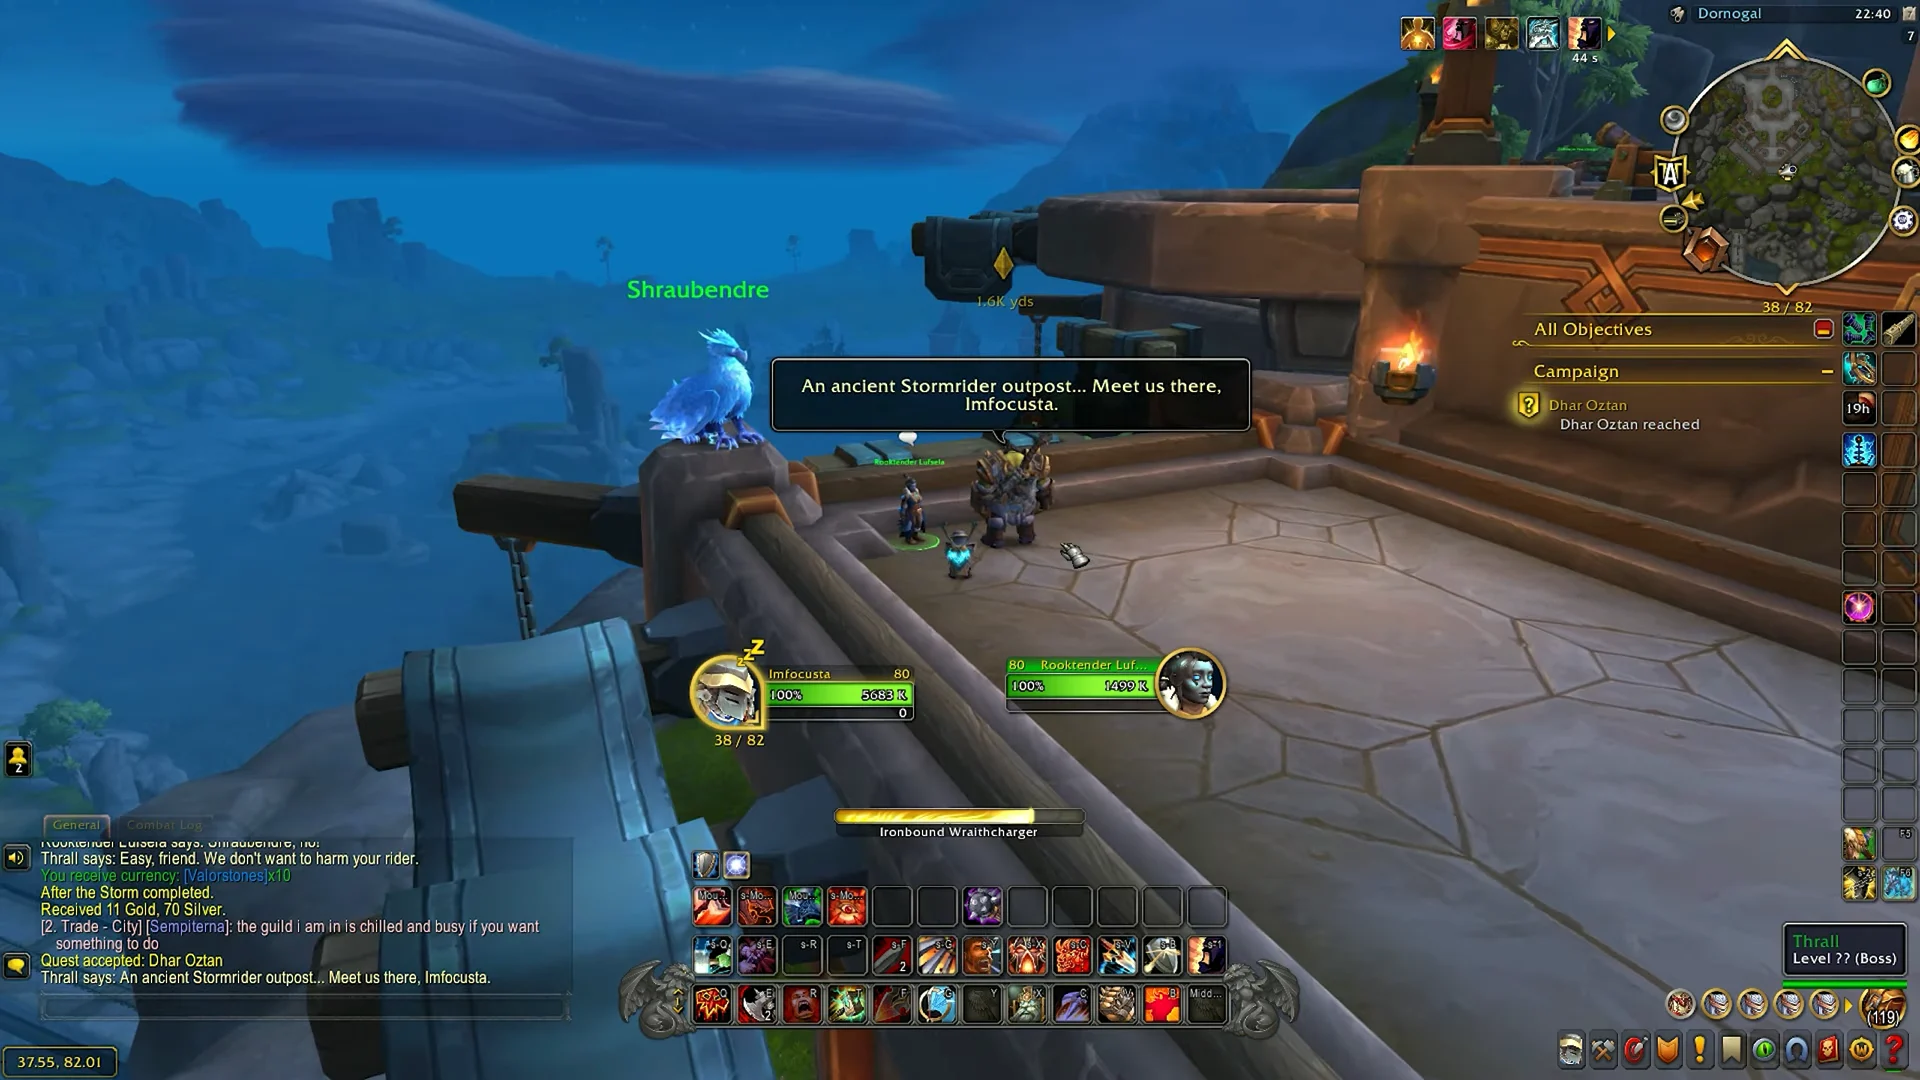
Quick answer: The Ties That Bind is a 17-quest level 80 storyline on the Isle of Dorn. It opens with After the Storm, picked up from Alleria Windrunner in Dornogal.
Requirements to start The Ties That Bind
Everything in the chain is tuned for level 80 characters, and the whole thing sits in the campaign section of your quest log rather than in the normal zone list. Before the first quest shows up, check the following.
- Level 80, with the Isle of Dorn leveling campaign finished.
- The Fleet Arrives, taken from Moira on the ledge at roughly 36, 81 in Dornogal, which is where this thread of the campaign originally picks up.
- After the Storm, offered by Alleria Windrunner in Dornogal, which is the first of the 17 steps.
- Enough renown to keep going. The campaign gates a later point behind rank 4 with the factions, including Assembly of the Deeps.
If the chain seems to vanish, open the campaign tab of your quest log. It tracks this storyline separately from side content and tells you where the next beat is, including any renown requirement holding you up.
All 17 quests in order, with rewards
| # | Quest | XP | Reward |
|---|---|---|---|
| 1 | After the Storm | 5,900 | 10 Valorstones |
| 2 | Dhar Oztan | 1,450 | Gold only |
| 3 | Conduit of the Southern Storm | 5,900 | 10 Valorstones |
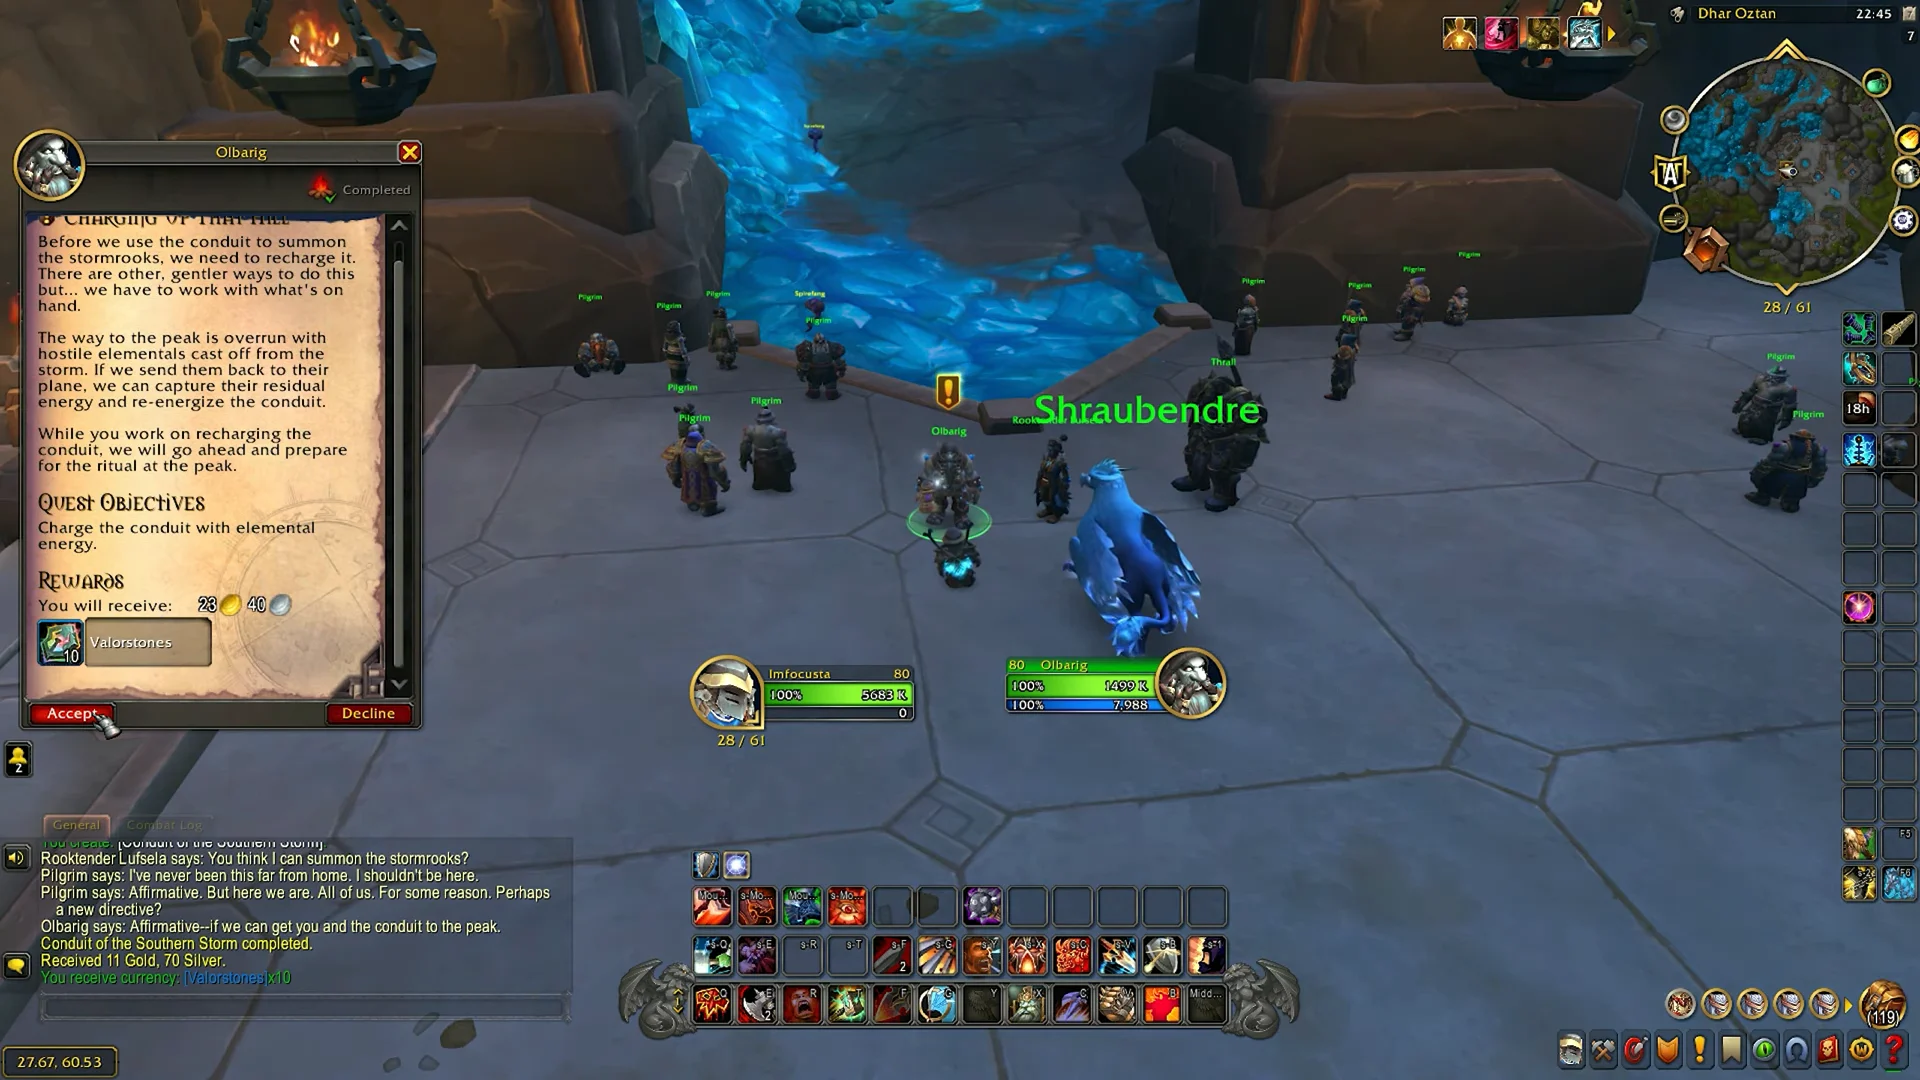
| 4 | Charging Up That Hill | 11,750 | 10 Valorstones |
| 5 | Heeding the Call | 11,750 | 10 Valorstones |
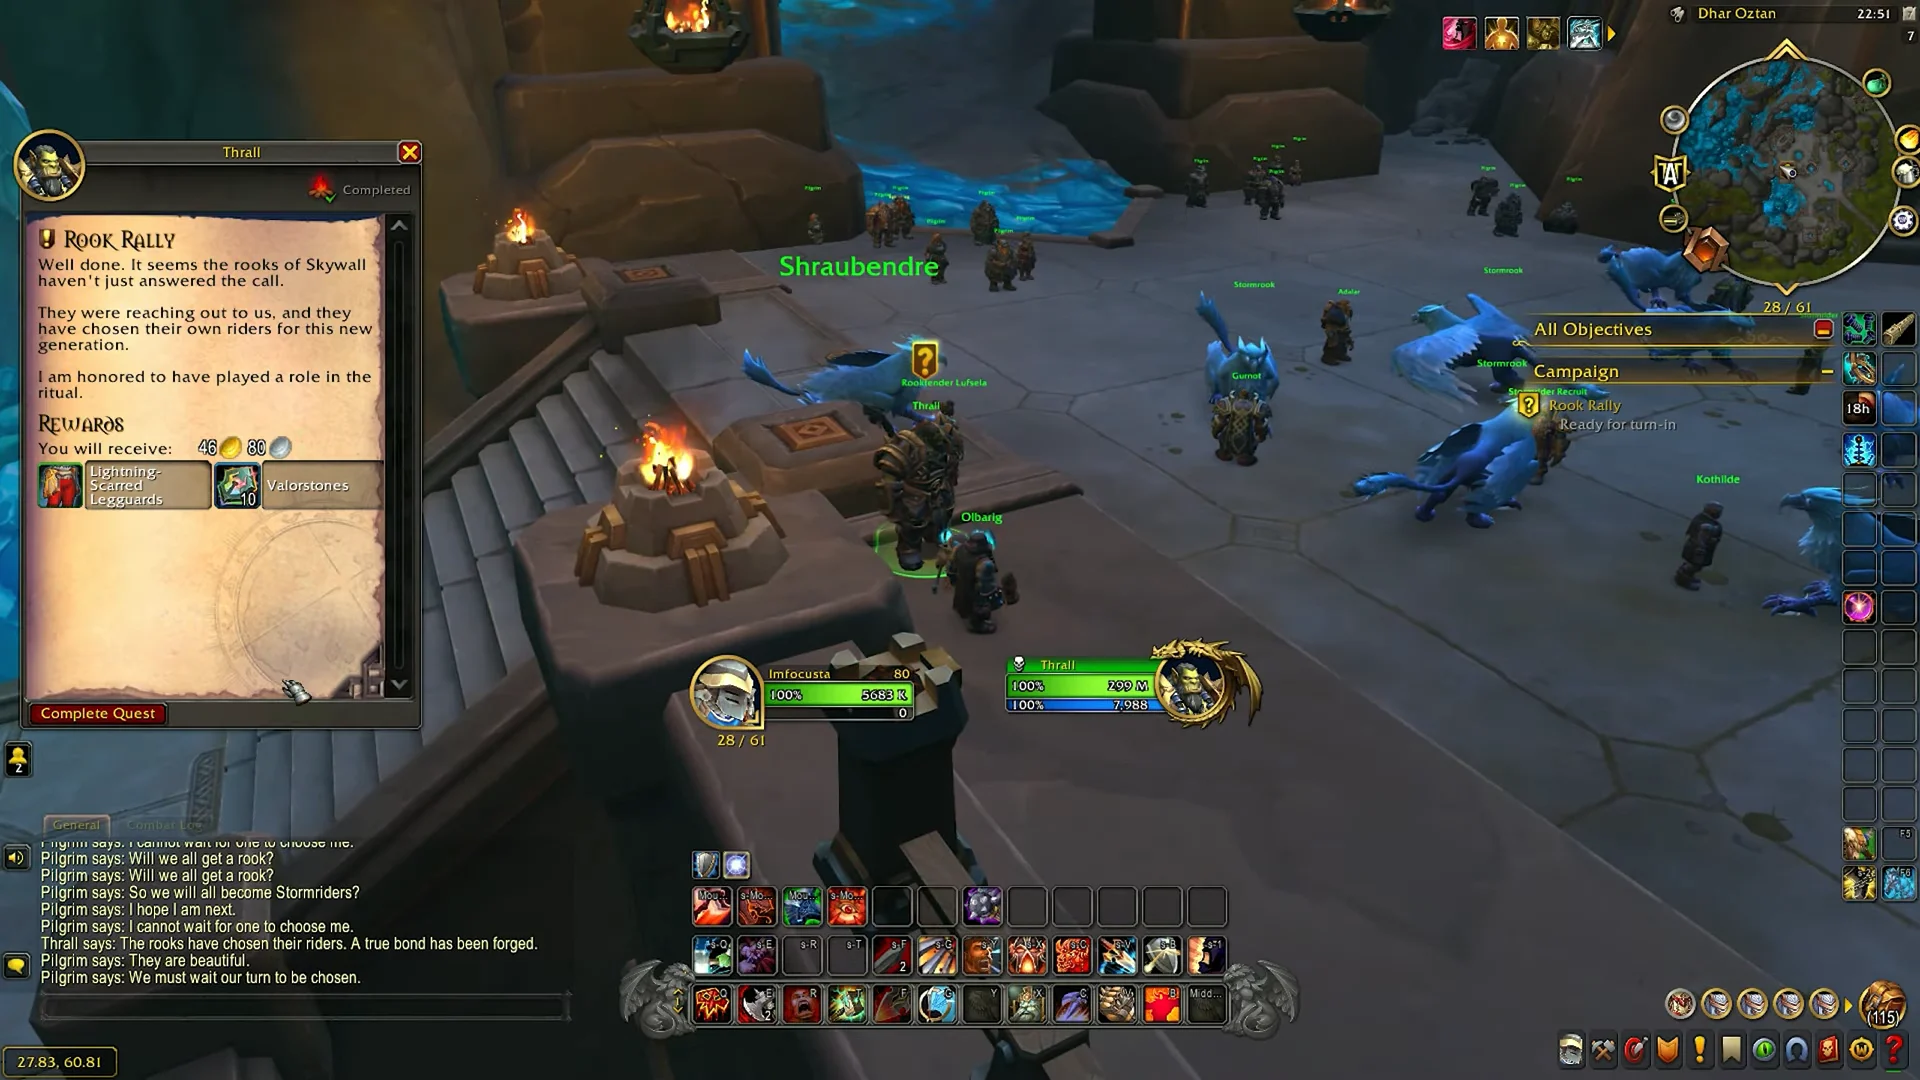
| 6 | Rook Rally | 14,700 | Lightning-Scarred armor |
| 7 | Ground Pounders | 1,450 | Gold only |
| 8 | Goldbricking | 11,750 | 10 Valorstones |
| 9 | Metal and Stone | 11,750 | Algari weapon choice |
| 10 | Home to Roost | 1,450 | Gold only |
| 11 | Strays | 5,900 | 10 Valorstones |
| 12 | Flight Training 101 | 11,750 | 10 Valorstones |
| 13 | Flight Training 102 | 11,750 | 10 Valorstones |
| 14 | Flight Training 103 | 11,750 | Stormrider Flight Badge |
| 15 | Paying Respects | 11,750 | 10 Valorstones |
| 16 | The Edicts | 1,450 | Gold only |
| 17 | Titanic Failsafe | 14,700 | Stormrider wrist armor, 500 Council of Dornogal |
Two steps hand out real gear choices. Rook Rally drops a Lightning-Scarred piece matched to your armor type, either the Cowl, Vest, Coif, or Legguards. Metal and Stone lets you pick one Algari weapon from a spread that covers an axe, mace, shield, dagger, censer, warglaive, and hatchet, so take whatever fills the worst slot on your character.
Dhar Oztan and the stormrook ritual
Drilling the earthen recruits on the shore
Ground Pounders sends you across the Isle of Dorn to the beach where Horde and Alliance forces are massing. Hand it in to Adelgonn, then take Goldbricking from Overlord Geya’rah, which is simply a matter of sparring with the Undisciplined Earthen trainees loitering on the sand until enough of them have learned their lesson.
Geya’rah passes you to High Exarch Turalyon for Metal and Stone. Click the weapon racks holding axes, hammers, shields, spears, and crossbows to arm the recruits, report back to Turalyon, and pick your Algari weapon reward. Adelgonn then gives you Home to Roost, which is a short flight back to Dhar Oztan to see how Lufsela’s new recruits are doing.
Flight training with Kurdran Wildhammer
Strays comes off Home to Roost and has you sweeping the countryside around Dhar Oztan for wandering stormrook recruits, nudging each one back toward base. Once they are all accounted for, speak to Kurdran Wildhammer at Dhar Oztan to finish Strays and start the three flight lessons. Each one puts you on the stormrook Shraubendre.
- Flight Training 101: fly through the rings in the air, then land at The Orecrag to turn it in.
- Flight Training 102: use your aerial abilities to destroy the target dummies floating around the training area.
- Flight Training 103: bomb the Shalemaws in the skies above Sunken Shield, then fly to Sunrise Shadow and report to Olbarig.
Finishing the third lesson hands you the Stormrider Flight Badge and Olbarig gives you Paying Respects on the spot.
The Edicts, the construct, and how to confirm the chain is done
During Paying Respects, drive away the Faithful of Zirix nerubians assaulting Zarein, Baelgrim’s stormrook. Once they are defeated, go back to Olbarig and accept The Edicts. That quest takes you to The Proscenium in Dornogal, where the earthen leadership gathers. In the cinematic, Councilward Merrix and the council break the edicts and proclaim all earthen Unbound.
Merrix then gives you Titanic Failsafe. Mount Shraubendre, fly out over the ocean, and bring down the Colossal Titan Construct that surfaces there using your lightning bolts and aerial surges. Fly back into the city and speak to Alleria Windrunner at The Coreway to finish the quest.
Turning in Titanic Failsafe is the confirmation that the storyline is closed. The turn-in pays 500 Council of Dornogal reputation along with a piece of Stormrider wrist armor, no further quest appears in the campaign tab of your log for this chapter, and the storyline’s achievement fires.
Commander Haalien and the Ripped Missive in Shadowgale Forest
A separate objective under the same name plays out in Shadowgale Forest, near the Shrine of Akir, and it is a short kill-and-loot job rather than a long chain.
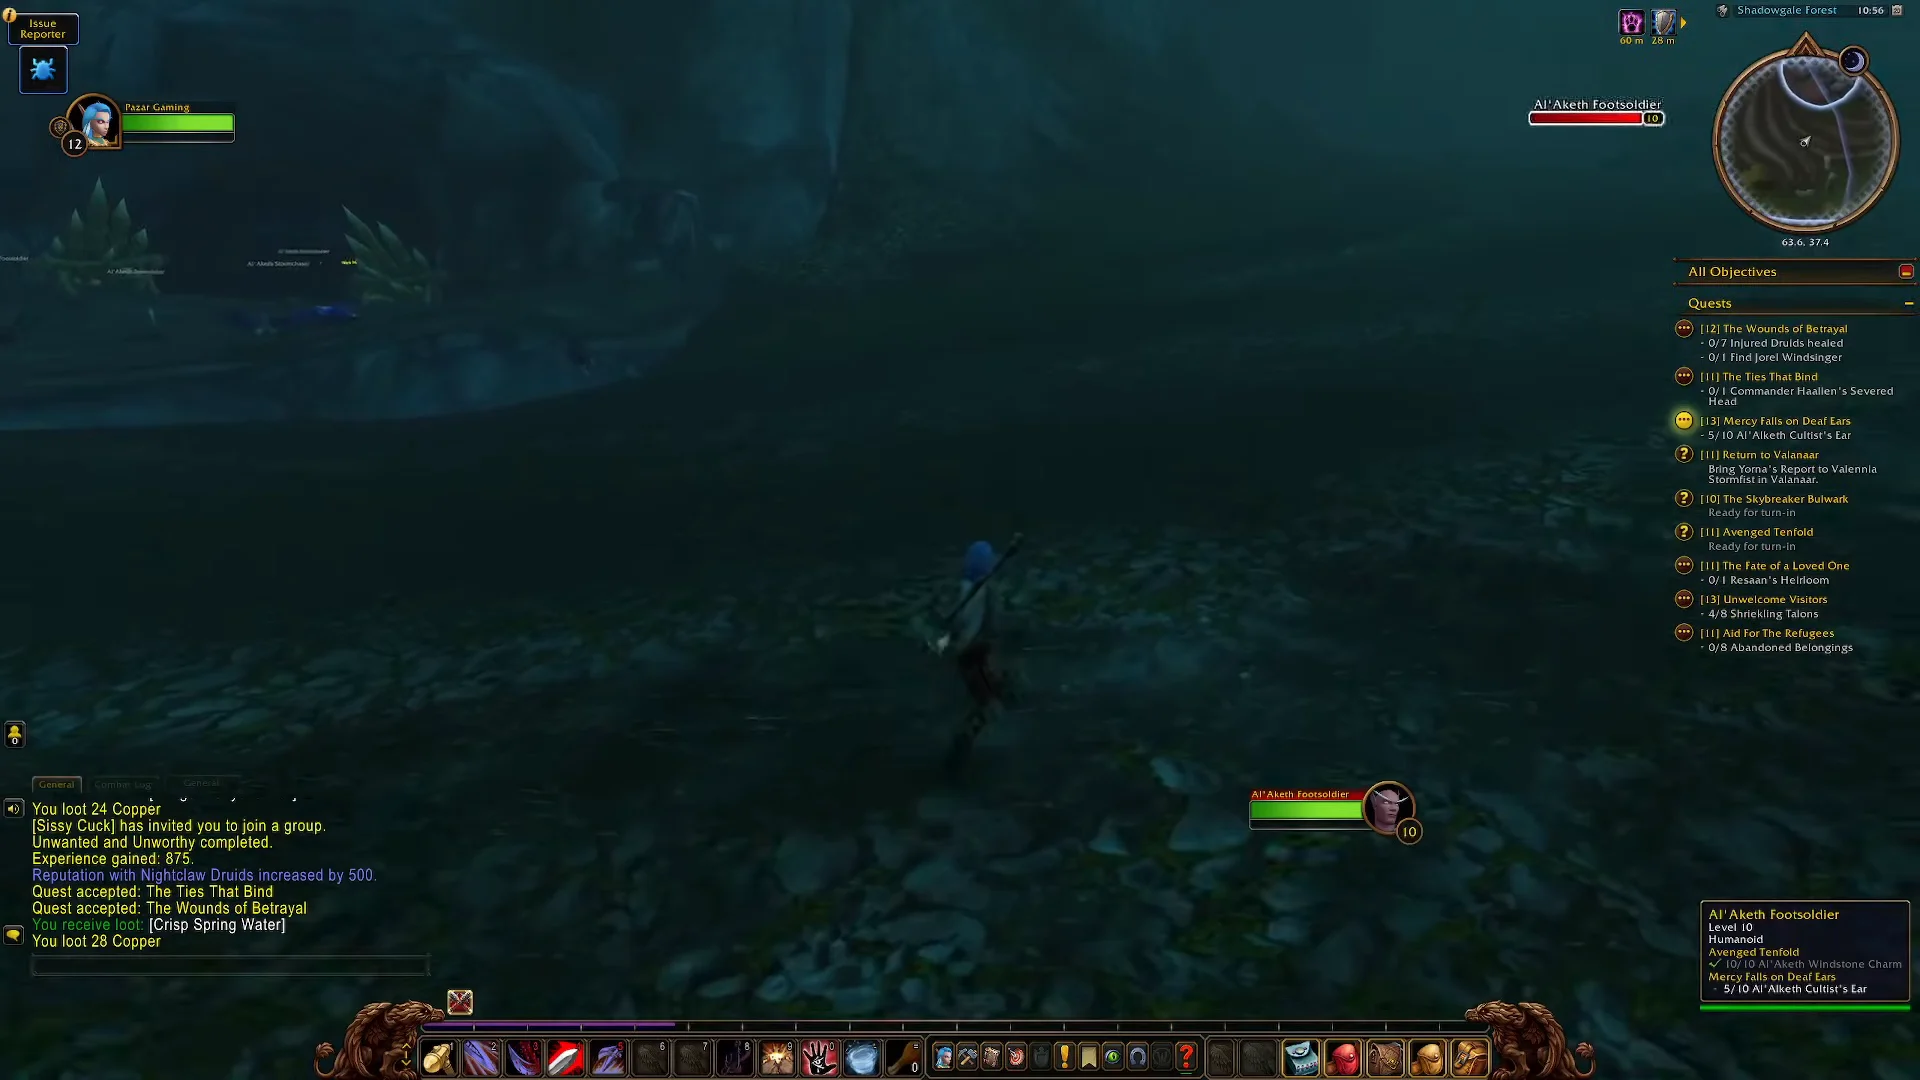
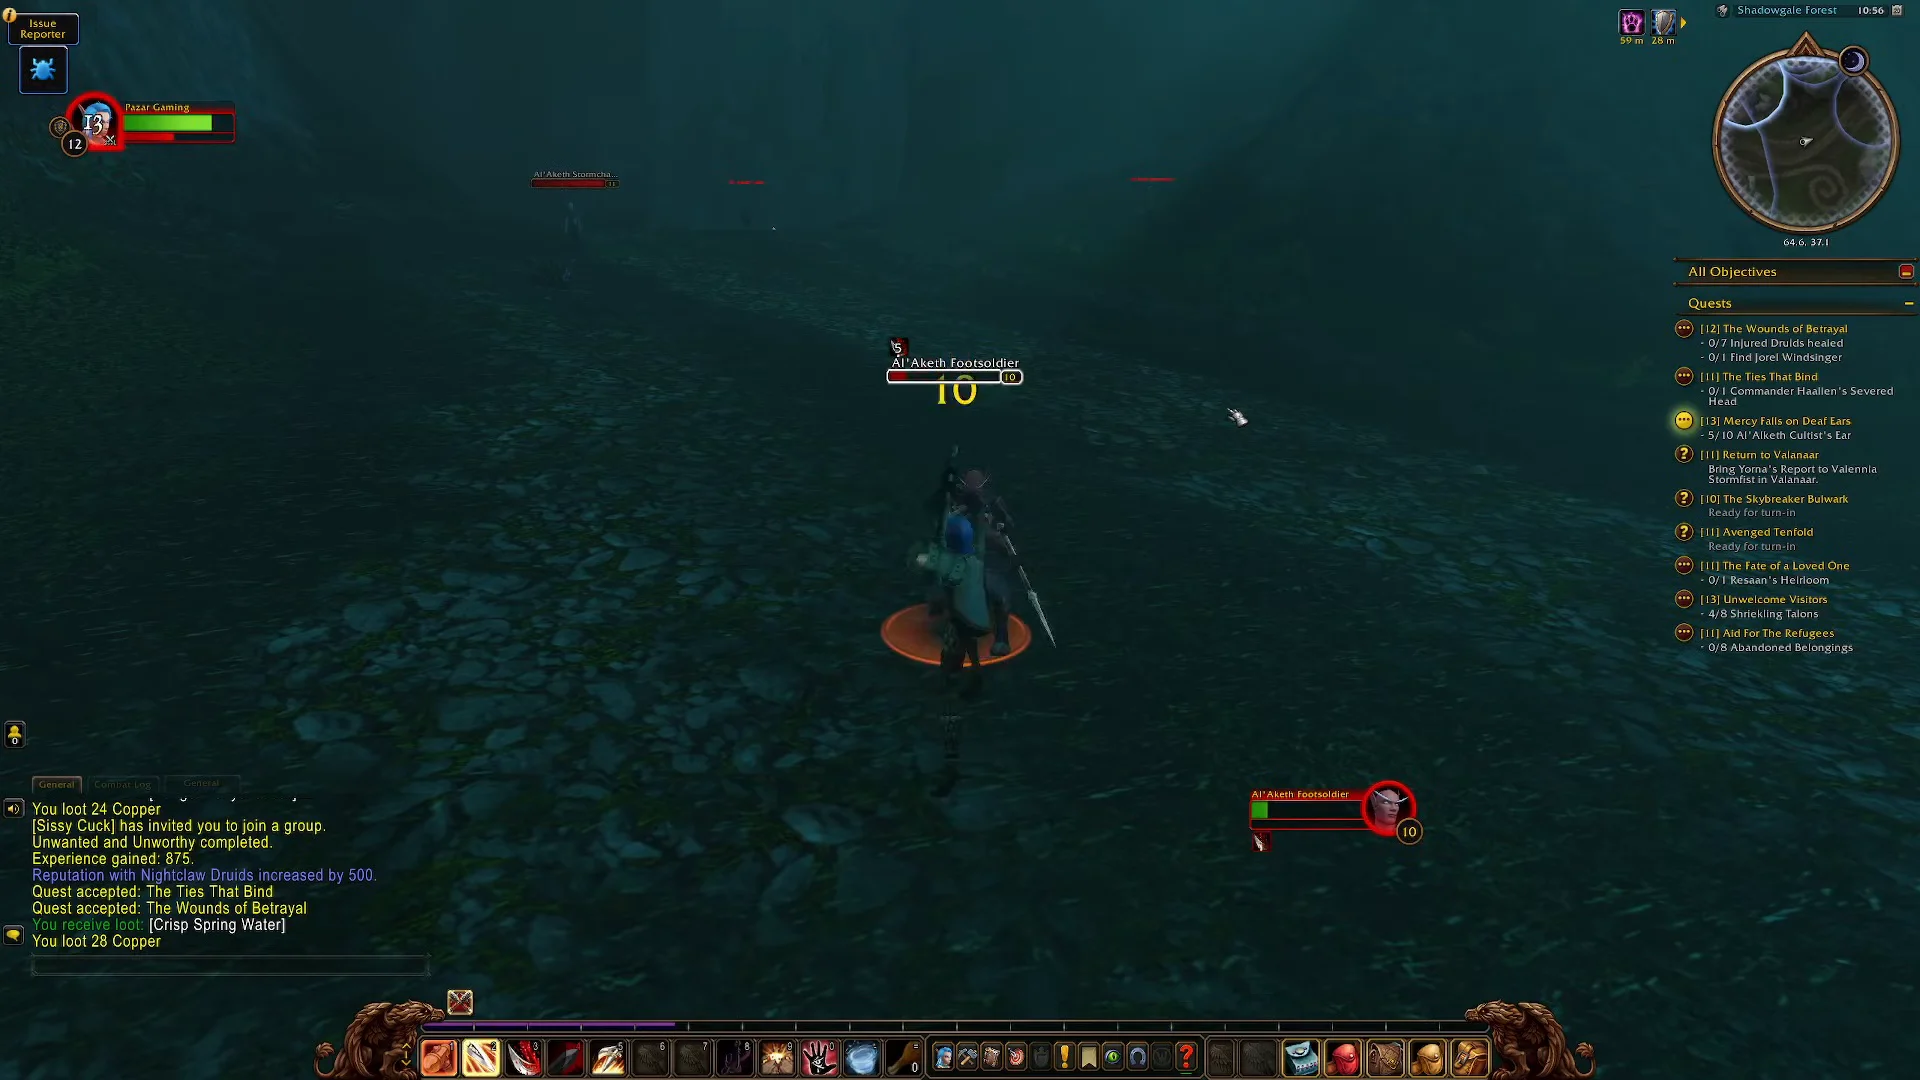
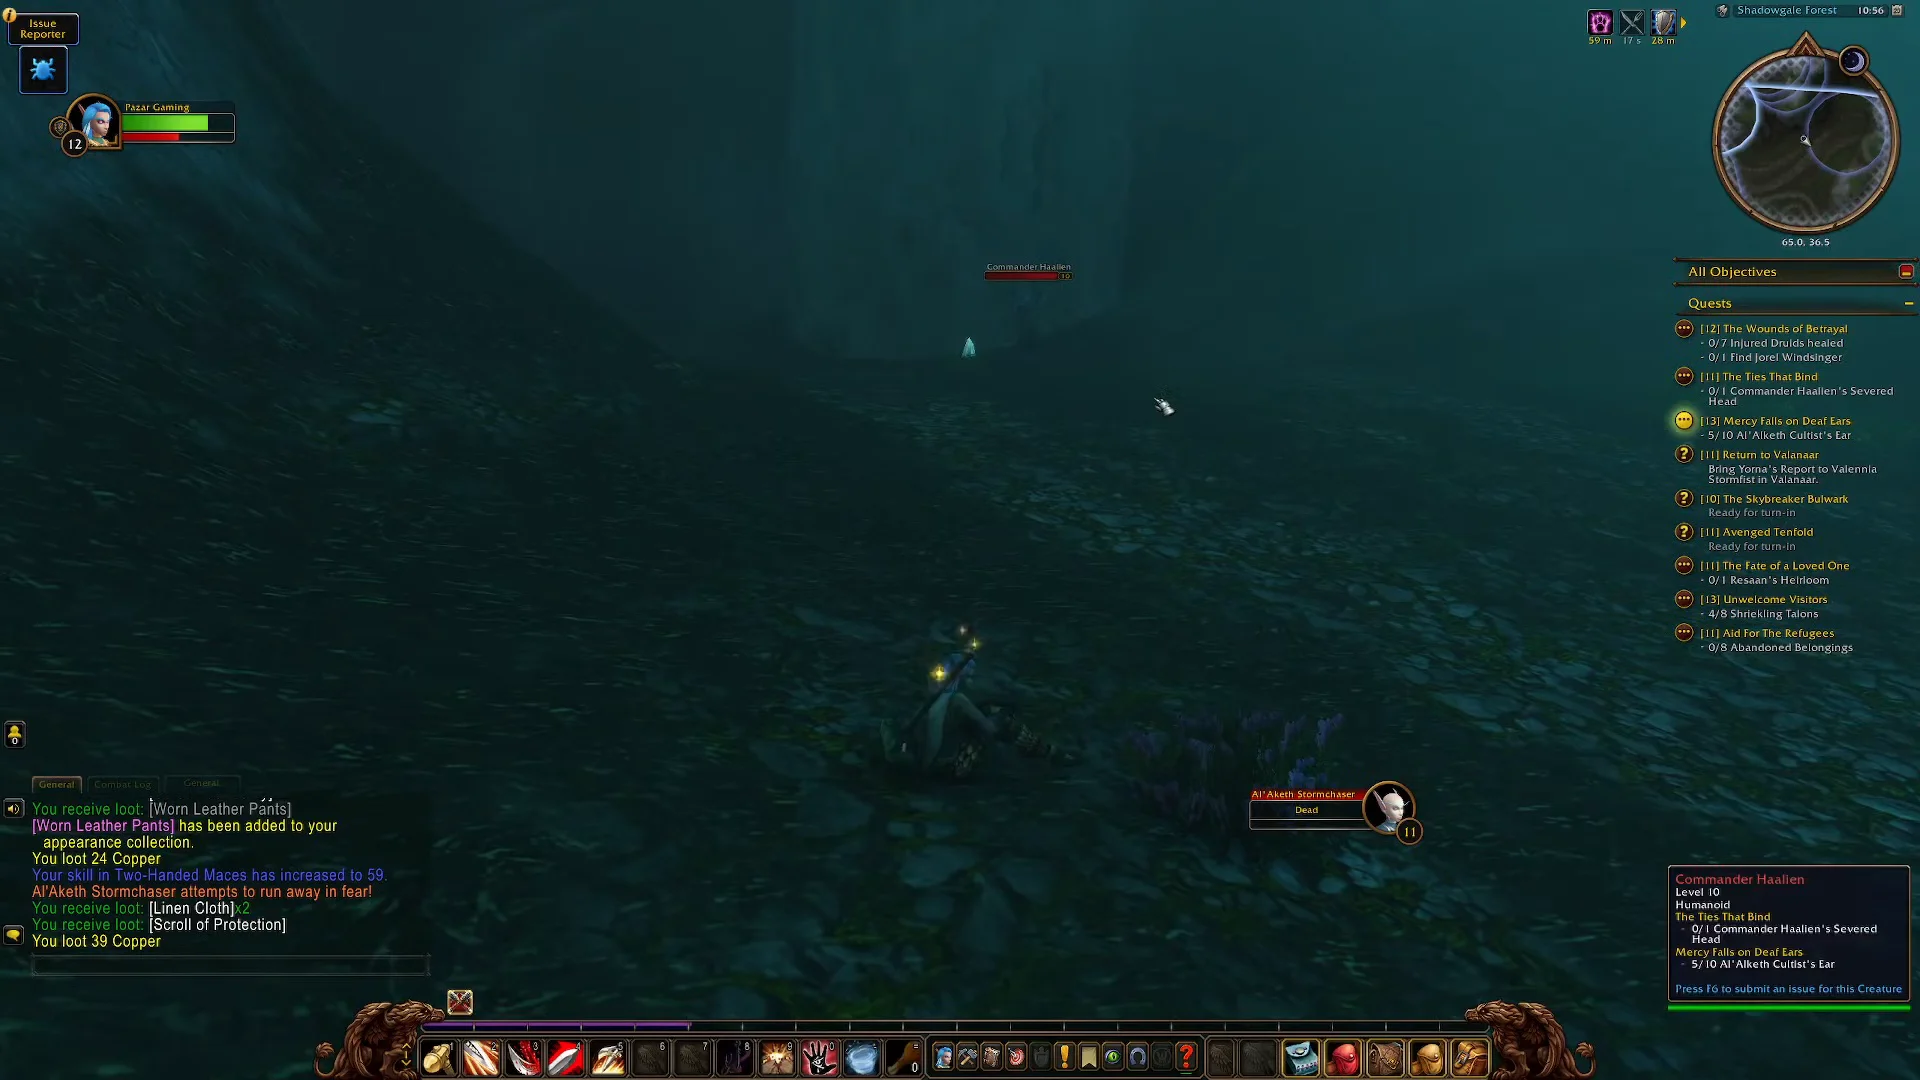
Right-click the Ripped Missive in your bags once you have it. Reading it accepts the follow-up quest and marks the next destination on your map, which is how you know the step registered.
The Ties That Bind in Eversong Woods
Eversong Woods has another quest bearing this title as step nine in the Sins of the Past storyline; it is currently on the public test realm for patch 12.1.5, Curse of Ula’tek. The quest requires level 90, can be shared, and has you board the Rickety Canoe for a trip to Atal’Utek, or ask Liadrin to teleport you there. Its rewards are 13,700 experience, 34 gold 16 silver, and the Amani Fishing Canoe.
Access to the Coiled Isle needs to be unlocked through the Legacy of the Amani and An Island of Fangs storylines first. Without that, the quest boots you off the island and strands you on the Zul’Aman Skybridge.
That version is still in testing, so its details can shift before it reaches live servers. The Isle of Dorn chapter, on the other hand, has been in the game since The War Within launched with patch 11.0.0, and it is the one that most people mean when they go looking for The Ties That Bind.