The first real walk-and-talk stretch of CONTROL Resonant hands you a map marker and very little else. Evacuation Procedures asks you to get out of the field office and into the Evacuation Zone, and the route runs through a security checkpoint, a stretch of city street, and a climb most players run straight past.
Quick answer: Leave the field office, head southeast through the security checkpoint, follow the blue Evacuation Zone signs and wall arrows to the Zone Access ledge, hit the wall switch, then drop down the elevator shaft.
Evacuation Procedures objectives and map marker
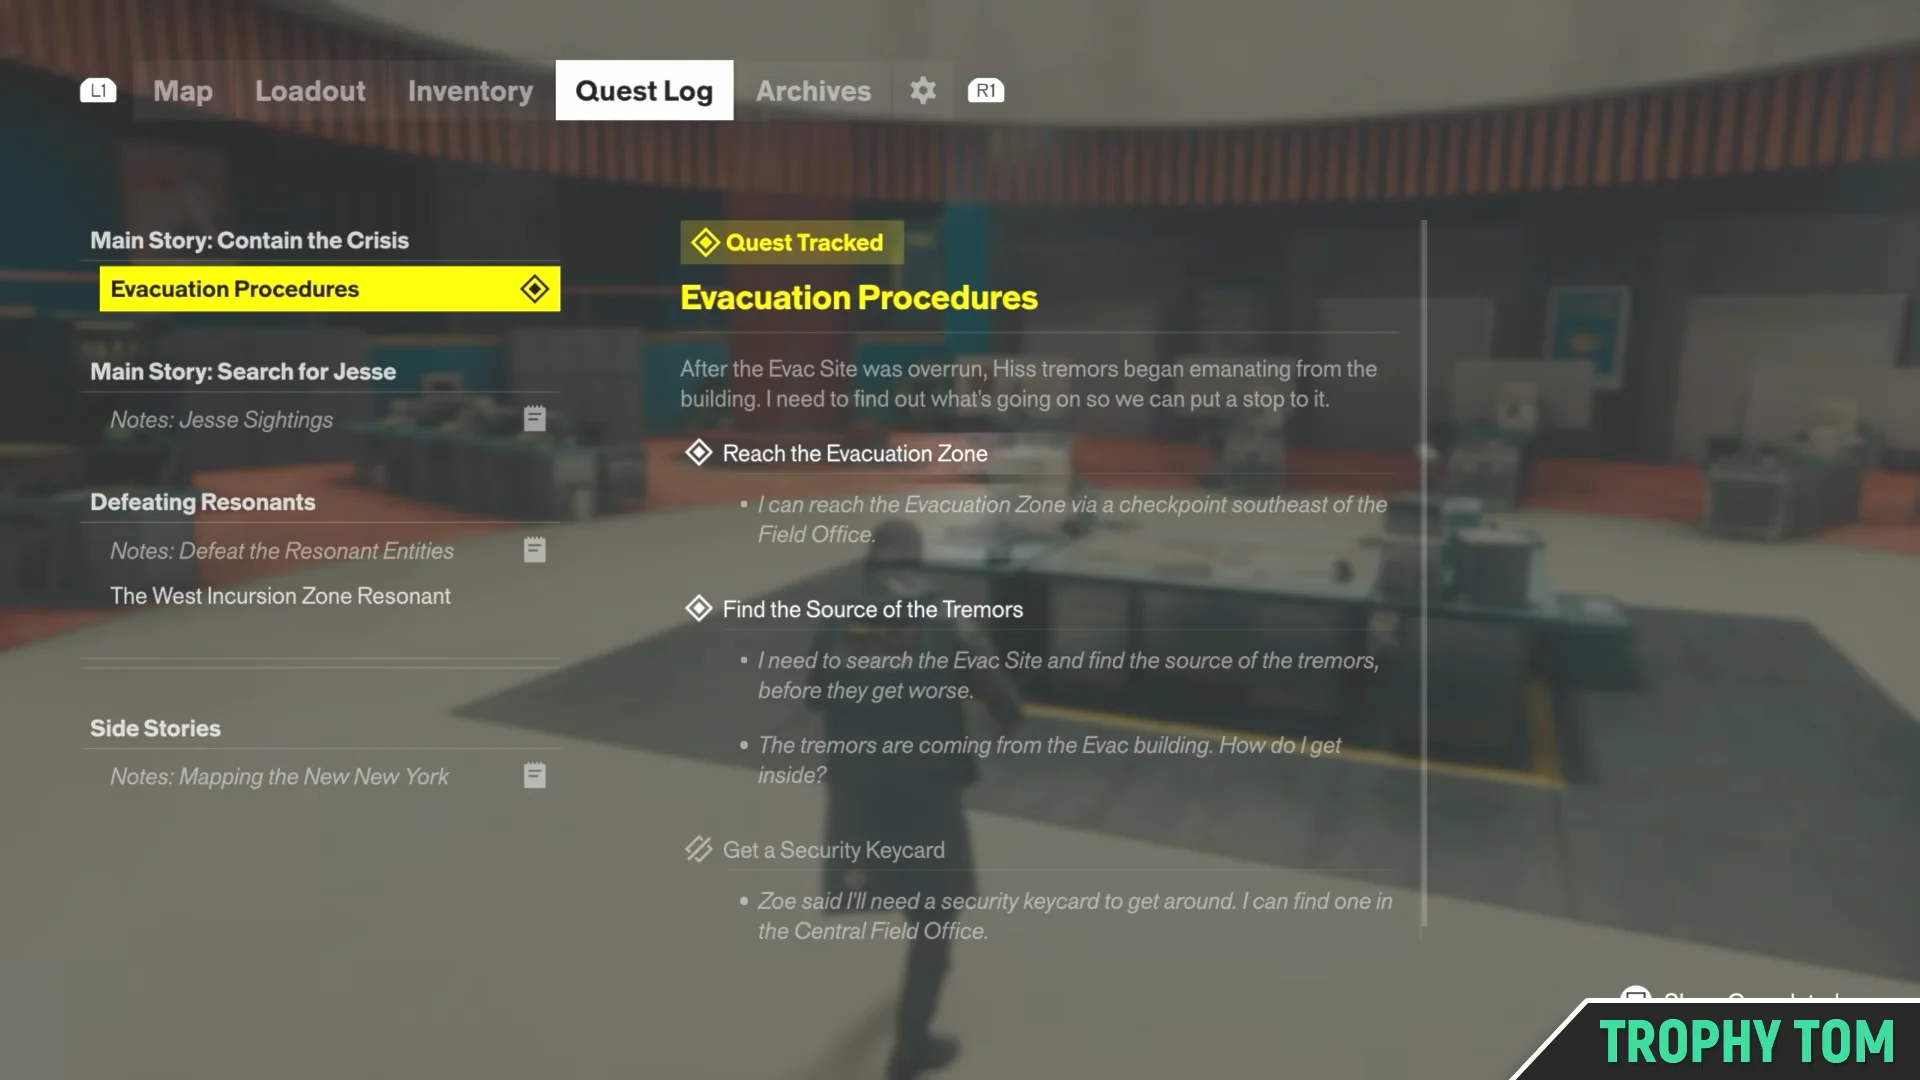
Evacuation Procedures is a Main Story quest, and it carries two objectives at once: Reach the Evacuation Zone and Find the Source of the Tremors. Opening the Quest Log confirms both are live, which is worth checking if you have wandered off and lost the thread.
On the Central 3 map, the destination shows up as the Evacuation Checkpoint marker, sitting southeast of the round central office building you start in. Everything below is just the ground-level path to that pin.
Route from the Central field office to Zone Access
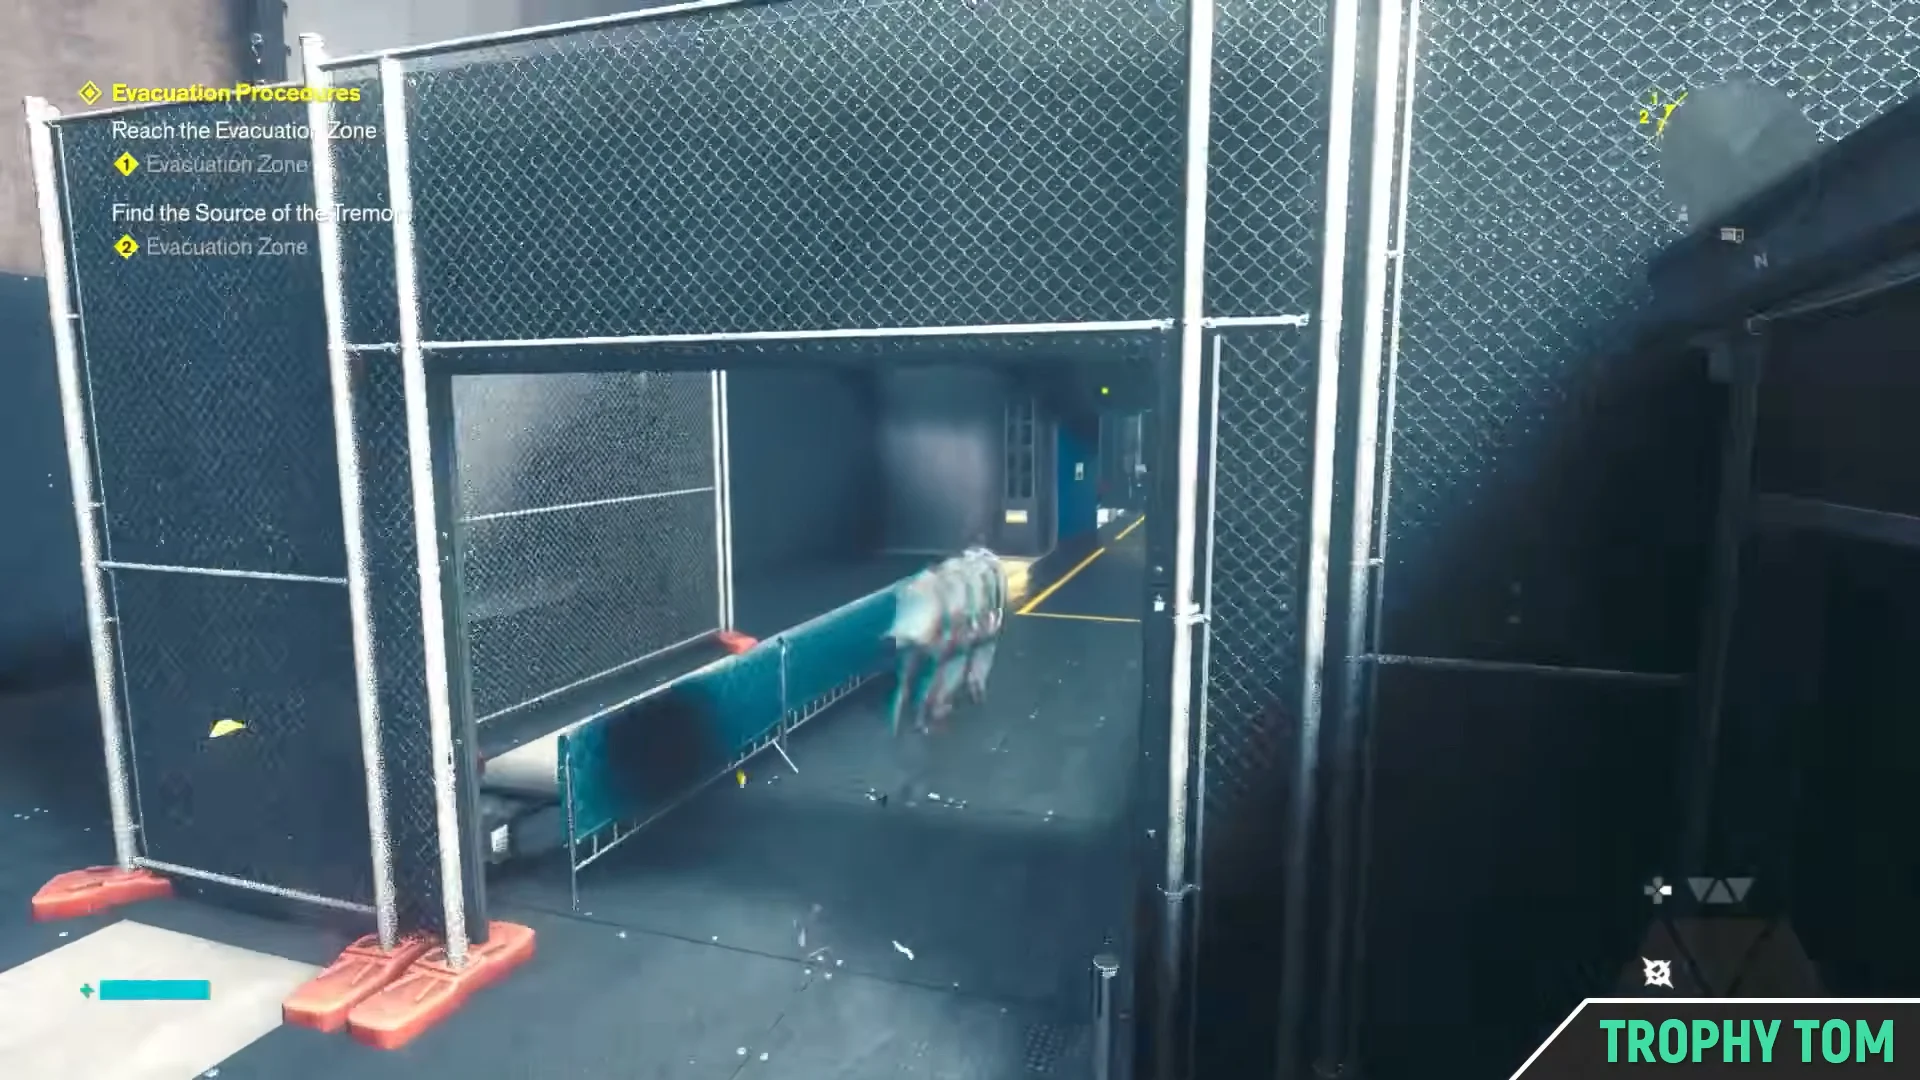
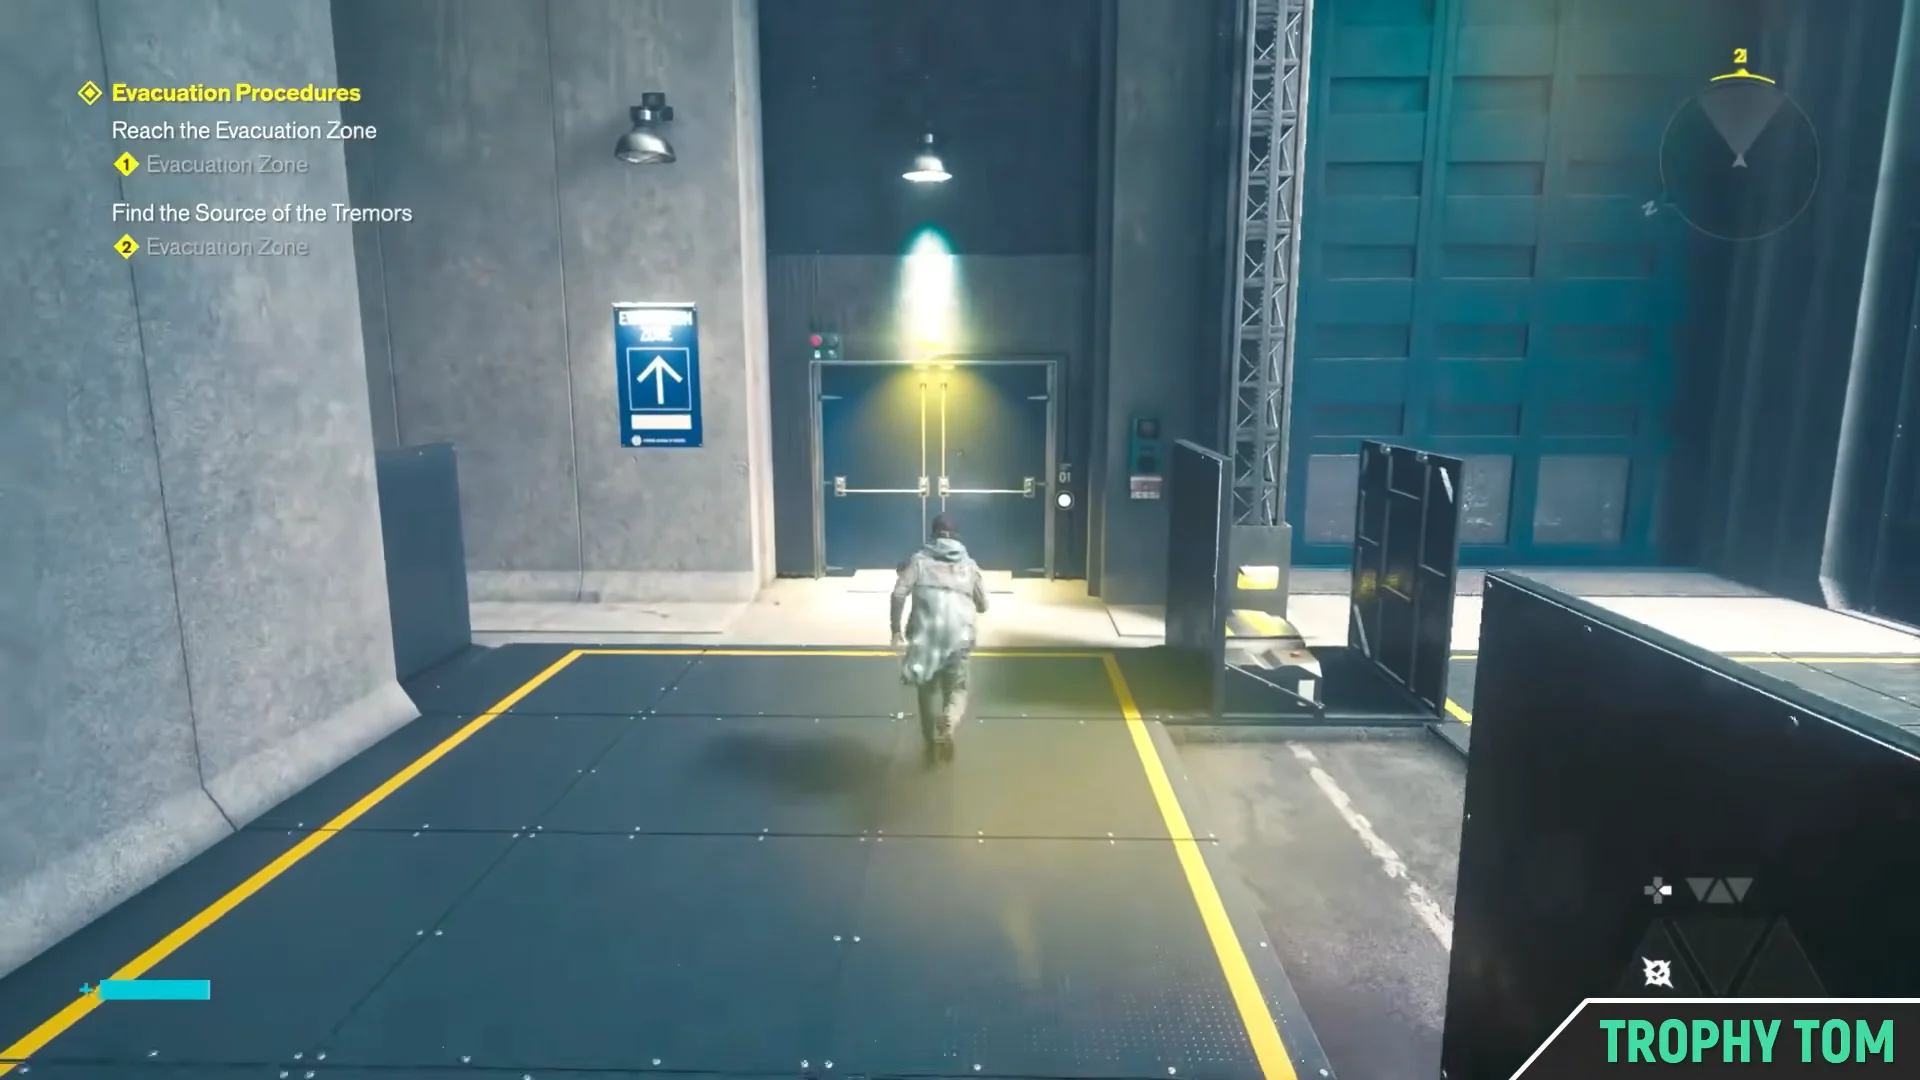
The yellow paint is the game’s traversal marker here. If you cannot find the climb, look for yellow edges rather than another doorway.
How to confirm you reached the Evacuation Zone
Past the Zone Access door you move through the evacuation facility’s indoor hallways and baggage scanners. Blue Evacuation Zone directional signs run along the walls the whole way, and they end at an elevator shaft you drop down.
That drop is the completion point. The Reach the Evacuation Zone objective ticks off, leaving Find the Source of the Tremors as the remaining objective on Evacuation Procedures. If your Quest Log still shows both, you have not gone down the shaft yet.
Inside the Evacuation Zone: what to check after you arrive
You come out in a fog-filled street signposted EVACUATION ZONE 9, built around a large central chasm. The street splits into a north and a south side, both lined with abandoned vehicles and drifting drones, and pickups such as Edible Glob and Source are scattered along the edges and alley corners.
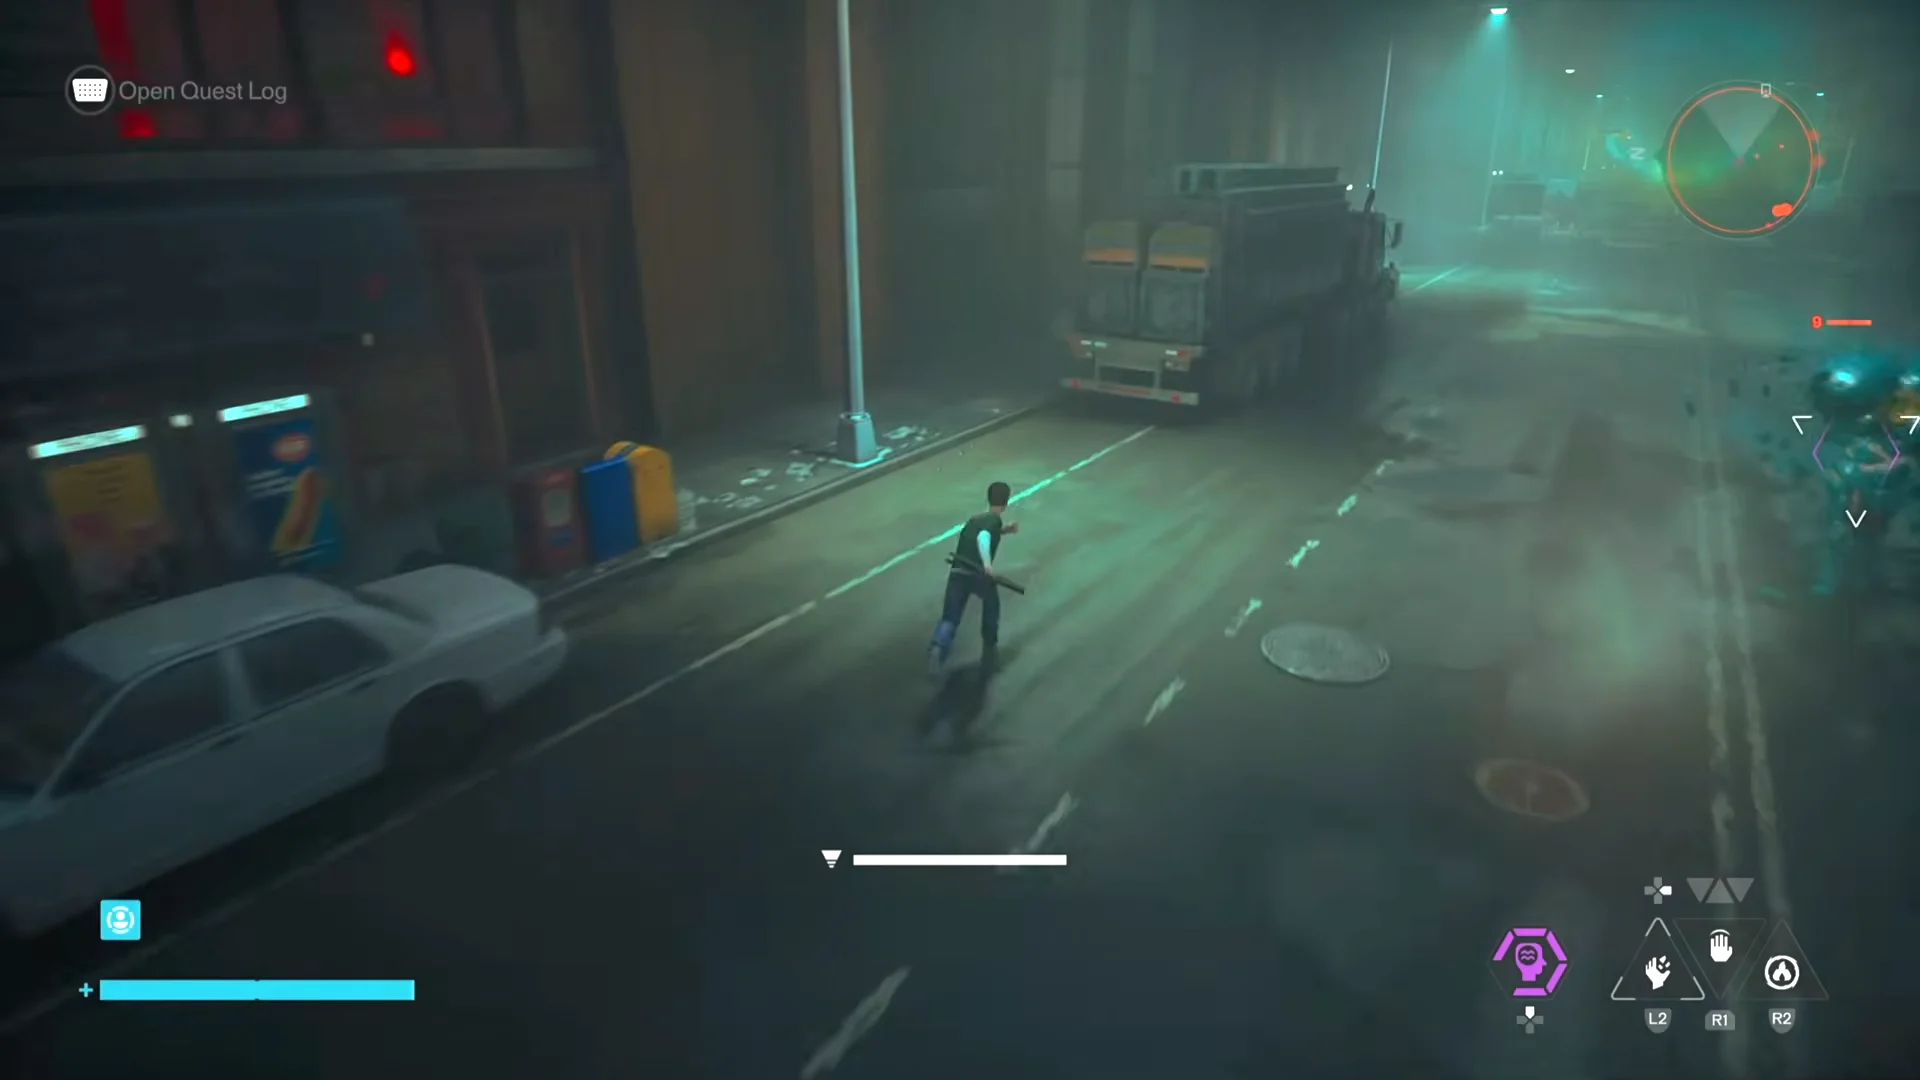
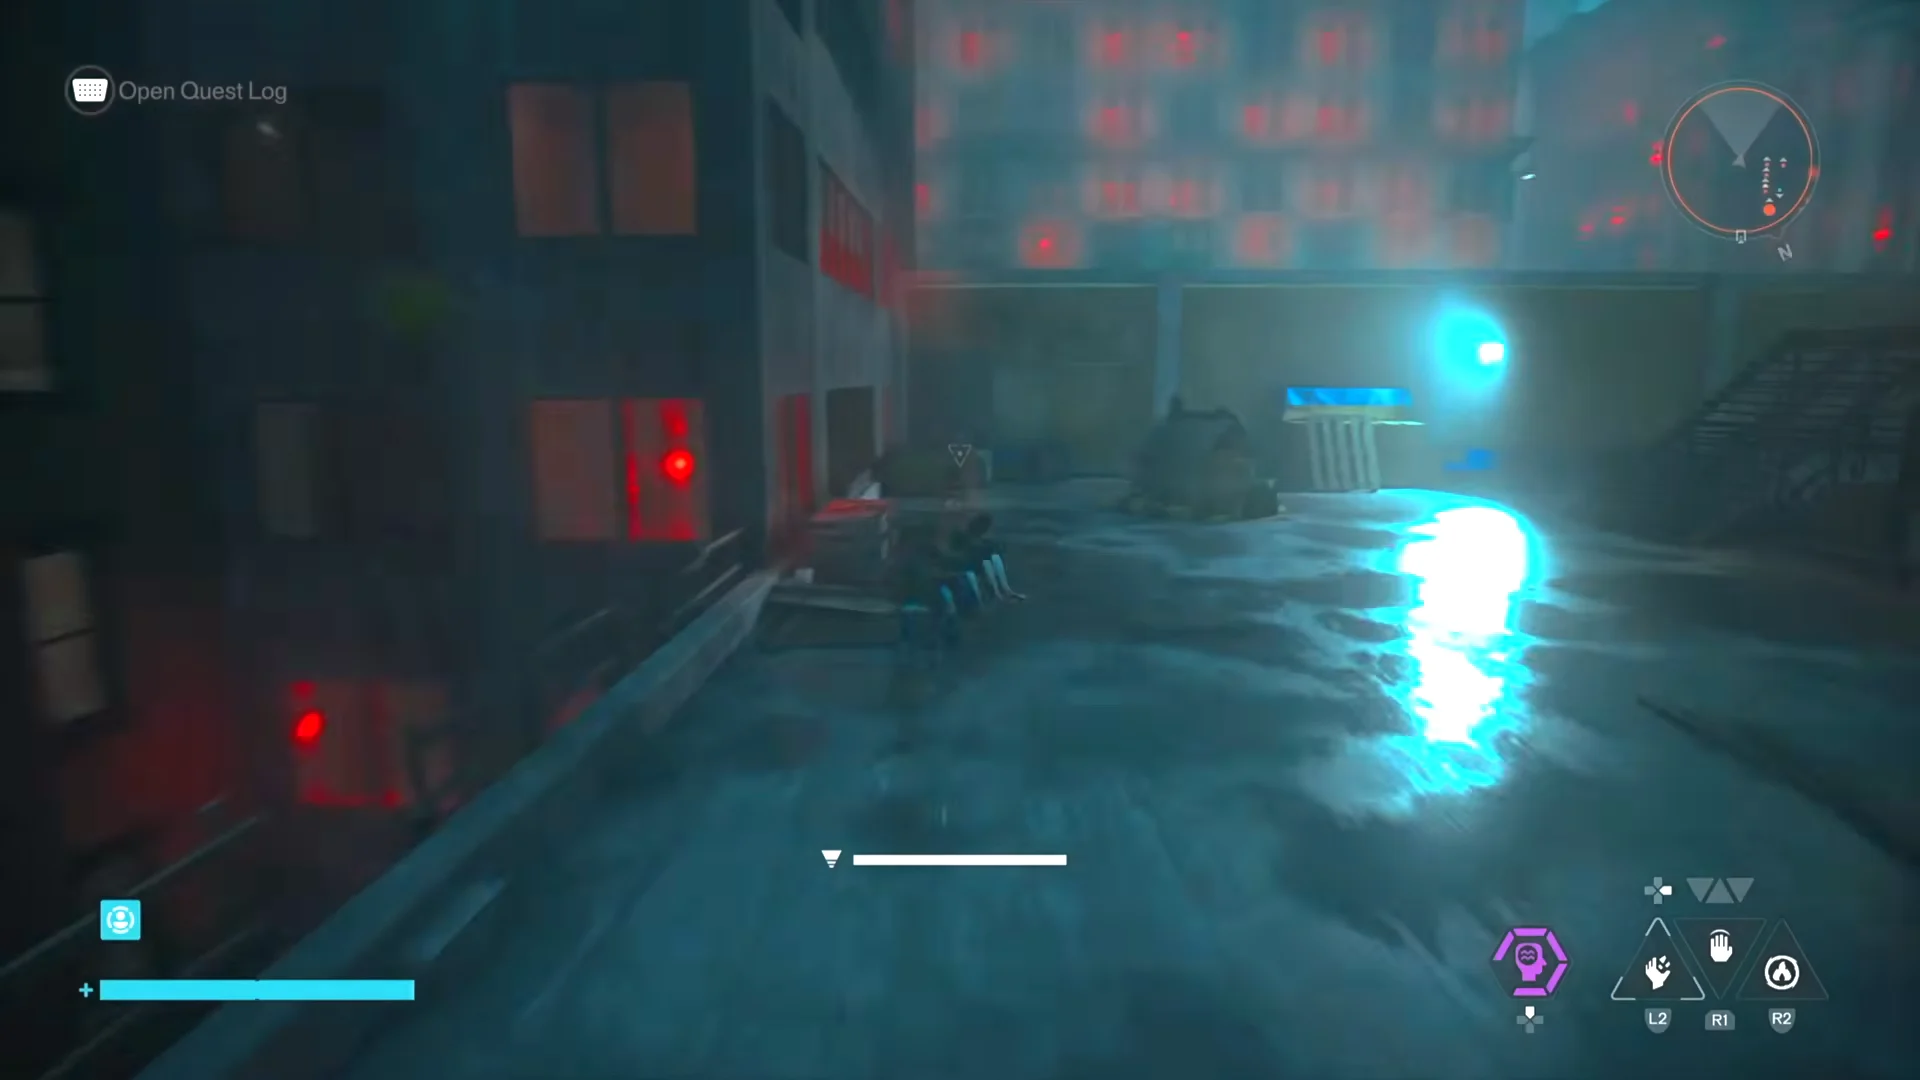
Some of the side routes are sealed behind barricades that only clear with fire skills, so a few pickups stay out of reach on a first pass. There is also an elevated construction deck you can mantle onto, holding a floating entity and a blue light rift.
Könstig gallery painting puzzle solution
The Könstig art gallery in the zone hides a secret room. A note on the counter names four paintings for sale, and lighting all four with the room’s light switches opens a hidden wall holding lore and a high-value chest. There is one on each display wall.
| Painting | Where it hangs |
|---|---|
| Journey | Middle of the left wall, the one with a road |
| Windows | First on the front wall, circular tree stems |
| Thunder | First on the third display, tree dead center |
| Tides | Middle of the last wall, water under fallen trees |
Before following the tremors, make another worthwhile stop. Travel north to Railyard Street Station and locate the Fault in the Evacuation Zone; it grants one of the game’s more useful traversal abilities and a Living Shard.