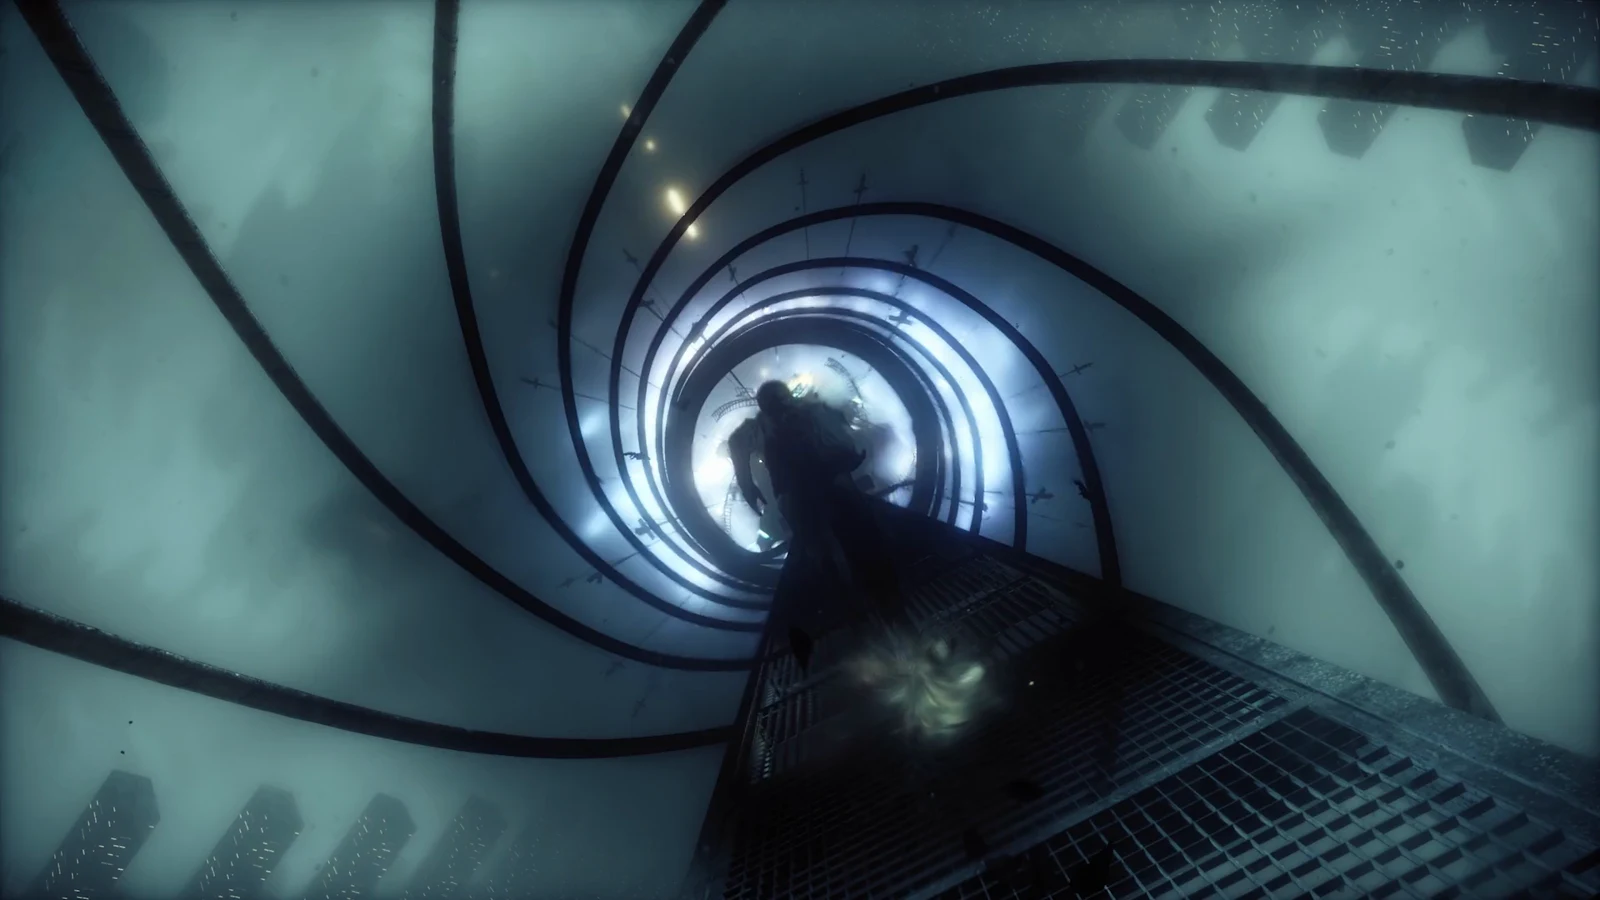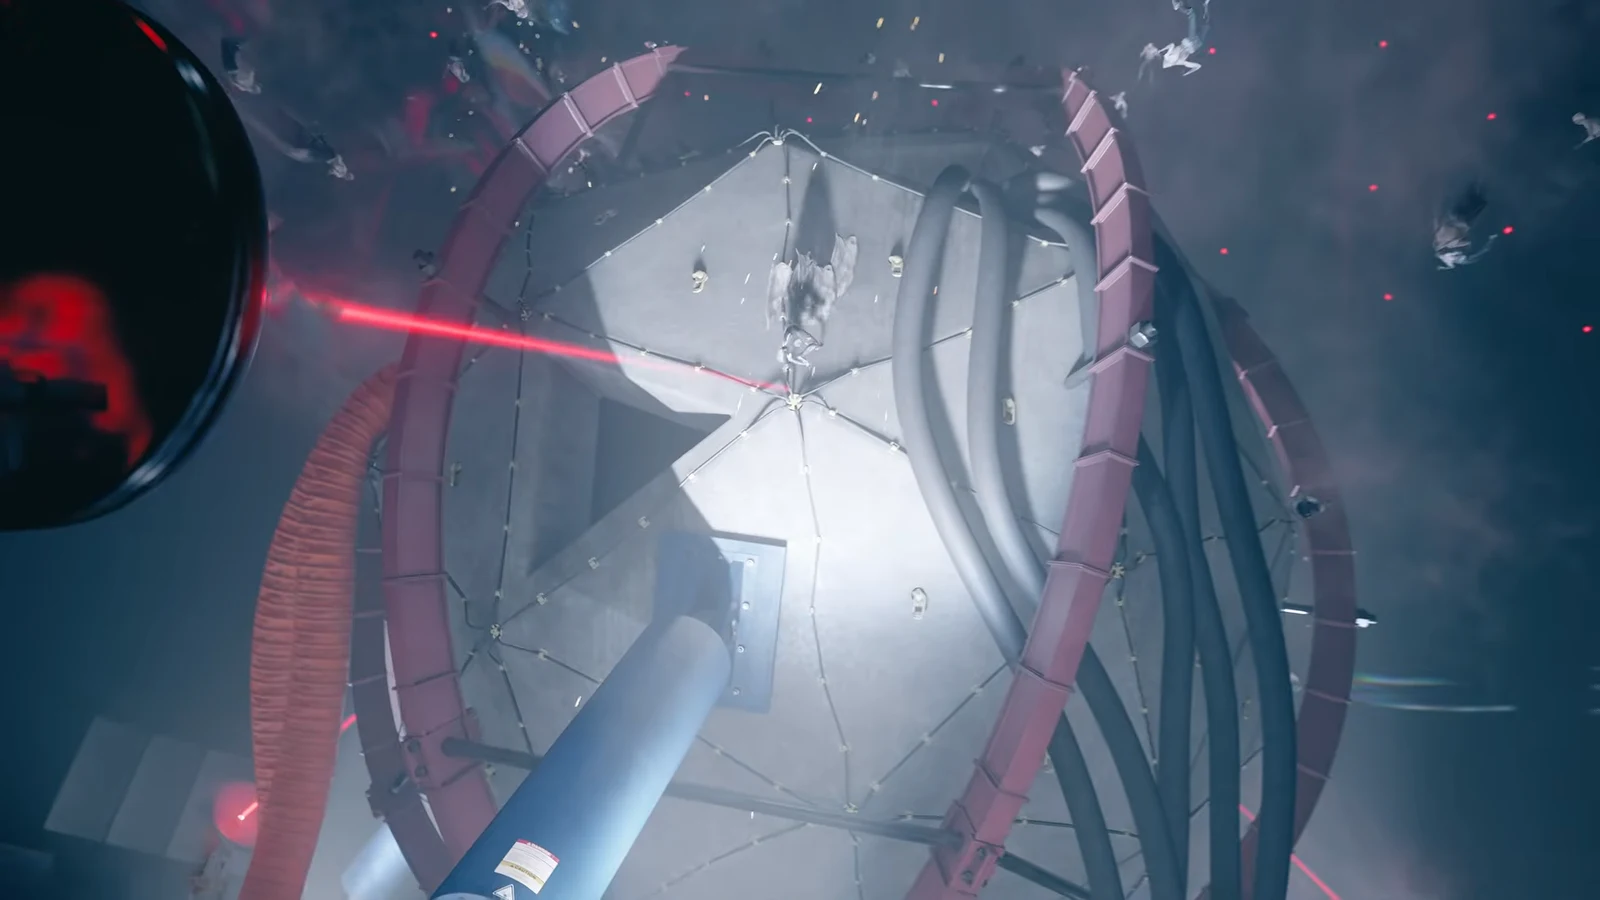
The Central Resonant sends Dylan Faden into the steam-choked factory in Central, down through its basement tunnels, and finally into a furnace room occupied by a molten creature called The Deserter. It is one of the required Resonant fights the FBC needs data from, and it is also the mission most likely to kill you the first time you walk into the arena underprepared.
Quick answer: Follow the scorch marks through the Patterned Factory, destroy all three glowing heat tumours lodged in the steam pipes, then go deeper into the furnace room and defeat The Deserter.
When to take The Central Resonant
The mission opens up after Evacuation Procedures and Arish’s briefing at the Central Field Office. It is one of two Resonant kills the story checks for while the Cancellation Field Device is being prepared, alongside The Dancer in the West Incursion Theater, so leaving it unfinished can stall the middle of the campaign even when Power Lines and the Sinkhole work are done.
There is also a sequencing reason to do it early. The ability you earn here makes dealing with the Mold in The Park considerably less painful, so clearing the factory before exploring that zone saves time.
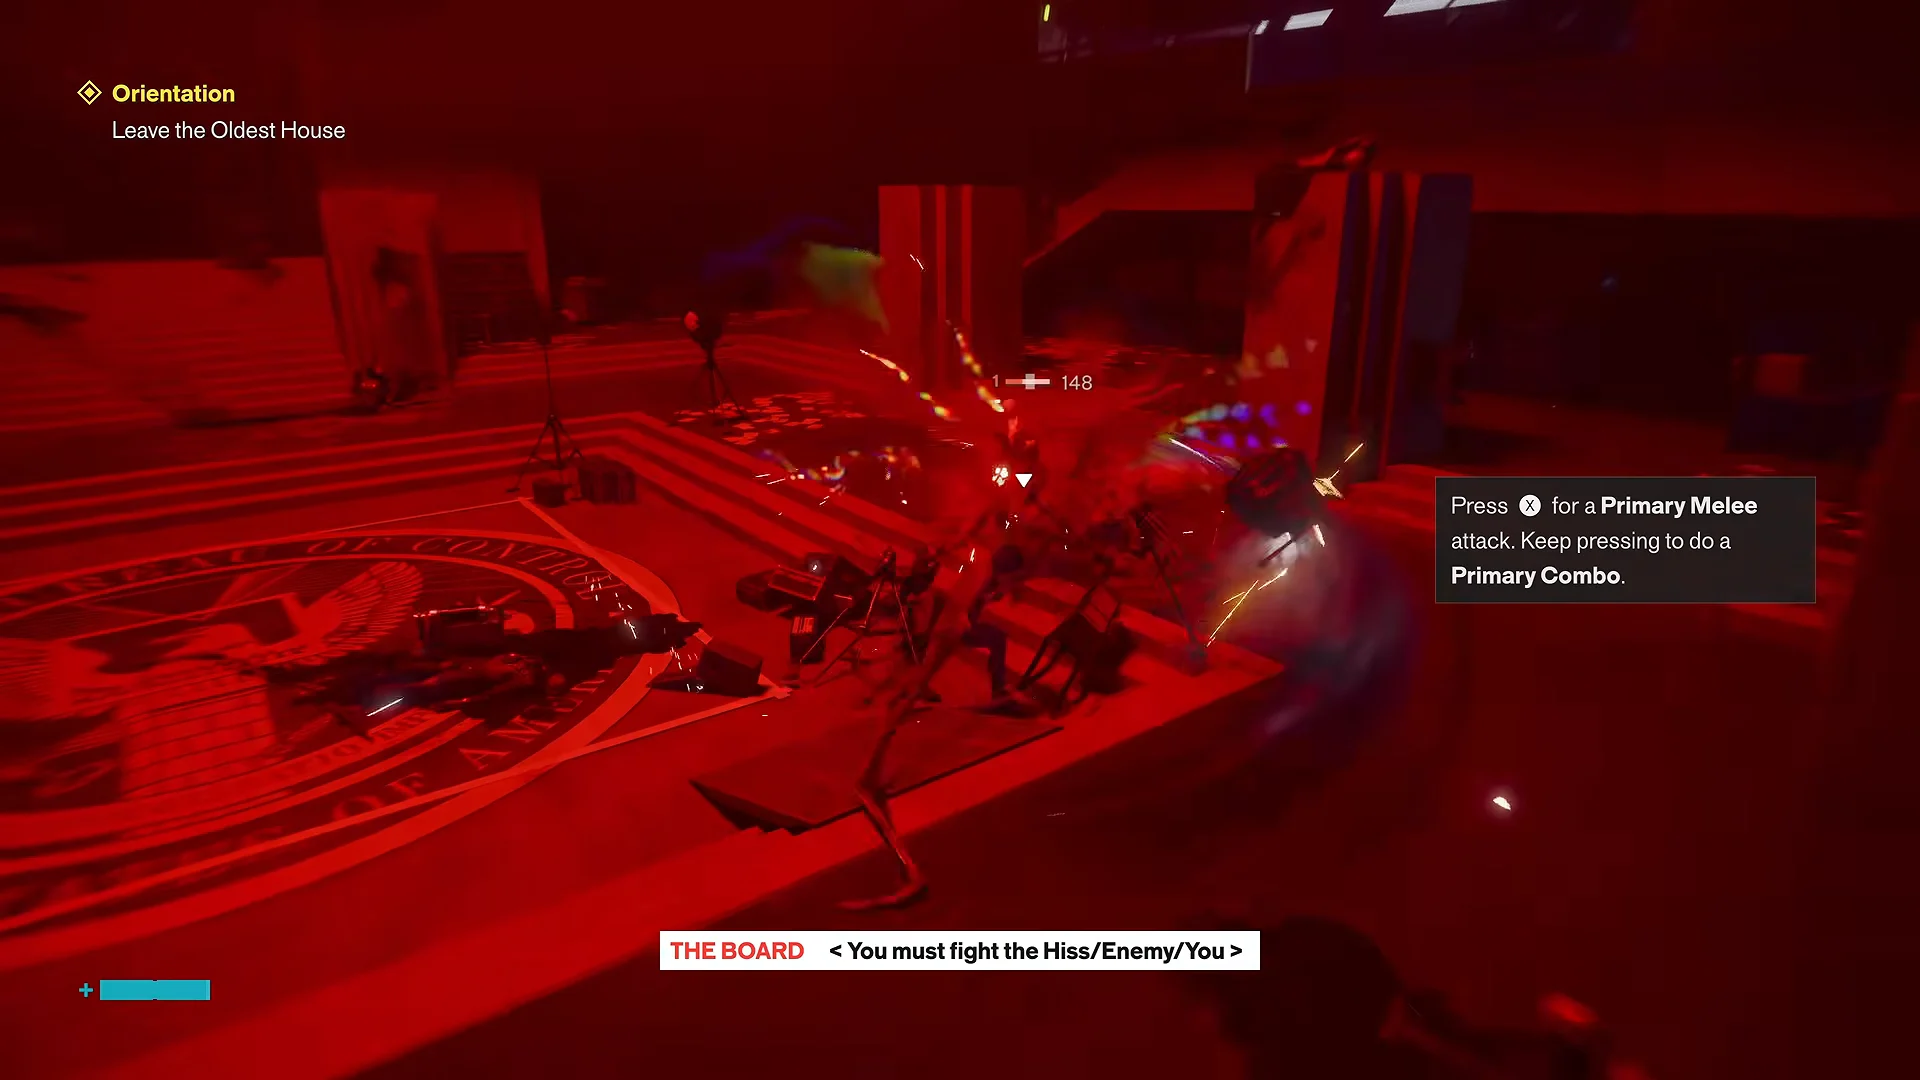
Every Resonant kill triggers the Resonant Cycle, a cutscene where the enemies you have already killed come back slightly stronger. Bank your Power Upgrade Points and Talent Points before you finish the fight rather than after.
Reaching the Patterned Factory in Central
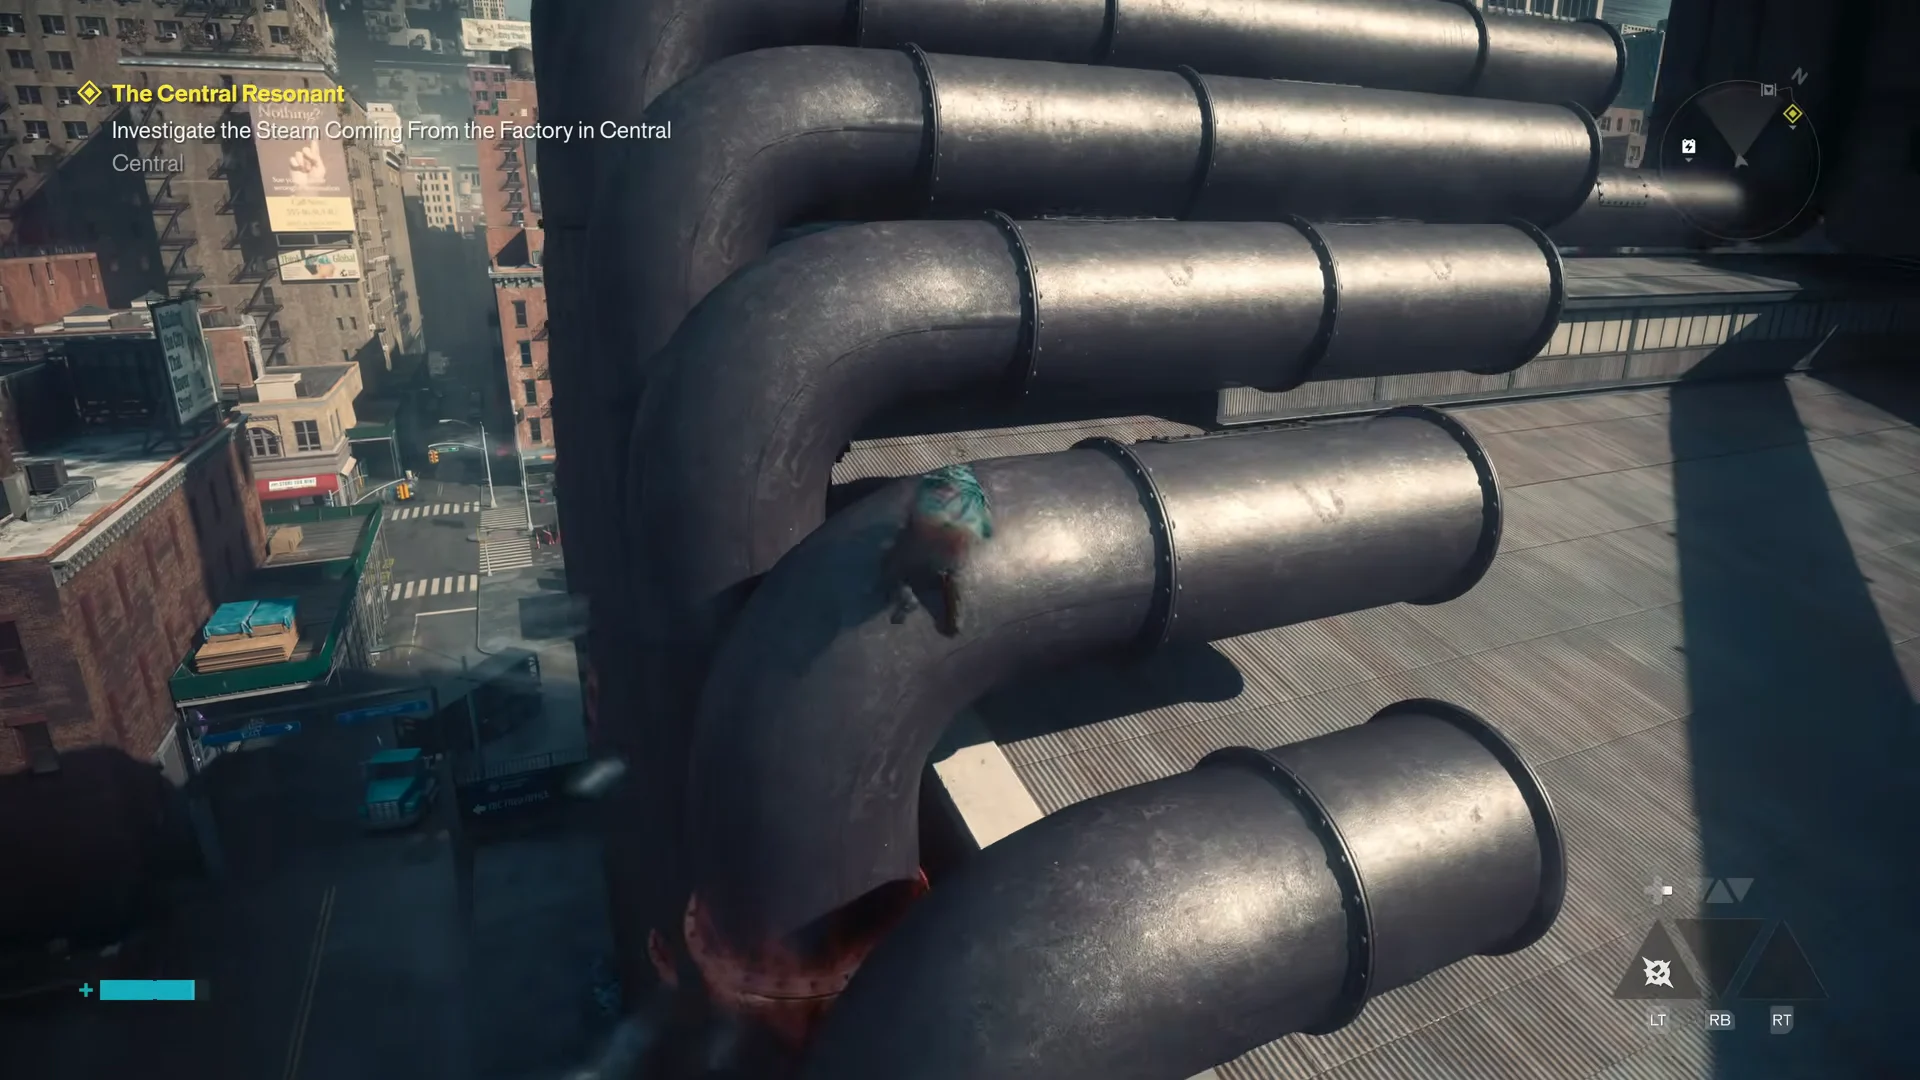
The objective starts with steam venting from the factory in Central, and the run there is an open-street fight. Flying infected enemies trail Dylan through the blocks outside, and rooftops along the way hold grounded corrupted enemies that respond well to telekinetic debris launches between scythe swings.
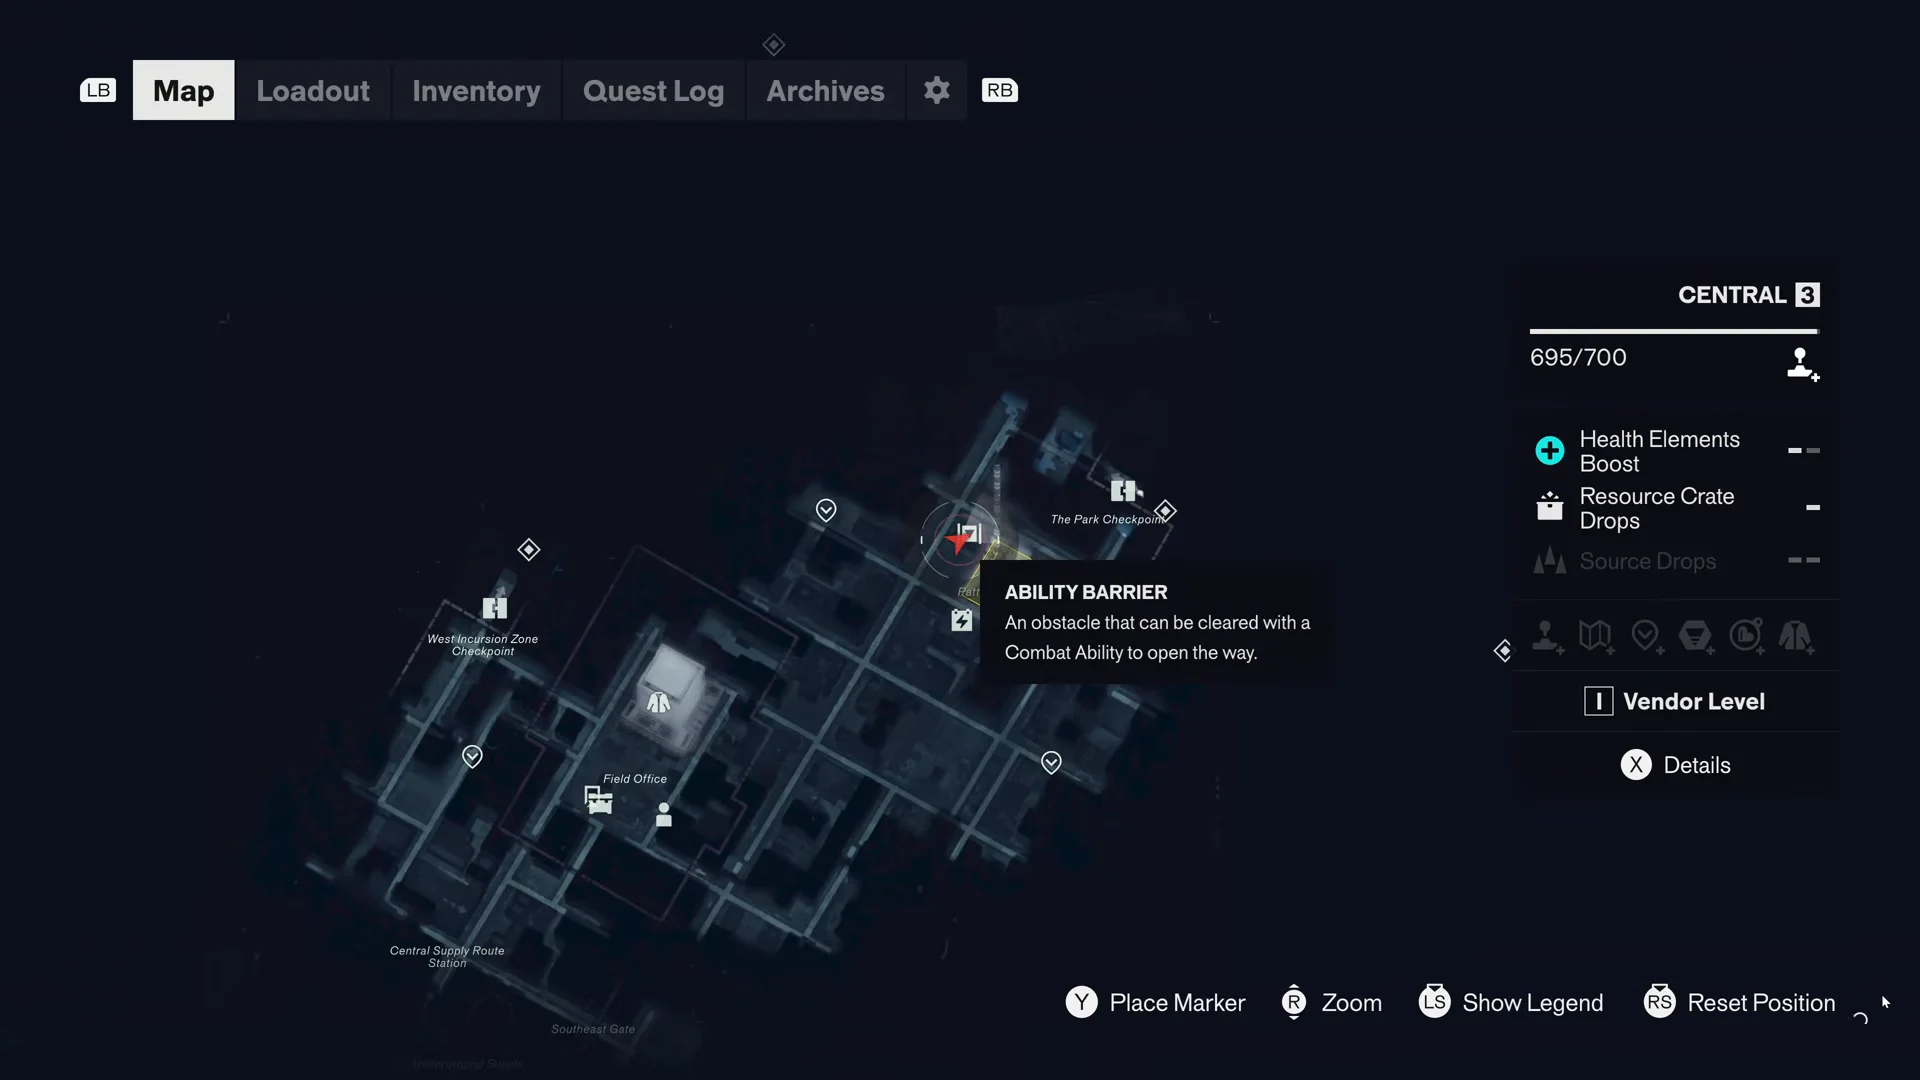
Inside, the ground floor is a humanoid enemy fight, the upper office level holds a loot chest with source materials, and a back storage room reached by dashing through a high window contains Power Upgrade Point 2/3. Take the red freight elevator down to the basement when you are done sweeping the upper floors.
Activate the fast travel door’s control panel in the basement before pushing further. That registers Patterned Factory on the fast travel directory, which matters once the boss starts sending you back to a checkpoint.
Destroying the three heat tumours
The steam objective resolves into a simple rule. Follow the scorch marks, find the orange-glowing biological growths clogging the pipework, and hit each one until it bursts into molten slag. There are three.
Along the route, Zoe takes radio reports on several environmental finds. Report prompts appear on the street mold outside, on an empty, overheated cooling pool in the tunnels, and on the burned workers found on a platform below. These are optional interactions that add context rather than progress.
Factory hazards and dead ends that waste time
The furnace opening itself is instant death. Jumping into it does not reveal a hidden route, it just applies lethal fire damage and sends you back to the last checkpoint. The intended path in is through the tunnels, not the fire.
Some locations may look like puzzles even though they are not. Yellow caution stripes mark a metal hatch set into the factory roof, but the hatch remains locked. During the mission, the elevator call button in the lower section shows Not while in story area. Moving across the pipes and railings above the factory floor is simply traversal, so searching there for a hidden switch is a waste of time.
Only two actions advance the route. Smash the wooden boards blocking an outside doorway to reach a dark stairwell, then take the glowing electrical battery cube and place it in the matching wall socket to activate the warehouse doors. For better visibility in the stairwell and tunnels, set Brightness to 60 in Display Calibration under the Options menu.
Pickups and collectibles inside the factory
| Pickup | Where it is |
|---|---|
| Talent Point +1 | Brick alleyways on the approach |
| Resource chest | Upper office level |
| Power Upgrade Point 2/3 | Back storage room, dash through the high window |
| Factory Log #1 | Workstation table near the gated archway |
| An Old Journal | Makeshift underground camp |
| Talent Point +1 | Wedged behind pipes in the tunnels |
The camp is easy to miss. It is an abandoned living space in the tunnels with string lights, a cot and furniture, and the journal there covers an escape from the House.
Upgrading at the Astral Rift before the furnace
Interacting with a glowing crack in reality moves Dylan into the Astral Plane hub, which is where all spending happens. Talent Points go into nodes such as Agile Response and Retribution, and the Talents tree is the fastest way to convert the points you picked up in the tunnels into survivability.
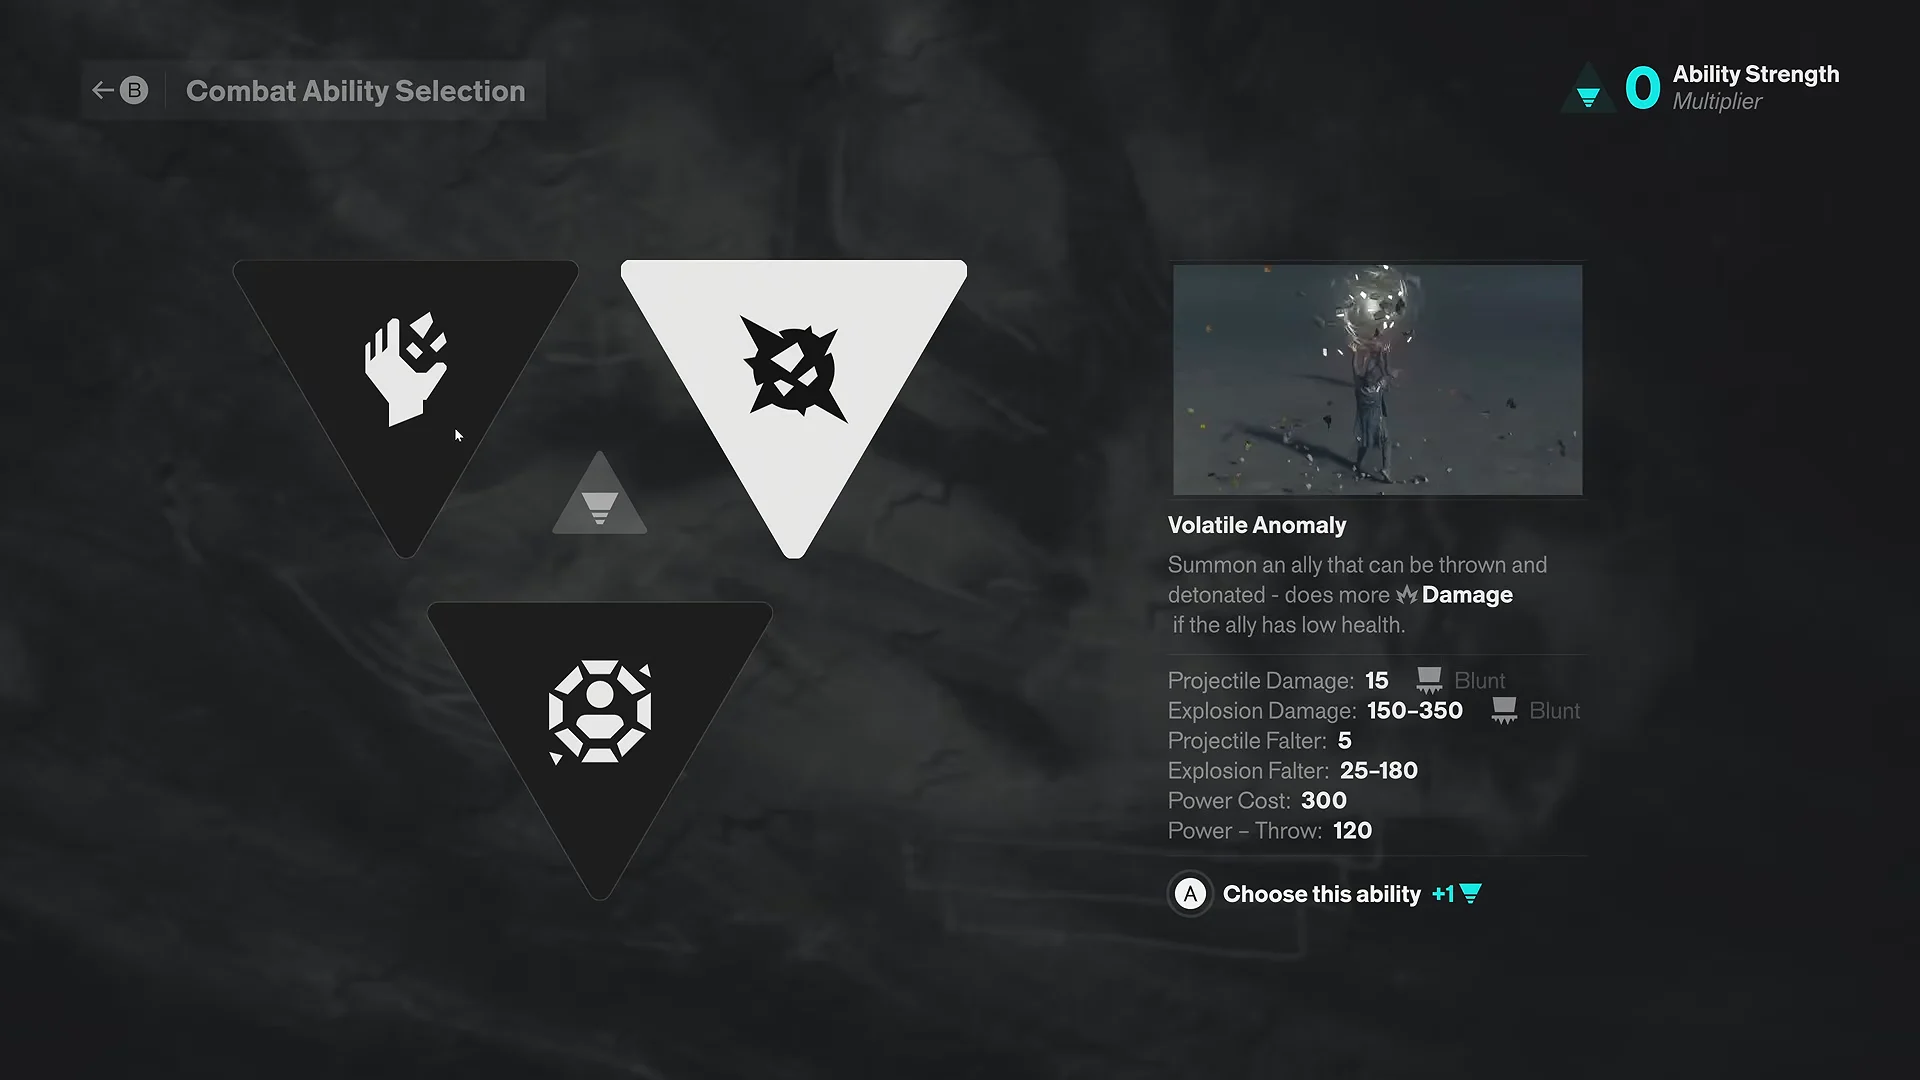
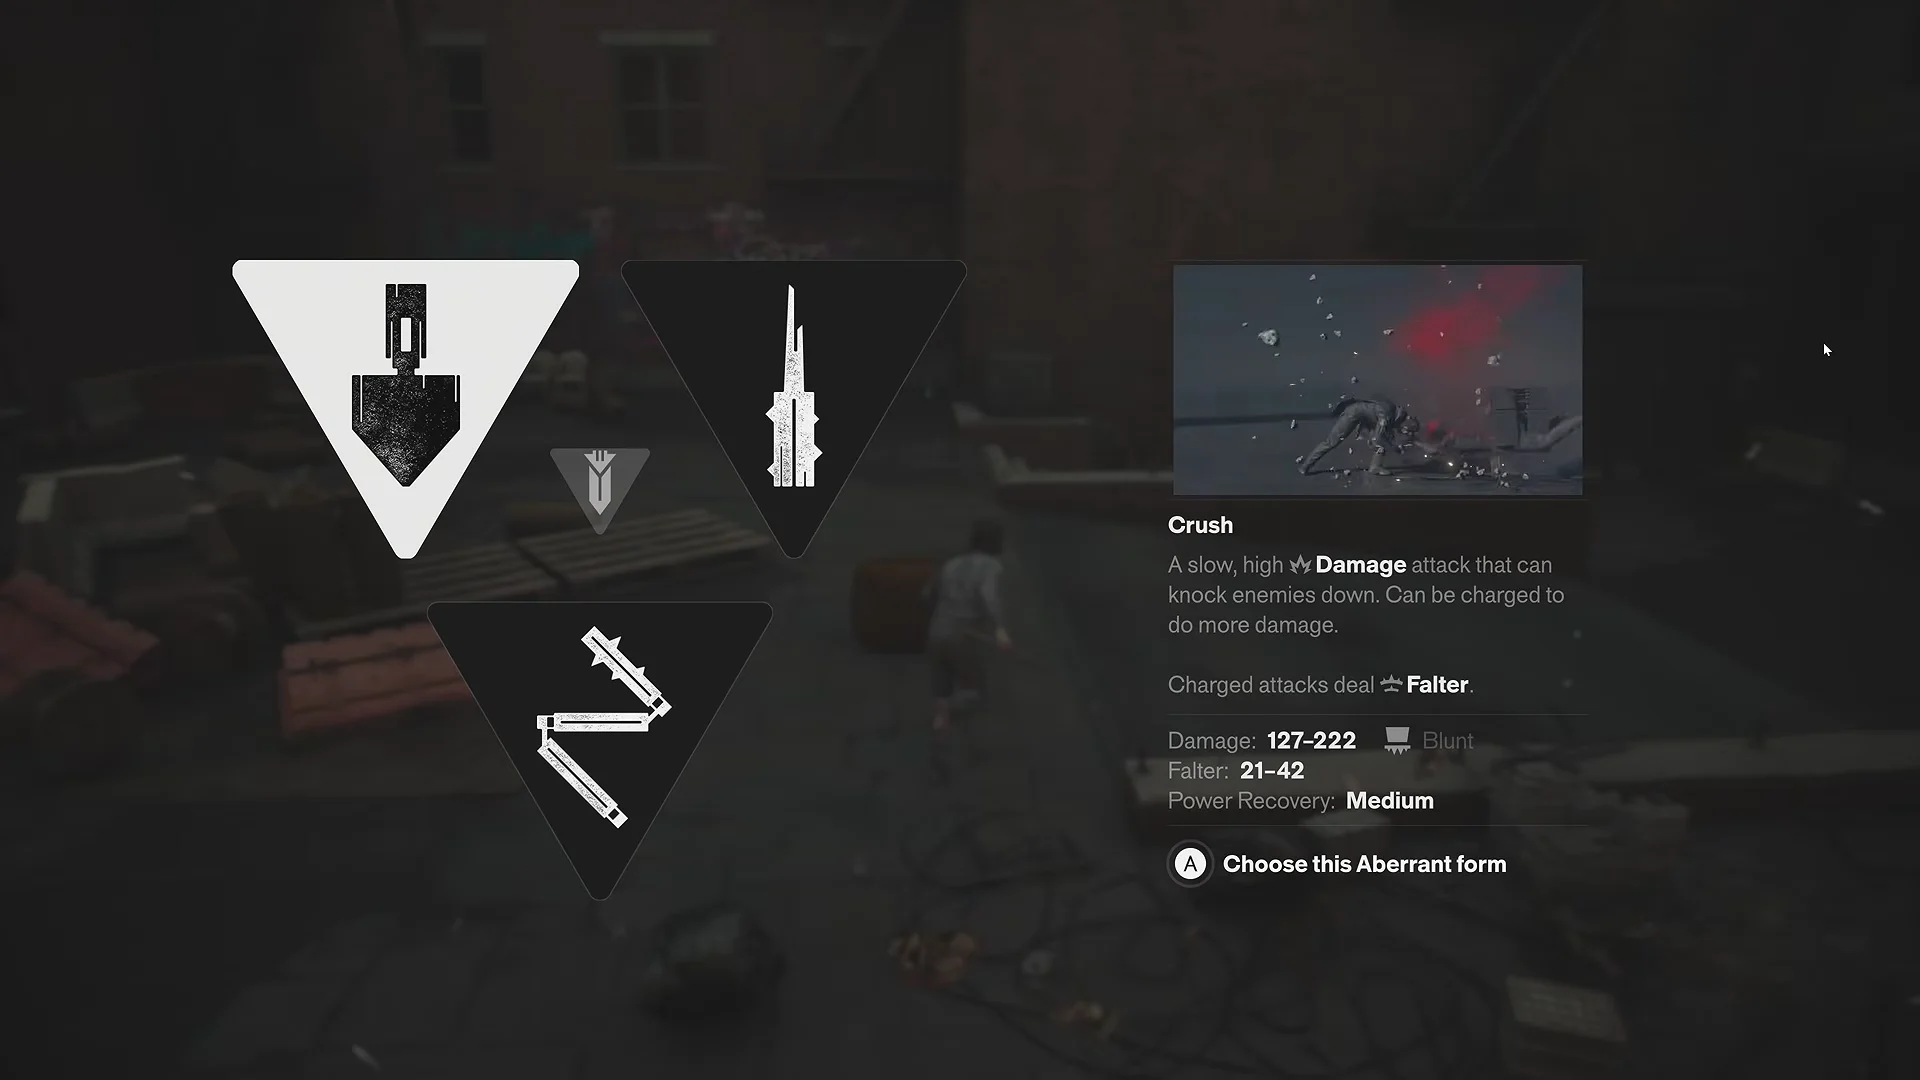
Weapon forms are worth a pass too. The primary forms tree covers Cleave and Glaive nodes, while the combo finishers tree holds Concussive Beatdown, Uppercut Surge and Split Pivot. Split Pivot, paired with its Keen Opening node for extra critical chance, is a reasonable pick before the boss, and secondary forms can be swapped around to push falter damage higher.
The single most relevant item here is Badge 11-60, built at the artifact workbench, which reduces damage taken from environmental hazards. Given how much of The Deserter’s arena ends up covered in lava, equipping it in an artifact slot alongside something like Pickpocket’s Tool is a direct answer to the fight’s main threat.
The Deserter boss fight in the furnace room
The Deserter drops in from overhead machinery as a massive molten creature and fills the furnace arena. The fight is built around fire and floor control rather than adds, and it escalates as its health falls.
| Attack | Phase | What to do |
|---|---|---|
| Magma slam | Opening | Dodge sideways, punish after |
| Flame sweep | Opening | Break line of sight, keep moving |
| Energy blast shockwave | Second phase | It levitates first; get distance |
| Magma flood | Second phase | Stand on the metal grates |
The magma flood is the fight-ender for most first attempts. It coats nearly the entire arena floor, leaving only the raised metal grates as safe footing, so learning the grate layout early is more valuable than squeezing in extra damage. Dying sends you back to the tunnel checkpoint with a short sprint to the chamber, not a full re-run of the factory.
If the fight stays out of reach, Assist Mode settings are available from the pause menu and can be adjusted mid-encounter.
Confirming the mission is complete
Two checks tell you where you stand. Opening the Quest Log and reading the active objectives under The Central Resonant shows whether the game still wants tumours destroyed or has moved you to the furnace room. After The Deserter falls, the Resonant Cycle cutscene plays and the previously killed enemies across the city return in a stronger state, which is the game confirming a Resonant is down.
From there, the Patterned Factory stays on your fast travel directory, so the basement tunnels remain a quick hop back for anything you skipped. With Central’s Resonant handled, the remaining CFD preparation is Power Lines, the Sinkhole operation, and The Dancer in the West Incursion Theater.