

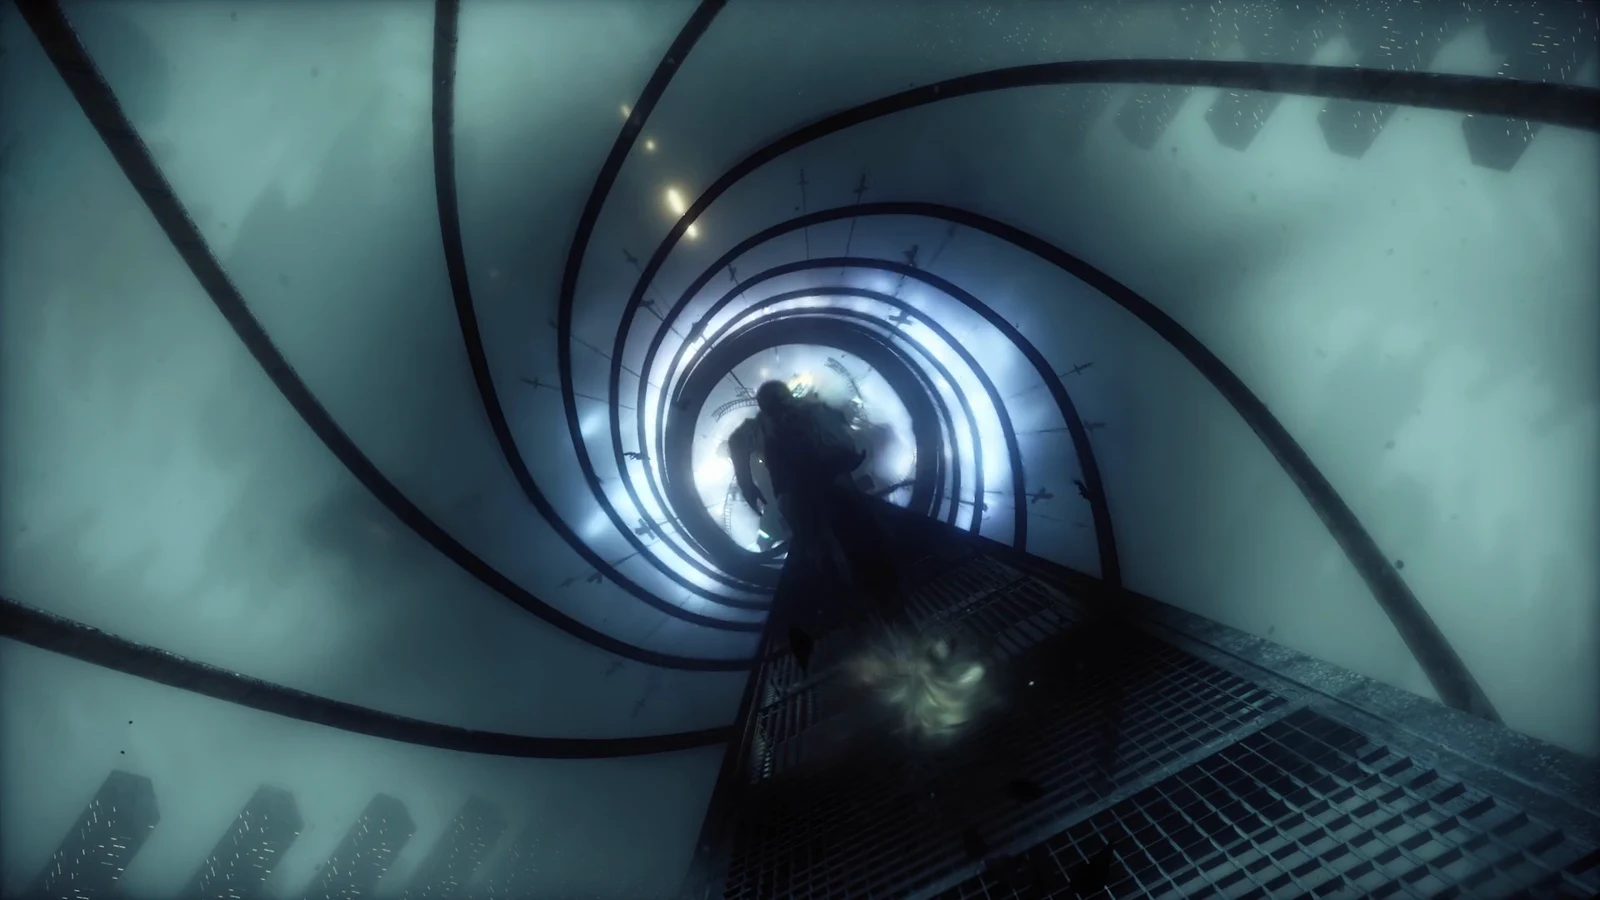
Into the Sinkhole is one of the three requirements feeding the Cancellation Field Device, and it plays out in two distinct halves. The first half is a guarded descent by diving bell down to Bedrock, followed by four probe relay placements. The second half throws out the route you arrived on and asks you to climb back up through a collapsing, half-floating version of the city.
Quick answer: Ride the diving bell to Bedrock, clearing Hiss at each forced stop, then carry all four probe relays from the central hub to their platforms and activate each one. Survive the ambush, then follow the music out.
Where Into the Sinkhole starts and what it asks for
The mission begins at the Evacuation Site in Evacuation Zone 3, with the opening objective to escort the probe relays into the Sinkhole. Dylan boards the central diving bell platform, and the descent starts on its own once he is aboard.
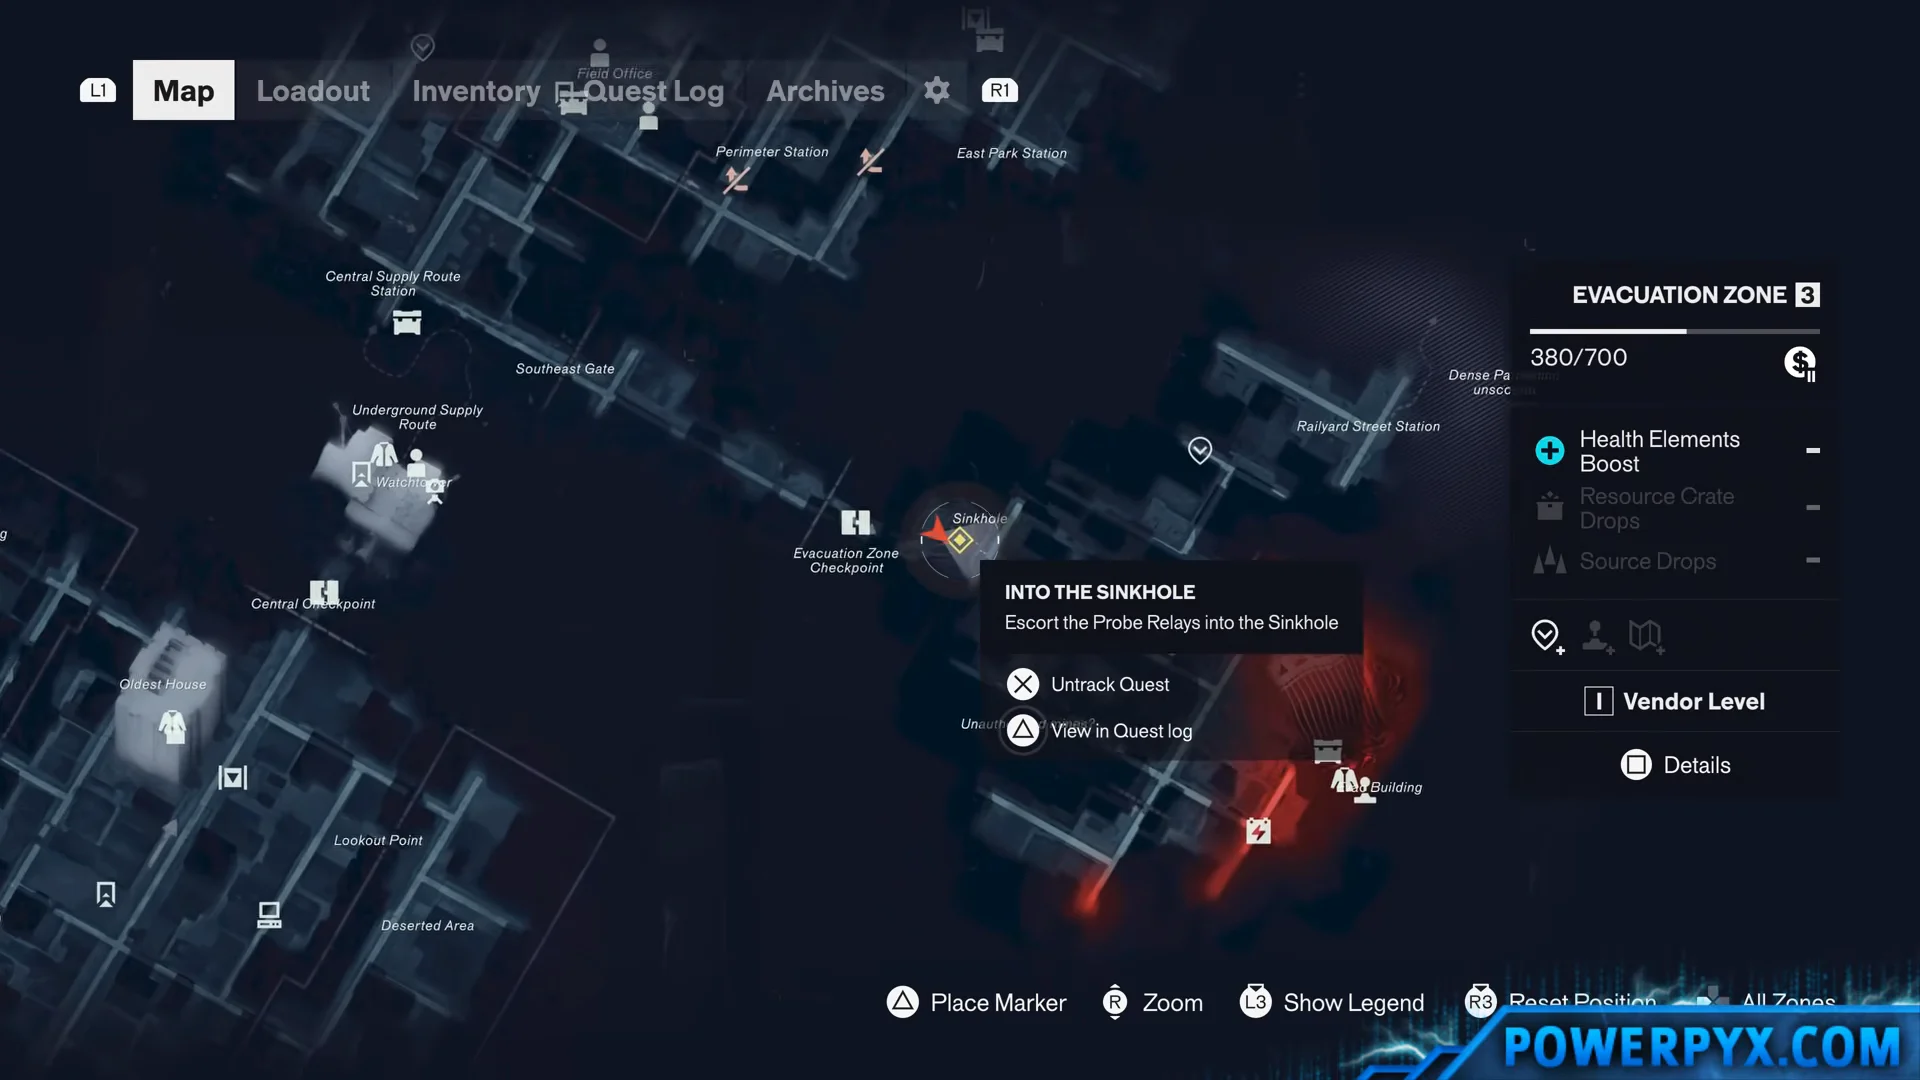
The full objective chain runs in a fixed order, so nothing here can be tackled out of sequence:
- Guide the probe relays inside the Sinkhole.
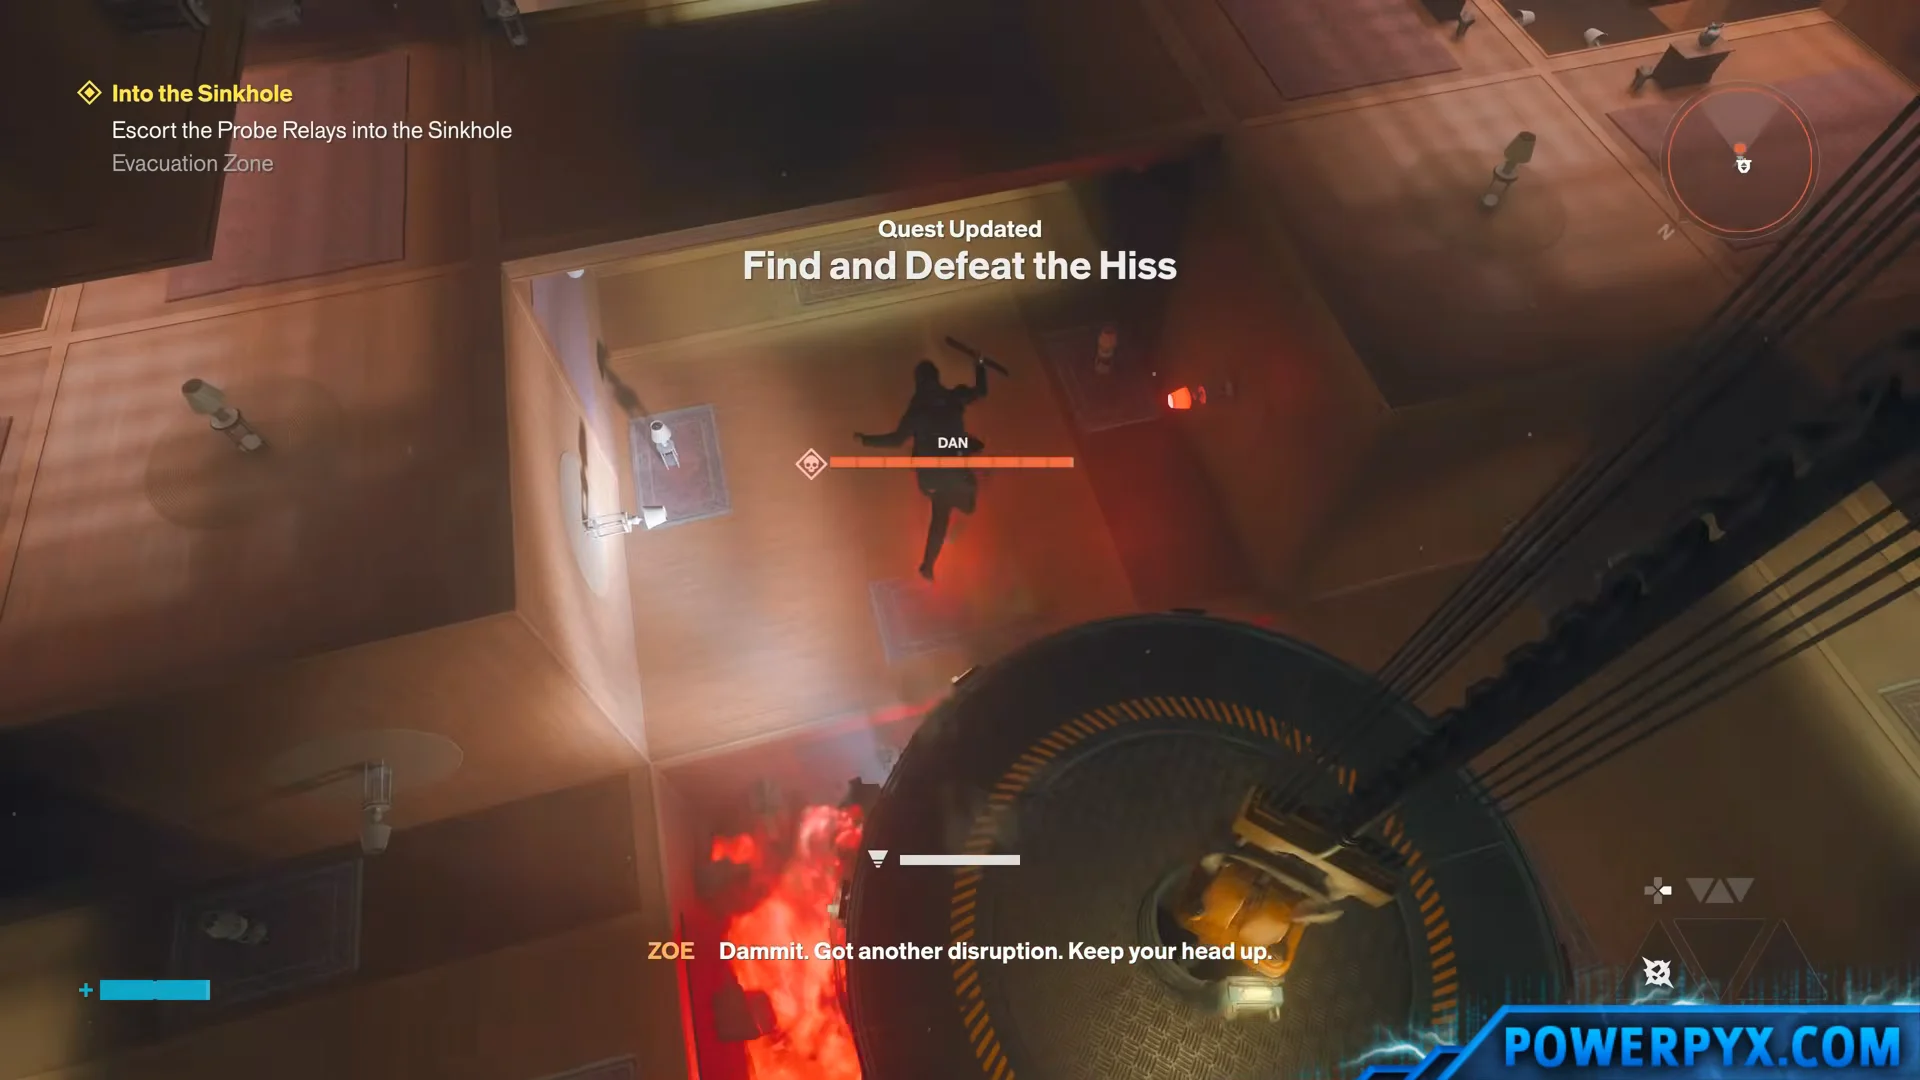
- Find and defeat the Hiss
- Install the probe relays
- Escape the Sinkhole
- Follow the music
Power up before boarding. The back half of the mission is a long Hiss fight capped by a heavy enemy, and there is no convenient point to leave and upgrade once the descent starts.
The diving bell descent: two forced stops before Bedrock
The bell does not travel straight down. It halts twice, and both stops are combat gates rather than puzzles. Nothing on the platform needs interacting with to resume the trip, so do not waste time looking for a lever or a control panel.
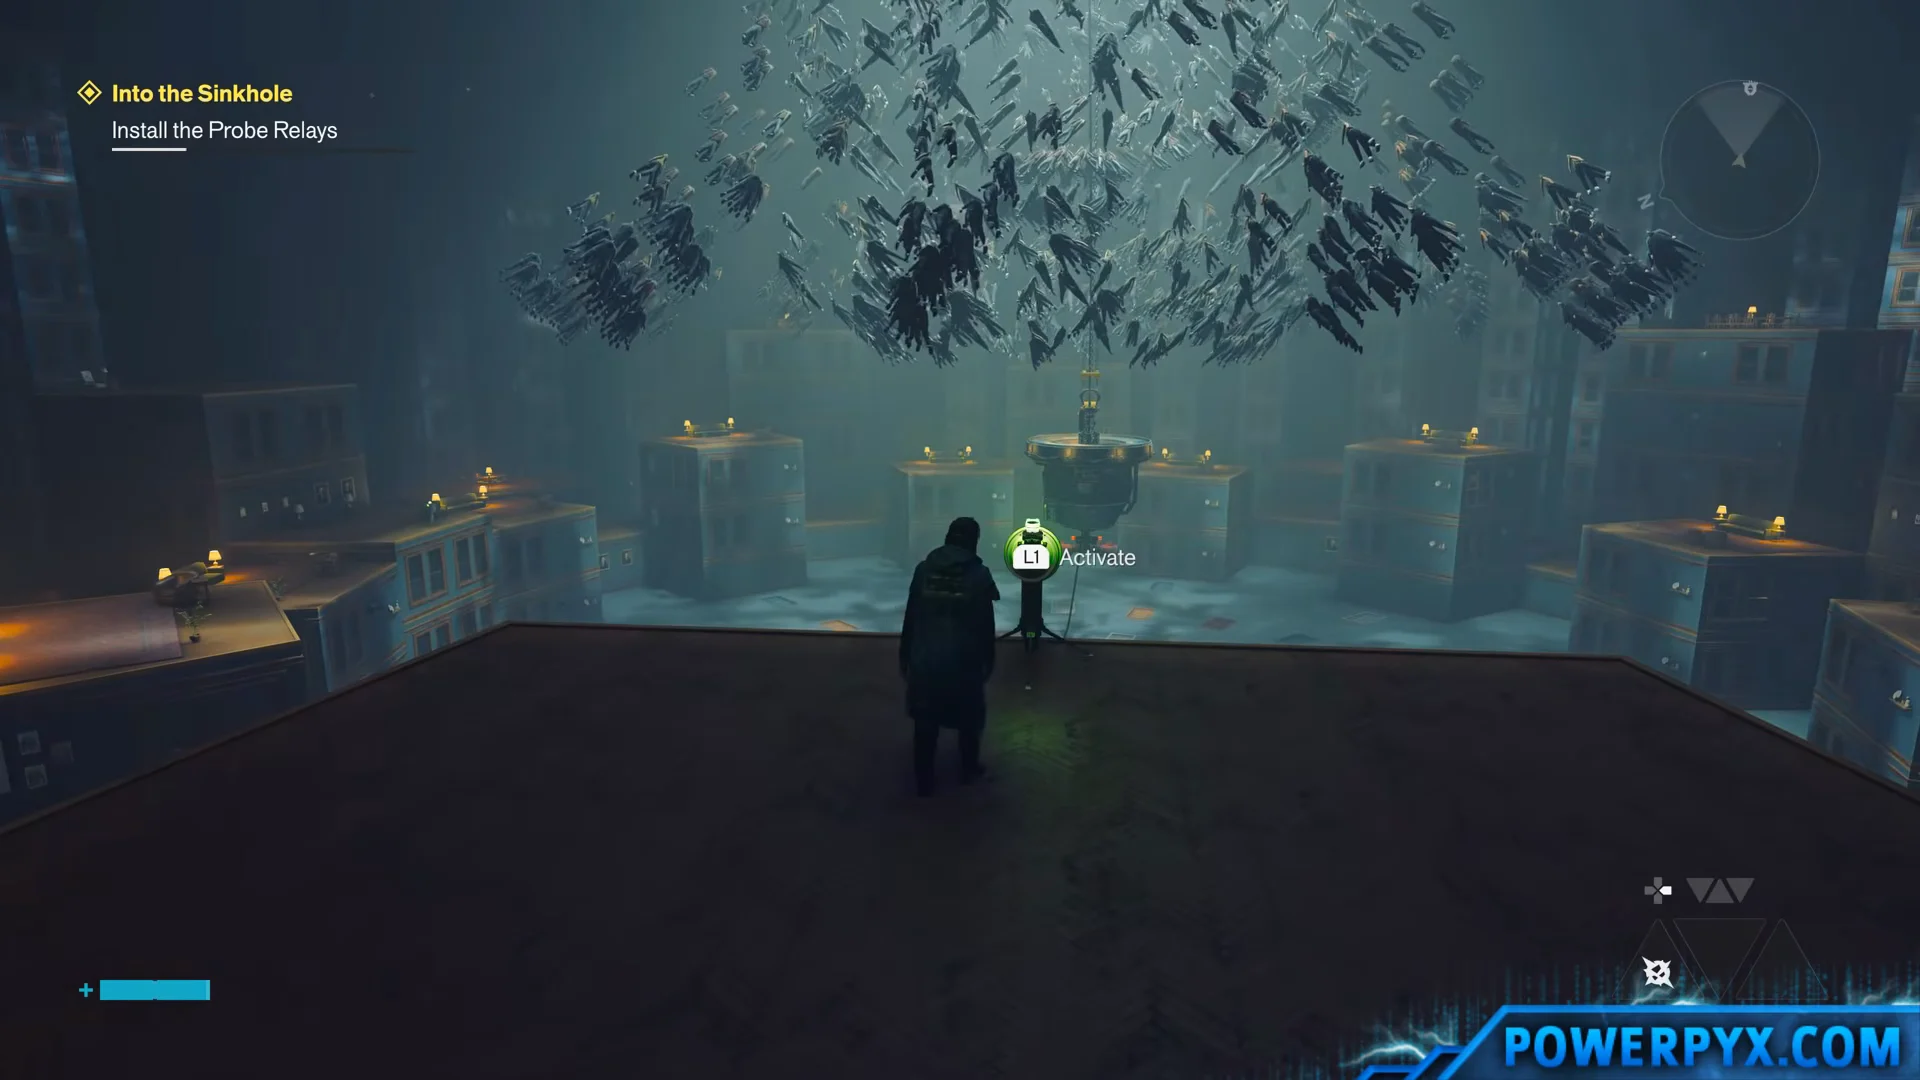
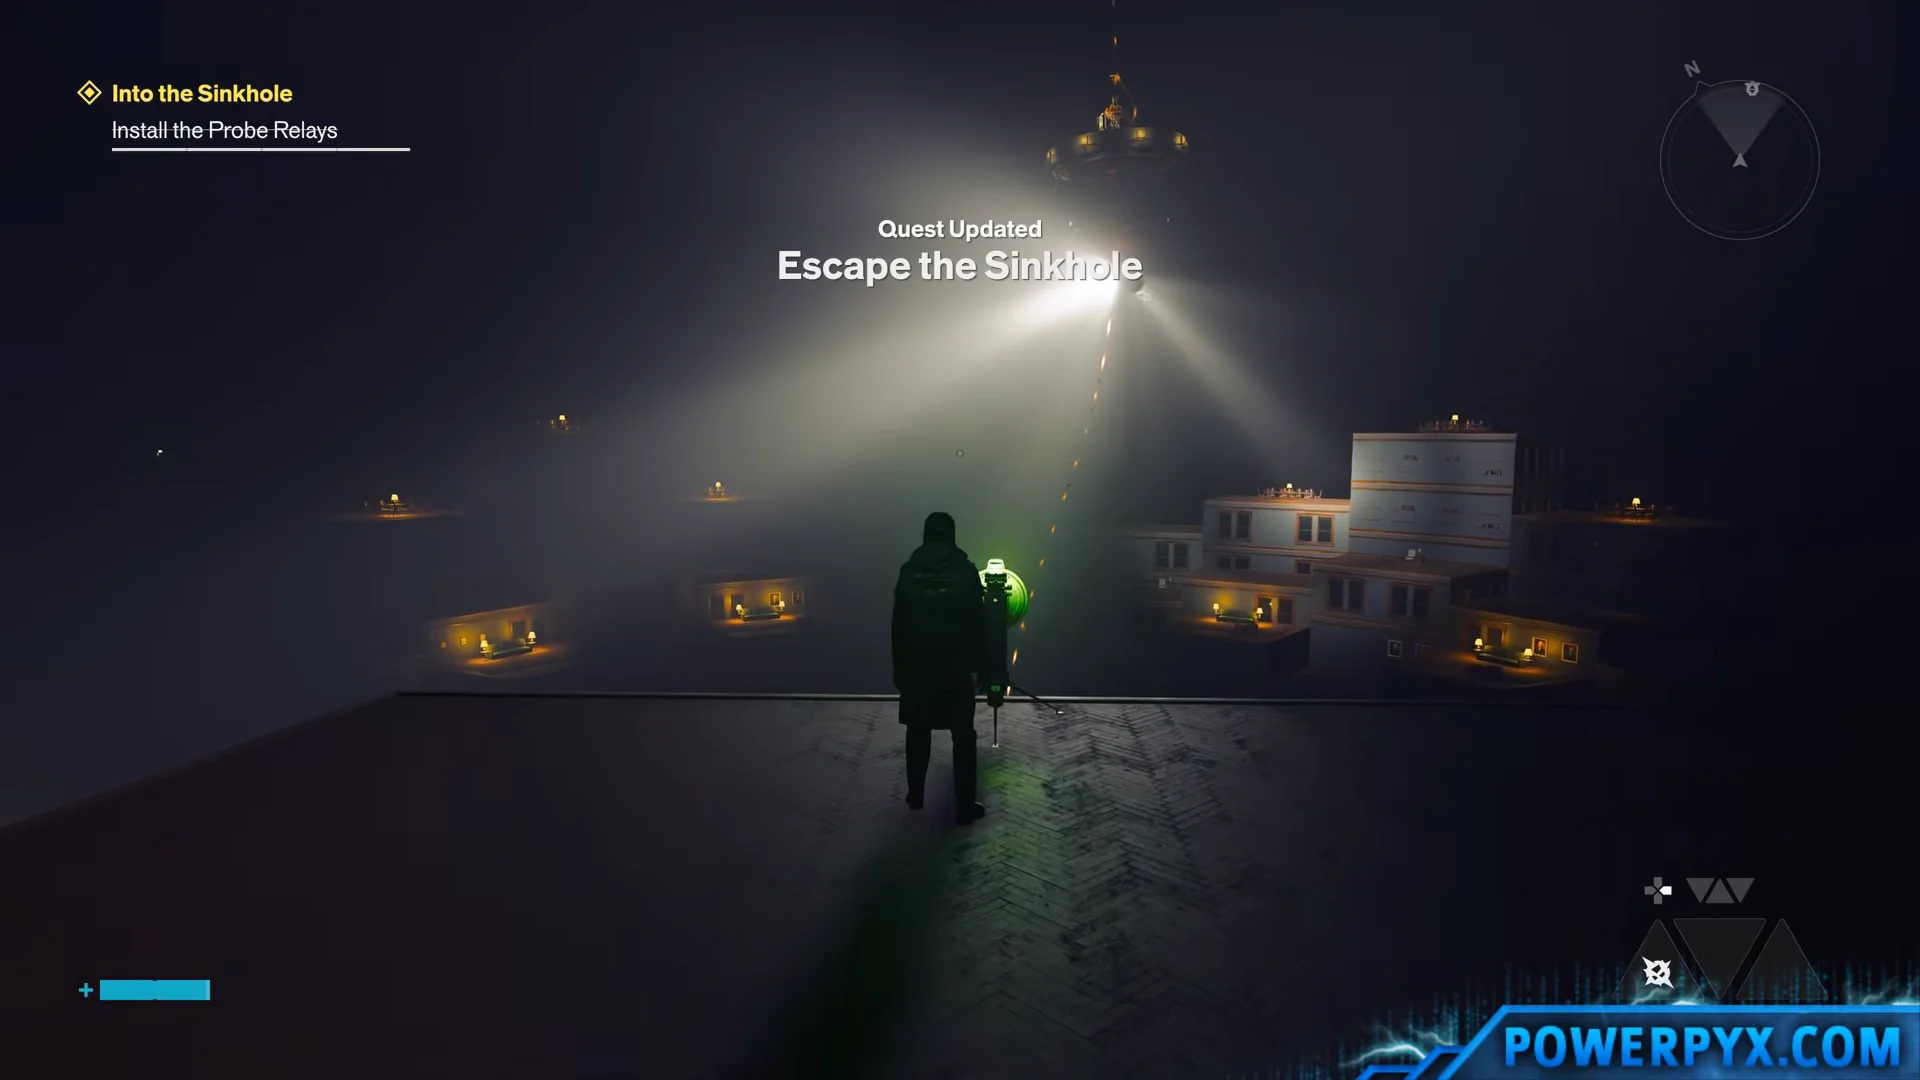
How to install all four probe relays at Bedrock
Every relay follows the same loop. Pick one up at the central hub around the main probe, carry it to its platform, and activate it there. Relays are carried, not thrown into place, so plan a climbing route before you grab one rather than after.
| Relay | Destination | Route |
|---|---|---|
| First | Platform above the hub | Short climb from center |
| Second | Elevated platform | Traverse across the level |
| Third | Dining room area | Cross the platforms |
| Fourth | Top platform | Highest point in the arena |
The Sinkhole ambush and the Hiss Ruiner
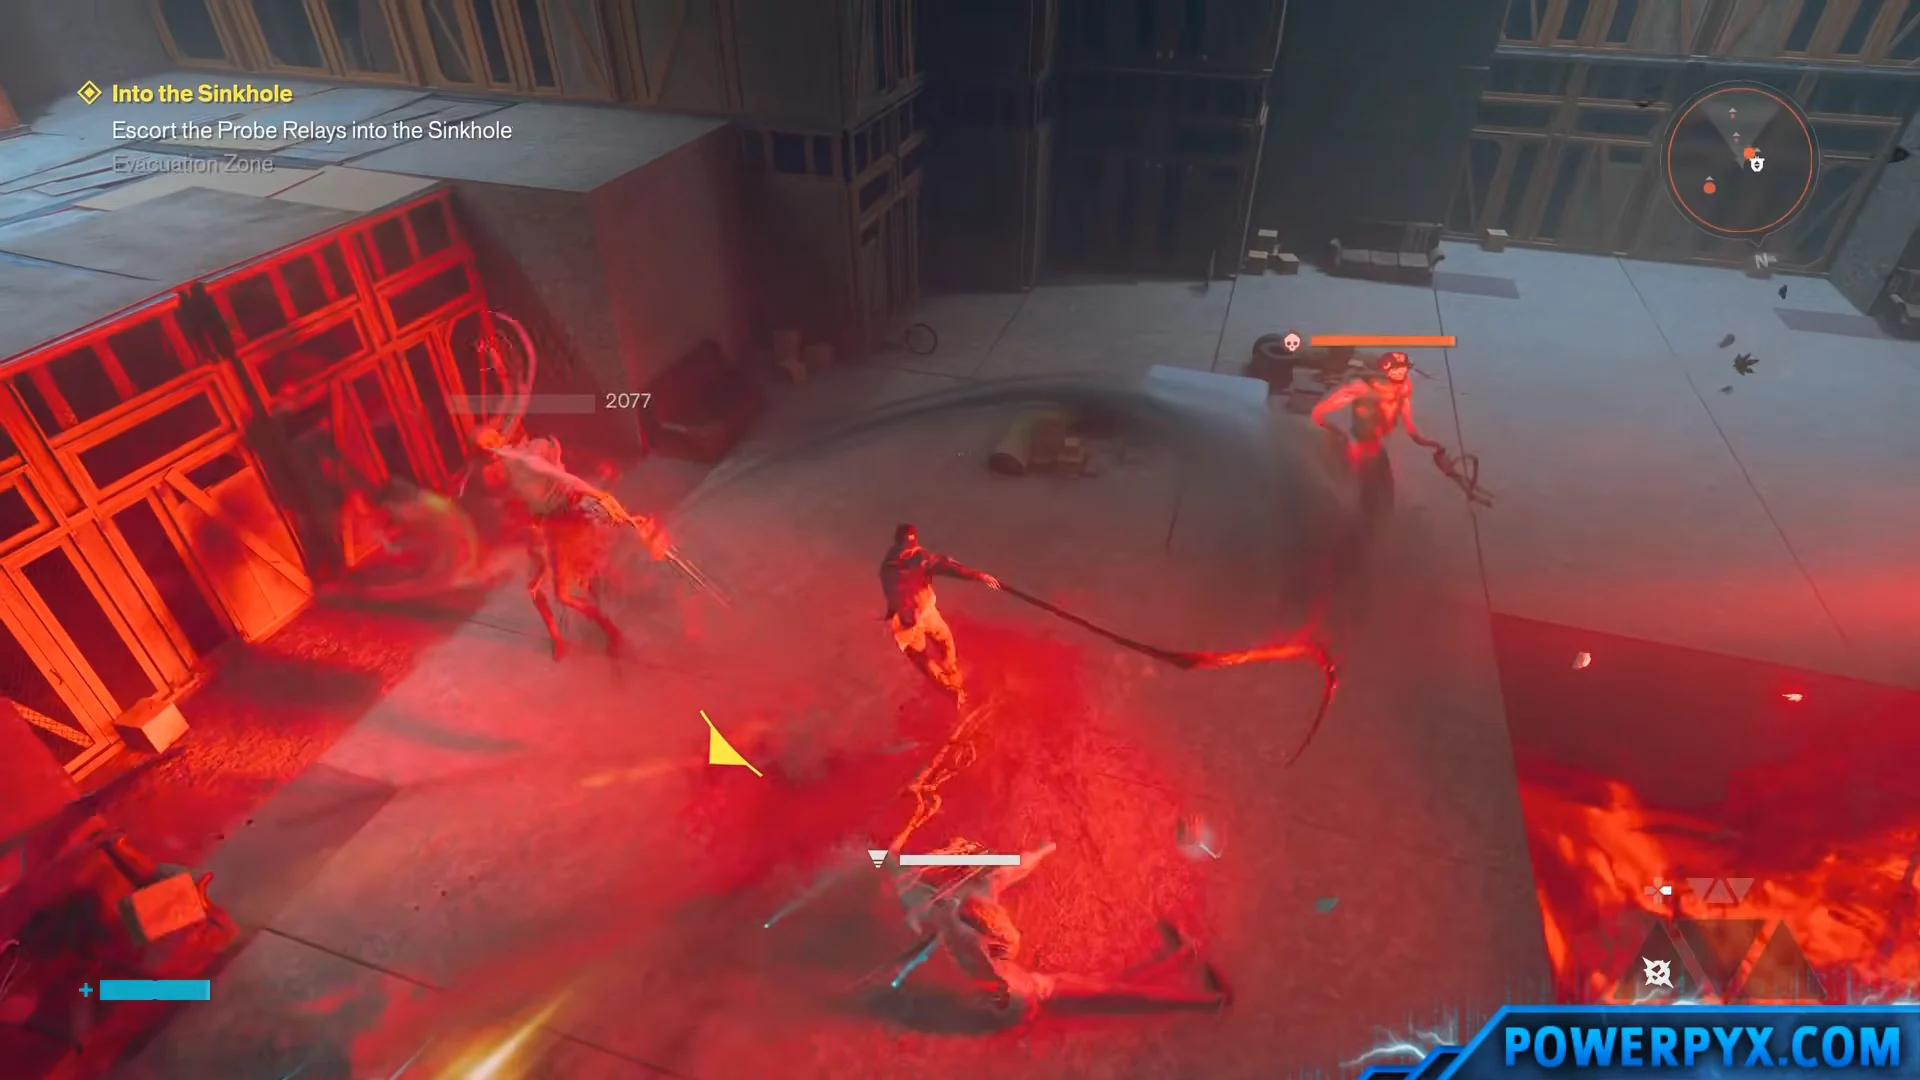
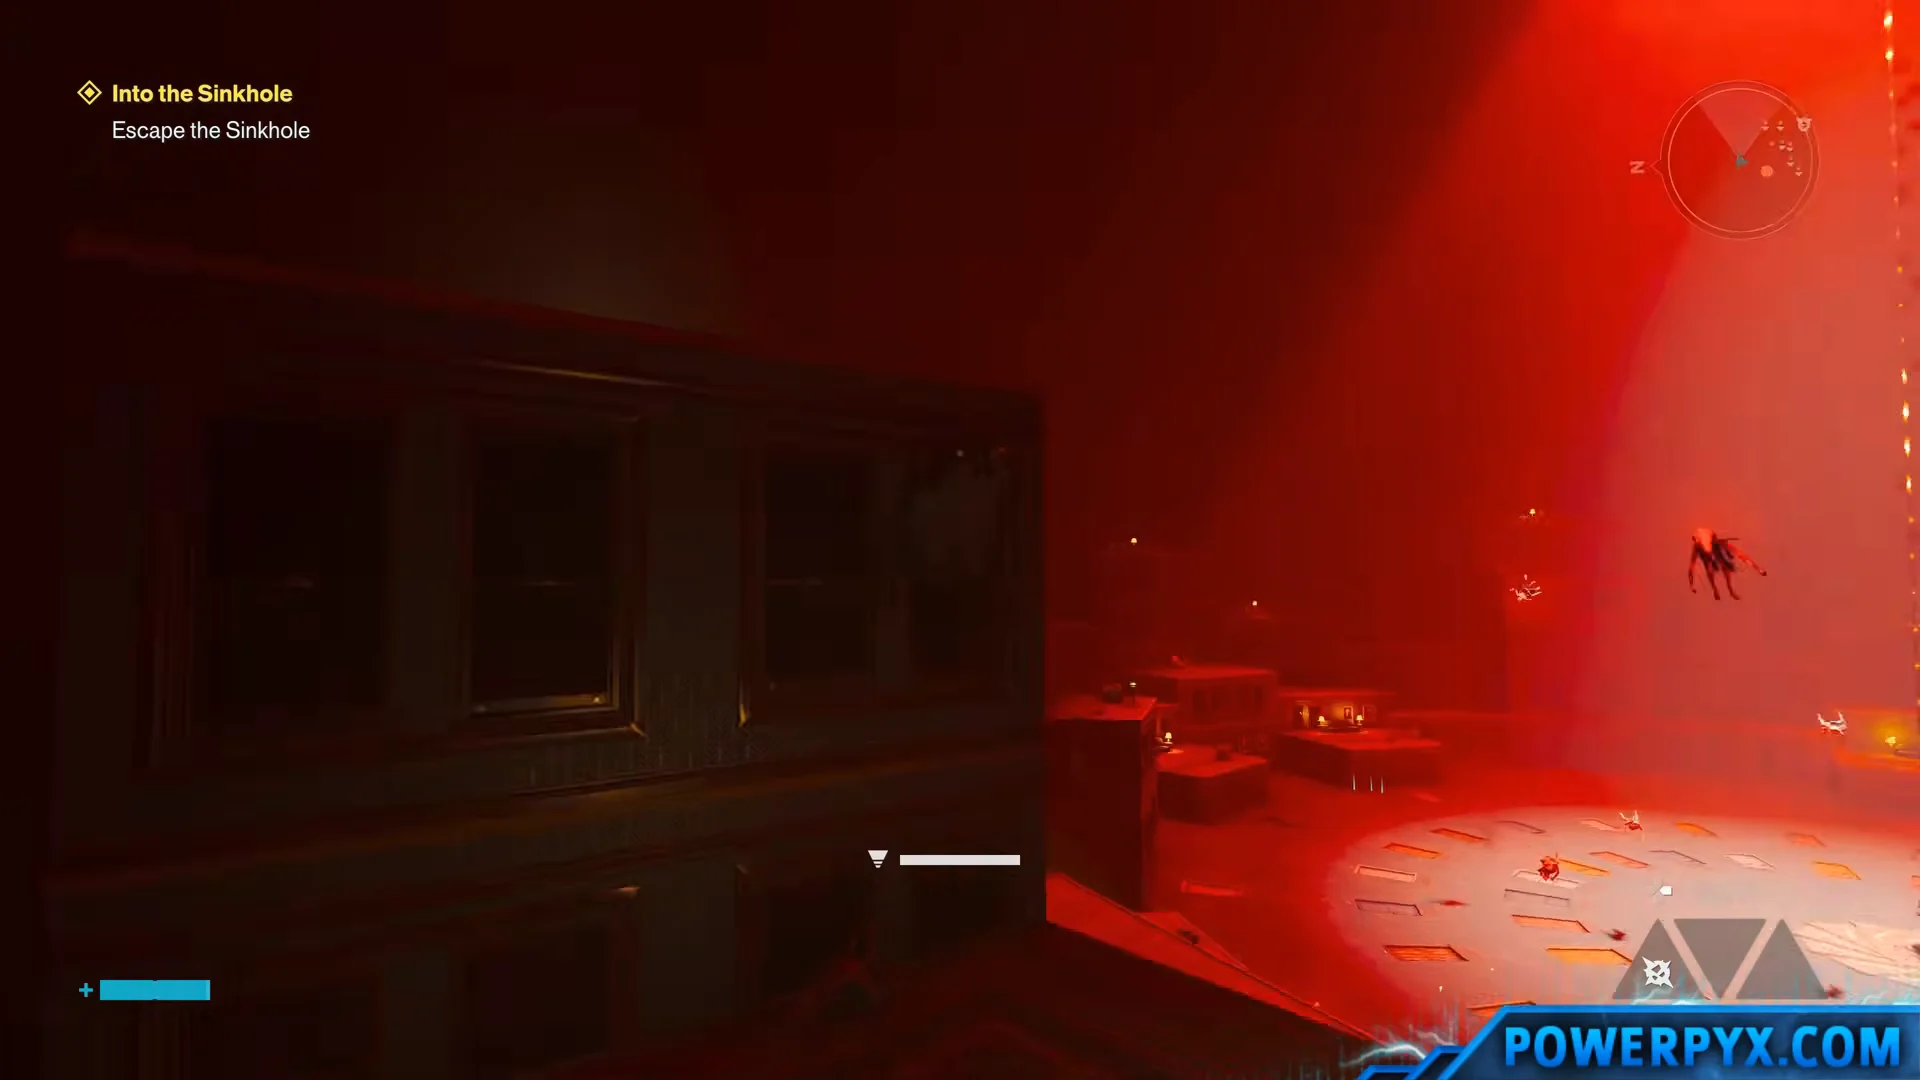
The moment the last relay comes online, the Sinkhole floods with red light and Hiss swarm the central Bedrock platform. This is the long fight worth preparing for, and it does not end until the arena is empty.
The wave closes with a Hiss Ruiner, a large enemy that has to go down before the area clears. Defeating it ends the ambush and pays out Evacuation Zone 4 rewards.
Escape the Sinkhole: climbing out through the floating rooms
Retracing the descent will not work. The Sinkhole has rearranged itself into a vertical platforming stretch made of architectural modules and whole rooms hanging in mid-air, and the way up is by jumping between them.
Follow the music: the TV route back to street level
The final stretch has no map to read. Navigation runs on two cues, the audio and the lit television sets, and the televisions are the reliable one when the geometry stops making sense.
- Trail the illuminated blue and white TVs through the surreal apartments.
- In the vast multi-level apartment complex, jump balcony to balcony toward the glowing screens.
- Where rooms shift and hallways turn sideways, let the music and the monitors set your heading.
- Sprint the long dim hotel-style corridor to the doorway at its end.
The corridor opens into a lit concrete stairwell and service tunnel that leads up into a laundromat. Walk through it to the street outside, and the Quest Completed banner for Into the Sinkhole appears as Dylan reaches city level.
Finishing here also closes out the Notes: Plan of Attack mission automatically. With the Sinkhole branch done, the CFD still needs the Power Lines network and the required Resonant data before Pope and Arish can move ahead, so head back to the active Field Office objective rather than returning underground.





