The Central Resonant is one of the first boss quests in Control Resonant, and it hides its fight behind a maze of factory tunnels under Manhattan. The objective in the upper-left corner reads Kill the Resonant in the Factory with the location subtext Central, but getting to that furnace means clearing three steam sources, several combat rooms, and a sewer loop that doubles back on itself more than once.
Quick answer: Clear the Patterned Factory, destroy the three heat tumors in the steam rooms, then kill The Deserter in the furnace. Enter the monolith, use the pedestal, and press D-pad Down to close the quest.
What you need before The Central Resonant starts
The quest attaches itself to your log during Welcome to Manhattan, right after you speak with Zoe at the Watchtower. The marker points at the Patterned Factory in Central, but the building is not reachable on a fresh save.
- Meet Zoe at the Watchtower during Welcome to Manhattan.
- Finish Evacuation Procedures, which also hands you the Level 2 Keycard.
- Finish Power Lines so the route into the factory is open.
- Bring an upgraded weapon form. The Deserter is a full boss fight, not a mini-encounter.
Clear The Central Resonant before you spend serious time in The Park. The ability it unlocks makes the Mold there far easier to deal with.
Patterned Factory route: the three heat tumors
The first objective sends Dylan after the steam pouring out of the factory. Follow the scorch marks, and the real task becomes destroying three heat tumors growing on the pipes.
How to beat The Deserter in the furnace room
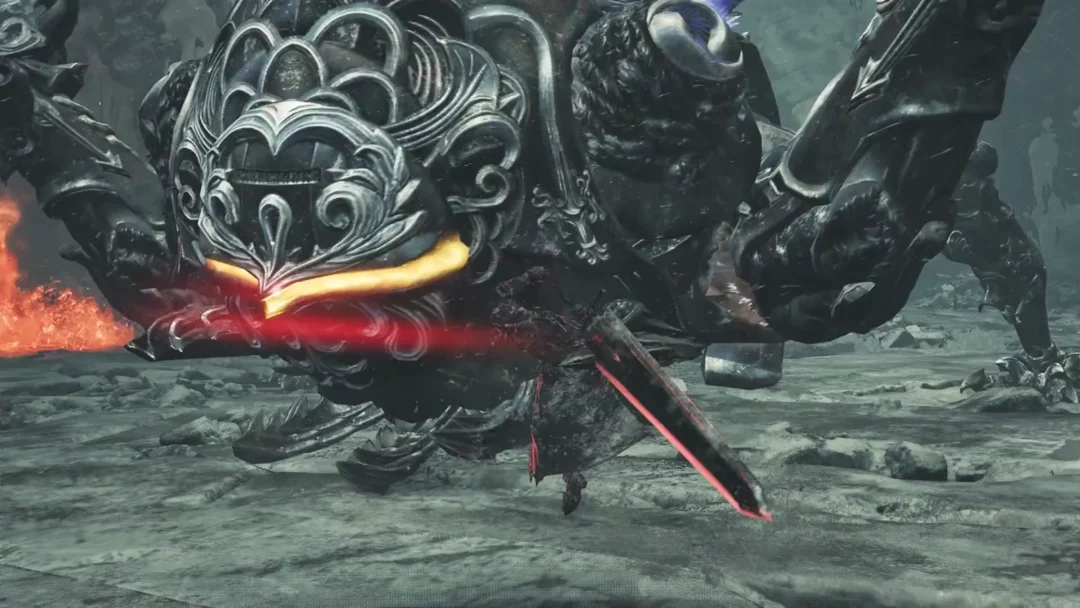
The cutscene drops you in front of The Deserter, a towering fire Resonant that opens by spitting lava across the arena. The safest place in the fight is directly underneath it, so close the gap immediately and stay circling its legs.
| Attack | What to do |
|---|---|
| Lava spit | Sprint to the legs and stay close |
| Spin to catch you | Back off a short distance |
| Full-body slam | Dodge, then attack during the recovery |
| Arena fire | Stay off the grates, hug the edge |
The slam is the fight’s main damage window. Once the boss crashes down, you get several free seconds to unload everything you have. Outside of that, chipping away at the legs is enough on its own, so there is no need to chase a weak point elsewhere.
Finish the quest: the monolith, the pedestal, and D-pad Down
Killing the Resonant does not end the quest on its own. The fight takes place beside a tall stone monolith split by glowing white cracks, and you have to go through it before the game will close the objective.
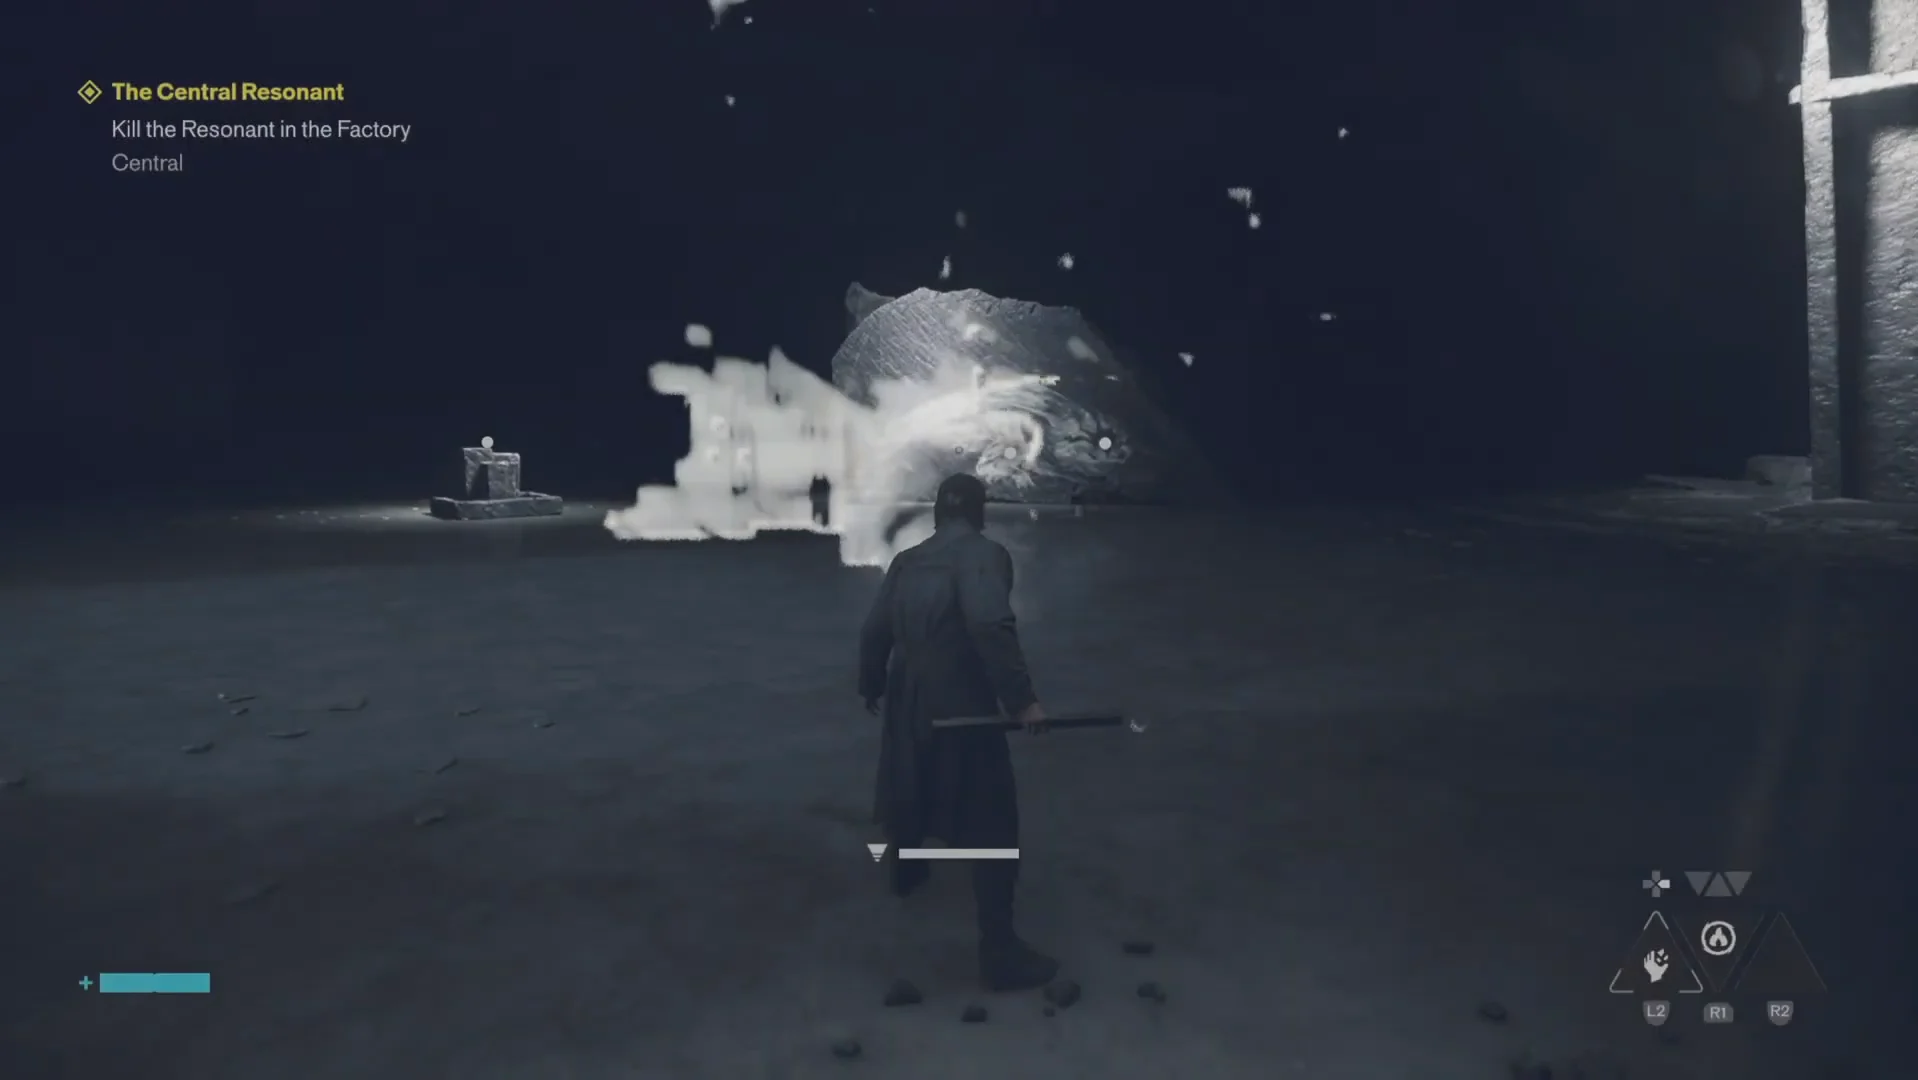
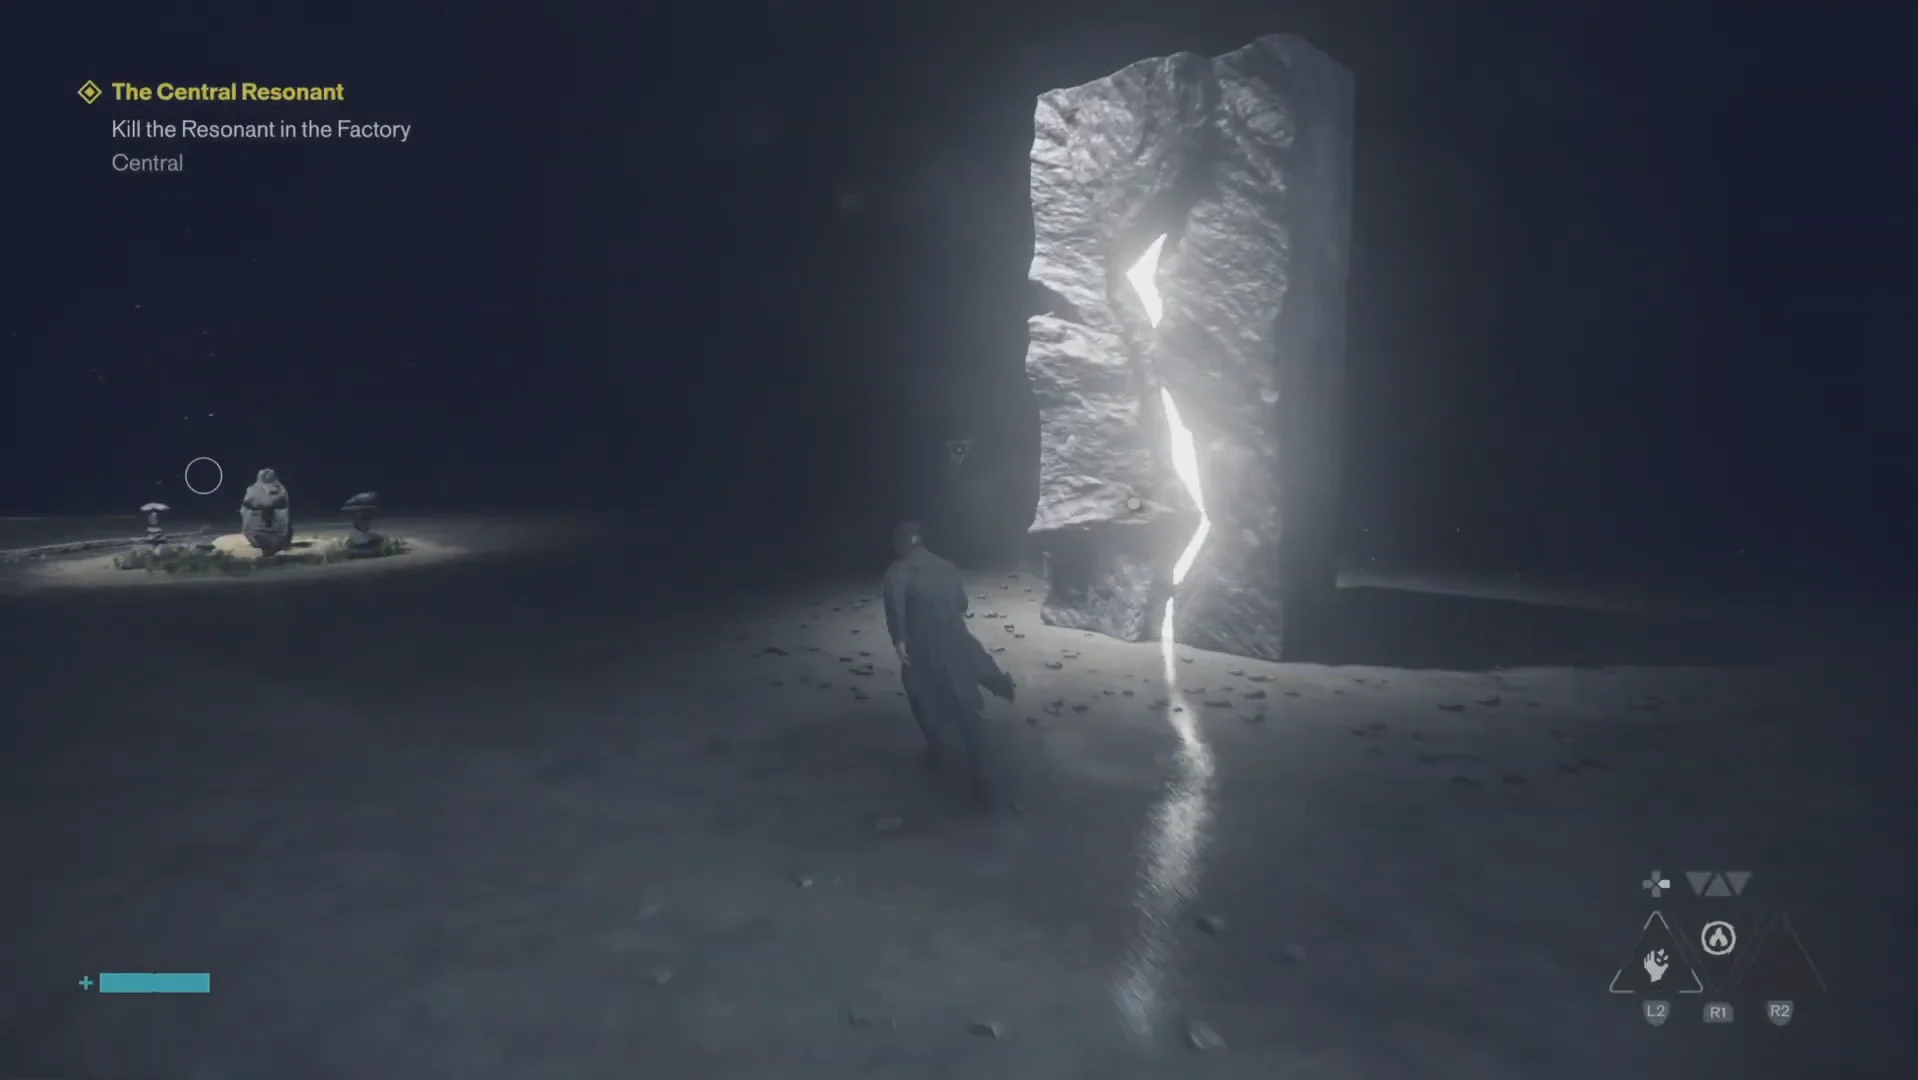
You know it worked when the Quest Completed banner appears for The Central Resonant, followed by two tutorial cards titled Resonant Cycle and A World Changed. Dismiss both with Continue, and Dylan radios Zoe from in front of the factory core to report what the person hiding in the tunnels had become.
The Central Resonant rewards
| Reward | Amount or detail |
|---|---|
| Source (quest completion) | +3,000 |
| Source (CENTRAL 5 discovery) | +500 |
| Untapped Lighter | ×1 |
| Reset Item | +1 |
| Ability choice | Ignite or Inferno |
The Source total comes to 3,500 across the two payouts, since discovering the CENTRAL 5 zone triggers alongside the quest completion. The ability choice is permanent for this Resonant, and either option gives Dylan the fire damage that The Park’s Mold reacts badly to.
If you skip past the two tutorial cards, both can be read again later from the Tutorials tab in the Archives.
After you defeat the Deserter, Manhattan shifts into another Resonant Cycle, meaning foes previously eliminated return with greater strength throughout every zone. The Deserter is one of the two Resonants blocking the story, alongside the Dancer in the West Incursion Zone’s theater. Defeating both allows Enemy of My Enemy to progress.