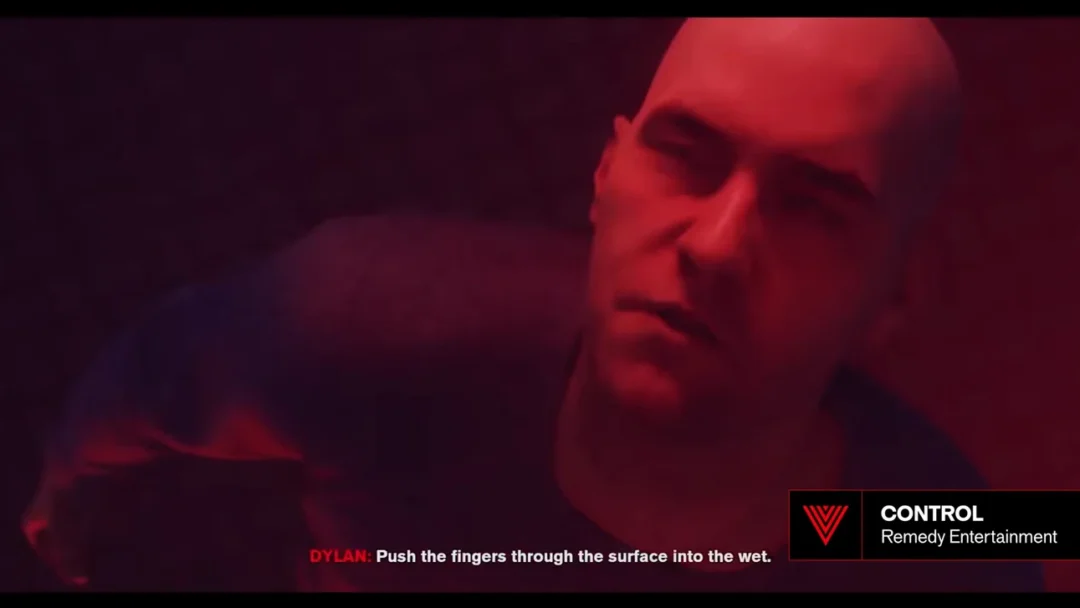
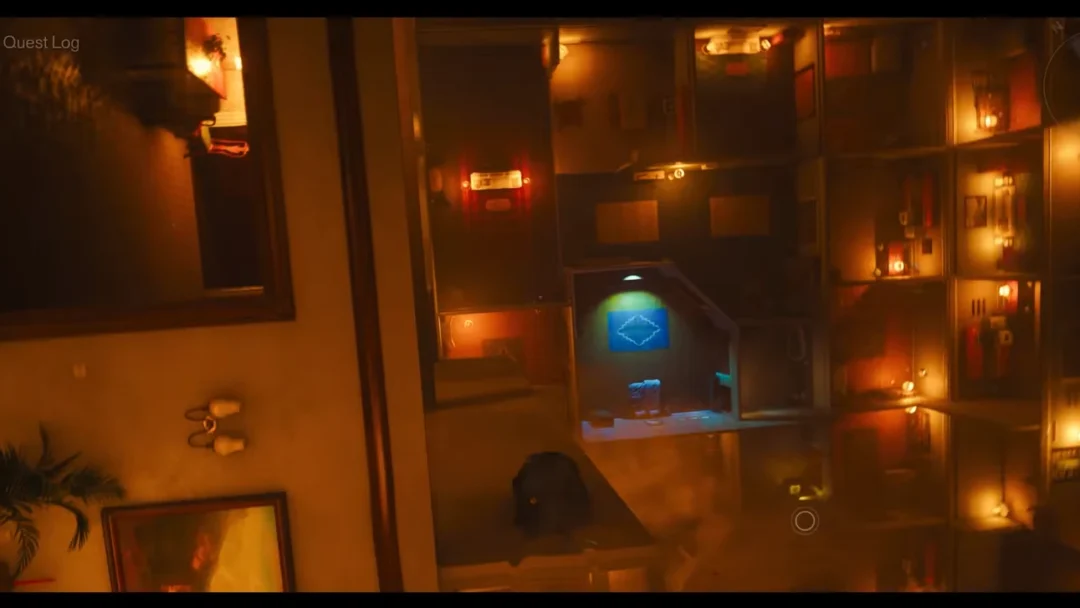
Control Resonant: Recursions and Iterations Walkthrough
Every objective from the Oldest House lobby to the final probe relay, plus the rewards you earn for finishing it.
Every objective from the Oldest House lobby to the final probe relay, plus the rewards you earn for finishing it.
by AllThingsHow Staff
Image: Remedy Entertainment
Recursions and Iterations sends Dylan Faden below the Sinkhole to find a four-person research team that vanished in the Underpass. The mission mixes platforming, a power puzzle, a tower defense fight, and a series of time-loop encounters with the doomed team members. Everything below follows the objectives in the order the game hands them to you.
Quick answer: Speak to Emily Pope in the Oldest House Lobby, descend into the Underpass, restore power for Ayad, defend the transmission tower, cross the chasm by cable car, then place the final probe relay at the sapling to complete the quest.
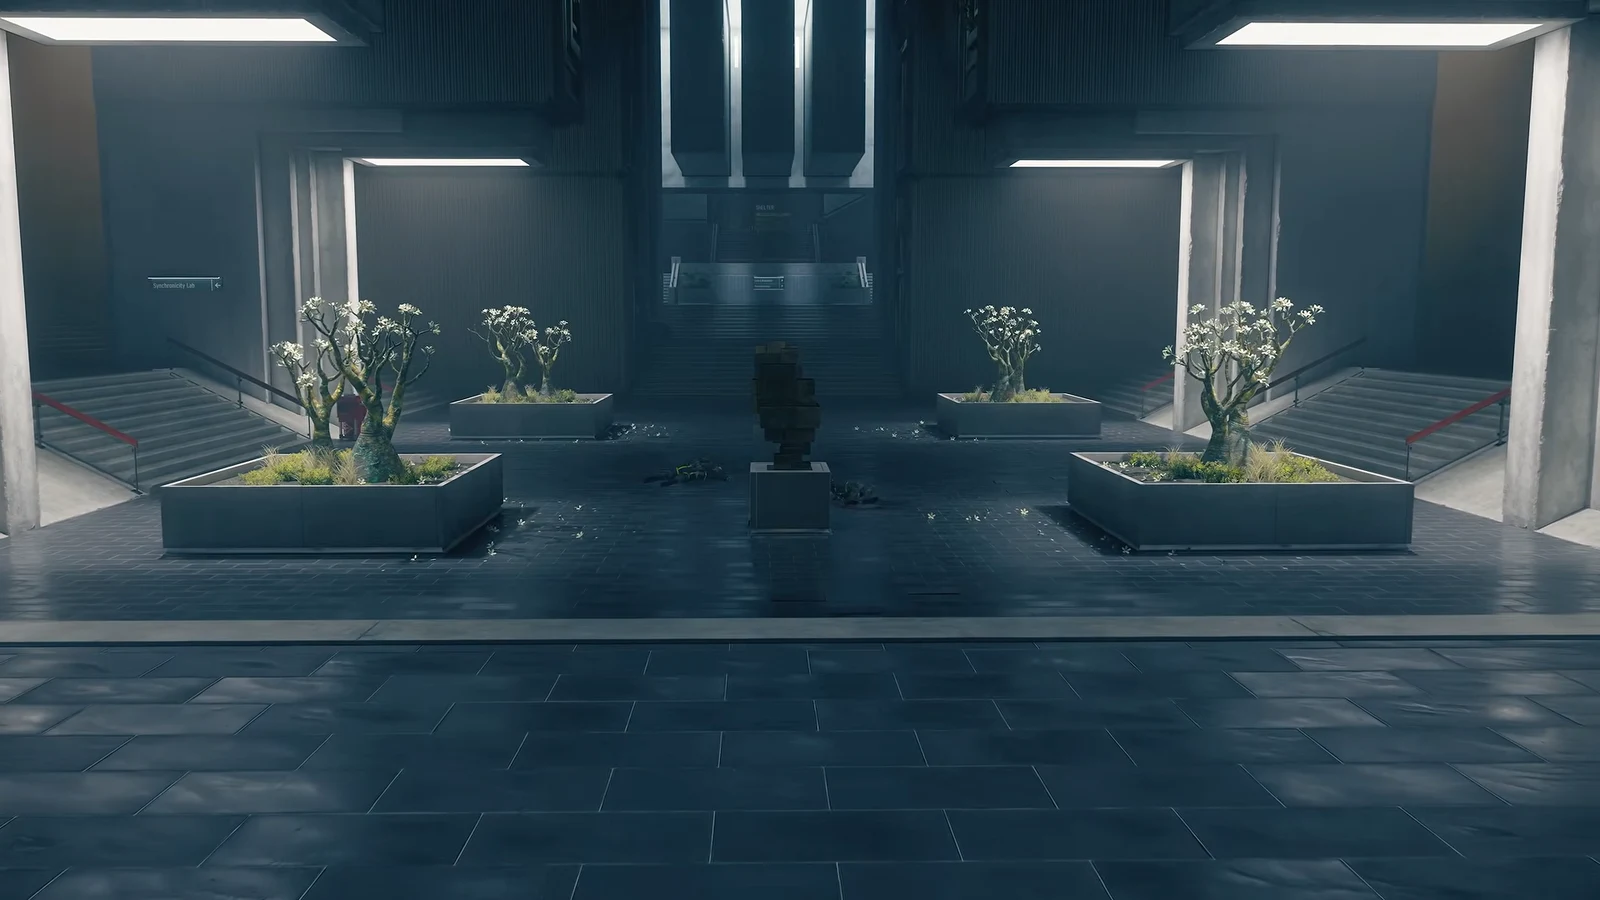
Go to the Oldest House Lobby and speak with Emily Pope. She explains to Dylan that Arish has stepped down, describes the CFD disaster, and mentions the team dispatched to the Sinkhole. The objective “Find the Team Below the Sinkhole” then begins.
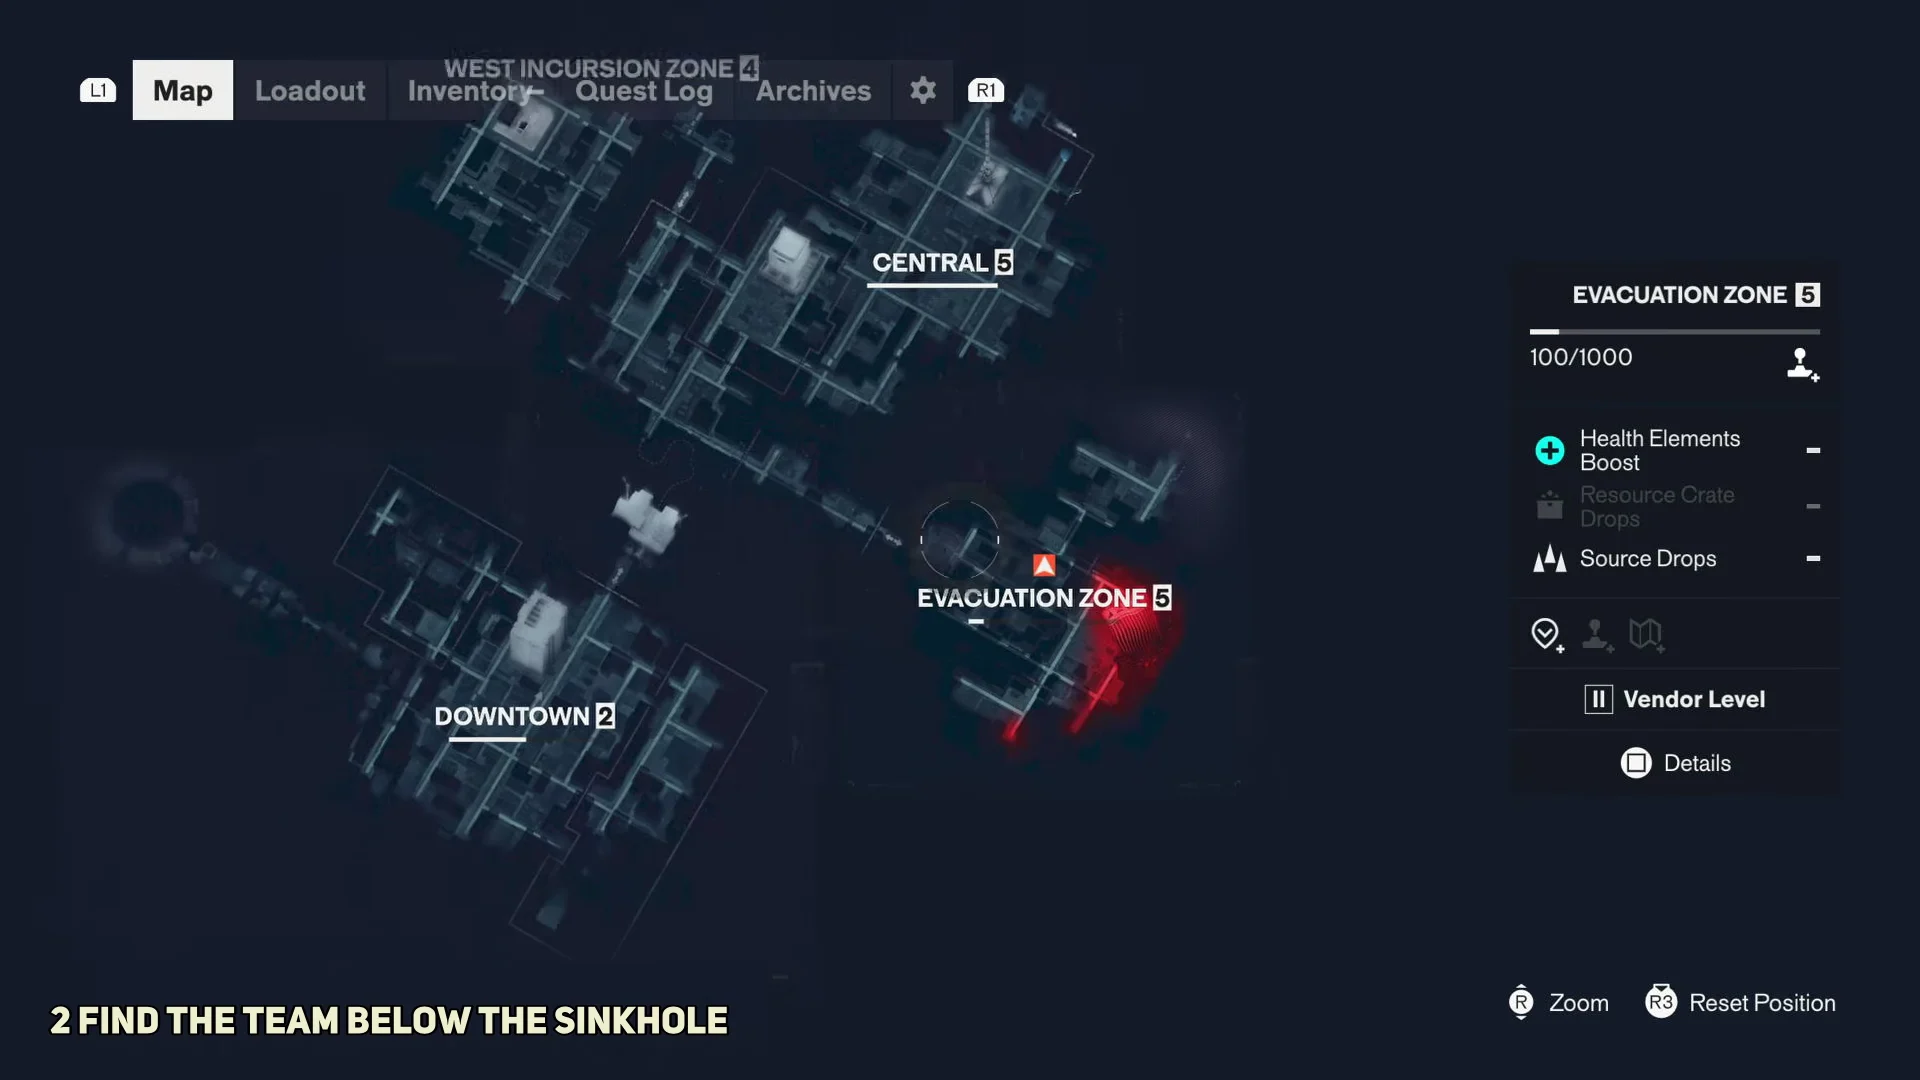
Open the map and route toward the Evacuation Zone. Pass through the checkpoints and stairwells until you reach the descent that drops toward the Underpass.
Work through the yellow-striped corridors, drop down the vertical shafts, and keep going until you hit the deep Underpass corridor. Zoe checks in over the radio during the climb down.
Cross the floating structures and red-carpeted platforms, fighting the flying and ground Resonant enemies with melee and ranged attacks. Along the way you can inspect the green illuminated climbing ropes and report them to Zoe.
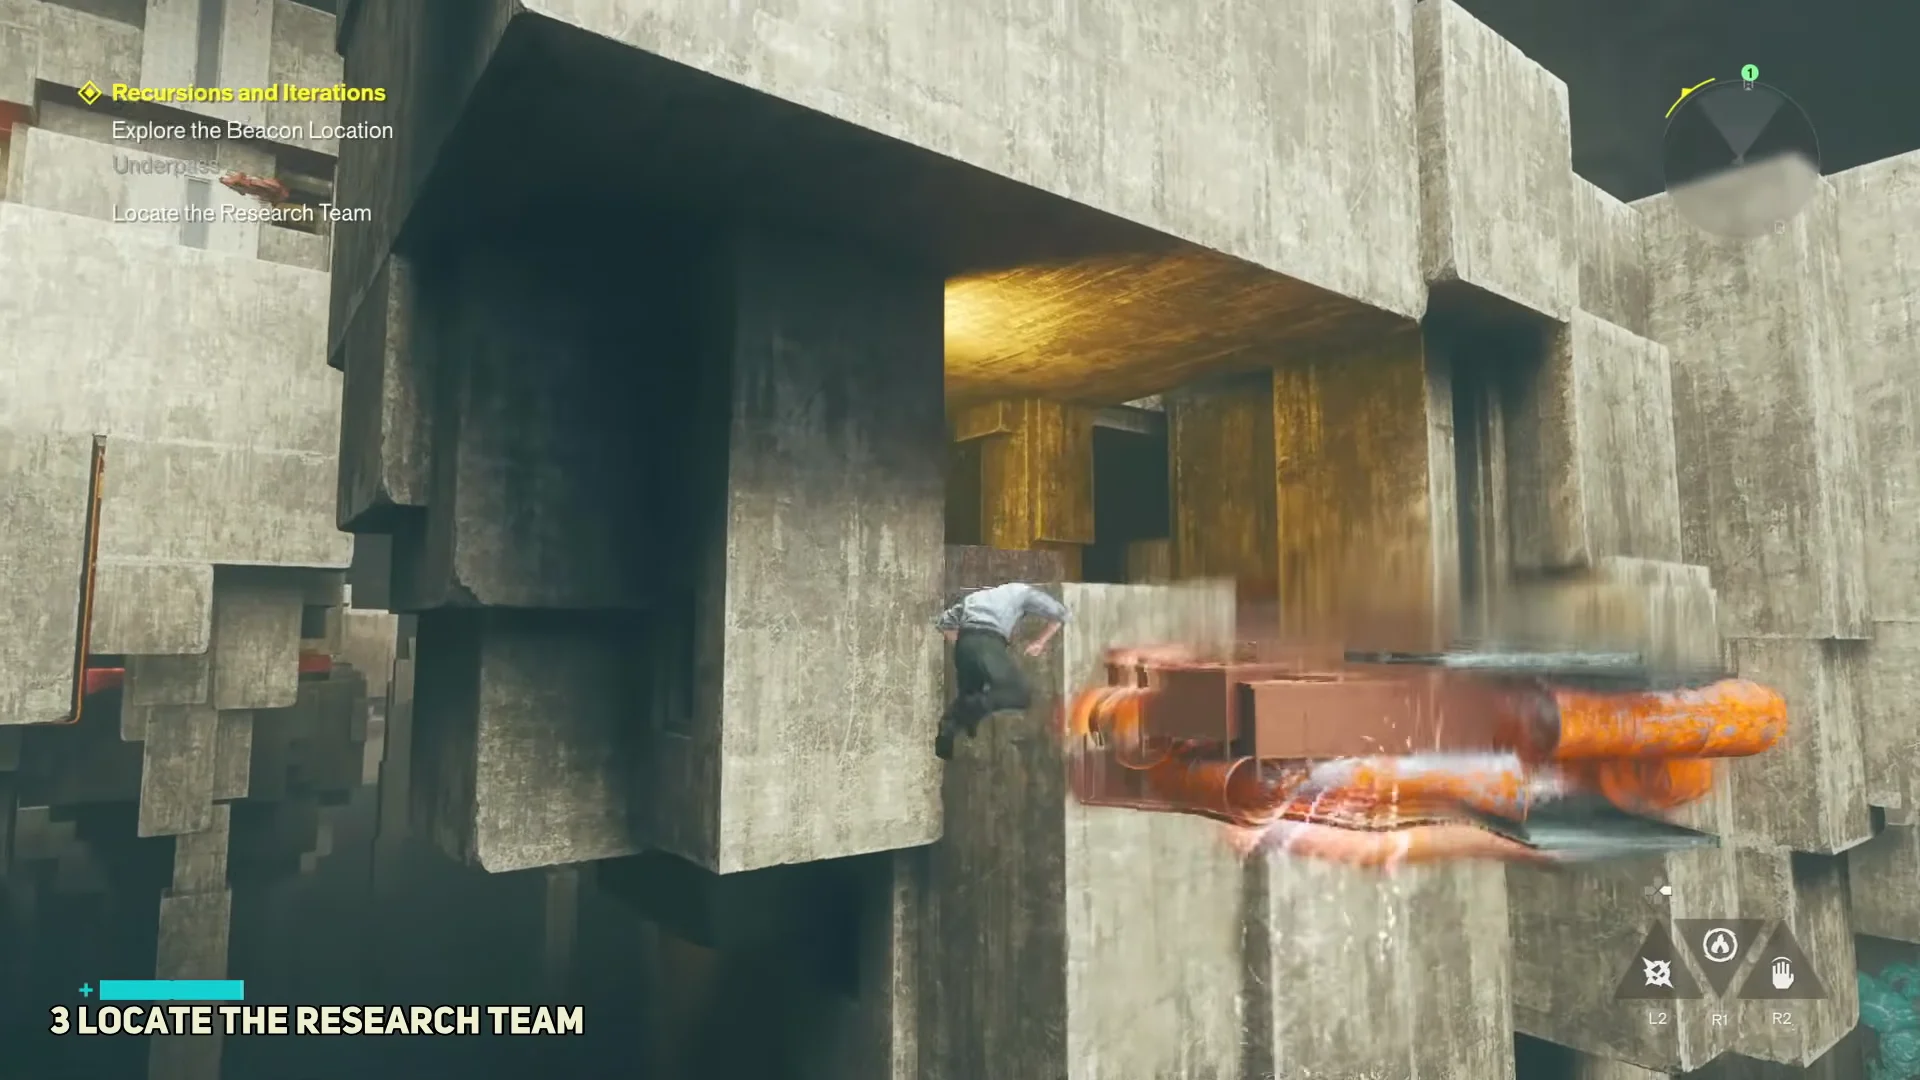
Make your way toward the beacon signal by jumping between the separated towers and platforms lined with orange pipes. You’ll pass the Halfway Trail Fast Travel Door and unlock it along the route.
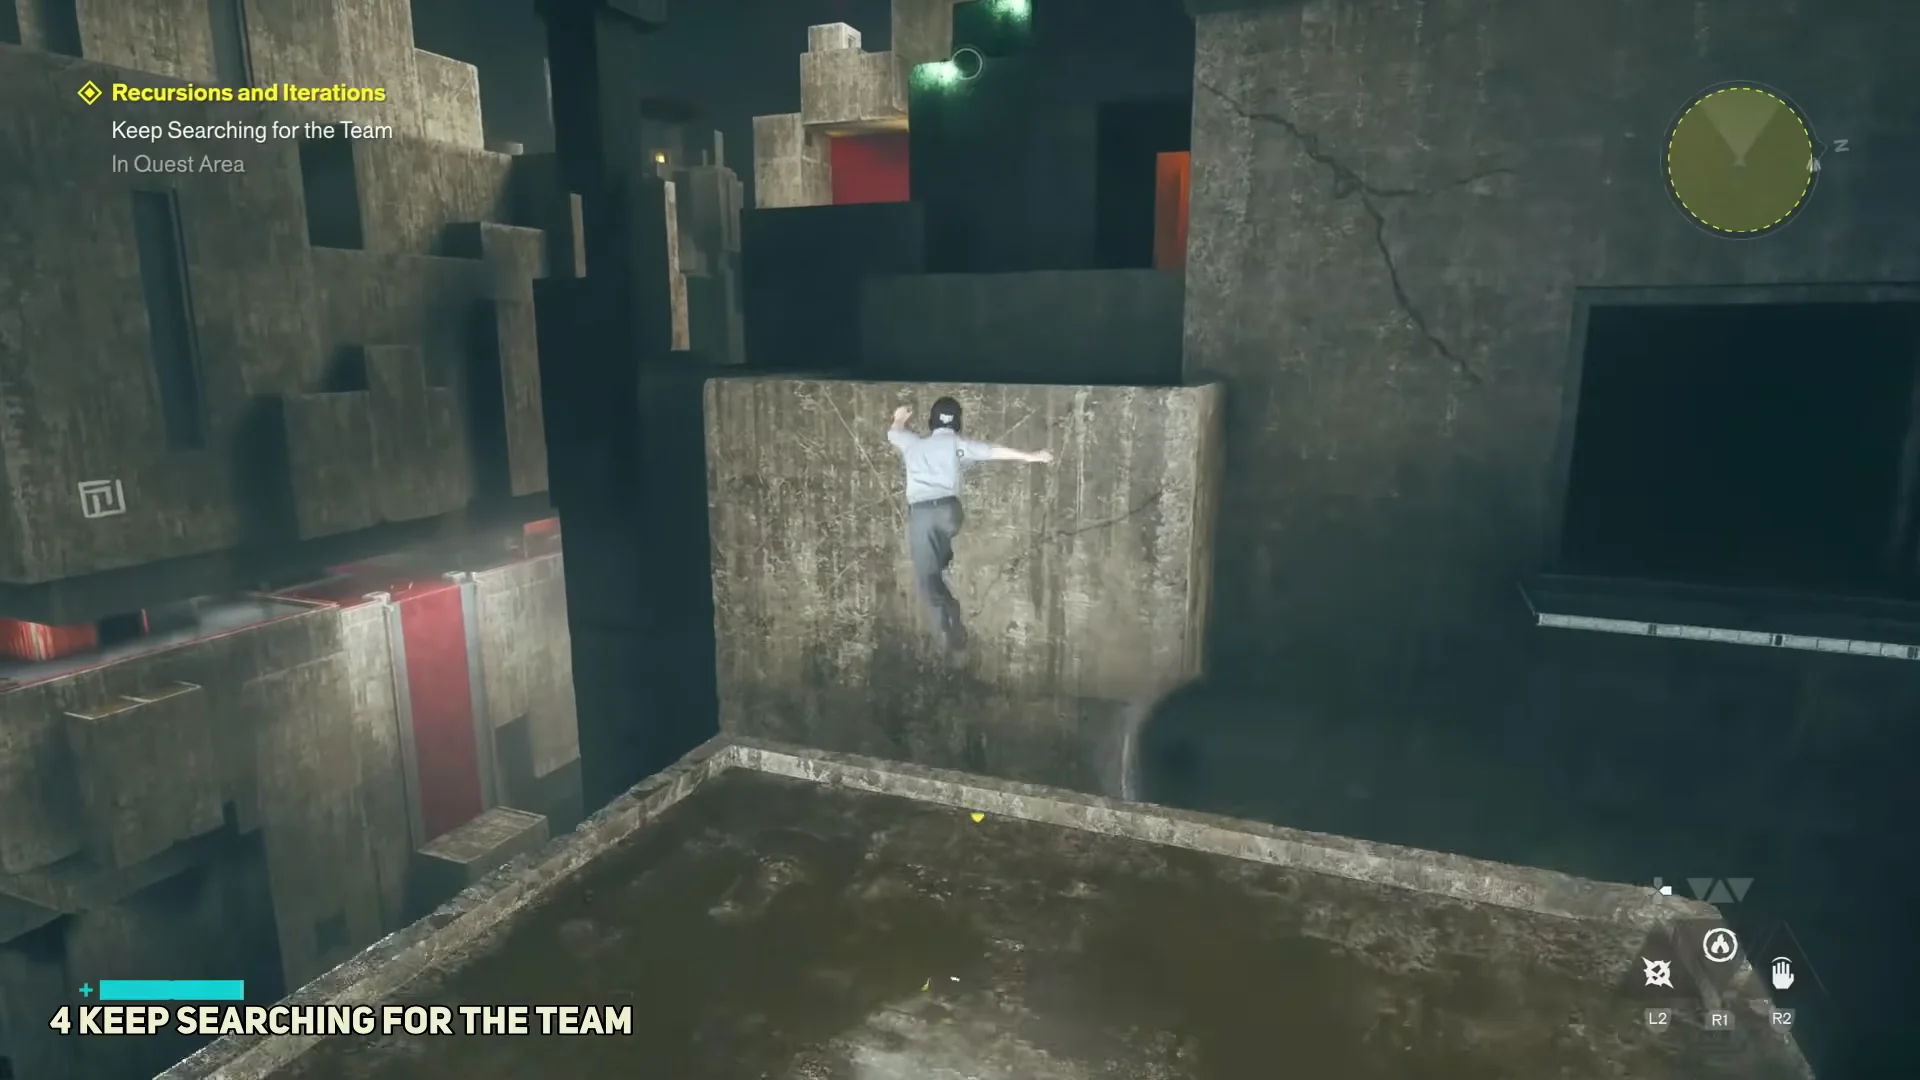
At the red-carpeted camp you find the dead researchers on the floor. Report the casualties to Zoe, then keep searching. When you backtrack to the room, Schultz and the team briefly appear alive before glitching out and collapsing again.
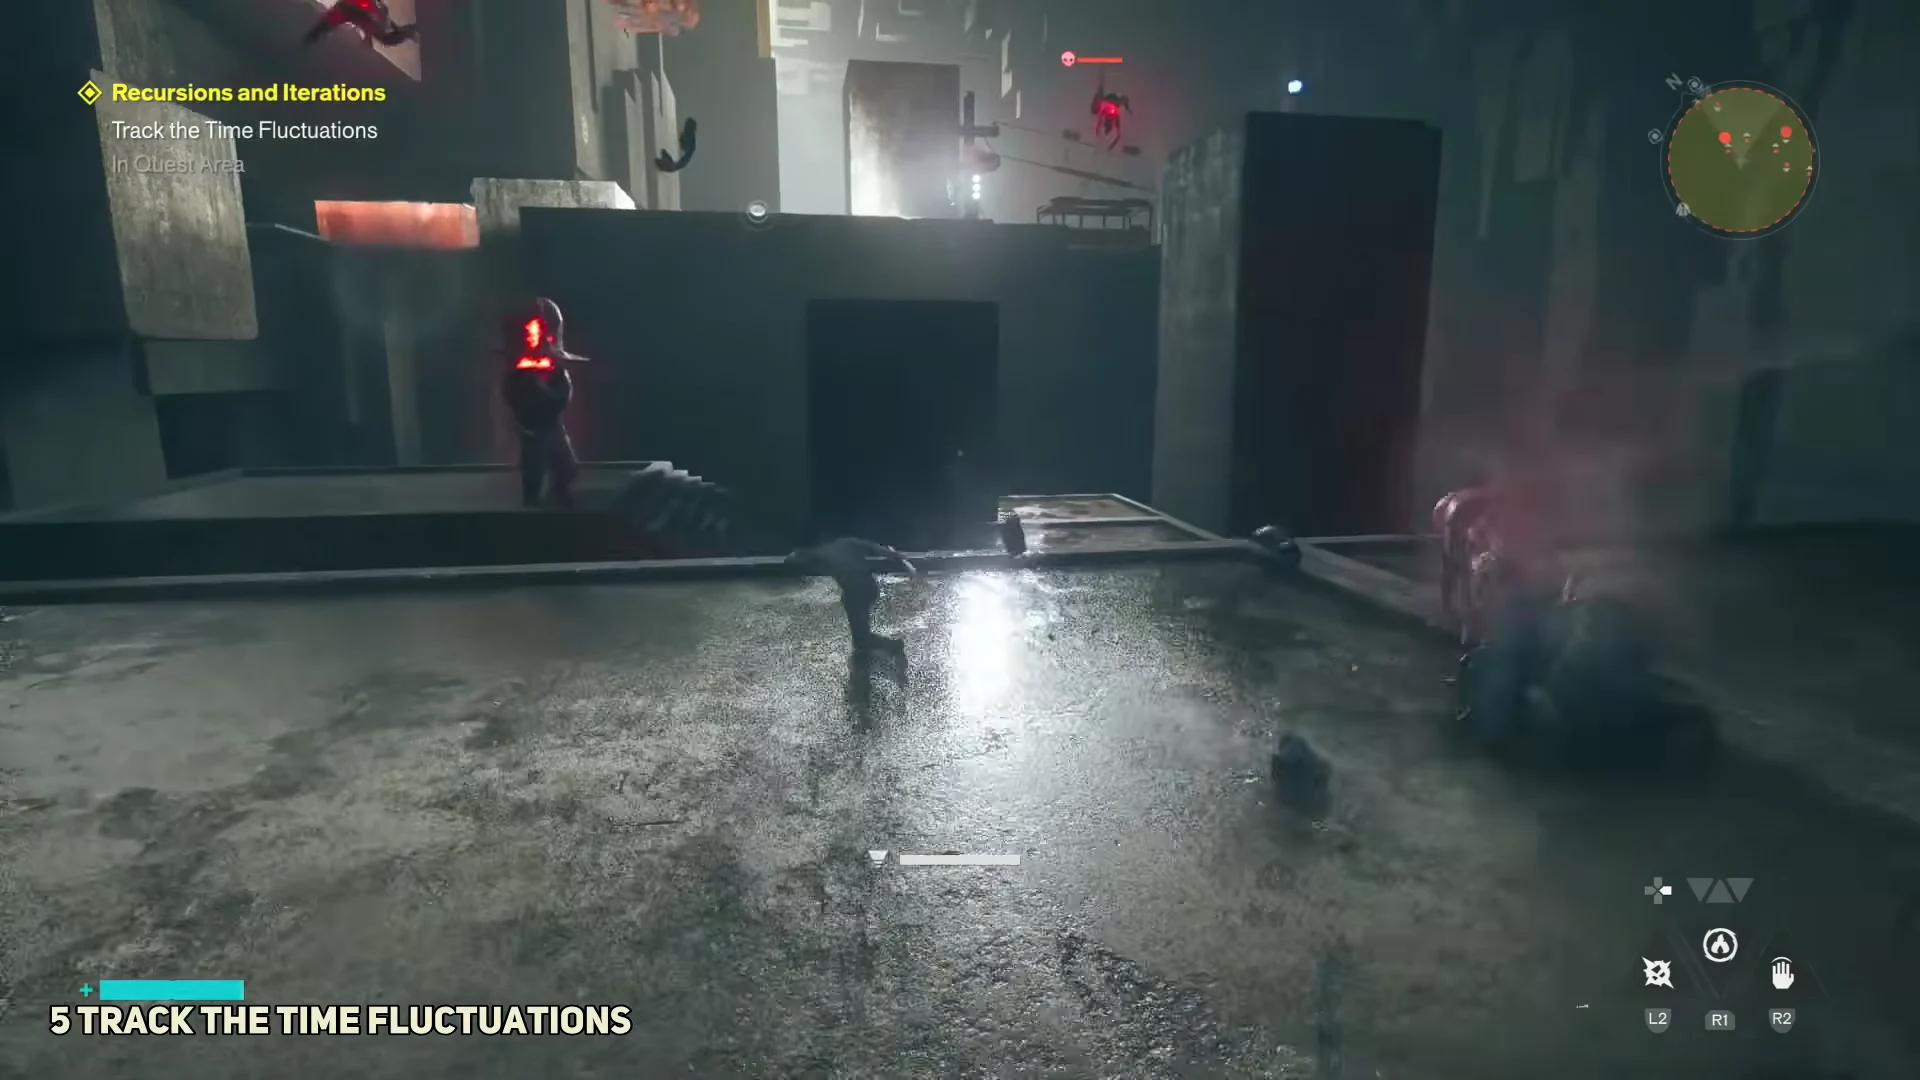
Head back to the camp once more, where you’ll encounter Dr. Grist alive and caught in a loop. She discusses the changing timelines and directs you toward a tracking device. Take Grist’s Tracking Device off the workbench to set off radio calls from Zoe and Pope.
An upgrade console in this stretch grants a +1 Talent Point, so interact with it before you move on.
Follow the time fluctuations back toward the control hub and clear the Resonant enemies in the upper corridors. Drop into the control terminal area to find Ayad at a malfunctioning console.
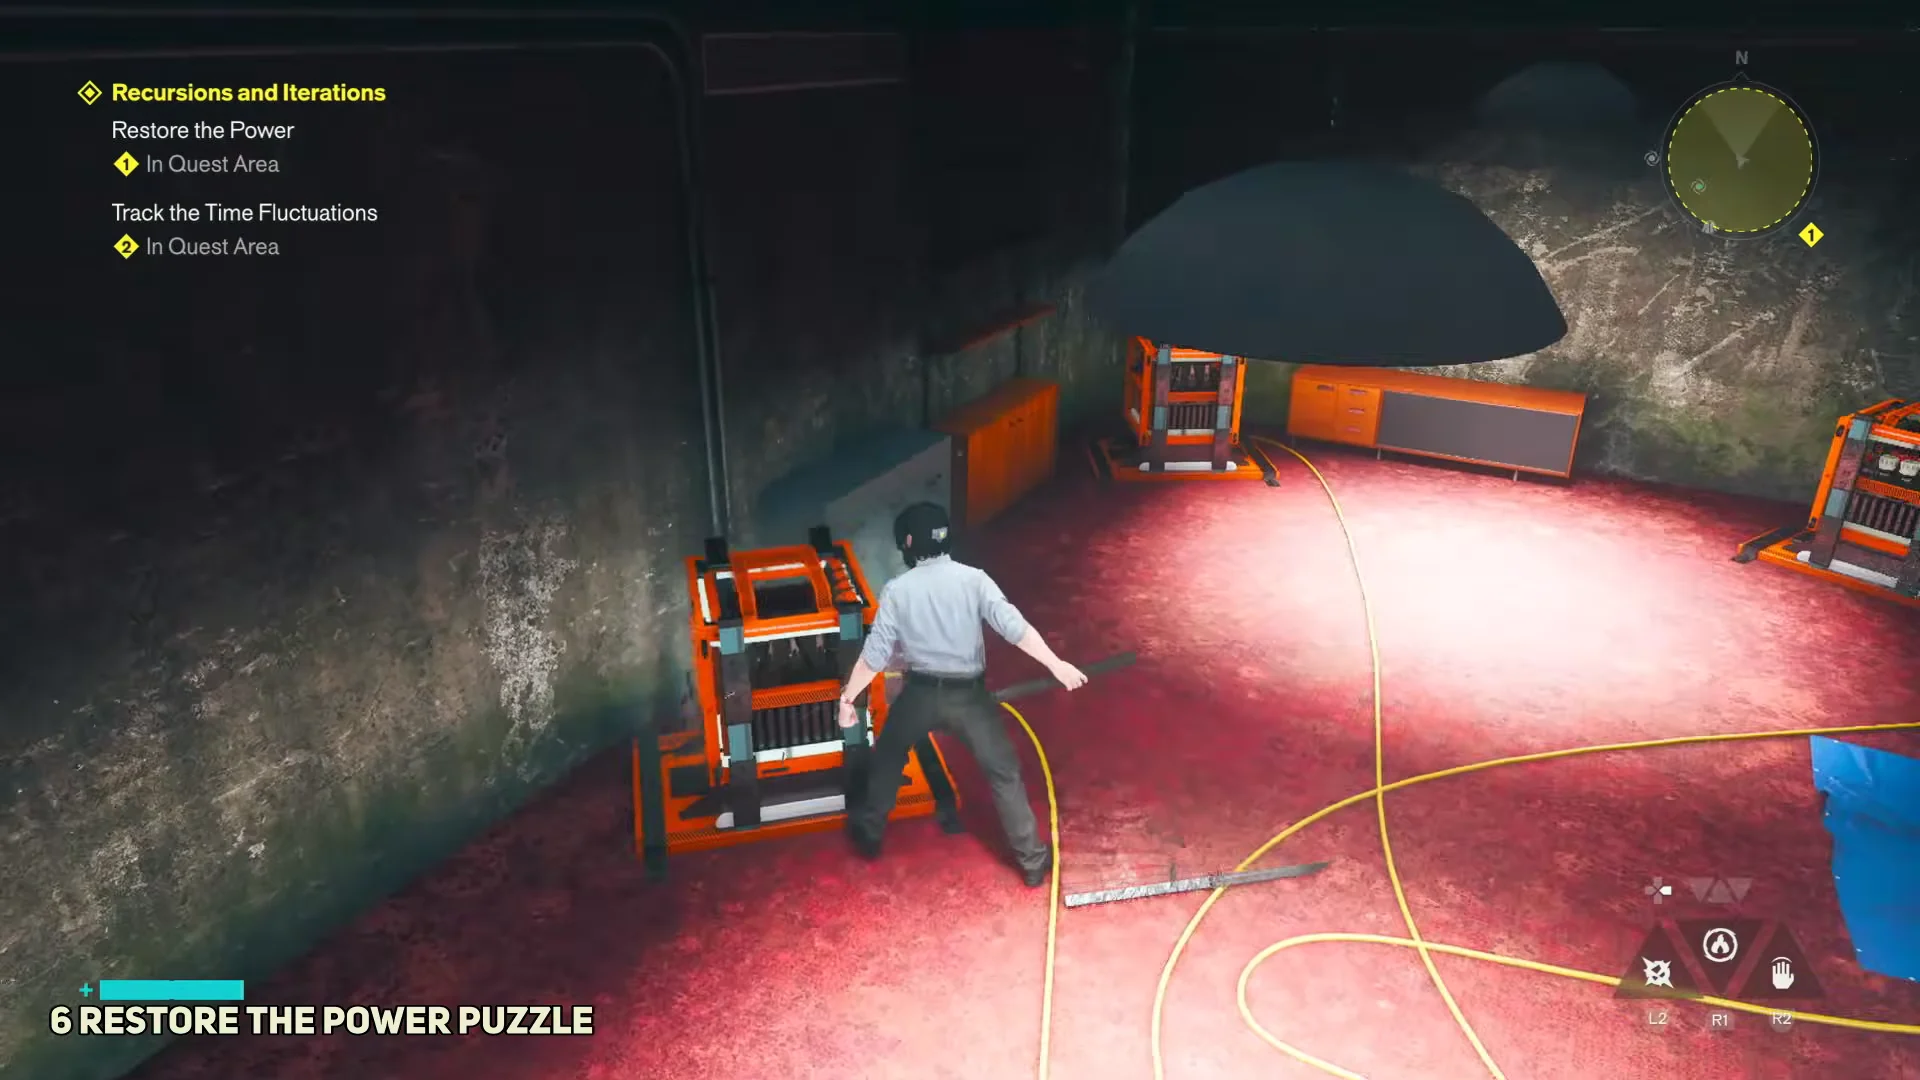
Ayad asks you to bring the power back by finding four battery power supplies marked with tape. Use the yellow lines on the floor to locate each power cell.
Insert the fourth cell into Unit 1 to complete the “Restore the Power” sub-objective. When you return to Ayad, you find him dead beside a duplicate of himself, and Zoe detects another data blip.
Track the fluctuations and defend the transmission tower
Follow the new fluctuation signal across the chasms. You reach a console where a spectral echo of Schultz’s team discusses Grist heading off to set up the probes.
Follow the yellow lines until you reach a ledge overlooking a cliff, where Dr. Grist is gazing into the void. Tell her about the plan she made in a different timeline; this persuades her to complete the probe relay deployment before she vanishes.
Fight your way toward the transmission tower against Resonant enemies. On the way, pick up the collectible tape Grist Research Log #3 from the red carpet.
At the antenna tower, survive multiple waves of Resonant enemies. Clearing them earns the Paranatural Agility trophy, and Zoe confirms the tower has transmitted its data to Pope.
Use platform jumps to reach the orange cable car station. Once inside, Dr. Grist theorizes that the Patterning faces resistance from the Oldest House. Pull the lever to travel over the void.
Get out of the cable car, collect the power upgrade, then follow the red relay beacons. The route leads past a frozen body belonging to another Dylan, partly buried in crystal and carrying the I Don’t Mind Dying document.
Press on through the inner chambers as your own alternate voice comes through the radio. On the floor, you’ll find Dr. Grist’s corpse next to the last probe relay; pick up the relay.
Carry the glowing red relay through the tunnel and along the massive pipes until you reach a small green sapling growing out of the pipe junction. Place and activate the relay next to the sapling.
You cannot use fast travel while carrying the relay, so plan the pipe route in one continuous run to the sapling.
Completion and rewards
Setting the relay in place brings on a hallucinatory scene featuring redwoods, corridors in the Oldest House, and television screens. Afterward, Emily Pope and Zoe verify that all the data has come through, and Dylan tells Zoe to join him at the Prime Candidate Training Grounds, close to his cell.
You know the mission is done when the QUEST COMPLETED: RECURSIONS AND ITERATIONS screen appears with the rewards listed. The main rewards are the Prime Candidate Restraint Suit and a +1 Living Shard.
Type
Reward
Outfit
Prime Candidate Restraint Suit
Material
+1 Living Shard
Trophy
Paranatural Agility
Upgrade
+1 Talent Point
Fast Travel
The Spire, Halfway Trail
Collectibles
Grist Research Log #3, I Don’t Mind Dying
If the Underpass or Subway route ever blocks your path during this mission, clear the corresponding Fault to reopen it, then return to the probe relay objective to wrap up the quest.