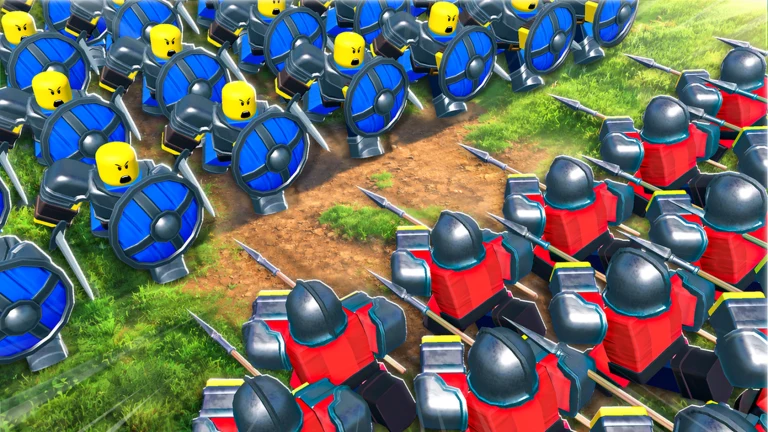
New commanders do not need a rare four-star pull to climb the scoreboard in Command an Army. Three low-cost troops cover the jobs that decide early matches — fast flanking, ranged damage, and stopping cavalry — and each one grows into a top-tier unit through its evolution line. That combination of cheap star cost and a strong ceiling is exactly what a beginner loadout wants.
Quick answer: The three best starter units are Scout Rider, Archer, and Halberdier — cheap troops that stay useful because they evolve into Lancer, Flaming Archers, and Imperial Halberdier.
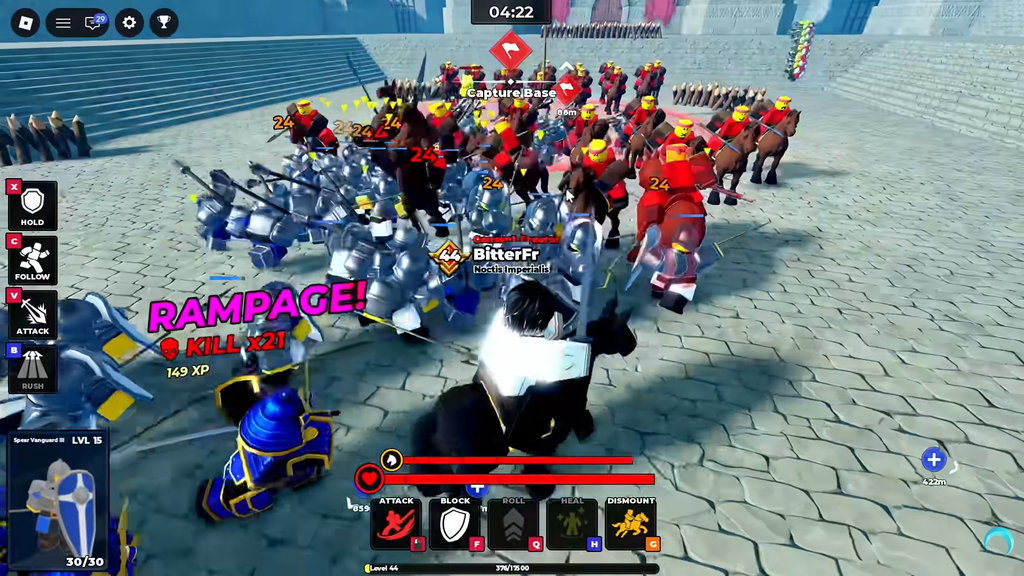
The three best starter units in Command an Army
Each of these units fills a distinct role, so together they form a balanced early loadout rather than three copies of the same job. The numbers below are sample readings from levelled versions of each troop.
| Unit | HP | DMG | DPS |
|---|---|---|---|
| Scout Rider | 302.7 | 22.8 | 16.4 |
| Archer | 195.4 | 23 | 9.5 |
| Halberdier | 228.9 | 39 | 15.6 |
Scout Rider — mobility and charge damage
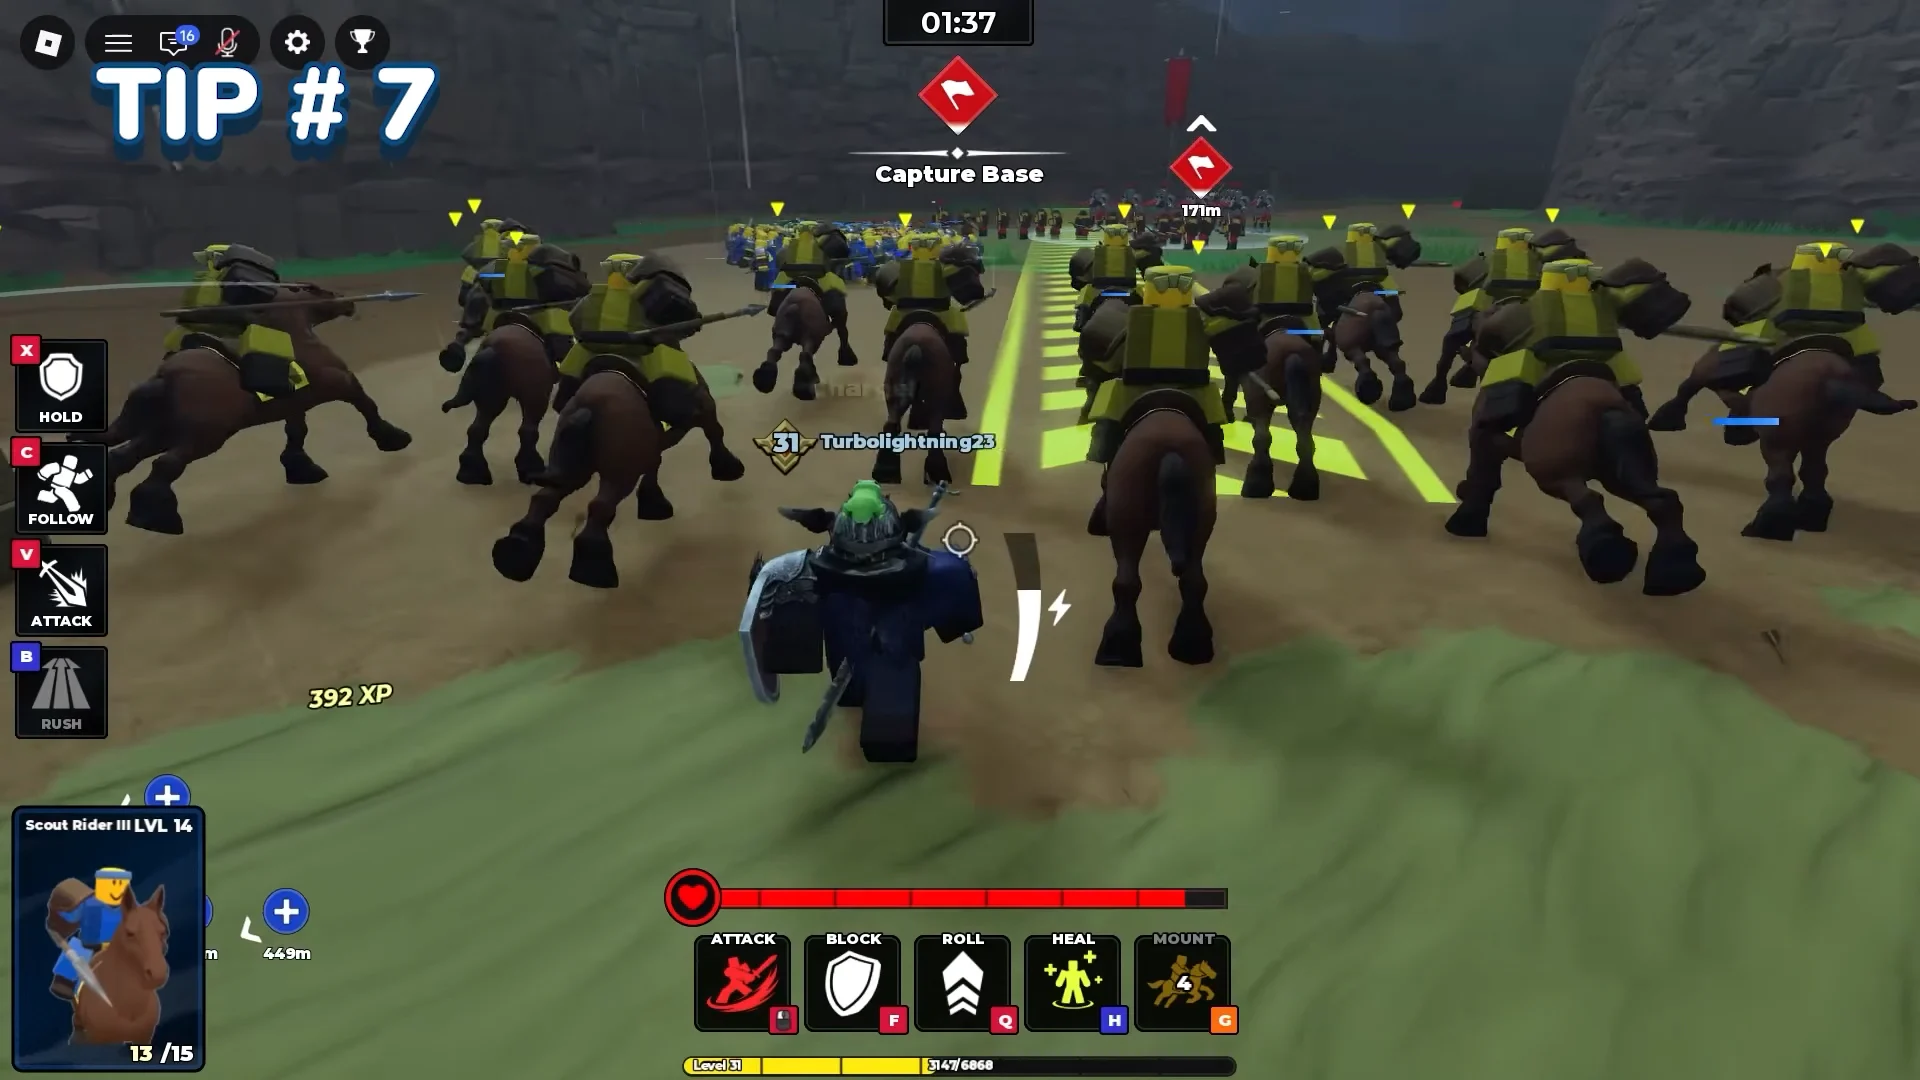
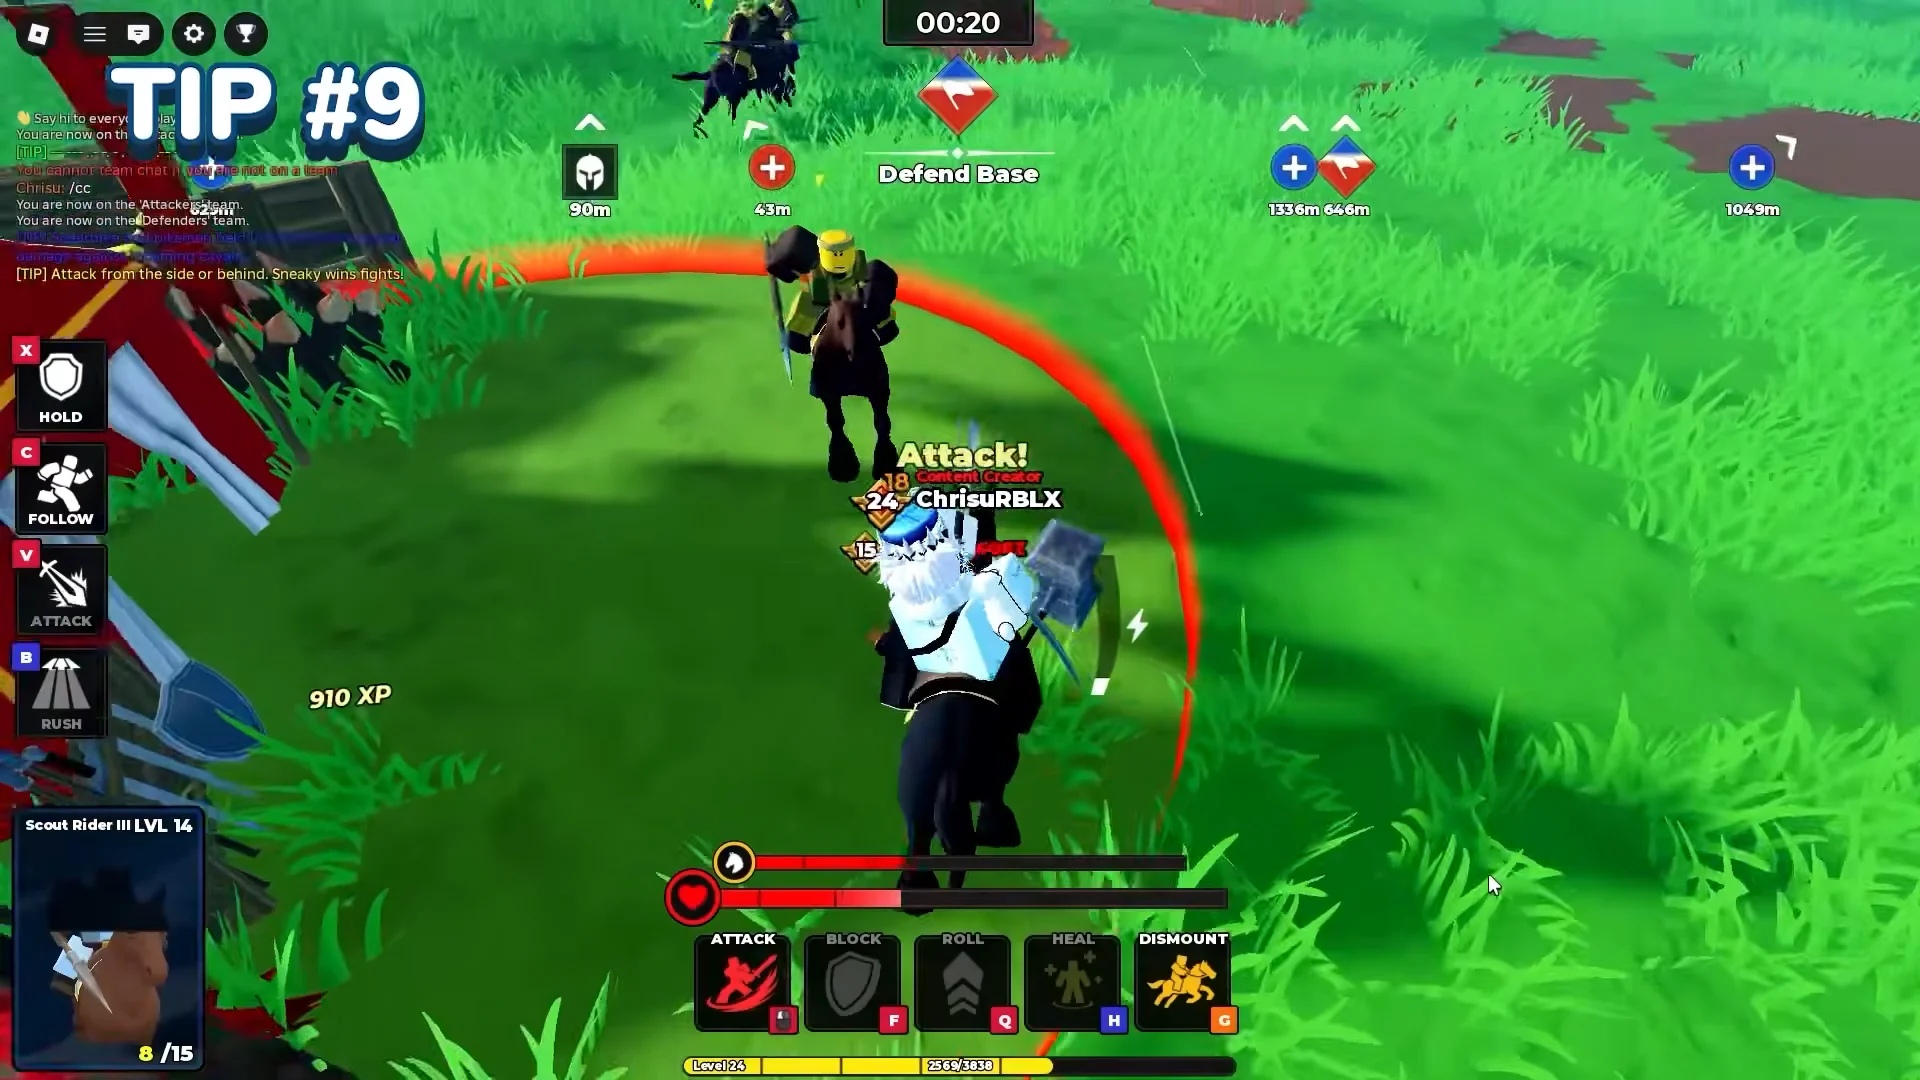
The Scout Rider is the fastest unit available early, with a movement speed of 28.8, which makes it the best flanker a beginner can field. Swing it around the sides of walled maps and let it charge exposed ranged troops from behind, where mounted burst damage is highest. Spamming the Rush command (B) pushes it at roughly double normal follow speed, so it reaches the enemy backline before they can set up.
Archer — protected ranged damage
The Archer delivers strong single-target damage at long range, reaching out to 225 range at three stars. Its weakness is durability, with only 195.4 HP, so it collapses the moment cavalry reaches it. Keep it tucked behind a barricade or a frontline body and reposition it whenever a mounted flank appears.
Halberdier — anti-cavalry and anti-flank
The Halberdier is the best beginner answer to charging riders, pairing high hit damage of 39 with block damage that punishes shielded attackers. Place it where enemy cavalry wants to break through and it shuts down the flanks that would otherwise reach your Archers. It is a defensive anchor first, so hold it in position rather than sending it forward alone.
Evolution paths that keep starters relevant
The real reason to invest in these three is their upgrade ceiling. Every evolution unlocks once a unit reaches Mastery Level 20, and each of these paths ends in a unit that stays useful well into the late game.
| Base unit | Second stage | Final stage |
|---|---|---|
| Scout Rider | Cavalryman | Lancer |
| Archer | Longbowman | Flaming Archers |
| Halberdier | Imperial Halberdier | — |
The Scout Rider line is the standout, since it produces a Lancer — the strongest mounted unit in the game and the highest charge damage available — without relying on summon luck. The Archer line ends in Flaming Archers, the top ranged pick, with extended range and burn damage over time. The Halberdier upgrades into Imperial Halberdier, which adds sturdier anti-shield and anti-charge pressure.
Star Limit and loadout slots for beginners
Deploying troops uses stars, so your lineup must stay within its Star Limit. Beginners start with a cap of 6 stars, which increases as they win battles. You can field three troops initially; a fourth slot unlocks at level 15.
The four troops the game hands you at the start are Mercenary, Shieldman, Spearman, and Archer. Because a low star cost lets you field more bodies, cheap units on a strong evolution path often outvalue a single expensive pull you cannot support. Ascend your best units when you collect duplicates, since ascension raises damage and HP and is the route toward the Mastery level that unlocks evolution.
Know the unit counters before you deploy
Command an Army runs on a fixed rock-paper-scissors loop. Each type punishes one class and is punished by another, so matching your starters against the right targets matters more than raw stats.
| Unit type | Beats | Loses to |
|---|---|---|
| Shields | Spearmen | Hammers |
| Spearmen | Cavalry | Shields |
| Cavalry | Archers | Spearmen |
| Archers | Hammers | Cavalry |
| Hammers | Shields | Archers |
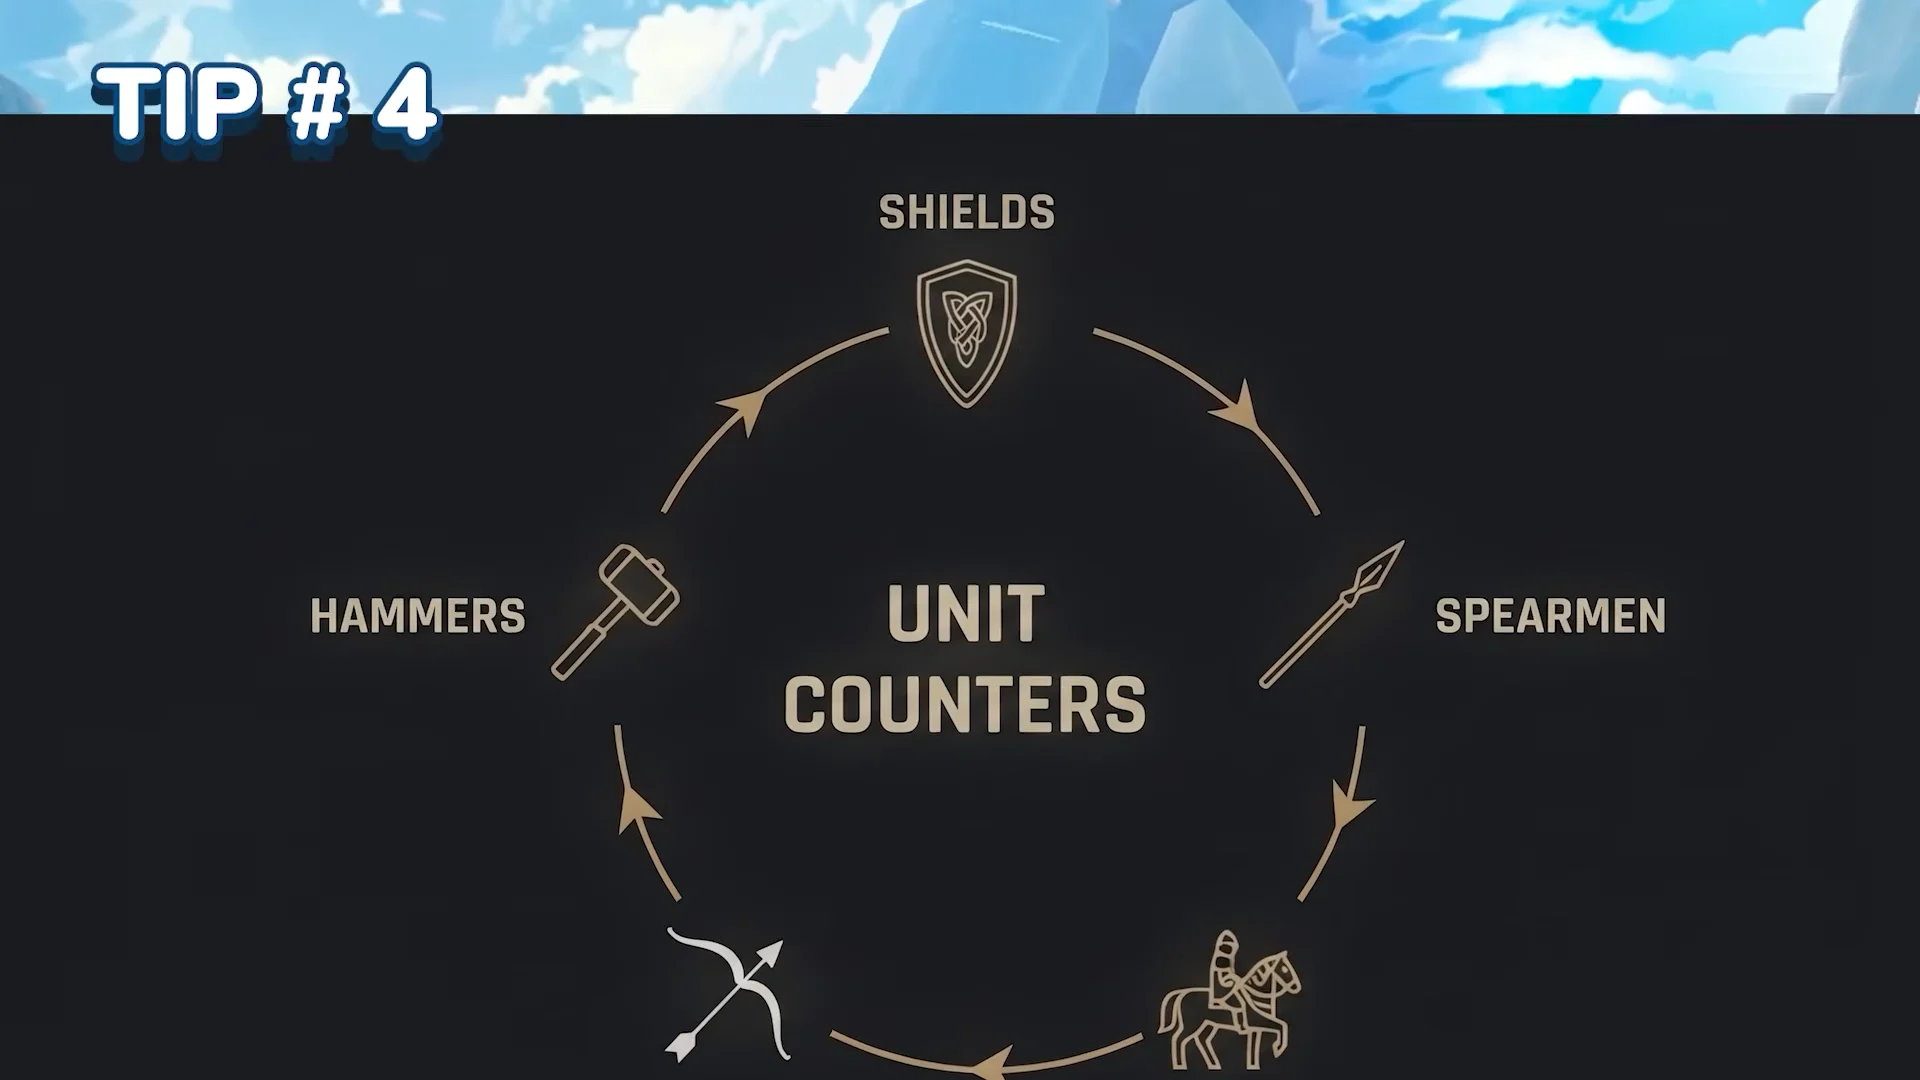
The practical read for your starters: send the Scout Rider at Archers and other ranged clusters, keep the Halberdier in front of charging Cavalry, and never leave your own Archers exposed to riders. When you can, check the enemy loadout on the pre-match screen and build to answer what they field.
Deploying cheap starters in a match
Because starters are inexpensive, they are meant to be spent aggressively and replaced. Capturing an enemy camp cuts their reinforcements and turns that camp into a forward spawn point, so your fresh troops arrive closer to the fight instead of walking the whole map.
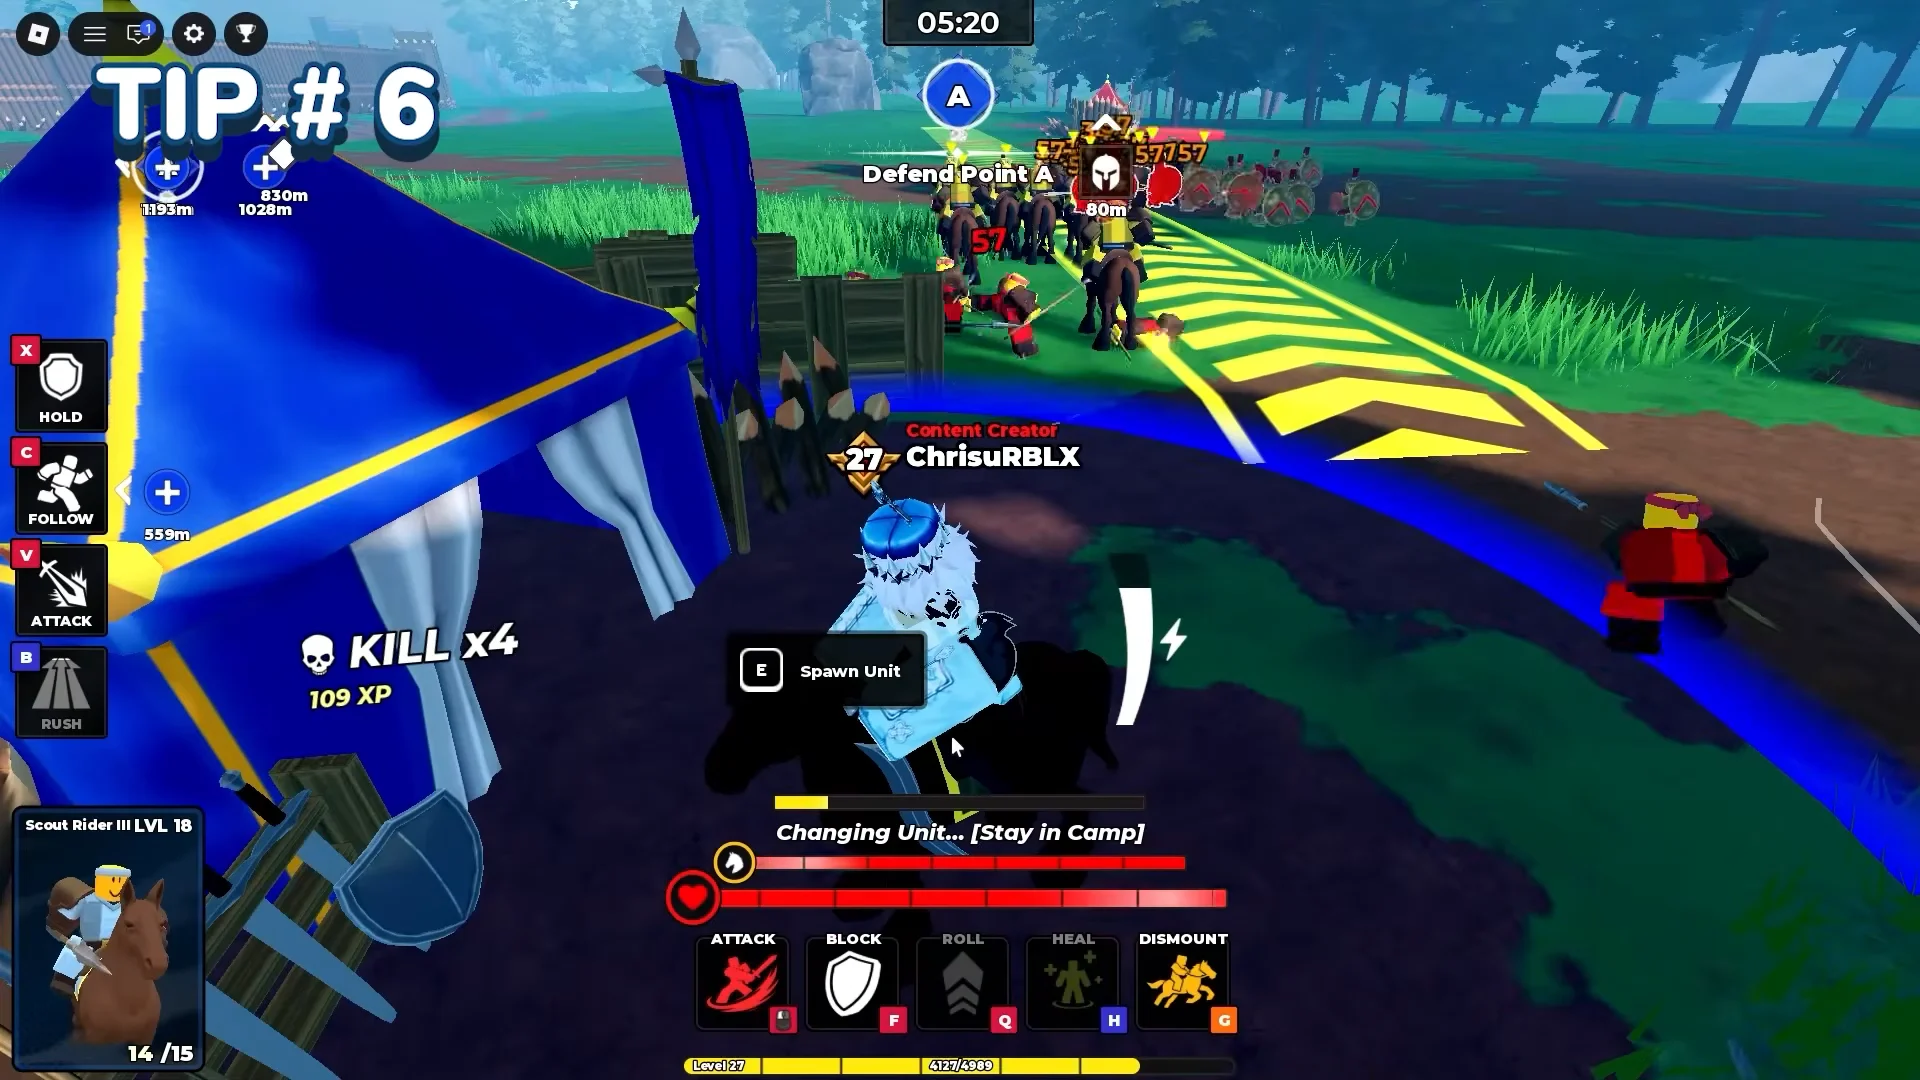
Stepping inside an enemy camp’s red boundary circle pauses their respawns, so holding that space with a durable body like the Halberdier stalls their whole reinforcement wave. Watch for their Archers while you sit in the circle.
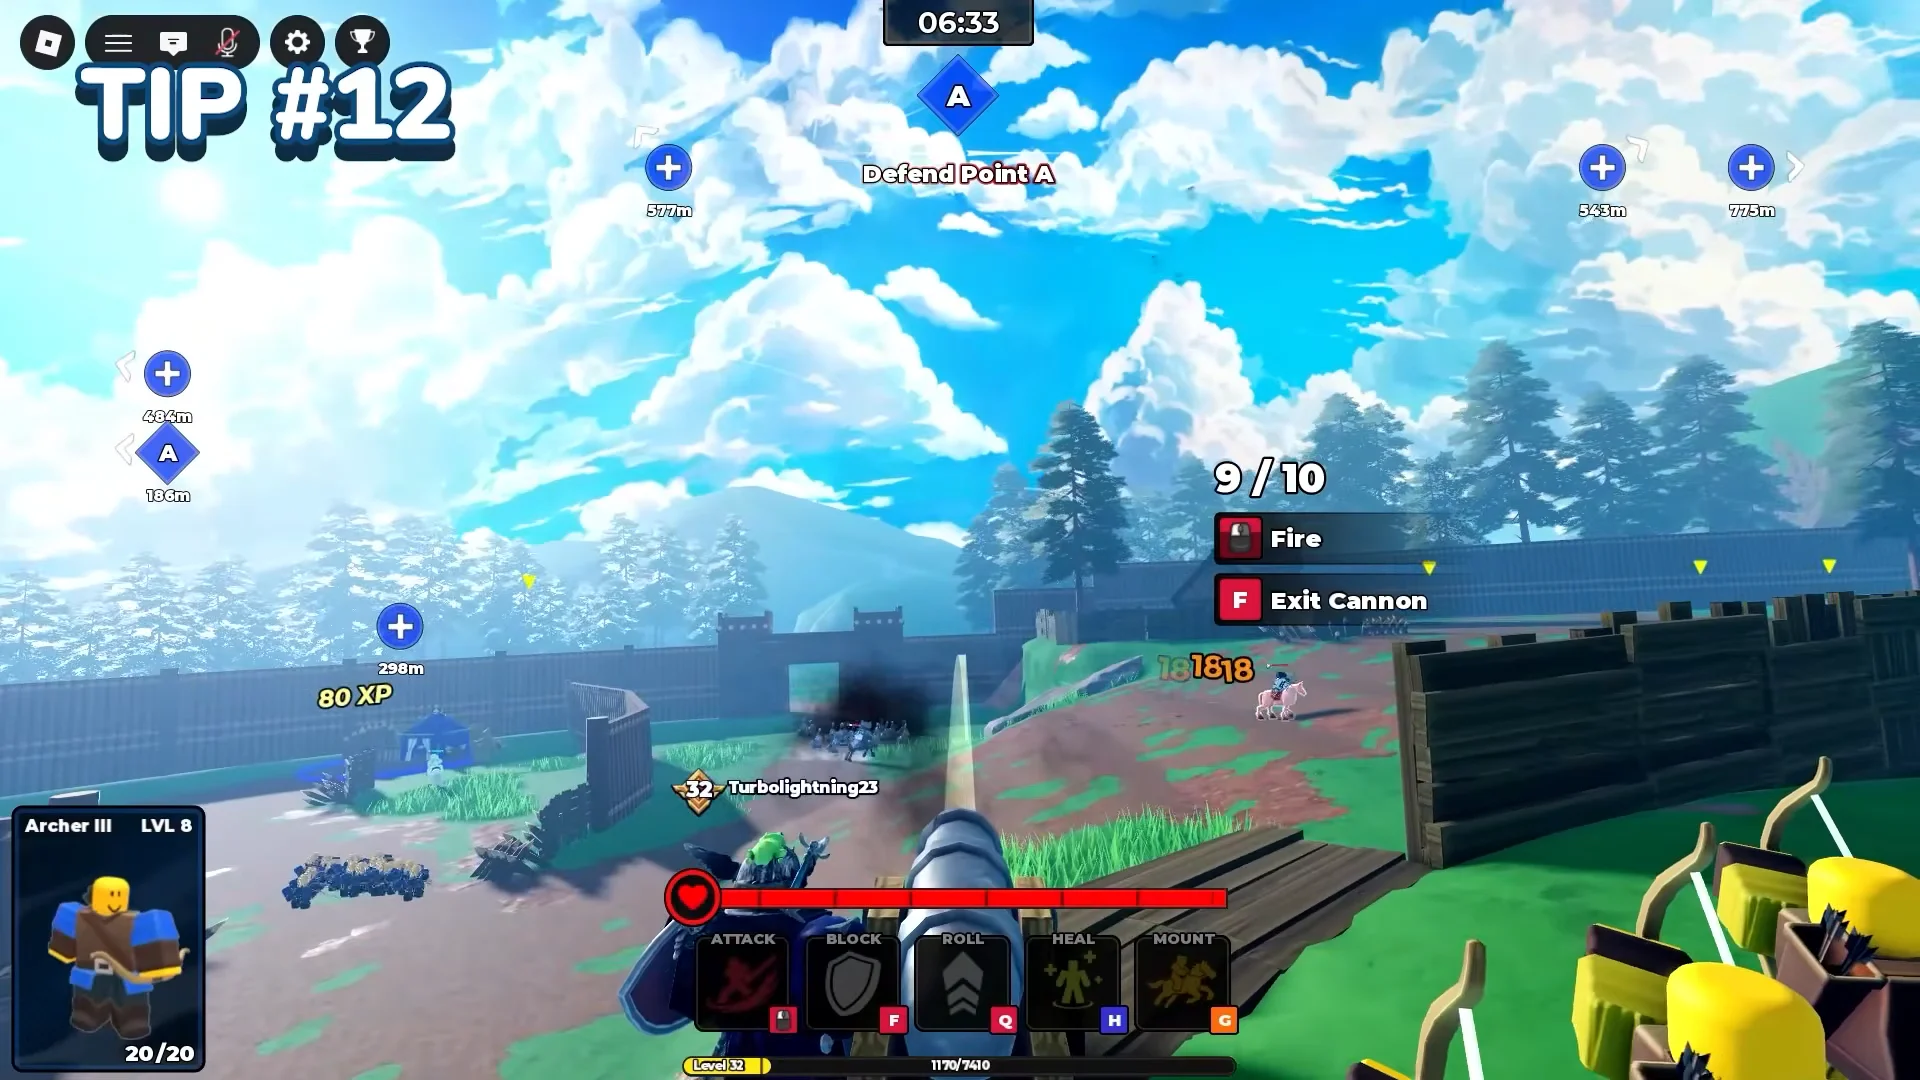
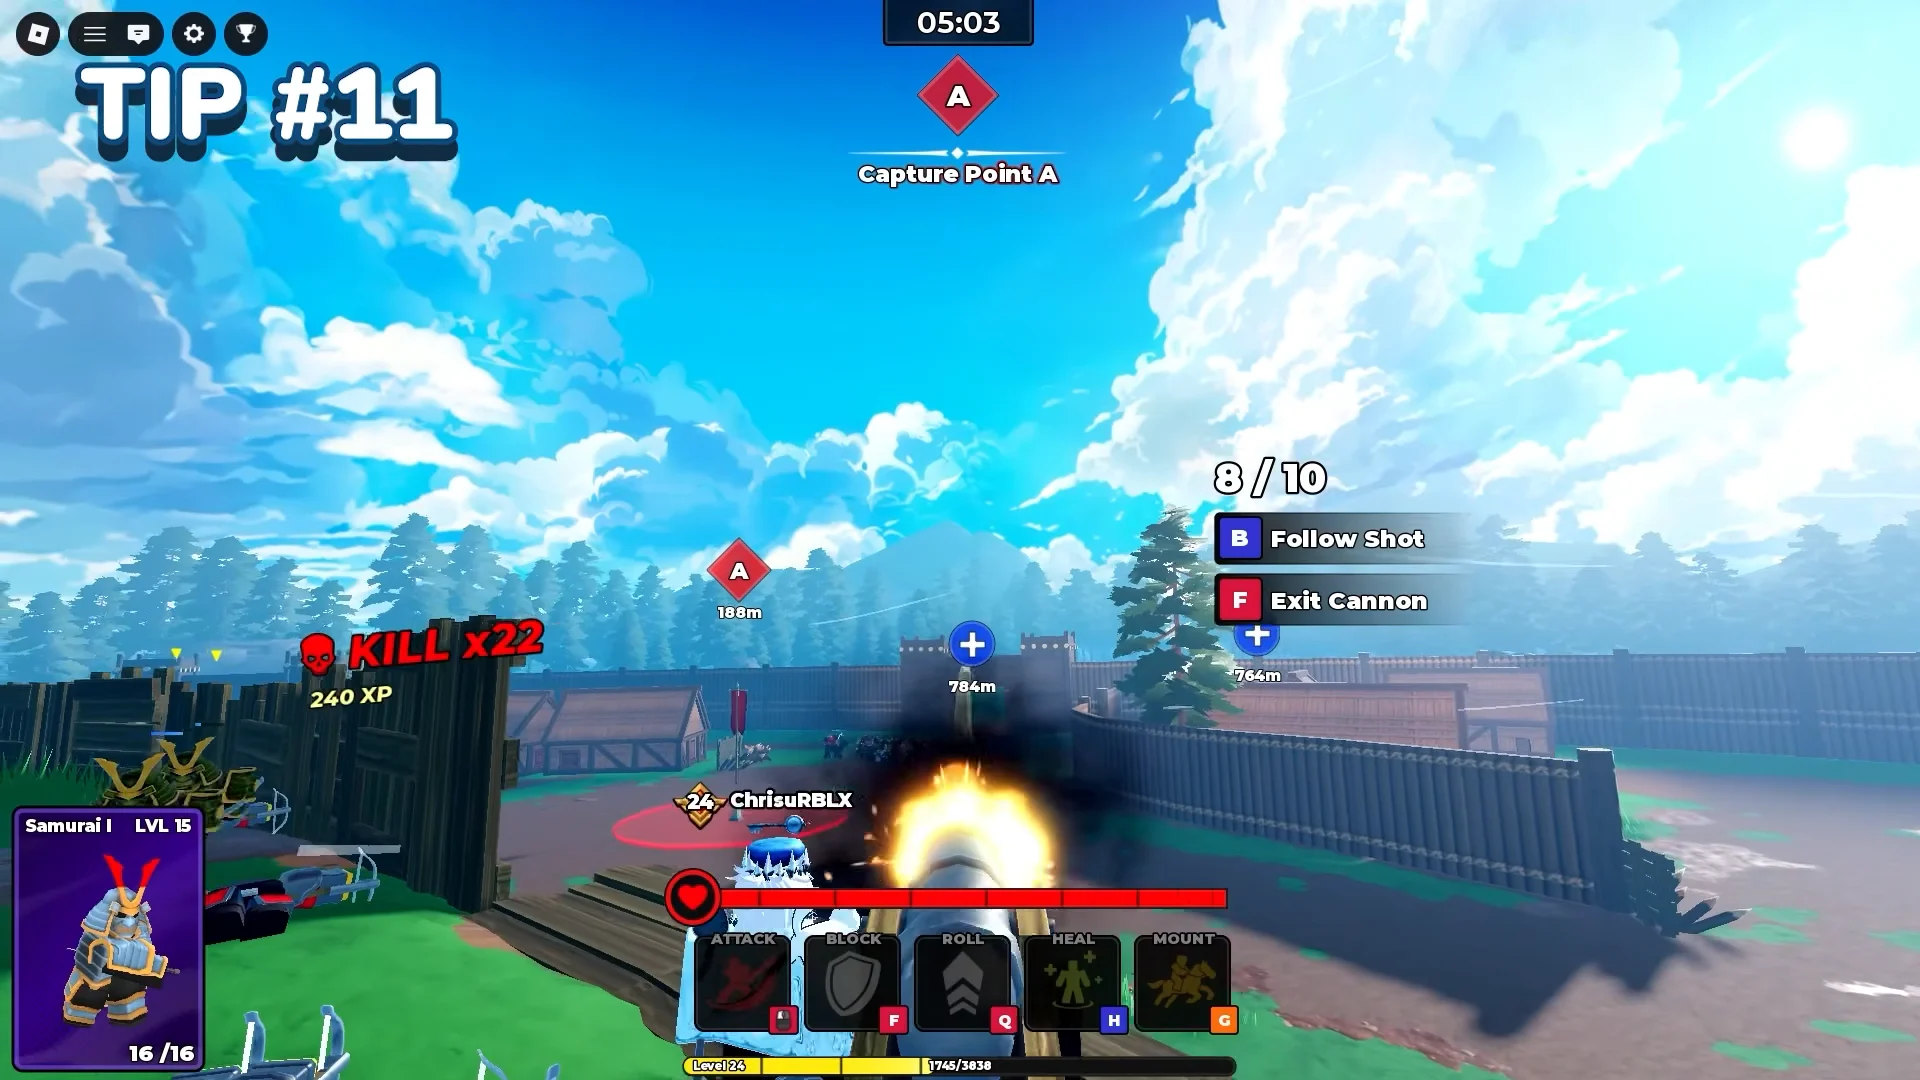
On defense, fortress wall cannons back up your starter line by firing explosive area damage that kills most units in about three direct hits. Use them to thin approaching swarms before they reach your Archers and Halberdiers.
Build around these three while your Star Limit is low, level them toward Mastery 20, and you will have a Lancer, Flaming Archers, and an Imperial Halberdier waiting at the end of the grind — a full early-to-late roster from units anyone can field on day one.