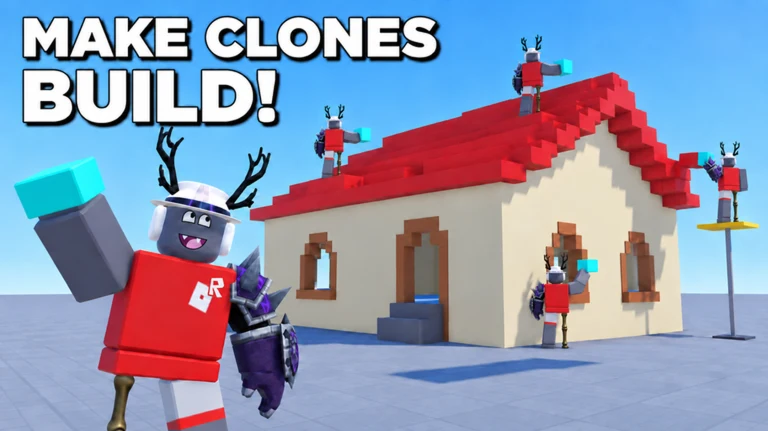
In Roblox’s experimental Clone Builders sandbox, you describe a structure and NPC clones turn that idea into a build by positioning, resizing, moving, and joining parts. Instead of placing anything yourself, write a prompt and select a location; three clones assigned to the job collect the pieces and put the model together in real time as you walk around to inspect their work.
Quick answer: Bring up the build menu, enter a build idea, choose its location, select how many clones to use, and hit Build. On a clear surface, the clones start with a foundation and add parts individually until the model is finished.
Create your first build in Clone Builders
Start with a small, clearly defined idea such as a house, tower, wall, bridge, or ship. Simple prompts are easier to inspect, so you learn how the clones read an instruction before you attempt anything large.
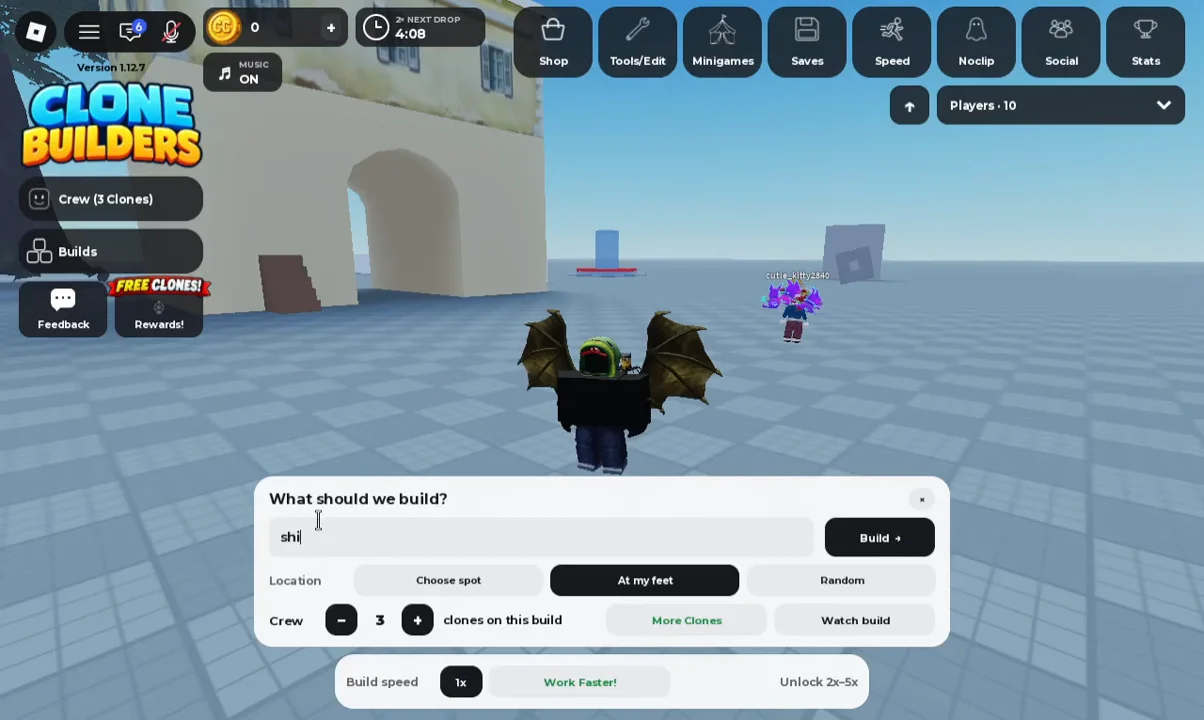
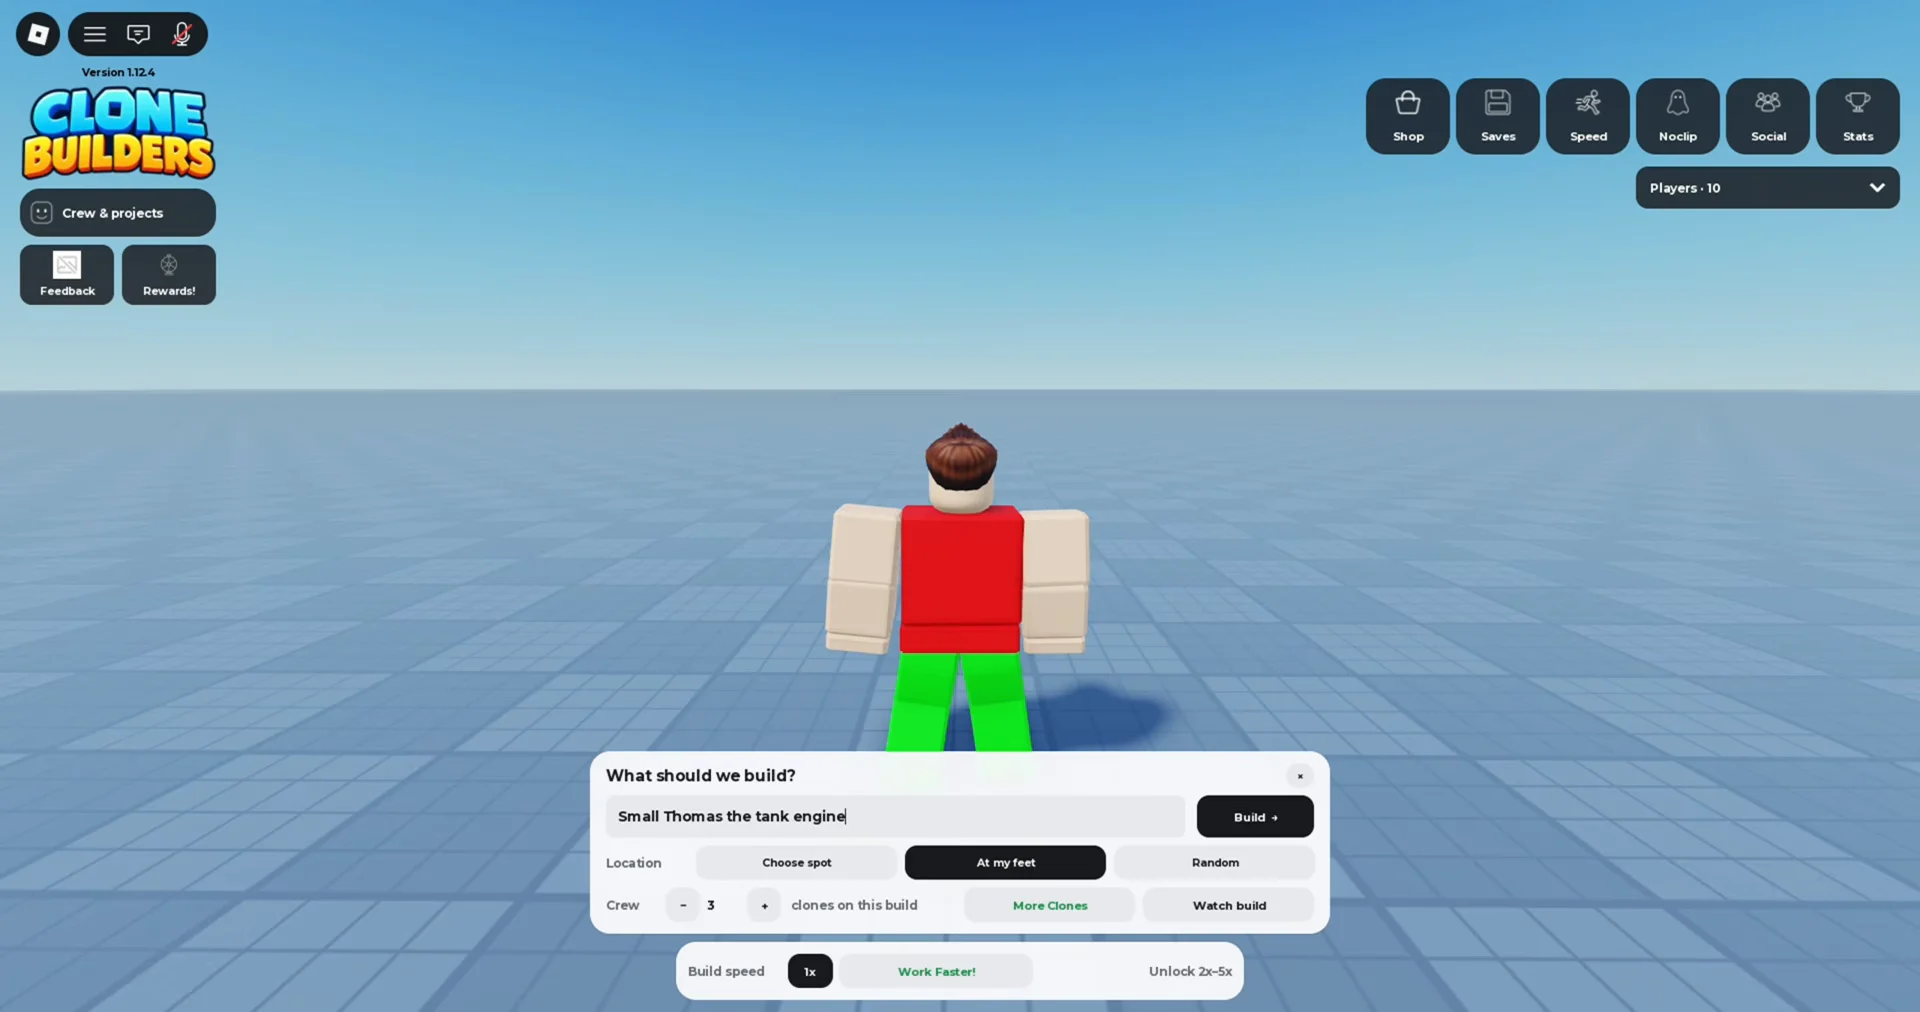
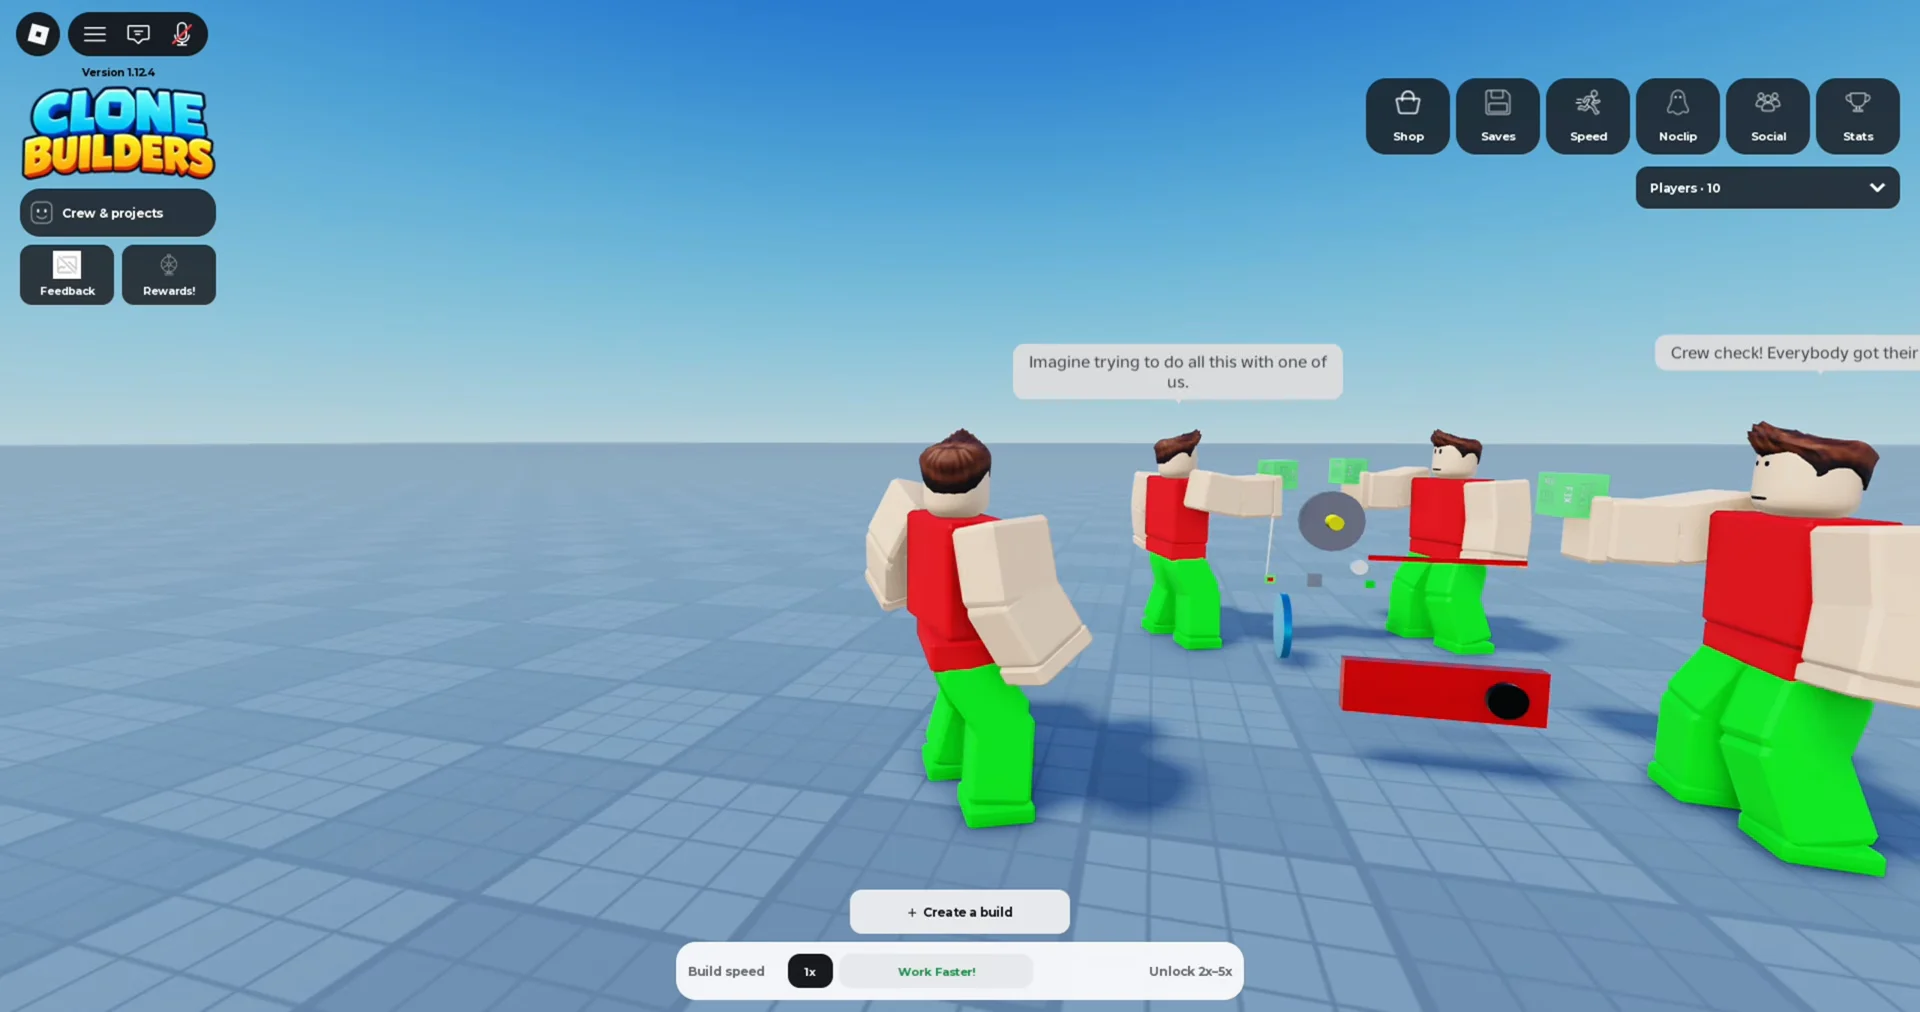
Stay next to the project during your first few builds. Watching how the clones interpret a prompt teaches you the difference between a clear instruction and one that is too vague or complicated.
Track progress and confirm the build is complete
The Crew management window shows each clone’s status while work is underway. You will see states such as CLONE 1: BUILDING for each active worker, along with a live piece counter for the model.
The counter starts at 0% – 0/176 pieces for a build and climbs as parts go in. When the model finishes, a banner appears at the top of the screen naming your creation and marking it complete, for example a message reading “complete!” with your prompt. That banner is your confirmation that the project is done.
You can manage clones mid-build from the same window. Use Unassign or Deassign to pull a single clone off a task, or Deassign all to clear the whole crew. Queued builds wait under the Queued tab until clones are free.
Speed up your clones with boosts
Builds run at 1x speed by default, and higher tiers of 2x-5x can be unlocked through the Work Faster! option. Two boosts are available without spending anything.
| Boost | Effect | How to get it |
|---|---|---|
| Group boost | +10% clone work speed, permanent | Join the Synoptic Interactive group |
| Friend invite | 5 minutes of walkspeed | Invite a friend who then joins |
Your 10% clone work speed boost remains active while you belong to the Synoptic Interactive group. If a friend joins through your invite, you get five minutes of walkspeed; each friend can trigger this reward once per day.
Explore, test, and scale up your builds
While your crew works, you can move around the server and inspect what other players are constructing. The HUD includes controls such as Speed, Noclip, Tools/Edit, Minigames, and Saves, so you can fly through your structures, edit parts, or store completed projects.
After a build finishes, walk its full length and check the size, entrances, platforms, and connections. Treat early attempts as experiments. Once you understand the loop, increase complexity gradually toward larger buildings, arenas, and custom minigame spaces rather than changing size, detail, and type all at once.
For large-scale projects, a private server gives you a quieter space to plan and queue big builds. You can jump into the sandbox any time from the Clone Builders game page on Roblox and start with a single small prompt to learn the system.