Orrem, the Golem is a two-phase endgame boss hidden beneath Marrow Keep in Mortal Shell 2. It opens as Orrem, the Discarded Golem, a heavy axe-wielder, then transforms mid-fight into Orrem, the Reclaimed, a faster beast with a centipede-like tail. Defeating it is mandatory, since it is one of three bosses guarding the corruption around the final fight with Zmey, the Unbidden.
Quick answer: Reach the Bridge of Procession Beacon in the Unfound Path, cross the bridge to the arena, then treat the fight as two health bars. Save your heals for phase two, dodge slams to the side, and punish the recovery windows.
Access requirement: 168 Ova to open the Unfound Path
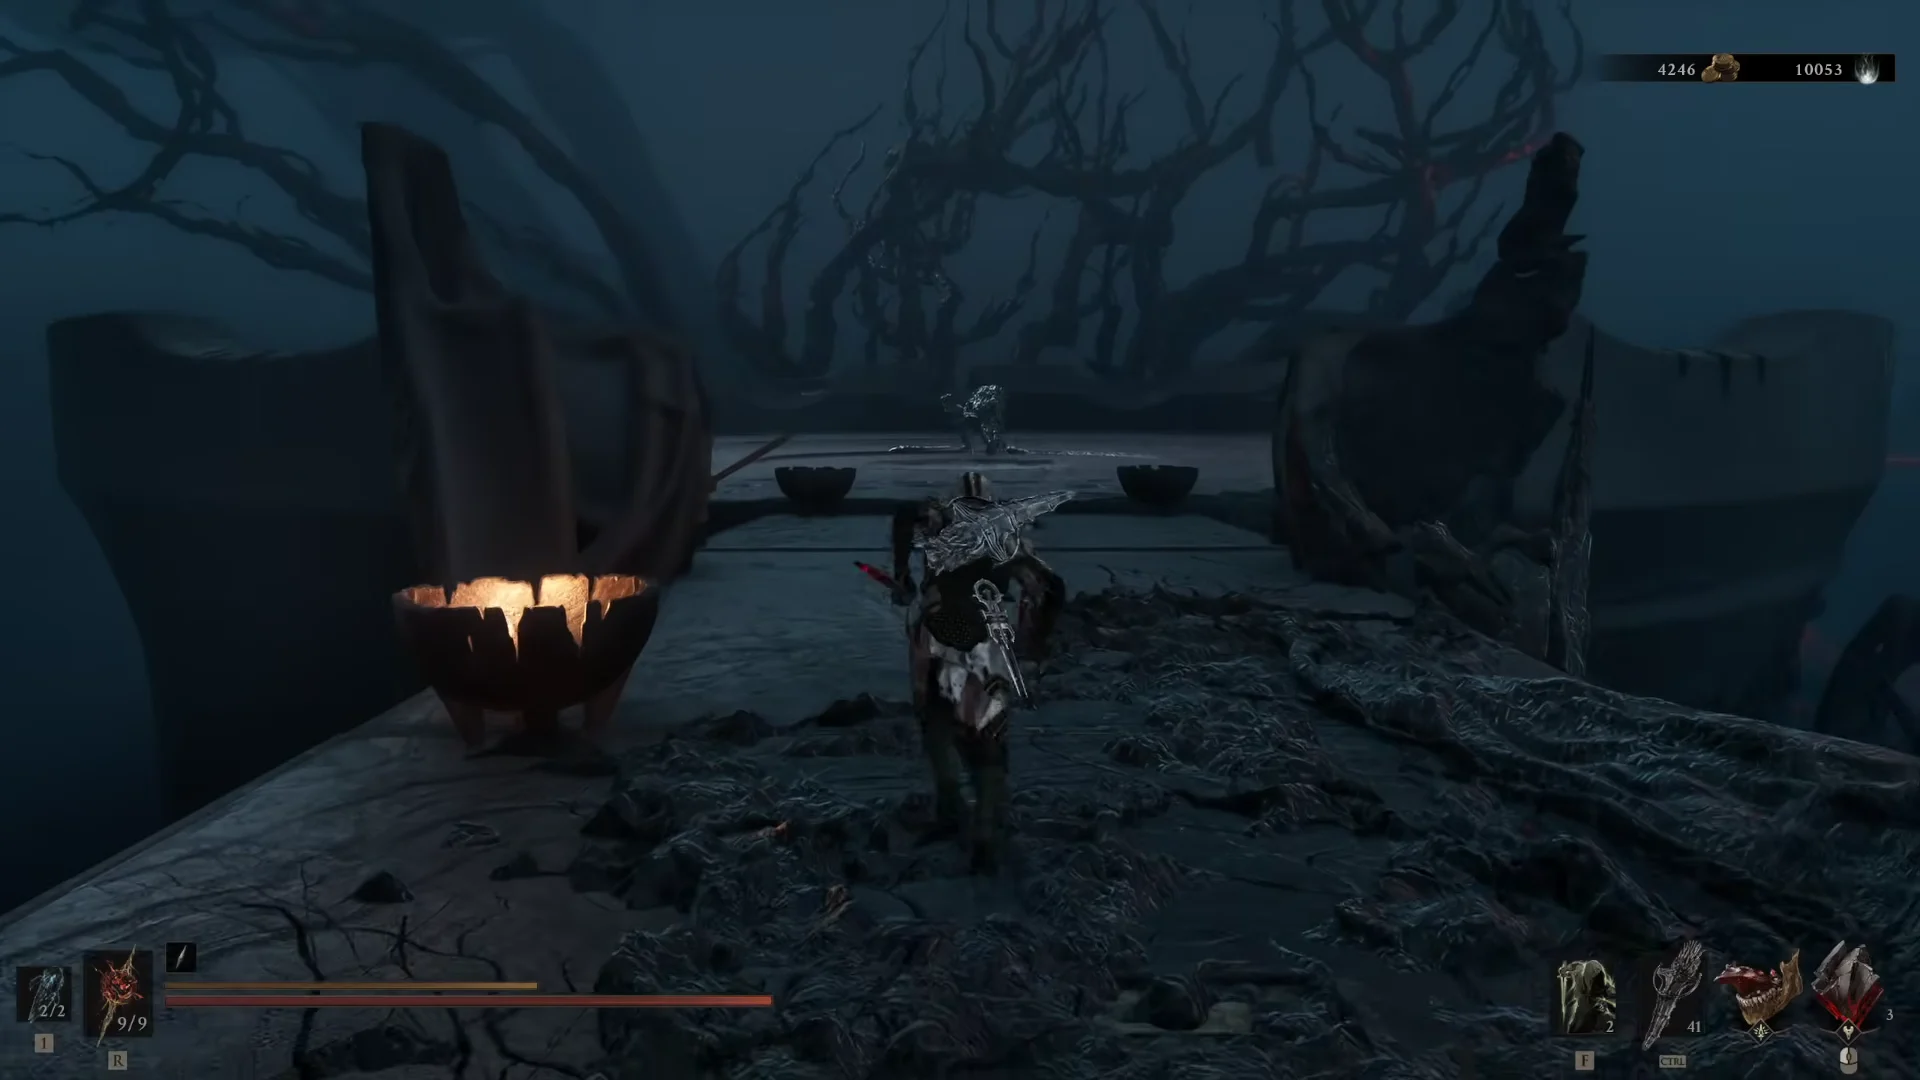
You cannot reach Orrem until the underground area is unlocked. That requires collecting all 168 Ova and delivering them in the Gloom Siphon room at Marrow Keep. Once the Unfound Path opens, Orrem sits on the Bridge of Procession branch, one of the three tendril routes leading toward Zmey.
Route to the Bridge of Procession Beacon
Before the fight
This is a long encounter with two full health bars, so preparation matters more than raw damage.
- Do not empty your Mether’s Pulse or Resolve during phase one. Save heals for the harder second phase.
- If your Shell tree provides fire protection, equip it for phase one, which inflicts Burn. A Burnt Effigy is useful here.
- Easy method: Equip the Shrike Stone Tarstone, ideally upgraded to Level 3, where its Resolve cost drops to 10 and its landing deals 25 Break Damage to nearby foes plus a 150-damage splash shockwave. Build Resolve with normal hits, then use the leap plunge to jump clear of Orrem’s swings (you are invulnerable during the leap) and add Break Damage on landing. Pair it with the Grisha Remnant summon to keep pressure on the boss, build stagger, and distract it while you set up plunges.
- Sariel is the alternative spirit summon for this fight and costs 1 Glimpse. Use the summon to pull aggro at the start while you buff or coat your weapon.
Phase 1: Orrem, the Discarded Golem
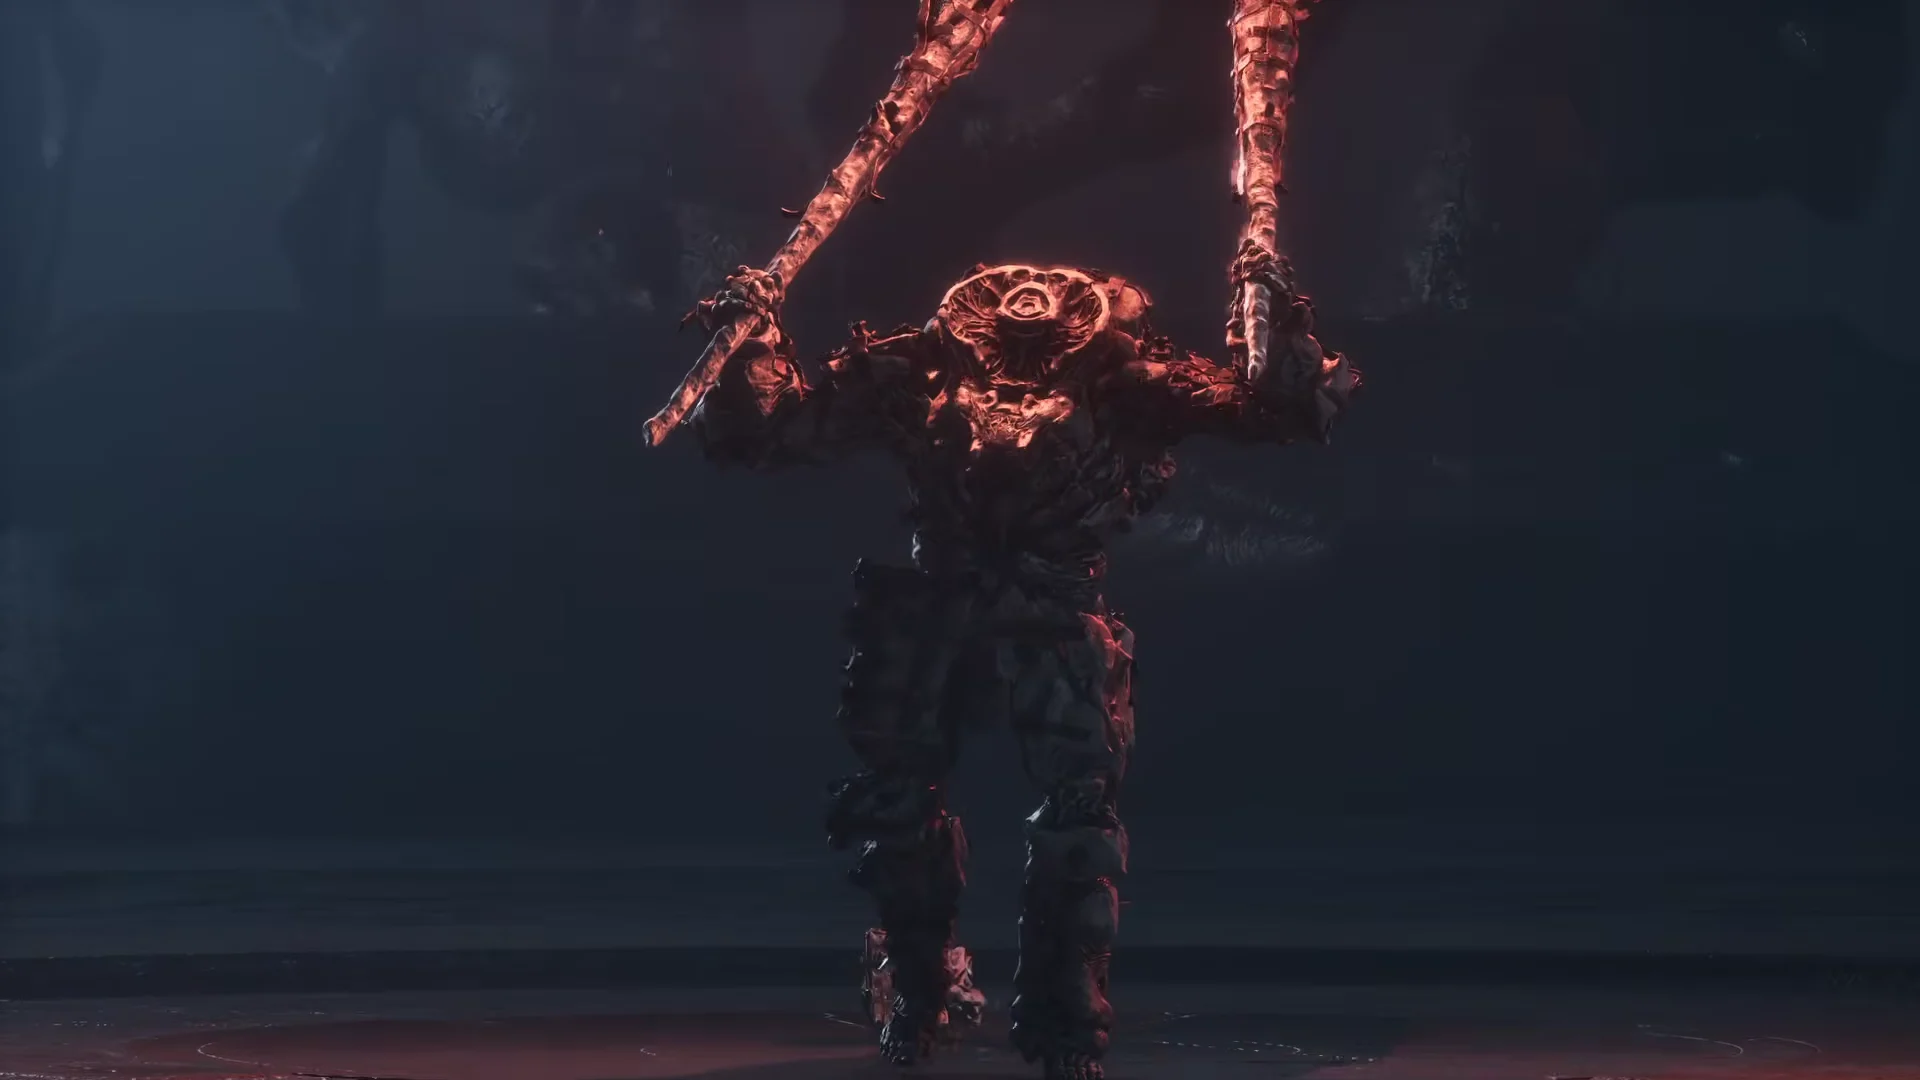
The first phase plays almost identically to the earlier Tar Golem fight, scaled up for the endgame. Orrem swings two flaming axes with slow, readable wind-ups. Most of its damage comes after combos in the form of Bloodcurse or Cascading Fire pools, so the safest rule is to punish the recovery, never during the string.
| Attack | Danger | Safe response |
|---|---|---|
| Leaping Double Slash | Unblockable; Bloodcurse pool on landing | Dodge to the side, not backward |
| Spinning Slashes | Four hits, two per arm | Wait it out, then punish |
| Dual Horizontal Slash Combo | Three linked swings | Block or dodge each, hit after |
| Running Clap | Bloodcurse explosion between axes | Sidestep the charge |
| Bloodcurse Earth Split | Long ground crack | Stay off the split line |
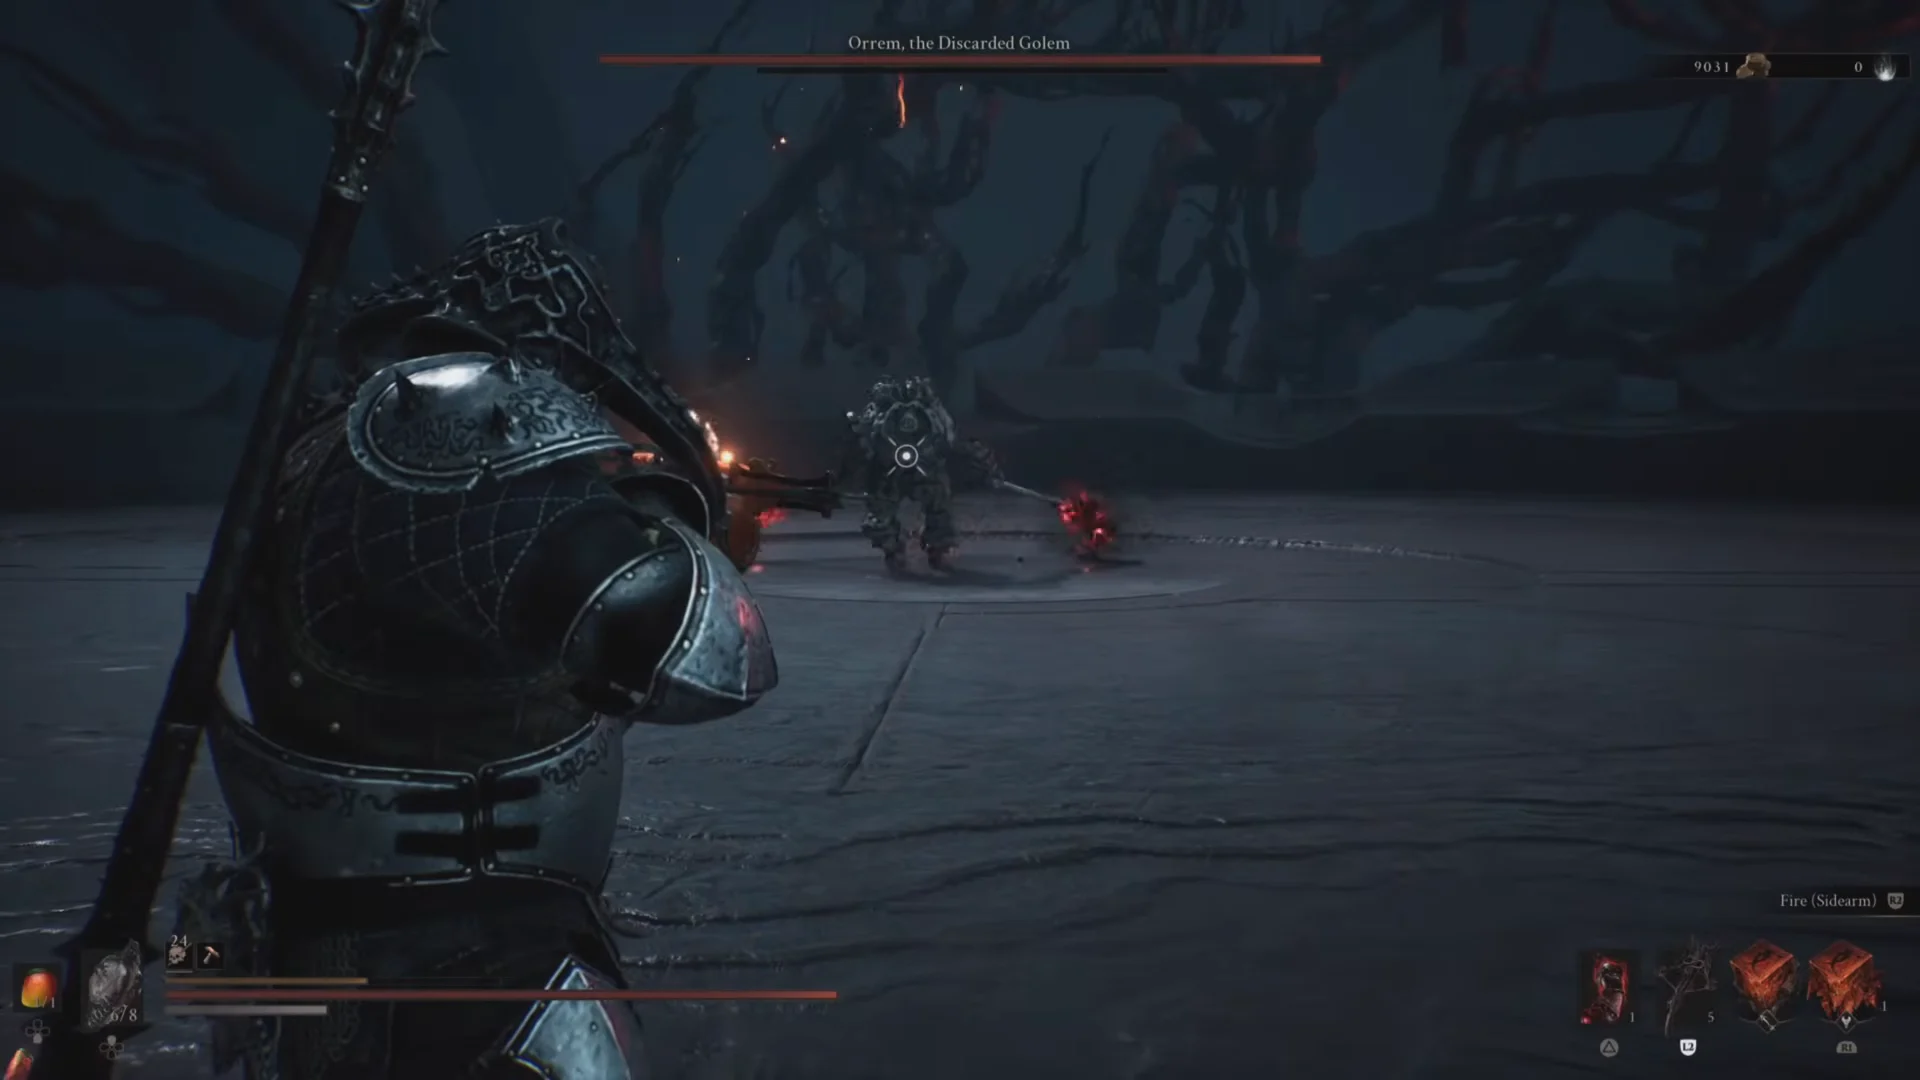
Keep medium range to bait the leaping and running slams, then roll under or past them and land one or two heavy strikes before retreating. If you are running the Shrike Stone, its plunge doubles as a dodge and a Break Damage source here, and the Grisha Remnant summon can stagger and distract Orrem while you reposition. Parry the slower swings with a seal such as the Untarnished Seal or Vatra’s Seal to build Break Damage through Perfect Guards.
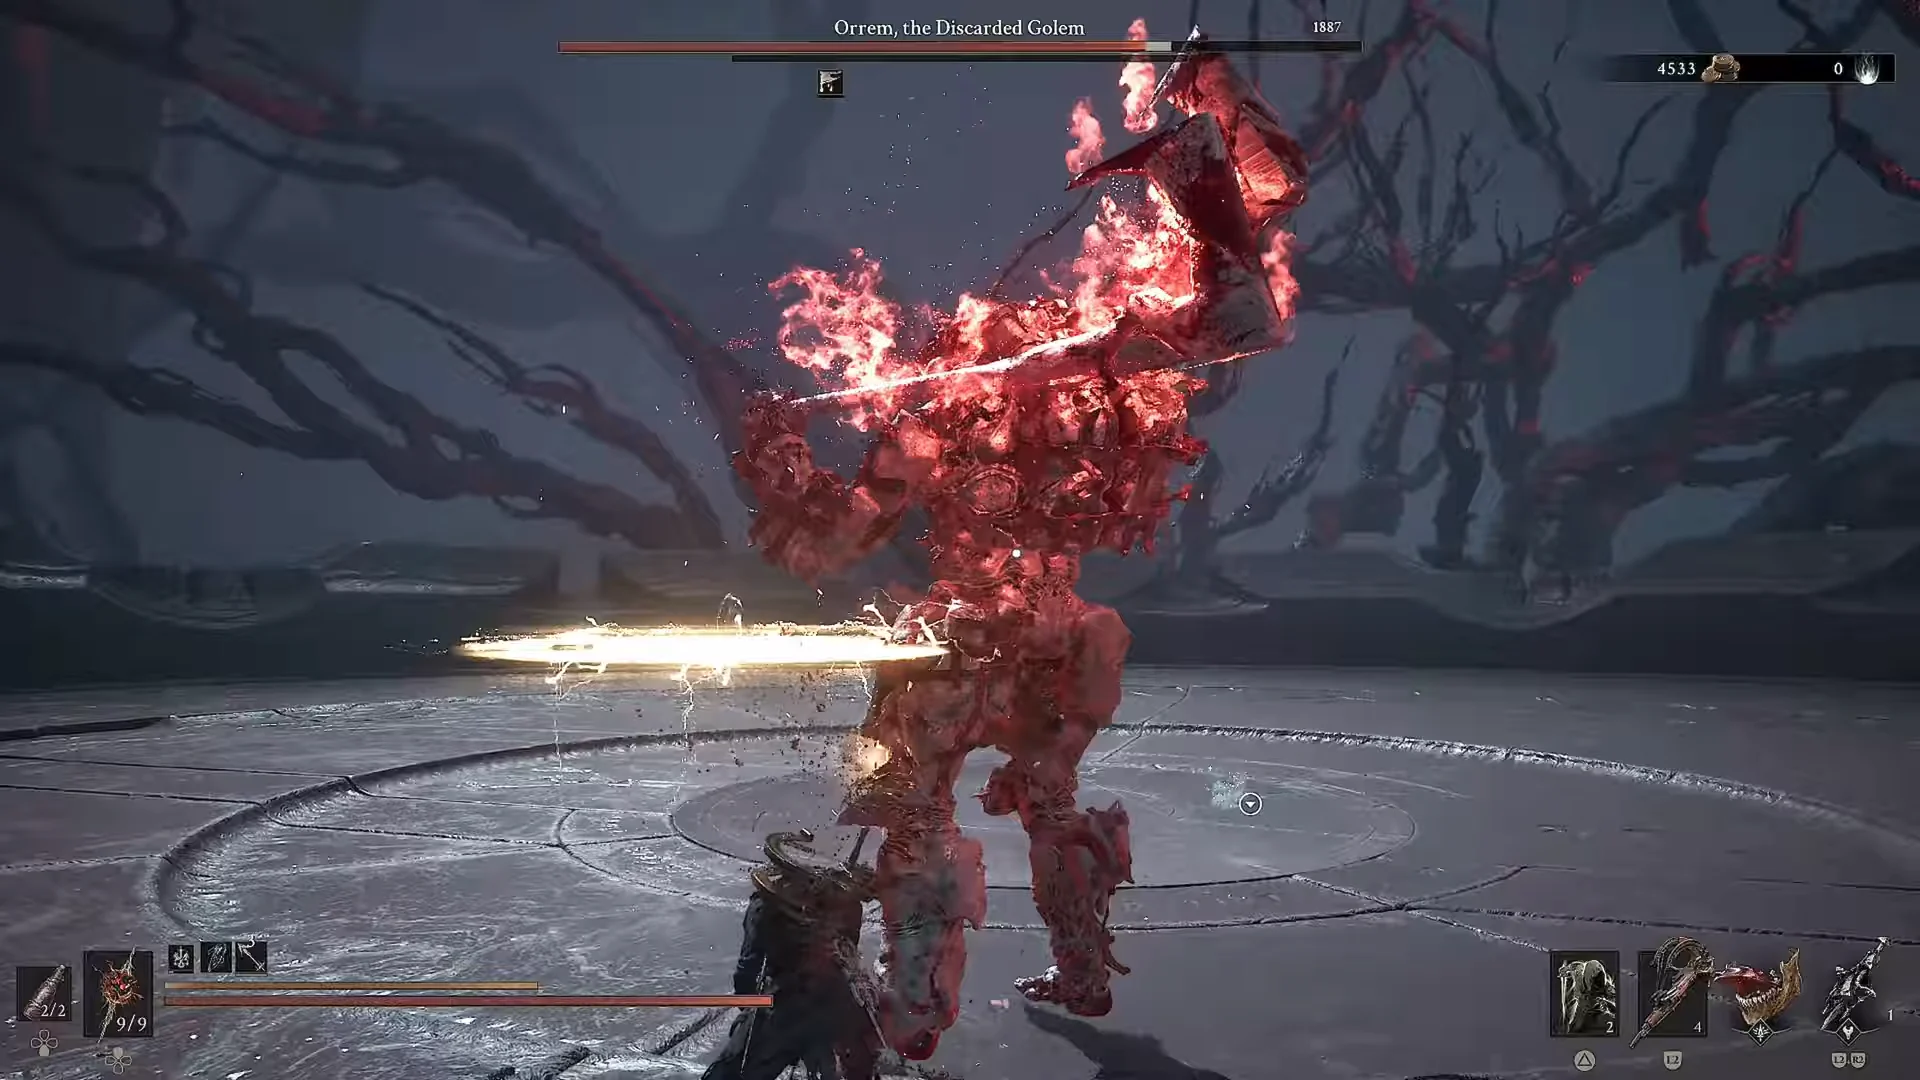
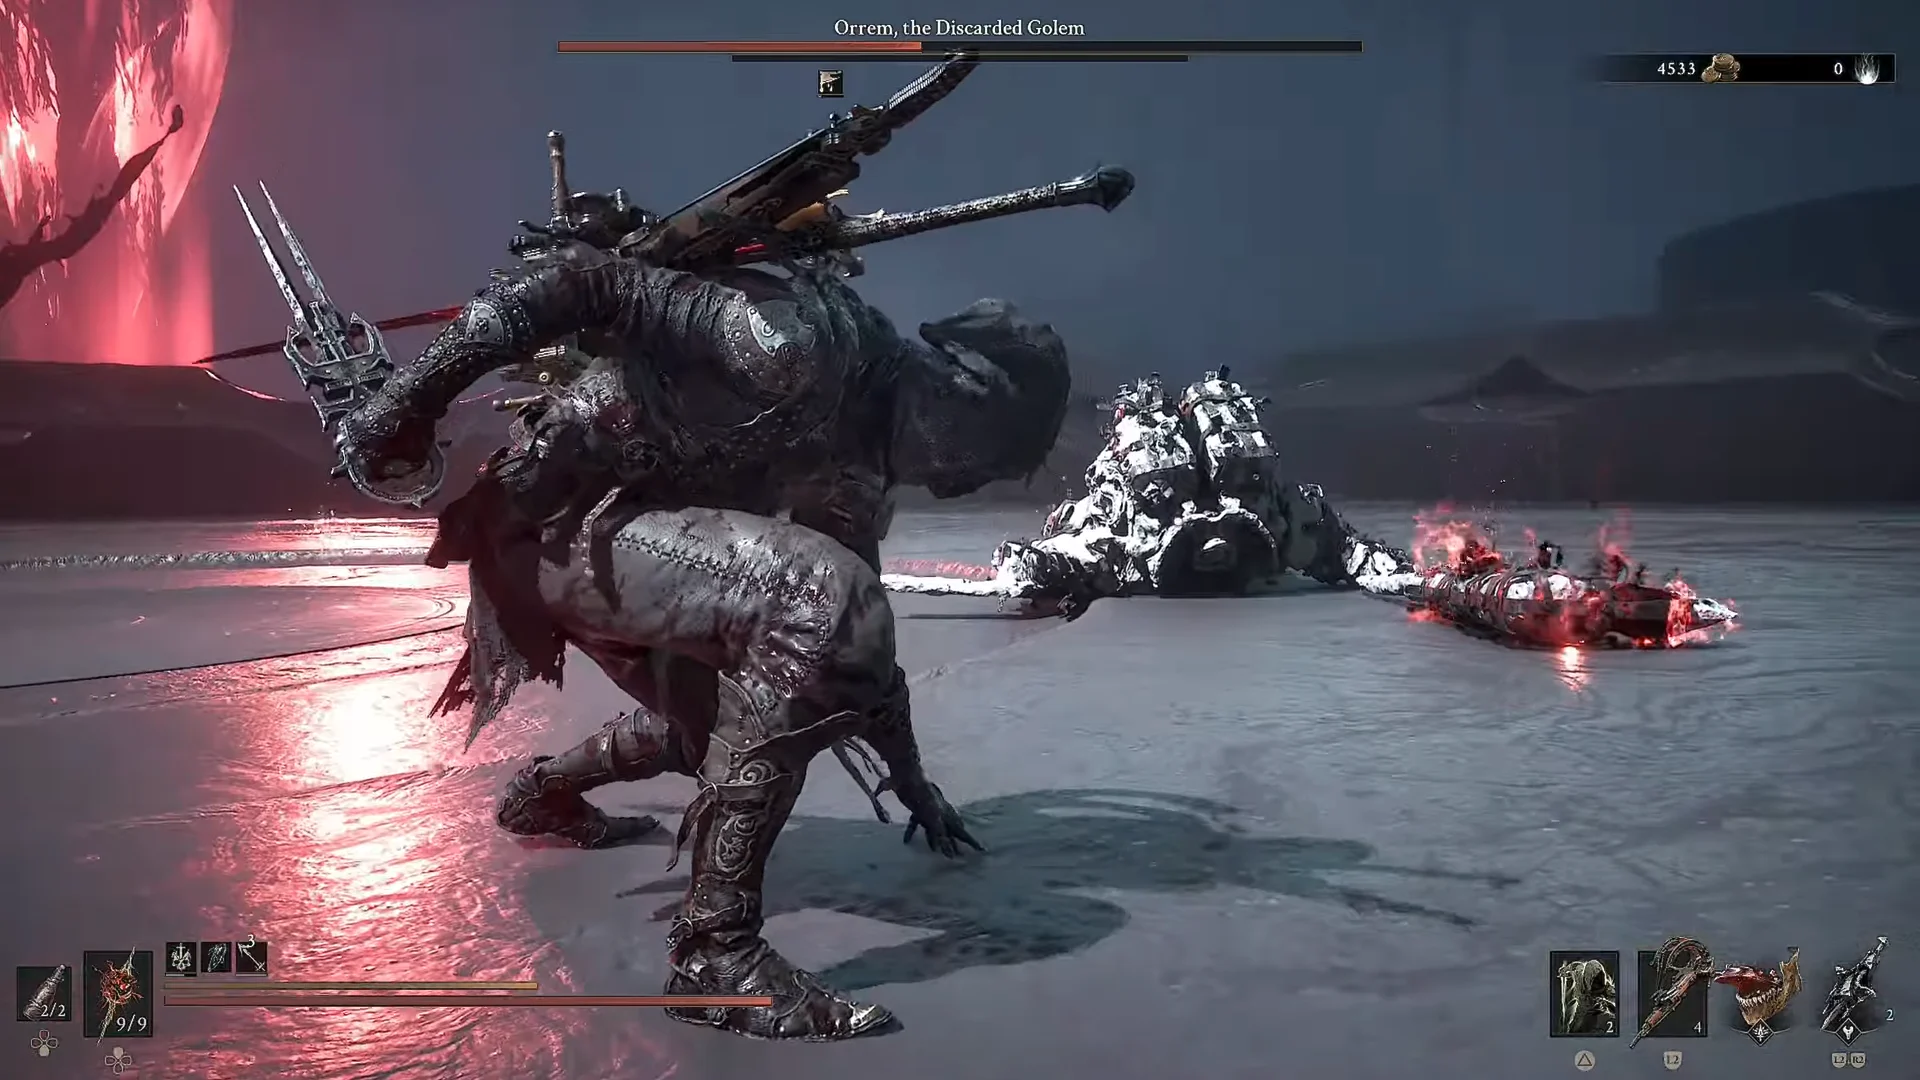
Orrem staggers around half health and again once its Break Gauge fills. When that happens, perform a Riposte immediately. The riposte damage scales off enemy health and takes a large chunk out of the first bar.
Phase 2: Orrem, the Reclaimed
When the first bar empties, the golem collapses and a skeletal, centipede-like spine bursts from its torso. Orrem, the Reclaimed drops onto all fours and fights with a scorpion-like tail. It loses its hands and feet, so short-range attacks are cruder, but the tail extends its reach and its wind-ups are shorter.
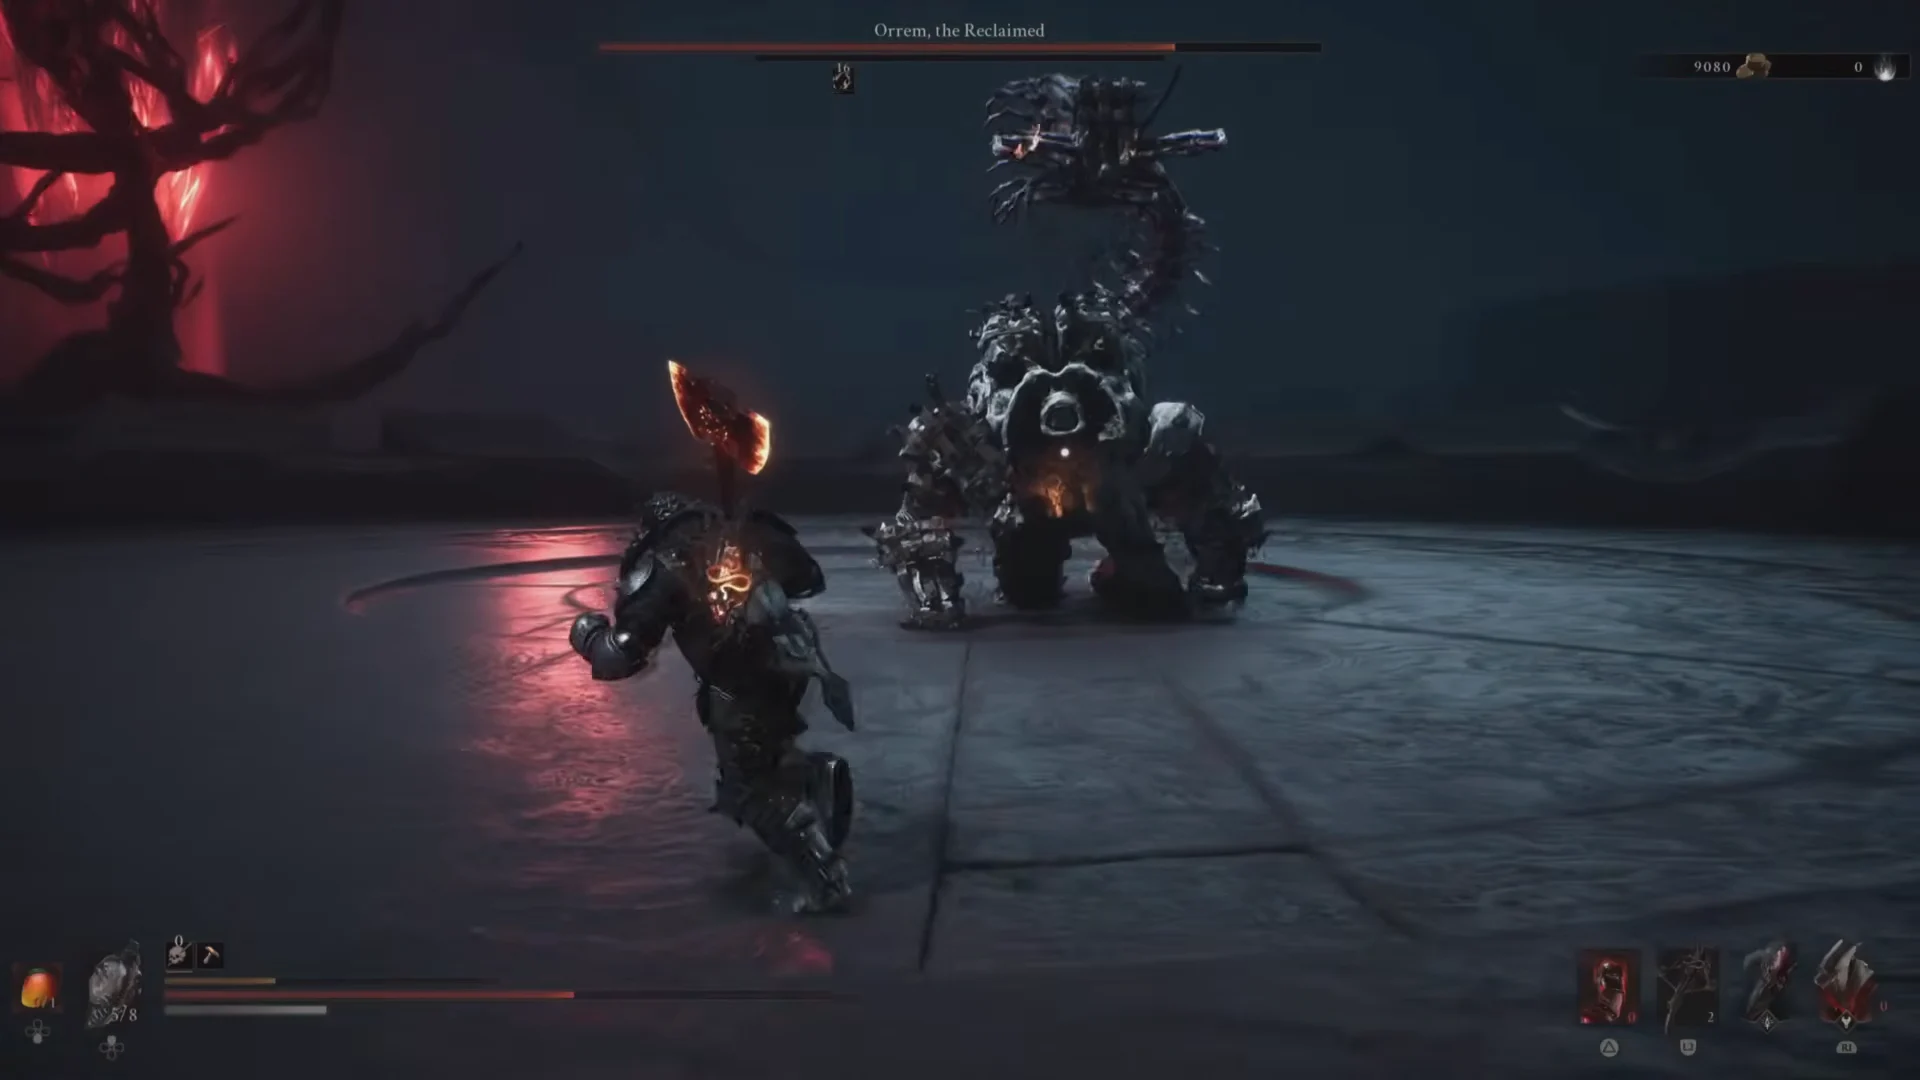
| Attack | Tell | Safe response |
|---|---|---|
| Body Slam | Rears up at close range | Dodge out; cannot be blocked |
| Arm Swing | Raises a stump on your side | Roll through or away |
| Bloodshot | Centipede mouth glows red | Dodge the projectile burst |
| Pincer Attack | Tail lunges when you are far | Wait for it, then close in |
Stay in close and keep up the pressure to avoid Bloodshot’s ranged spit and pincer lunge. Prioritize dodging over parrying, since Orrem often leaps into a red attack that cannot be blocked. When the red lock-on circle shows, dodge sideways or sprint out of range, then move in as it recovers and land one or two hits.
Around half health, Orrem staggers once more; ranged Tarstone attacks from a safe range can bring it to that point quickly. Near the phase’s end, it usually backs toward one side of the arena and waits. Don’t run straight at it: bait out the pincer or leap, then punish.
If your Shell gets ejected after a tail slam, use ranged shots and dodges to buy space, then step back into the empty Shell before re-engaging.
Rewards and what comes next
Once Orrem, the Reclaimed is beaten, the battle ends and its drops are awarded. You can confirm the kill when the boss goes down, a prompt for Orrem’s Head shows up, and the “Lost Your Head” achievement unlocks.
- Gloom (roughly 64,442).
- Orrem’s Head, which can be traded for 5,000 coins at the Marrow Keep merchant.
- Achievement: “Lost Your Head” for defeating Orrem, the Reclaimed.
After the kill, stand on the central circular symbol in the arena to trigger a large elevator that lifts you to the upper platform and the next beacon. With Orrem cleared, you can destroy its tendril and rotate to the remaining Unfound Path branches, working toward the final fight against Zmey, the Unbidden.