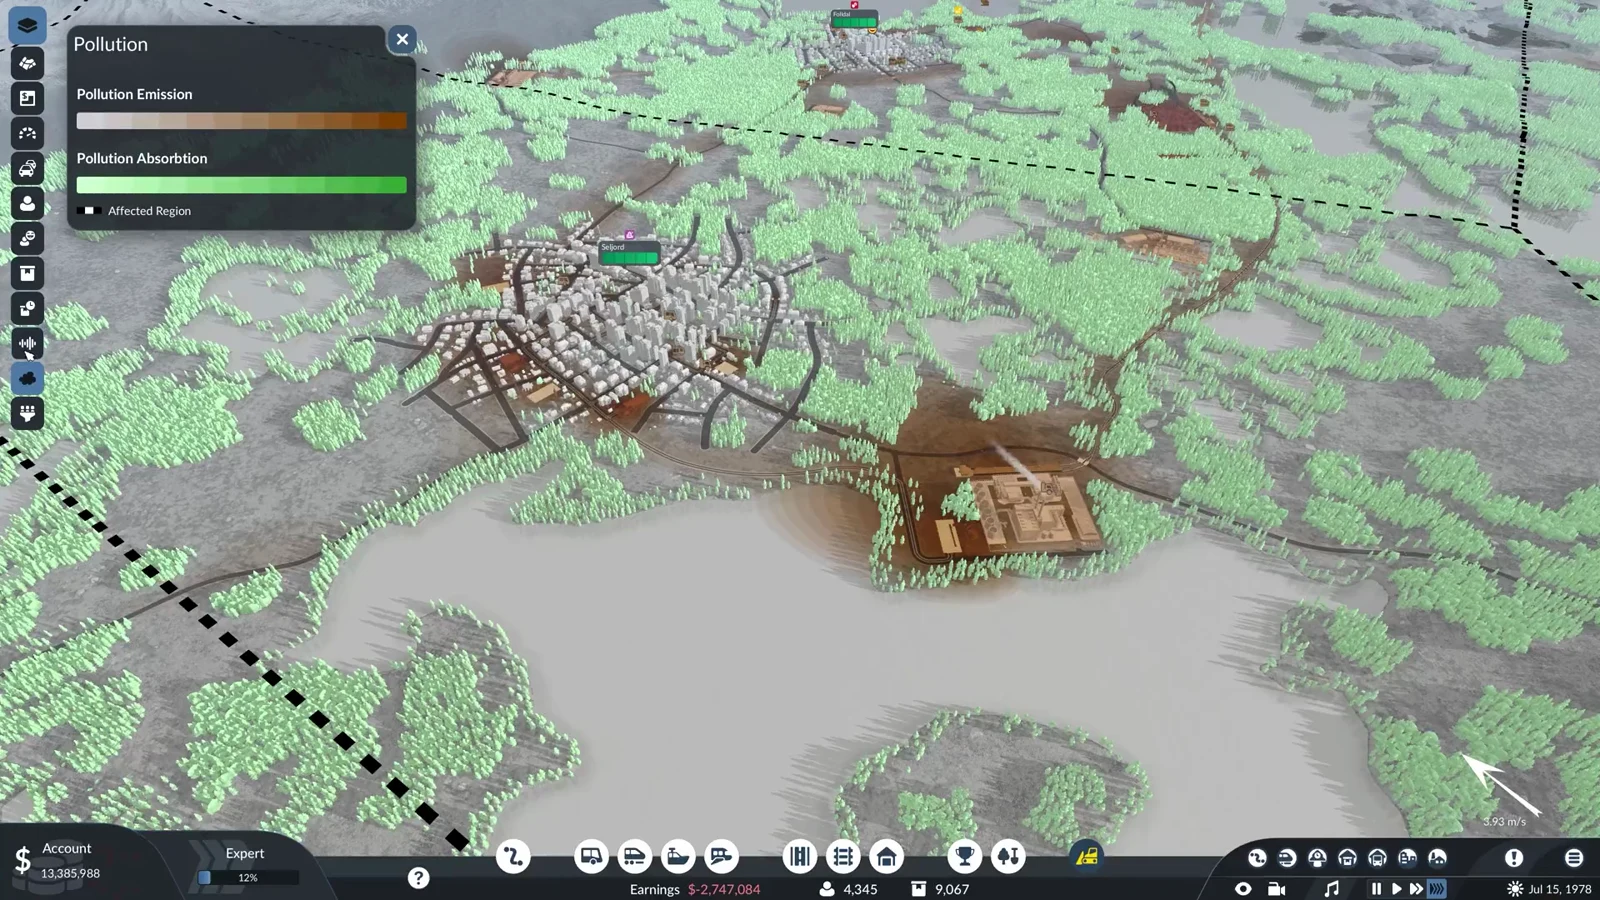
The fastest way to sink your company in Transport Fever 3 is to spread lines across the whole map before a single town actually needs them. The game hands you a full catalogue of vehicles and tools from the start, but the opening years reward restraint. Serve one town well, read what it asks for, and expand only when a running line proves it is short on capacity.
Quick answer: Pause, open a town’s Supplies panel, build one short passenger loop through its residential, commercial, and industrial districts, add a nearby cargo line, and keep vehicles loaded in at least one direction before buying anything else.

Read a town’s needs before spending money
Hit pause the moment the map loads. Pick the town you want as your base and open its Supplies panel. This tells you which parts of the settlement are short on passenger transport and which cargo the town is currently requesting. That information decides your whole opening, so inspect it before you place a single stop.
Switch on the district overlay to see where the residential, commercial, and industrial zones sit. A passenger line only works when it links the places people actually travel between, so knowing the layout saves you from dropping stops at random and paying to move them later.
Build one short passenger route first
Your first line does not need to reach every street. When you place a road stop, the game shows a coverage radius as a circle. Position stops so the important buildings fall inside those circles, and a compact loop touching the residential, commercial, and industrial districts is plenty for a tight starting budget.
Keep the fleet small at first. Let the coaches run several trips and watch the stops. A queue that keeps growing is the signal to add capacity. Vehicles circling with empty seats are not, and buying more of them only drains cash on maintenance.
Place the first depot close to the route
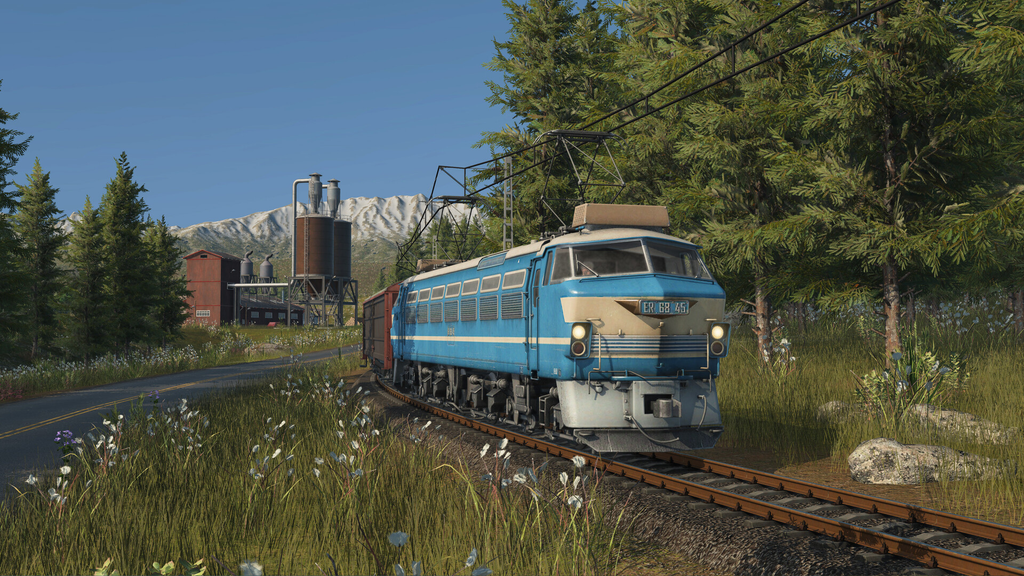
The depot is where you buy and dispatch vehicles, so it should sit near the line. If it is far away, every vehicle wastes time on an empty run before it even reaches its route. That lost time quietly lowers how often your line serves each stop.
Keep the depot out of dense residential areas. Depots add noise and pollution, and those ratings feed directly into citizen happiness and town growth.
Check line metrics before adding vehicles
Once vehicles are running, resist the urge to pile on more. Let the line operate for a while and open its stats. Five numbers tell you whether it needs help and where.
- Capacity — how much the line can carry at once.
- Utilization — how much of that capacity is actually used.
- Frequency — how often a vehicle arrives at a stop.
- Rate — how much the line moves over time.
- Balance — whether the line earns more than it costs.
High utilization with a slow frequency usually means you need another vehicle. Low utilization means you already have too many. Let the numbers make the call instead of guessing.
Add one short cargo line next
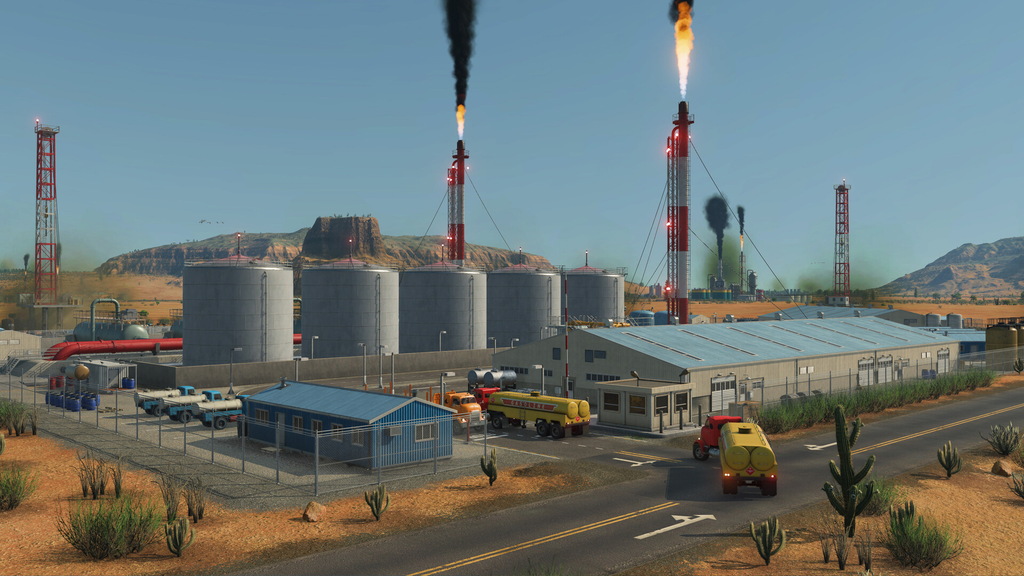
With the passenger loop stable, go back to the Supplies panel and look for a requested good you can deliver without building a sprawling supply chain. The best first pick needs a short route and shows clear demand. A quick freight line teaches you how cargo reaches a town without swallowing the rest of your opening budget.
Keep vehicles full and avoid early upgrades
Profit in the early game comes from load, not size. Aim to keep each vehicle loaded to the maximum in at least one direction. A long train running half empty still charges you full maintenance, so it loses money while looking busy.
A newer, higher-tier vehicle becoming available is not a reason to buy it. Wait until demand clearly justifies the extra capacity and the running costs that come with it. Match every expansion to real demand, and your network keeps growing instead of stalling under maintenance bills that outrun your income.