Encountering Zikel’s Core is the sixth episode of the Asmodian main story in AION 2, and the whole chapter plays out in Altgard. It follows Nemon and the player chasing High Priest Hystan’s Fafnite through the Mau’s civil war, into the sealed Impetusium, and to a fight with Empyrean Lord Zikel for the Core itself. The chapter closes with the call to ascend into an Arch Daeva.
Quick answer: Clear all 17 episode quests in Altgard, starting from Nemon at levels 40 to 45, and finish by defeating Lv 45 Zikel’s Apparition inside the Impetusium to claim Zikel’s Core and the Grasper of the Core title.
Chapter 6 overview and level requirements
Every quest in this chapter unlocks at character level 10, but the recommended levels climb from 40 up to 45 as the story moves from the Daybreak Society’s hideout to the Impetusium. The last two quests, Forgotten Commander and Daeva Trapped in a Nightmare, expect you to actually be level 45. Running the full chain rewards 699,626,338 total XP along with large Kina payouts and a steady supply of Liberator armor pieces.
The thread running through all of it is High Priest Hystan’s Fafnite, a crimson relic that carries the soul the Asmodians need. The Mau tribe known as the Black Claw was entrusted with it, so the early quests are about winning over the breakaway Daybreak Society, and the later ones about prying the Fafnite loose and using it to find Zikel’s Core.
Rescuing Amunta and the Daybreak Society
1. Fafnite’s Whereabouts
Fafnite’s Whereabouts opens with Nemon at the Steel Hammer Merchant HQ and concludes with Umbaba at Amunta’s Hideout. The Mau have divided into factions, and Nemon seeks backing from a group opposed to the Balaur. The hideout is deserted and in ruins when you arrive; the Daybreak Society assumes you took Amunta until Popokiki intervenes.
2. Exiled Ritualist
Exiled Ritualist comes from Umbaba and is turned in to Amunta; both are at Amunta’s Hideout. Amunta is captive in a grotto nearby, so clear the route before entering. Defeat 6 Black Claw Guard Troopers Searcher, 6 Black Claw Guard Troopers Sentry, and the Black Claw Guard Troopers Totem, then enter the Prisoners Grotto and free Amunta. Torture has weakened him, but not broken his resolve.
3. Healing Herbs
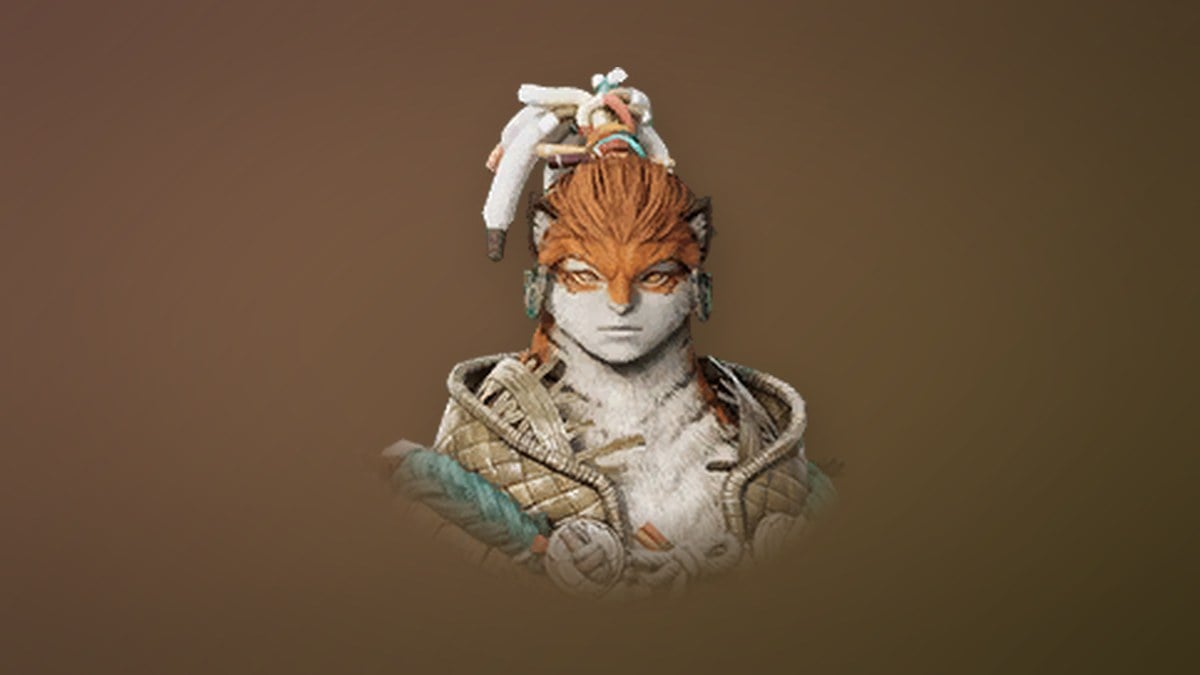
Healing Herbs starts and ends with Lakiba at Amunta’s Hideout. Amunta is in no shape to move, so Lakiba needs medicine before the Society can act. Gather herbs by interacting with the Search Party Supplies three times, then defeat 7 Drakan Patrol Scout and 6 Drakan Patrol Supporter near the grotto.
4. Treatment
Treatment is given by Lakiba and turned in to Amunta. With the brewed medicine in hand, interact with the two Fallen Daybreak Society Members to dose each of them. Once Amunta recovers he explains that the Black Claw were torn apart by Fafnir’s gift, with Chief Muqaka’s younger faction serving the Balaur while the ritualists resisted.
5. Symbol of Liberation
Symbol of Liberation runs from Amunta at the hideout to Amunta at Zemurru’s Tomb. He will not leave without Zemurru’s Totem, the source of the Society’s sorcery, which Muqaka’s party smashed. “As long as we have the fragments, it can be repaired,” he tells you.
Infiltrating Black Claw Village
6. Daybreak Society
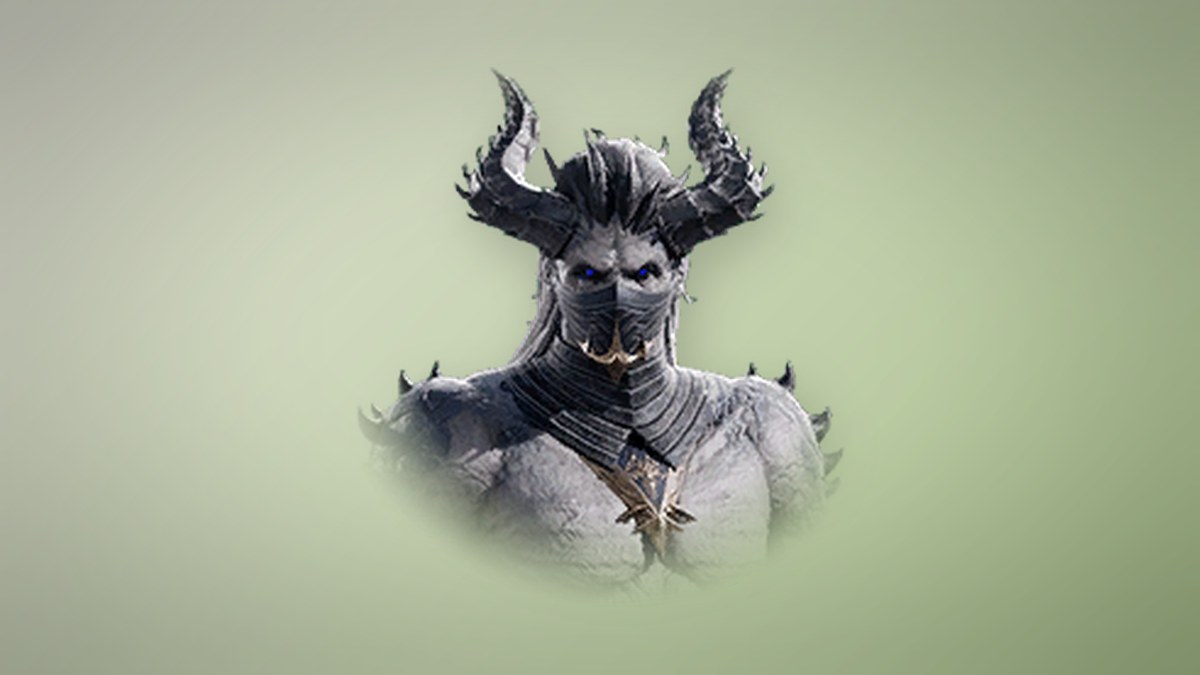
Daybreak Society is handed over by Amunta at Zemurru’s Tomb and turned in to Nemon at the Secret Rendezvous Point. To get near the Fafnite records you transform into a Mau and walk into the village in disguise. Karumba warns the spell is fragile and breaks if you are attacked.

7. Daybreak Society Rescue Operation
Daybreak Society Rescue Operation is given by Nemon at the rendezvous point and turned in to Kumrica at Kumrica’s Cellar. You free Kunpata, who reveals that Chief Muqaka claimed an unusual Fafnite for himself.
8. The Breaking of the Day
The Breaking of the Day starts and ends with Kumrica at Kumrica’s Cellar. Because Muqaka is both a fighter and a tactician, the only safe route is to slip in disguised as one of his bodyguards. Collect an entry permit from the Mau Supply Chest, then defeat 3 Chief’s Bodyguard, 6 Chief’s Sentinel and 6 Black Claw Manduri Scout to secure a bodyguard’s gear. When you return, you learn Nemon has already run ahead to Muqaka’s quarters alone.
9. Chief of the Black Claw
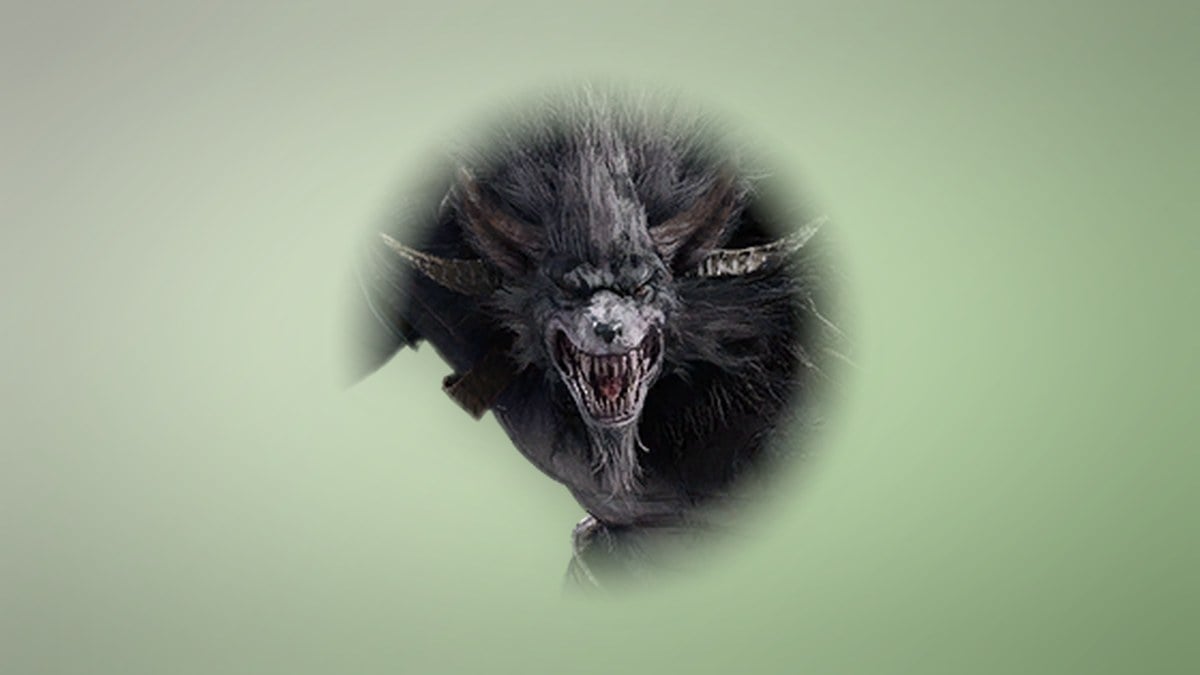
Chief of the Black Claw is assigned and completed with Kumrica. Head for Muqaka’s Quarters and free the captured Nemon. Search the quarters afterward; you learn the High Priest’s Fafnite was taken to Lagta Fortress. When Muqaka returns, defeat him. His death leaves the tribe on the brink of civil war.
Recovering the Fafnite and reaching the Impetusium
10. High Priest’s Fafnite
High Priest’s Fafnite runs from Kumrica at Kumrica’s Cellar to Nemon at Zemurru’s Grave. Using Muqaka’s intel, you break into the Fafnite storage at Lagta Fortress. Nemon smashes the stored Fafnite to cover your escape, which later worries Amunta about Indnath’s reaction.

11. The High Priest Awakens
The High Priest Awakens starts with Nemon at Zemurru’s Grave and ends with Nemon at the Nornir Assembly. Urd helps wake Hystan’s body to reveal that Zikel’s Core rests in the Impetusium, the sanctum where Zikel and a hundred Destruction Archons raised the Blood Barrier to trap Fafnir.

12. Lingering Apparitions
Lingering Apparitions is given by Nemon at the Nornir Assembly and turned in at the Collapsed Hall of Fame. Urd’s idea is to speak with the Destruction Archon apparitions still bound to the Impetusium, but they stay silent until their remains are recovered.
13. Blood Barrier
Blood Barrier starts and ends with Nemon at the Collapsed Hall of Fame. The apparitions explain the barrier is being torn open by nearby rifts, and if it fails the Balaur breach the Impetusium.
14. Zikel’s Core and the boss fight
Zikel’s Core is given and turned in by Nemon, with a recommended level of 45. This is the quest that sends you through the Blood Barrier into the Impetusium, where you face Lv 45 Zikel’s Apparition in a solo encounter.
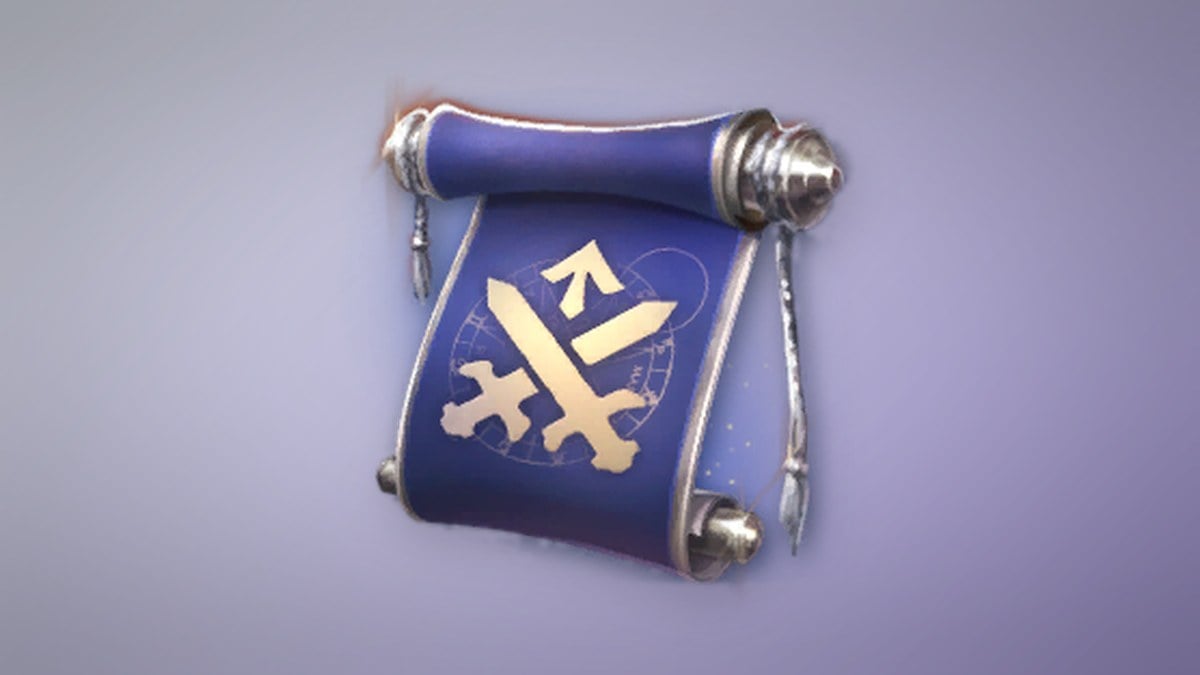
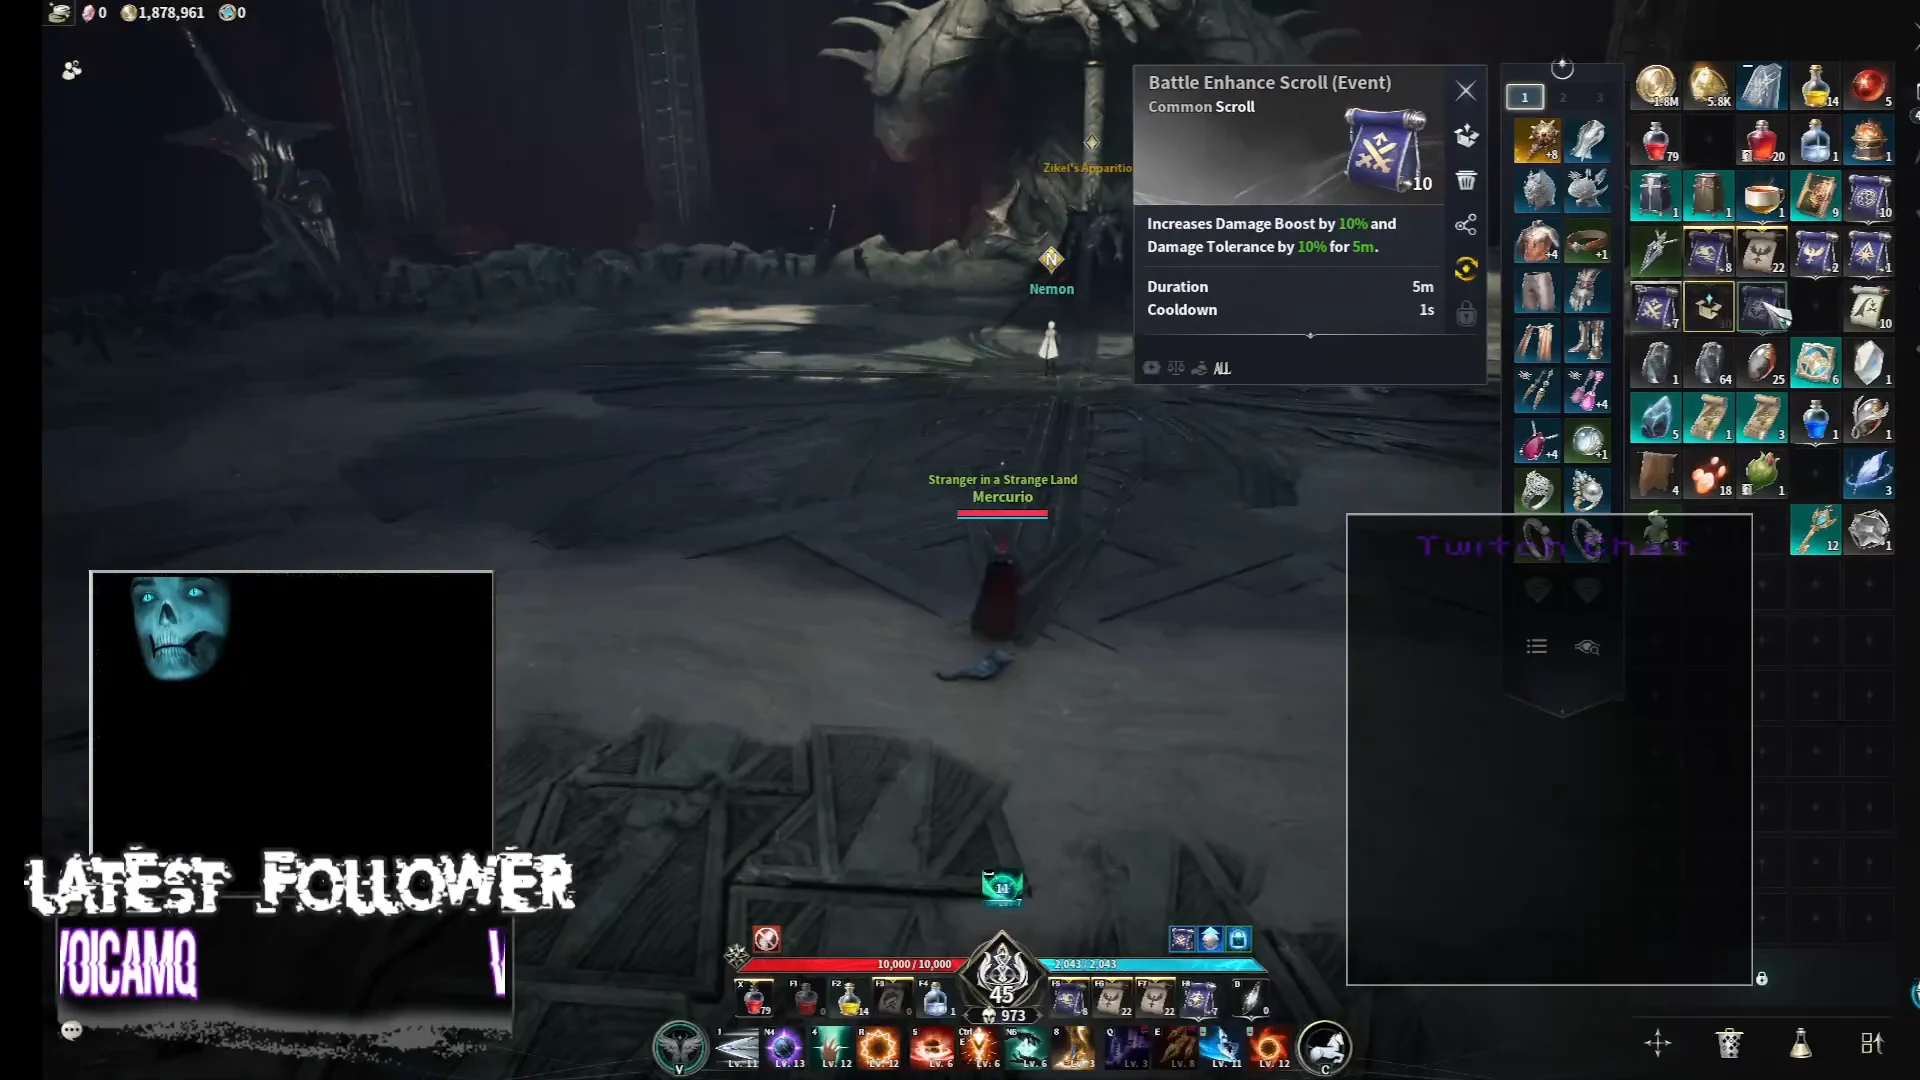
Before you run in, buff up. Applying Battle Enhance Scroll, Superior Benediction Scroll, Critical Hit Scroll, Courage Scroll and Superior Speed Scroll all at once gives a strong head start, and you want a full stack of Superior Life Serum ready for the burst damage.
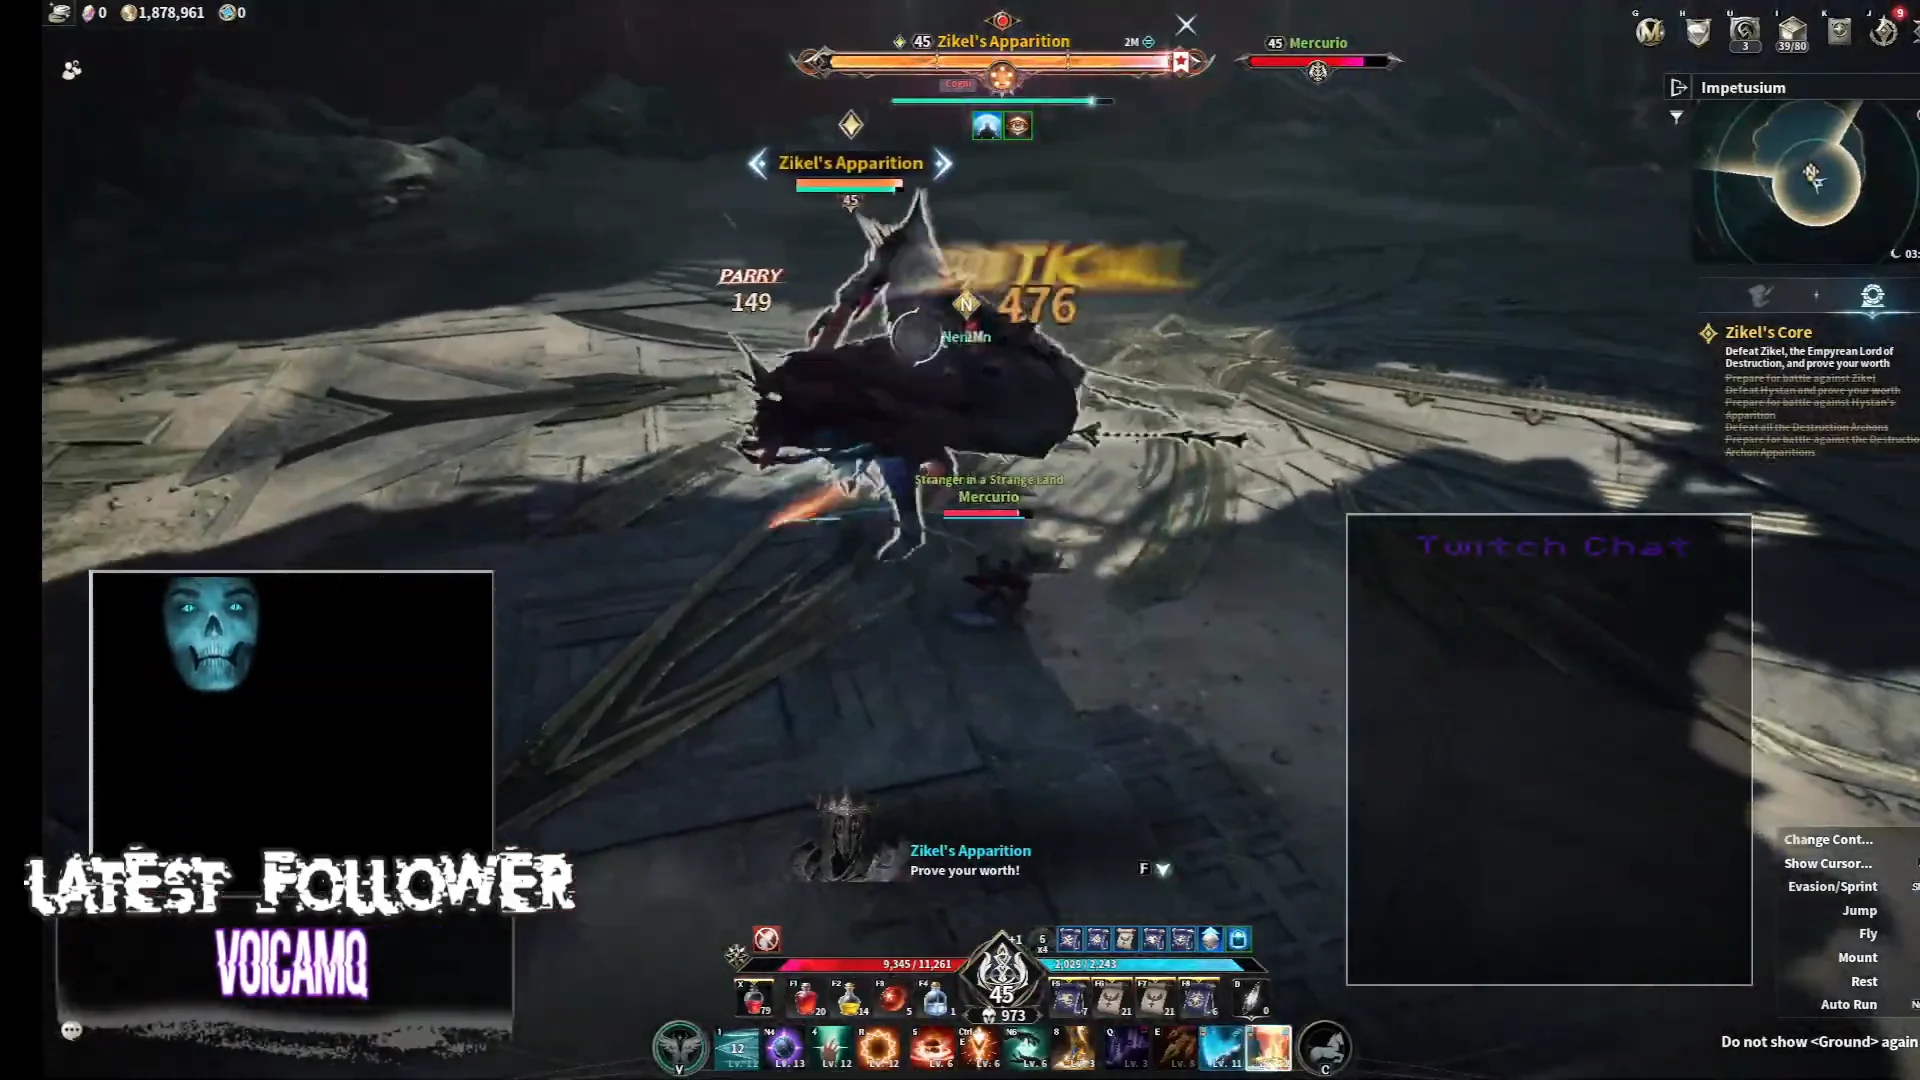
The fight is built around telegraphs on the floor. Early on the boss drops circular ground hazard zones you have to step out of while keeping damage going.
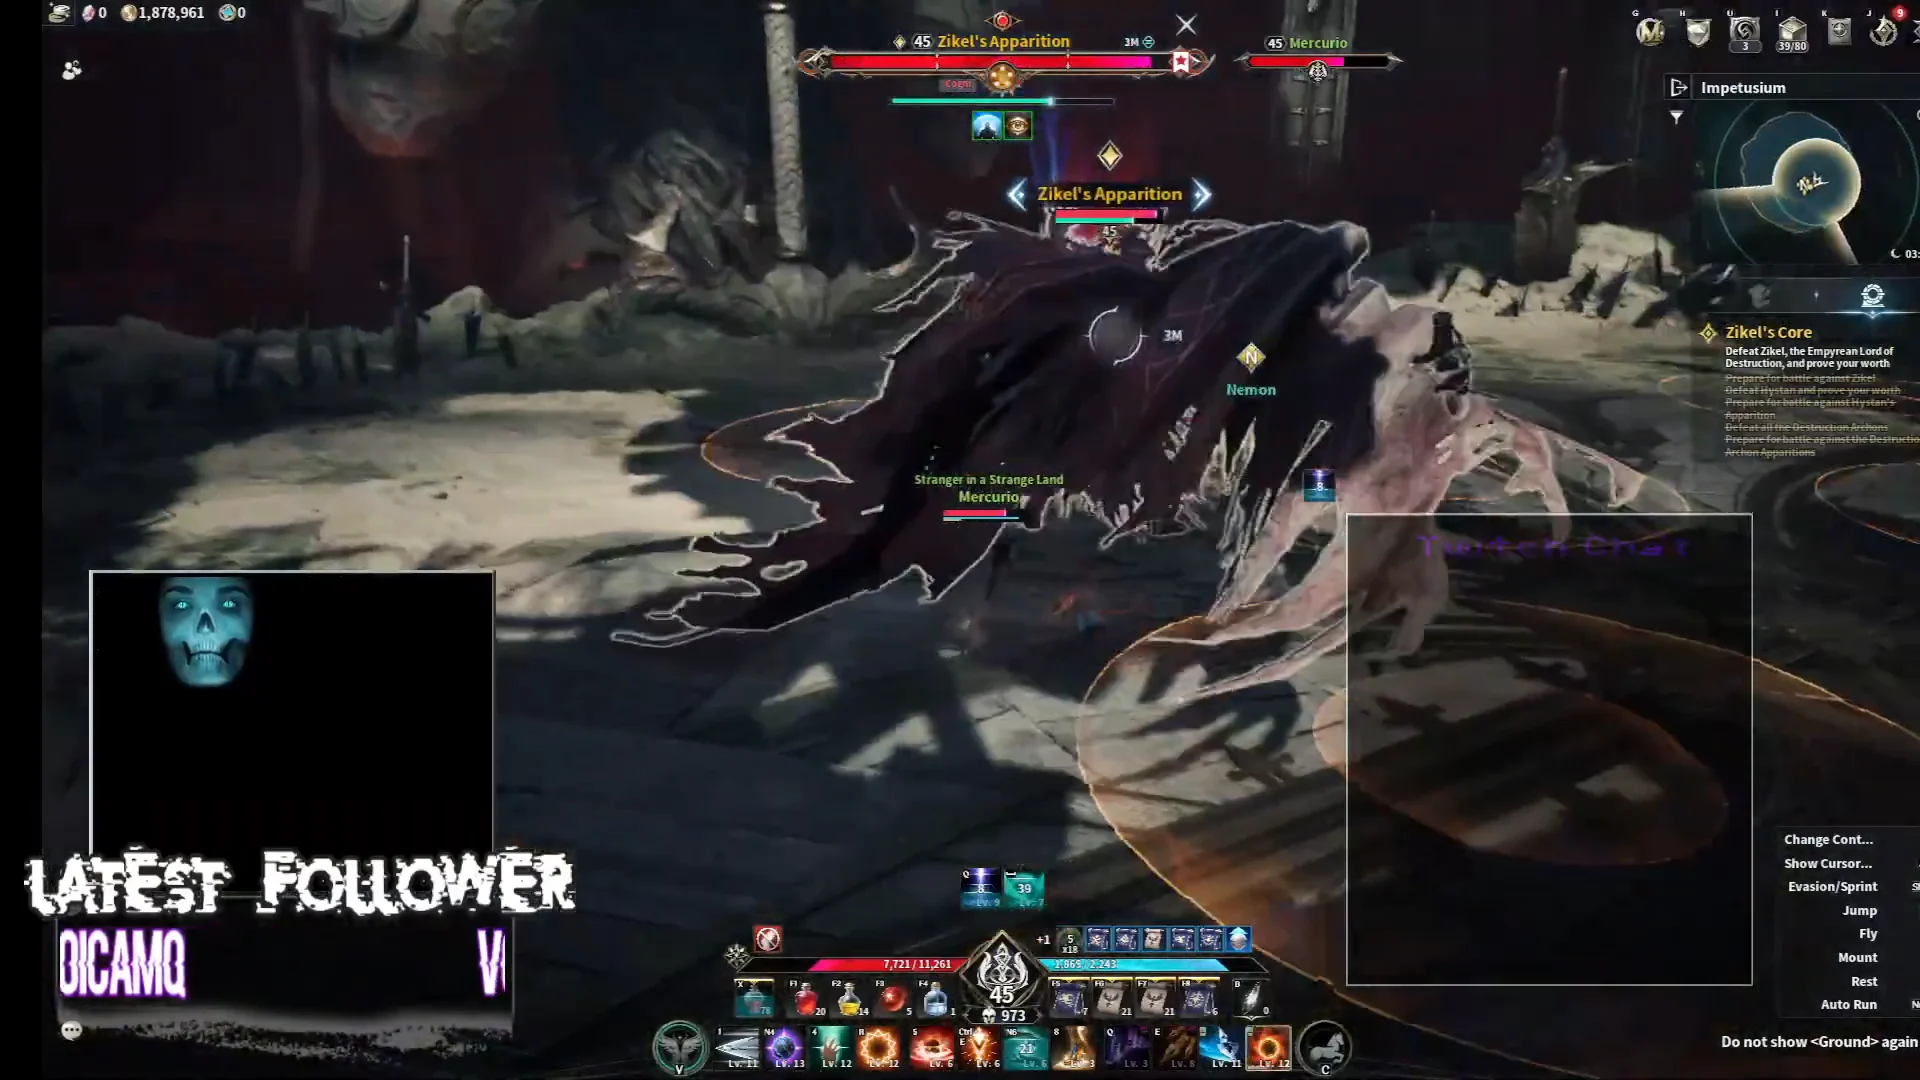
Next come broad red sweeps. Kite backward, reposition behind the boss, and keep landing back critical hits, which do far more damage than frontal strikes.
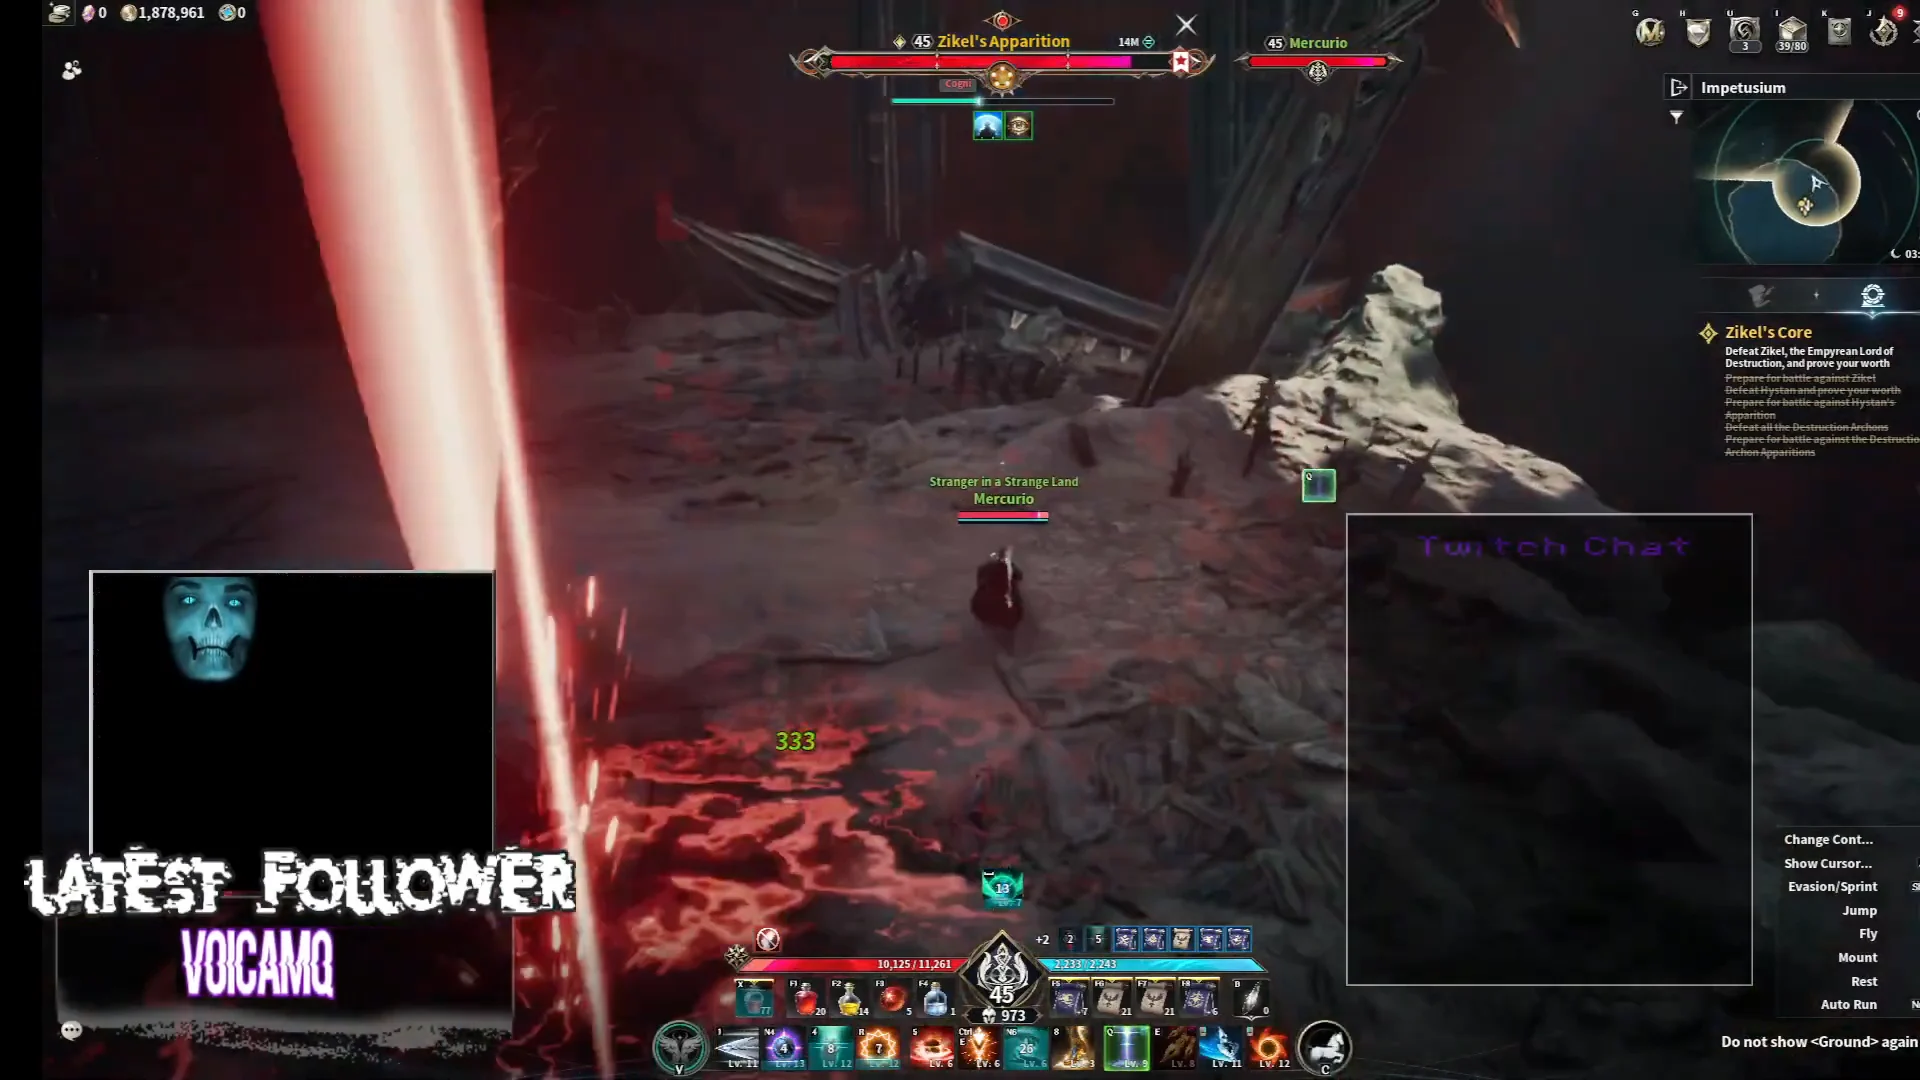
As the health bar drops, the boss starts throwing radial shockwave rings across the ground that force continuous sprinting.
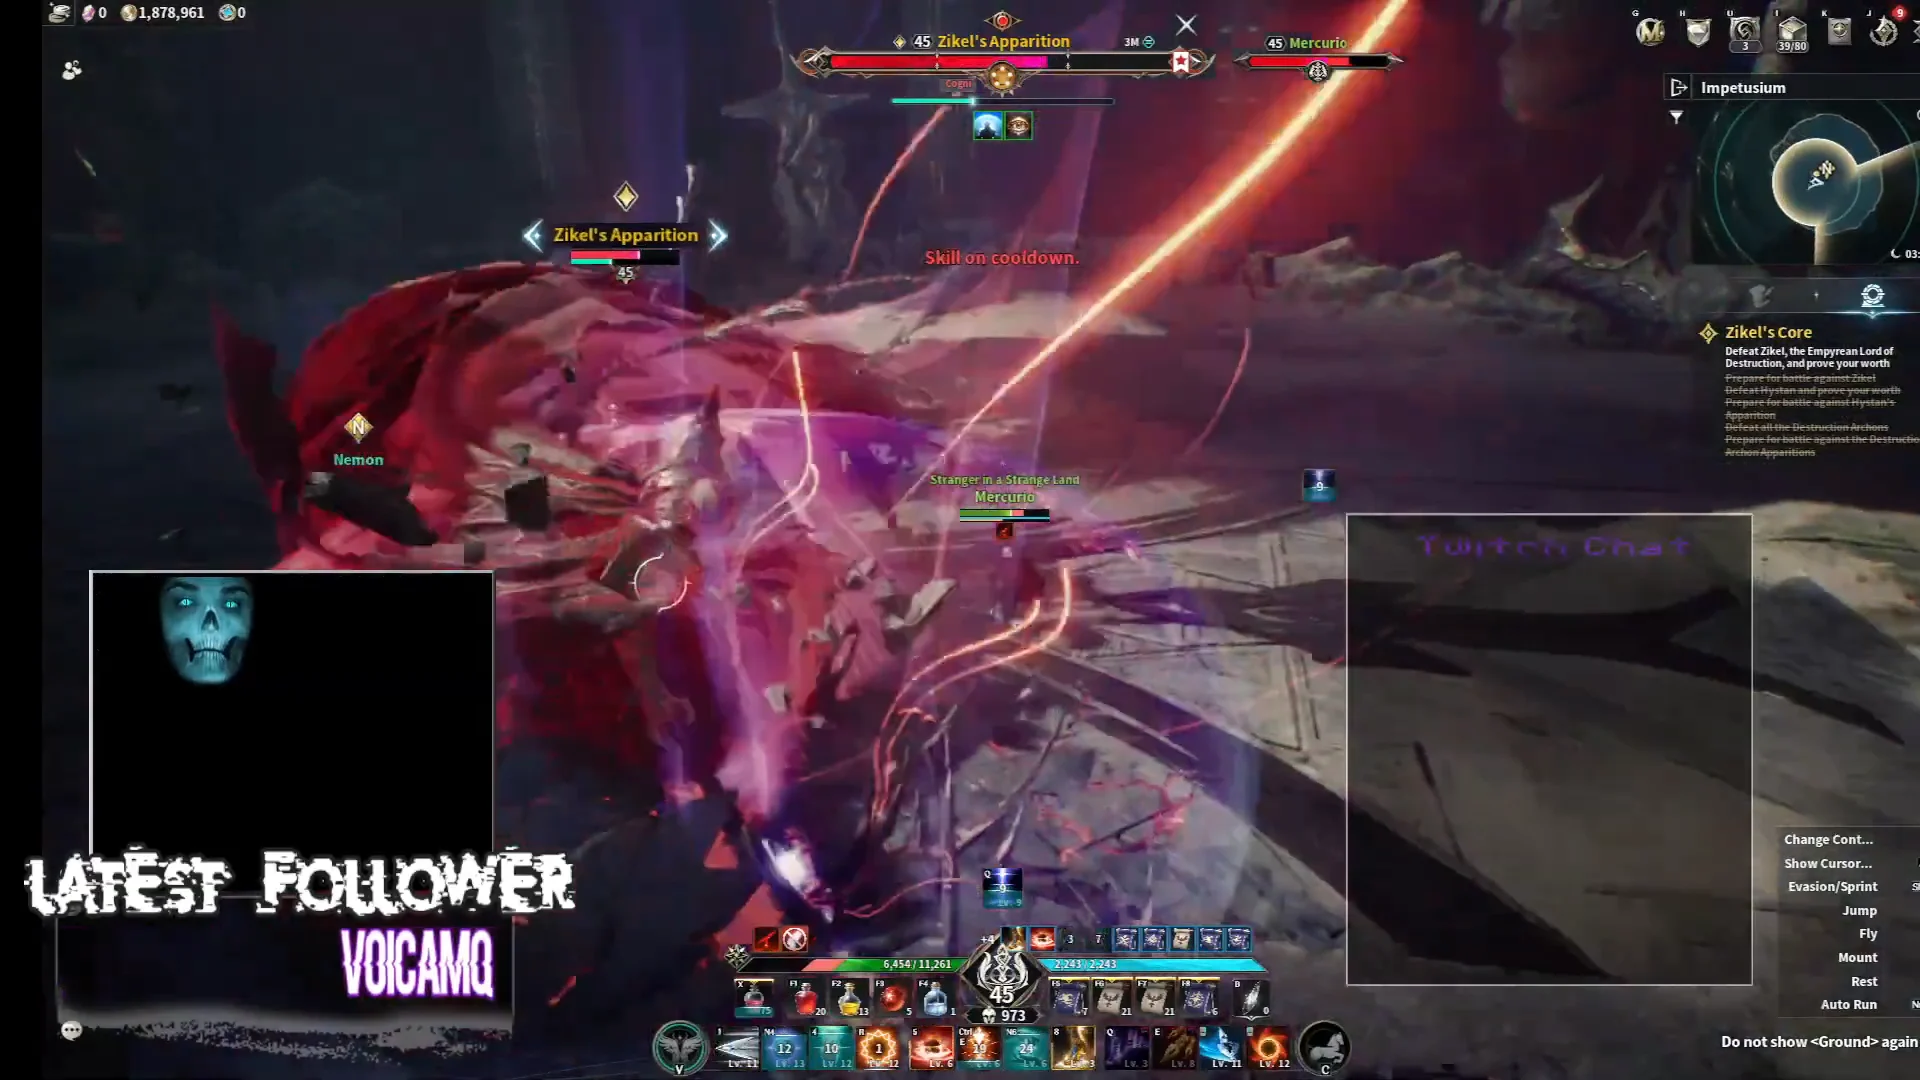
In the later phase it carpets the arena with wide burst zones while mixing in heavy knockback strikes. Heal with a Superior Life Serum right after any hit you cannot avoid, then push the last health bar down with back critical hits.
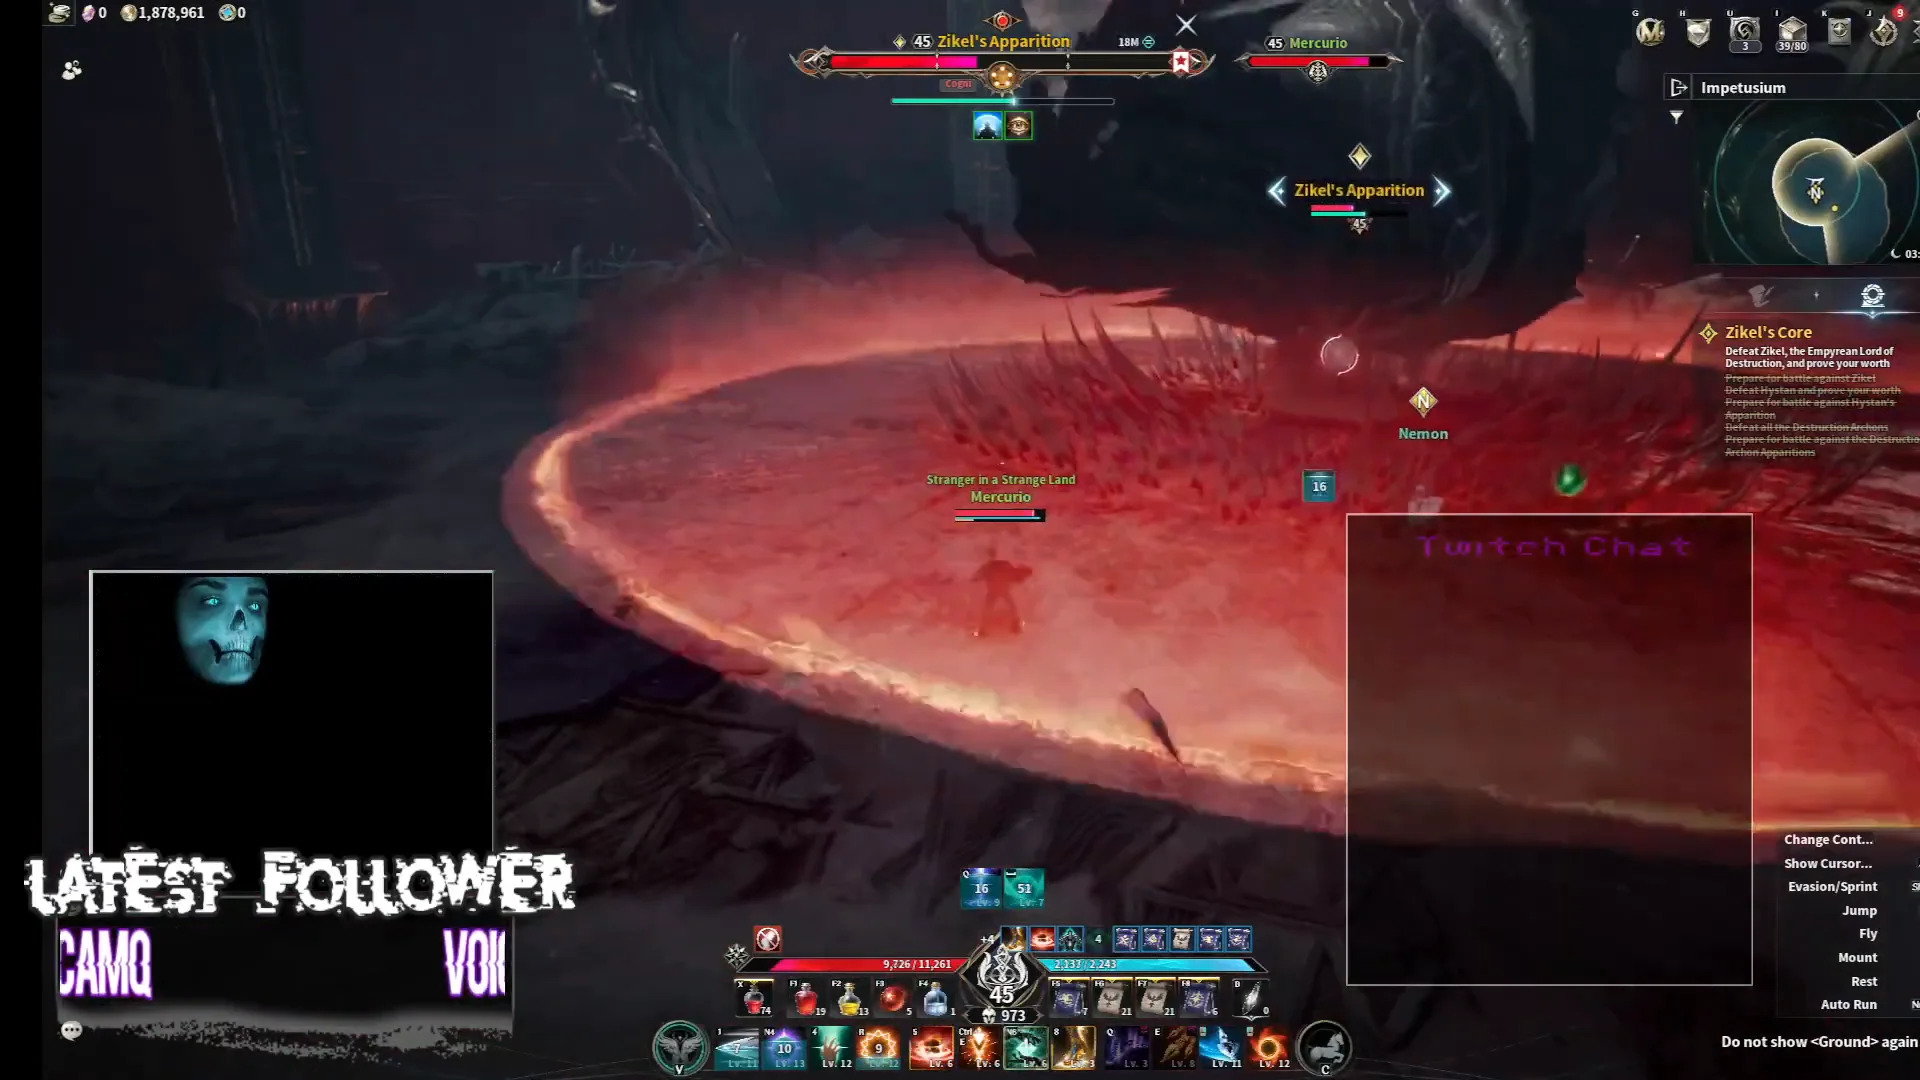
Completing it awards the Grasper of the Core title, an Epic utility title that grants Attack Bonus 2 when owned and HP 750 plus HP Potion Recovery 300 when equipped.
Leaving Altgard and the call to ascend
15. Farewells
Farewells begins with Nemon on the outskirts of the Impetusium and ends with Menrik at the Fang Hideout. After securing Zikel’s Core, bid farewell to the people you encountered throughout Altgard, then set off for Morheim.
16. Forgotten Commander
Forgotten Commander is given by Menrik at the Fang Hideout and turned in to Koro at the Abyss Base in Chaotic Lower Reshanta. This quest needs you to be level 45. A legionnaire was caught in a portal below the Impetusium and saw the vanished Bakarma Brigade, so you go to confirm it.
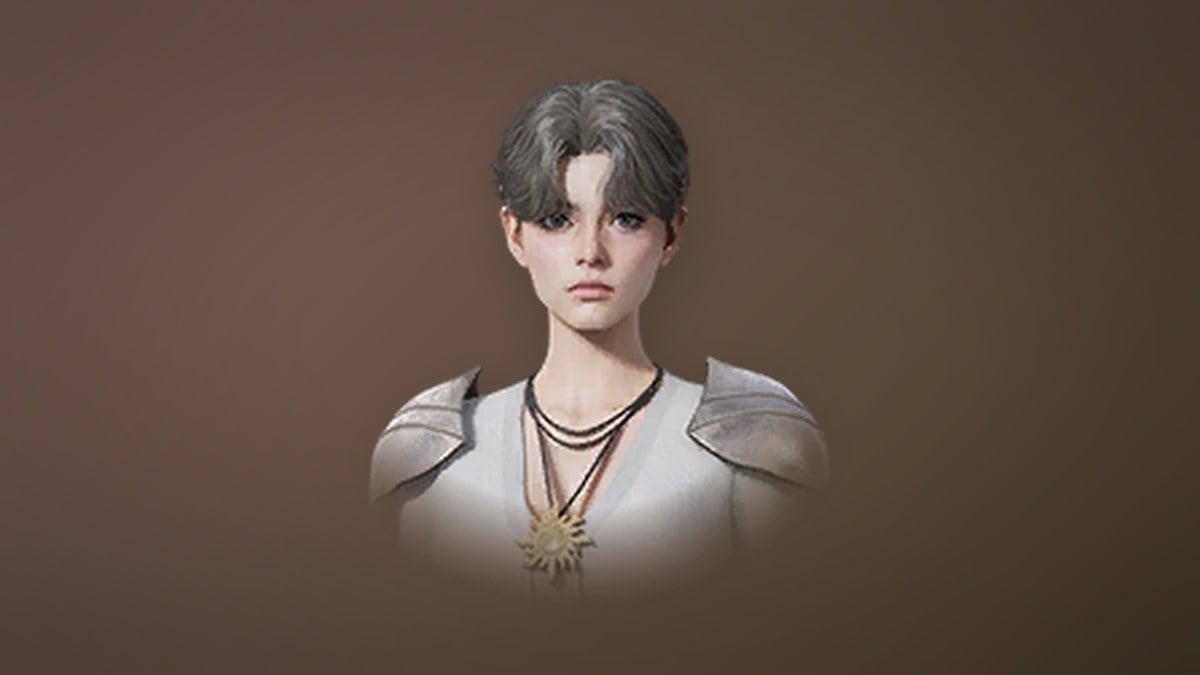
17. Daeva Trapped in a Nightmare
Daeva Trapped in a Nightmare begins automatically at the Abyss Base, and you turn it in to Nemon at the Outskirts Stall. The quest has one objective: complete The One Who Witnesses the Nightmare and rise to the next tier of power. After taking Zikel’s Core and enduring Kaisinel’s Nightmare, you gain recognition as an AION Fragment and begin the journey to becoming an Arch Daeva. When Nemon asks you to get ready to leave for Morheim, chapter 6 ends and the story continues in the next episode.
All chapter 6 quest rewards
| Quest | Rec. level | XP | Other rewards |
|---|---|---|---|
| Fafnite’s Whereabouts | 40 | 25,866,929 | Kina x39,000, Life Serum x20, Liberator Breastplate x1 |
| Exiled Ritualist | 40 | 25,866,929 | Kina x39,000, Courage Scroll x5, Liberator Greaves x1 |
| Healing Herbs | 40 | 25,866,929 | Kina x39,000, Superior Benediction Scroll x5 |
| Treatment | 40 | 25,866,929 | Kina x39,000, Liberator Boots x1 |
| Symbol of Liberation | 40 | 25,866,929 | Kina x39,000, Liberator Gloves x1 |
 Daybreak Society Daybreak Society | 41 | 39,130,113 | Kina x41,000, Superior Speed Scroll x5 |
| Daybreak Society Rescue Operation | 41 | 39,130,113 | Kina x41,000, Liberator Guard x1 |
| The Breaking of the Day | 42 | 46,518,498 | Kina x44,000, Superior Courage Scroll x5 |
| Chief of the Black Claw | 42 | 46,518,498 | Kina x44,000, Battle Enhance Scroll x2 |
| High Priest’s Fafnite | 43 | 58,791,324 | Kina x47,000, Liberator Cloak x1 |
| The High Priest Awakens | 44 | 77,073,036 | Kina x51,000, Superior Life Serum x20 |
| Lingering Apparitions | 44 | 77,073,036 | Kina x51,000, Liberator Pauldrons x1 |
| Blood Barrier | 44 | 77,073,036 | Kina x51,000, Liberator Helm x1 |
| Zikel’s Core | 45 | 36,328,013 | Kina x54,000, Title: Grasper of the Core x1 |
| Farewells | 45 | 36,328,013 | Kina x54,000, Lesser Manastone x5, Lesser Soulstone x5 |
| Forgotten Commander | 45 | 36,328,013 | Kina x54,000, Spiritforged Guard x1, Resurrection Spiritstone x1, Lesser Manastone x5, Lesser Soulstone x5 |
| Daeva Trapped in a Nightmare | 45 | — | Leads into the Ascension questline |
You know the chapter is done when Daeva Trapped in a Nightmare closes with Nemon telling you to ready yourself for Morheim. From there, the only remaining task is the Ascension step that turns you into an Arch Daeva before the story carries on into the next region.