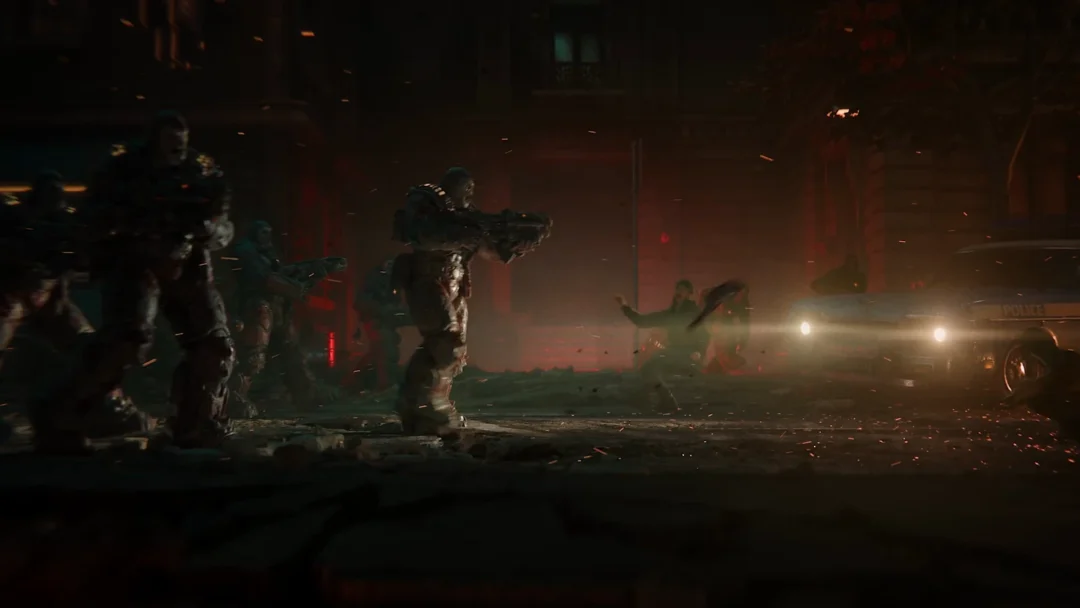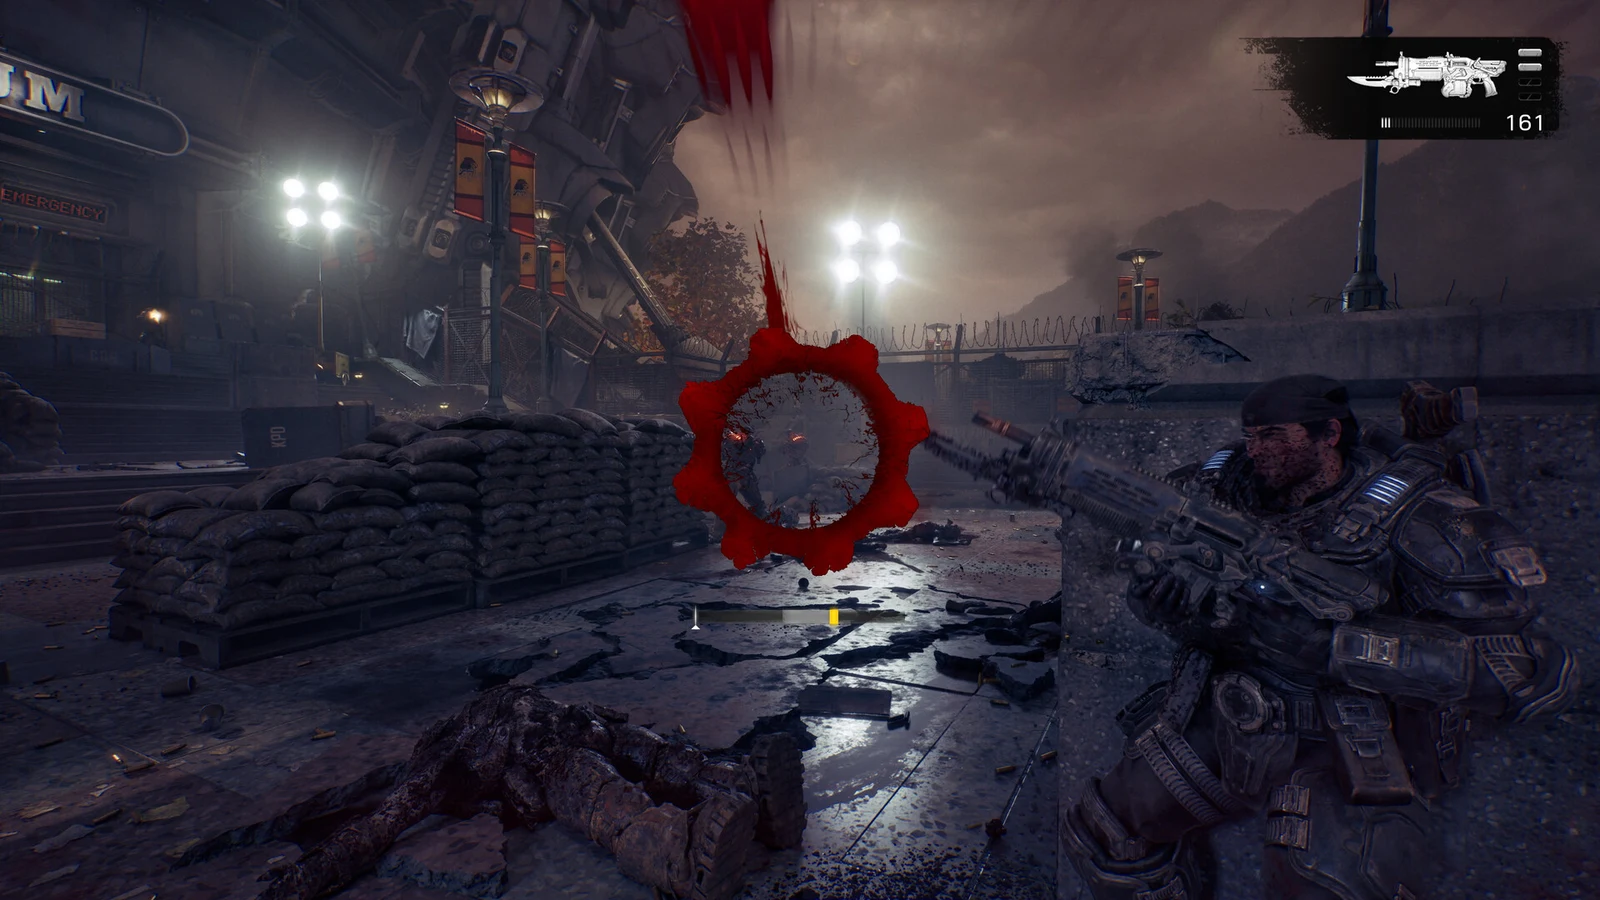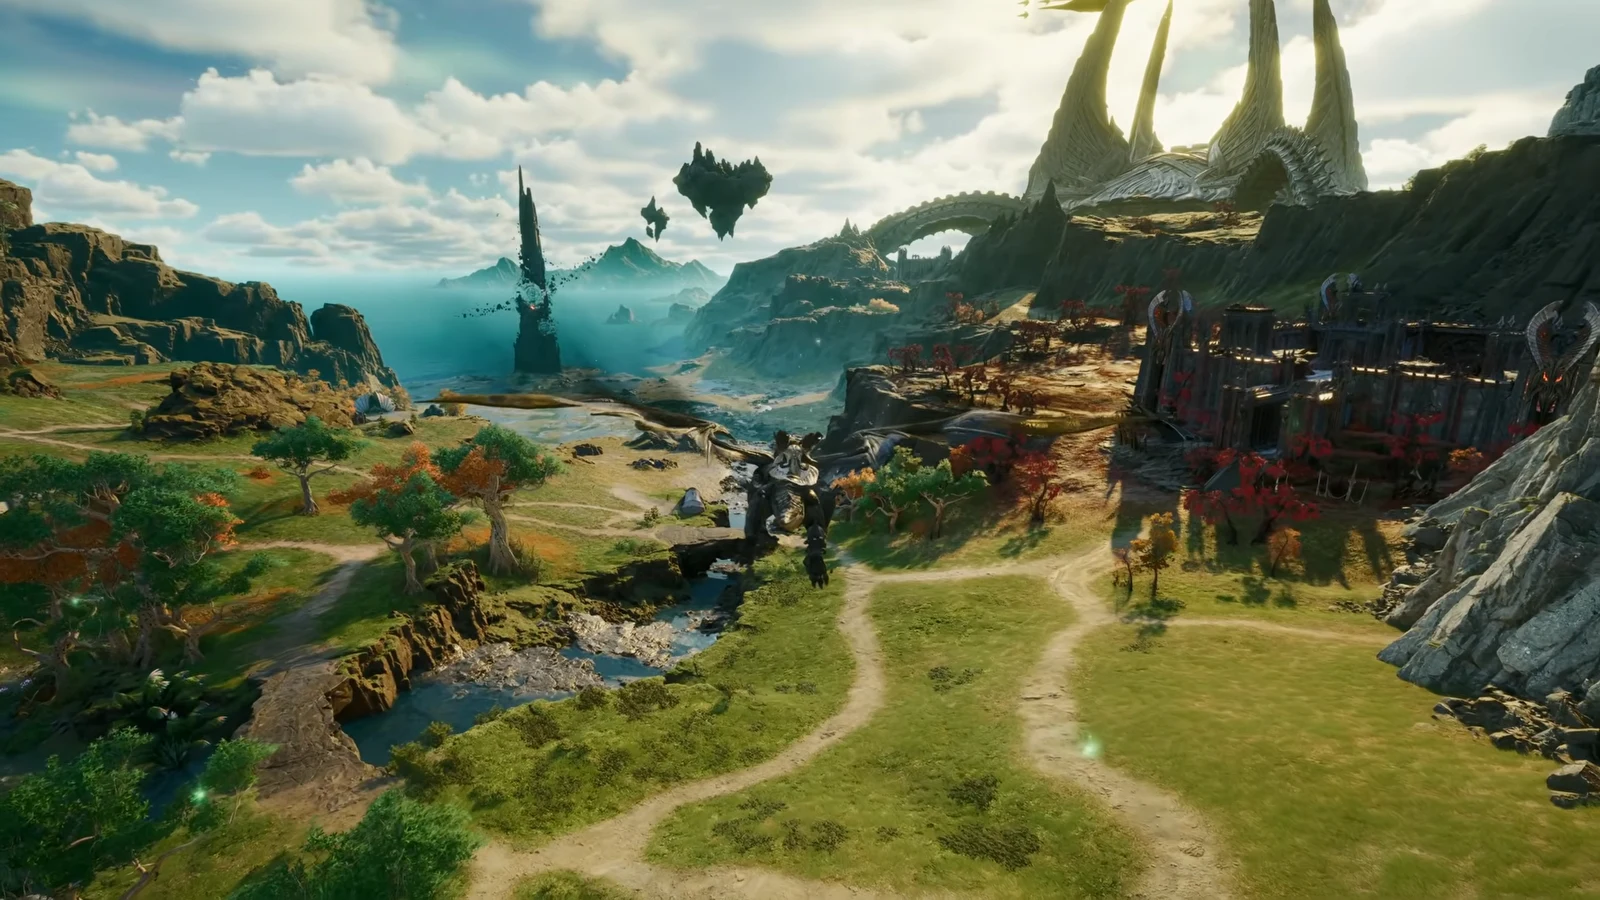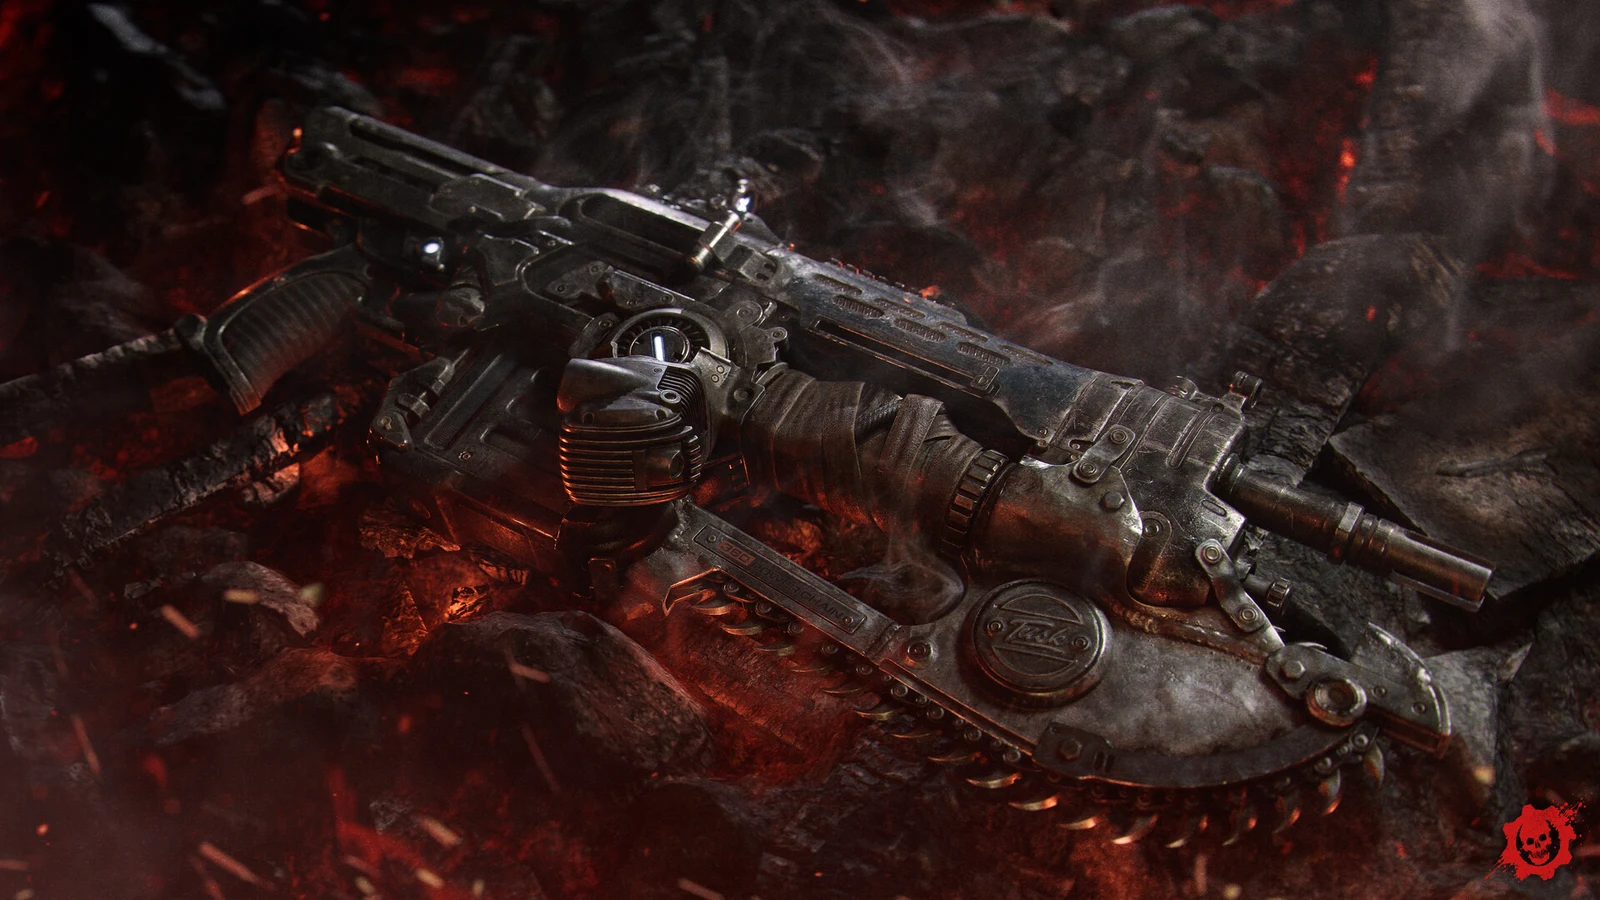
In Gears of War: E-Day, the chainsaw rifle is the Prototype Lancer—not an item you can find, purchase, or craft. The story equips you with it in the opening moments of Act 2 – Chapter 2, “Hold the Line,” at the Oria Stadium FOB. There’s no pickup prompt, and you can’t miss it.
Quick answer: Finish Act 2 – Chapter 1 by reporting to the quartermaster at the stadium’s glass doors. After the cutscene, control returns on the plaza and the Prototype Lancer is already your primary weapon.
The Lancer Mk1 comes first in Act 1
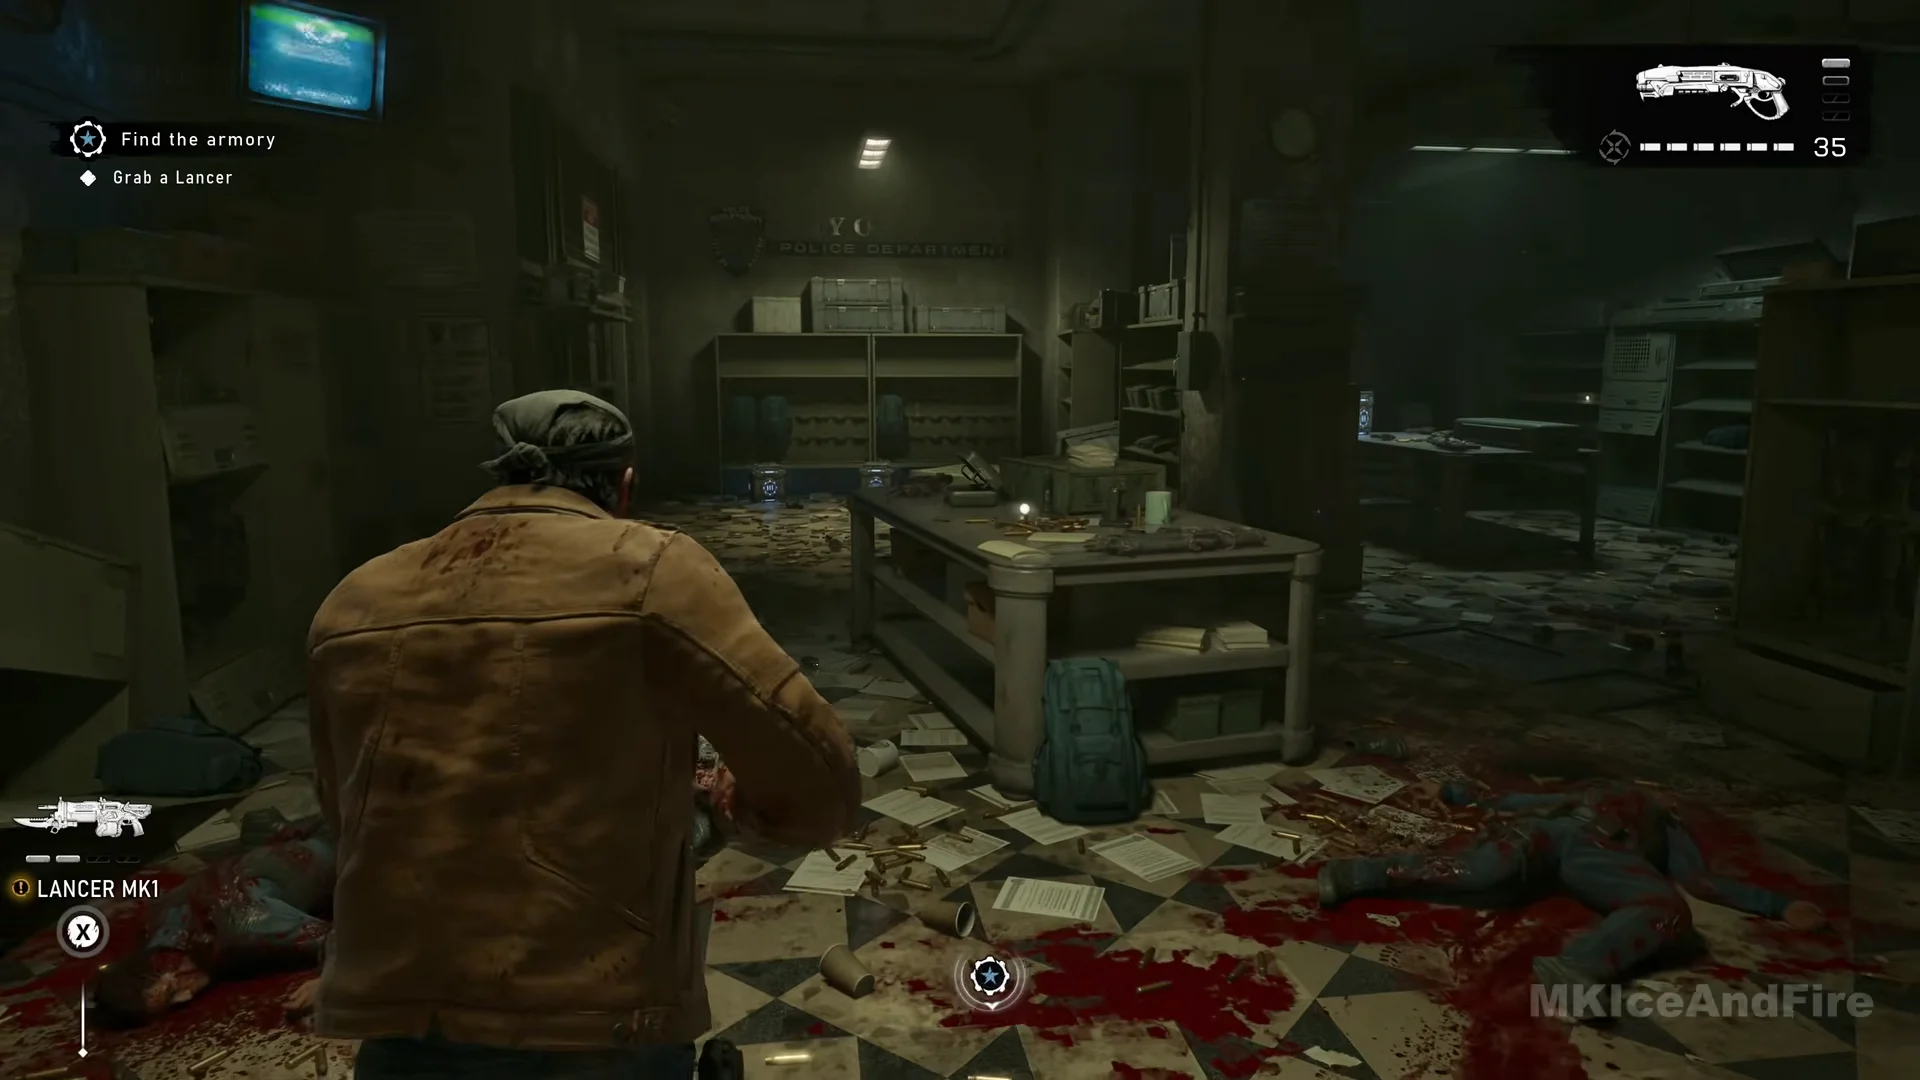
Until the chainsaw rifle becomes available, the Lancer Mk1 is your only rifle. A knife bayonet is permanently mounted beneath its barrel, with no saw attached. You acquire it early in Act 1 – Chapter 2, “Survival of the Fittest.”
When the “Find the armory” objective completes, “Grab a Lancer” appears. The armory is a police room with a work table in the center. A prompt reading LANCER MK1 sits on the table; press X to take it, which completes the objective and starts “Practice at the shooting range.” Right after the grab, the weapon wheel shows the Gnasher on the left, the Lancer Mk1 on the right, and the Snub at the bottom.
On the street toward the Pay-N-Save loading dock in Act 1 – Chapter 3, a tutorial introduces the “Lancer Mk1 Bayonet Charge.” Hold B to rush an enemy with the bayonet; this does not rev a saw. The Prototype Lancer uses that same button later, so you’ll already know the control.
Getting the Prototype Lancer in Act 2 – Chapter 2
The handover is fully automatic. There is no choice, no side objective, and no pickup. Follow the final objective of Act 2 – Chapter 1 through to the start of the next chapter.
On screen the game labels it Prototype Lancer, with the class “COG Assault Rifle.” Mod banners shorten the name to “Proto Lancer Mod.” It is never called “Lancer Mk2” or “Chainsaw Lancer” in the game itself.
How the chainsaw works
In the first street fight after you exit the stadium, Drones climb out of a hole in the road, bringing up the chainsaw tutorial box. The message reads “Chainsaw Rev / Hold B near an enemy to tear them apart.”
Hold B rather than tapping it, and be right next to the enemy. The kill plays a short close-up of the saw going through the target. This is a close-range finisher, so you need to reach the enemy first, moving cover to cover or catching one as it rushes you.
The first Supply Cache and keeping the Lancer Mk1
Just beyond the plaza, beneath the yellow elevated rail structure, you’ll find the first Supply Cache. Its prompt says “X Use Supply Cache.” Using a cache replenishes ammo and saves your loadout. Yours at this stage contains the Prototype Lancer as primary (600/600), the Gut-Puncher as secondary, the Snub as sidearm, and Frag Grenades.
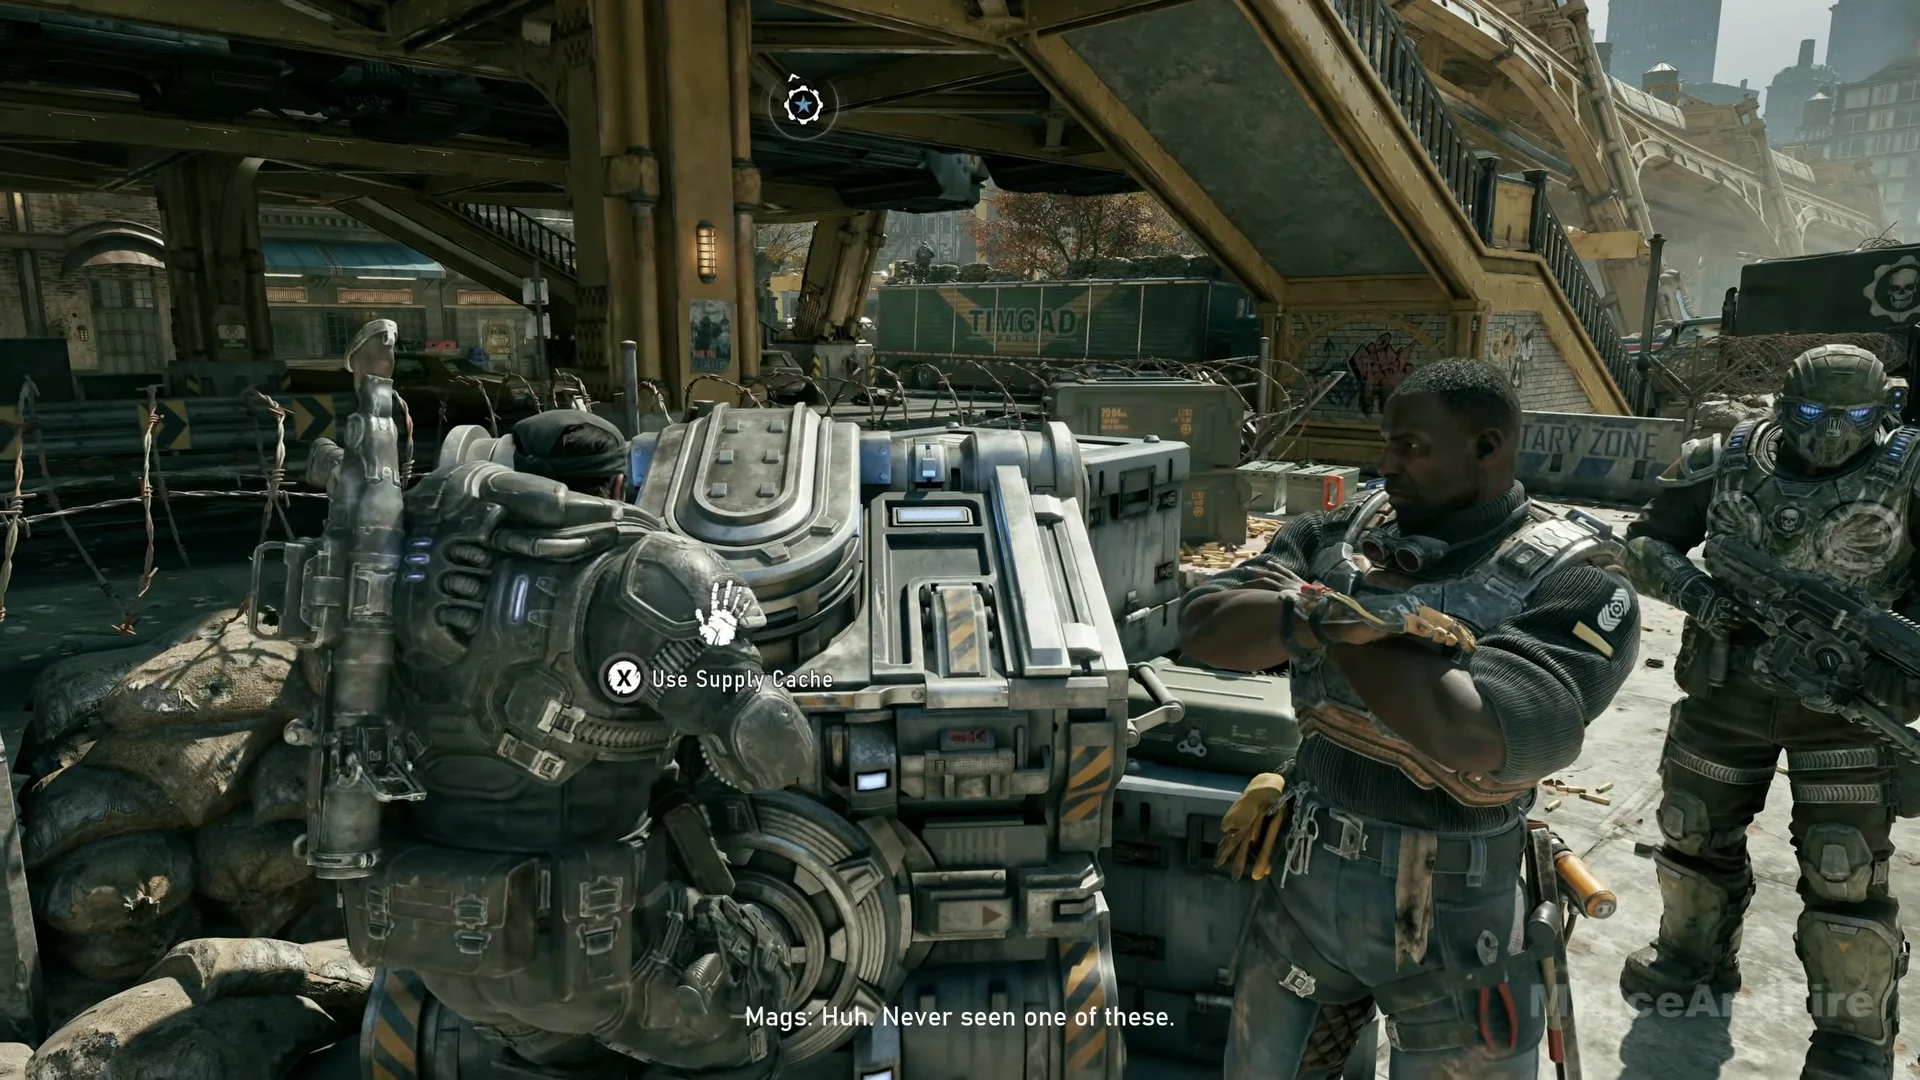
The Prototype Lancer does not replace the Lancer Mk1 permanently. At a cache, the six weapons are listed in this order: Lancer Mk1, Prototype Lancer, Hammerburst, Gnasher, Breechshot, and Gut-Puncher. Select the Mk1 and press A to equip it. Its bayonet remains, so you can perform bayonet charges instead of using a saw. Visit any cache whenever you want to switch back to the Prototype Lancer and its chainsaw.
Chainsaw mods for the Prototype Lancer
The Prototype Lancer has a fixed Perfect Reload slot plus three mod slots. Slots 2 and 3 start locked and open later as you progress. Three mods in the Misc group change how the chainsaw behaves, and each one takes a slot that a scope, barrel, magazine, or body mod could otherwise use.
| Mod | Effect | Where to get it |
|---|---|---|
| Chainsaw Supercharger | Chainsaw revs up faster | Rooftop terrace Hard Case, Act 3 – Chapter 5 |
| Chainsaw Extractor | A chainsaw execution provides a small amount of ammo. | Fenced-yard Hard Case, Act 4 – Chapter 4 |
Chainsaw Autoloader is the first one you can use and the simplest to apply. At a Supply Cache in Act 2 – Chapter 2, the General Mods list shows it as the only entry. Press X to modify the rifle, pick slot 1, then press A to equip the mod. Slot 1 then reads Chainsaw Autoloader.
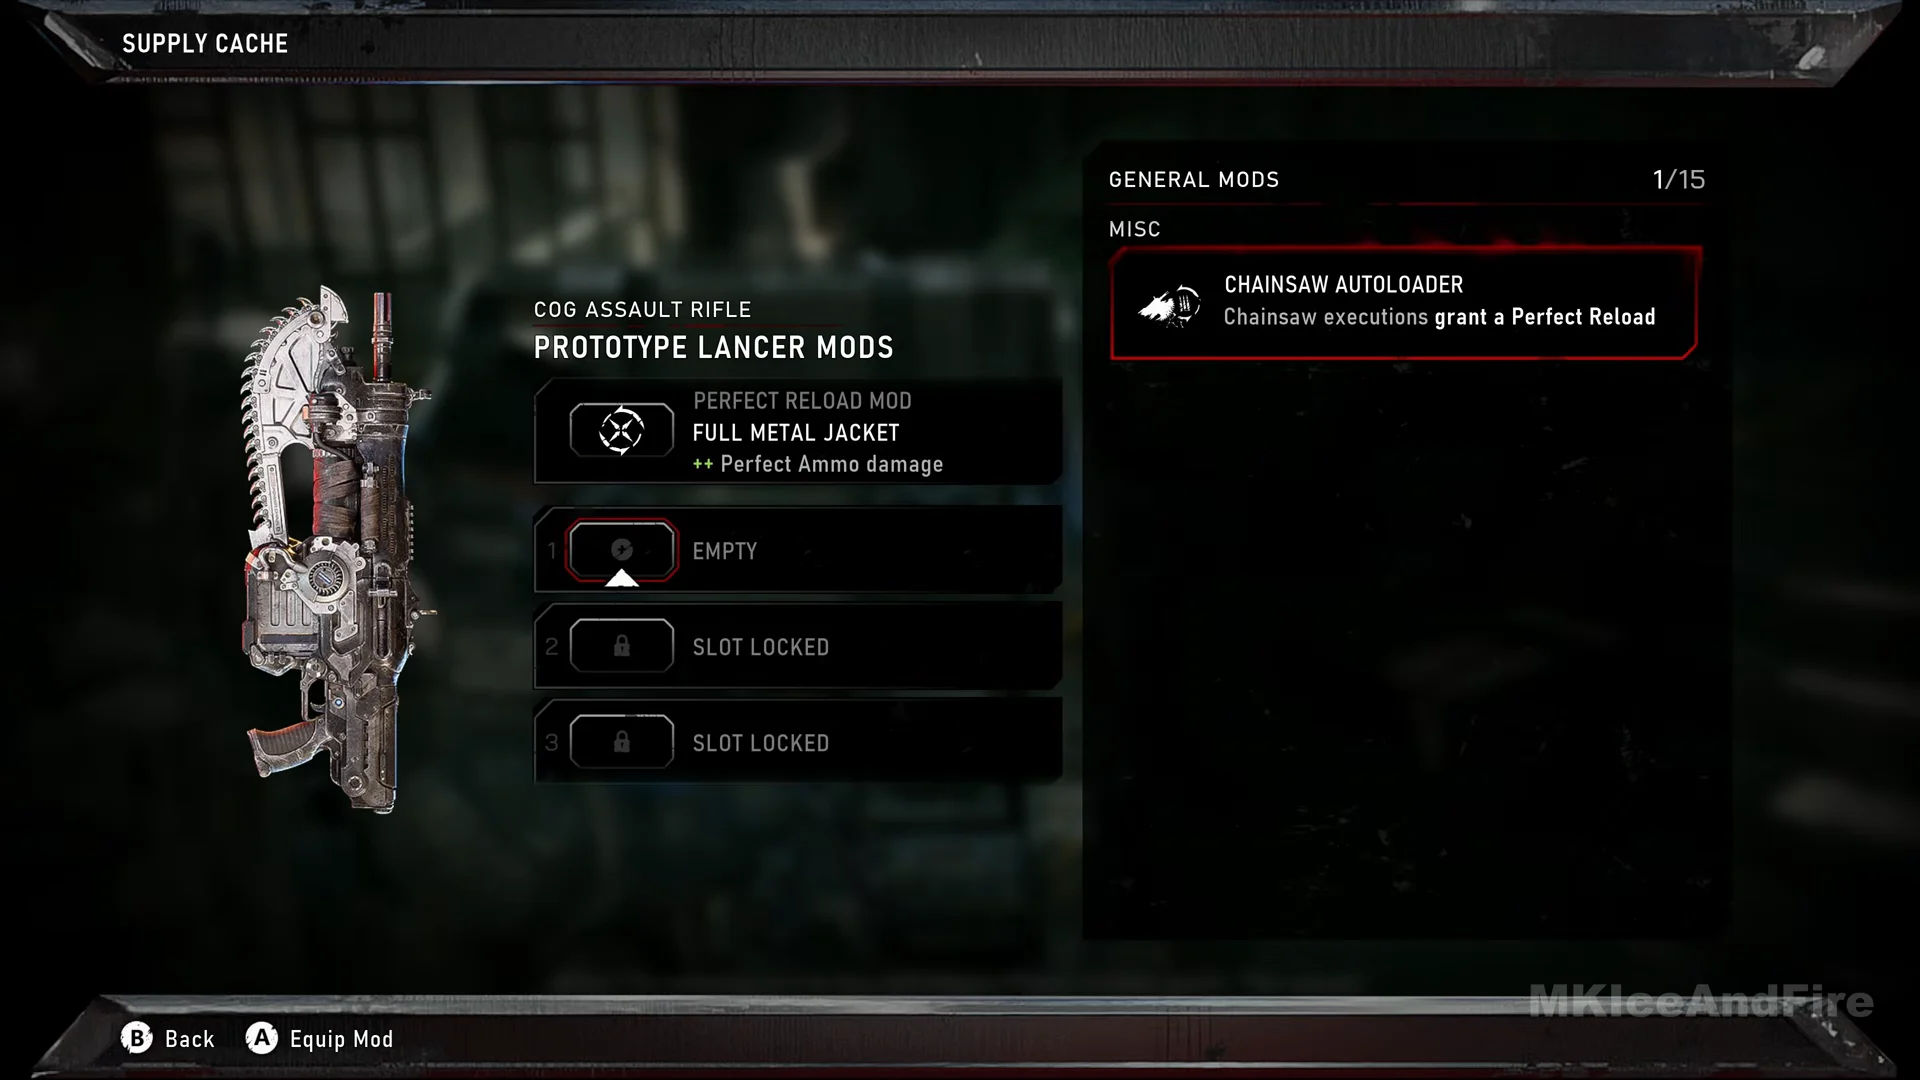
Chainsaw Supercharger comes from a yellow Hard Case on a rooftop terrace, beside a stone planter of red flowers, in Act 3 – Chapter 5, “Desperate Times.” Chainsaw Extractor comes from a Hard Case in an overgrown fenced yard next to a fallen red EXIT sign in Act 4 – Chapter 4, “Signals.” By Act 4 – Chapter 5, all three sit side by side in the cache list.
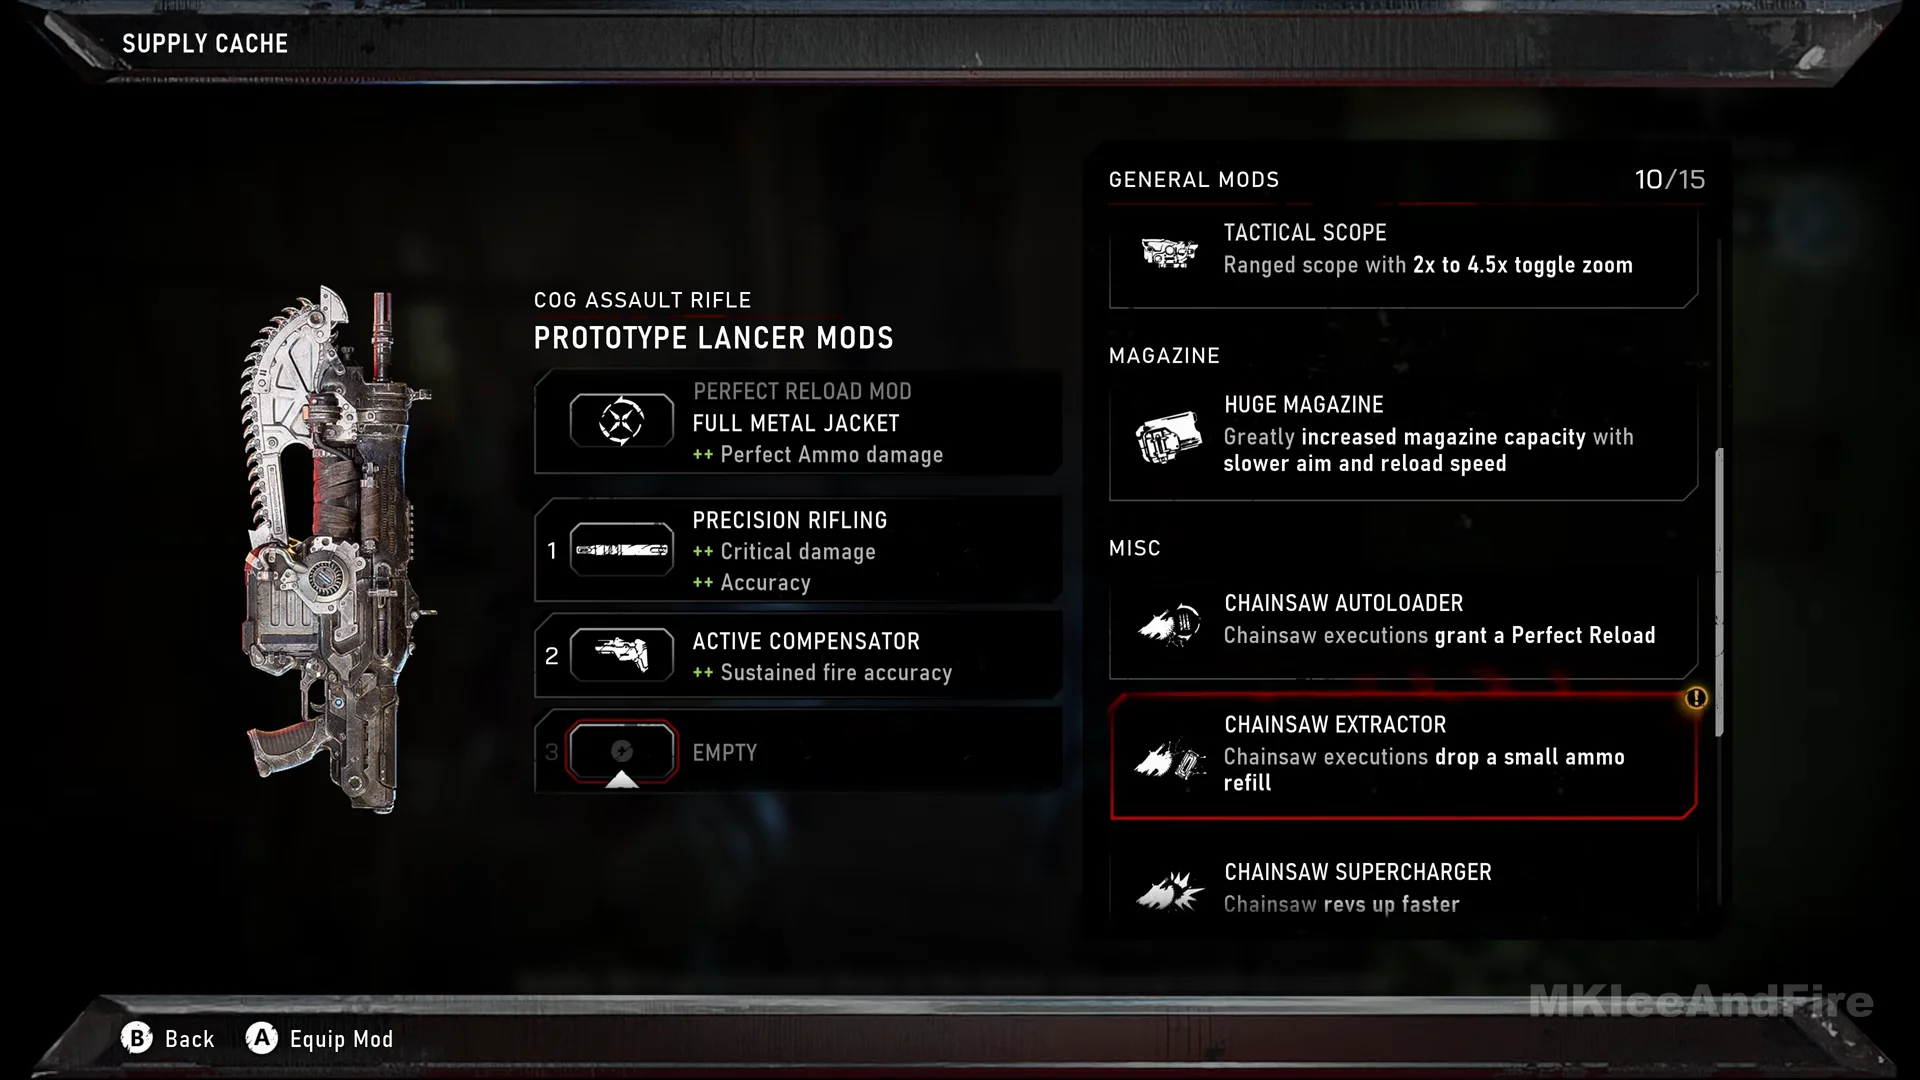
You can’t equip mods found in Hard Cases until you visit a Supply Cache. Before then, the case is counted as collected, but the mod won’t appear in the equip menu.
Once you have the Prototype Lancer, there is nothing else to unlock to use the saw. The chainsaw is ready the moment the Chainsaw Rev tutorial appears, and everything after that is a matter of which mods you slot in and whether you keep the chainsaw rifle or swap back to the bayonet Mk1 at a cache.