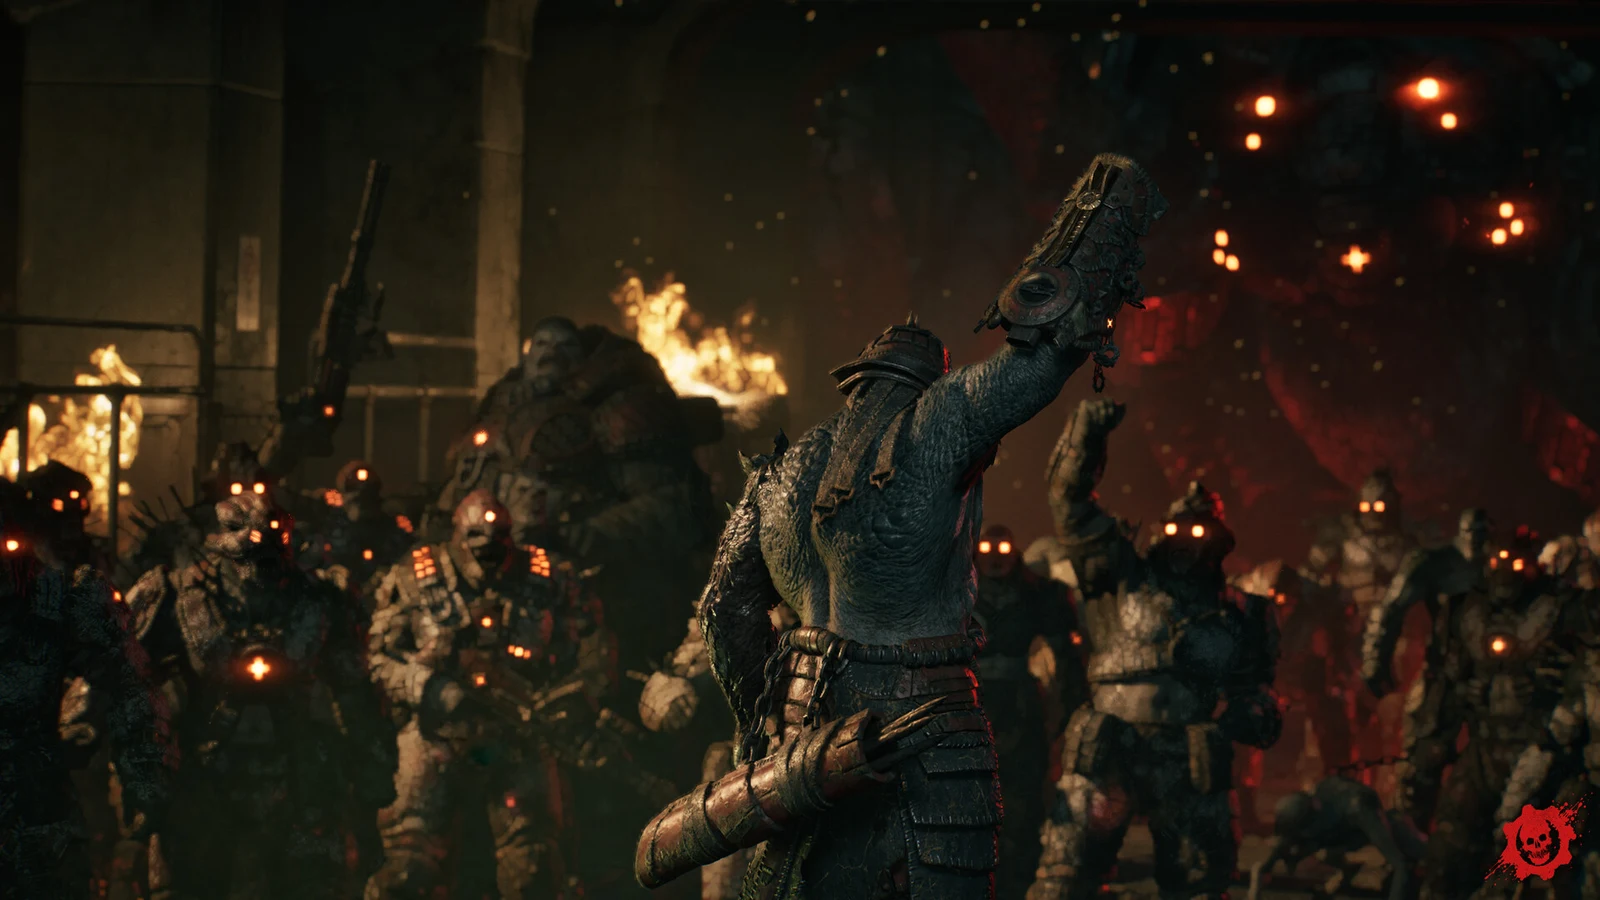
The campaign closes with the evacuation ship leaving Kalona with civilians and Gears aboard. Everything that follows spoils the final two chapters and the last scene, so stop here if you have not finished. If you want the short version before the beat-by-beat, read on.
Quick answer: Bravo Squad blows the Allfathers Legacy Bridge with Vraahk on it instead of raising it, the evacuation ship leaves Kalona at sunrise bound for Port Farrall and then the Jacinto Plateau, and all four of Bravo live. Zee, believed drowned, returns alive.
Resolute: flooding the dry-dock to float the ship
The closing stretch covers two chapters. Act 5, Chapter 4, Resolute begins at East Kostra Drydock under the caption “Day 3 – 0100 hours.” High Command plans to evacuate Kalona aboard the Raven’s Nest, a ship still in dry-dock. It is meant to take the survivors to Port Farrall, then carry them inland by convoy.
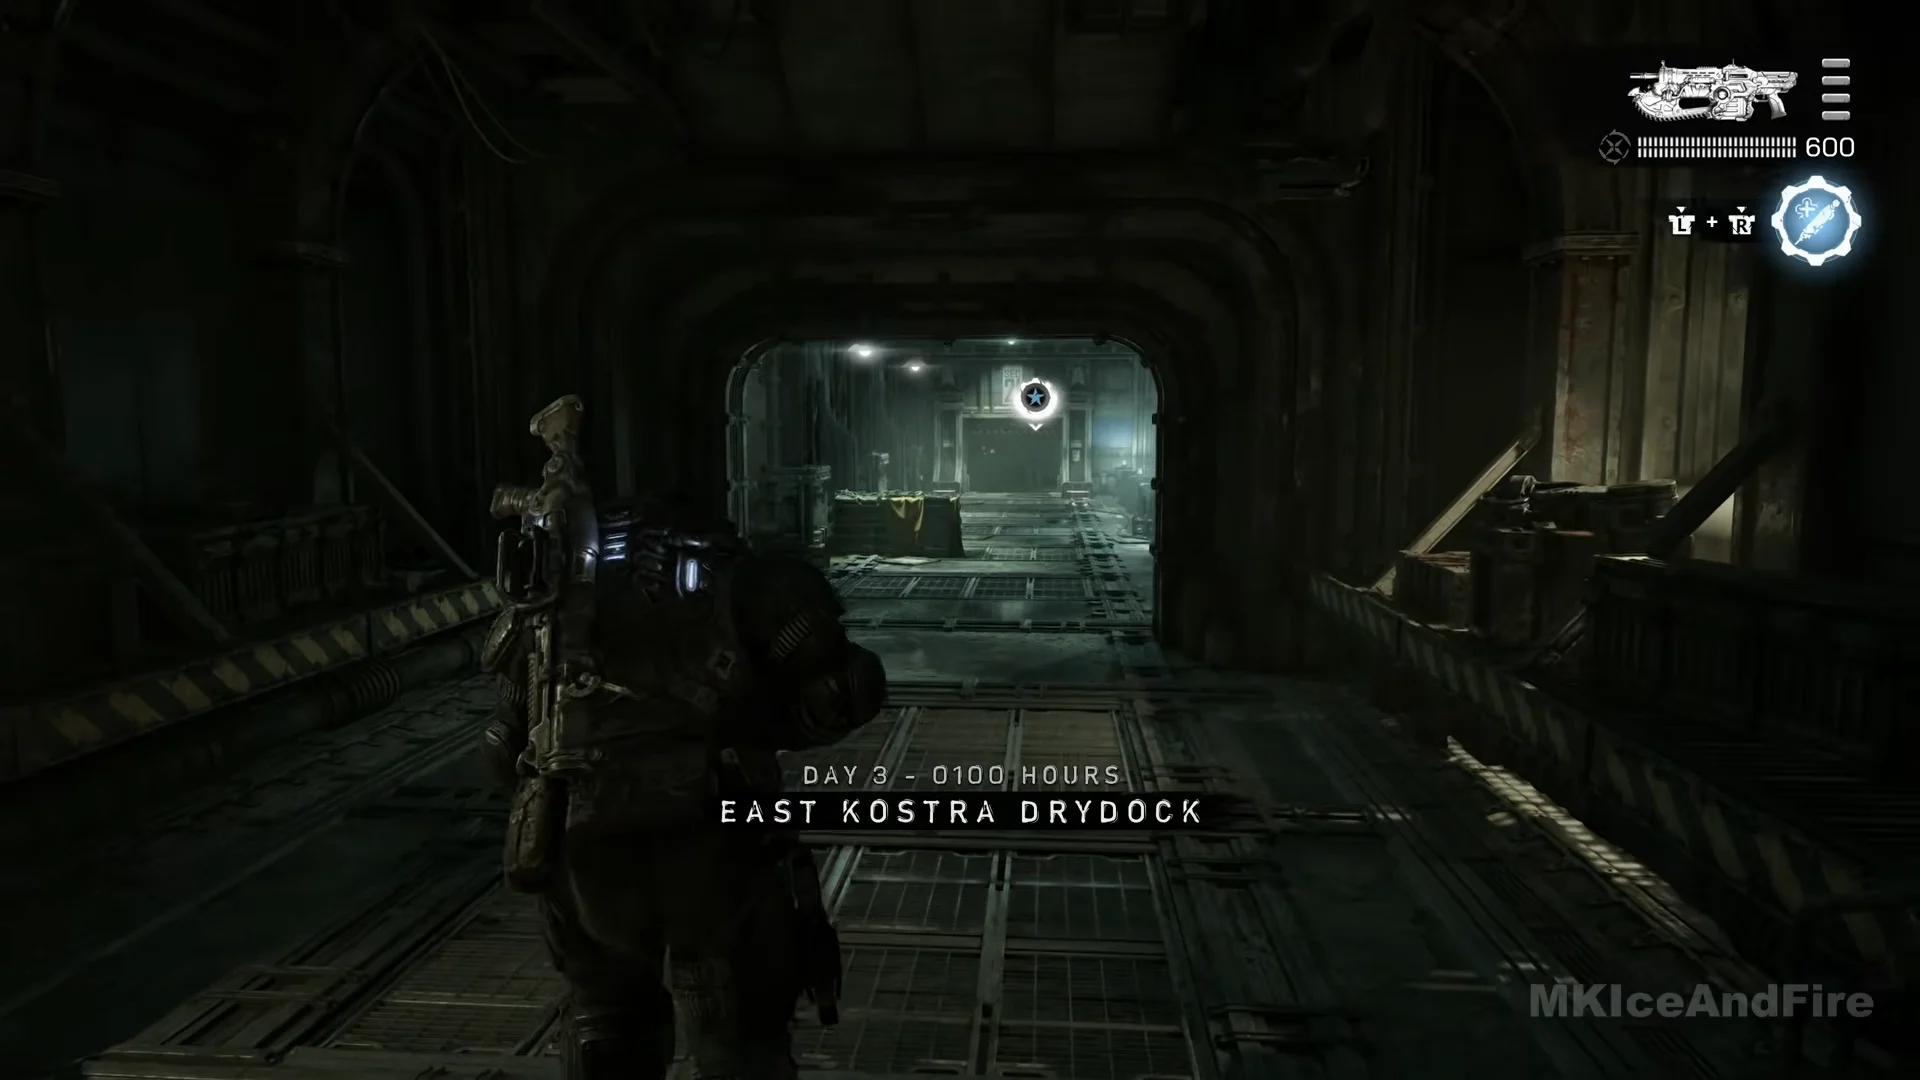
Two obstacles stand in the way. The Locust have damaged the flood controls, so the dry-dock must be filled before the ship can float. Once it is afloat, the lowered bridge still blocks the harbor exit. In Resolute, complete these objectives in sequence: assist Zee with filling the dry-dock, keep him safe, escort him to the override hatch, guard the ship braces, get aboard the Raven’s Nest, then help Tai clear it.
Zee, who is in charge of the backup controls, opens a pair of flood valves before the mechanism breaks down. That leaves just one option: use a manual release inside the floodgate, accessible through a hatch.
Zee and the override hatch
Knowing the chamber will fill before he can climb back out, Zee enters the hatch alone. He gives Lucas his COG tags to deliver to his sons; Lucas accepts only if Zee returns to take them back in person. Zee then seals the hatch behind him.
The Locust turn their attack on the ship’s supporting braces, starting the next fight. While the squad battles on deck, the gate comes down. Zee radios that his exit is jammed and the chamber is filling, orders the others to evacuate the people, and then the transmission dissolves into static. From then on, the squad considers him lost.
Zee survives. He is seen stepping off a King Raven in the final scenes, so the hatch incident is not his last stand. The game never shows how he got out of the flooded chamber.
The Fall of Kalona: raising the bridge
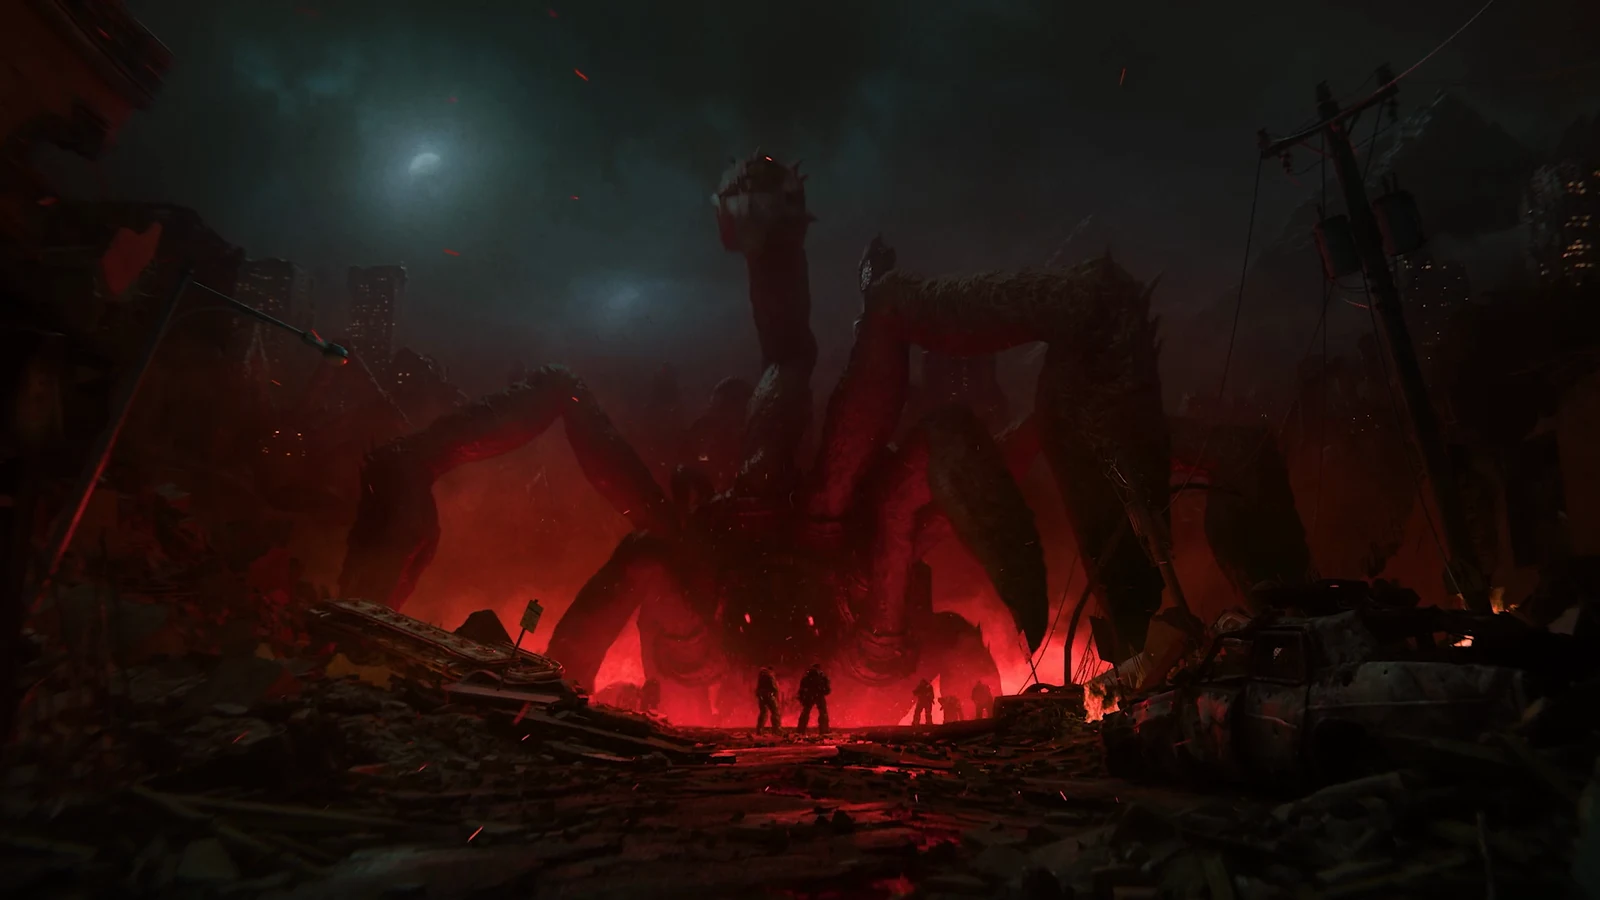
Once the deck is secure, the ship departs. The squad exchanges updates: Ephyra, the capital, has suffered heavy damage; Port Farrall is the first destination, followed by the Plateau; and no one has heard from their families. A King Raven lands with Manu and a dead Gear aboard. Manu says the Locust he calls the Impaler ambushed the team sent ahead to raise the bridge. Pilot Gill makes clear that the evacuation will fail if the bridge remains in the way. Bravo flies out to deal with it, knowing they may not return.
Act 5, Chapter 5, The Fall of Kalona, is the final chapter, with the caption “Day 3 – Before dawn / Allfathers Legacy Bridge.” You land on the upper deck with orders to raise the bridge. The route leads down to the lower deck, then up to the east control room.
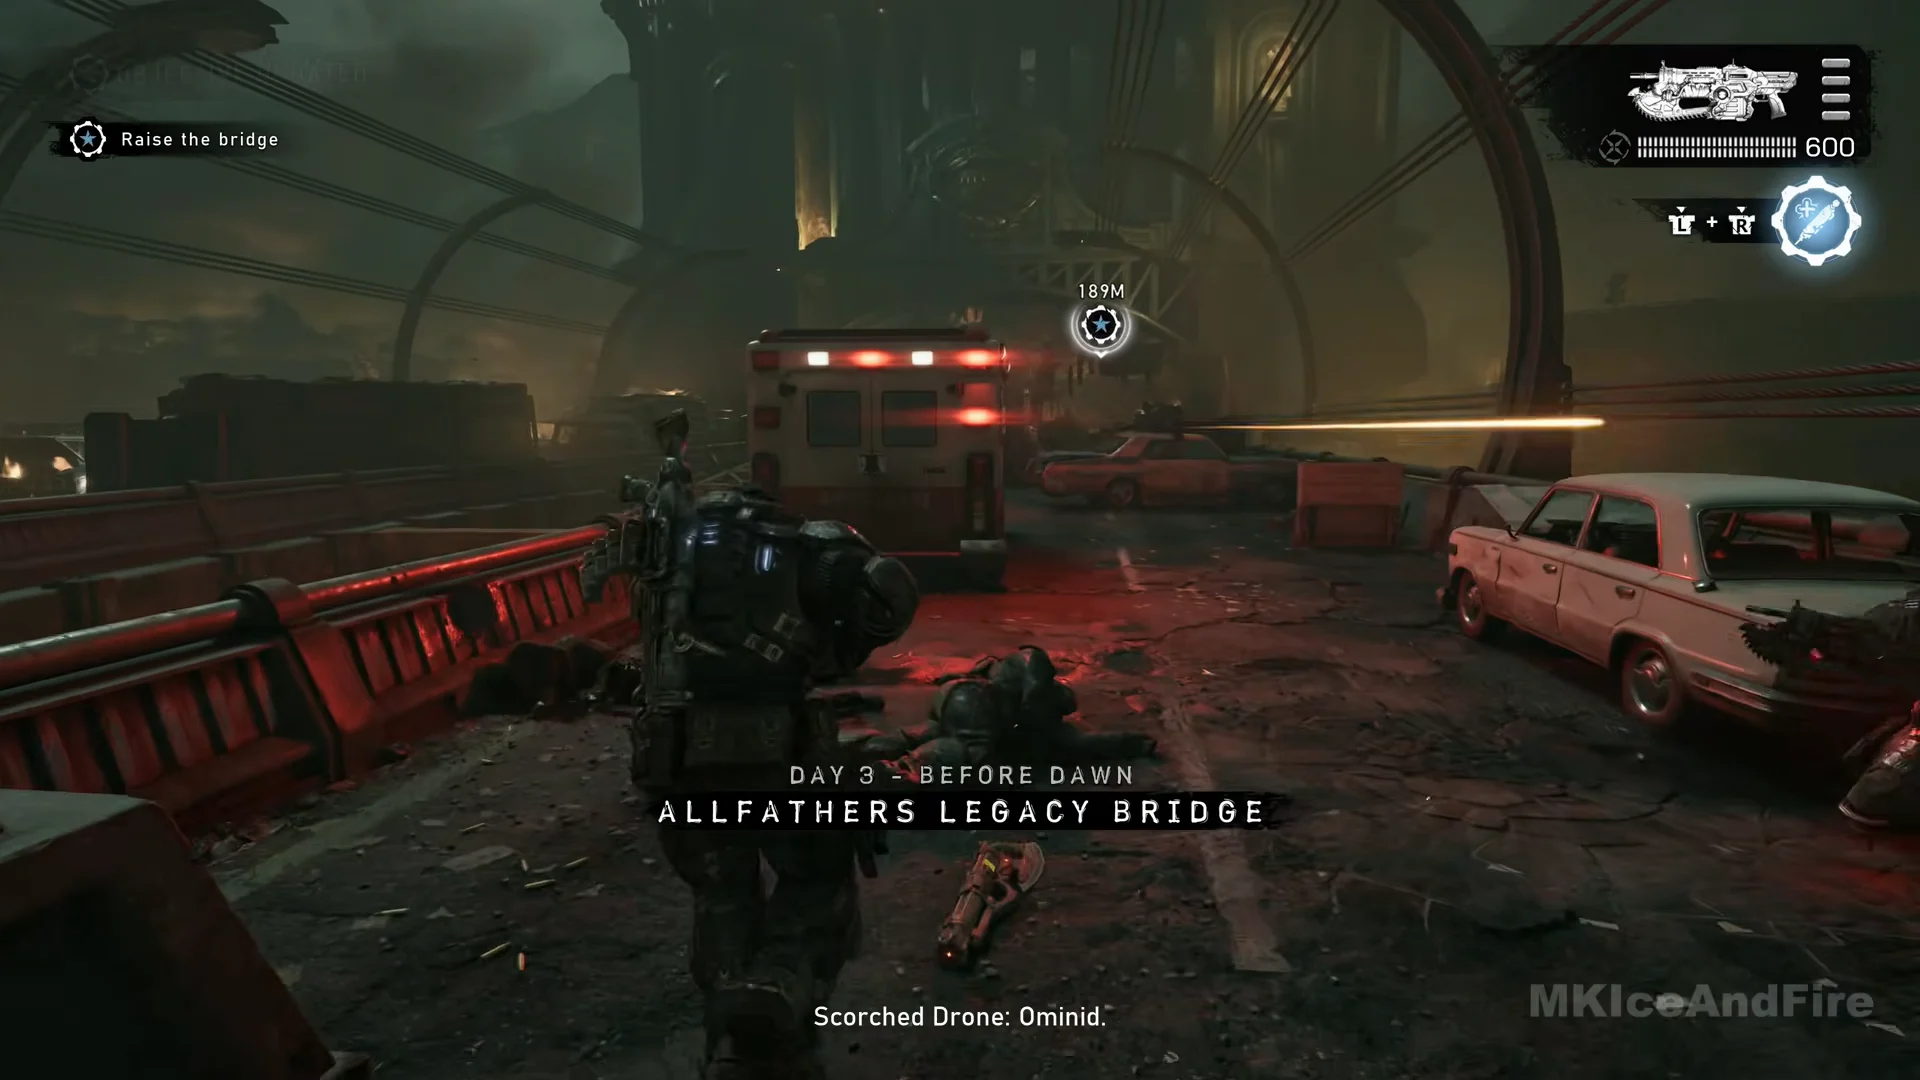
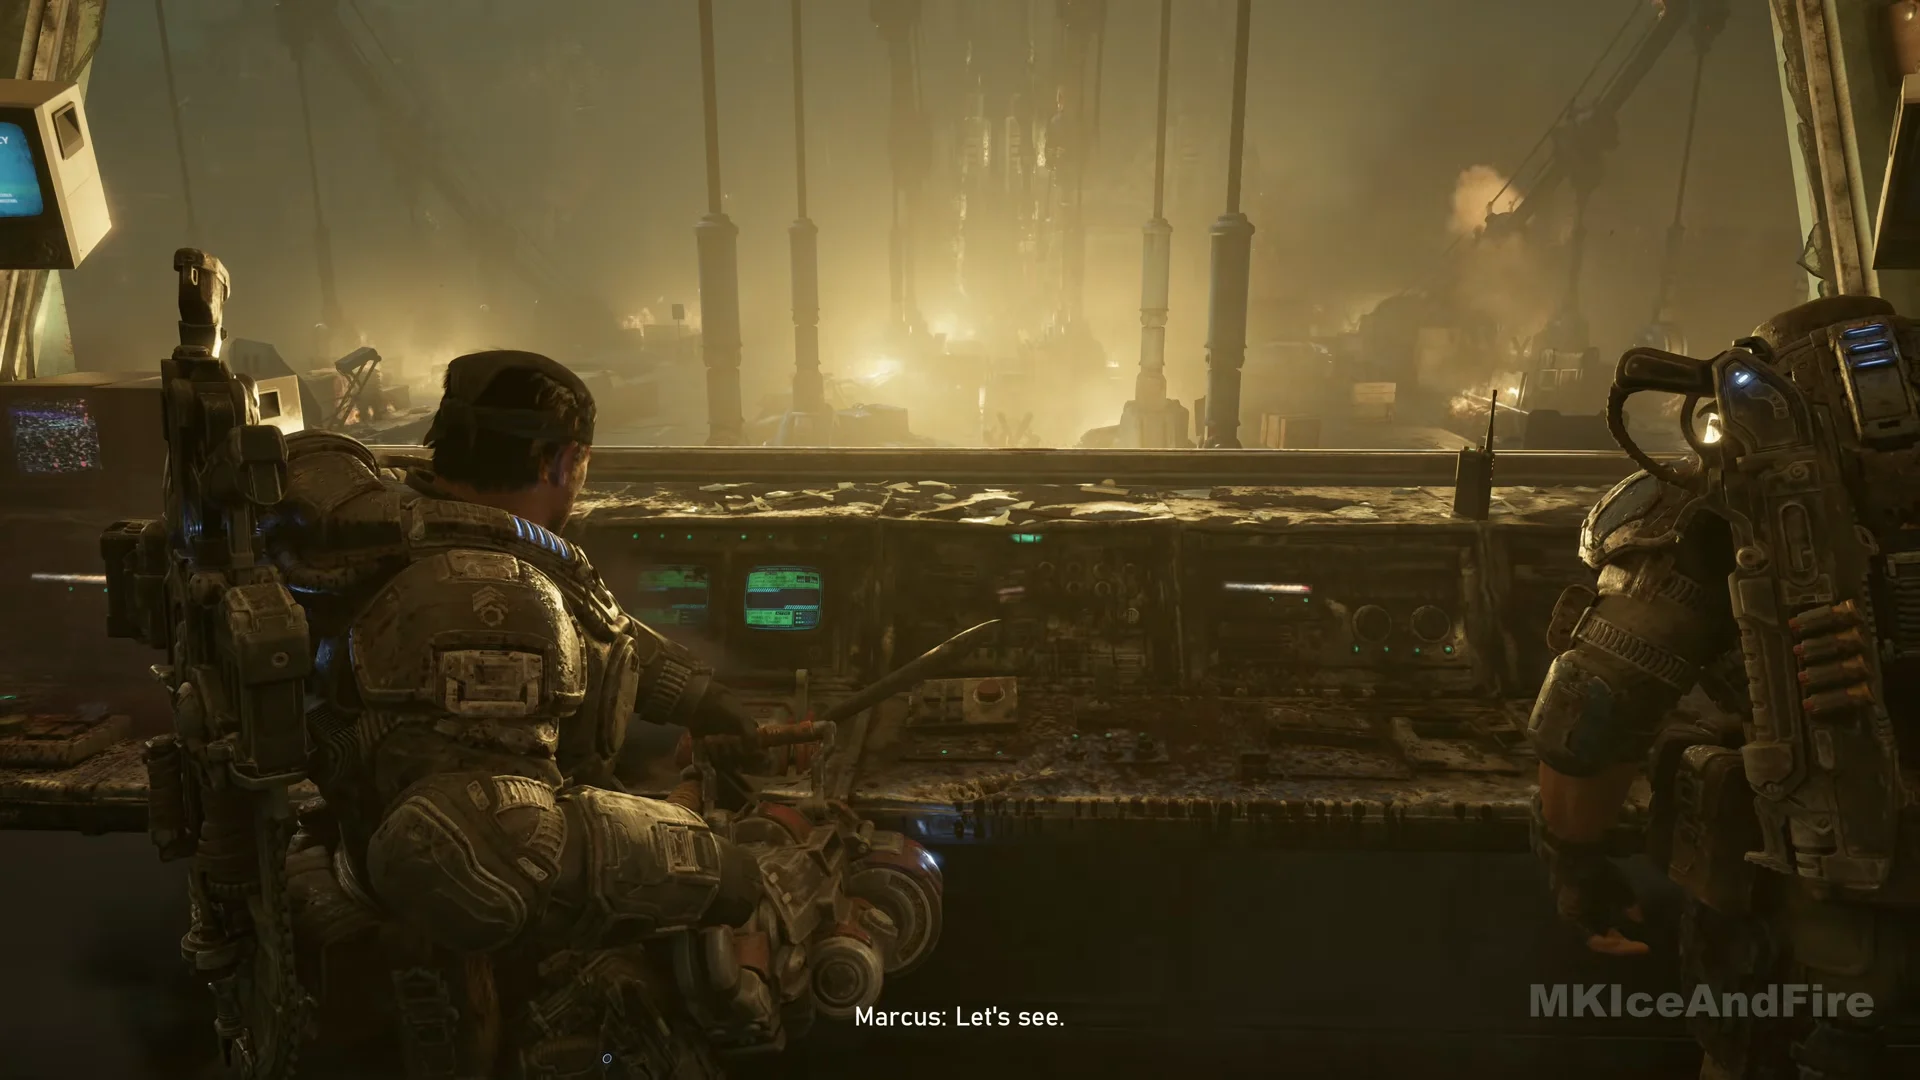
The switch in the east control room starts the span moving, then jams. So the objective shifts to getting to the west control room.
The two Vraahk fights and Dom’s run
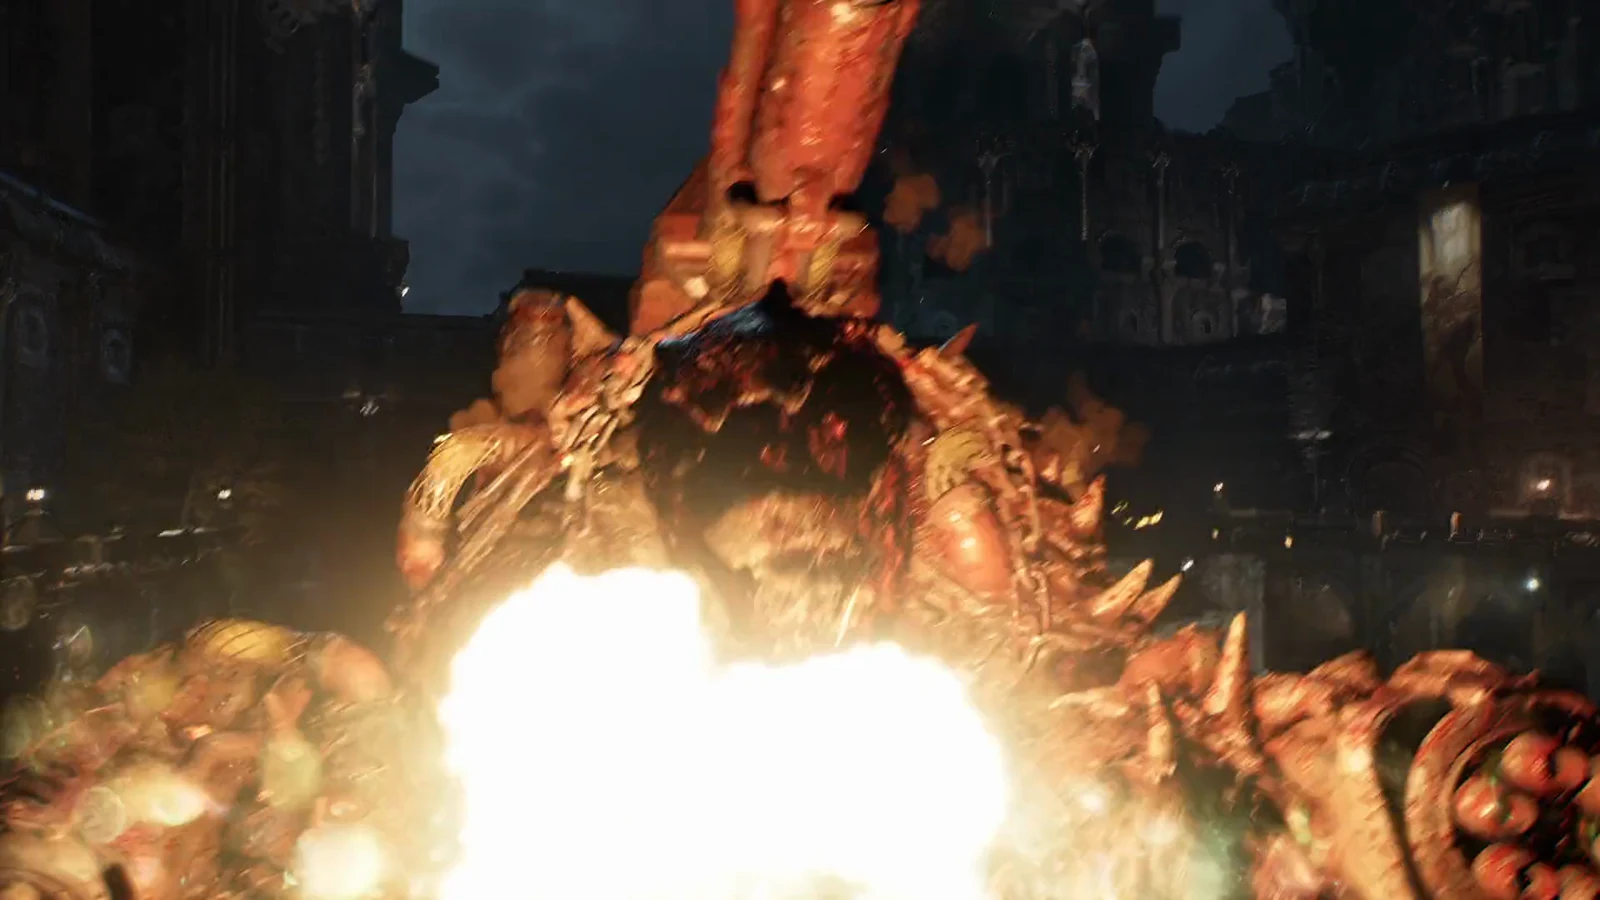
Vraahk confronts you on the deck between the control rooms, changing the objective to killing him. A thin health bar appears above his head, but this encounter cannot be won. The bar drops to about half before a cutscene ends the fight automatically.
Dom makes a break for the bridge detonator on his own, first asking Marcus to keep his family in mind. Vraahk knocks him down and pins him with a boot; Marcus charges in and pulls Vraahk away. The two then fight. Dom sees the detonator as their only chance to save everyone, and the news about his home earlier in the campaign left him feeling he had nothing to lose. Marcus refuses to lose Dom as he lost his brother Carlos, so they agree to face the danger together.
The bridge already has explosive charges from Act 3. Colonel Trench had asked to destroy it with civilians still aboard, but that was refused, and the charges remained unused. After Dom’s run, the squad abandons the control-room approach: demolishing the bridge clears the harbor, with Vraahk on it. The new objective is to get to the detonator.
A stalled sky train car provides the way past the blocked road. Beyond it, the detonator is visible, with Vraahk standing in the road between you and it.
The second fight and the demolition
The objective to kill Vraahk appears again, with the familiar narrow health bar above him. Now the bar can be drained. He sinks to his knees, and Marcus orders the detonator activated. Lucas receives the call; a squad member is shown from behind at the console, and explosions begin along the bridge cables.
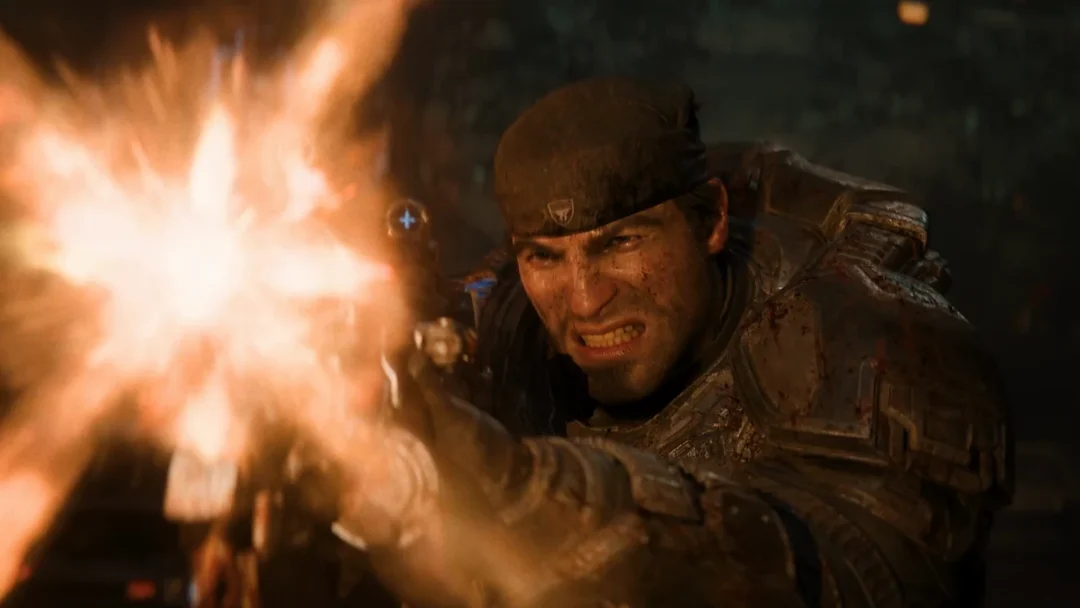
Vraahk rises again, seizes Marcus, and hurls him away from his Lancer. Marcus scrambles to the rifle, then drives the chainsaw upward through Vraahk’s right arm and cuts it off. The blasts reach them; Vraahk clutches the stump as the collapsing deck carries him toward the water. Marcus leaps the gap and grabs the broken edge, where Dom and Mags pull him to safety.
Vraahk is last seen falling. No body is shown, and nothing confirms what became of him beyond the lost arm and the drop.
The evacuation ship and the returning Raven
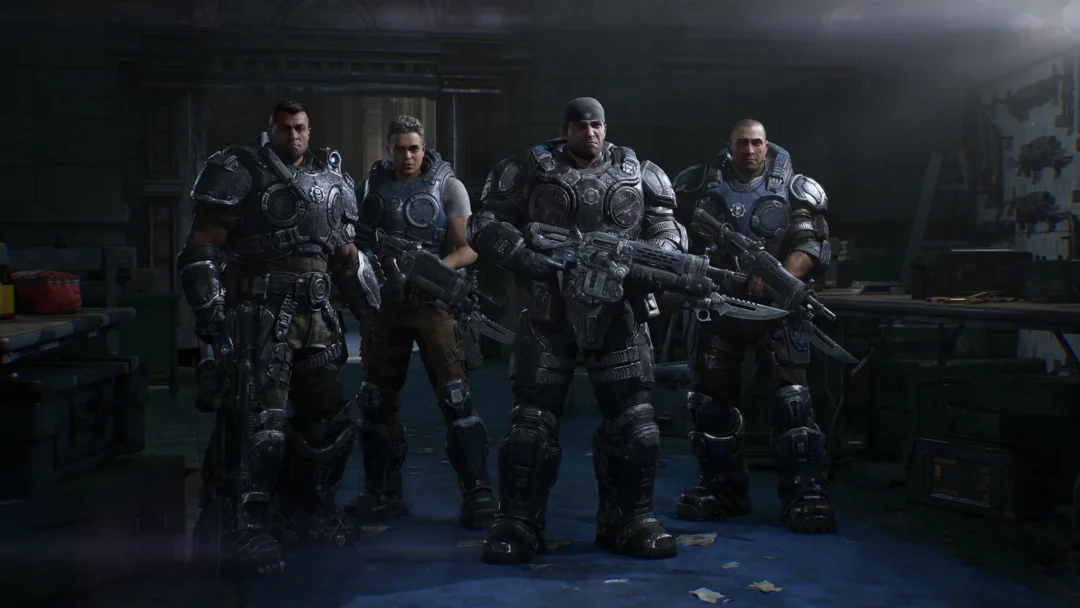
At sunrise, civilians and Gears board the ship, where Mayor Shaw and Captain Grey meet Bravo. They acknowledge that people remain in the city, but the ship cannot delay its departure. Michaelson hopes the convoy will be waiting at Port Farrall, while Marcus relies on his High Command contact, Anya Stroud, to deliver. Bravo is stood down, and Mags leaves on her own.
A King Raven touches down on the ship, bringing Gill, Tai, and Zee. As promised, Lucas returns Zee’s COG tags. A close-up reveals the name engraved on them: Zander Carmine, a nod to the Carmine line familiar to longtime players.
The final scene and title card
Kalona burns in the distance as the ship travels across the sea. Marcus and Dom are at the rail, looking over the packed deck. Dom says he has to return home and see what took place with his own eyes. Though lives were saved, he considers the day a defeat and confesses he believed his fighting days were over. He wonders if anyone can stop an enemy that shows neither mercy nor restraint. Marcus can only say that everything is lost if they fail. The scene fades to black.
The “Gears of War E-Day” logo appears against black, followed by a thank-you message and the first credits. During the message, a notification appears in the bottom-right corner reading “Carlos Santiago’s COG Tags and Photo Found!” alongside a View Collectibles prompt. The reward is granted automatically at this point, so there is nothing to pick up.
Who survives the ending
- Bravo Squad: Marcus Fenix, Dominic Santiago, Lucas, and Mags.
- Pilot Gill, Tai Kaliso, and Zee (Zander Carmine).
- The civilians and Gears aboard the ship, along with Mayor Shaw, Captain Grey, and Michaelson.
- Manu is alive at his last appearance aboard the ship before the bridge mission, though he does not appear in the closing scenes.
What the ending leaves open
- The open questions are whether the convoy is waiting in Port Farrall and whether the Jacinto Plateau remains secure.
That is the whole of it. The city is lost, the people on the ship are alive, and the war the series is built around has only just begun. Marcus and Dom are left staring back at the fire with more questions than answers, which is exactly the note a story about Emergence Day is built to end on.