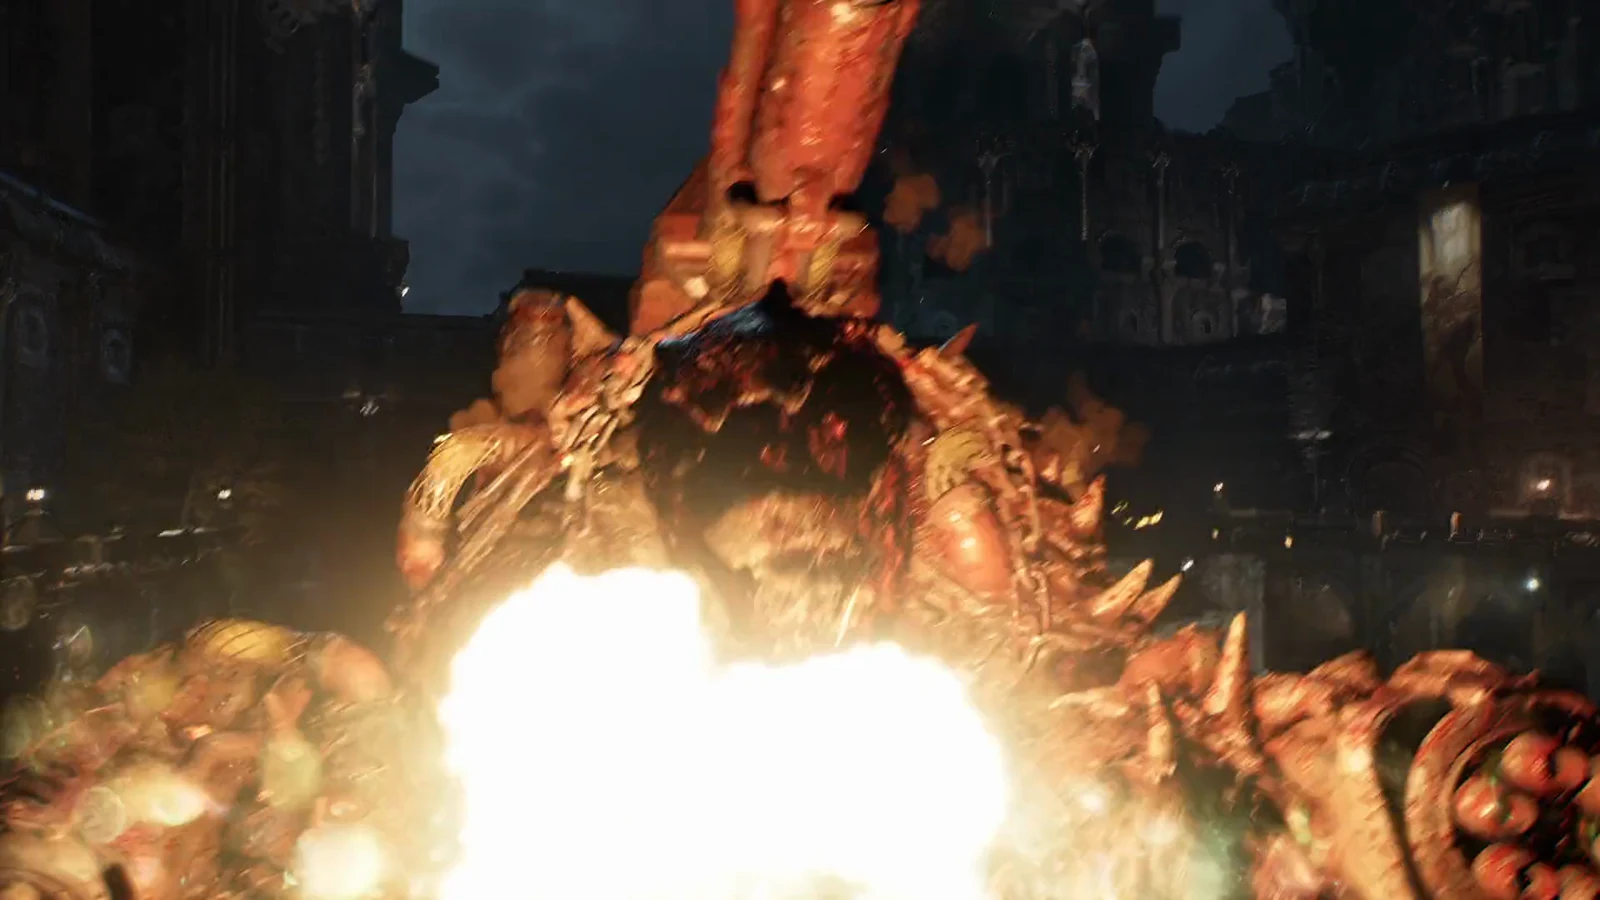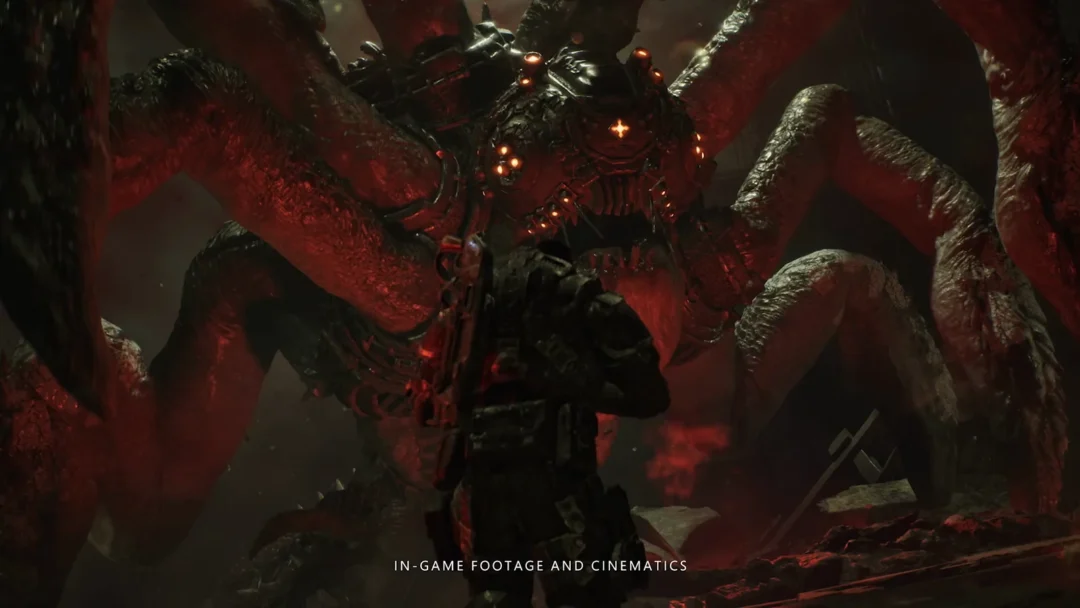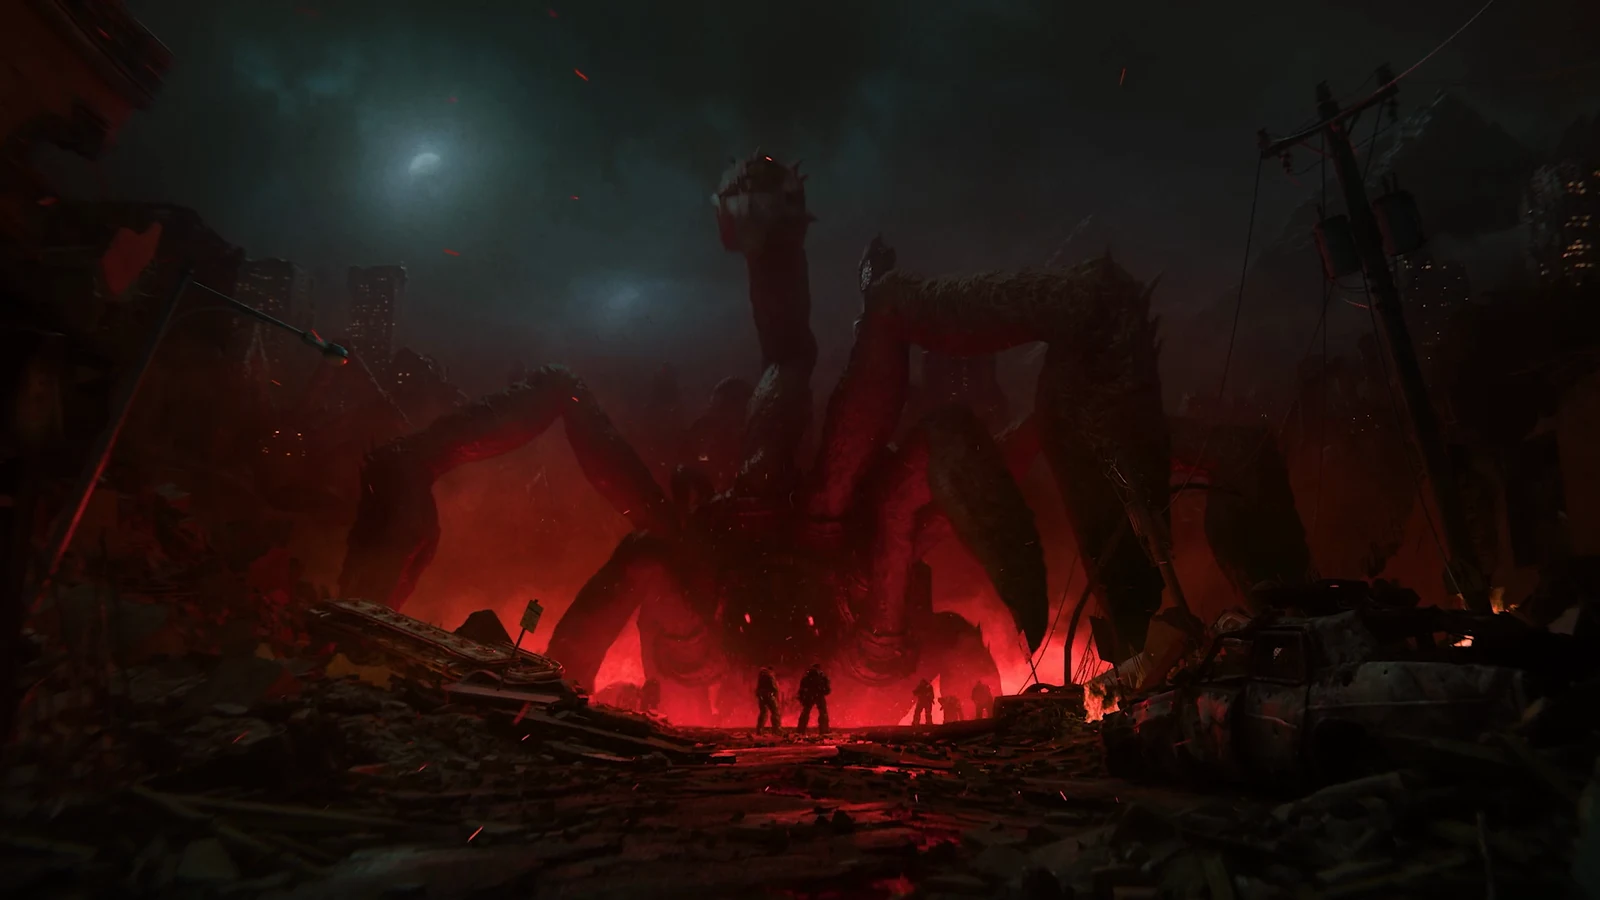
The Corpser at the end of Act 3, Chapter 2: Enemy Lines does not die the way the old ones did. Shooting its body works for a while, then stops mattering. In the second room the fight turns into a positioning problem, and the arena itself is what kills it. Here is how to read the two rooms and finish the fight cleanly.
Quick answer: Shoot the Corpser’s glowing face to bait a charge, stand so a support pillar is between you and it, then move clear and let the ram collapse the pillar onto it. Repeat until the ceiling comes down.
How the Corpser fight works
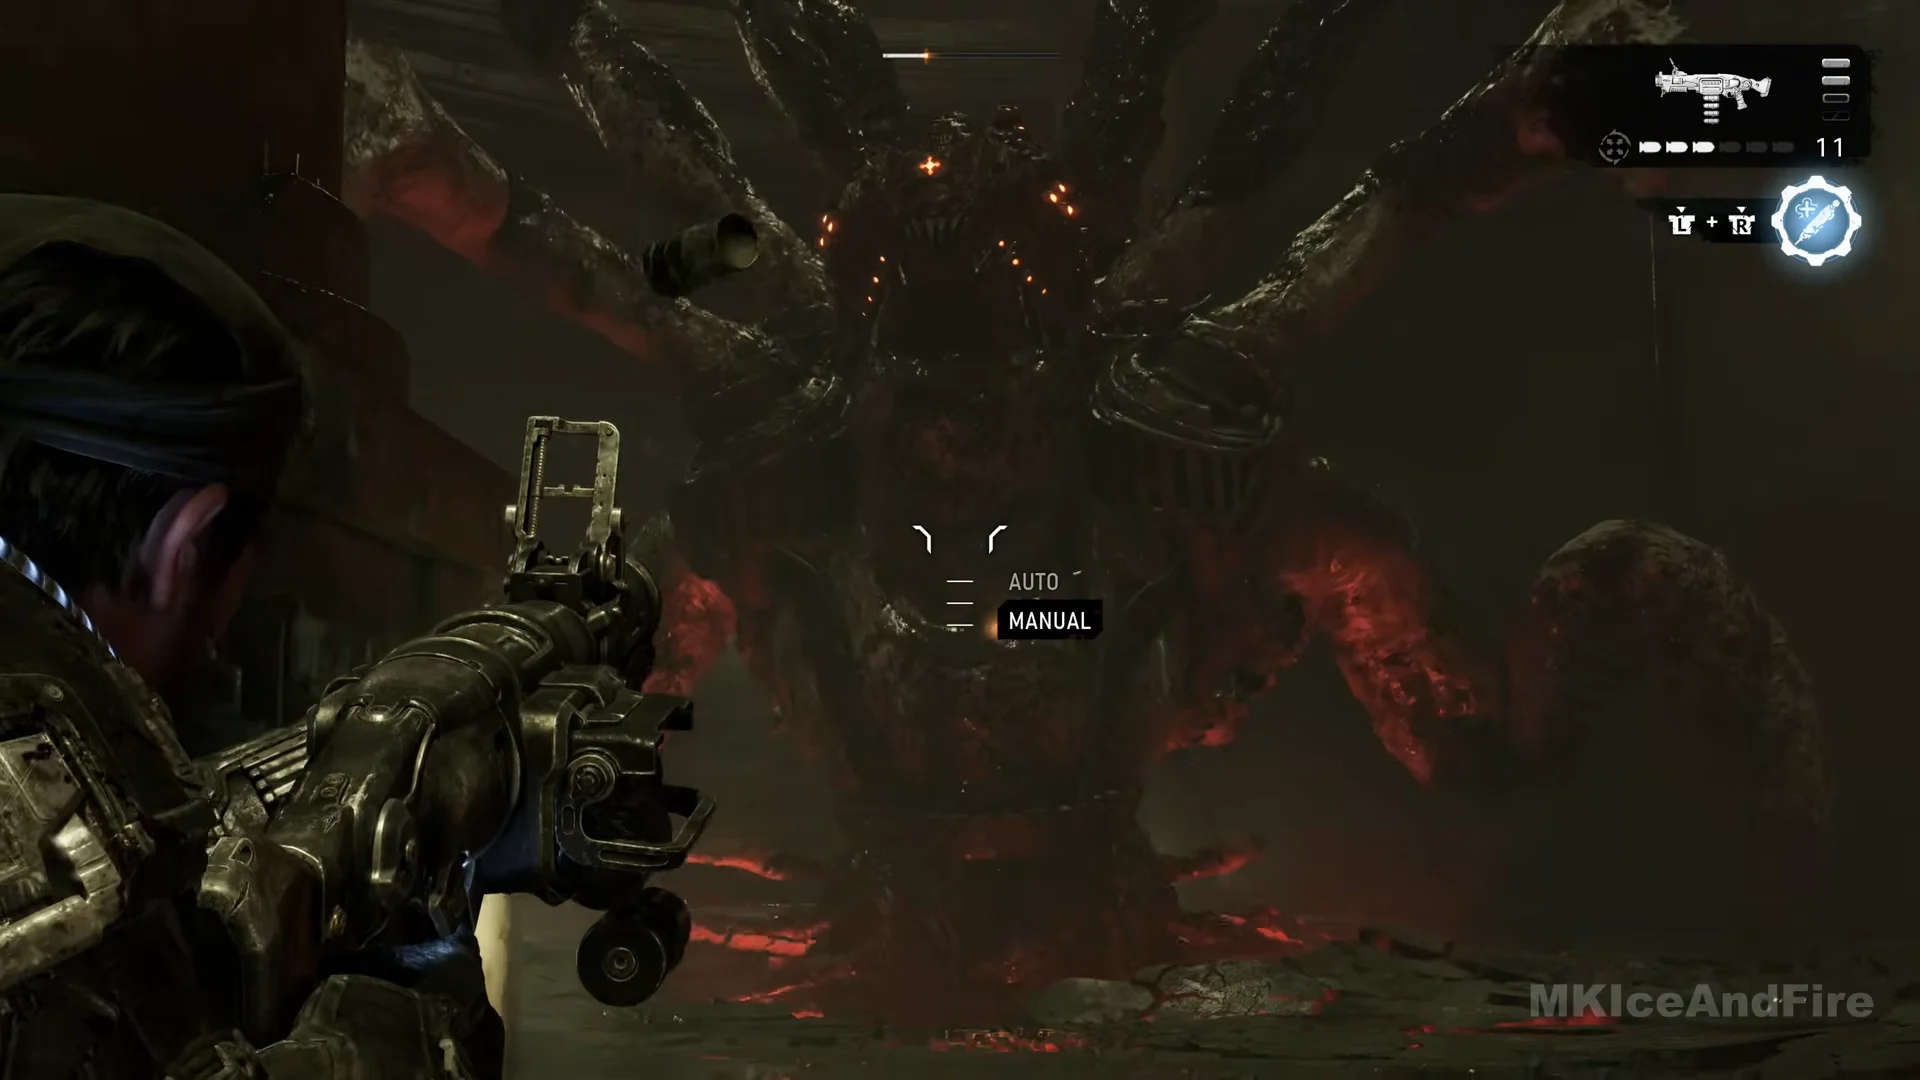
The fight takes place in two sewer chambers. In each, the Corpser holds its pale, fractured front legs tight together, blocking shots; firing at them deals no damage. Aim for the red, glowing-eyed face behind the legs. You can hit it when the legs part ahead of an attack, as the creature rises up, or immediately after it emerges.
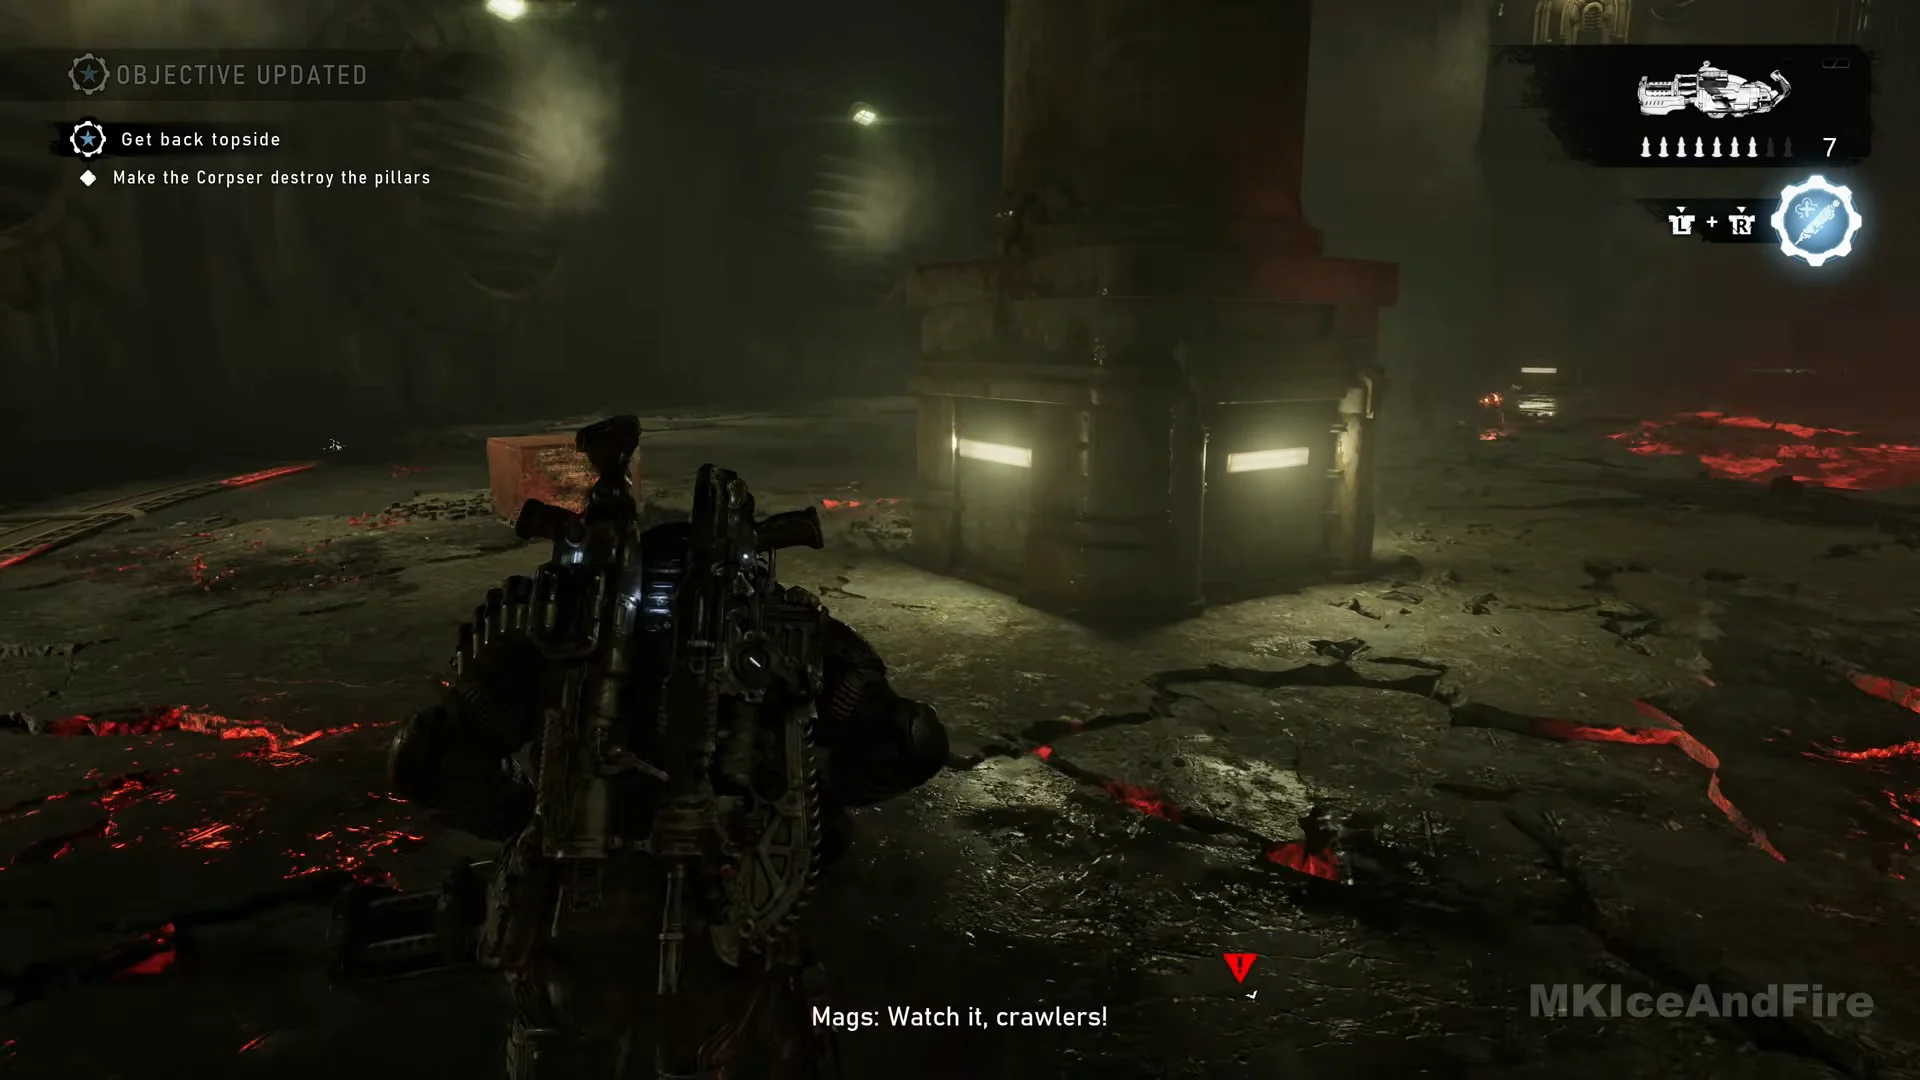
A narrow white health meter hovers over the creature. In chamber 42, shots to the face reduce it. In chamber 43, shooting by itself cannot finish the battle. Your task becomes “Make the Corpser destroy the pillars”, and every support it crashes into visibly reduces the meter.
Face shots provoke the Corpser into charging, letting you guide its movement with your aim. Where you stand is more important than dealing damage: whenever it prepares to charge, keep a standing pillar between you and it.
Gear up at the last Supply Cache
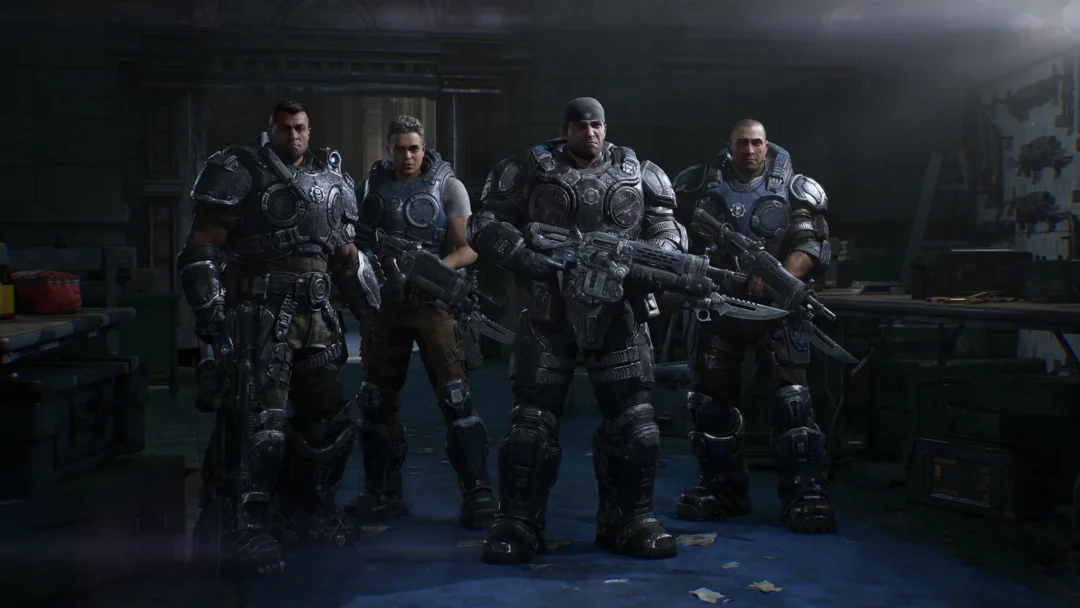
Immediately before the drop into the reservoir, the squad enters the concrete storm sewer. Beside the large pipes along the wall are a Hard Case (containing the Precision Rifling / Proto Lancer Mod), the COG Tags of Private First Class Erick Davis, and a Supply Cache.
Resupply here before proceeding. This is the last one before the boss; there is no chance to restock between the two rooms. A solid setup is the Prototype Lancer 600, Gut-Puncher 14, Snub 136, and 2 Frag Grenades. Pick up the ammo beyond the cache, go across the catwalk, and drop down. A brief cutscene shows the Corpser erupting from the floor.
The cache also offers the Adrenaline Injector, which immediately refills health and reduces damage taken while active. It is worth carrying into this fight.
Chamber 42: expose and shoot the face
The objective becomes “Defeat the Corpser”. It waits in a glowing red hole, its legs held together. Use the square concrete pillar at the center of the room for cover, firing from its sides whenever the legs part or rise to reveal the face.
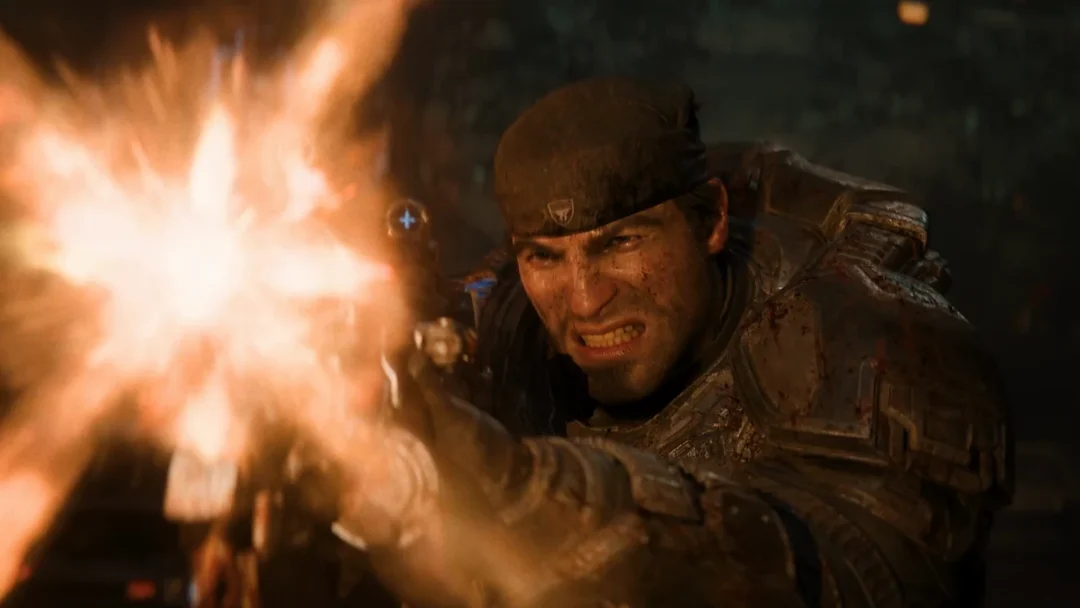
Start by firing the Gut-Puncher at its face, then change to the Prototype Lancer and hold full auto. The Corpser may jab with its front legs, pound them down ahead of itself, or lunge; avoid the exposed ground straight in front of it. To finish the room, it charges into the pillar you have been using for cover, so leave the pillar as soon as it draws back to strike. It then burrows underground, a checkpoint is saved, and the objective changes back to “Find the sewer exit”.
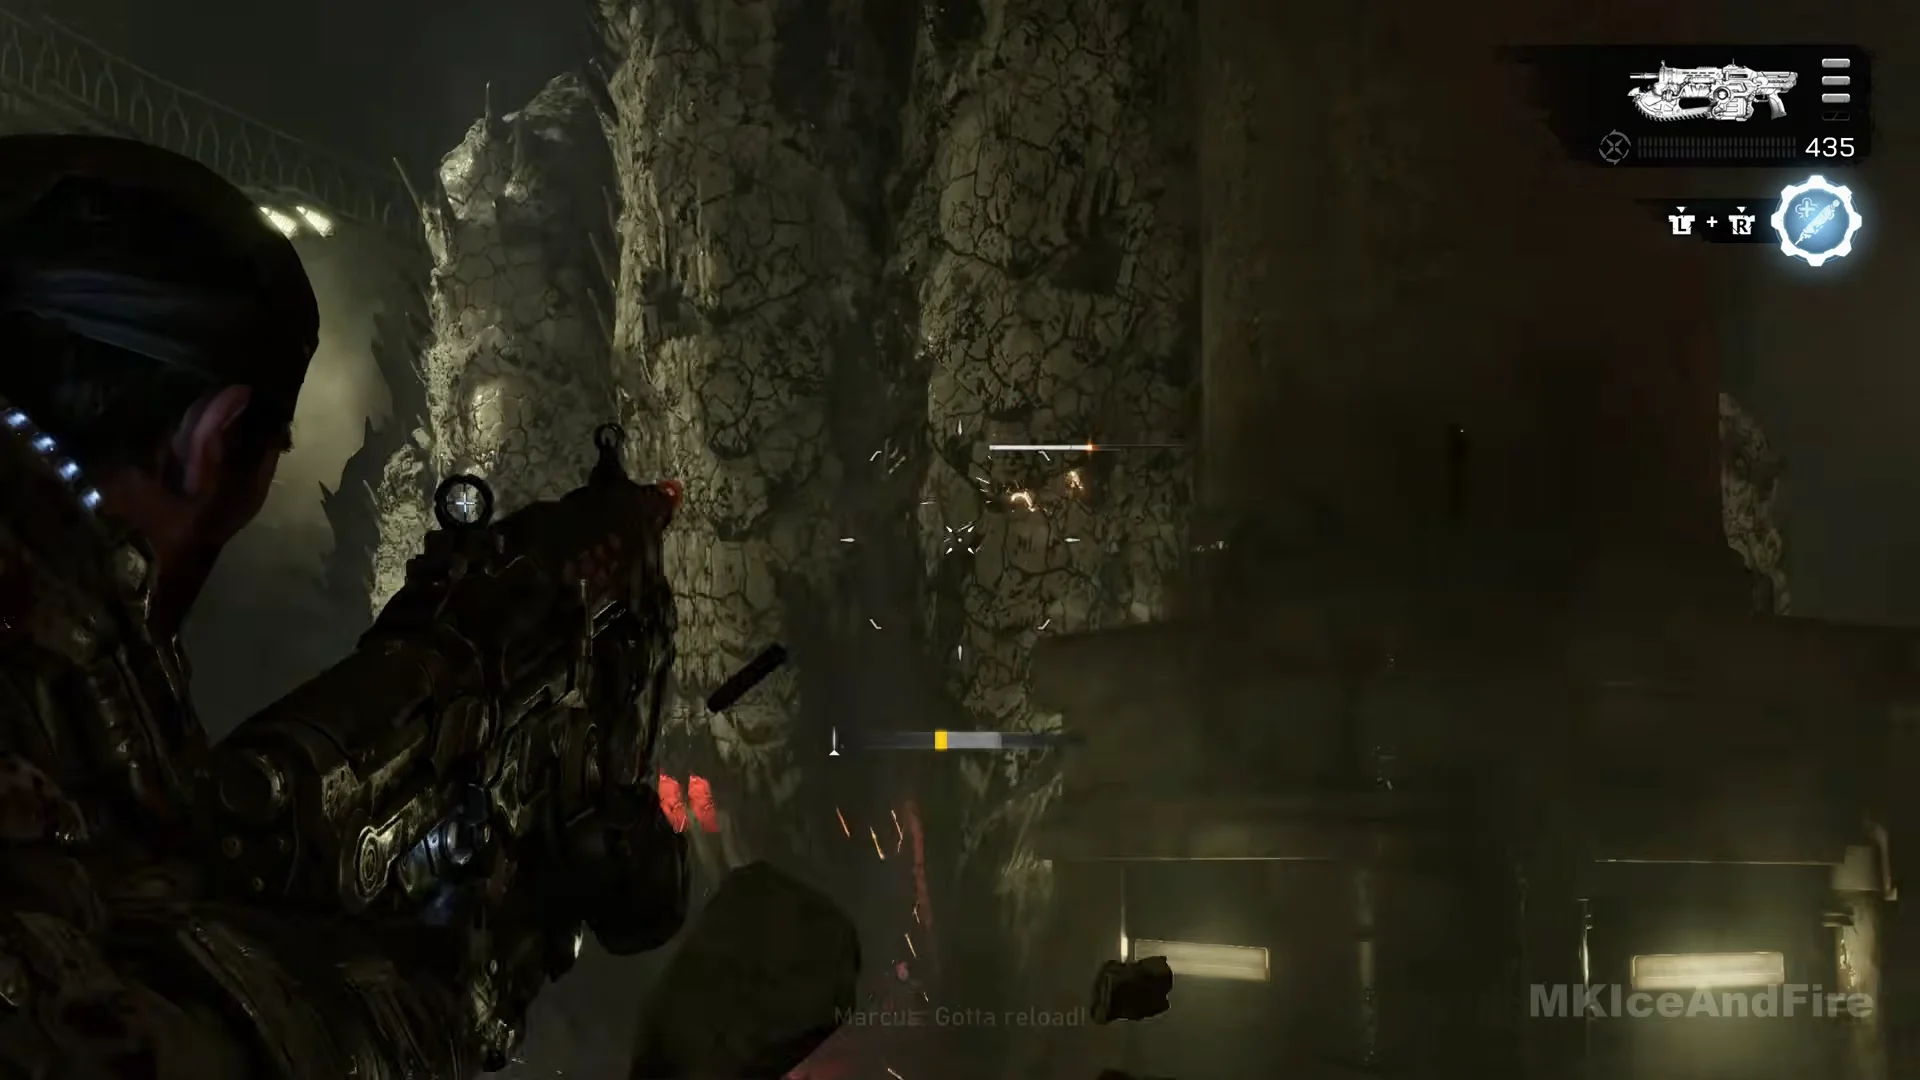
Grab the Troika on the way out
An ammo box beside the damaged pillar replenishes the Lancer and Gut-Puncher. A Troika holding 96 rounds rests on the wooden crates beside the box. Pick it up; it is the strongest weapon to start the next room with. There is also a Hammerburst on the floor, but you can leave it.
Climb the metal stairs, then continue along the catwalk. The walkway has warped, broken sections; keep moving, follow its curve, and drop into the chamber ahead. You will not encounter any enemies along the route.
Chamber 43: make it wreck the pillars
The chamber is circular, with several heavy support pillars and strip lights running around each base. A glowing breach in the floor is where the Corpser emerges. The encounter follows a brief pattern, repeated at a new pillar each time.
Three pillar breaks happen before the fight ends, but the game shows no pillar counter. Keep repeating the loop until the squad calls out the ceiling coming loose and the cutscene triggers rather than counting shots.
Handling Tickers and leg attacks
Tickers account for most of the damage in the second chamber. Whenever the Corpser is underground, these small glowing creatures emerge from the red burrows and detonate near you. A red arrow indicates when one is approaching. Kill them from a distance, since they explode at the spot where they fall.
The rest of the threat is the Corpser itself. Watch for these moments:
- Keep away from the ground immediately ahead of the Corpser, where its front legs strike and stab.
- Standing against a pillar when it connects collapses the pillar on you. Move clear before impact.
- The Adrenaline Injector immediately refills health and grants Adrenaline, reducing damage taken and increasing damage dealt while active.
The HUD countdown is not a fight timer
Activating the Adrenaline Injector gives the screen edges an icy blue-white tint, while its circular icon in the top right changes to dark red. A nearby number counts down from about 32 seconds. This tracks the injector’s cooldown, not a deadline. There is no timer on the Corpser encounter, so you can take your time with the pillar sequence.
How you know it is over
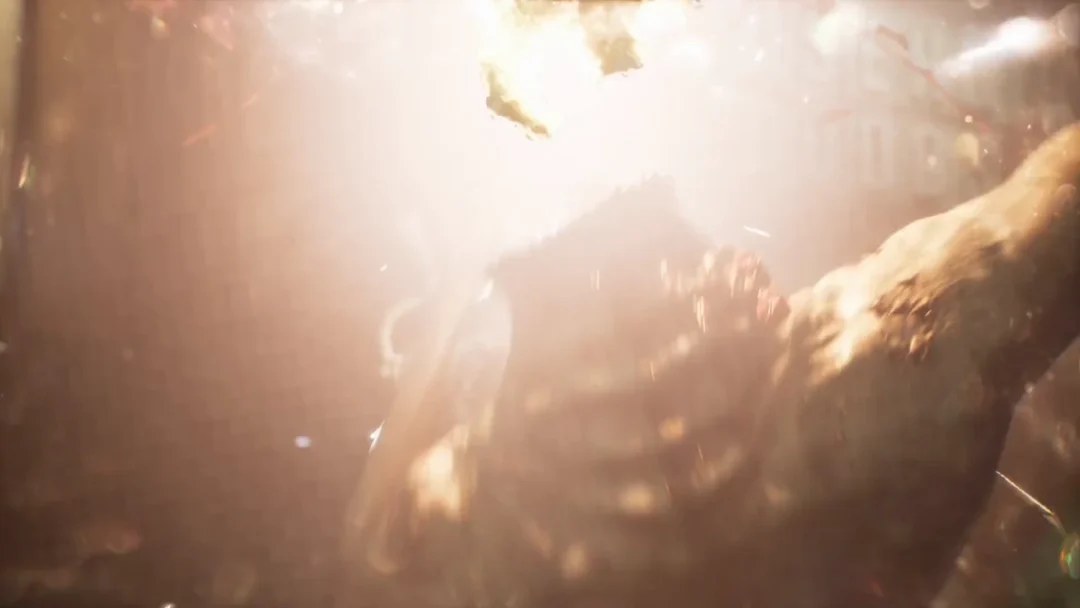
Once the third pillar breaks, the objective updates and a checkpoint is saved before the cutscene begins. Marcus is on the ground beneath the Corpser; Dom pulls him away as a broken column and falling ceiling masonry crush the creature’s head, pinning it down. The collapse opens a path to the surface, and the squad climbs out through it. The chapter ends and continues into Act 3, Chapter 3: Last Foothold.