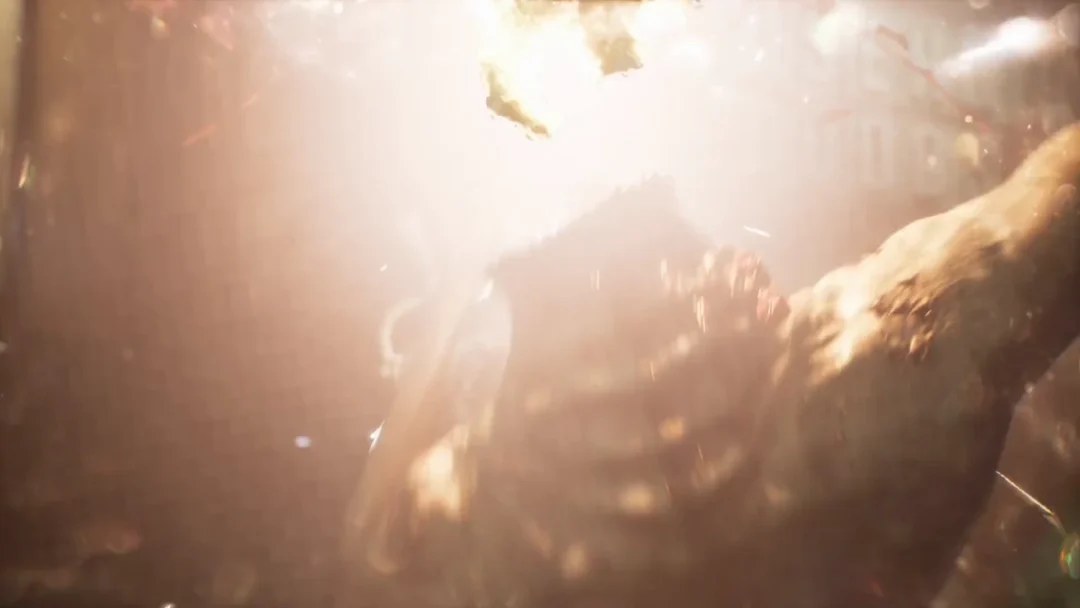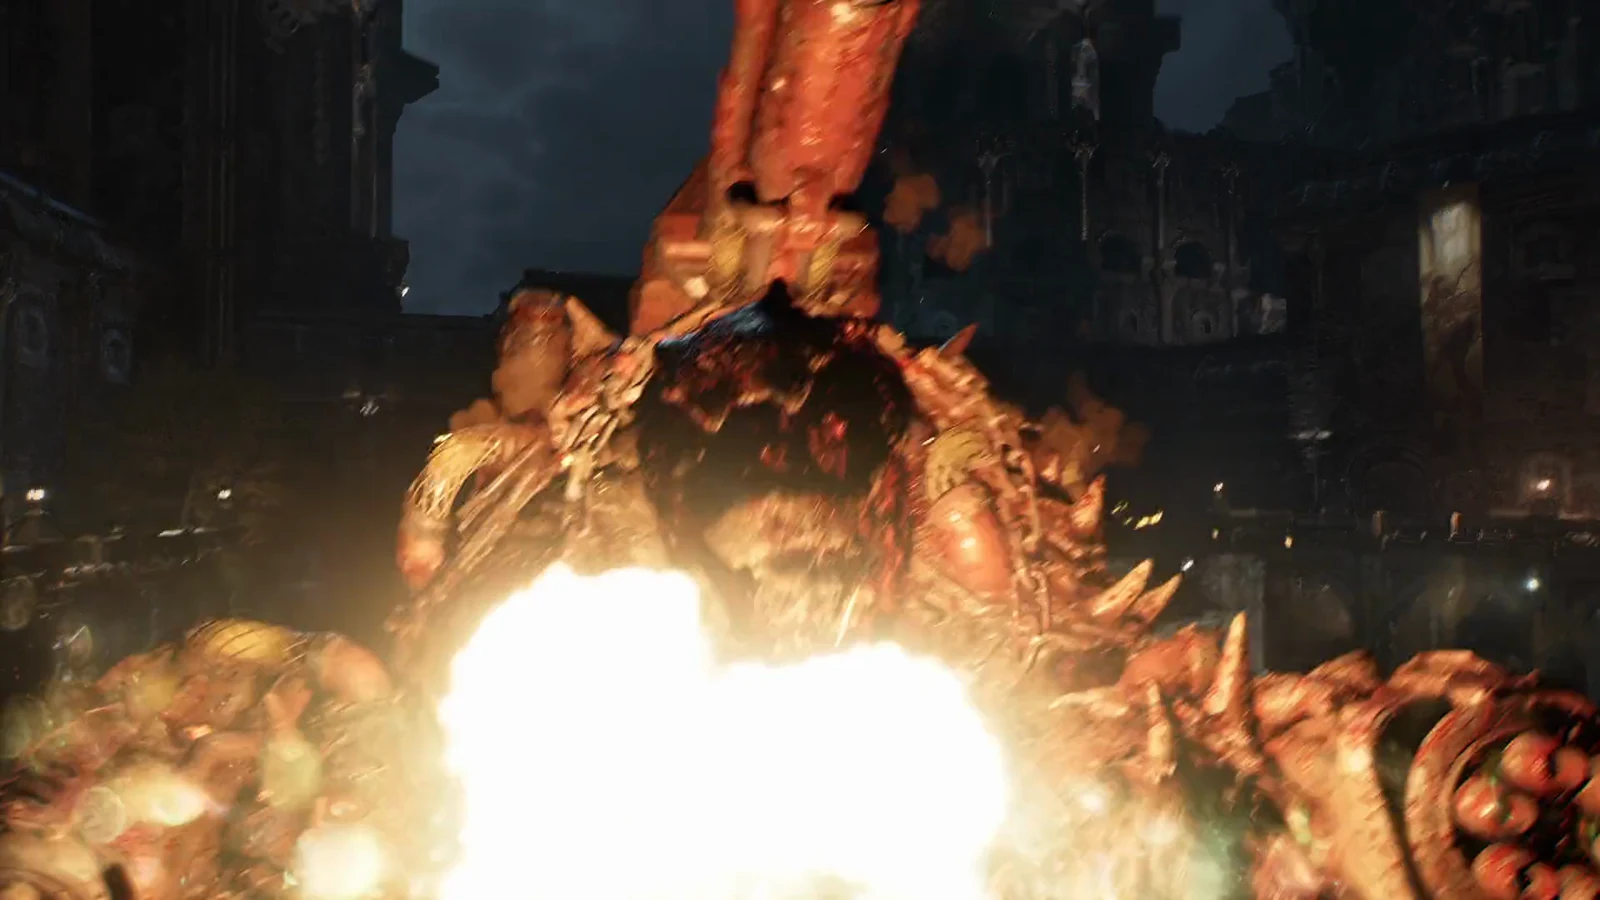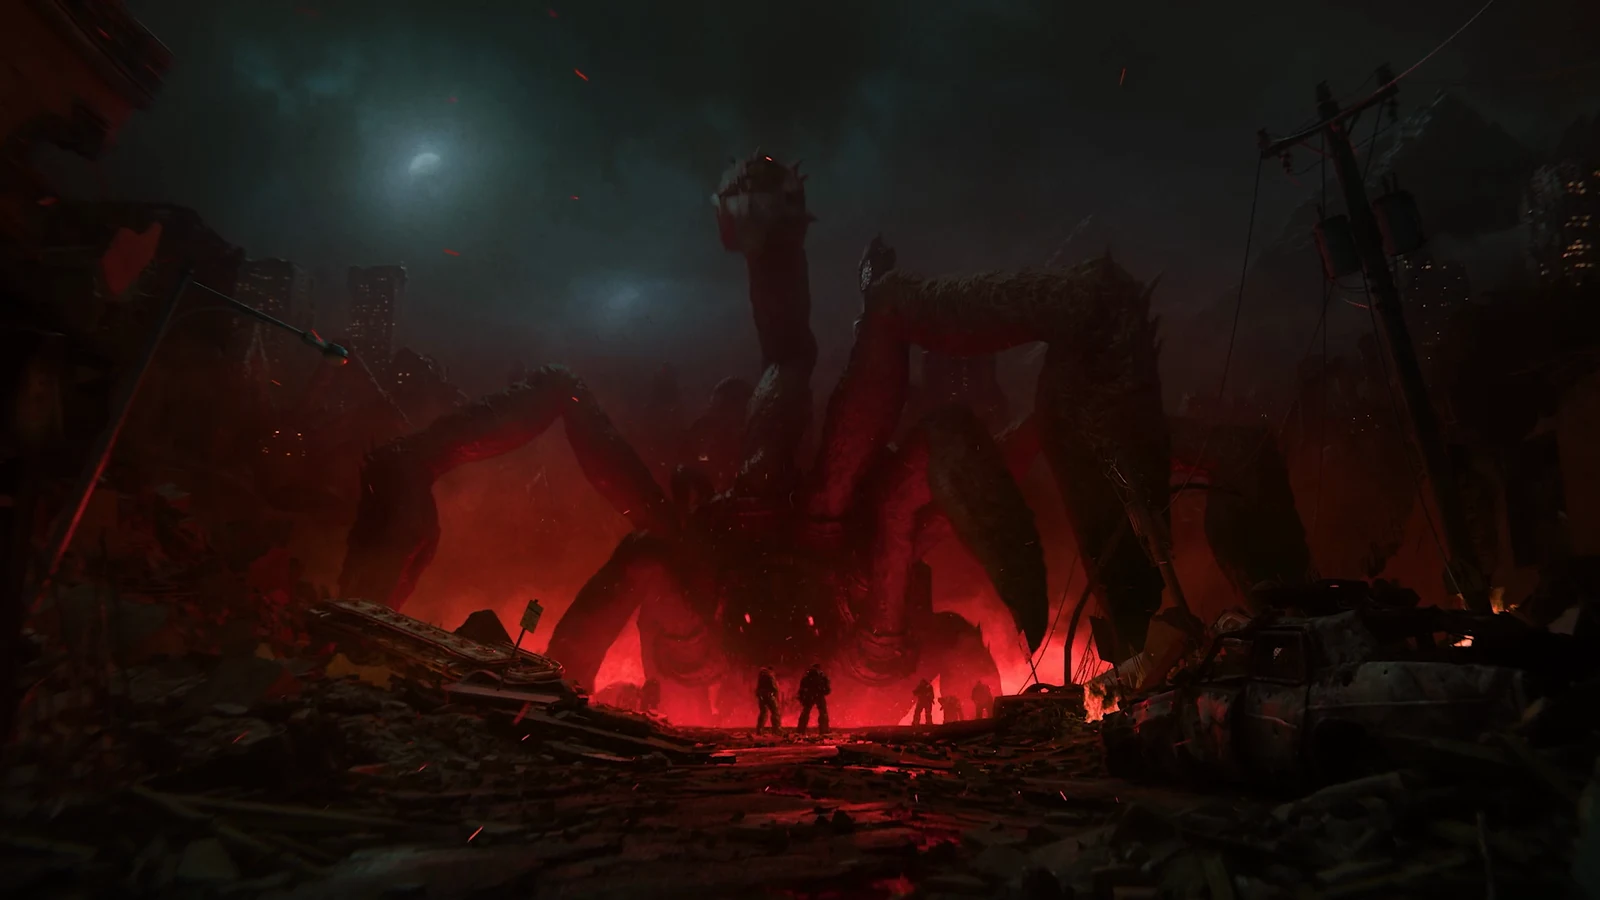
The Act 1, Chapter 4 encounter, “Back in the Fold,” ends with the Brumak. It shows up just after the escort arrives at Kalona City Hall. This crouched, armored creature towers several times over a Gear and wears thick chains around both forearms. It has a single health bar and phase, with no scripted weak spot. Stay back, put cover between you and the beast, and bombard its head and chest with grenades and rifle fire.
Quick answer: Fire the Gut-Puncher at its head and chest, refill from the street ammo box, finish with the Lancer Mk1, and never stop relocating. It falls in roughly two and a half minutes on Normal.
Grab the Gut-Puncher and top up before the cutscene
The fight is decided before it starts. The Gut-Puncher grenade launcher is the main damage here, and it is lying on the plaza a few minutes earlier. Pick it up while the defense wave is clear so you walk into the boss with full ammo rather than half-empty rifles.
Touching the City Hall doors starts the cutscene that leads straight into the boss. Do not open them until your ammo is topped up.
Keep moving: positioning against the Brumak
You regain control atop the City Hall steps. The Brumak is below, near the angel statues, and the objective “Kill the Brumak” appears. Avoid staying behind the same cover for long. Shoot while the distance is manageable, but switch to another lane as soon as the creature starts gaining ground.
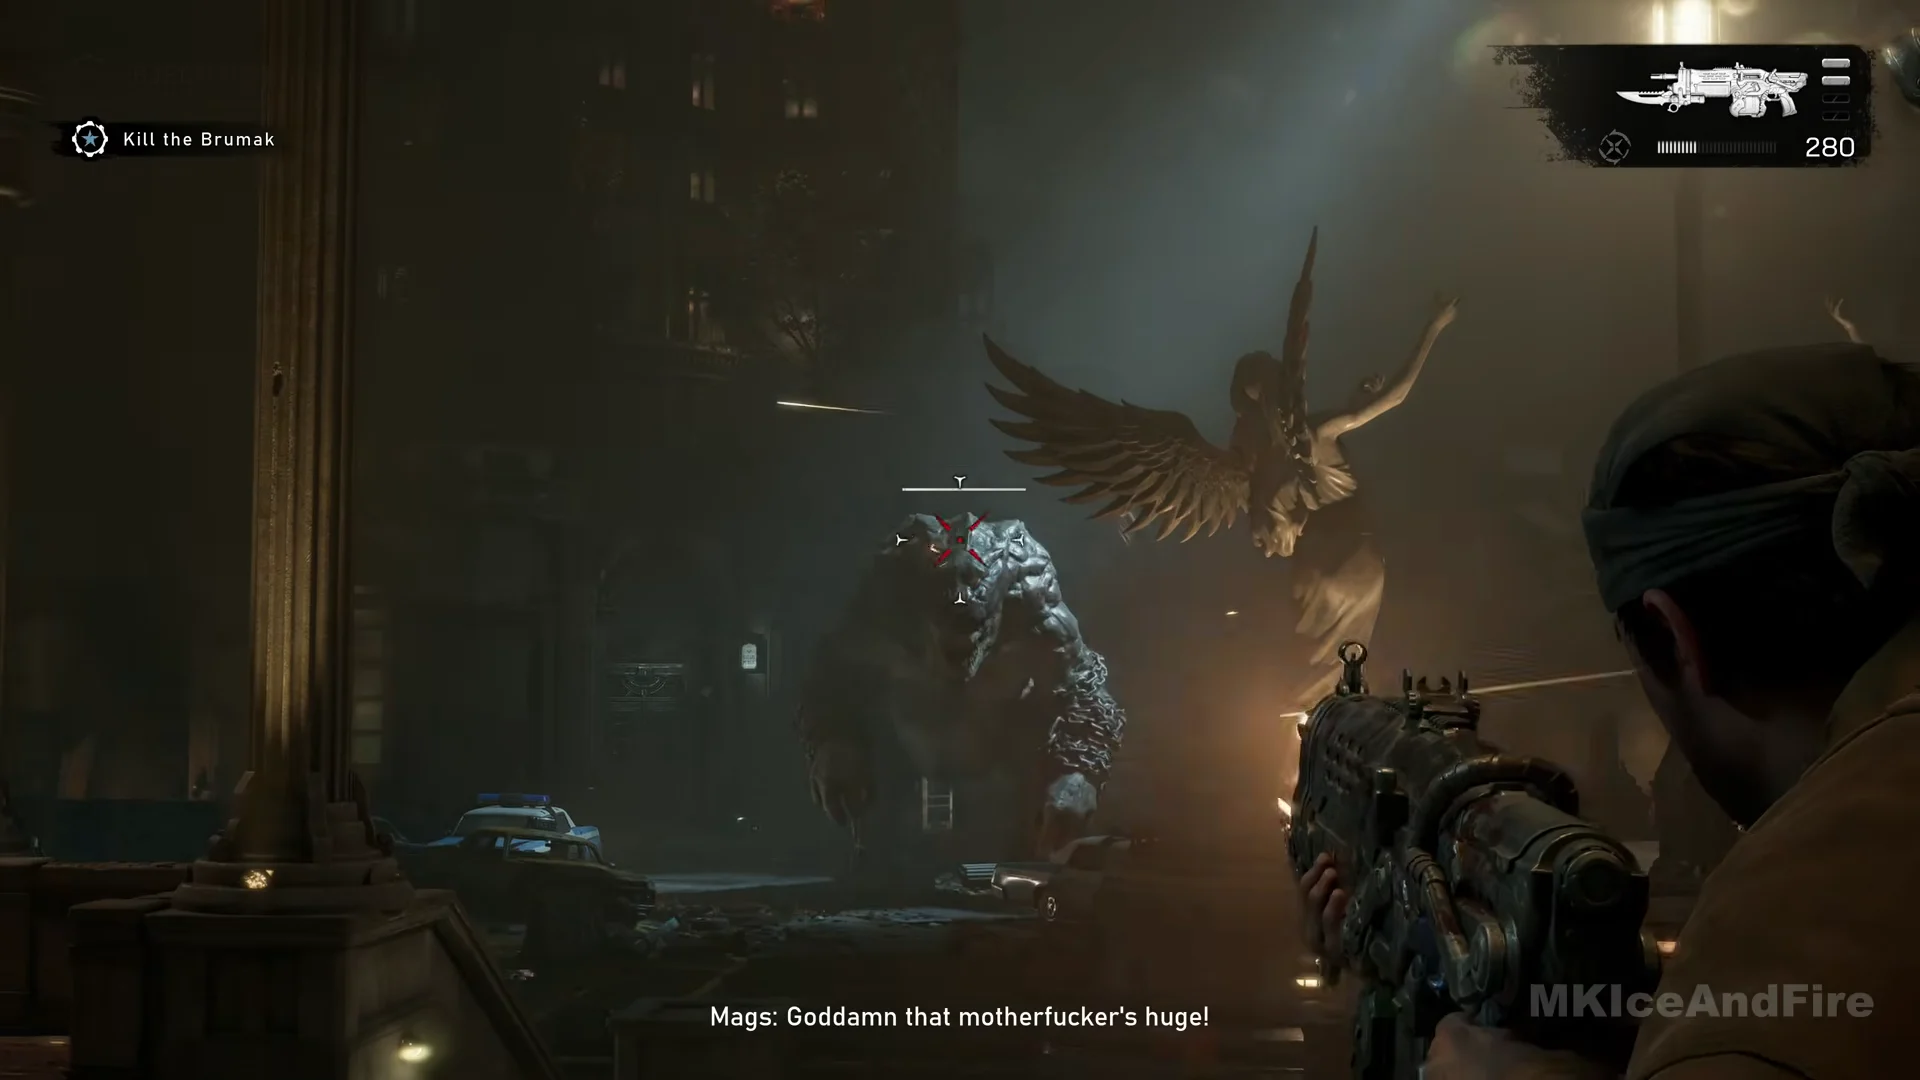
Being above it will not keep you safe. In roughly 25 seconds, the Brumak reaches the terrace and looms on the other side of the balustrade, leaving no balcony where you can camp. The moment it faces you, move away—descend the steps and cross the street, or circle the next pillar.
At close range it swings its chain-wrapped arms, and the squad calls out “Watch the chains!” Those swings come fast, so do not try to read each wind-up. The reliable rule is distance plus an obstacle. Roll away rather than backpedaling in a straight line, and keep a pillar, a planter, or the round domed stone structure between you and it.
- Start on the terrace balustrade, shooting down into the plaza.
- Once it reaches the upper level, head down to the street and fight around the wrecked cars and rubble near the armored vehicle.
- As the fight continues, use the distant terrace and its sandbags, then move around the round domed stone structure by the road to get clear shots at the Brumak’s face.
- Finish from the City Hall steps, firing back down over a planter.
What hurts the Brumak and where to aim
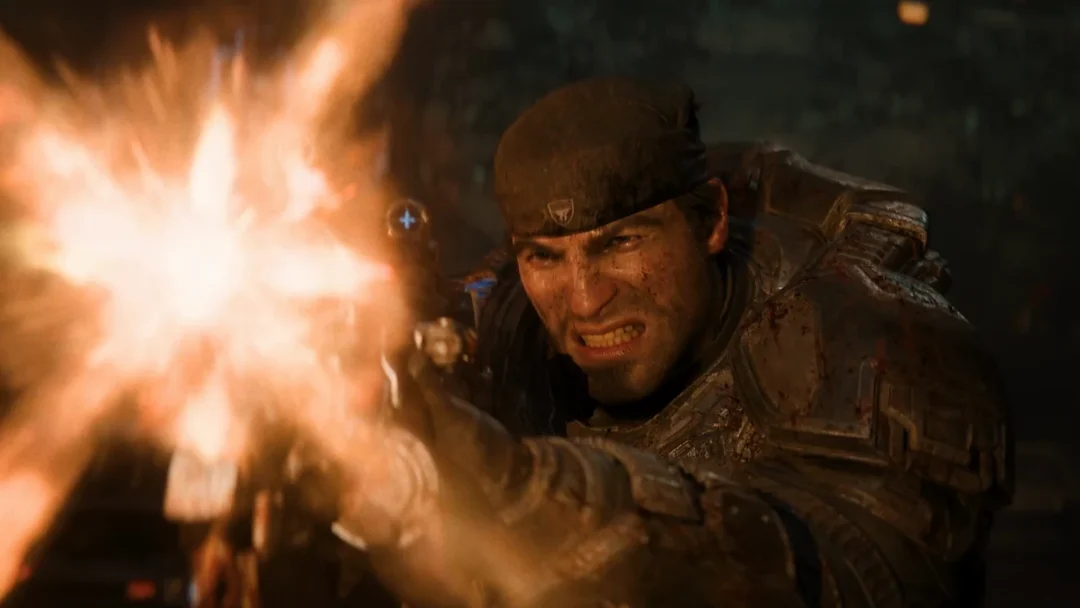
Put all your fire into its head and chest, starting with the Gut-Puncher. Aiming displays a red mesh circle over the body, indicating the grenade’s blast radius; a direct hit on its face erupts in a white-blue flash. At close range, hold the trigger and release once the grenade reaches your chosen spot for safer firing.
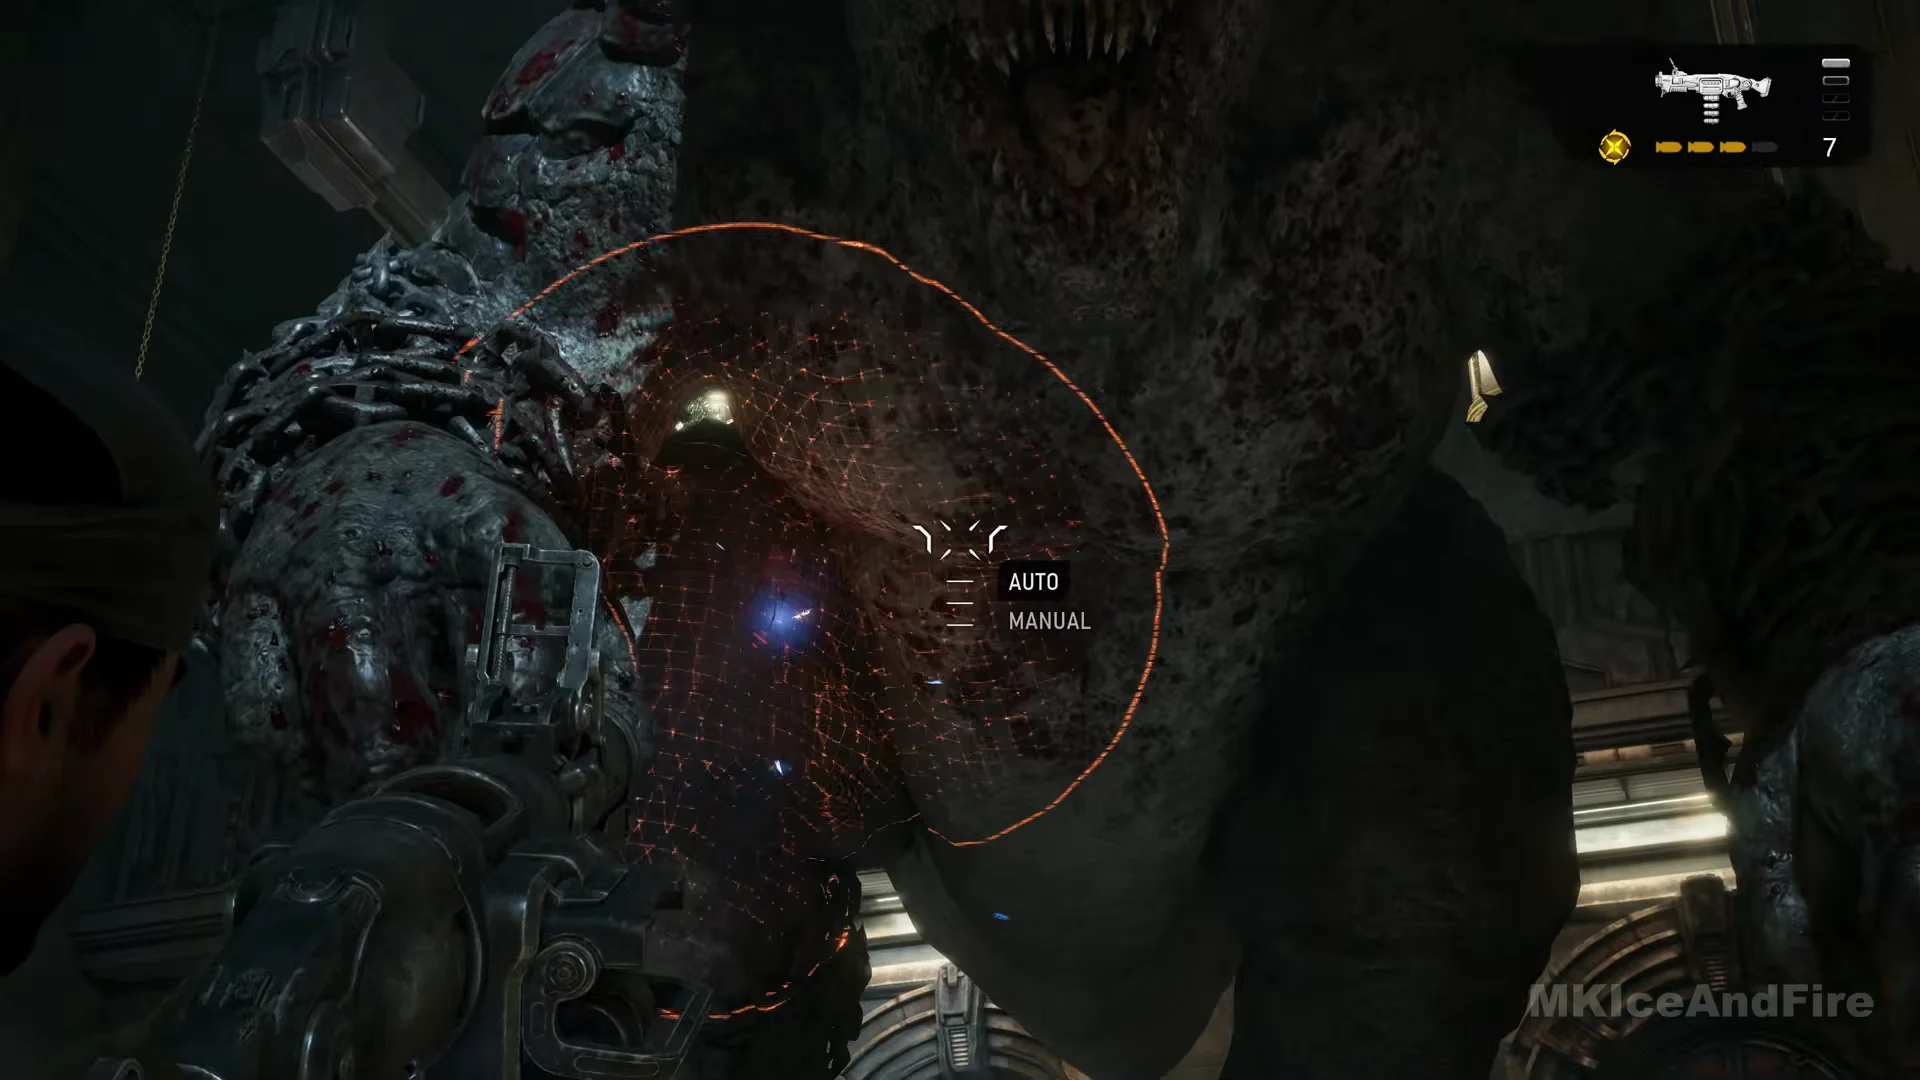
While the Gut-Puncher reloads, change to the Lancer Mk1 and keep shooting at the head. A second press timed to the yellow mark on the reload bar avoids the full reload animation and keeps the rifle firing. You can skip Frag Grenades in this battle, and there is no reason to switch to the Gnasher.
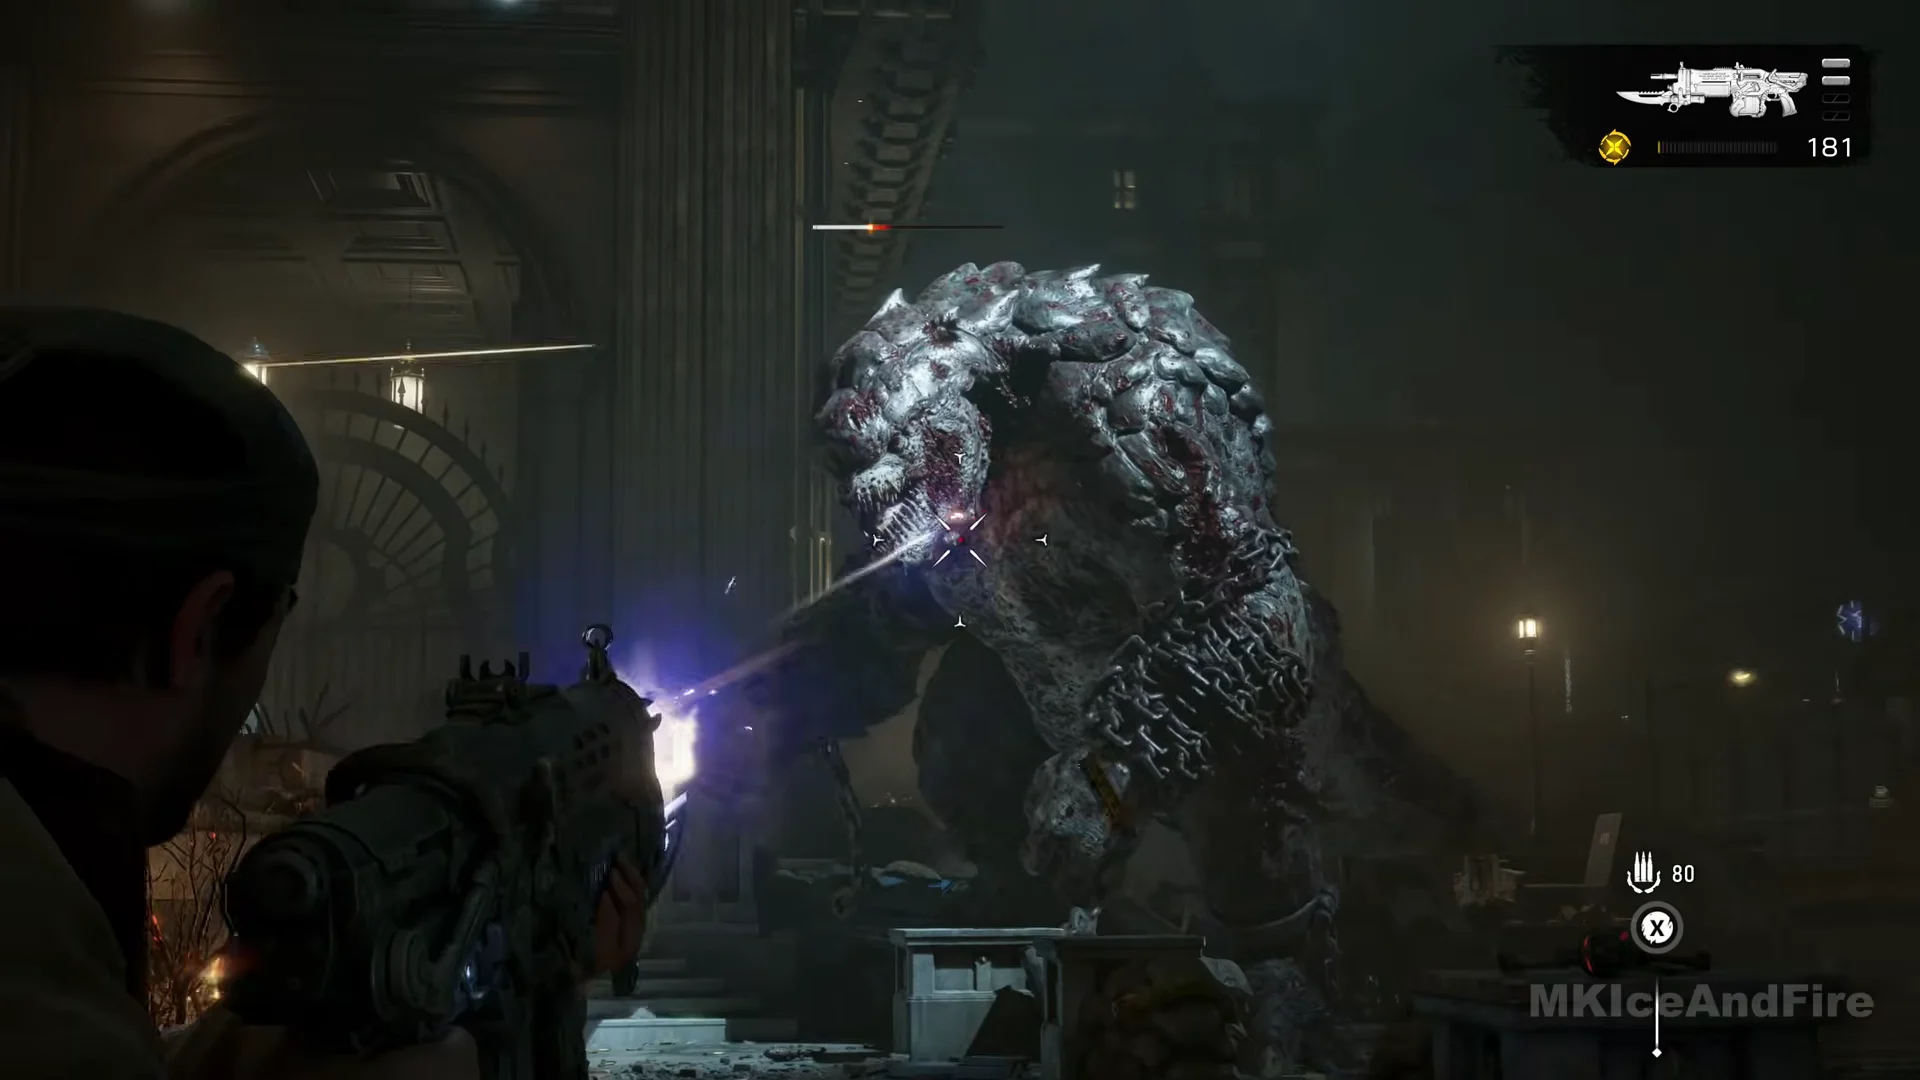
On Normal, Marcus will use about 18 Gut-Puncher grenades and fewer than 200 Lancer rounds, with the squad adding its own fire. When the bar is around one-third full midway through, using another full grenade load nearly empties it; finish the remaining health with the Lancer.
Refill during the fight
You will run the launcher dry before the Brumak dies, so know where to reload. There are two ammo boxes in the arena, plus leftover weapons on the ground.
| Pickup | Location | Gives |
|---|---|---|
| Ammo box 1 | Rubble pile in the street next to the parked armored vehicle | 57 Lancer rounds and 9 grenades (refills both) |
| Ammo box 2 | Far terrace by the sandbags, marked 80 | Spare Lancer ammo, usually not needed |
| Gnasher / Hammerbursts | City Hall landing, in front of the angel statue, and on the road | Not worth swapping the Gut-Puncher for |
Ammo box 1 sits right where the crawler swarm shows up, so clear them first and you can grab the refill on the spot.
Handle the crawlers and the sinkhole
Two interruptions break up the fight. Deal with each quickly, then return fire to the boss. Getting surrounded is far more dangerous than pausing your damage on the Brumak for a few seconds.
The first threat is a pack of small, pale, four-legged creatures that rush in from the buildings: Marcus identifies them as Crawlers. Wait until they bunch together, then a single grenade will kill most in a red burst. Take out any survivor that reaches you with a melee strike. Clear the pack before it surrounds you, and collect the ammo box nearby.
Later, a tall red plume marks a sinkhole that opens in the road, with a Crawler already next to it. Send a couple of grenades directly into the hole, then focus on the Brumak again. Blasting the opening is the quickest way to deal with it; using the Lancer to kill anything that emerges takes longer.
If a squadmate goes down
Partway through the battle, Lucas goes down close to the terrace stairs. A red down-arrow beside his name marks him, and he calls for a revive. There’s no need to reach him yourself: roughly ten seconds later, the marker becomes a green cross and he gets back up, revived by another squadmate. Marcus stays on his feet throughout this fight.
If an ally falls, draw the Brumak away from them rather than charging beneath its arms. The creature can flatten squadmates who linger too close, so don’t stand where they do.
How you know the Brumak is dead
Once the health bar is gone, “Kill the Brumak” is crossed out, “OBJECTIVE UPDATED” appears, and a “CHECKPOINT” banner follows. The encounter ends without a finishing prompt or another phase; no special execution input is required.
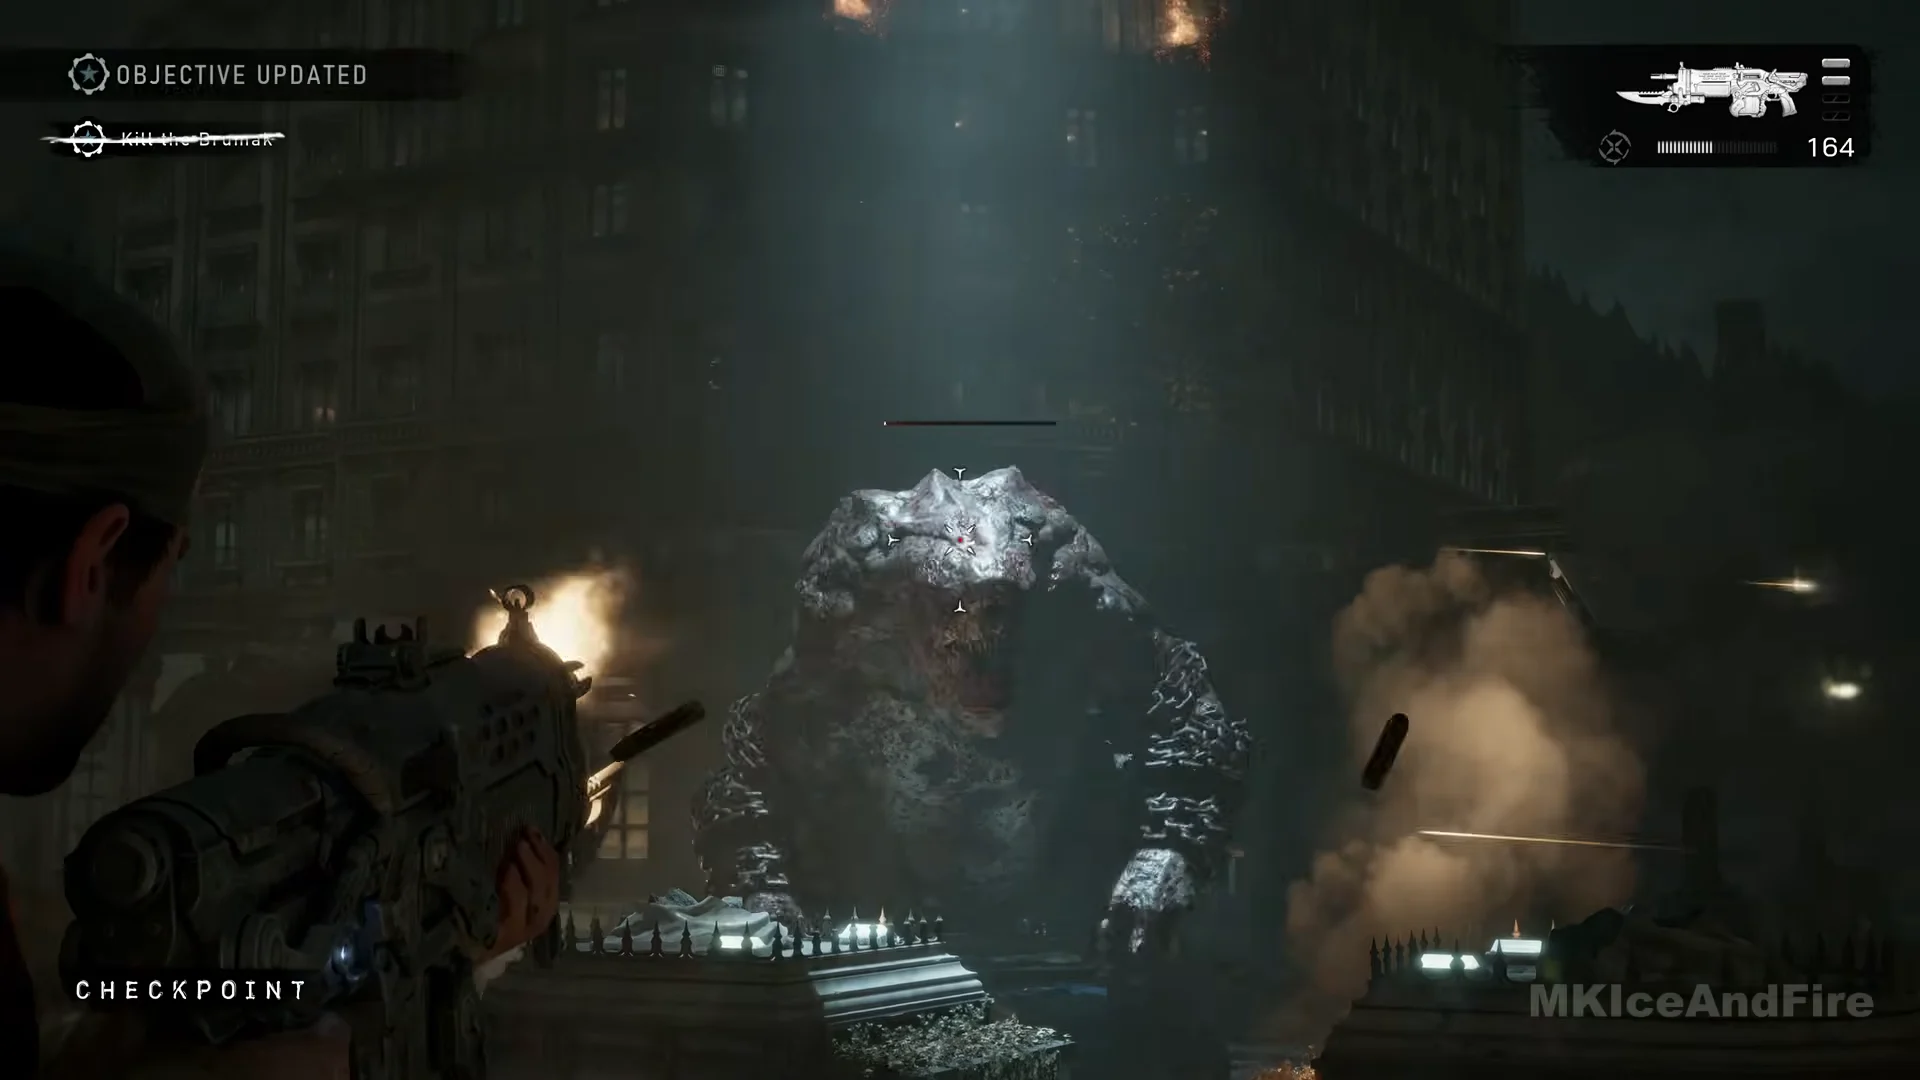
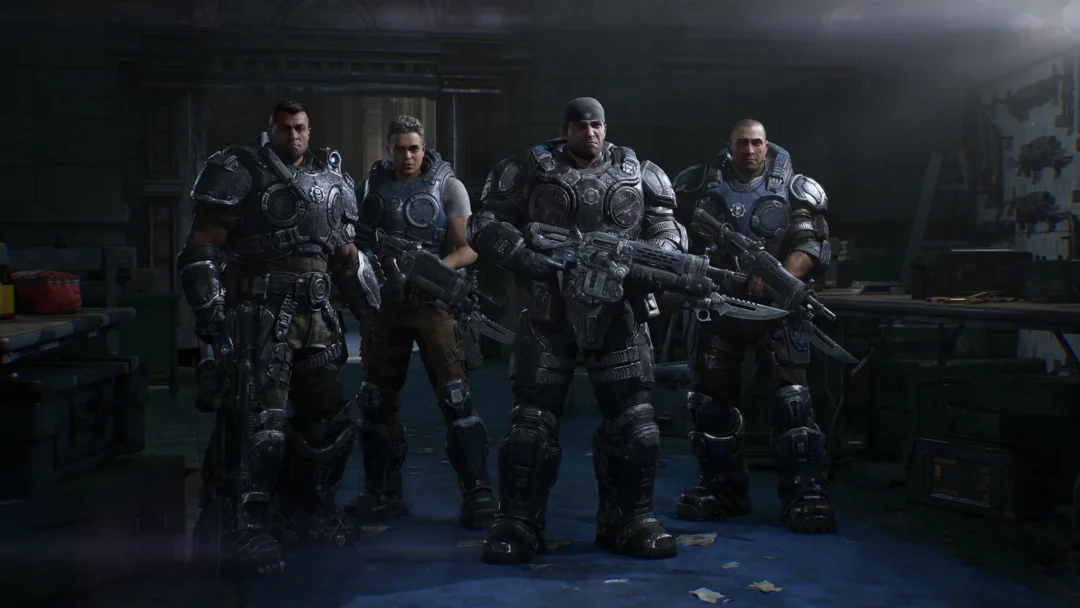
A cutscene follows: the Brumak crashes down among burning wreckage, Lucas is shaken but alive, and the squad regroups as Mayor Shaw is walked in to see the carcass. Tai stays outside to keep watch. The game then moves inside City Hall, and Act 1 heads toward the formation of Bravo Squad. A checkpoint is saved the moment the fight begins, so if you fall here it restarts you at the boss rather than the cutscene.