Ghost Town Walkthrough in Gears of War: E-Day (Act 5, Chapter 2)
Cover the route through downtown Kalona, three Hard Cases and two COG tags, and the rooftop hold before extraction.
Cover the route through downtown Kalona, three Hard Cases and two COG tags, and the rooftop hold before extraction.
by AllThingsHow Staff
Image: The Coalition
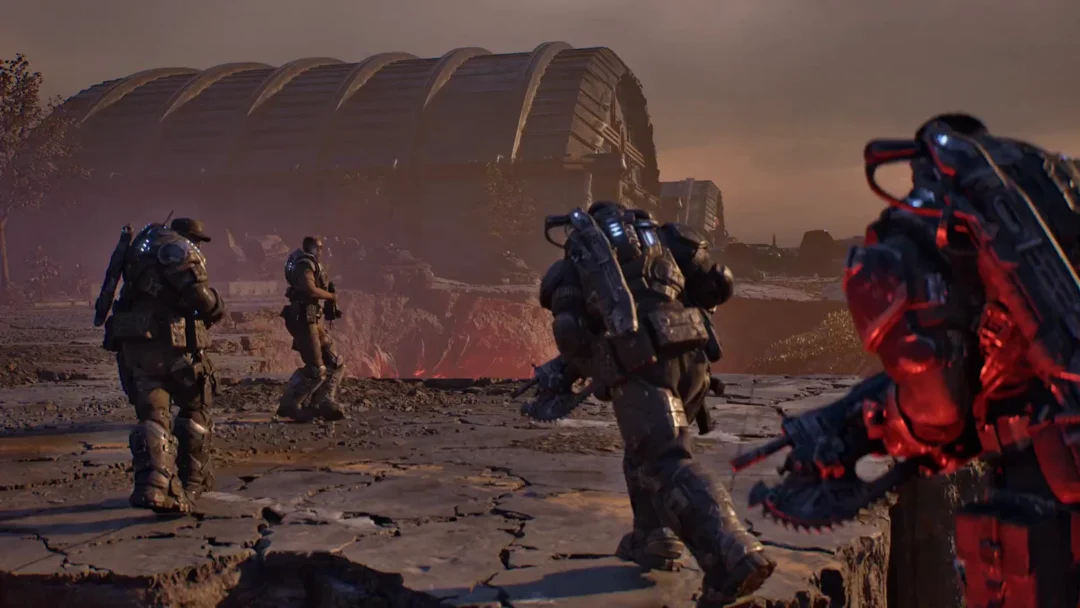
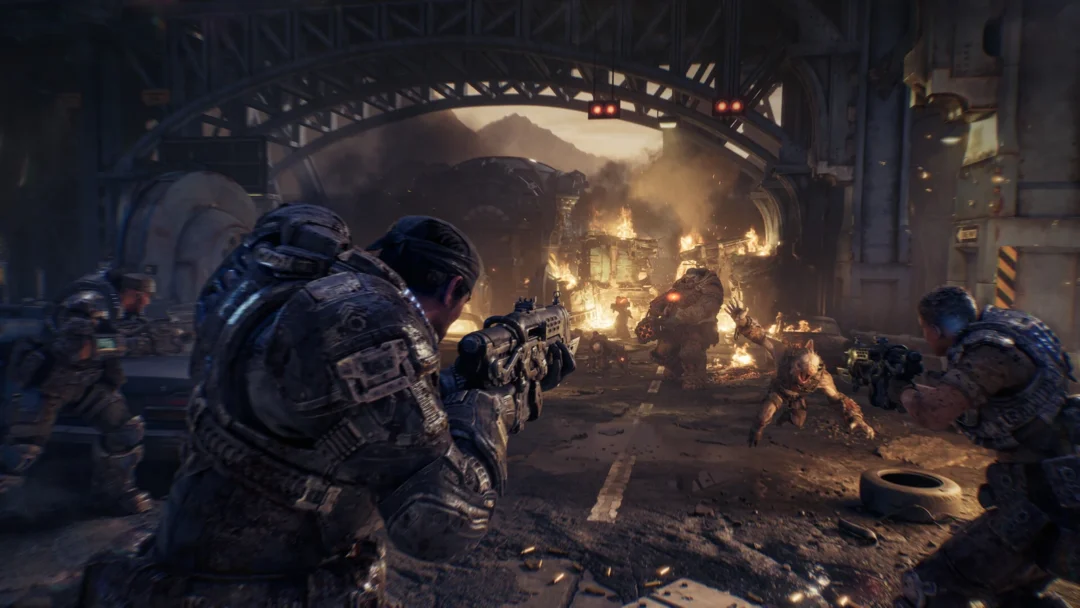
Act 5’s second chapter, Ghost Town, takes about 13 minutes to cross Kalona’s burning centre. The route starts quietly, then becomes a full-speed escape: from the train depot, climb to street level, pass through a hospital, and push through a mortar barrage that ends only inside an apartment building. The final stretch is a rooftop stand, holding one door until a King Raven arrives.
What you carry in and the objectives
The squad is Marcus, Dom, Lucas and Mags. The chapter runs two objectives back to back, and the first half is where almost all the loot sits, before any shooting starts.
On arrival, take the Prototype Lancer (600), followed by the Gut-Puncher (14), then the Snub, plus 2 Frag Grenades and an Adrenaline Injector.
Objective 1 is “Find a way back to Fort Vigil”. After the street ends, the sub-objective becomes “Cut through the apartment building”.
Objective 2: “Survive the Locust attack” on the roof.
No Supply Cache appears in this chapter.
Collectibles and Hard Cases in Ghost Town
Ghost Town has 3 collectibles recorded in the War Journal. Two are along the main route, while the remaining one requires a brief hospital detour. You pass all three Hard Cases before reaching the roof; after the squad gets up there, there is no way back down to collect anything missed.
Collectible
Location
COG Tags of Specialist Wallace Teale
Rail depot, beside a fallen Gear slumped against a cargo container
Clinical Test Trial Medication
Hospital, at the stairwell’s upper landing, on a grey cabinet beside the end of a chair row
COG Tags belonging to Master Sergeant Joseph Kopec
Apartment, upper floor, by a dead Gear in a red armchair
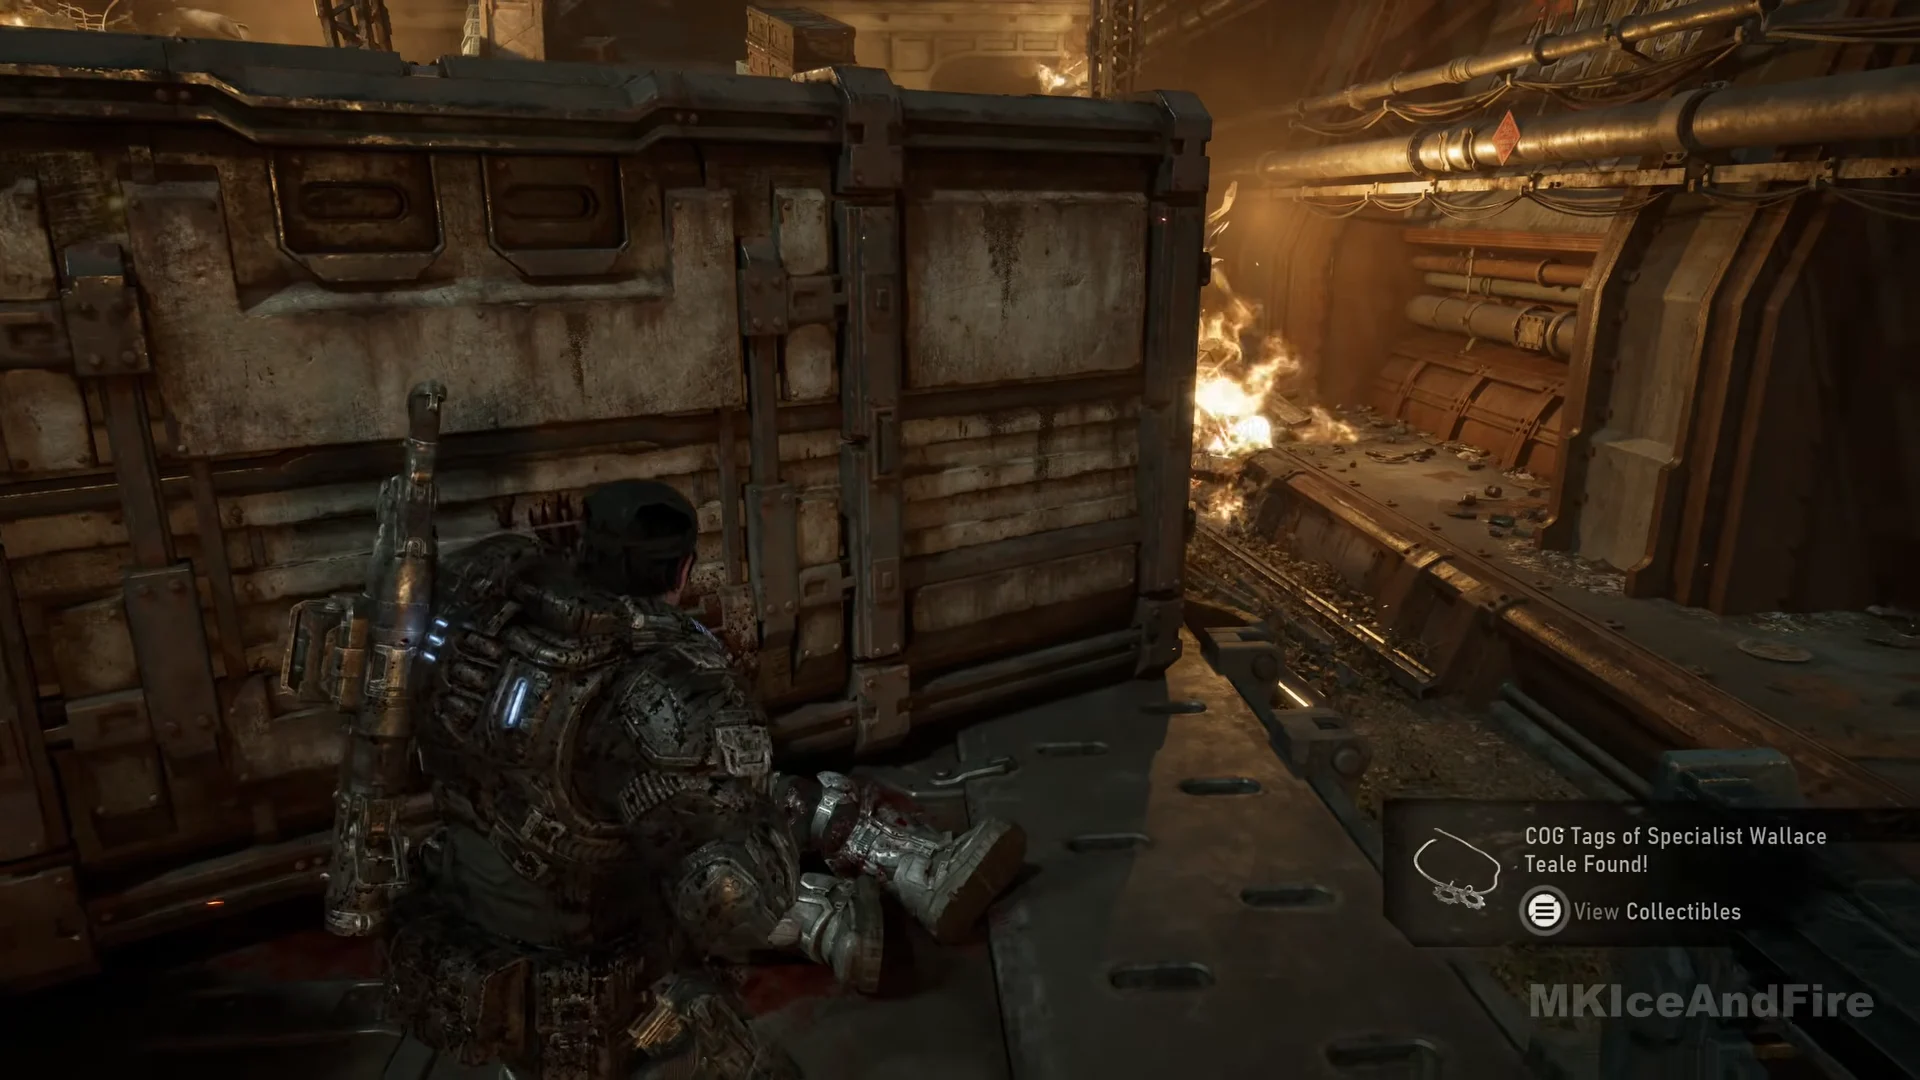
Leave the train and follow the rails between the charred freight cars. Nothing threatens you along this section, so take your time collecting loot before continuing.
On the raised metal walkway beside the tracks, a dead Gear sits slumped against a large blood-streaked cargo container. The PICK UP prompt appears at the body, and grabbing it registers COG Tags of Specialist Wallace Teale in the War Journal.
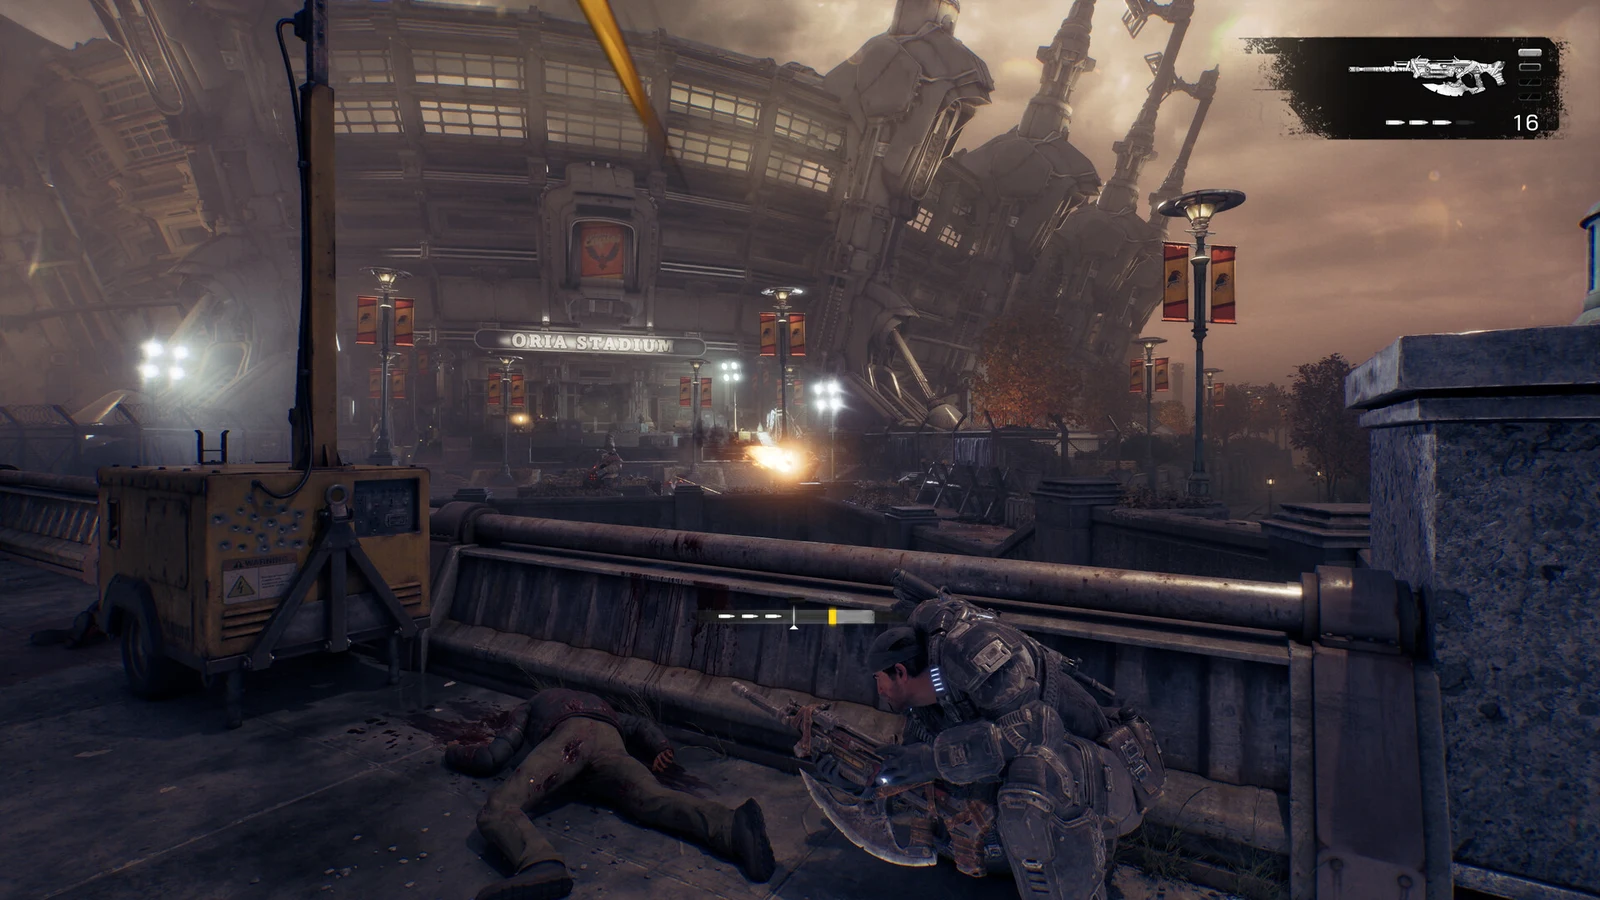
Carry on to the end of the depot and climb the ramp of rubble and wrecked freight cars up to the street. The “DAY 2 – 2300 HOURS / DOWNTOWN KALONA” caption appears here, and “HARD CASE NEARBY” flags the first case on the ground beside an abandoned sedan in front of a chain-link fence. It gives the Kill Credit armor mod.
Head along the street, passing the bodies and concrete MILITARY ZONE barrier as you approach the red EMERGENCY signs. Before entering, watch for another “HARD CASE NEARBY” prompt. Take the open shipping container off the main road to reach the next street; the case is at a signal pole’s base, beside a pile of rubble. It contains the Volatility Amplifier and Echo Resonance mods. A Longshot and an ammo box can also be picked up on this side street.
Pass beneath the EMERGENCY sign and cross the green-lit reception area, where blood trails mark the floor. At the rear, find the stairwell and go up. The landing is a waiting area lined with green chairs and drip stands. At the end of one chair row, the Clinical Test Trial Medication sits on a grey drawer cabinet. This is the one collectible that’s easy to overlook; collect it before heading onto the terrace.
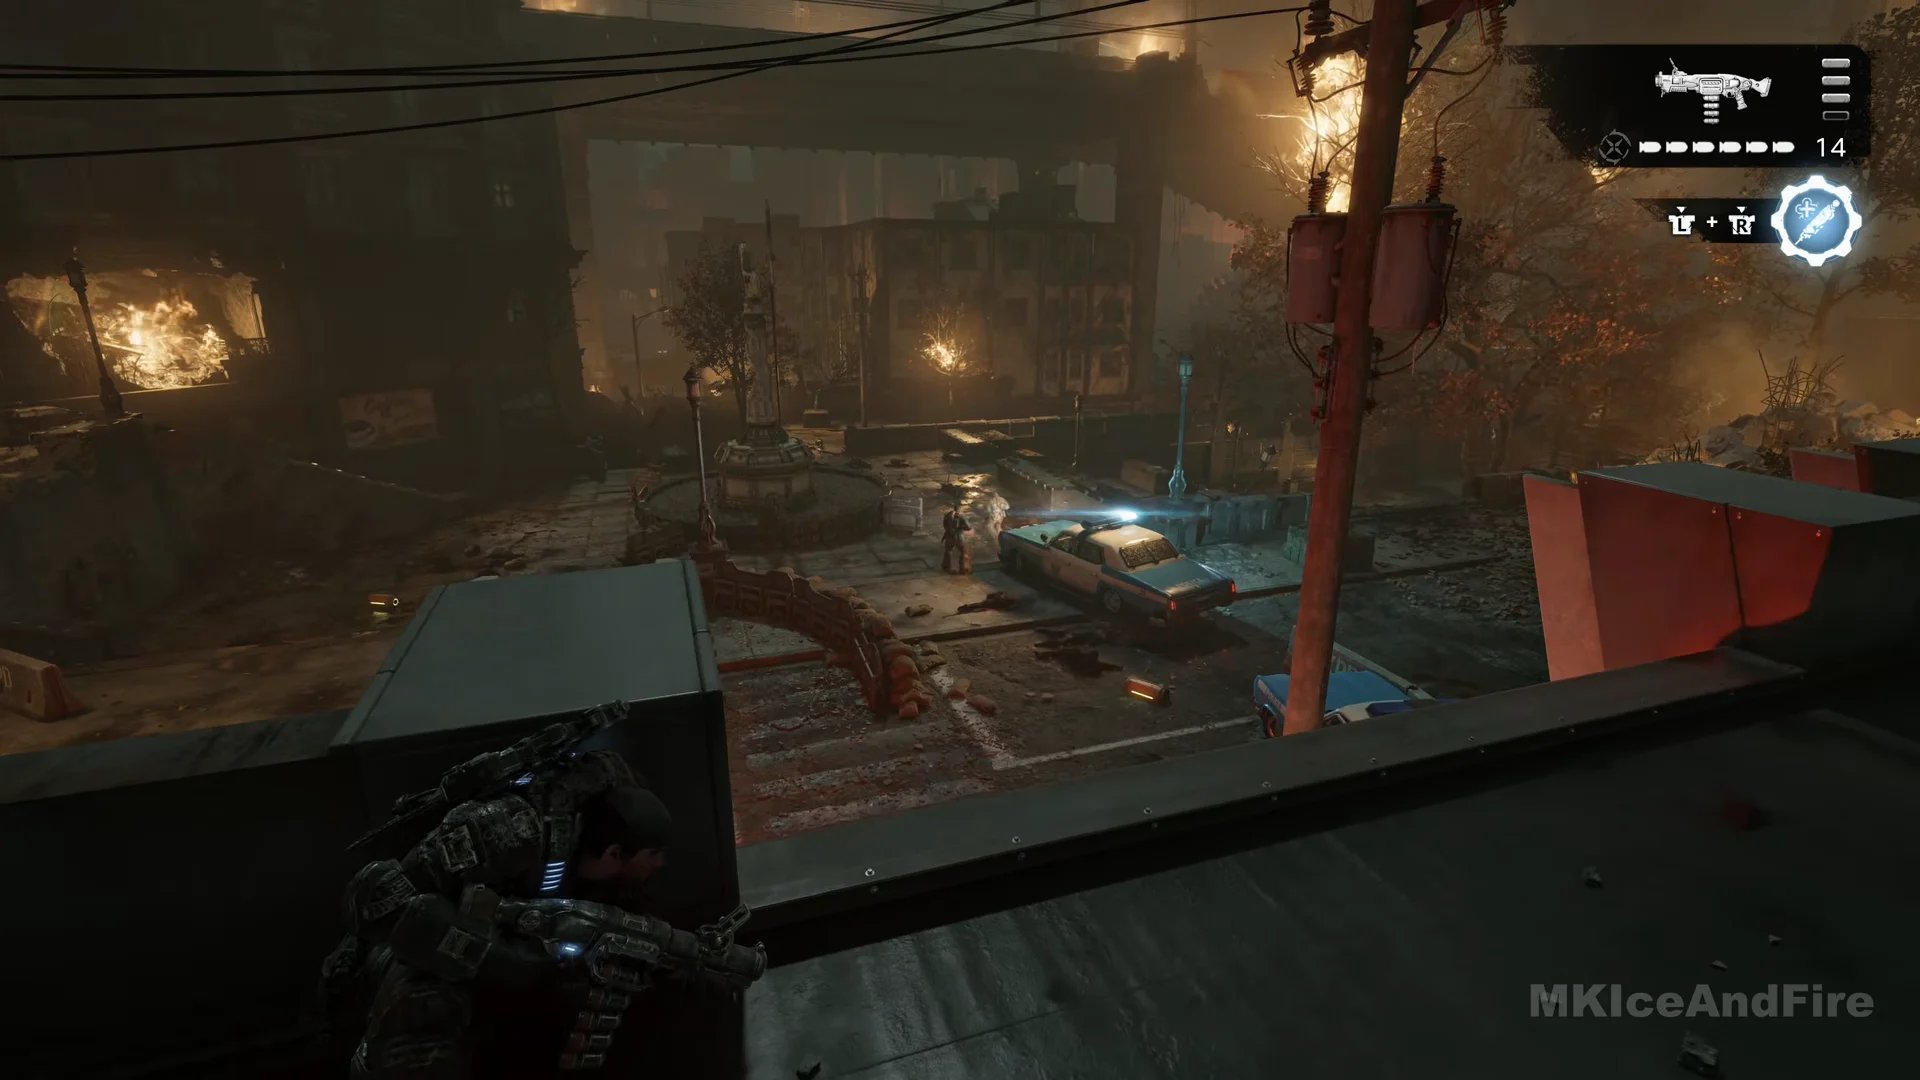
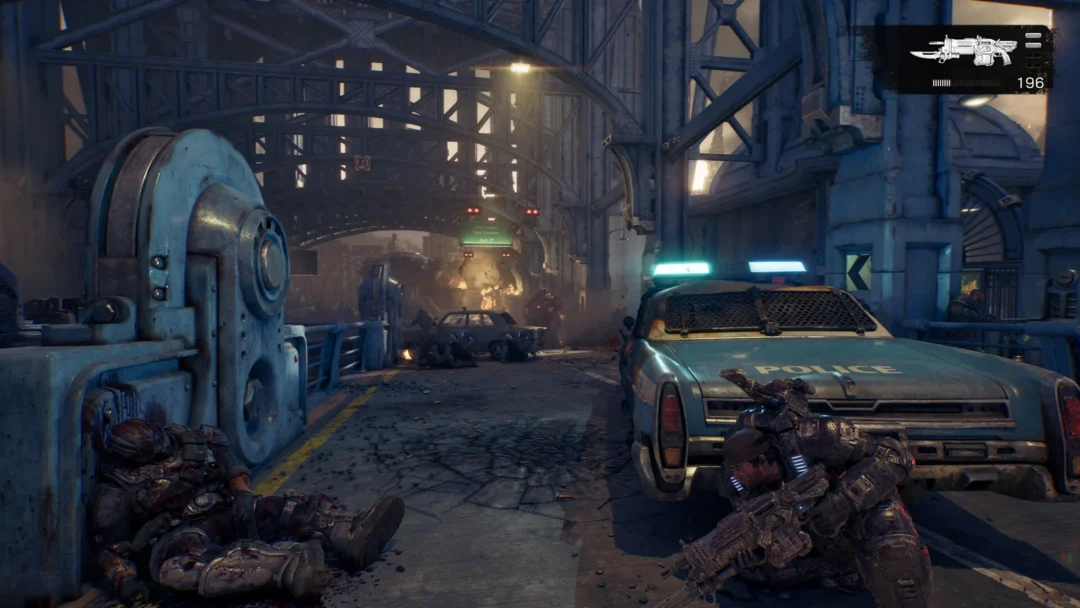
Through a breached wall, reach the rooftop terrace above a junction blocked by police cars. A second Longshot rests beside the low wall. Scorched Drones cluster around the cars, while a sniper fires from the opposite building. Use Gut-Puncher grenades against the enemies near the cars, and the Prototype Lancer for distant targets. This is your only chance to fight from above, so reduce their numbers before heading down.
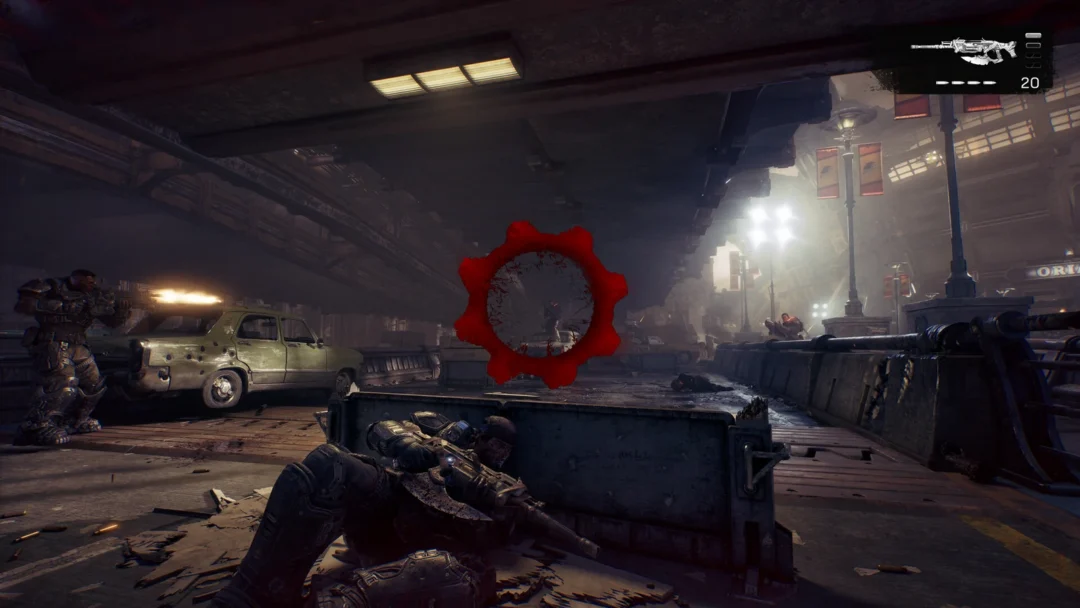
Once mortar fire begins hitting the terrace, drop to street level. Shells keep falling all the way to the apartment building, so engage only enemies blocking your path and press ahead. If your health falls, activate the Adrenaline Injector and continue running.
Descend the broad stone stairs and pass the police car with its lights flashing; a Scorched Drone charges from behind it. At the bottom, look beside the cab of the white box truck parked at the kerb for the third Hard Case. It contains Reflex Field and Pulsed Scavenger, and takes about three seconds to collect, so pick it up.
After the burning taxi, a mortar round blasts a crater glowing red into the road. When the squad warns of incoming fire, take cover behind the concrete MILITARY ZONE barriers, then circle past the crater. Sprint beneath the elevated track and beyond the KPD building. With rubble closing off the road, pass through the derailed green passenger car, entering at one end and exiting at the other.
The route brings you to a square dominated by a large fountain. Scorched Drones fire from around this dead end as the mortar barrage catches up with you. Don’t search for a crossing; turn back and retreat toward the apartment building at the square’s edge.
The fountain square is a trap. Standing in it to fight gets you killed, because the mortar fire tracks you there with no cover worth holding.
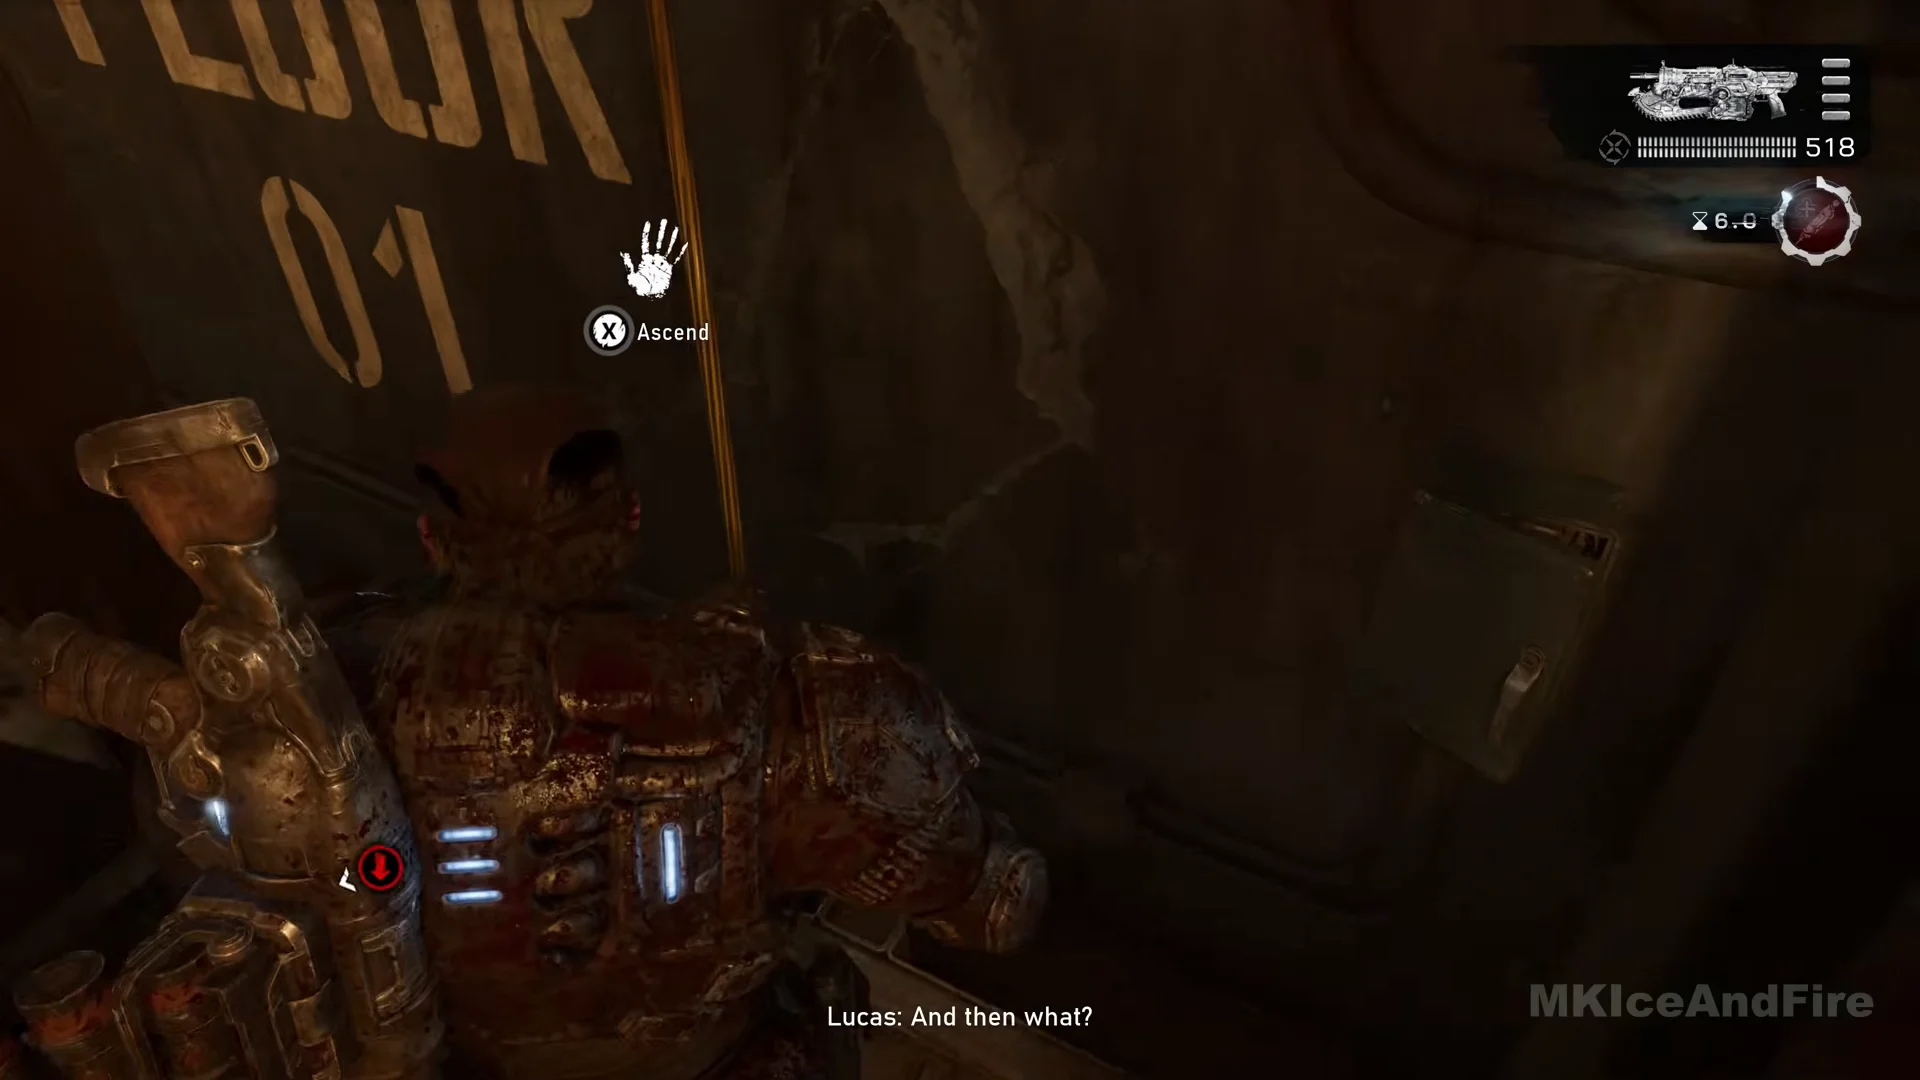
The sub-objective “Cut through the apartment building” appears as the squad pulls back. Run into the ground-floor lobby and down the corridor to the open lift shaft, marked FLOOR 01 on the wall. The prompt reads “Ascend”, and Marcus climbs the cables several floors up.
Wretches emerge from the rooms at the upper landing, with a Ticker charging down the hall alongside them. Retreat while firing the Lancer at the Wretches, and destroy the Ticker before it can reach the squad.
The corridor ends at a blown-out wall. In the room off it, a dead Gear sits in a red armchair in front of a wooden desk, and the PICK UP prompt there gives COG Tags of Master Sergeant Joseph Kopec, the second collectible on this route.
Cross into the damaged flat next door, where flames consume part of the floor, then reach the stairs and climb one flight. In the next hallway, whose outer wall has collapsed, another group of Wretches charges; an ammo box is on the floor. Defeat them, pass through the door below the green EXIT sign, and take the concrete stairs to the roof. A cutscene begins as the squad wedges a length of pipe against the stairhead door.
Surviving the Locust attack on the roof
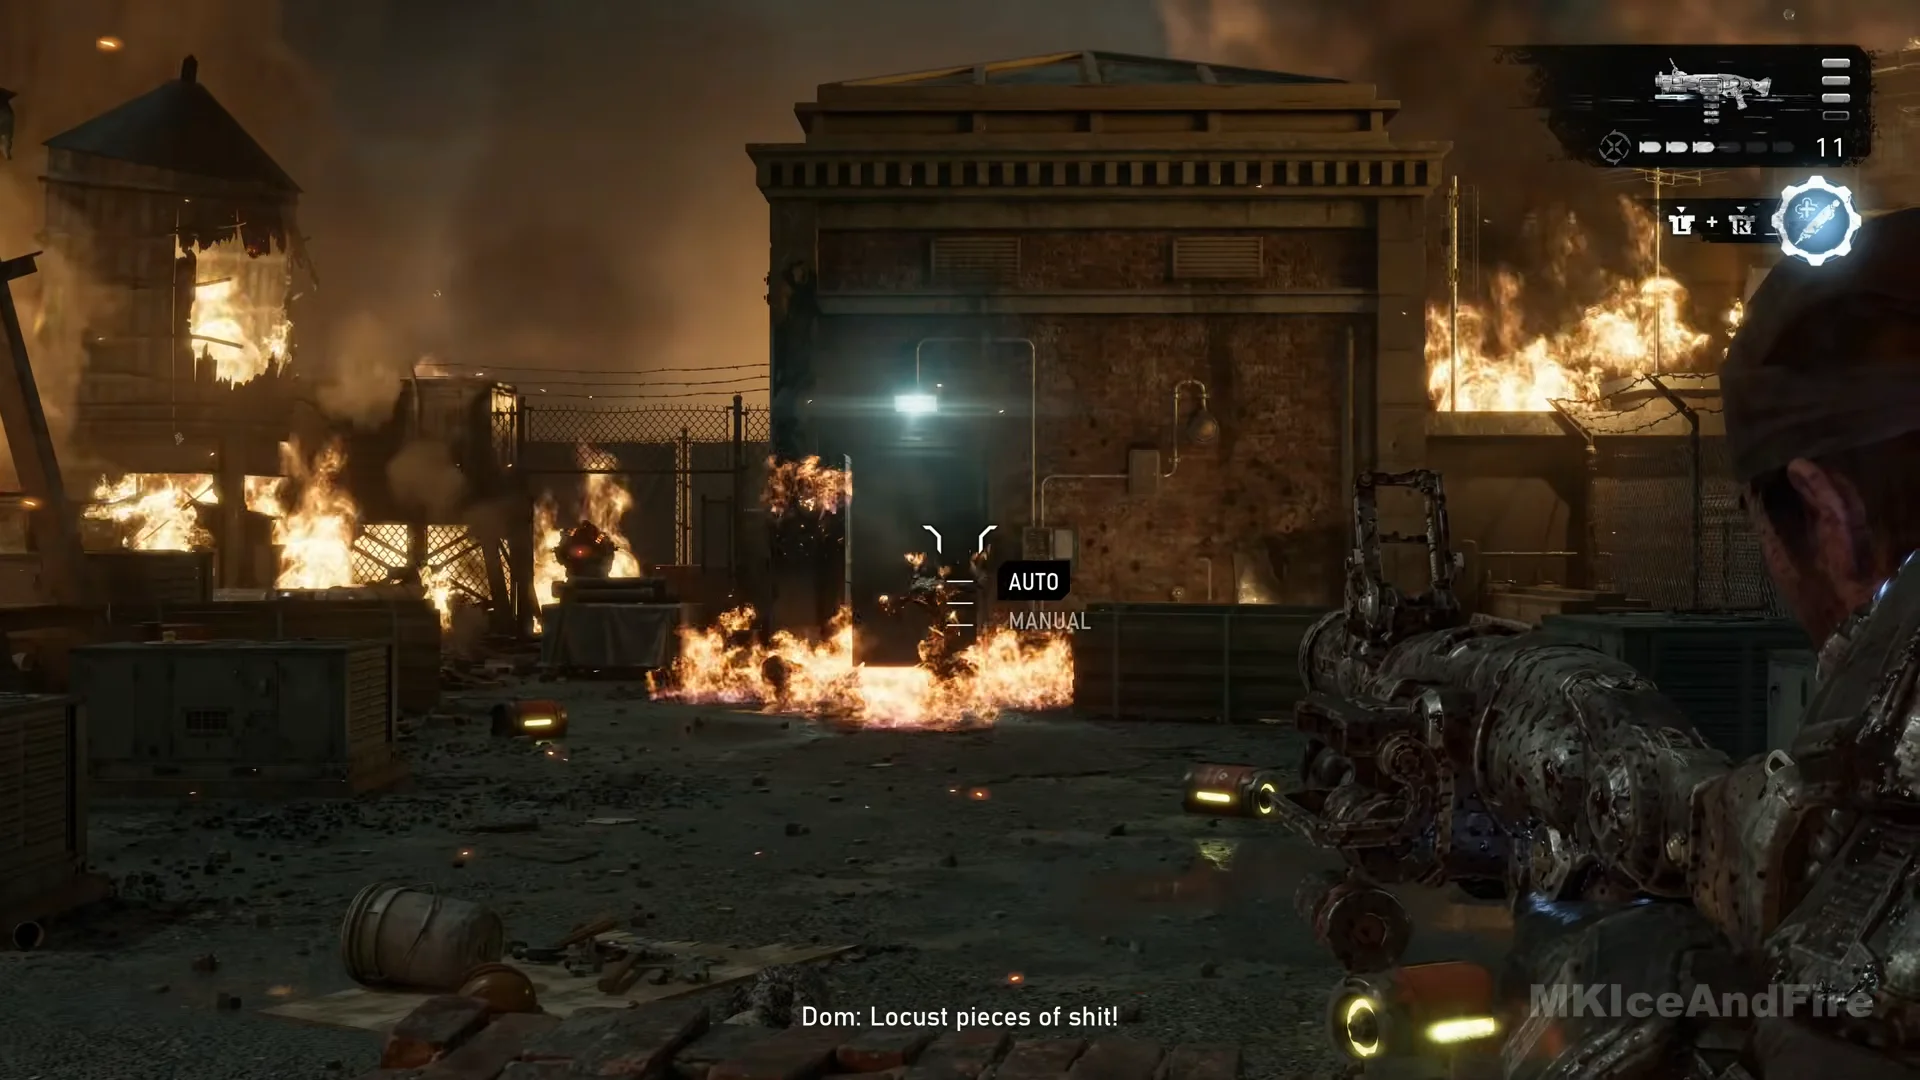
The roof is a gravel yard between the brick stairhead building, a fenced plant area, crates and vent units, with a wooden water tower on scaffolding at one side. This fight cannot be cleared by killing everything, so you are holding the position, not winning a shootout.
Start behind the low brick wall facing the door. Drones come out of the stairhead door and fire from the fences and crates, while Wretches come at the same time and climb straight over cover. Put Gut-Puncher grenades into the doorway and the group forming outside it, so the fire they leave slows the next wave. The launcher runs dry during this fight.
Once the Gut-Puncher runs dry, toss a Frag Grenade through the doorway and change to the Prototype Lancer. Target Wretches as they vault the wall before turning your fire on the Drones. If the wall becomes too dangerous, shift over to the metal crates and vent unit by the water tower; an ammo box and a Ripper are nearby on the roof.
Dom stays exposed and keeps fighting throughout the encounter; you can’t bring him back, so make sure enemies aren’t free to focus on him. Just short of two minutes later, someone spots an approaching King Raven and a cutscene starts. There’s no boss fight—the chapter concludes with this defensive stand.
How Ghost Town ends
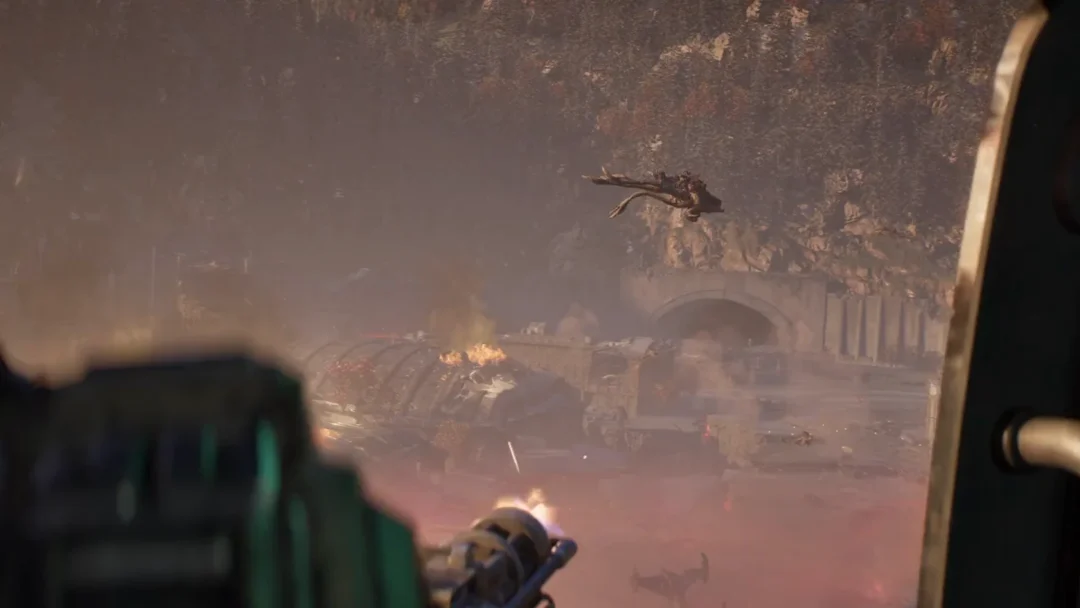
The King Raven descends through the water tower scaffolding. While the squad guards the doorway, Marcus pulls Dom aboard, and the Raven rises from the roof. Its other occupants are the pilot, Gill, and two Gears, Manu and Mako. The squad discusses their next destination, then the Act 5, Chapter 3: Storm Clouds title card appears with Marcus at the Raven’s door gun.
You know the chapter is finished when the Raven is spotted and the extraction cutscene plays through to that next title card. If you took both tags on this route, the War Journal shows GHOST TOWN 2 / 3; the remaining entry is the Clinical Test Trial Medication in the hospital, so detour for it before the mortar run if you want a full count, because there is no return trip once the roof hold begins.