Gaming News

Tough as Nails Walkthrough for Gears of War: E-Day (Act 4 Chapter 3)

A route through Prospect Bay covering four secondary objectives, six Hard Case spots, and nine collectibles along the way.

A route through Prospect Bay covering four secondary objectives, six Hard Case spots, and nine collectibles along the way.

Tough as Nails sends Marcus and the squad into Prospect Bay, an open district where the comms tower has lost power and civilians are pinned down fighting Locust in the streets. The chapter runs roughly 51 minutes with four secondary objectives done, from the station stairs at the start to the truck tailgate that ends it. The route below points out six Hard Case locations, the four secondary objectives, and nine of the 14 collectibles you can pick up on this path. It is one clean run, not a sweep of every possible detour.

Quick answer: Work Prospect Bay from the comms tower approach to the truck tailgate, clearing four optional objectives (Special Cargo uses code 1548) and grabbing nine of the 14 collectibles before the “Leave the area and move on” prompt.


“Reach the comms tower”

Descend the station steps, then use the marker to pass through the damaged brick structure and emerge in a square.
Take cover behind the green dumpster or parked cars while fighting the Drones in the street. Armed civilians shoot from the fire escapes, and partway through, an emergence hole appears beside the light-blue police car.
Clear the square, then use X at the “X Hold” marker beside the graffiti-covered van. The civilians direct the squad to the pub afterward.
Continue through the alley until you reach the repaired chain-link gate, then smash your way through. A cutscene at Line’s End Pub shows Auntie Joyce, the civilians’ leader, bringing the squad indoors.

“Debrief with Auntie”

Approach Auntie and keep the interact button held.
To complete “Pick up the map”, collect the Prospect Bay map from the pool table beneath the green lamp.
Leave through the double doors.

“Secure the weapons warehouse”: the approach

The game displays “WAIT FOR SQUAD” at the brick arch bearing the PROSPECT BAY sign. Once the squad has assembled, the gate opens.
Just beyond the gate on the right, find Hard Case 1 on the ground inside the covered brick passageway.
Cross the yard where the APC is parked and head to the civilian barricade overlooking the lot of orange gas tanks. Activate its “X Hold” marker.
Locust emerge from red smoke in the lot. Wait for the civilians’ call, then fire on the tanks.
Another emergence takes place. Use the barricade for cover and shoot any tanks that remain with the Gut-Puncher.
In the Seradyne Administration building, find the collectible A Letter Regarding Armadillos in the ground-floor back office. It is on the green desk beside the printer.
Grab the R.I.G. Component in the open green boxcar in the rail yard behind the building, at the big machine just inside the door.

Special Cargo (optional secondary objective)

In the rail yard, ascend both yellow-railed ladders (X, “Climb”) and cross the gantry between them. This route leads to the concrete platform above the shipping-container heap.
Walk up to the dock worker in the yellow hard hat. At “SECONDARY OBJECTIVE / SPECIAL CARGO / HOLD X TO START”, hold X until the ring fills.
To “Find the cargo container”, use the diamond marker as a guide down the stone steps and into the container yard. “IN SEARCH ZONE” indicates the search area; it does not start a countdown.
An emergence hole forms in the yard, releasing Drones and at least one Sniper.
Look for a pale-green container bearing a black COG emblem and white “ISG 24495” lettering. It sits on a raised metal deck beside the helipad; approach it to strike out the step.
The keypad remains inactive until you “Clear the remaining Locust”. Use the mesh ladder to reach the upper walkway, take cover behind the curved steel barrier, and keep firing the Prototype Lancer at the large floating creature until it bursts.
The final Drone is positioned across the gap, behind crates on the raised deck; take it out. Its objective line gets crossed off. No time limit applies—the hourglass figure at the top right shows LT + RT tactical gear recharge time.
Descend to the container and listen as the worker radios the code: “One, five, four, eight” (1548).
Use X once on the container-side keypad panel at “Enter Code”. Its side panel will slide upward.
Inside, take the collectible Imulsion Blast Charge from the open white case (“PICK UP”, X). The objective completes.
Use X at “Pick Up Supply List” to collect the Supply List from the green crates.
Collect the VULCAN (X) from those same crates. With 147 rounds loaded, take it to Trapped Locust.
You receive “GENERAL MOD SLOT / LONGSHOT” plus “EXPANDED MAGAZINE / LONGSHOT MOD” as rewards.

Trapped Locust (optional secondary objective)

In the brick depot office, go upstairs for the collectible Refiner’s Union Jacket. It hangs on metal shelving beside the window.
Make your way along the gantry into the train control room, then hold X at the electrical cabinet to begin.
To complete “Summon the train”, activate the console beside the windows.
Complete “Open the train car” at the door control on the walkway over the bay. The far control-room door triggers “LEAVING MISSION AREA. YOU WILL FAIL THE MISSION.”
For “Kill the trapped Locust”, expect Grenadiers, Scorched Drones, and a Boomer to emerge. From the walkway, fire the Vulcan through the doorway until it is empty, then change to the Prototype Lancer.
Rewards are GENERAL MOD SLOT (Incinerator) and SPRINGLOADED MAG (Incinerator mod).
Find Hard Case 2 in the train car once it has been opened.

Fire in the Hole (optional secondary objective)

Climb the yellow ladder under the FUEL STATION / ADMINISTRATION / CONTROL TOWER sign, cross the office, and drop to the tracks.
A wounded civilian shouts from a raised platform. Climb the stairs and hold X on the man.
“Help the civilian” and “Clear the Locust” appear together. From the platform edge, shoot the Drones in the yard below. No countdown runs.
When the yard is clear the man has stopped answering. Press X at “Pick Up Map” on him, and the objective completes.
Rewards are INCENDIARY ROUNDS (Gut-Puncher mod) and INCENDIARY ROUNDS (Ripper LMG mod).
Below the platform, drop through the broken floor. In the brick corner, beside the headless Gear, collect the COG Tags of Lieutenant Jacob Palma.

“Secure the weapons warehouse”: reaching the warehouse

On street level, take out the small group of Drones beside a yellow sedan.
Vault over the low wall and enter the corridor with the grated floor. The collectible Severed JACK Bot Head is on the ground beside a dead Gear.
Use the crates for cover while engaging the Drones with the Gut-Puncher in the Seradyne Industries distribution yard.
The TROIKA is beside the armoured forklift; pick it up with X to get 96 rounds.
On the right, head up the ramp. Hard Case 3 is on the floor beside the base of the storage racks.
Clear the catwalk after heading up to it. The objective list then switches to “Check the truck”.
At the distant end of the upper catwalk, near the brick arches, collect the COG Tags of Lance Corporal Dalia Avdol.
Head down to the bay doors, where you can activate the Supply Cache (“Use Supply Cache”, X).
Go to the truck. A cutscene plays as the Locust open fire when the truck pulls out.

“Provide cover to the truck”

Fire the Troika from the brick pillar at the Locust in the yard and on the balconies, Snipers among them, until the line is struck out.


“Provide support at the power station”

Finish clearing the yard from the forklift, and then use the yellow ladder on the wall to your right.
Enter through the doorway to reach the interior catwalks; Hard Case 4 is located there.
Descend the stairs and exit into the square where the COG trucks are parked. Hard Case 5 is next to a truck’s wheels.
Before starting “Set up defenses”, collect the Seradyne Factory Closure Sign. It’s on the brick wall beside the metal stairs in the side passage to the right of the Seradyne Armor Assembly entrance.
Carry the Machine Gun Sentry kits from the crate inside the power station and place them to cover the street and the overhead bridge.
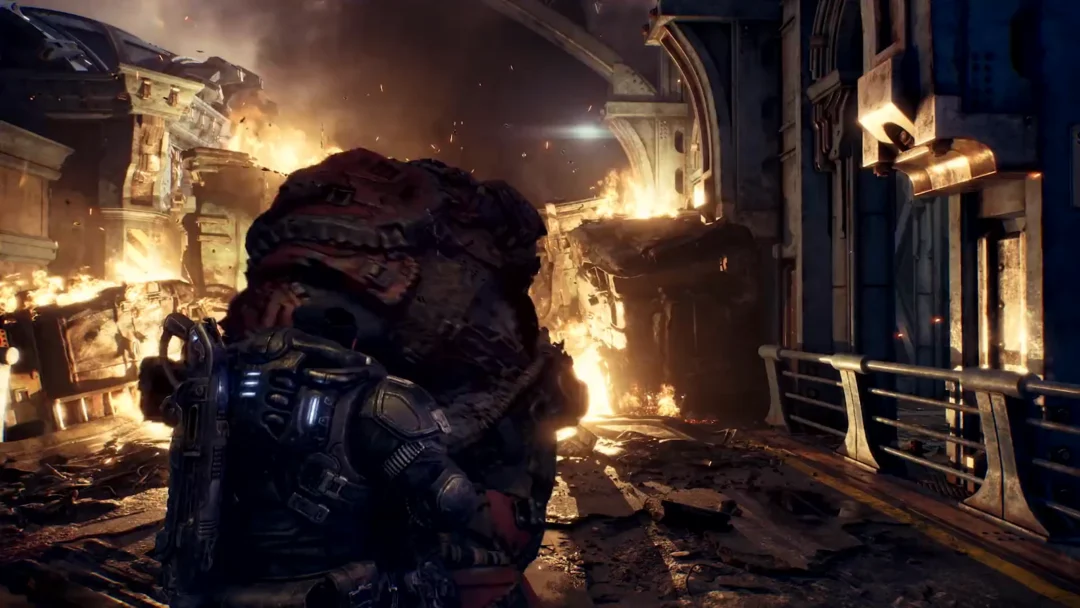
For “Defend the power station”, Drones and Elite Drones come along the street and fire from the bridge overhead. Stay behind the pallets near the sentries and shoot what the guns do not reach. A Supply Cache is just inside the station.
Power has been restored, and the objective line is crossed out.

“Use the tower comms to contact HQ”

Steps 1 to 6 below are the optional Death from Above secondary objective.

Go inside through the SERADYNE ARMOR ASSEMBLY NORTH WING door and eliminate the Drones and the Elite Drone on the catwalks.
Climb the stairs to the roof and hold X at the console with the red lever.
Pull the lever to complete “Reboot the assembly line”.
For “Kill all the Locust on the roof”, Wretches swarm first. A floating creature then rises over the roof; from behind the metal barriers, shoot the small things it releases and hold Prototype Lancer fire on it until it bursts. Two Flayers follow, and one hit can down a Gear, so back away round the machinery while firing.
To complete “Help the Civilians”, return downstairs to the loading dock and eliminate the Drones there.
The reward is TORQUE REGULATOR (Torque Bow mod).
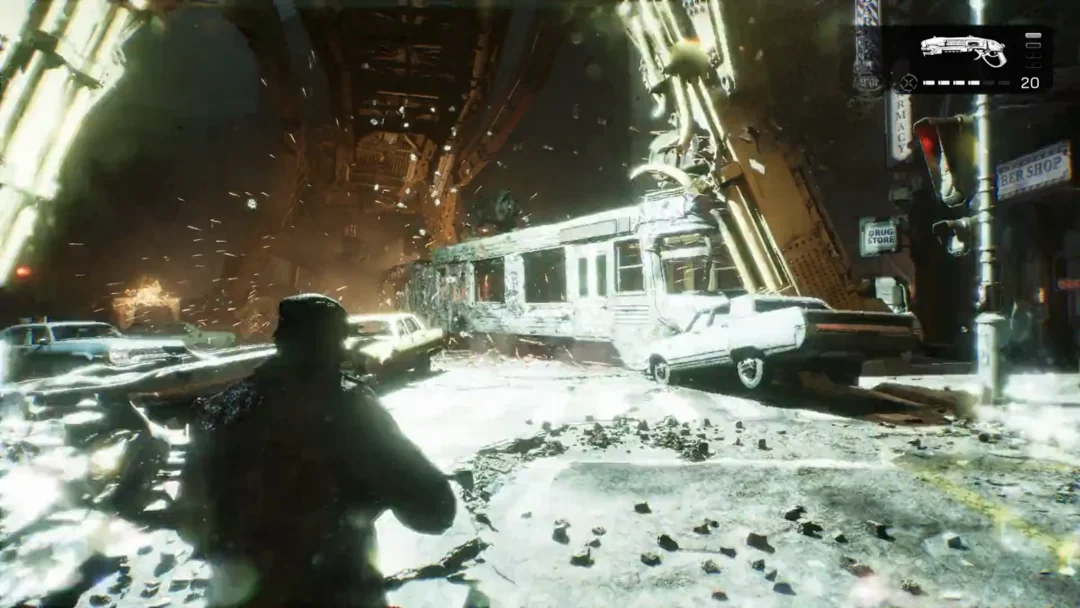
Drop down onto the street outside the door labeled CONTROL TOWER, then engage the Drones from beside the light-blue police car.
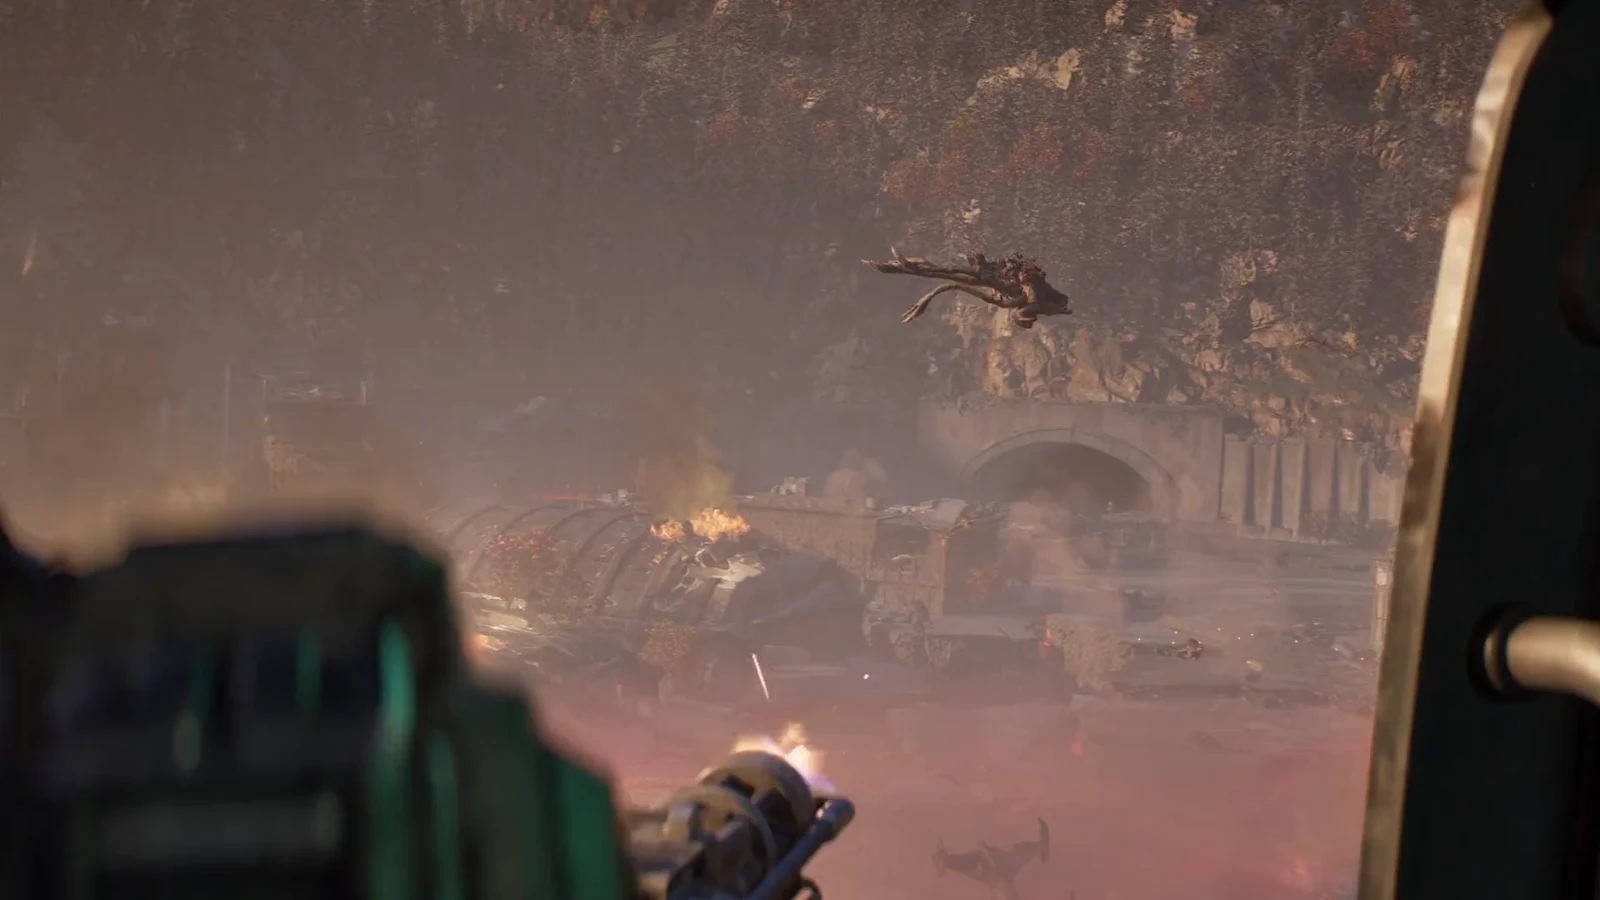
A second floating creature moves above the street. With the Prototype Lancer, target the glowing orange spot at its center.
Scorched Drones throw grenades from down the road. Stairs in the ruined brick building on the right reach a window above them.
Take the tower lift upward, continue along the exterior walkway, then climb into the glass control room.
On the large teal console, pick up the open book—the collectible Port of Kalona Docking Registry.
Activate the forward console. During the cutscene, a flying Locust creature destroys the dish array before a call can get through.

“Call in the favor”

Take the lift down. A Rusher, a Grinder, and four-legged beasts whose green acid spit stays on the road attack the street. Keep off the green, use the cars as cover, and put Gut-Puncher rounds into the big targets.
Pick up the TROIKA the Grinder leaves and use it on the Drones at the far end of the street.
Hard Case 6 is in the alley beyond; climb the stacked crates to the catwalk.
For “Speak with Auntie”, she is at the green truck in the civilian depot. A Supply Cache is in a side bay.
For “Get in the truck”, go to the tailgate and press X at “Leave the area and move on”. Finish anything still open in the district first.
A cutscene plays as Auntie drives the squad out of the city. The next title card, Act 4 Chapter 4: SIGNALS, follows.

You know the chapter is finished when the Leave prompt advances into that Signals title card. If you are chasing completion, confirm your optional objectives and pickups are marked before you press to leave, since the truck moves the story on.


Collectibles off this route

The chapter holds 14 collectibles, and nine sit along the path above. The remaining five are not on this route. Check a dedicated collectibles guide for their positions.

  • COG Tags of Lance Corporal Calder Hunt
  • Blurry Photo of Locust Attack
  • Maranday Apple Brandy Bottle
  • COG Tags of Corporal Goran Ducaine
  • Young Artists Night Poster

Hard Case locations

Six Hard Case spots are called out across the route above: inside the covered walkway past the Prospect Bay gate, in the opened train car at Trapped Locust, at the foot of the warehouse storage racks, on the interior catwalks heading to the power station, beside a parked COG truck’s wheels, and up on the alley catwalk during Call in the favor.

For what each one contains, use a dedicated Hard Case guide.