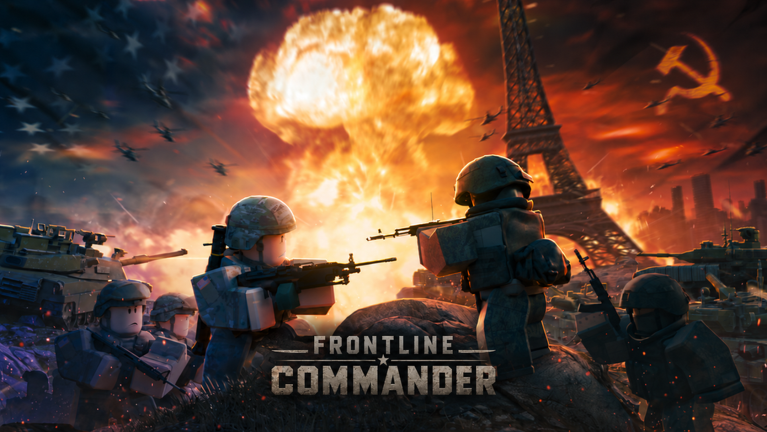
Frontline Commander RTS drops you into top-down Cold War battles on Roblox, where you command tanks, infantry, and artillery instead of running around as a single avatar. You capture ground, build an economy, and crush the other commander’s base. The game is currently in alpha, so expect some numbers and keybinds to shift between builds.
Quick answer: Capture and hold the marked zones to earn points, build Supply Depots for steady income, then push with a mix of tanks, anti-tank infantry, and artillery. In Conquest, the first commander to 3,000 points wins.
Controls and camera basics
Everything starts with moving the camera and selecting units. On mouse and keyboard, you pan with the keyboard, orbit with the mouse, and issue orders with clicks. The training mission, Operation First Light, walks you through all of this before you touch a real match.
| Input | Action |
|---|---|
| W A S D | Pan the camera across the map |
| Q / E | Rotate (swing) the camera |
| Middle-mouse drag | Free orbit (yaw and pitch) |
| Scroll wheel | Zoom in and out |
| Left-click / drag box | Select a unit or group |
| Right-click | Move to ground, or attack an enemy |
| Hold right-click | Shape formation width and facing |
| Hold Space | Tactical view: ranges, sight lines, paths |
| Hold Ctrl | Territory overlay (blue yours, red theirs) |
| V | Open the radial build menu |
| R | Load or unload a transport |
To select a force, drag a box around it with the left mouse button. Hold Shift to add more units to the group. When you want to reposition the camera, tap Q and E to swing the view, or hold the mouse wheel and drag for a free look.
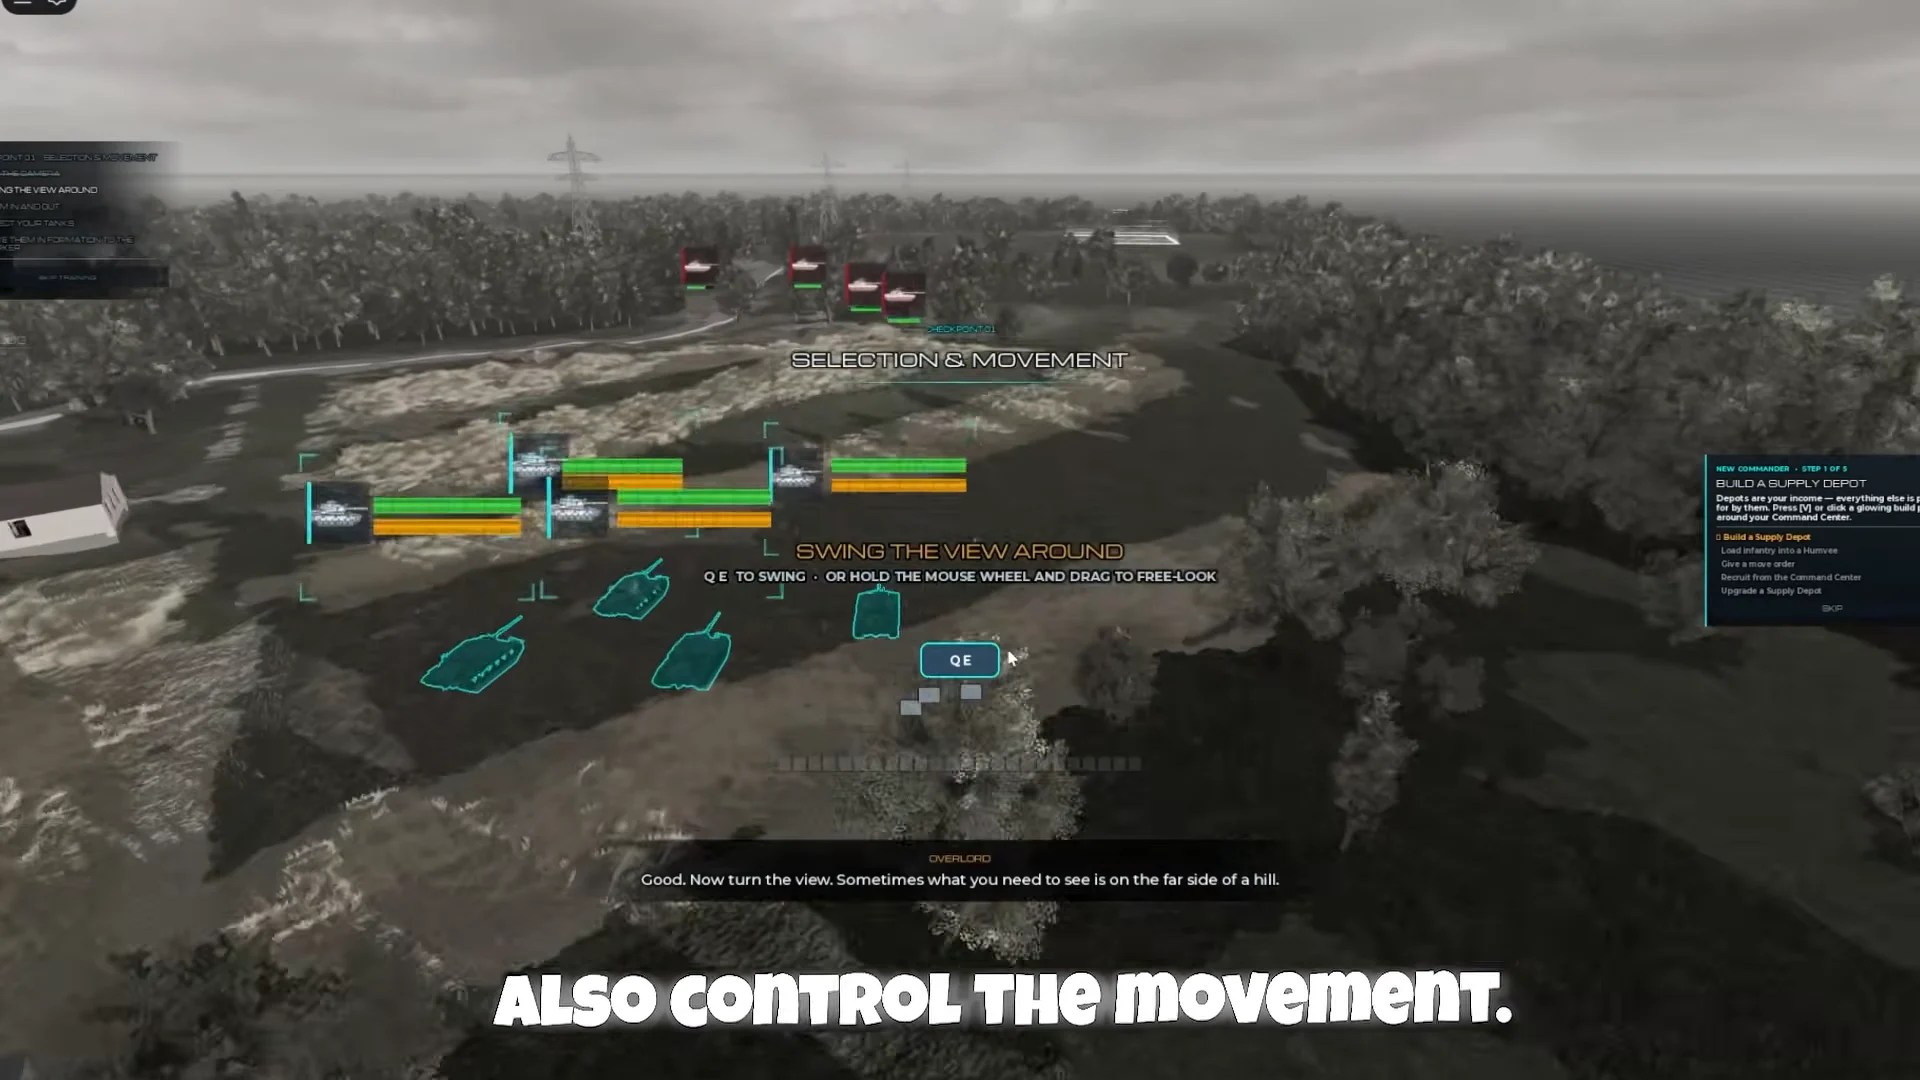
Giving a move order is simple. With units selected, release a click on the ground or on a glowing beacon marker to send them there. Hold right-click before you release to preview the formation, dragging sideways to widen the line and up or down to change which way it faces. A shaped line that arrives together is far stronger than a blob trickling in one unit at a time.
Keybinds are still being tuned during the alpha, so some controls may change from one play test to the next.
Starting a match and choosing a mode
From the War Room menu, hit PLAY to open the operations browser. You can run a Quick Match or create your own operation, then pick the team size and rules. Matches come in 1v1, 2v2, and 3v3, and the two main modes are Conquest and Annihilation. There is also a Training tab for the tutorial if you want to practice the controls first.
When you create a lobby, you set options like the player count, the map, and a level bracket such as Recruits Only for levels 1 to 5. Both commanders ready up, a short countdown runs, and the match loads into the chosen map, such as Poland.
Capturing zones in Conquest
Conquest is won by points, and points come from control. The map is dotted with marked rectangular capture zones, usually labelled A, B, and C. Move your units into a zone to start taking it, and holding more zones than your opponent steadily builds your score toward the win.
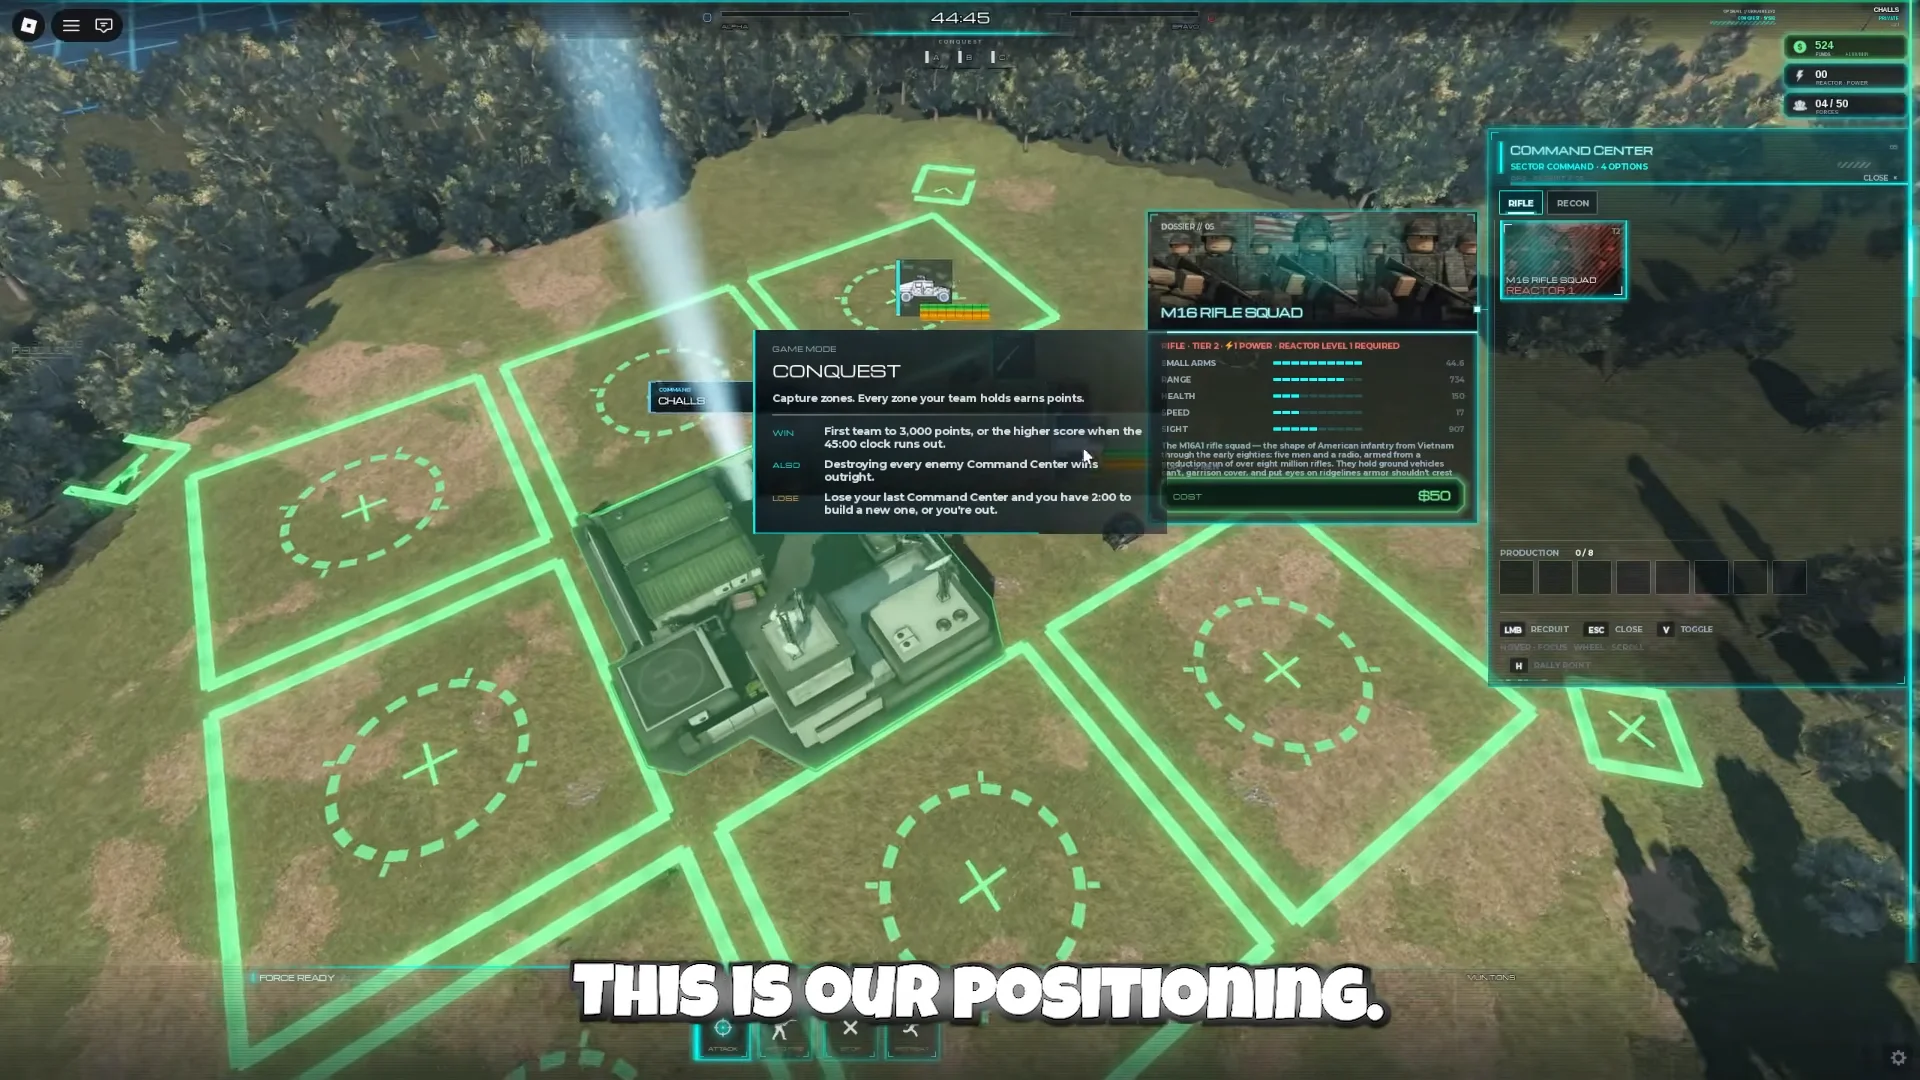
Split your opening force rather than stacking it in one place. Send rifle squads and vehicles to separate points so you contest more of the map early. More troops standing inside a zone also capture it faster, so dropping infantry directly onto a point speeds things up and leaves defenders ready to ambush.
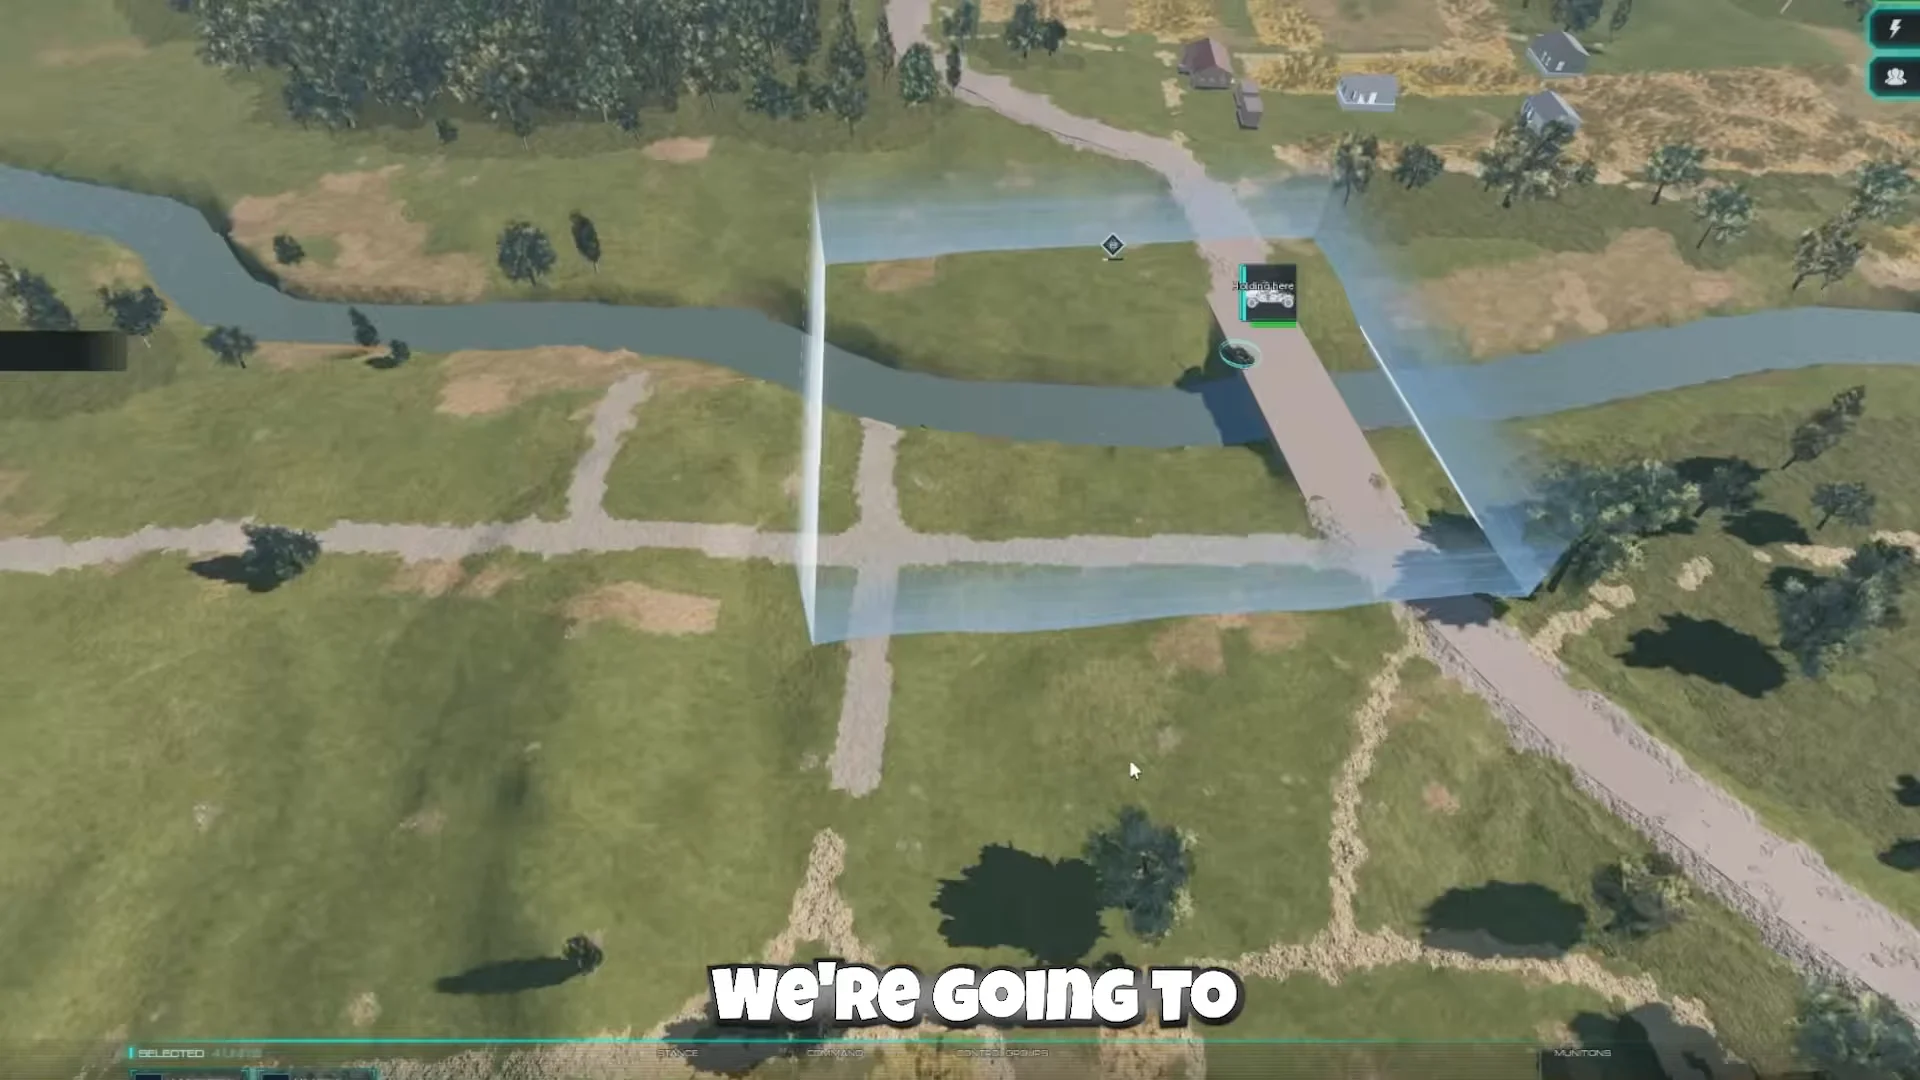
You can carry infantry inside vehicles to move them quickly, then unload them at the point. Load and drop troops with the transport command, pushing Humvees down the road toward a contested crossing before deploying the squads on top of the objective.
Moving units shoot less accurately. Stop your force or right-click the enemy directly so they stand and fire properly instead of trading poorly on the move.
Base building and economy
Your Command Center anchors the base, and around it sit green grid slots where you drop new structures. Supply Depots are the backbone of your economy, and you can upgrade them with an Expansion to raise their income. Stacking several depots early gives you the cash to out-produce the other side.
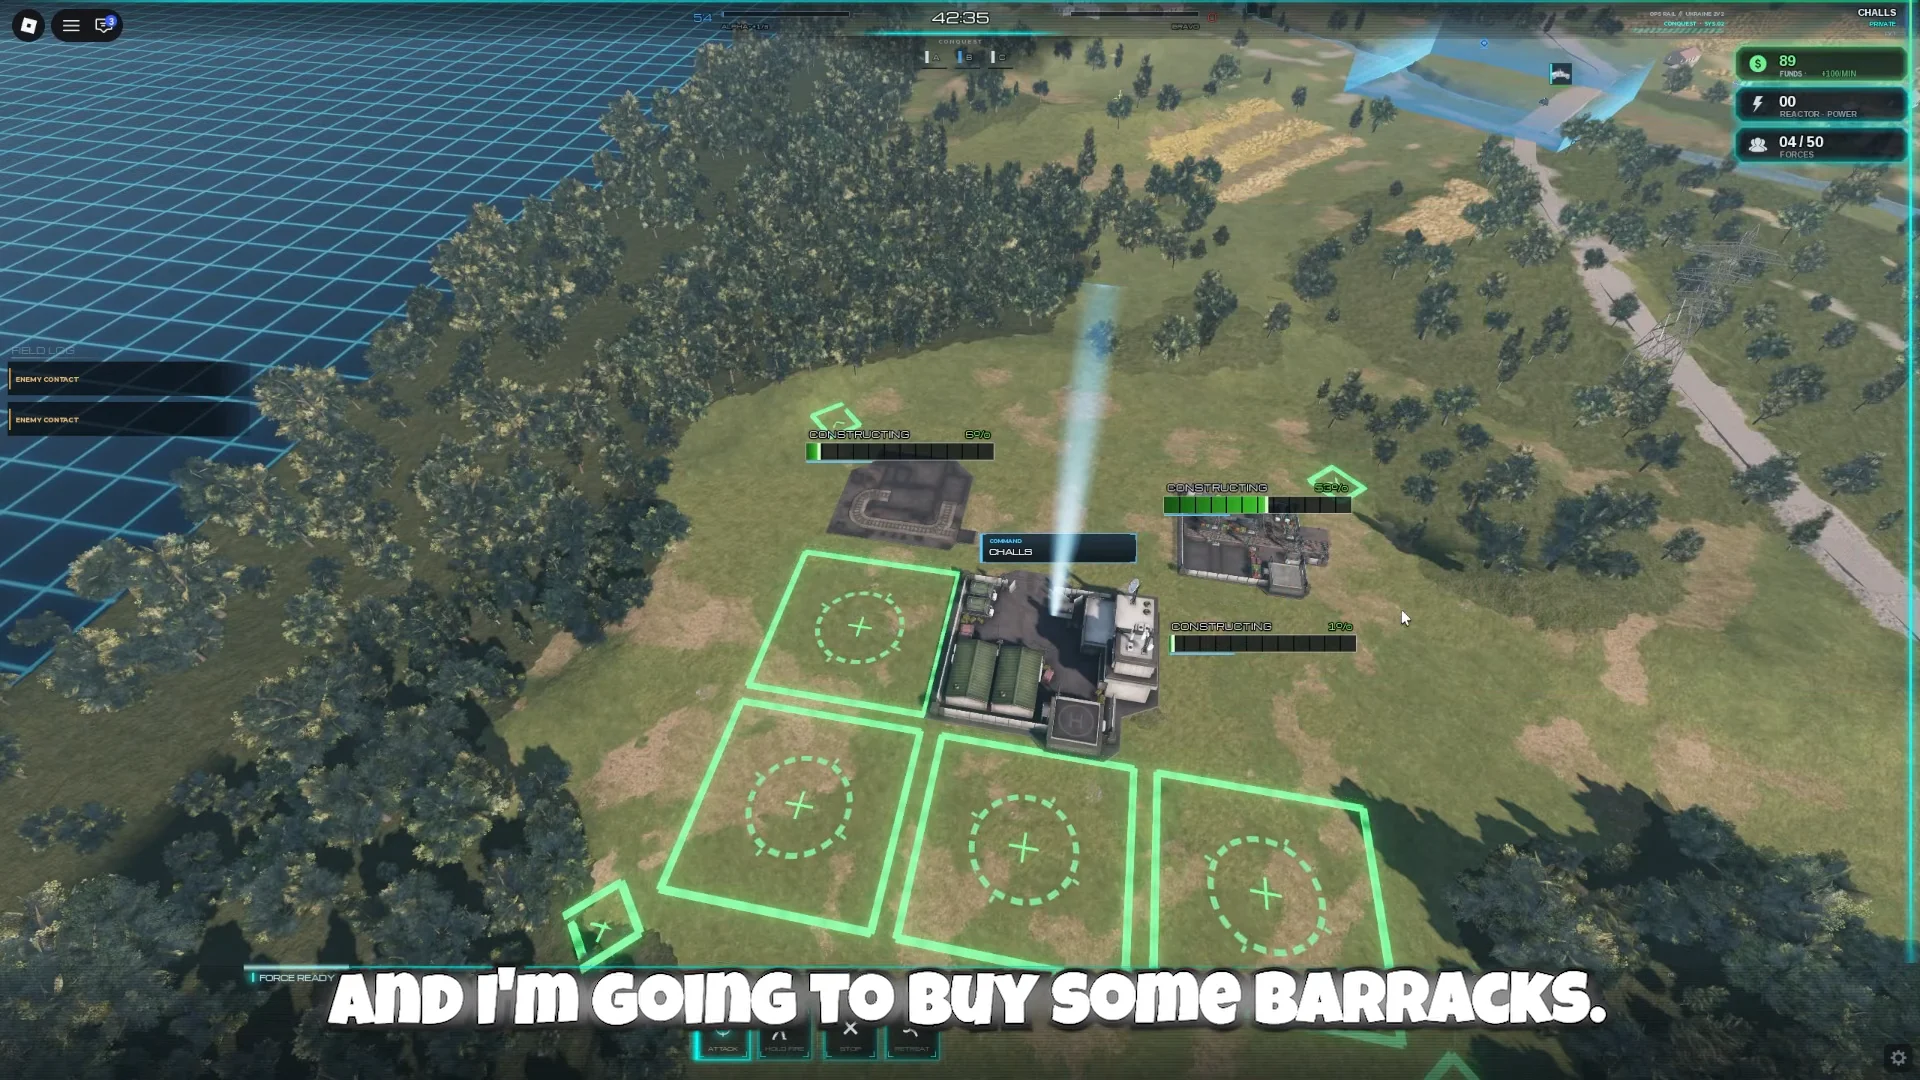
The build menu offers several structures, each with its own role. Prices shift across alpha builds, but the menu typically looks like this:
| Building | Cost | Role |
|---|---|---|
| Supply Depot | $800 | Generates income |
| Barracks | $1,200 | Trains infantry |
| Repair Pad | $1,500 | Repairs vehicles |
| Factory | $2,000 | Builds vehicles and armor |
| Airfield | $3,000 | Air units |
| Research Facility | $3,500 | Unlocks higher tech |
Get your depots running first, then add a Barracks and a Factory so you have both infantry and armor on tap. High-tier hardware like the AH-64 Apache sits behind an advanced tech tier, unlocked by a Nuclear Reactor upgrade, which matters more in longer, larger matches than in a quick 1v1.
Select your Command Center and set a rally point so freshly built units automatically gather where you want them, instead of spawning idle at the base.
Building an army and unit counters
Combat runs on a rock-paper-scissors logic, so a mixed force beats a single-type army. Infantry trains out of the Barracks and vehicles roll out of the Factory. Keep a scout jeep with your group for extra vision, because spotting the enemy first lets you set up before they arrive.
| Unit | Source | Best against |
|---|---|---|
| Assault Squad | Barracks | Enemy infantry |
| LAW anti-tank team | Barracks | Tanks |
| M42 Duster (AA) | Factory | Infantry and helicopters |
| M151 MUTT recon | Barracks | Scouting and vision |
| Medium tanks | Factory | Frontline armor |
| M109 self-propelled artillery | Factory | Buildings and static targets |
Match your production to what you see across the field. If the enemy spams tanks, lean on LAW anti-tank teams. If they flood infantry, Dusters tear through them. Scout jeeps are cheap and give you the sight range to react before a push lands.
Attack strategy: positioning, flanking, and artillery
Where your units stand decides most fights. Armor is thickest on the front plate, so facing your line toward the enemy before contact keeps your tanks alive. Hitting a vehicle from behind deals heavy bonus damage, around 65% extra, which makes flanking the dug-in enemy tanks a priority instead of trading head-on.
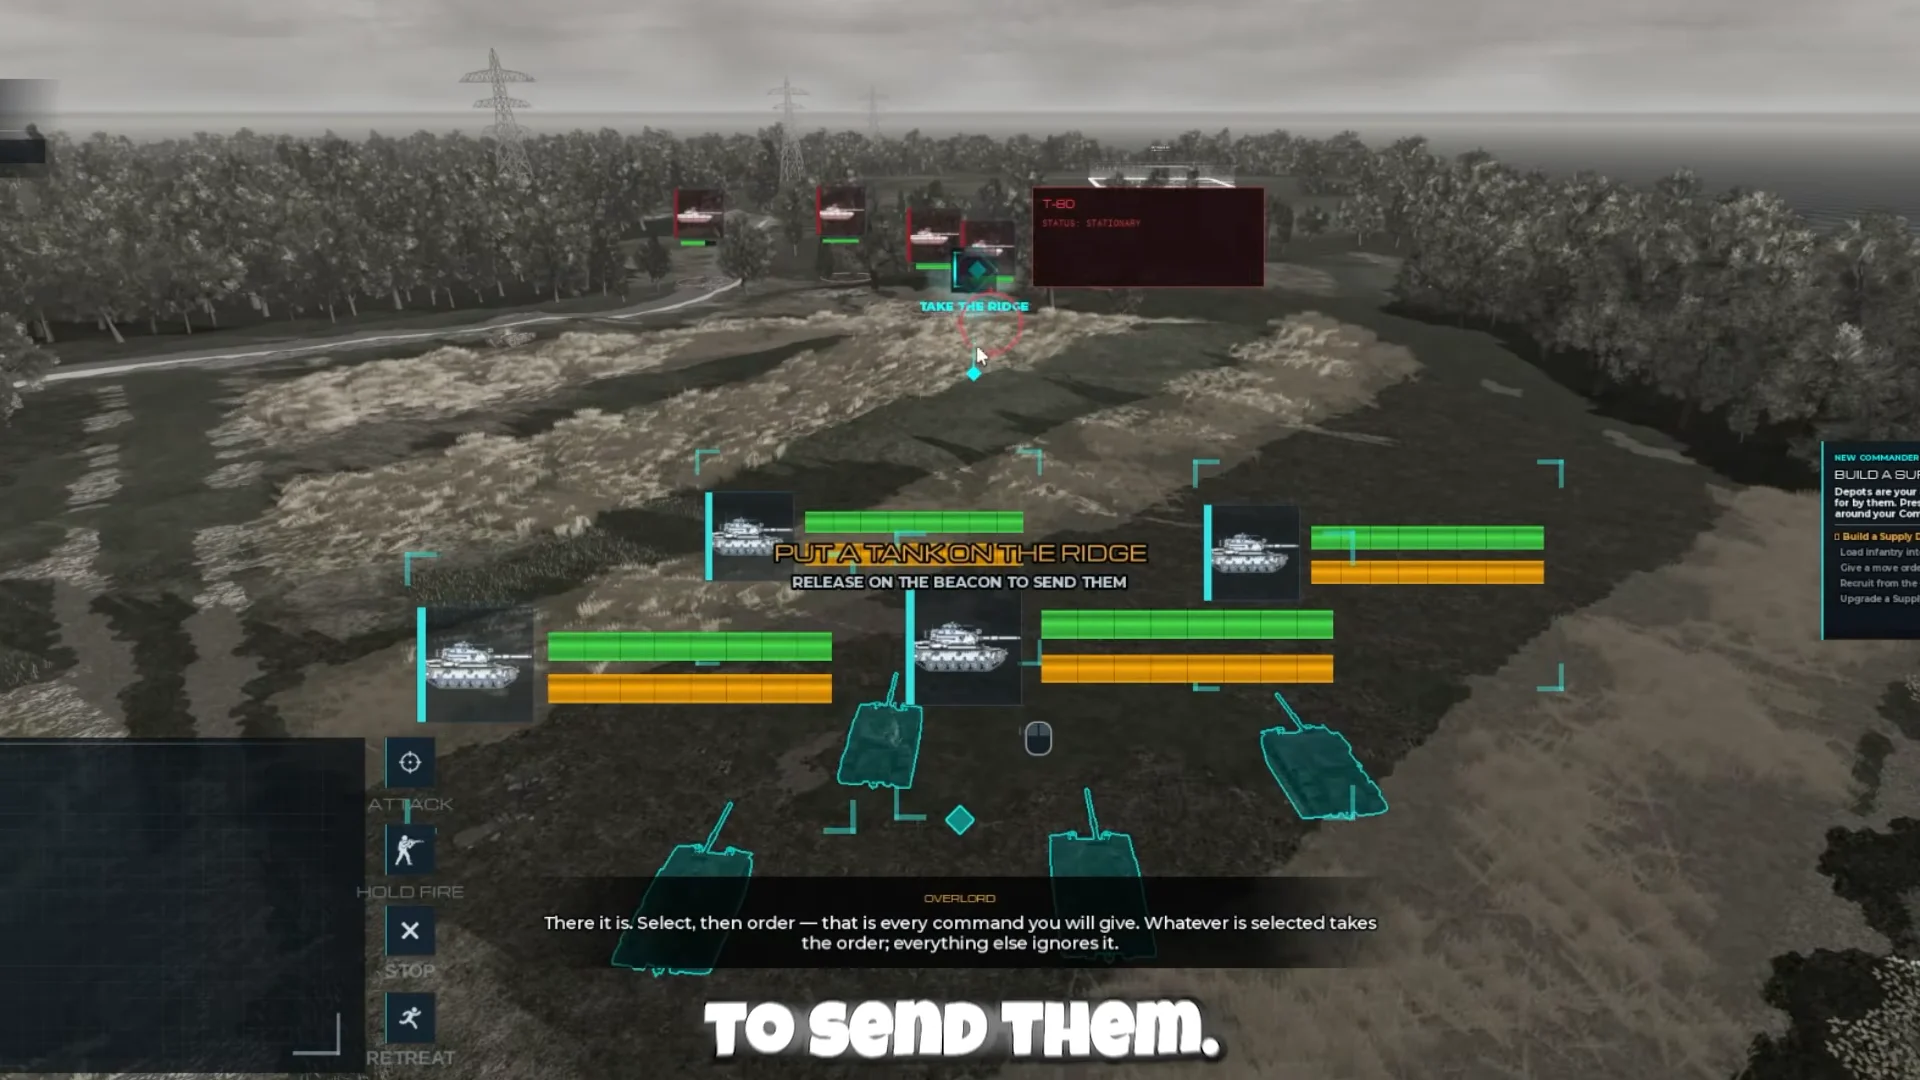
Use the terrain. Units inside trees gain stealth cover, which turns a tree line next to a crossroads into a strong ambush spot. Holding Space shows each unit’s firing arc and sight range, so you can set a line that covers the ground the enemy must cross without exposing itself.
Artillery is how you break a defended base. M109 self-propelled guns fire from long range in a six-shell spread, and fielding five or more guarantees hits that flatten enemy structures. Park the battery behind a hill near your base where direct-fire weapons can’t reach it, keep a scout nearby for line of sight, then target the enemy Factory and Supply Depots to cut off their production.
Once the central point is yours, move armor beyond it to block enemy access to the capture zones. Deploy tanks, anti-tank teams, and AA at both river crossings to secure the map while your score rises.
How you know you’ve won
A Conquest match concludes when a commander reaches the point limit. The screen then displays VICTORY with the message “The field is yours, commander.” The debrief afterward reports your experience gained, career score, medals earned, and units destroyed; experience contributes to your rank and the global Top 100 Commanders leaderboard. Hold more capture zones than the enemy, defend your depots, and let artillery destroy their base to earn the points needed to cross the limit.