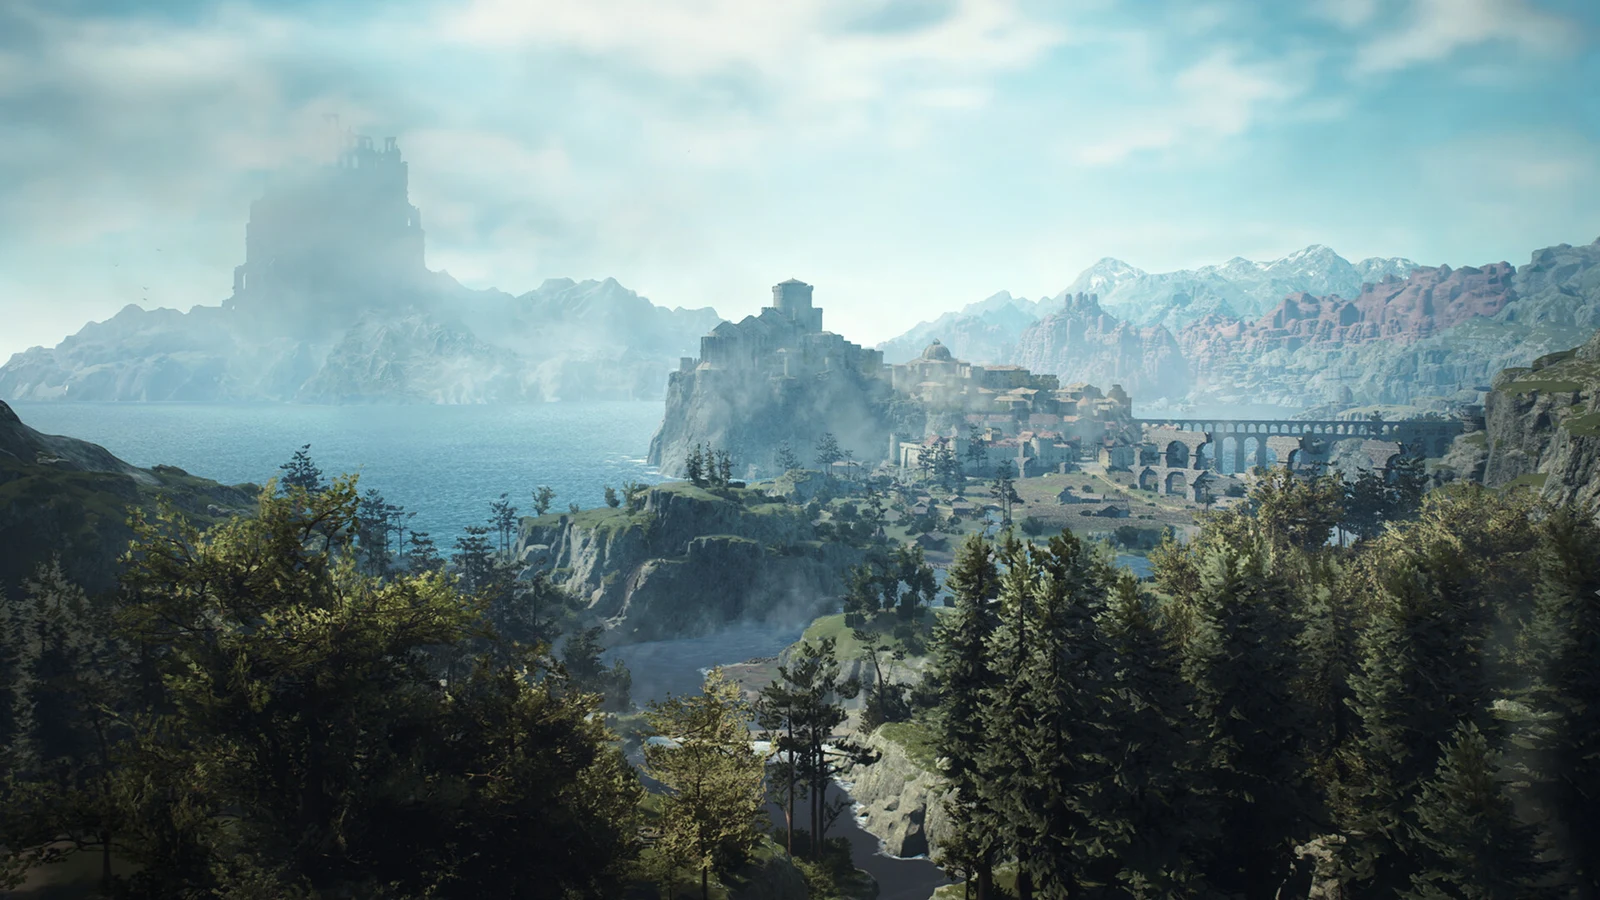
The Castle in the Ice picks up once Sealed History ends, setting itself as your priority quest with the objective “Find a path leading east through the stronghold.” It runs long and asks you to do three awkward things in a row: track down and summon a fiery bird, tear open a frozen barrier, and descend to a fortress buried under the mountain. Here is the full route through the Dark Arisen quest, in the order the game expects you to tackle it.
Quick answer: Burn one dead nokken saurian in each of Gagana’s Grotto’s three braziers to summon the gagana, take its Firebird Tallow, then fire the Mountain Stronghold ballista at the ice wall to open the way to Lorade Castle.
What to bring before you leave the stronghold
The Norgan Snowfield wears you down with cold and blanks out your map navigation for part of the trek, so pack for the conditions before you drop down into it.
- The spirit compass from the Seeking the Sage quest. Eir uses it with her gagana feather to point you toward the bird.
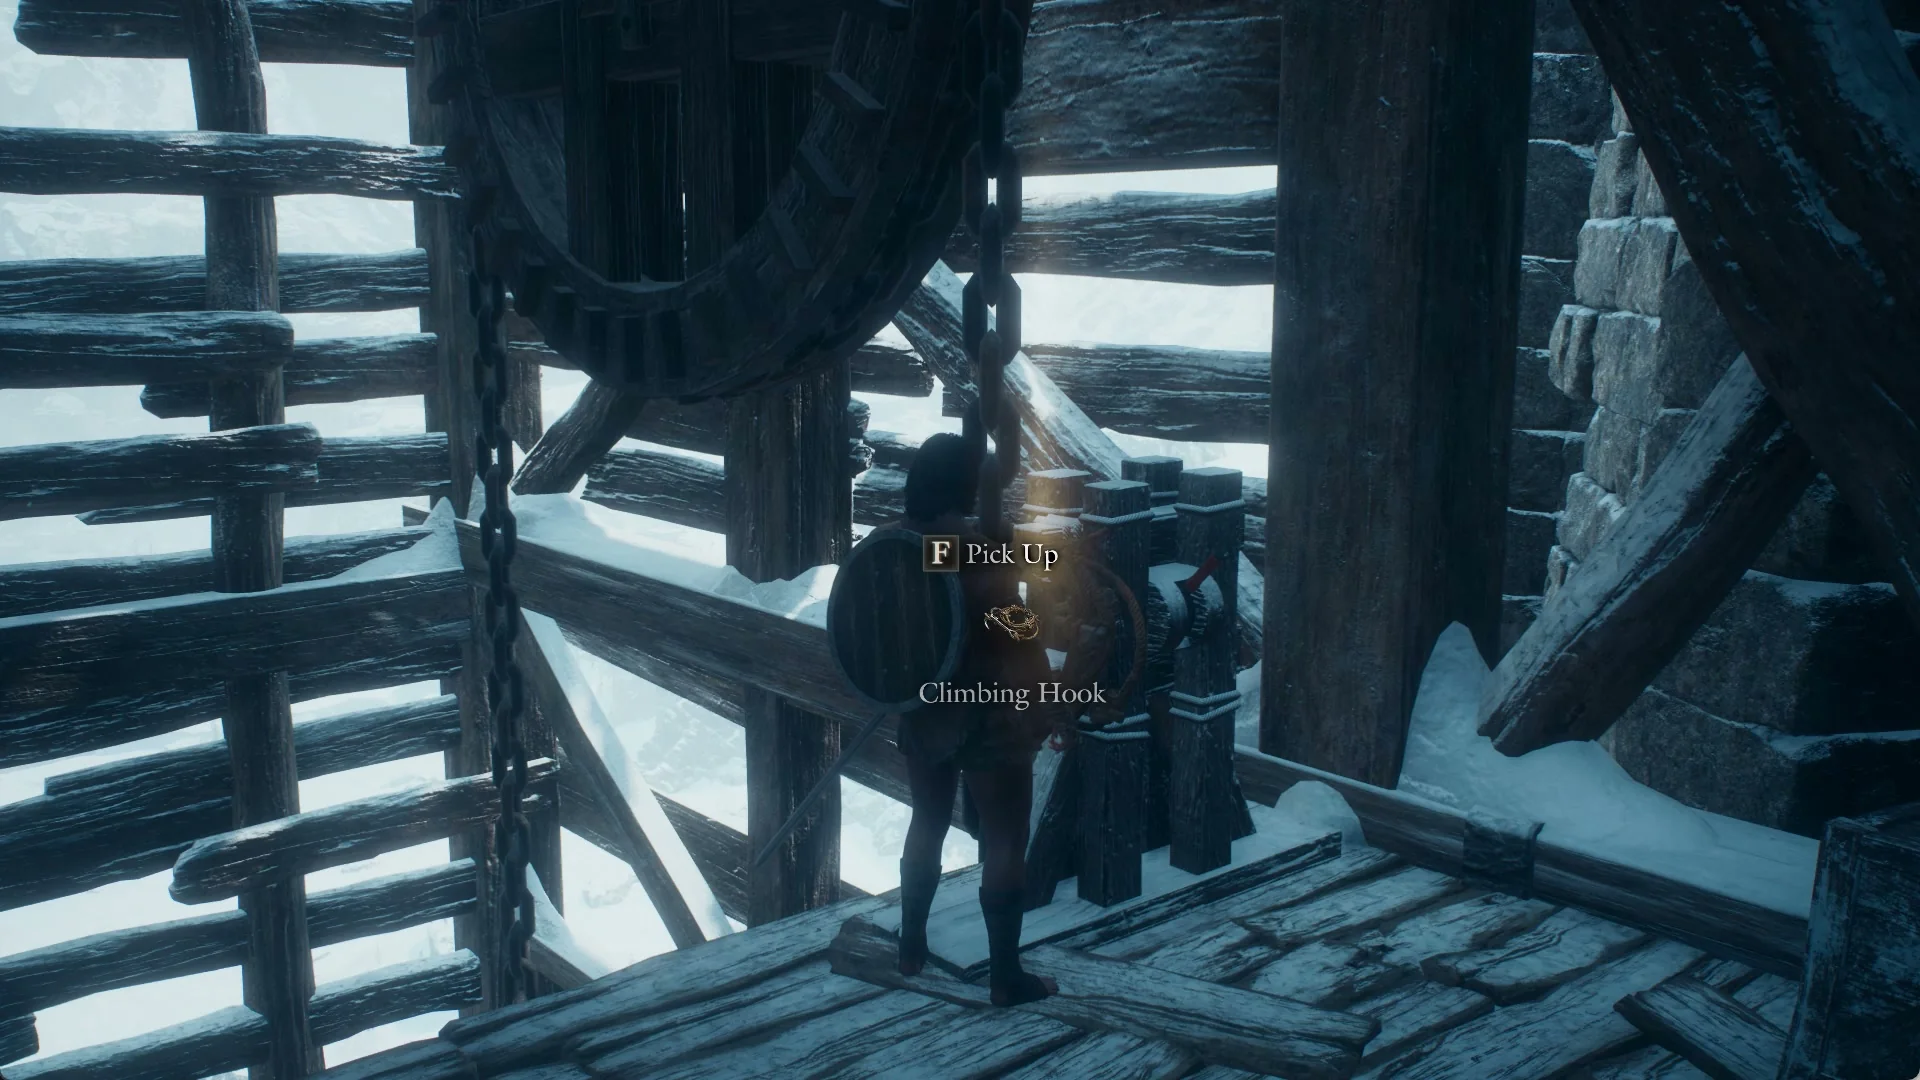
- Climbing Hooks. One is used on a tether post on the route to the grotto; a spare can be collected from the stronghold elevator’s winch assembly with “Pick Up”.
- Bring something to ward off the cold, such as Heatstones or thermal armour. A warning at the elevator landing says the trail enters the snowfield, where it is easy to lose your bearings.
Reach the ice wall and meet Eir
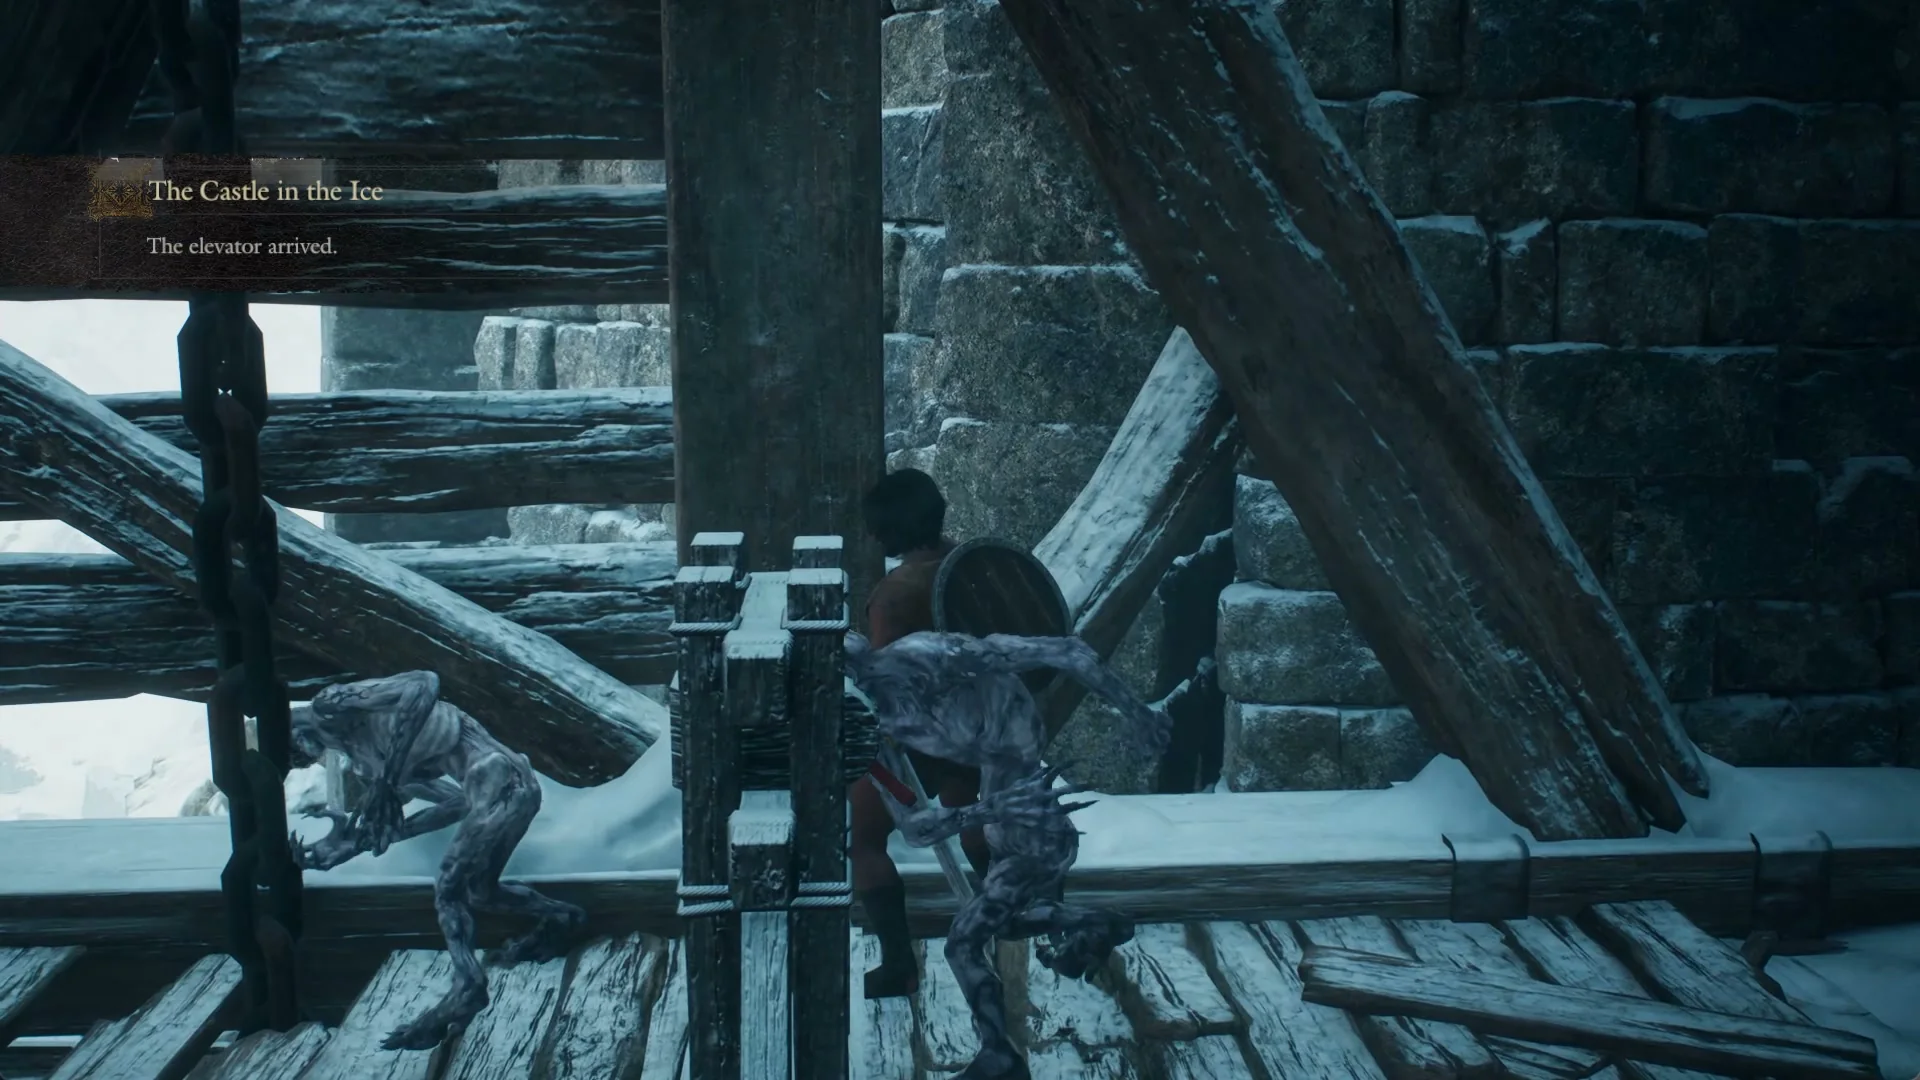
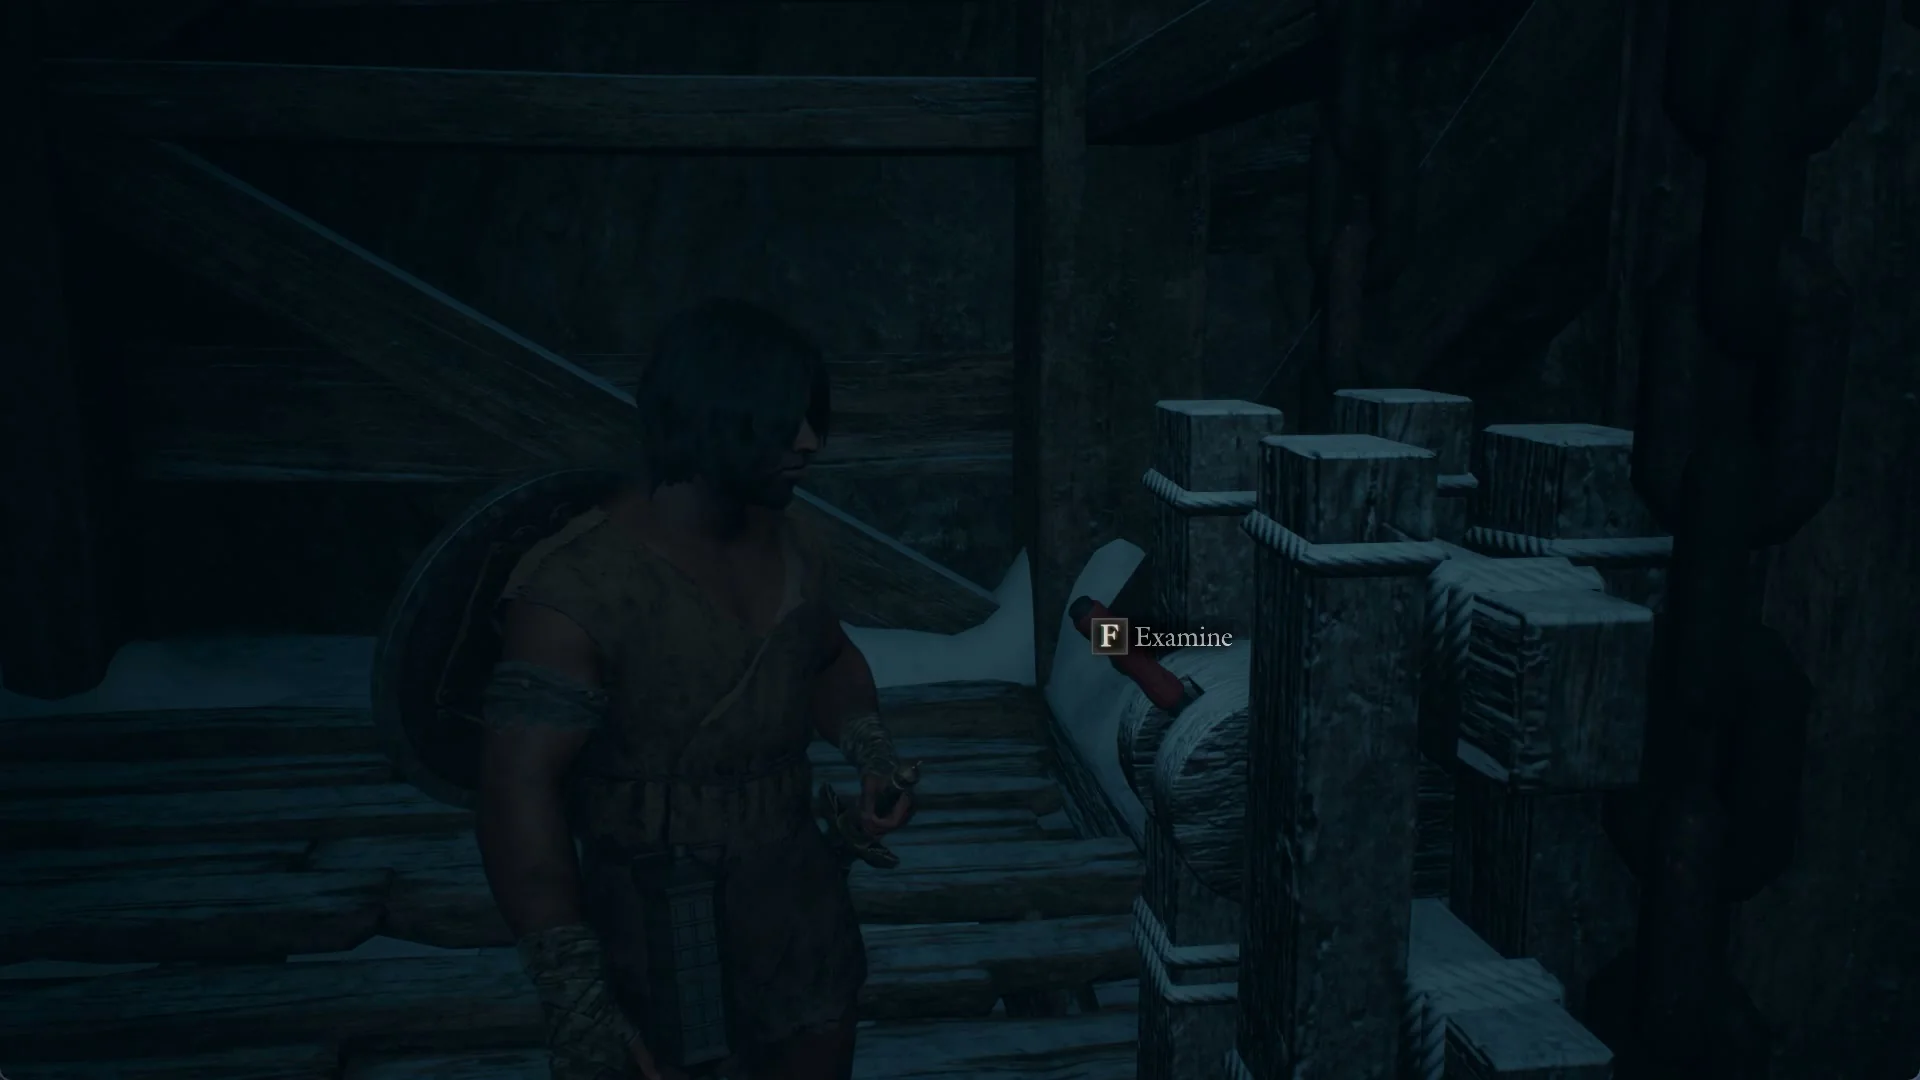
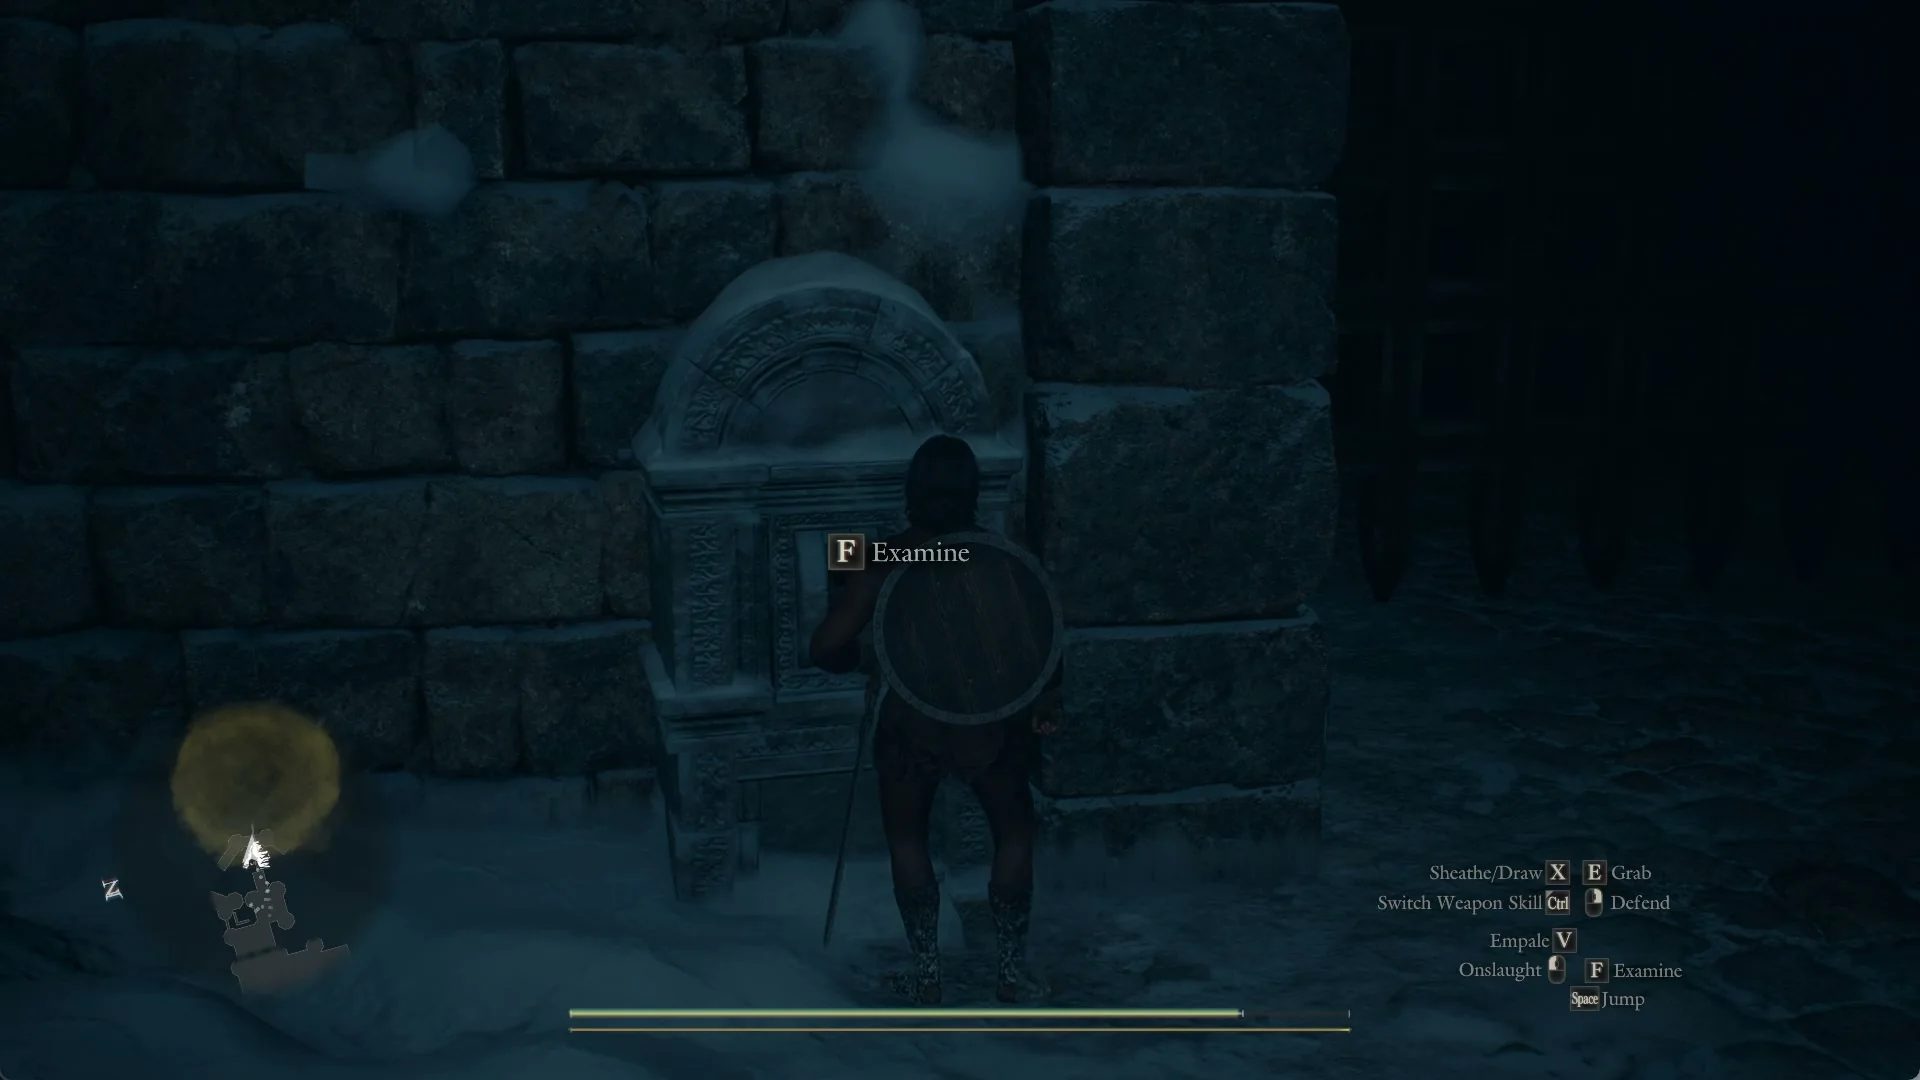
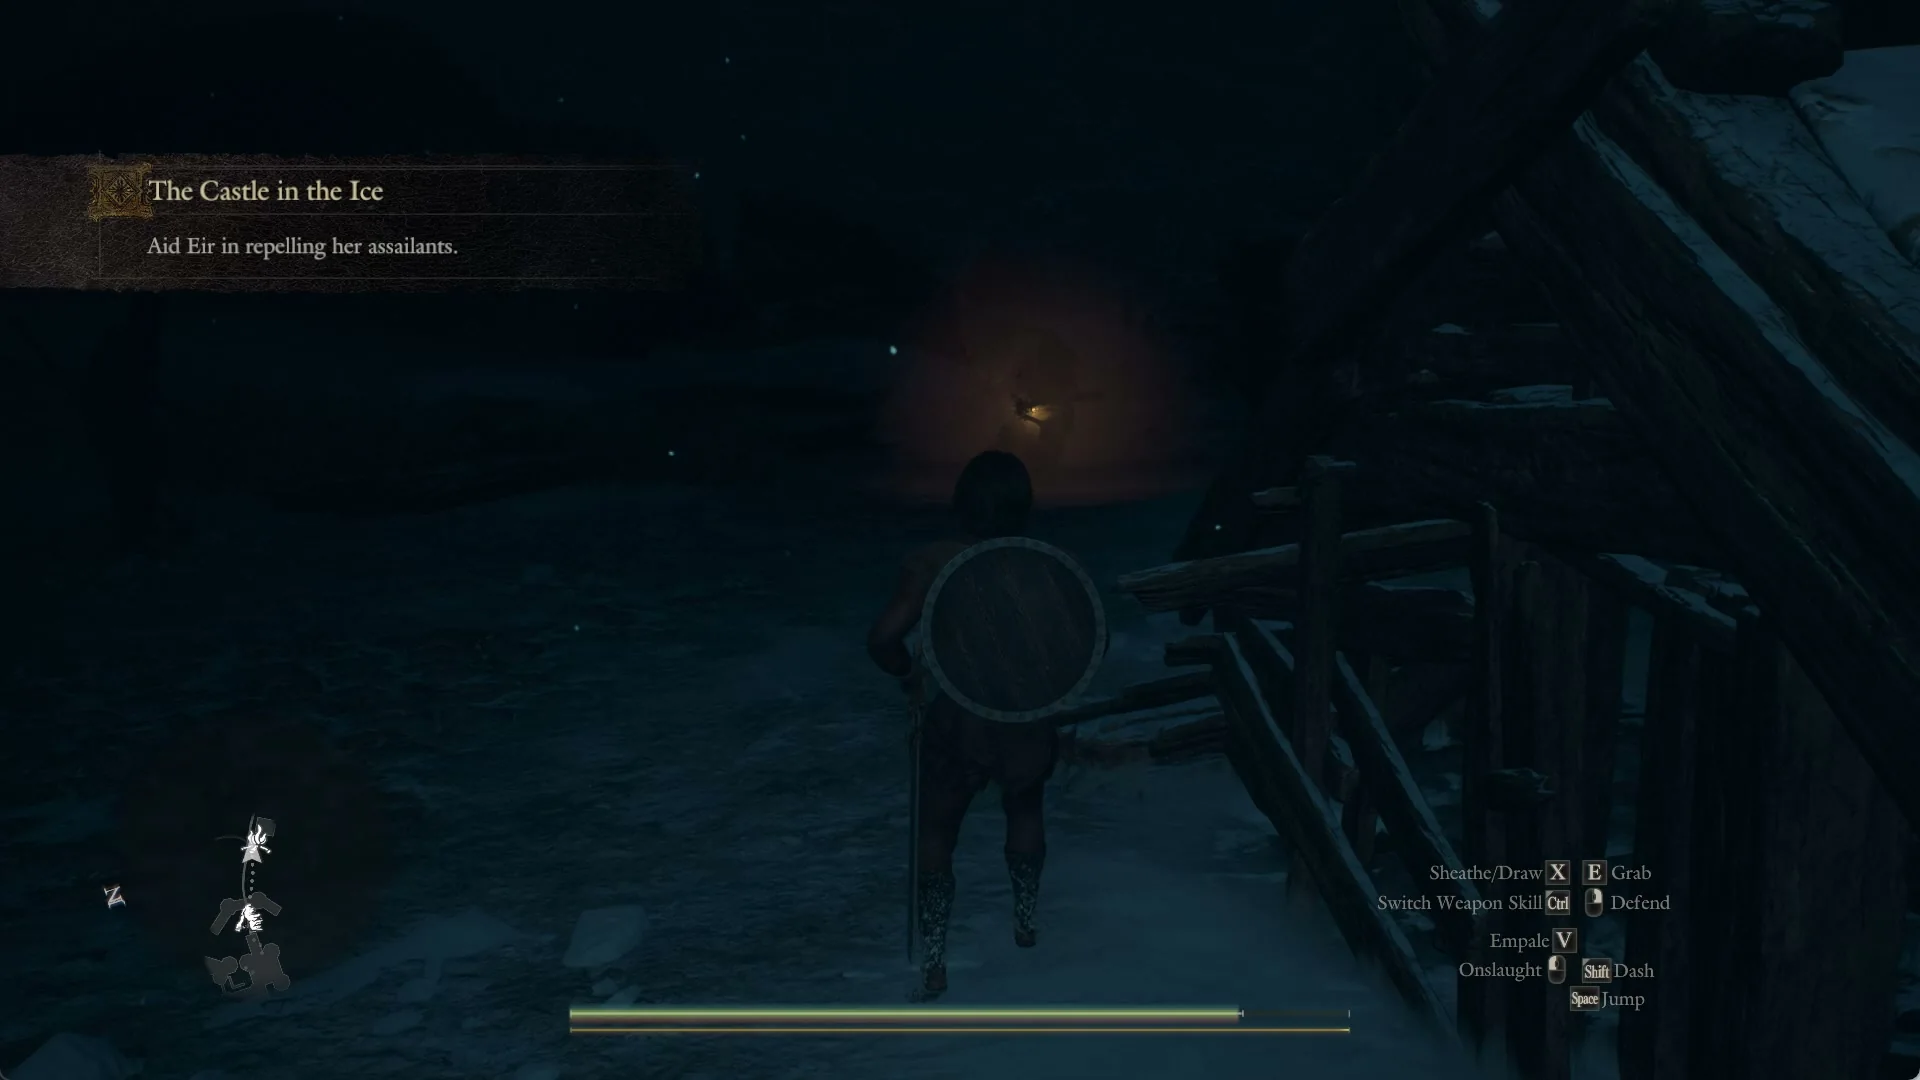
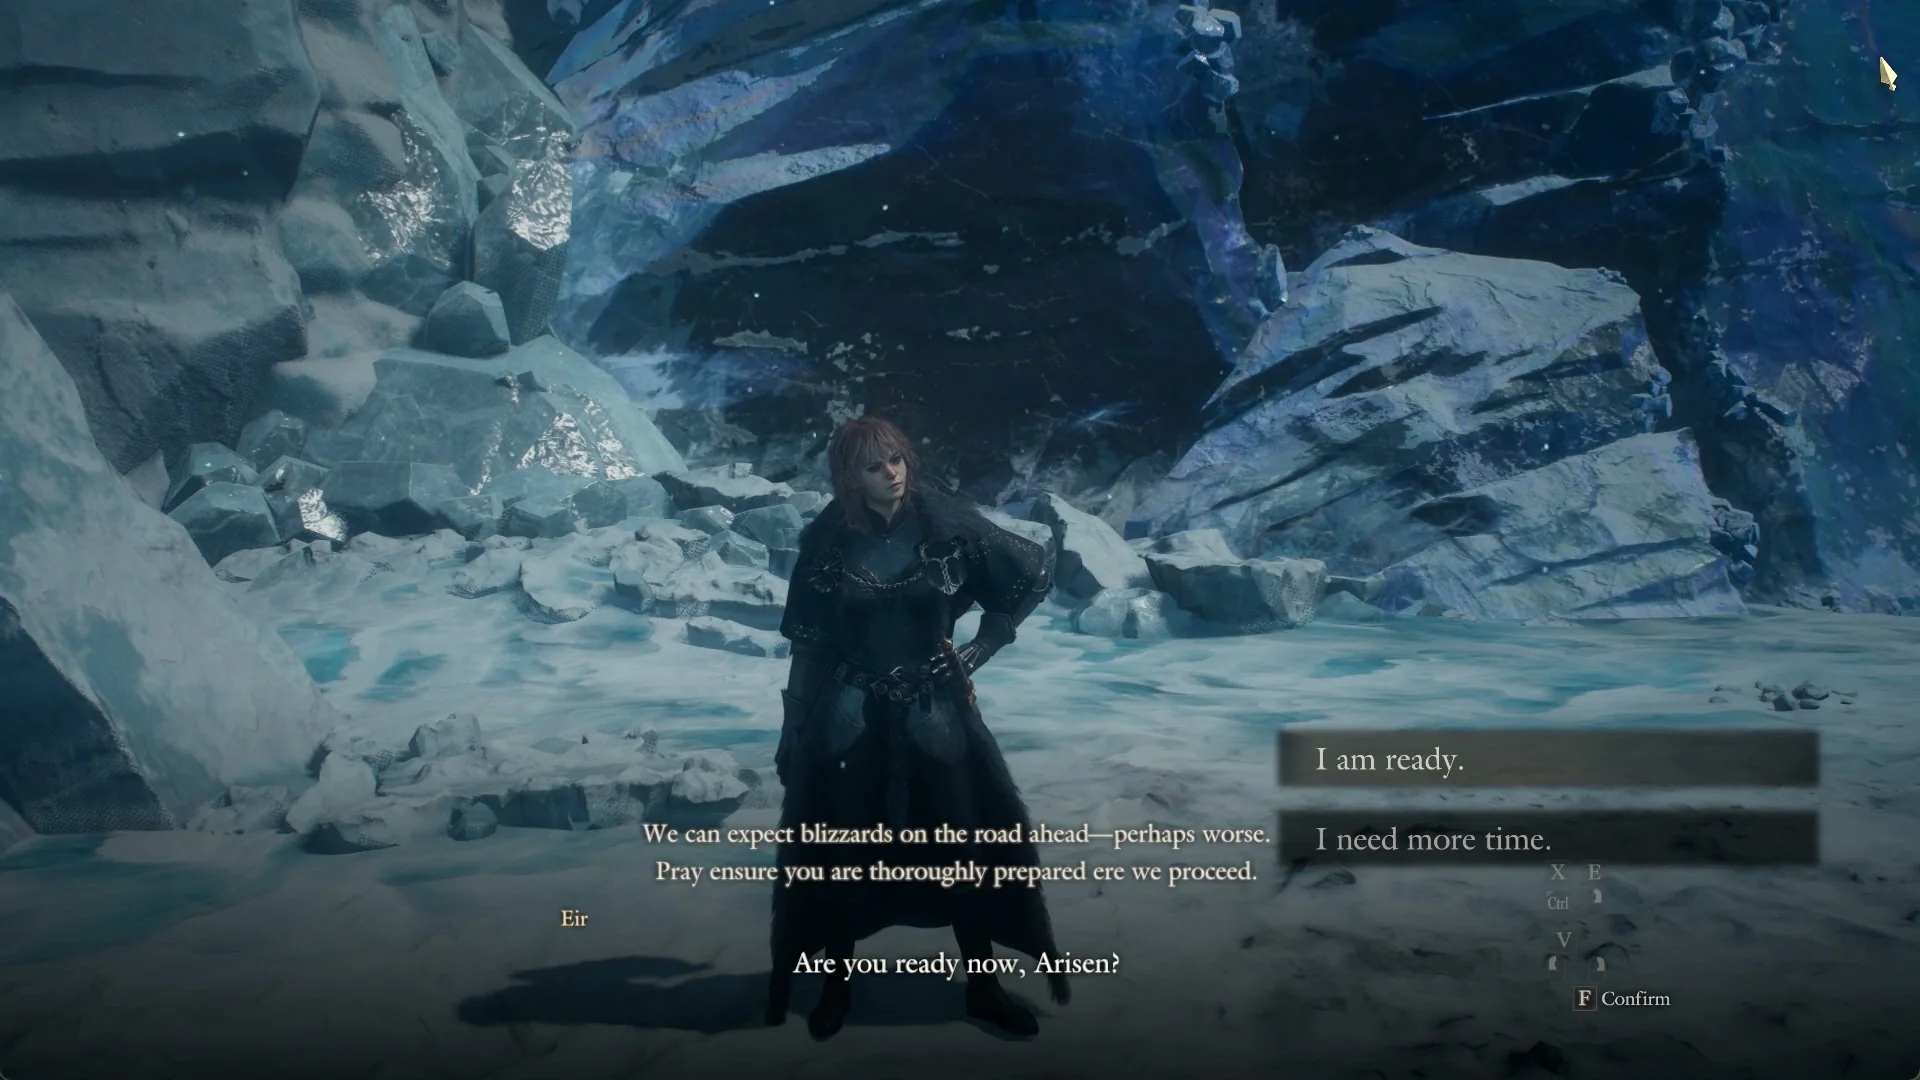
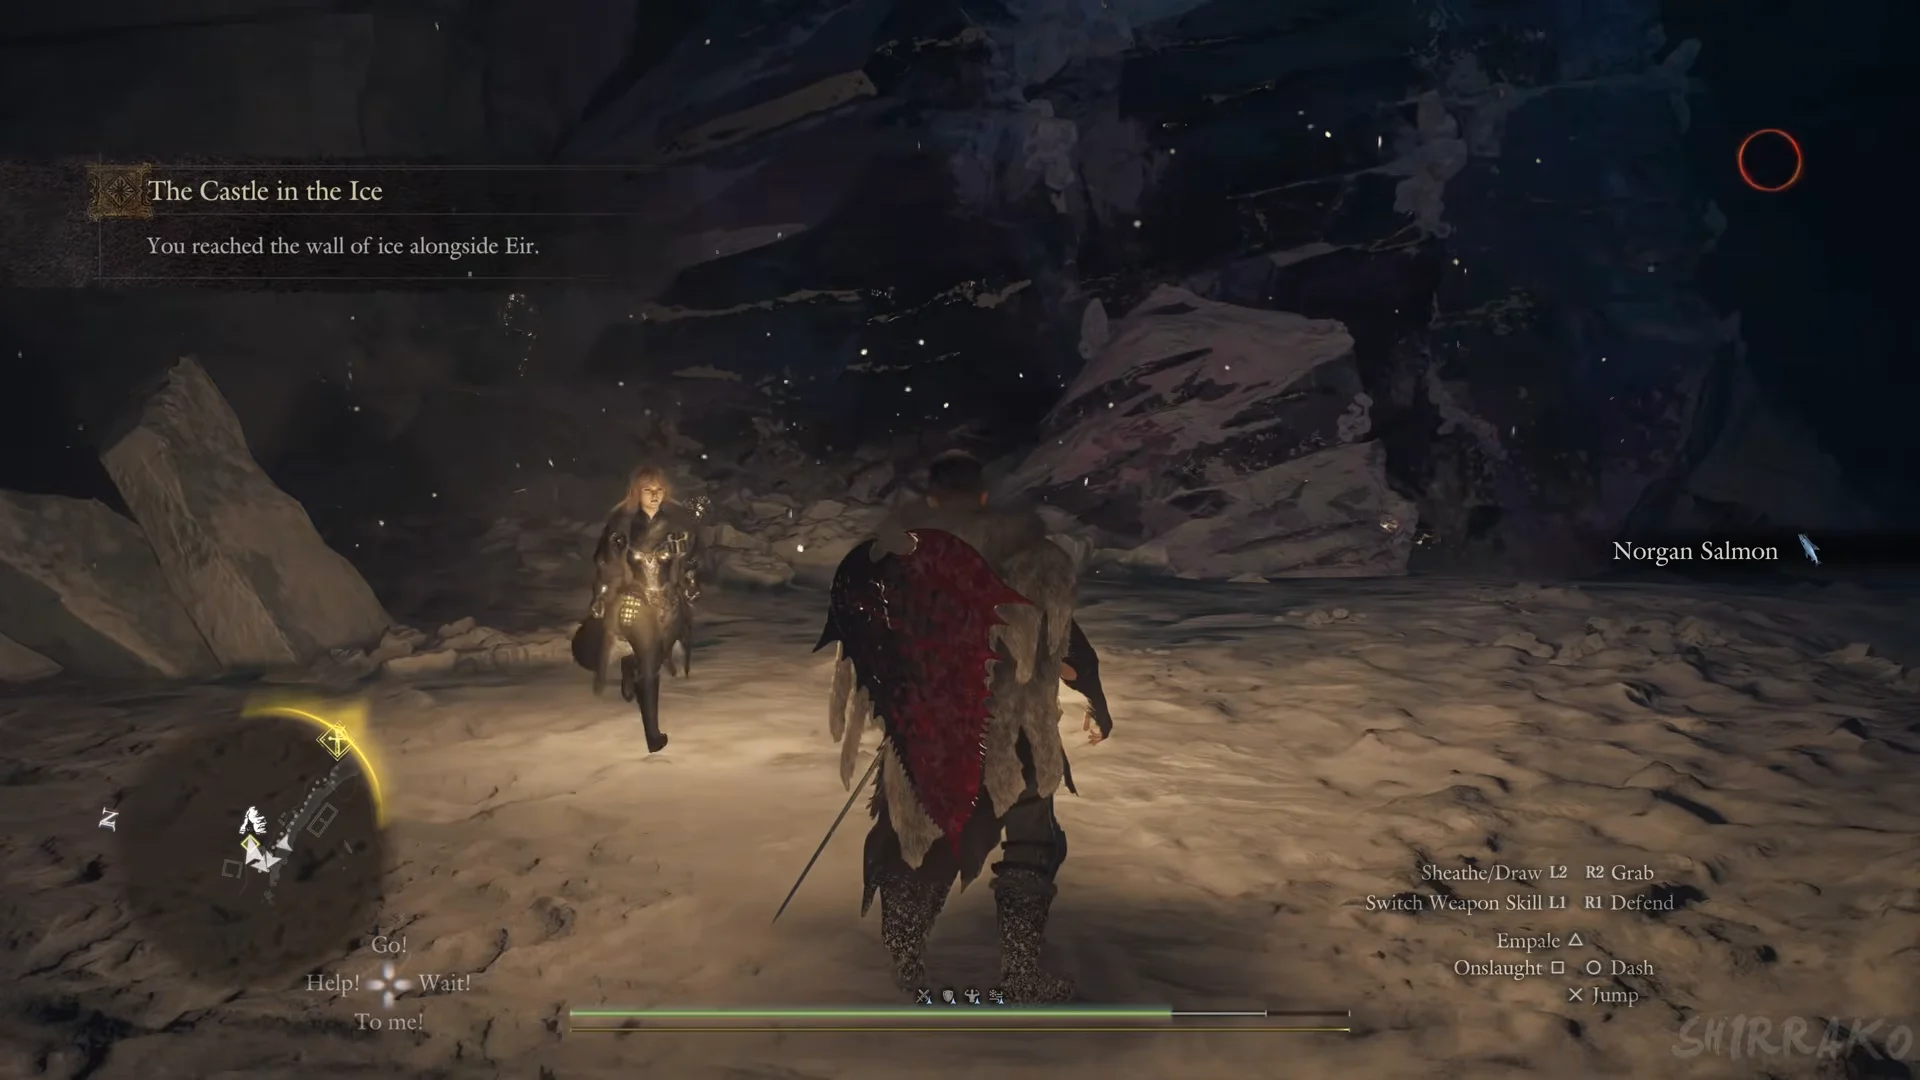
Follow the compass to Gagana’s Grotto
Summon the gagana at the altar
Enter the ruined courtyard beneath the frozen waterfall and climb onto the circular stone platform. The objective changes to “Find a way to summon a gagana.” Three big, round iron braziers stand on the platform, with rib bones scattered among them. The red image painted on the rock face behind the platform opens as the Gagana’s Grotto Mural and gives the ritual:
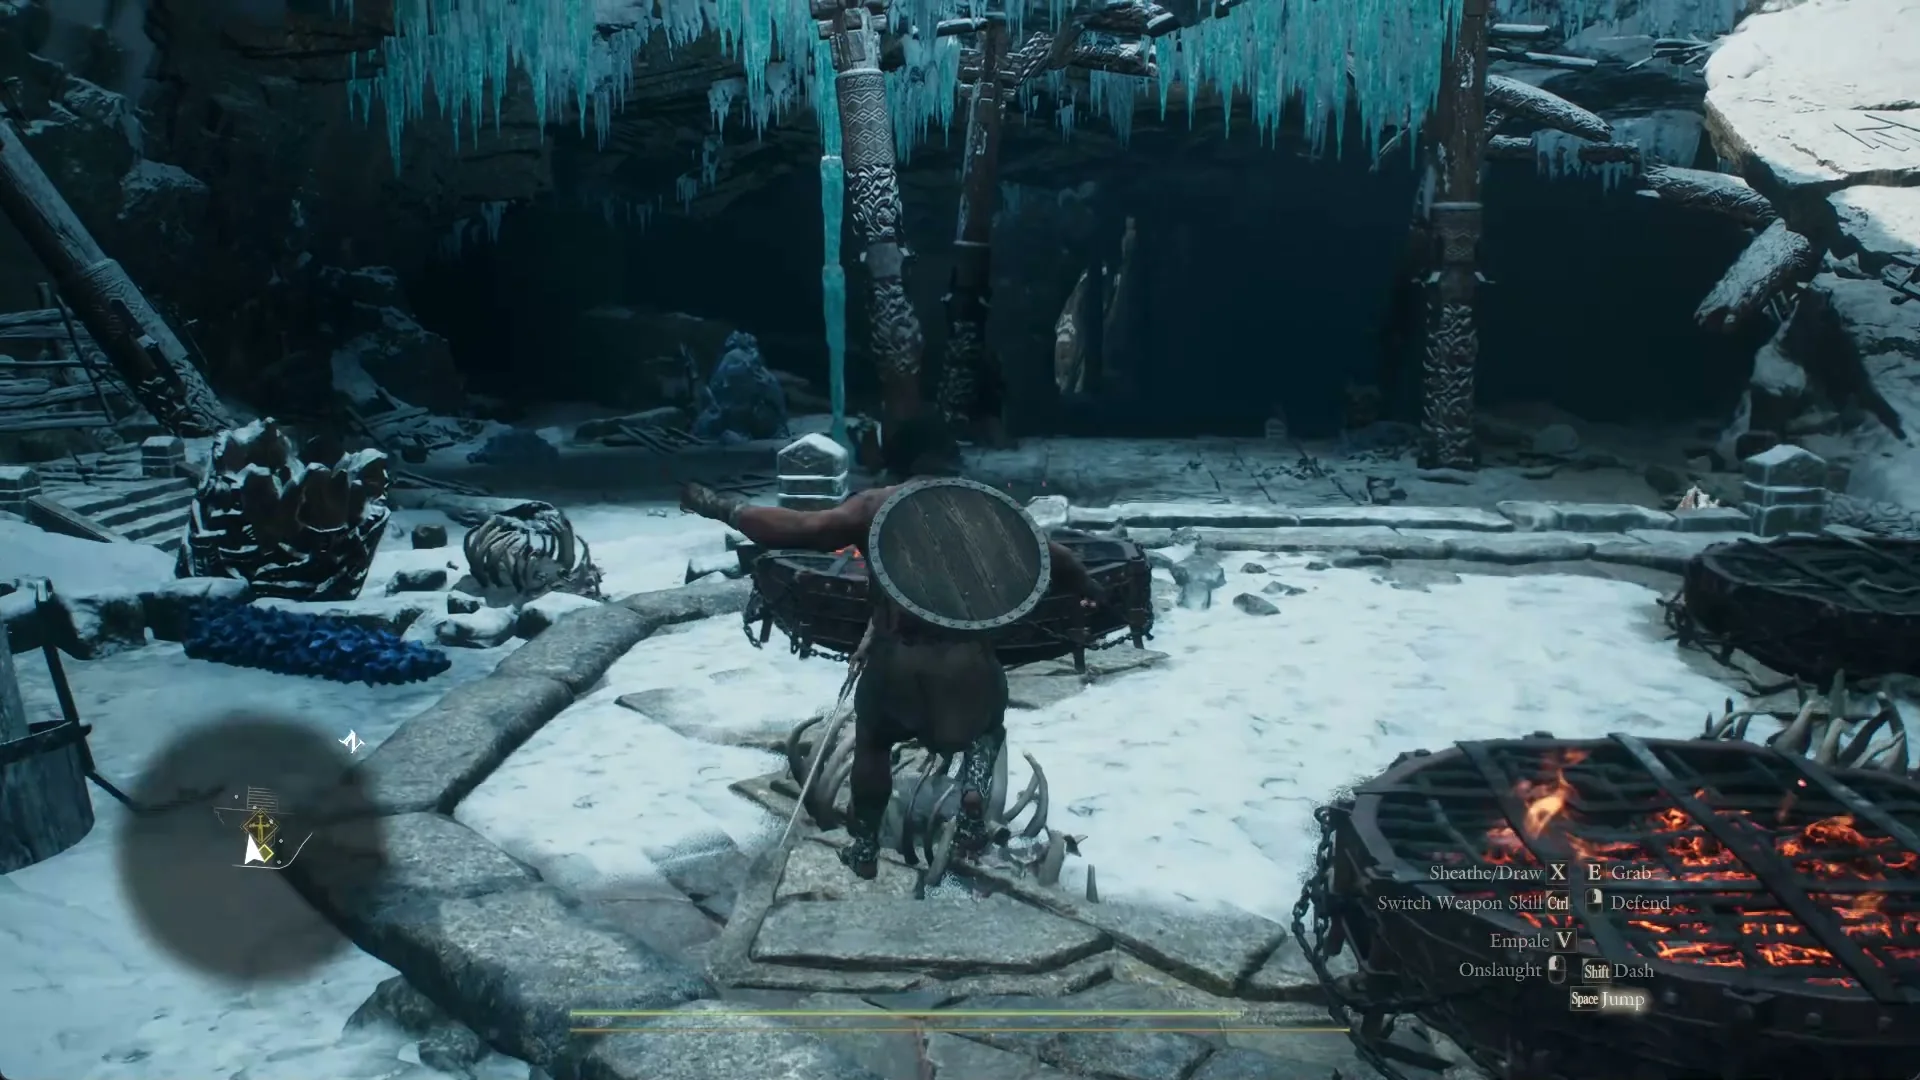
If in this frigid land ye seeke the warmth of flame, feed the altar’s fyr with the bodie of the skaly beeste that shrouds its hyde in snow, and let the smoke rise to the nest. Thus will the Fyr-Makere appeere.
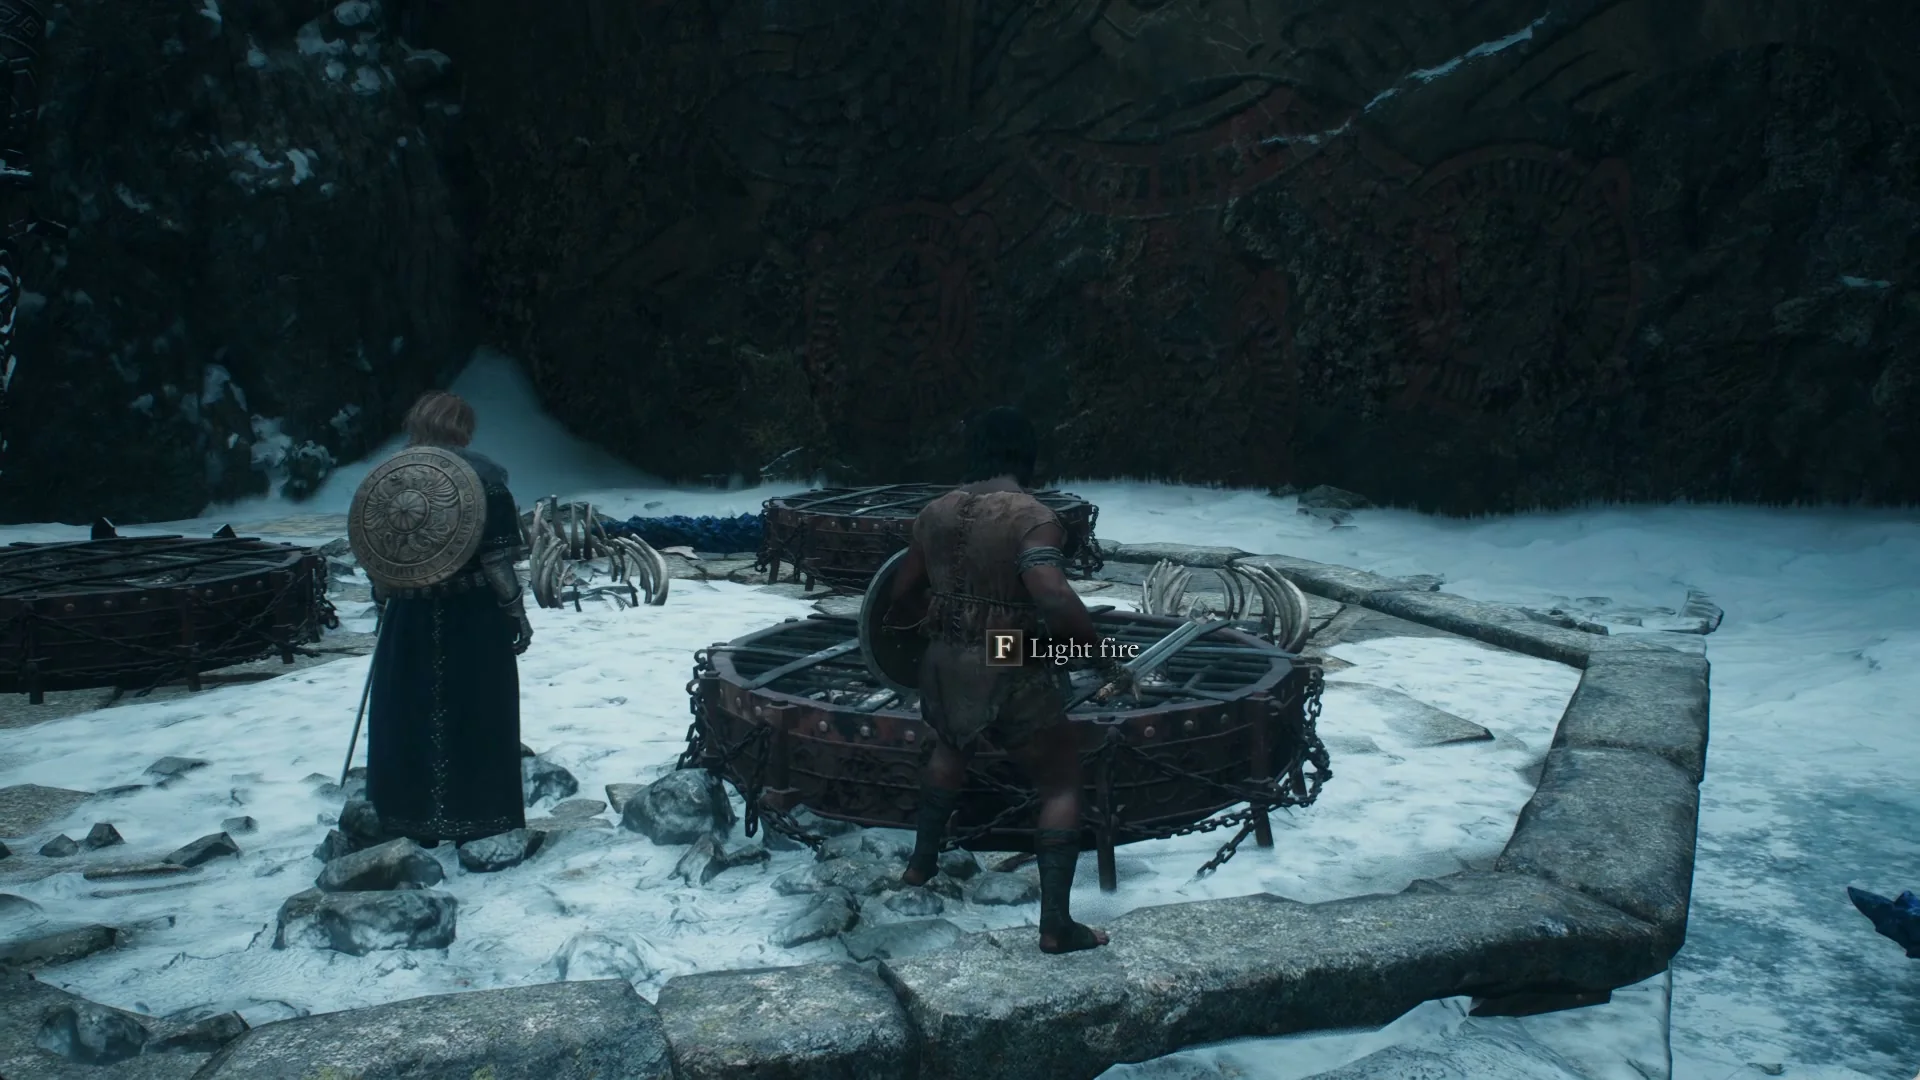
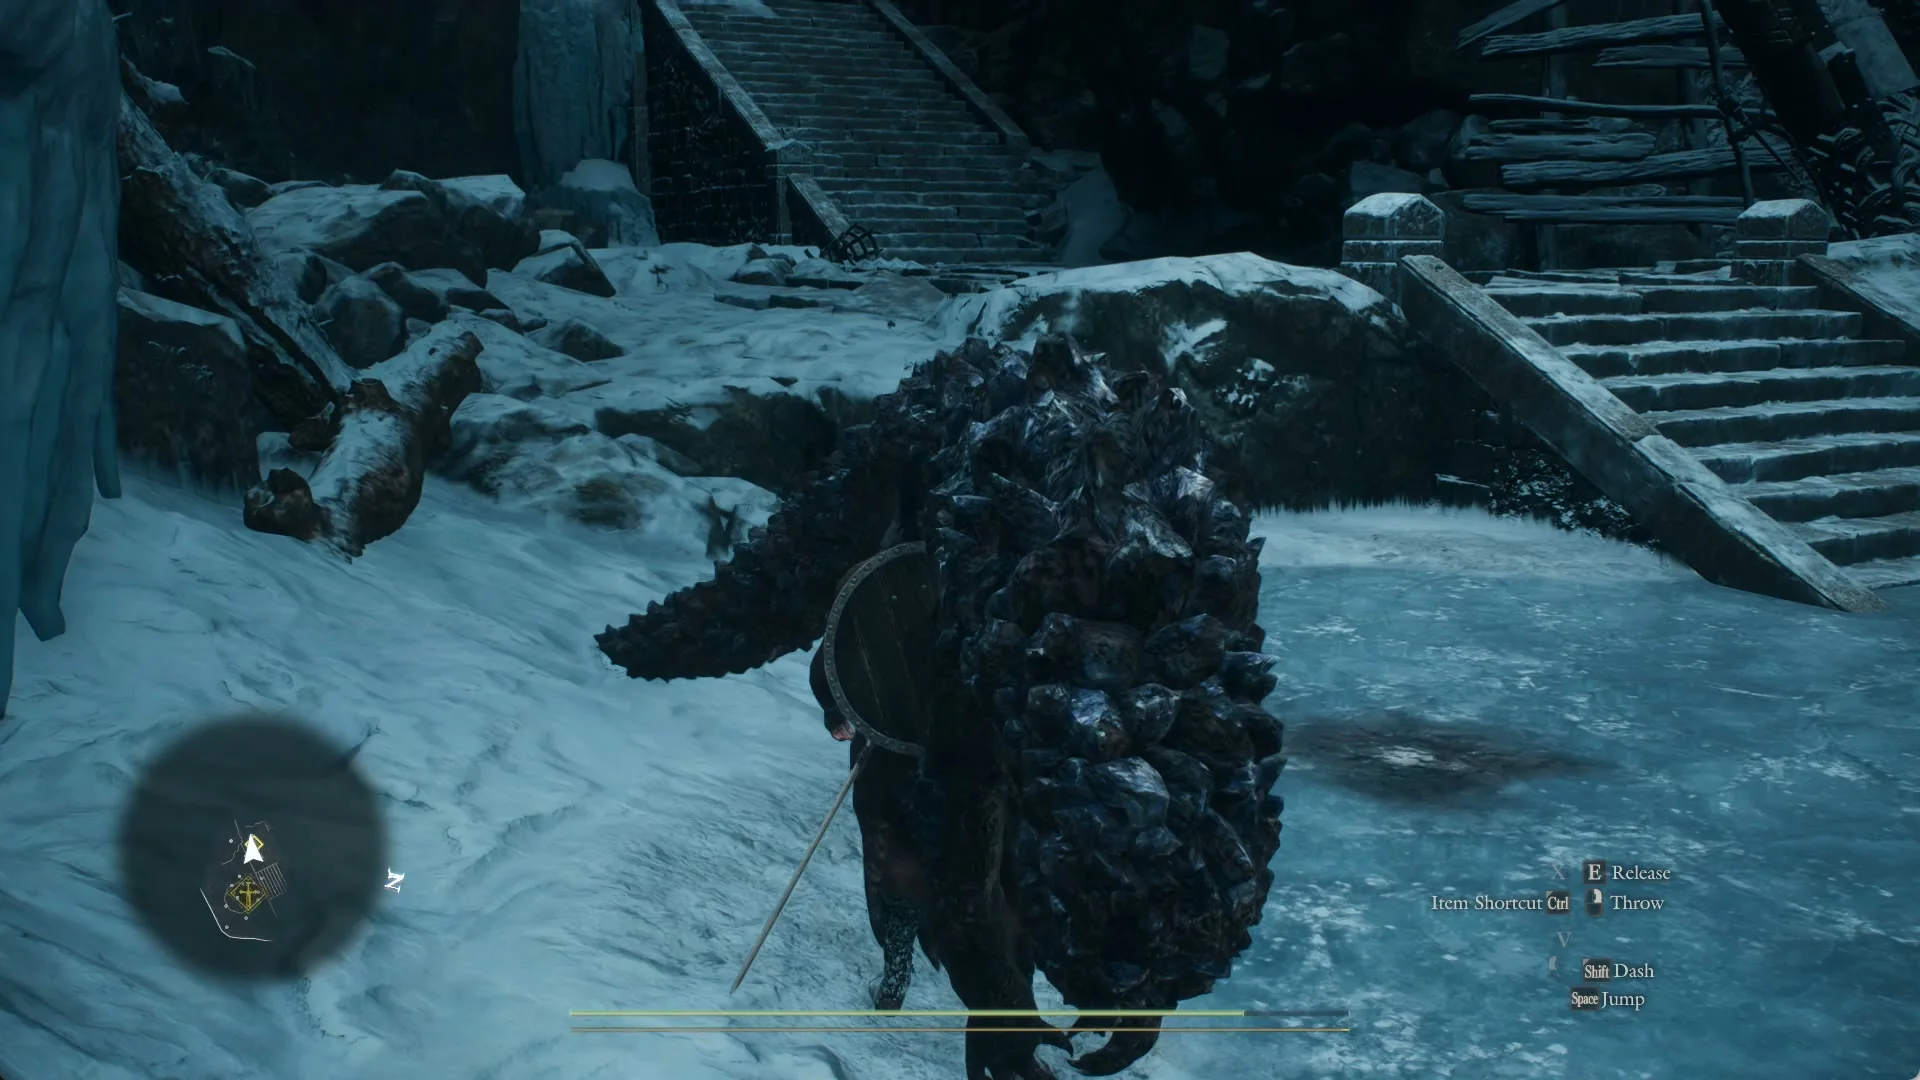
It takes three bodies, one per brazier.
Defeat the gagana and take the Firebird Tallow
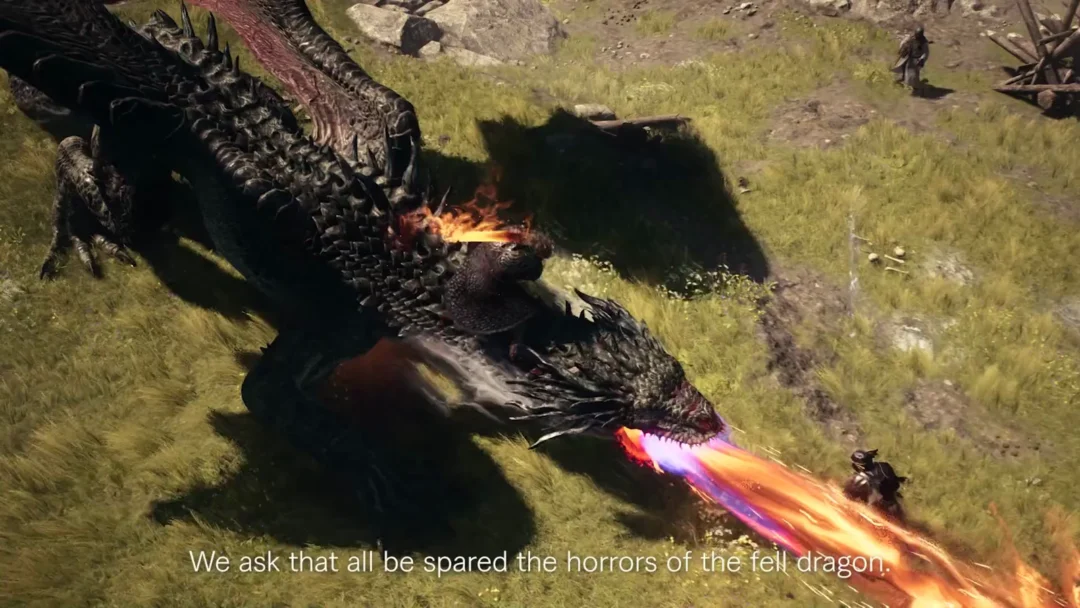
The gagana is a massive, feathered firebird whose throat sac glows red. It breathes a long stream of flame, setting the ground ablaze and potentially catching you in the fire. It can also stomp with talons that a pawn warns are poisonous, lash with its tail, thrust its beak, batter you with its wings and make brief hopping flights. Its fiery breath can thaw ice lumps in the cave, exposing treasure.
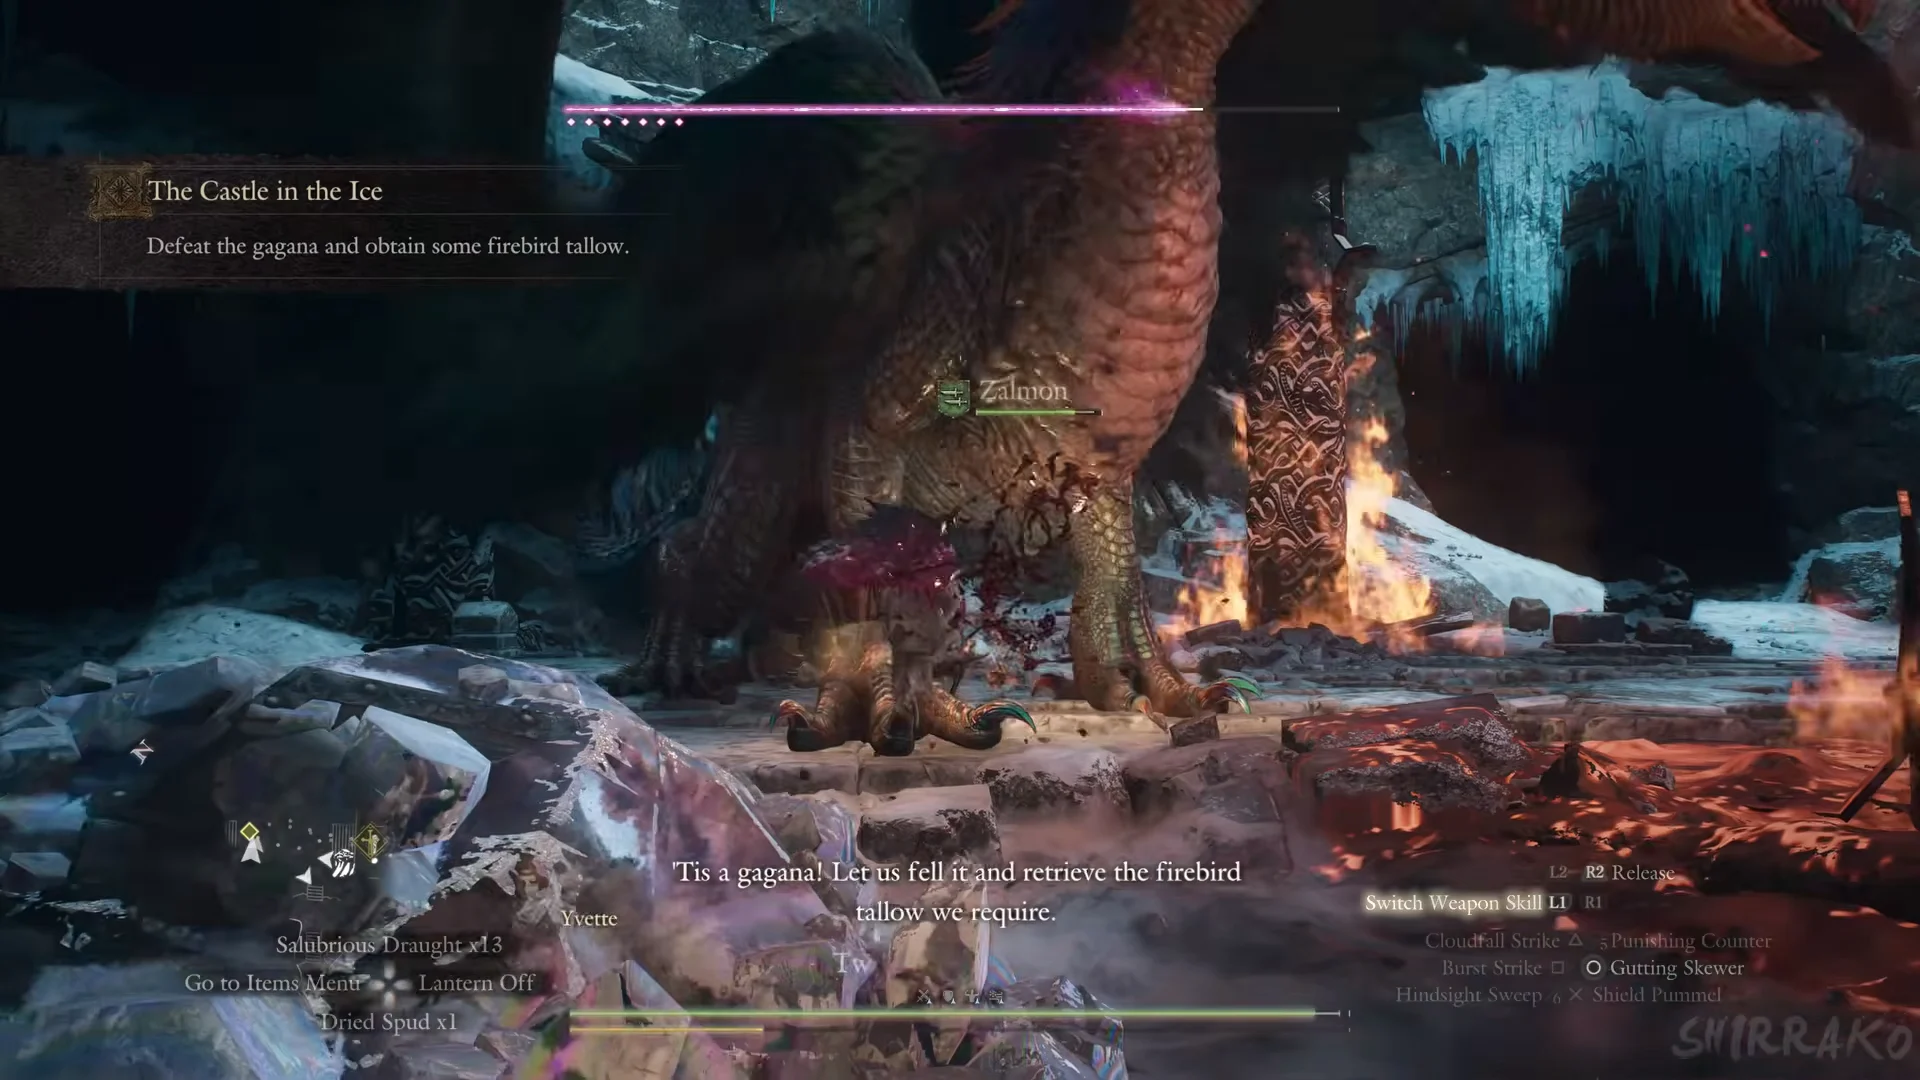
Target the flame sac on its throat. Strike as it swells in preparation for a breath attack; a Fighter can reach it from the front with leaping sword strikes. A burst sac sends the gagana tumbling onto its side for roughly twenty seconds, giving you time to attack its head and neck. When it is upright, keep to its rear and use sword and shield against its legs and belly, avoiding the burning ground.
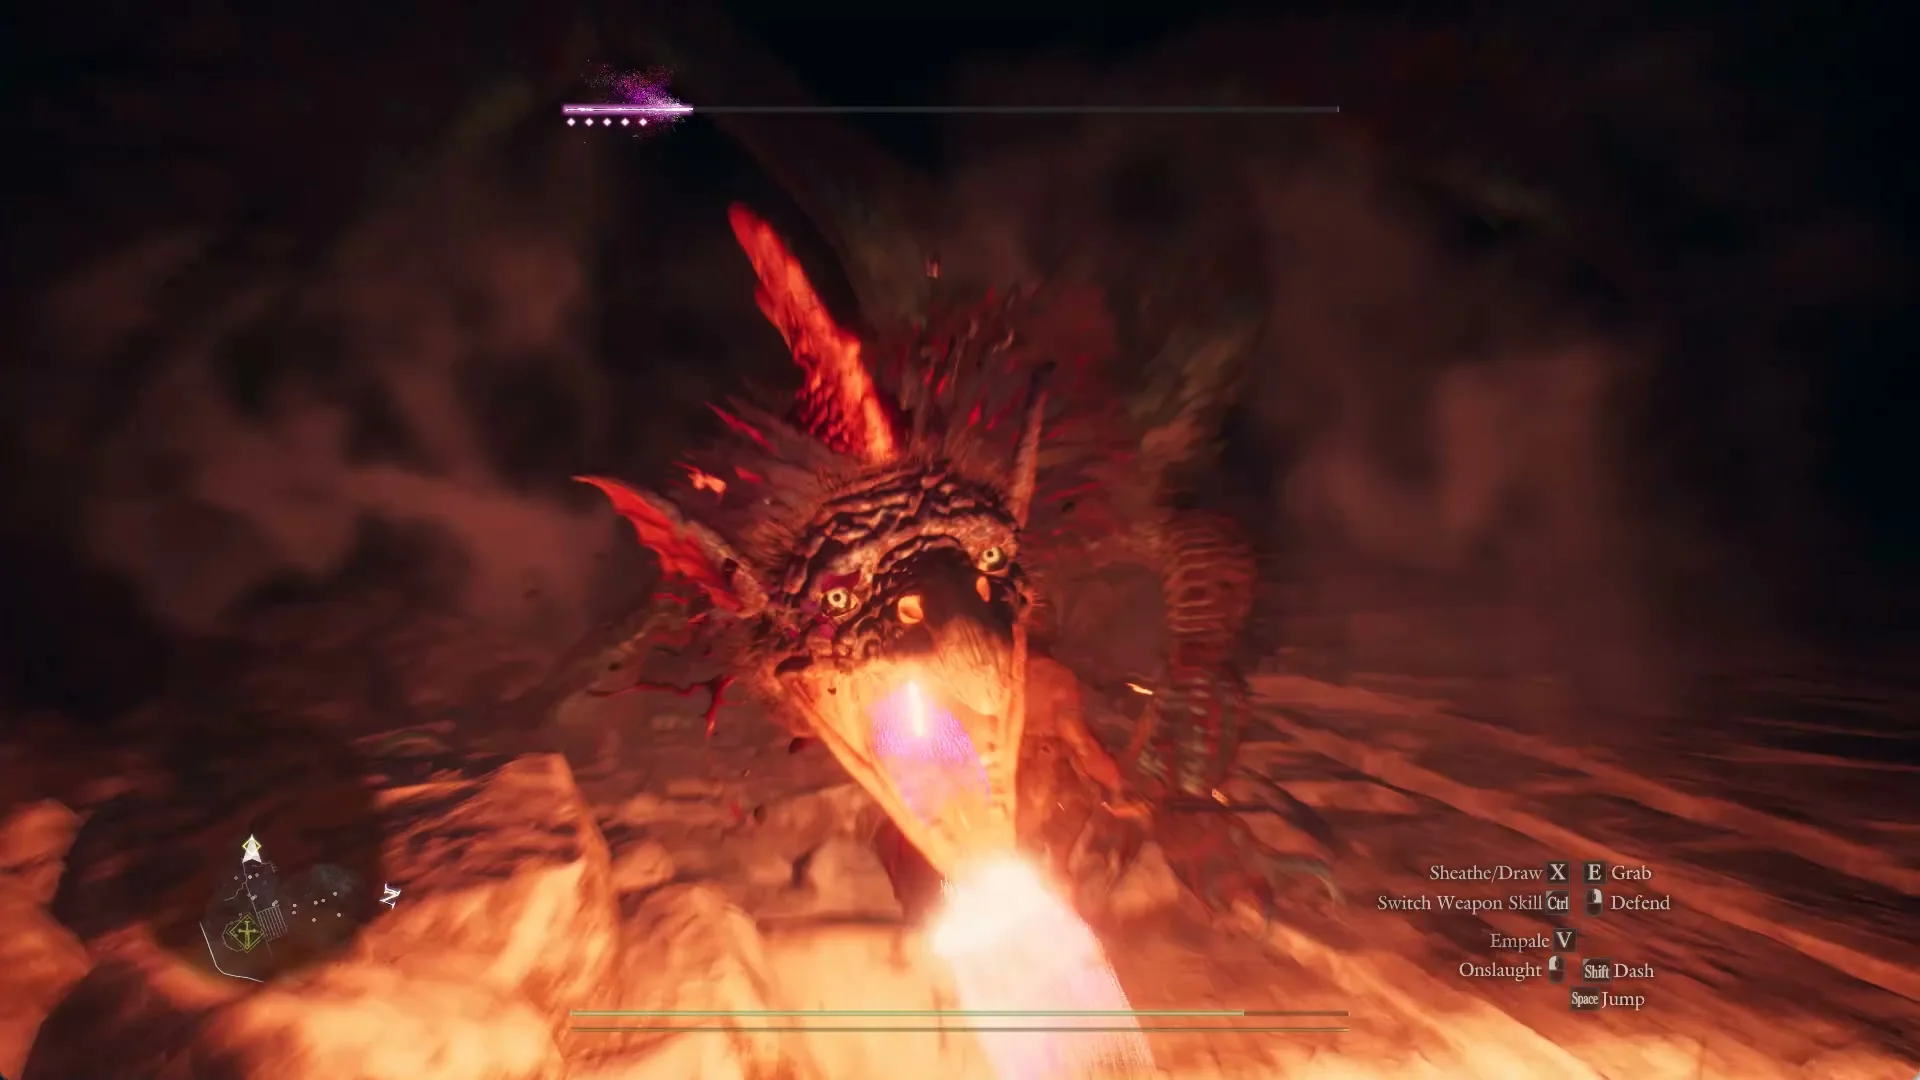
Bring ice and leave fire at home. The gagana has 250,000 health and responds to damage like this:
- Ice: full damage, and 1.35 times on the head.
- Slash, strike, lightning and holy: 0.8, and 1.0 on the head.
- Fire: only 0.2 — close to useless.
- Blighted, Caught Fire and Tarred have no effect on it.
Felling it pays +155,998 XP and +1,190 Dcp. Use “Examine” on the body to collect your loot, which gives Firebird Tallow; Smoldering Hide, Glacial Ore and Lv 3 spoils can come with it. A gagana can also drop Norgan Ducat, Aged Scrag of Beast, Saurian Tail, Rotten Scrag of Beast and Abandoned Supplies (Rare). Once you have the tallow, the objective updates to “Use the stronghold’s ballista to destroy the wall.”
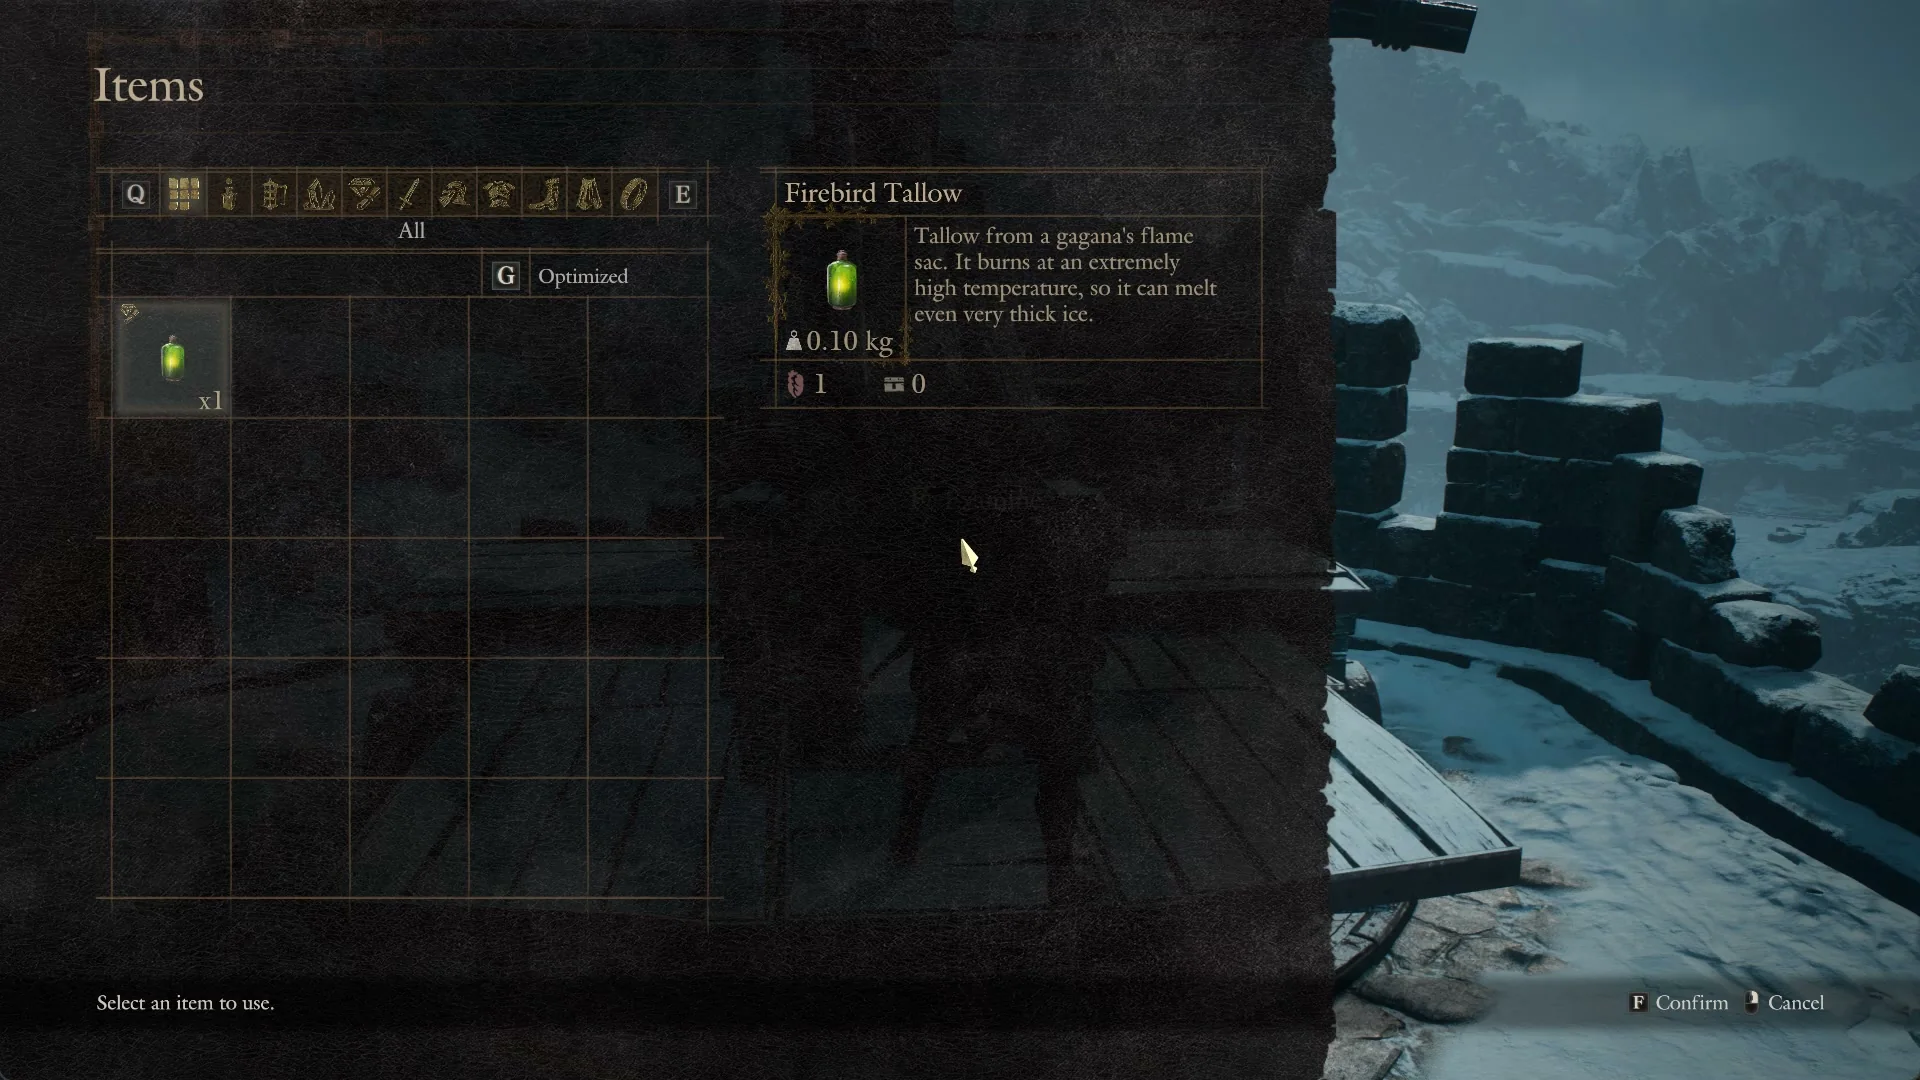
Firebird Tallow is a valuable item weighing 0.10 kg that cannot be sold. In the game’s words, it is tallow from a gagana’s flame sac that burns so hot it melts even very thick ice.
Fire the ballista at the ice wall
Destroy the wall by shooting across the gorge from the Mountain Stronghold battlements. Firebird Tallow is applied to the ballista, not to the wall. Return to the stronghold, using the wooden cable lift across the chasm if you wish. Continue past the ghouls, come out onto the snow slope, go through the arched gateway and ascend the stairs to the open battlements. A sizeable wooden ballista is mounted on the timber deck.
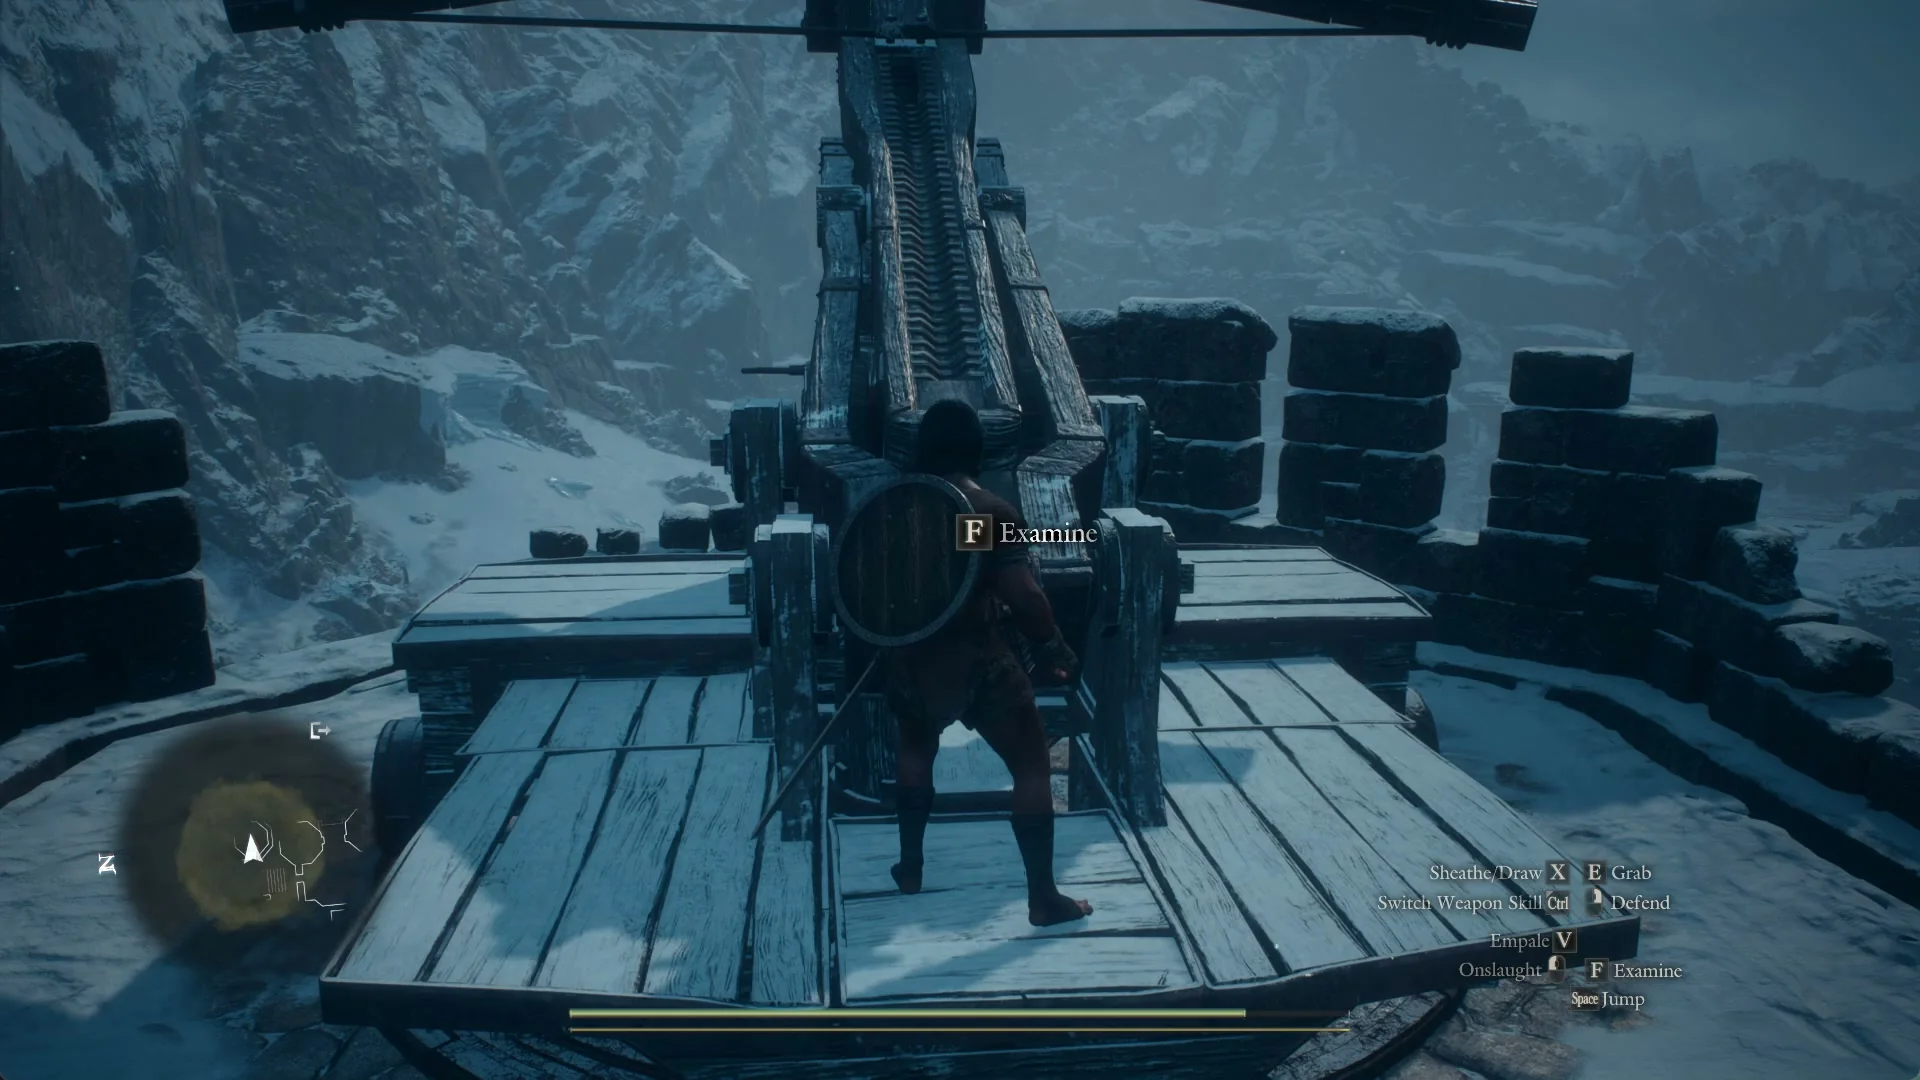
Use “Examine” on the ballista. The Items window opens with “Select an item to use.” and Firebird Tallow listed; confirm it.
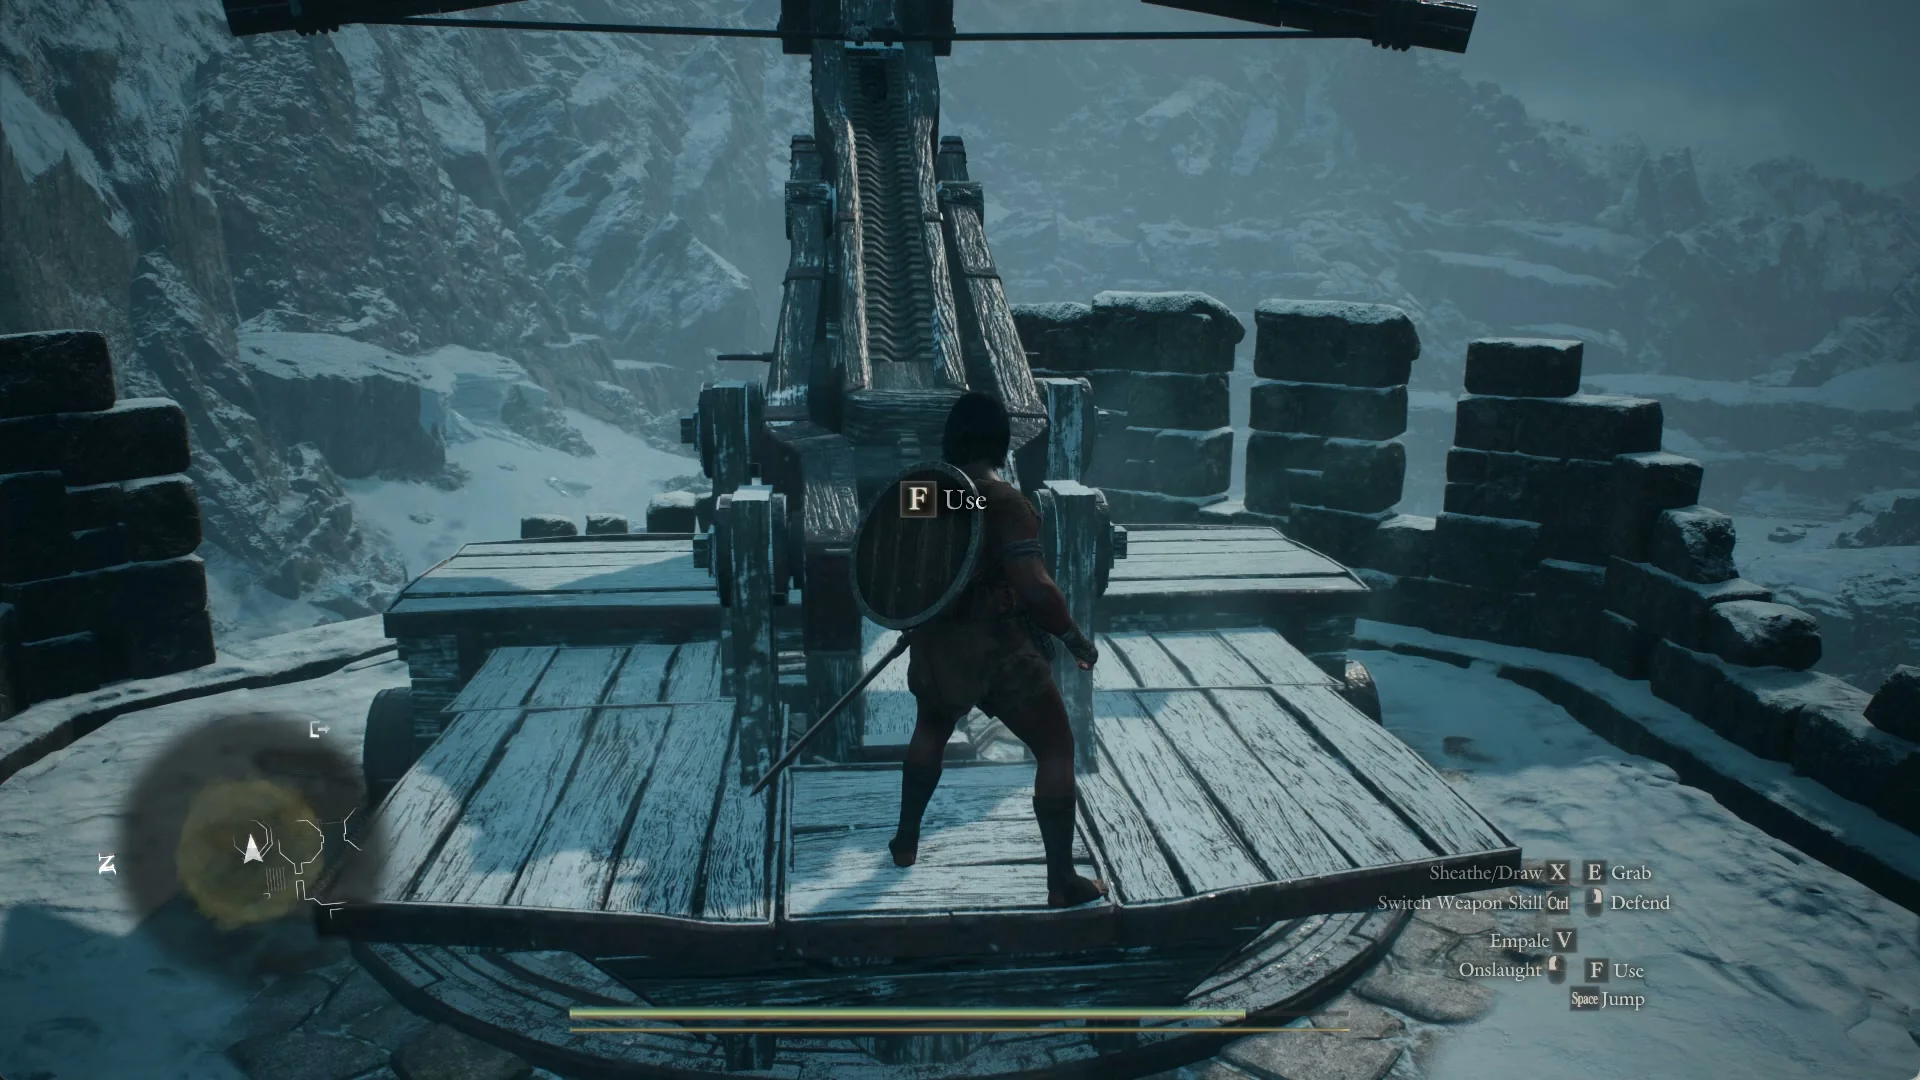
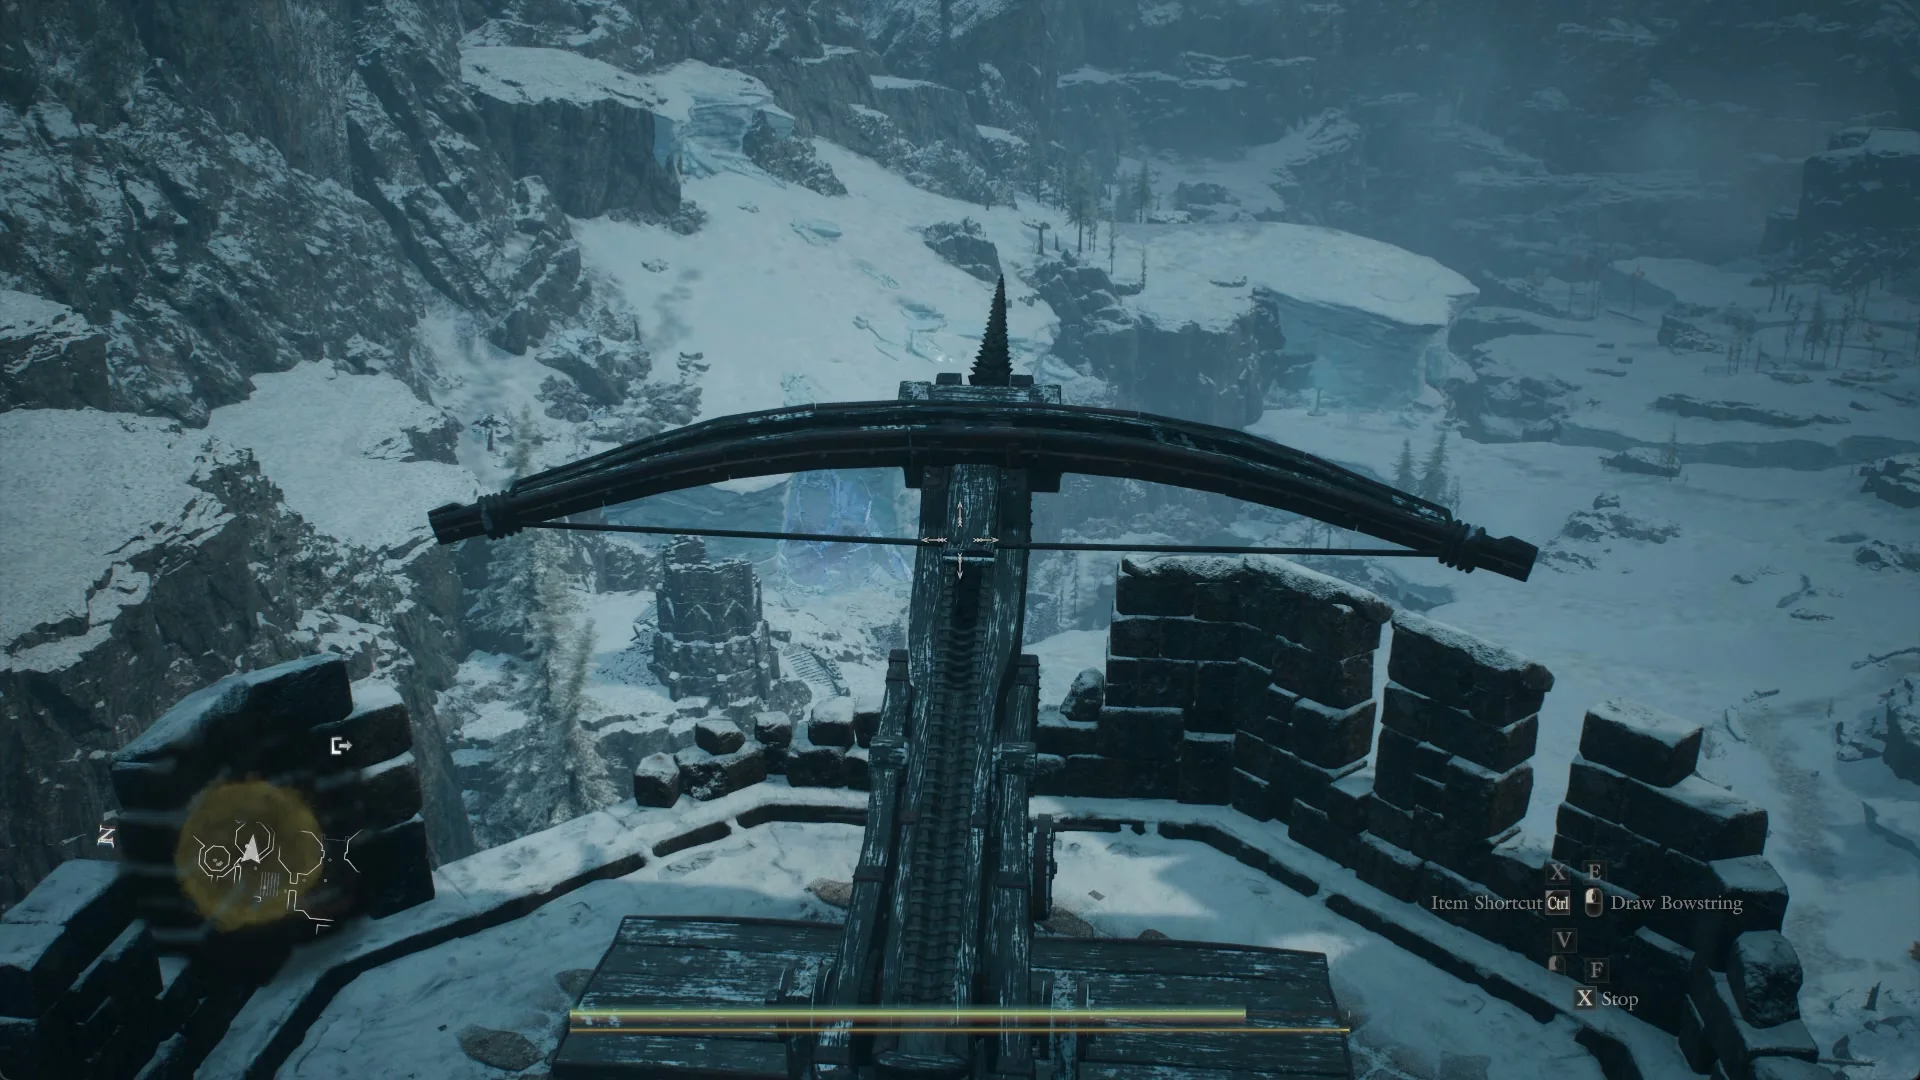
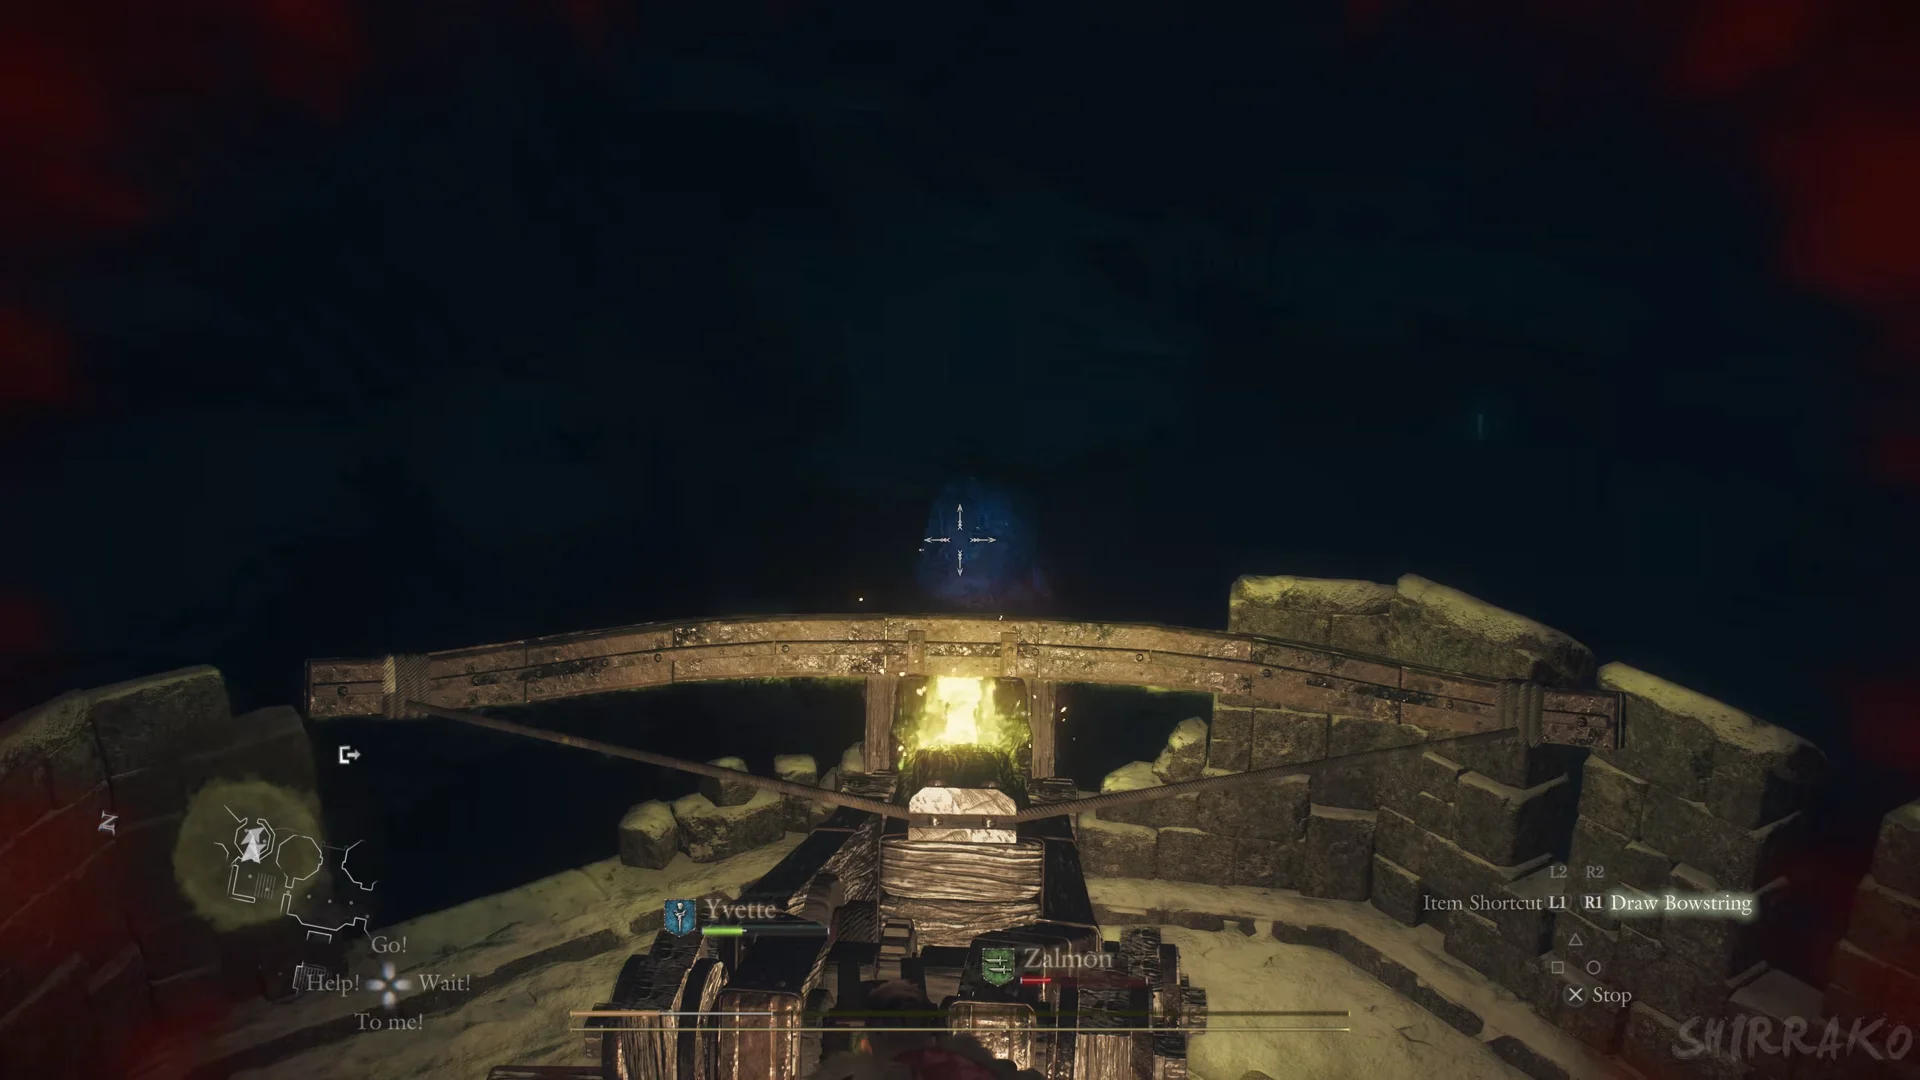
The ballista view appears with a crosshair. Use the “R1 Draw Bowstring” prompt, line up the dark ice wall across the gorge, then fire. On PC the prompts are F for Examine and then F for Use to take the seat, the left mouse button for Draw Bowstring (hold it, then release to loose) and X for Stop.
The view can start out pointing at the sky. Bring the aim down until you are looking along the ballista over the parapet into the gorge. At night the ice wall shows as a small, faint blue glow in the dark; put the crosshair on it. The objects around the stronghold also respond only once nearby enemies are dead, so clear the ghouls on the battlements first if the Examine prompt will not appear.
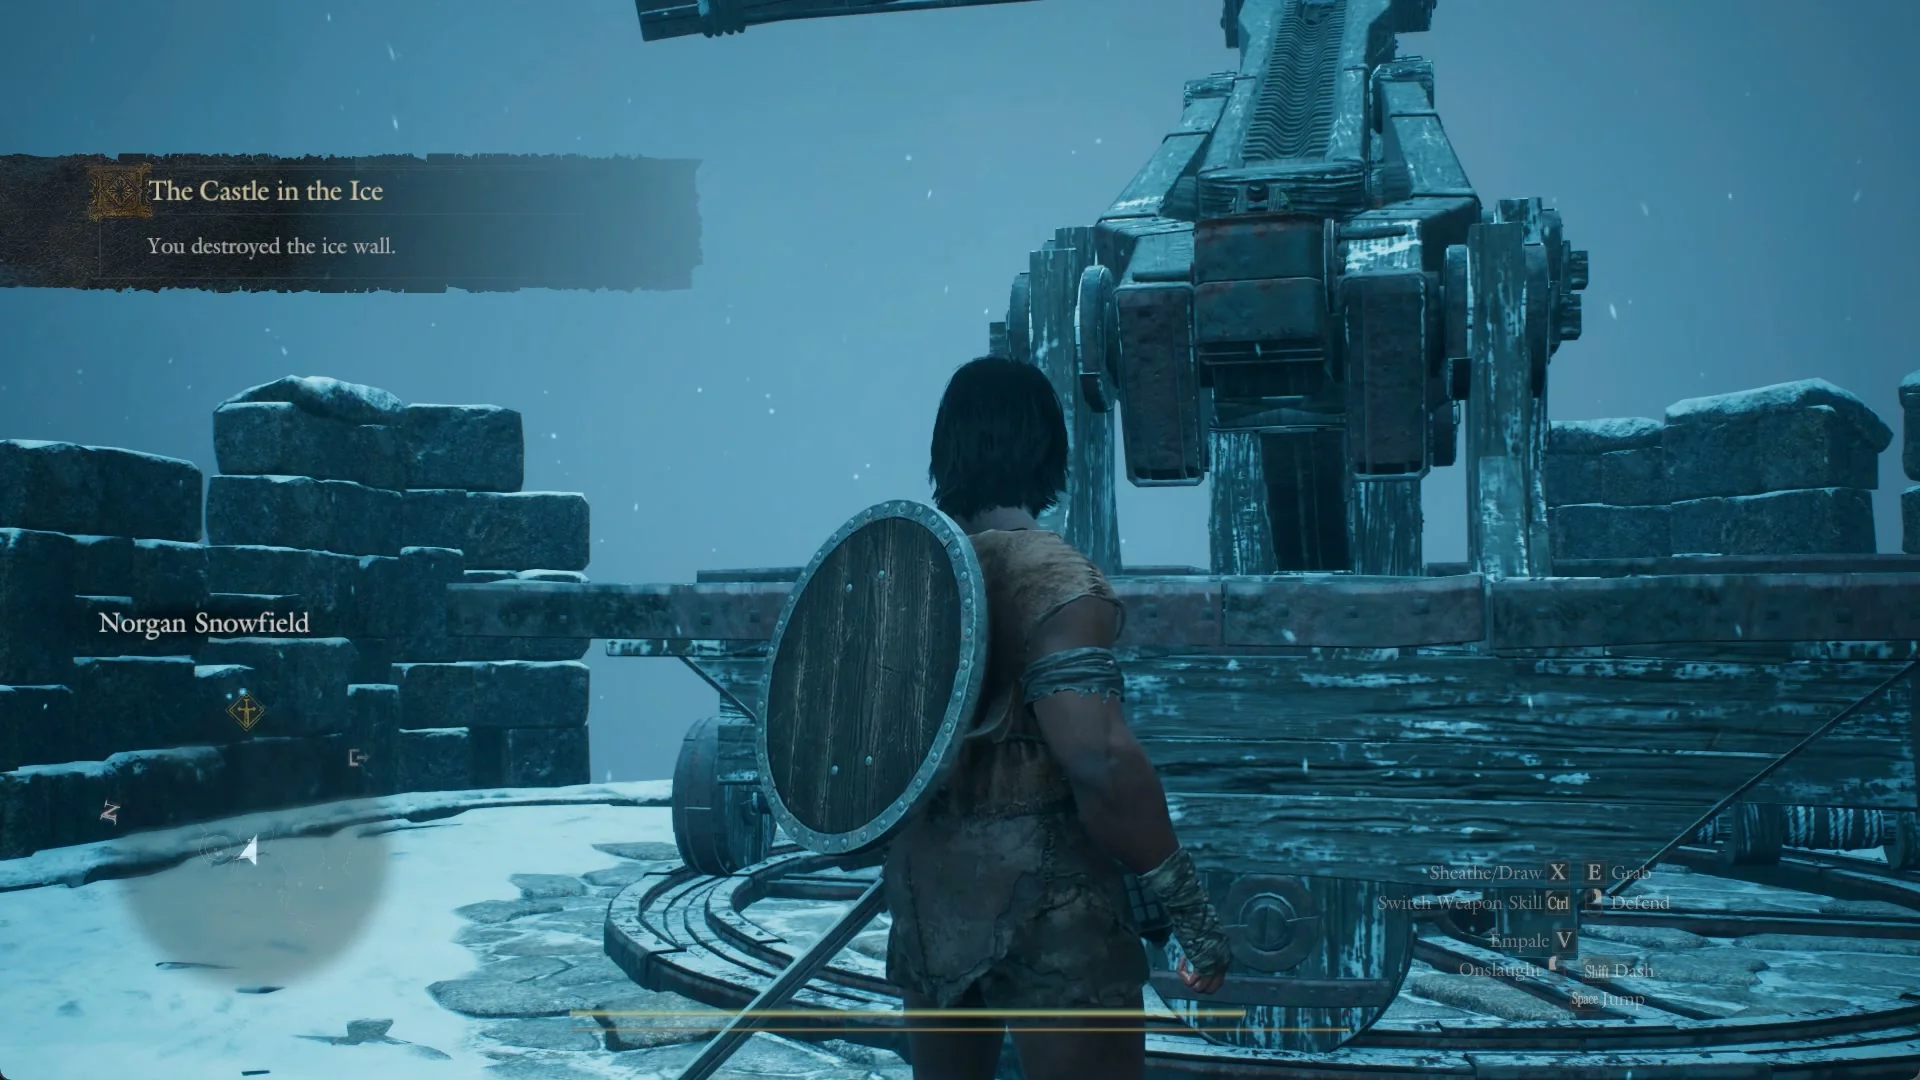
The burning bolt blows the wall apart. You will see “You destroyed the ice wall,” and the objective becomes “Seek Lorade Castle within the snowfield cavity.”
Descend through Snowfall Valley Cavity to Lorade Castle
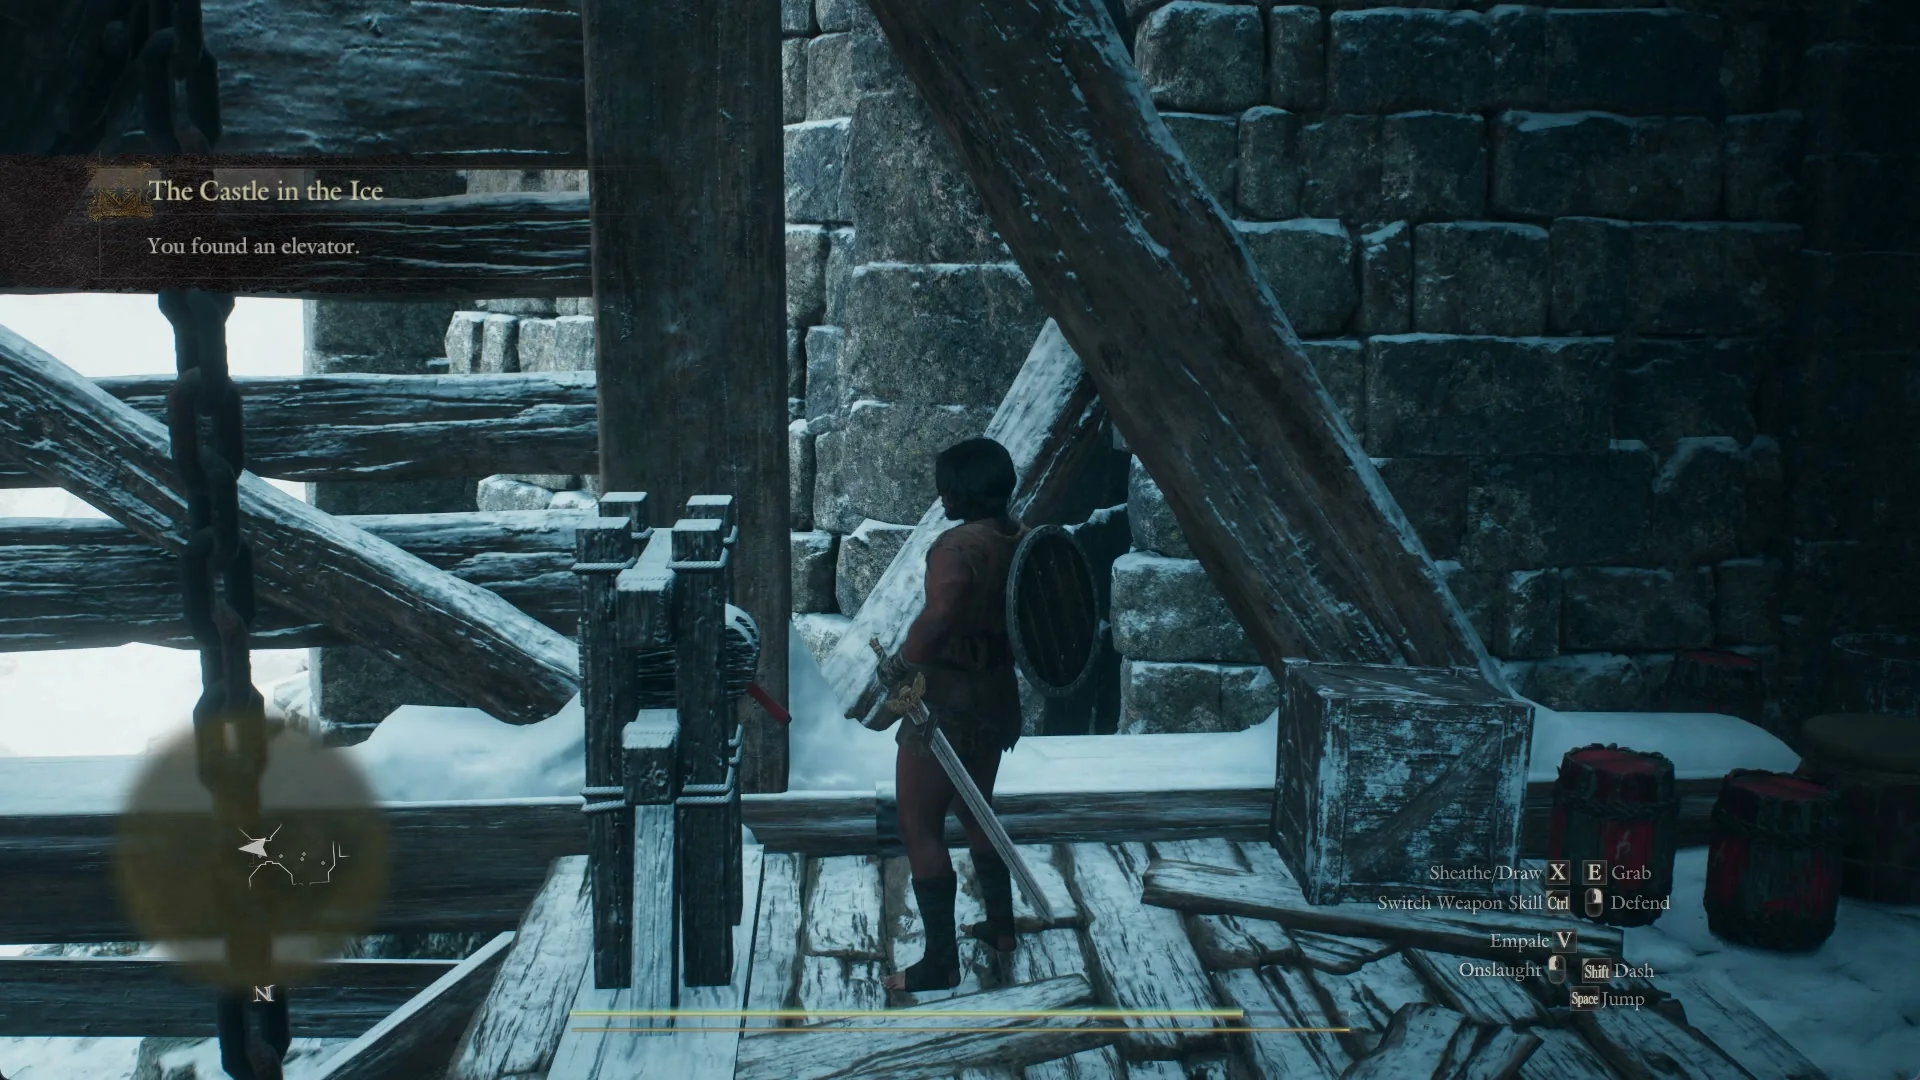
Take the stronghold’s east elevator back down to the Norgan Snowfield and head for the gap where the wall stood. Stone stairs beside a waterfall lead to an icicle-hung cave mouth labelled Snowfall Valley Cavity.
Descend the vertical pit by rope and continue down through the cave’s levels. At an opening above turquoise water, Eir breaks through an archway sealed in ice. Past it lies a huge cavern containing a sunken fortress: Lorade Castle. Follow the ruined walkway; climb a few steps on the right to find a riftstone coated in purple crystal, which you can restore with “Examine.”
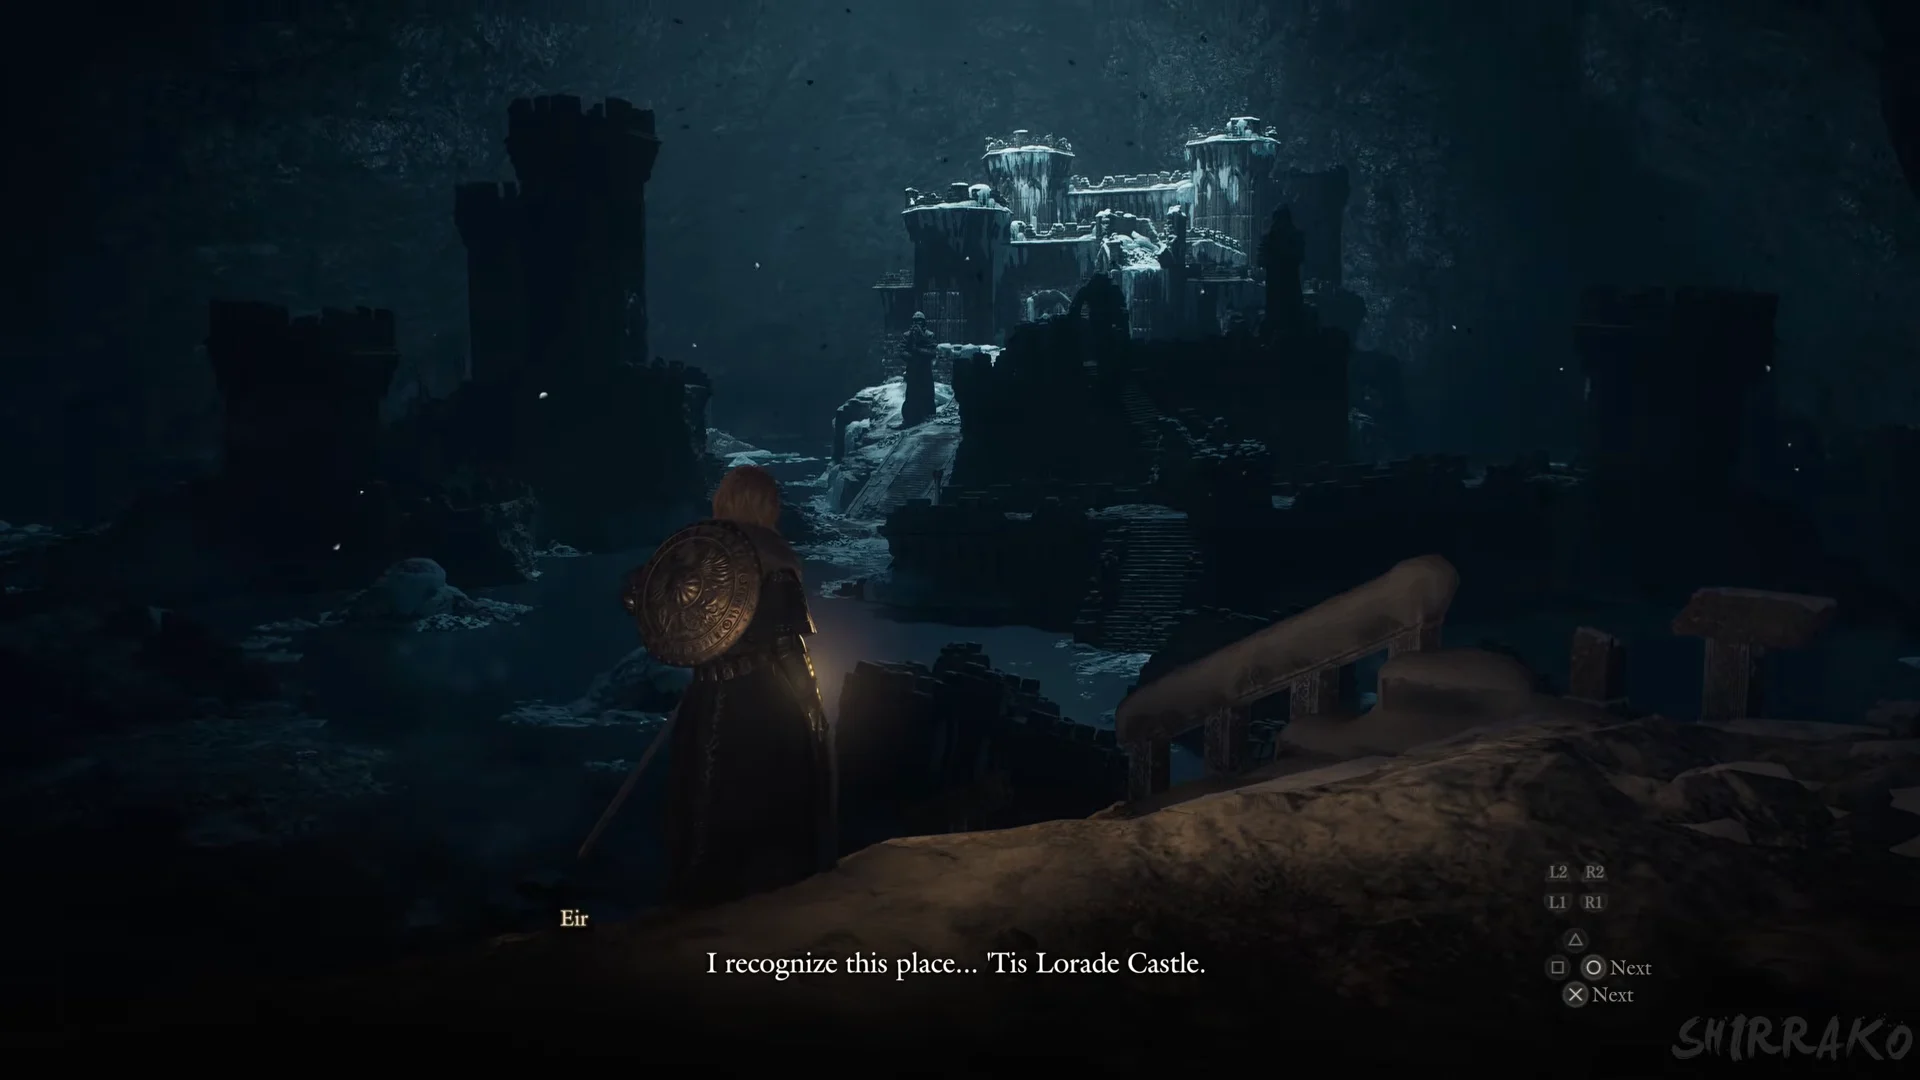
The map lists “Norgan Portcrystal: Lorade Castle.” You can leave and return by Ferrystone to a ledge only a short walk from the castle. Climb the wide steps to the great double doors, then open them with “Examine.”
The throne room choice and finishing at the Sphinx
Inside the frozen throne room, an armoured corpse sits on the throne and Eir kneels before it. She reveals the body is her master, Ser Rovall, and that she will not let it be destroyed. Two Abandoned Supplies (Rare) arrive as the objective becomes “Decide whether or not to destroy the corpse.”
Approach the throne and Eir moves to stop you, telling you to lower your weapon. Use “Hail (Hold to Talk)” to speak with her; two choices appear:
- “Agree not to harm the corpse”
- “Do nothing”
Choosing “Agree not to harm the corpse” has Eir thank you and ask you to consult the sage for a way to end the Fallen Dragon without destroying the body. The objective updates to “Ask the sphinx for a means of saving Rovall,” and Eir stays on guard by the throne.
Travel to the Shrine of Wisdom (use the Norgan Portcrystal: Shrine of Wisdom) and Hail the Sphinx. She offers “Ask about the soul,” “Ask about the will” and “That is all.” After the conversation, you will see “Completed: The Castle in the Ice.” There is no reward screen at the end, and the next quest, Soul Searching, is set automatically.