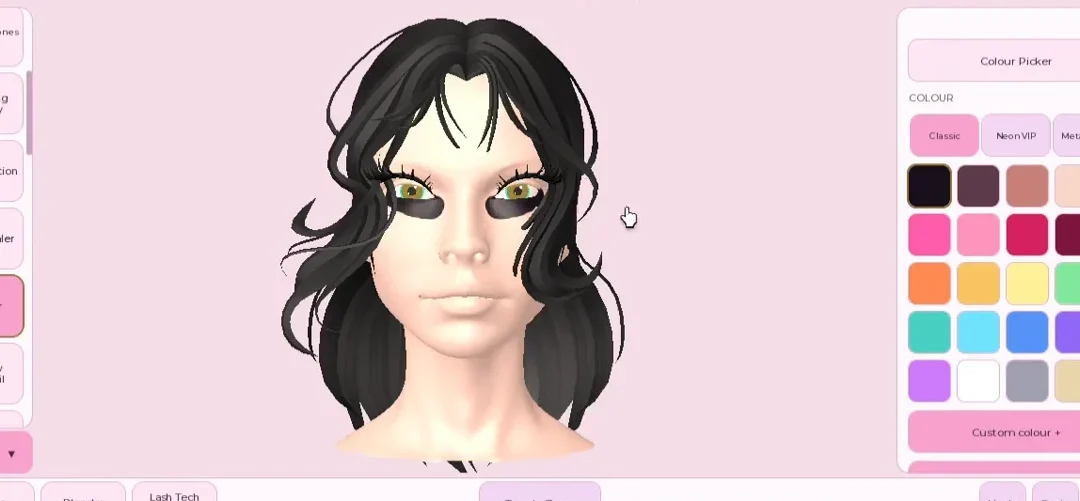
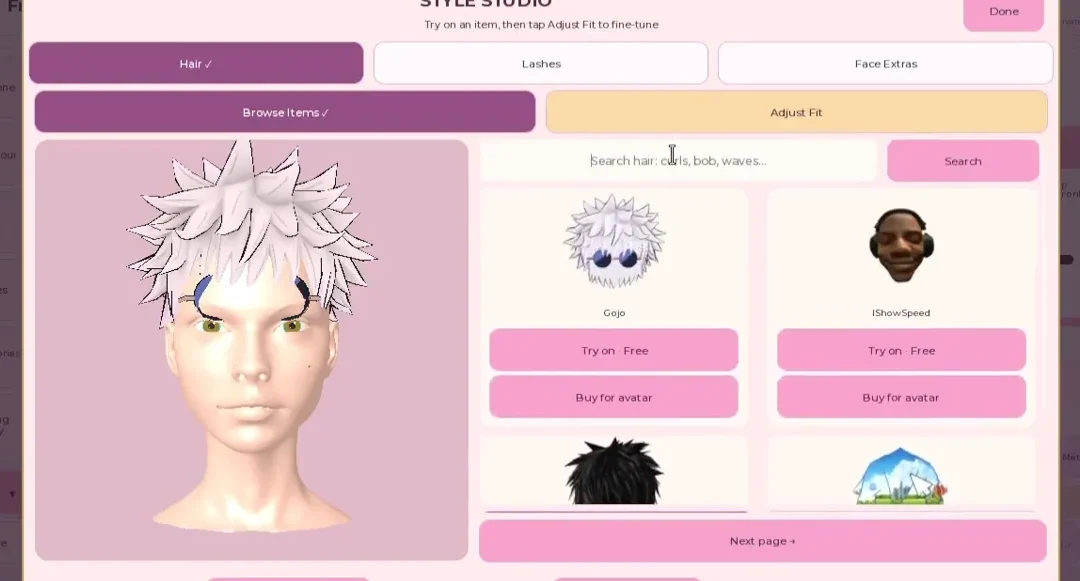
Skin tone is the base complexion sitting under everything you paint in Makeup Mania, and you set it from a dedicated panel on the vanity canvas. Changing it swaps the whole face color in one step while keeping any makeup you have already applied exactly where it is.
Quick answer: Click Skin Tone on the left toolbar, pick a color from the wheel or a quick shade, tap Apply skin colour, then press Done.
Change skin tone in the Skin Tone menu
The game starts you in front of a bald mannequin head and bust. Skin tone lives in its own window, separate from the paint brushes, and you can reach it at any point during a round or inside Freeplay, which has no timer.
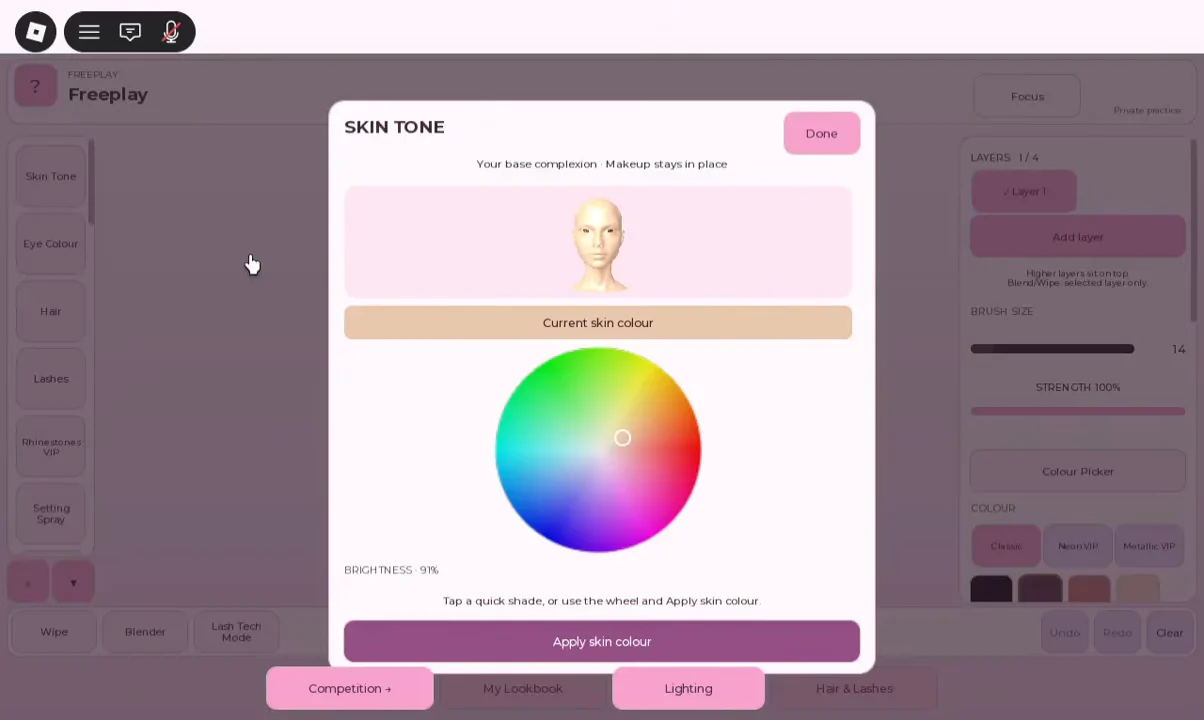
What each control in the panel does
| Control | What it does |
|---|---|
| Quick shades | Preset swatches for even, natural complexions in one tap |
| Color wheel | Full circular picker for custom hues and undertones |
| Brightness slider | Raises or lowers how light the tone reads; drop it to reduce harsh contrast |
| Apply skin colour | Commits the selected tone to the model |
| Done | Saves and closes the panel |
Vivid custom colors from the wheel, like bright greens or saturated pinks, look fine in the panel but turn radioactive under runway lighting. For most looks, start from a preset undertone and build any color through the makeup instead.
Your makeup stays when the tone changes
Applying a new skin color does not wipe anything you have painted. The interface confirms this directly with “Skin colour applied! Your makeup is kept,” so you can change the base complexion mid-look without redoing foundation, brows, or liner. That also means you can test a few tones late in a round and leave the detail work untouched.
Because the base tone decides how every color on top of it reads, set it as one of your first steps in a round. Lock the complexion, then move on to foundation, concealer, and powder before any detail work begins.
Confirm the change worked
You know the tone took when the mannequin’s face shifts to the new color and the “Skin colour applied! Your makeup is kept” message appears before you press Done. Back on the canvas, the complexion holds while any existing makeup marks stay exactly where you placed them. If you want to verify the base is reacting as expected, paint a small mark near the eye and confirm it sits on top of the new skin color rather than vanishing.