Chapter VIII, Blasphemy, picks up straight after Witch Hunt ends in the City of Orphans and carries you down through the sewers, up to the University, and finally into the basement laboratories where The Orphan waits. The path runs on a handful of keys and several Lanterns, with one boss fight closing the chapter.
Quick answer: Grab the Sewers Key and Sewers Master Key to clear the sewers, take the Laboratory Key from the Shrike, rekindle the University Lanterns, then use that key to reach and kill The Orphan.
Starting Blasphemy from Witch Hunt
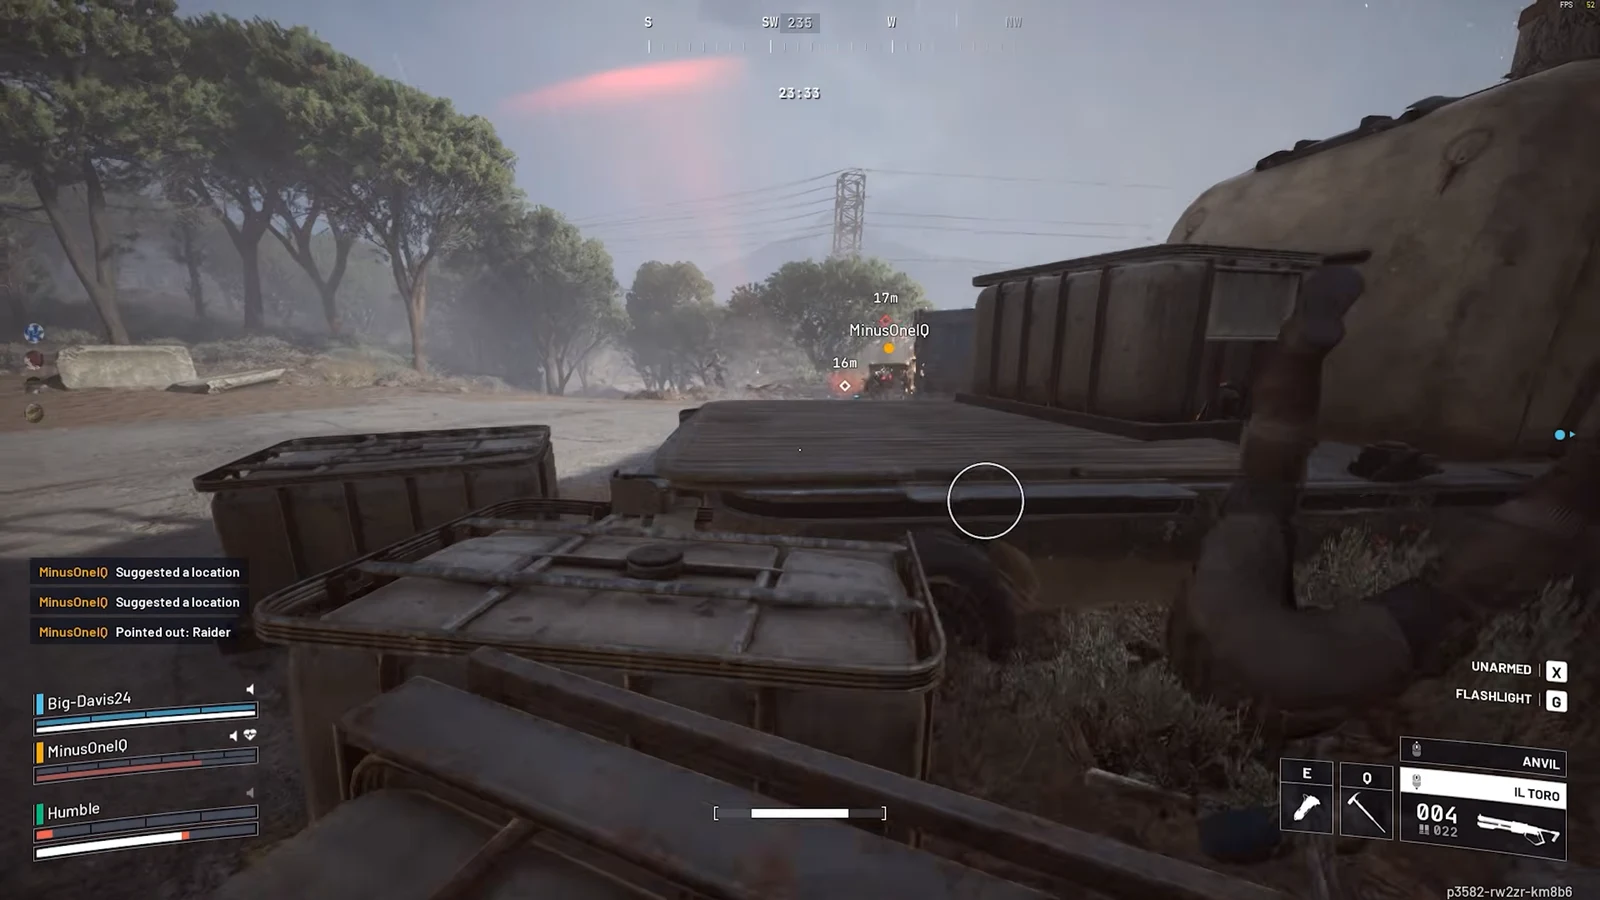
The closing notice “WITCH HUNT / CHAPTER COMPLETED” appears inside a compact chamber marked with chalk in the City of Orphans. Exit via the exterior scaffolding, then take the zipline to street level. A sewer entrance at street level is locked; on the fast-travel menu, Sewers appears as a Lantern under CITY OF ORPHANS, alongside Tribunal Square and Shamble Street.
Blasphemy itself does not begin until you clear the sewers and meet the Shrike above ground, so the first stretch is still part of the handoff between chapters.
Sewers keys: Sewers Key and Sewers Master Key
The sewers under the City of Orphans gate off behind two keys. Burn the web of flesh stretched across an arch with fire, then open the red chest in the chamber with the central drain using “[E] OPEN (HOLD)”. That gives you “Sewers Key ADDED TO INVENTORY”, and barred doors then answer “The door was opened with Sewers Key”.
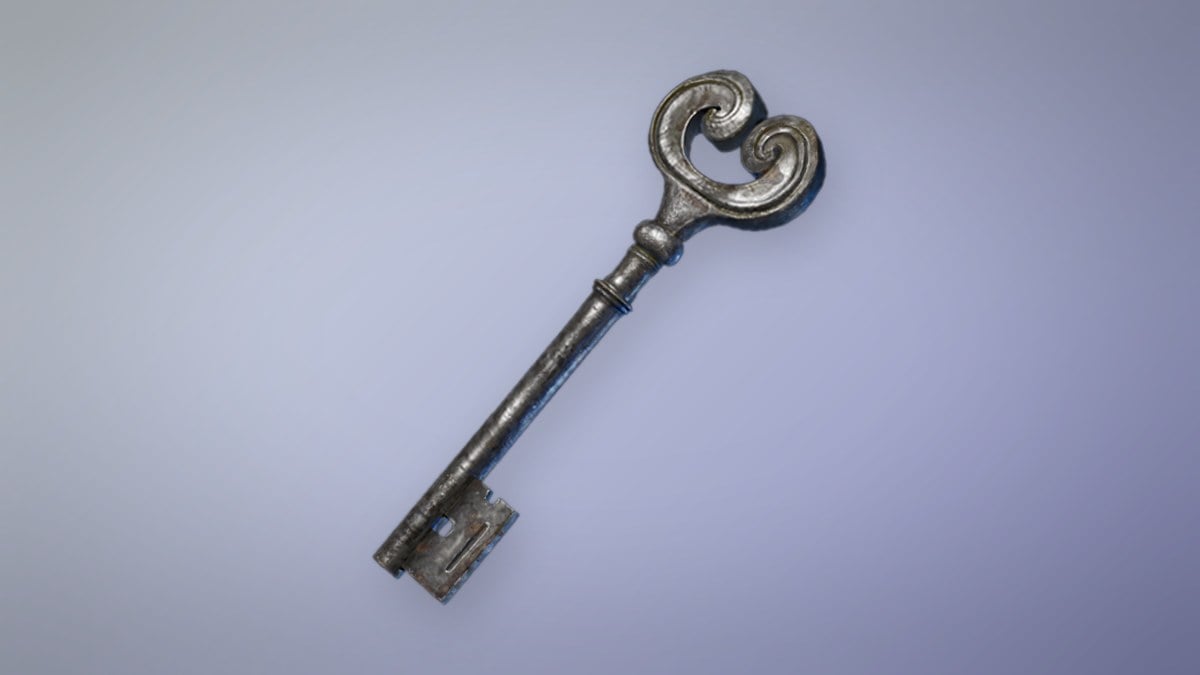
Further in, a pickup sitting in a barred niche gives “Sewers Master Key ADDED TO INVENTORY”. Gates that earlier read “This door is locked and requires Sewers Master Key” now open with “The door was opened with Sewers Master Key”. Beyond them, a circular shaft holds a hanging hourglass Lantern with “[E] REST” at its foot.
| Key | Where to get it | What it opens |
|---|---|---|
| Sewers Key | Red chest in the sewers | Barred sewer doors |
| Sewers Master Key | Barred niche further in | The master gates |
| Laboratory Key | Given by the Shrike | Gate down to the laboratories |
The Shrike and the Laboratory Key
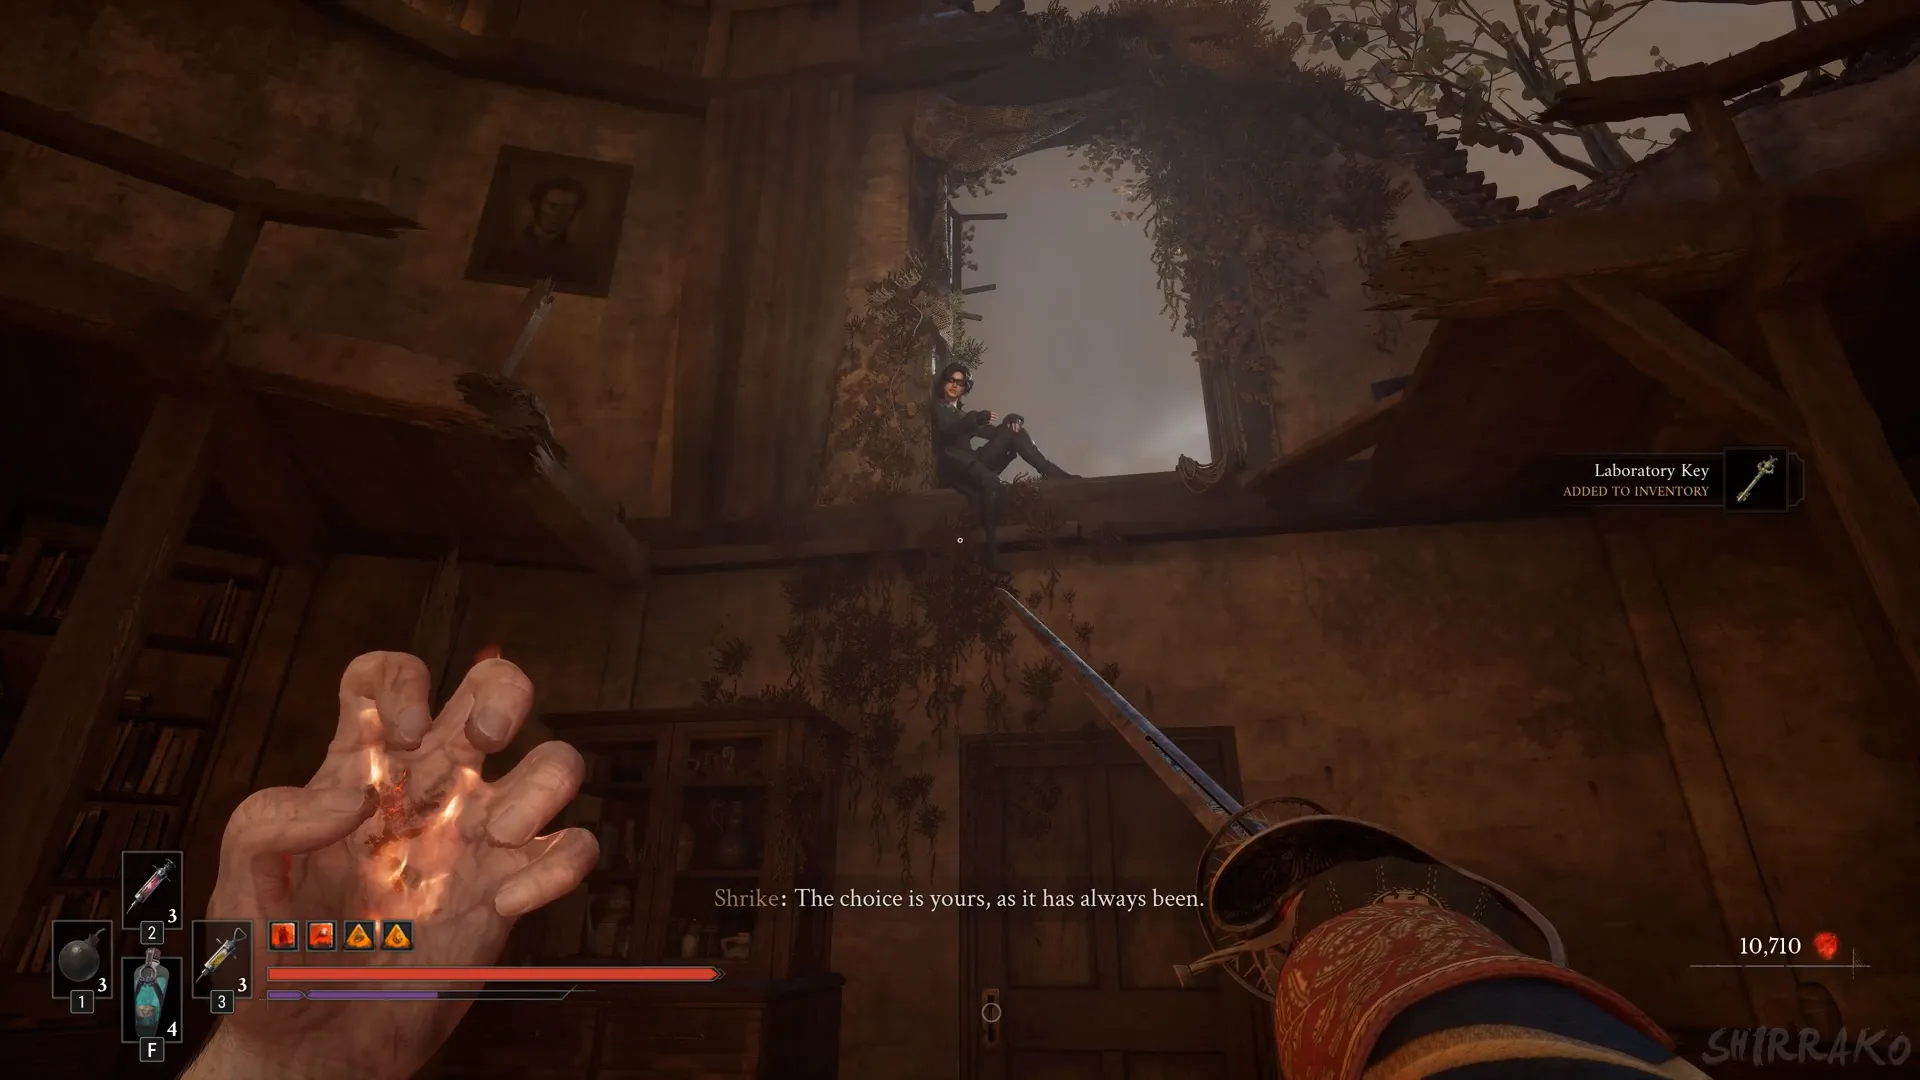
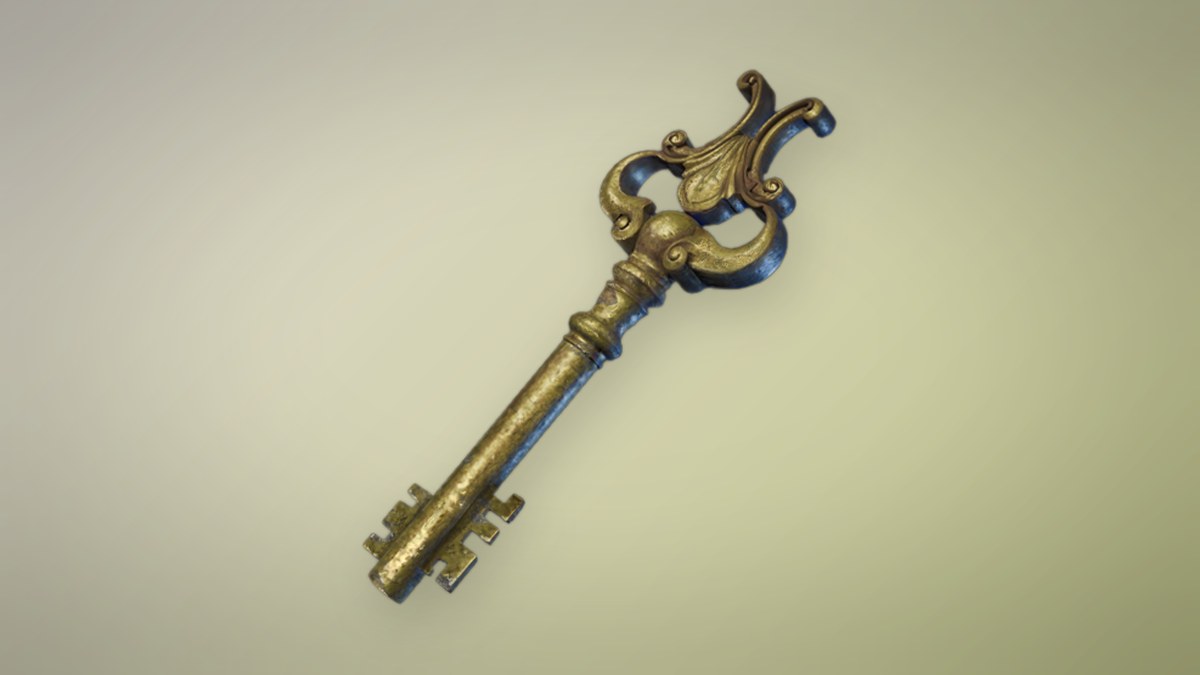
After leaving the sewers, you emerge above ground into a ruined hall and encounter the Shrike. The scene grants “Laboratory Key ADDED TO INVENTORY”, then displays “BLASPHEMY / NEW MAIN QUEST CHAPTER”. Bearing the Eternal Guard emblem and medical engravings, the key provides access to the laboratories beneath the University.
University: entrance hall and the library wing
The “UNIVERSITY” banner appears in front of a large statue on a checkered floor, together with “QUEST UPDATE / BLASPHEMY” and “LANTERN REKINDLED”. Rekindle that entrance Lantern before moving on. A lower gate in the left wing reads “This door is locked and requires Auditorium Key”.
Work up into the library. You pick up “Auditorium Key ADDED TO INVENTORY” there, and a library door shows “This door is locked and requires Library Key”.
The rotunda flesh creature
From a balcony, look down at the large flesh creature on the floor of the domed library rotunda. Shoot from the railing with your rifle and pistol; a nearby ladder is marked “[E] USE”. The balcony keeps you beyond the creature’s reach.
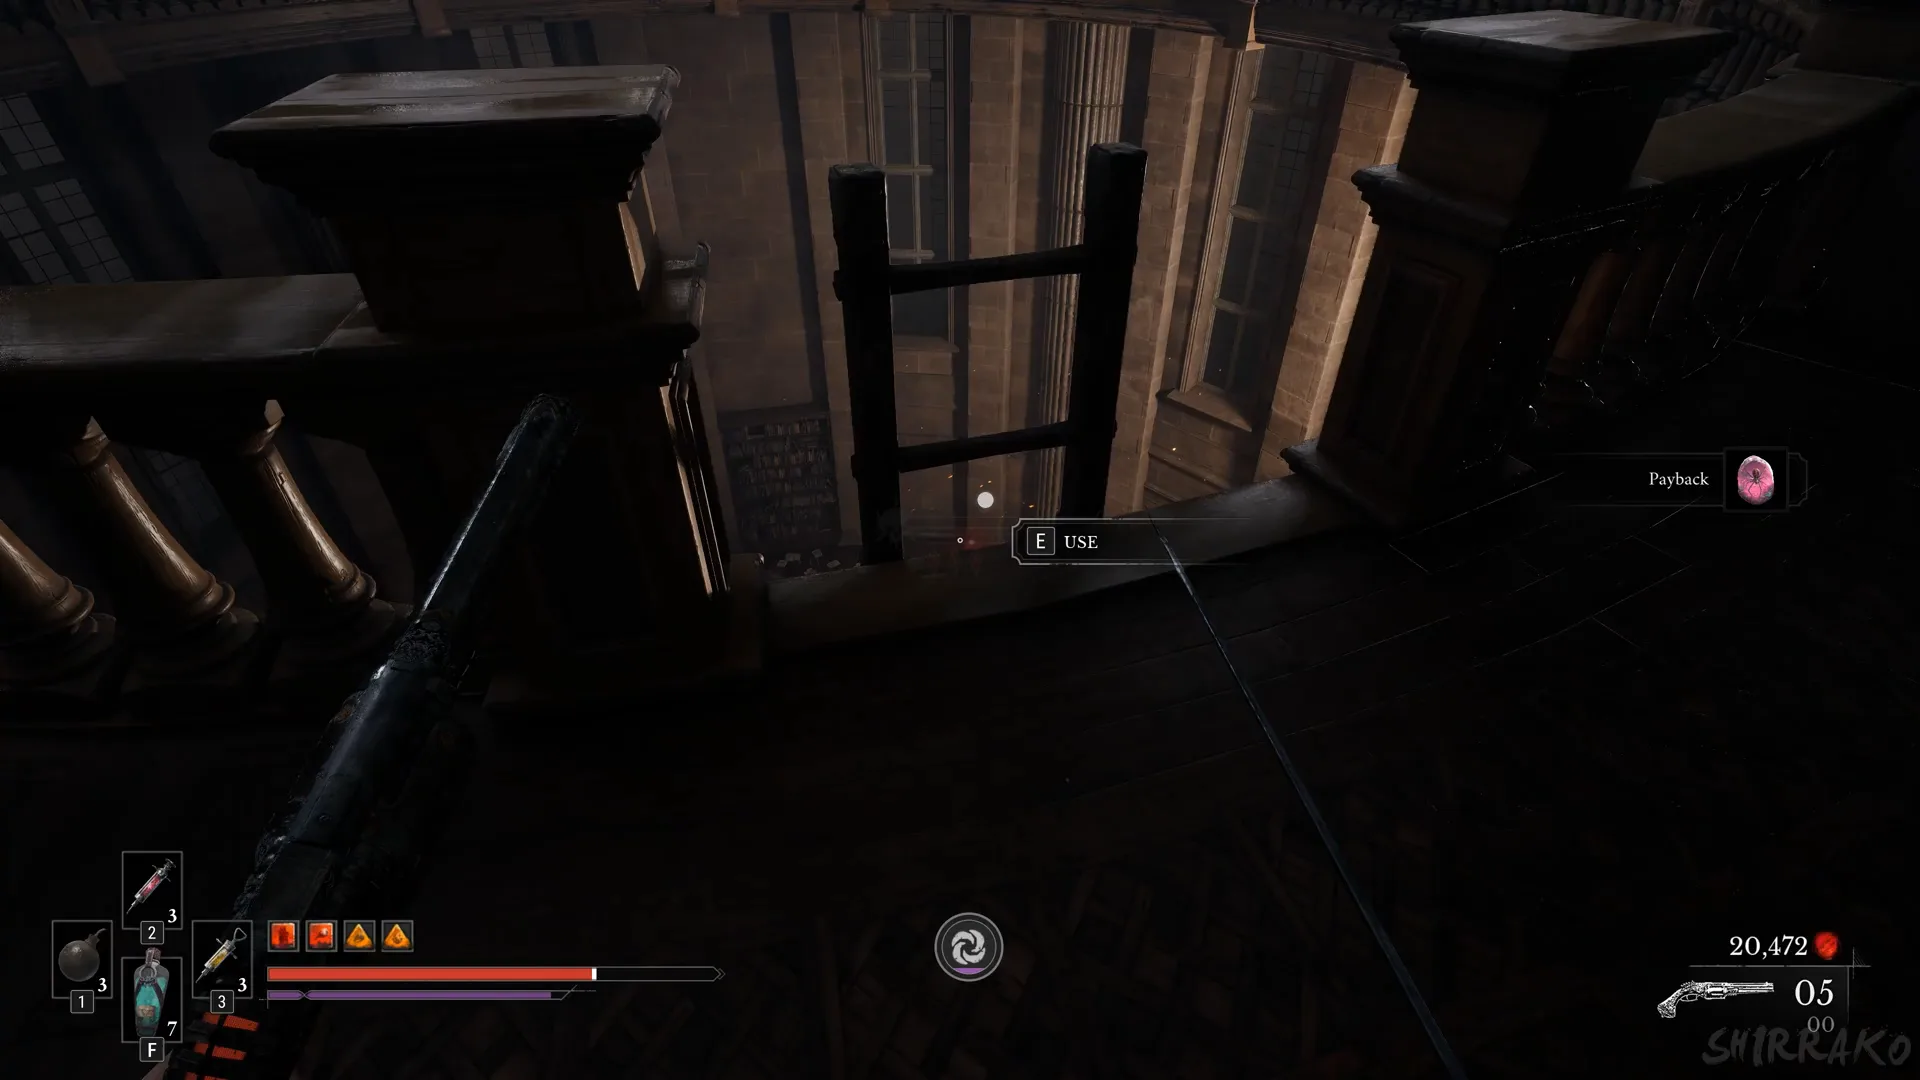
When it dies, the toast “Payback” appears and your Catalyst counter climbs from 16,765 to 29,765, a reward of 13,000 Catalysts. Payback is an amber: getting hit when low on Health causes a Stasis explosion. Climb the ladder down to the library floor and continue onto the exterior ledges and ramparts, where a fleshy growth on a ledge wall shows “[E] ACTIVATE”.
Shield Transmutation
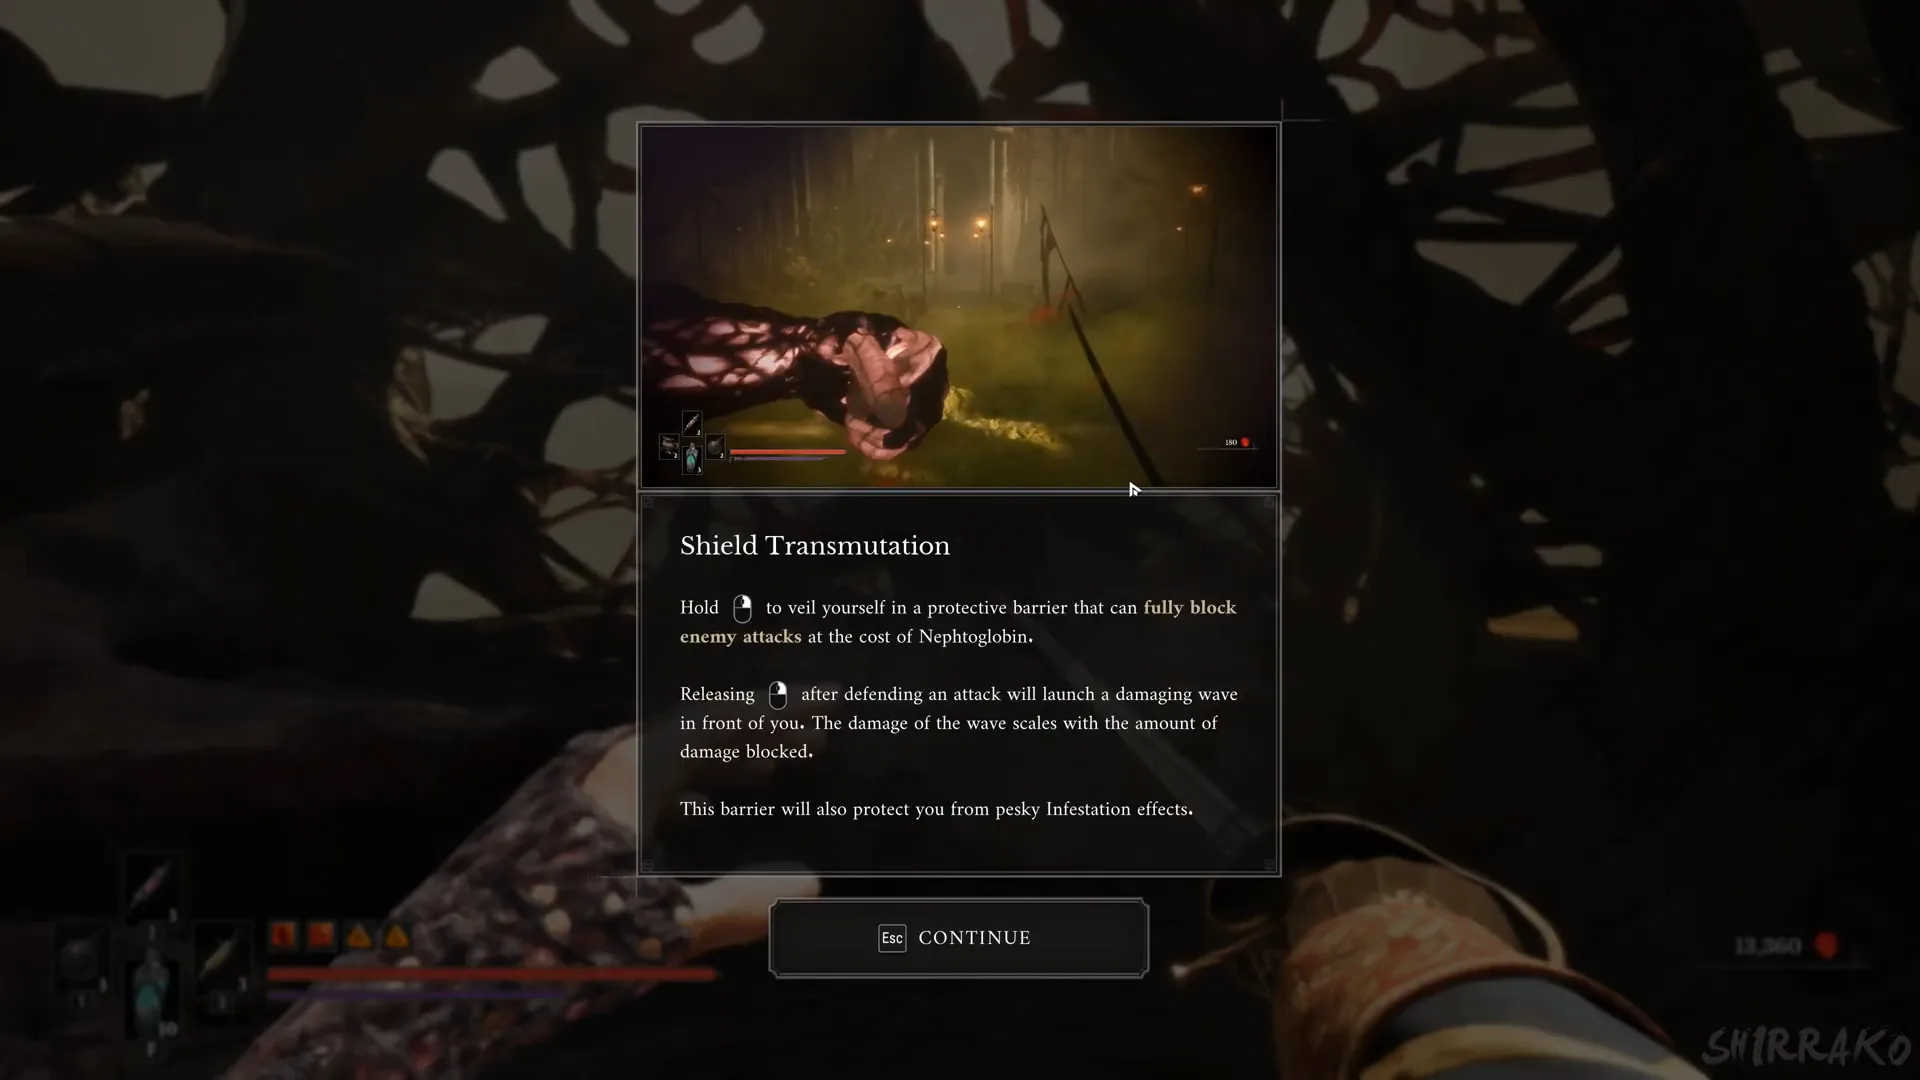
In a large rotunda choked with thick roots, a tutorial window titled “Shield Transmutation” opens. It reads: “Hold [mouse button] to veil yourself in a protective barrier that can fully block enemy attacks at the cost of Nephtoglobin.” Then: “Releasing [mouse button] after defending an attack will launch a damaging wave in front of you. The damage of the wave scales with the amount of damage blocked.” And last: “This barrier will also protect you from pesky Infestation effects.” Dismiss it with Esc to continue.
Into the basement laboratories
At the end of a hall with a checkered floor, candelabras and a statue, use the Laboratory Key to open the gate. As you go down into the red-lit basement, “The door was opened with Laboratory Key” appears, followed by “QUEST UPDATE / BLASPHEMY” and “LANTERN REKINDLED” together. This rekindles the first of the three Lanterns in the basement.
A hanging hourglass Lantern shows “[E] REST” but will answer “Cannot use while in combat.” while enemies are near, so clear the room first. “LANTERN REKINDLED” appears again further on and a third time in a stone corridor. The University fast-travel list names its Lanterns Main Hall, Lift Shaft, Laboratories and Sewage Drain.
Burn the bone barrier in a dungeon corridor to reach a cell, where a wooden chest gives “Mythic Catalyst Clot”.
The Orphan boss fight
At a grating veiled in mist, a cutscene reveals a massive figure crouching there. The figure is initially hooded, its head enclosed in a cage and a long cleaver in hand. Following another cutscene, it fights with its chest bare; its health bar reads THE ORPHAN, and fire transmutation ignites it.
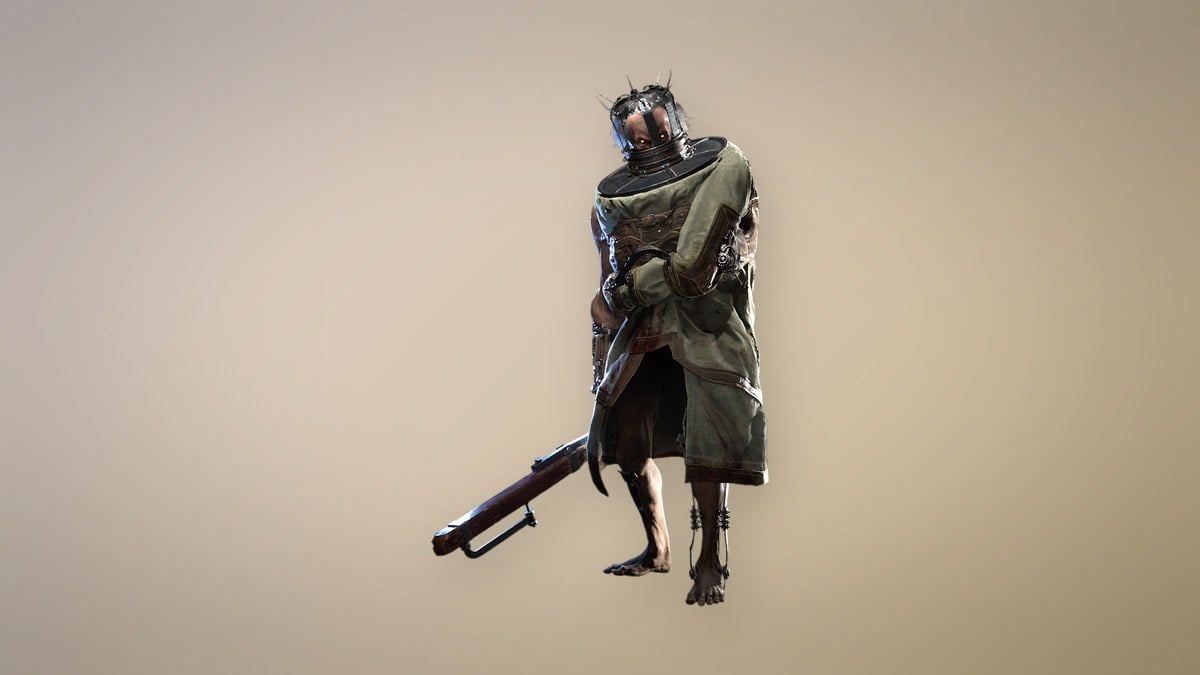
Defeating the boss displays “ABOMINATION ERADICATED / REWARD: 40,000 CATALYSTS” and updates the Blasphemy quest.
Completing Blasphemy in Louis’s Study
Enter the study beyond the boss, a room filled with papers. “BLASPHEMY / CHAPTER COMPLETED” shows beside “Louis’s Notebook ADDED TO INVENTORY” and “Louis’s Hideout Key ADDED TO INVENTORY”. A barred wooden door shows “[E] INTERACT” and leads to an elevator up. You are told to take the papers back to Louis at the camp, and the travel screen now offers “RETURN TO THE ABANDONED CHURCH”.