The Bomb Devil sits inside Devil Hunter’s raid rotation as a high-difficulty boss tied to the game’s explosive hybrid line. Like the other major raids, it’s gated behind a respawn timer, drops fragments tied to a hybrid transformation, and rewards Yen, XP, and lootboxes on completion.
What the Bomb Devil raid is
The Bomb Devil is the source boss tied to the Bomb hybrid line, the explosive variant built around a three-punch combo with an explosive third hit, a bomb finger throw, an exploding clone, and an exploding kick. Defeating the boss is the primary route to farming Bomb Devil fragments, which are needed in sets of six to craft a Devil’s Heart for the hybrid transplant surgery.
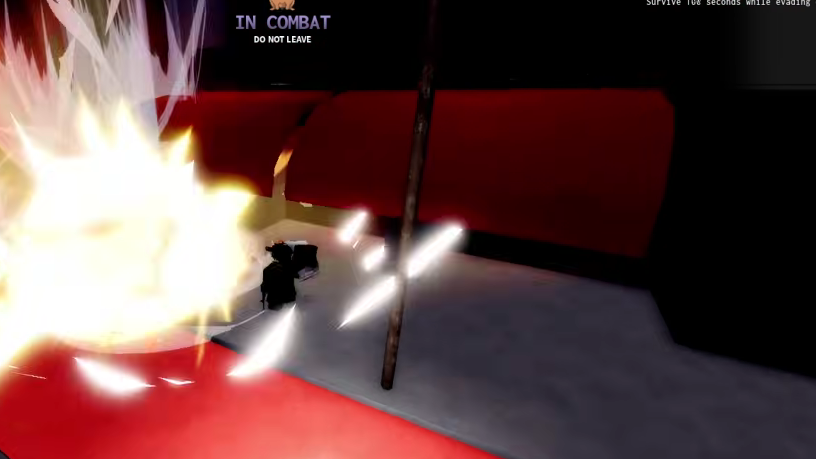
Mechanically, the encounter follows the same template as the other endgame raids in Devil Hunter. You clear waves of trash mobs, then face a boss with a wide AoE moveset, in this case heavily focused on explosive zoning and area denial.
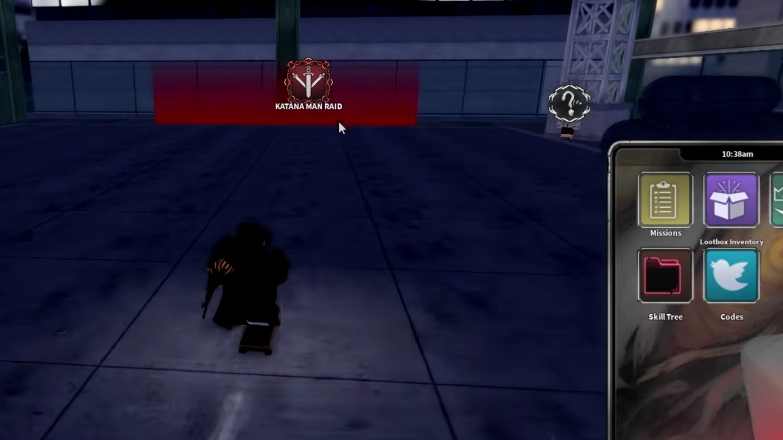
How to find the raid
Raid entrances aren’t marked permanently on the world map. They’re surfaced through the in-game phone, which projects floating indicators toward each active raid instance.
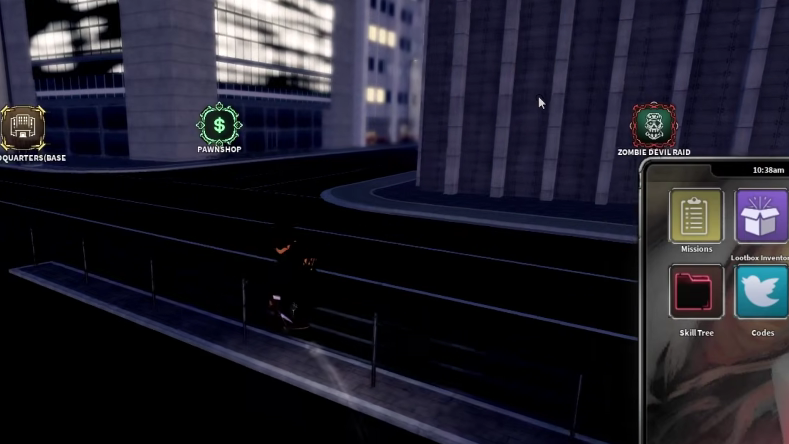
If the indicator doesn’t appear, the raid is on cooldown on your account or hasn’t respawned yet on the server. Wait for the timer to reset before trying again.
Requirements before going in
The Bomb Devil falls on the harder end of the raid scale. A few baseline requirements make the run feasible:
| Requirement | Why it matters |
|---|---|
| Level 20 minimum | Hybrid forms unlock here; below this you have no toggle ability to survive boss damage. |
| AoE weapon (heavy or firearm) | Wave clears are crowded; single-target weapons get you chipped down before the boss spawns. |
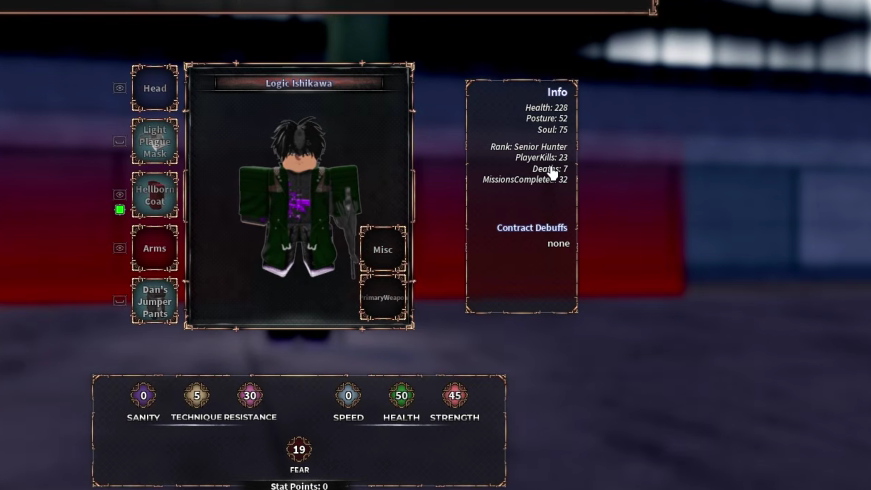
| Hybrid form active | Hybrids can toggle emergency healing for up to 40% of max HP, which is the main sustain tool inside a raid. |
| Devil contract slot filled | Contracts add an extra layer of utility, though they can’t be used while transformed. |
| Faction progression | Reaching a reasonable rank in the Public Safety HQ faction unlocks the gear and stats needed to survive. |
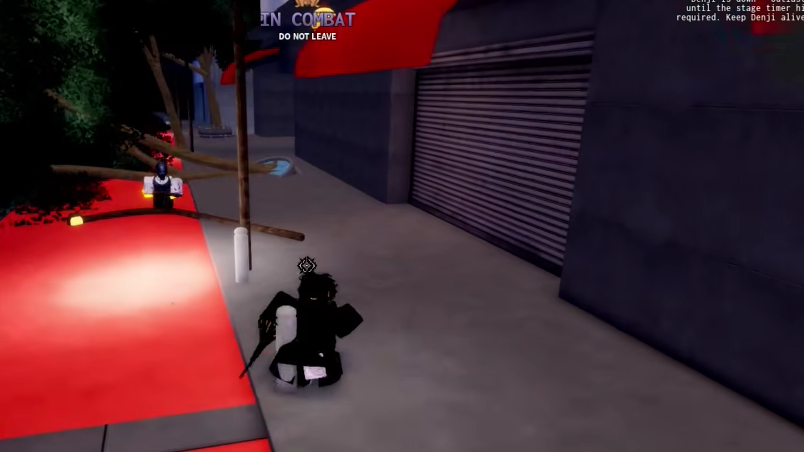
Solo strategy
Soloing the Bomb Devil is hard but doable if you treat the fight as two distinct phases: wave clear and boss DPS. The explosive moveset punishes standing still, so positioning matters more than raw damage output.
Rewards and drop rates
Raid drops in Devil Hunter are RNG-based. You’re guaranteed the Yen, XP, and a lootbox, but the rare items roll independently at roughly 10% per attempt. Expect to run the raid many times before seeing a fragment drop.
| Reward type | Notes |
|---|---|
| Default Lootbox | Common to Legendary roll, guaranteed on completion. |
| Accessory Lootbox | Common to Legendary roll, guaranteed on completion. |
| Bomb Devil fragments | RNG drop, required for the Bomb hybrid Devil’s Heart (six fragments per heart). |
| Yen and XP | Scaled to raid difficulty; harder raids pay more per run. |
If your goal is the Bomb hybrid form specifically, the fragment grind is the bottleneck. Lootboxes and Yen are useful side rewards, but the surgery kit also costs 3.5k Yen from the Public Safety headquarters, which is trivial compared to the time spent farming fragments.
How to confirm a successful run
You’ll know the raid is completed when the boss’s health bar empties and the instance displays a subjugation confirmation. Rewards drop into your inventory automatically, and the raid enters its respawn cooldown on your account. If you disconnect mid-run, progress is lost, and the cooldown may still apply, so make sure your connection is stable before queueing in.
For the Bomb hybrid path specifically, fragments stack in your inventory until you reach six, at which point you can combine them into a Devil’s Heart and use a surgery kit to perform the transplant. Pressing L after surgery toggles the hybrid form on and off.
Solo runs are slow and inconsistent compared to grouping up. If fragment drops aren’t landing after several attempts, the most efficient move is to find a squad through the game’s community channels and split the boss damage rather than push solo attempts.