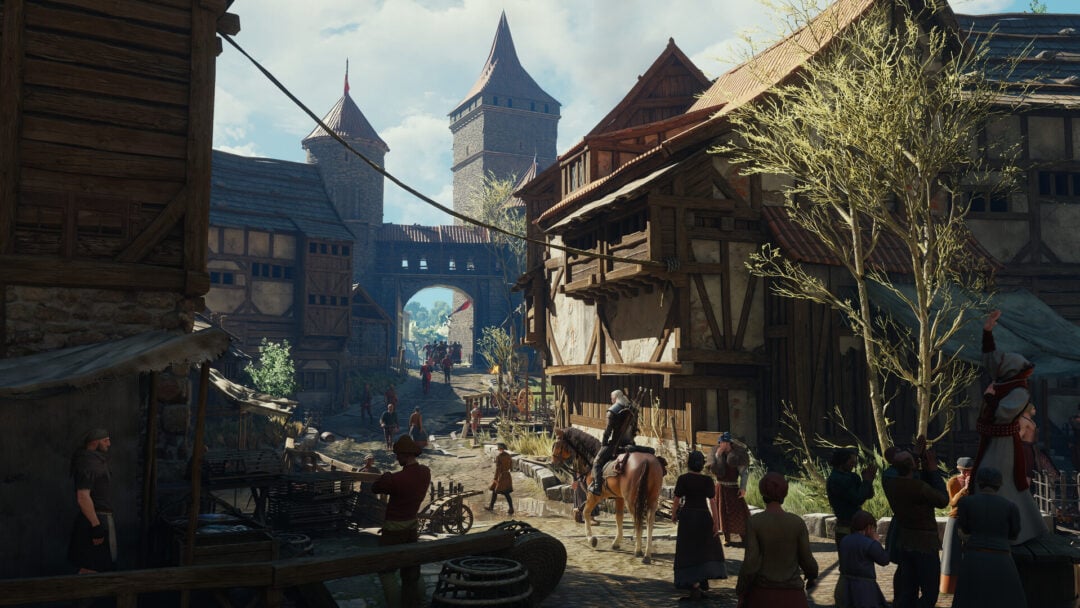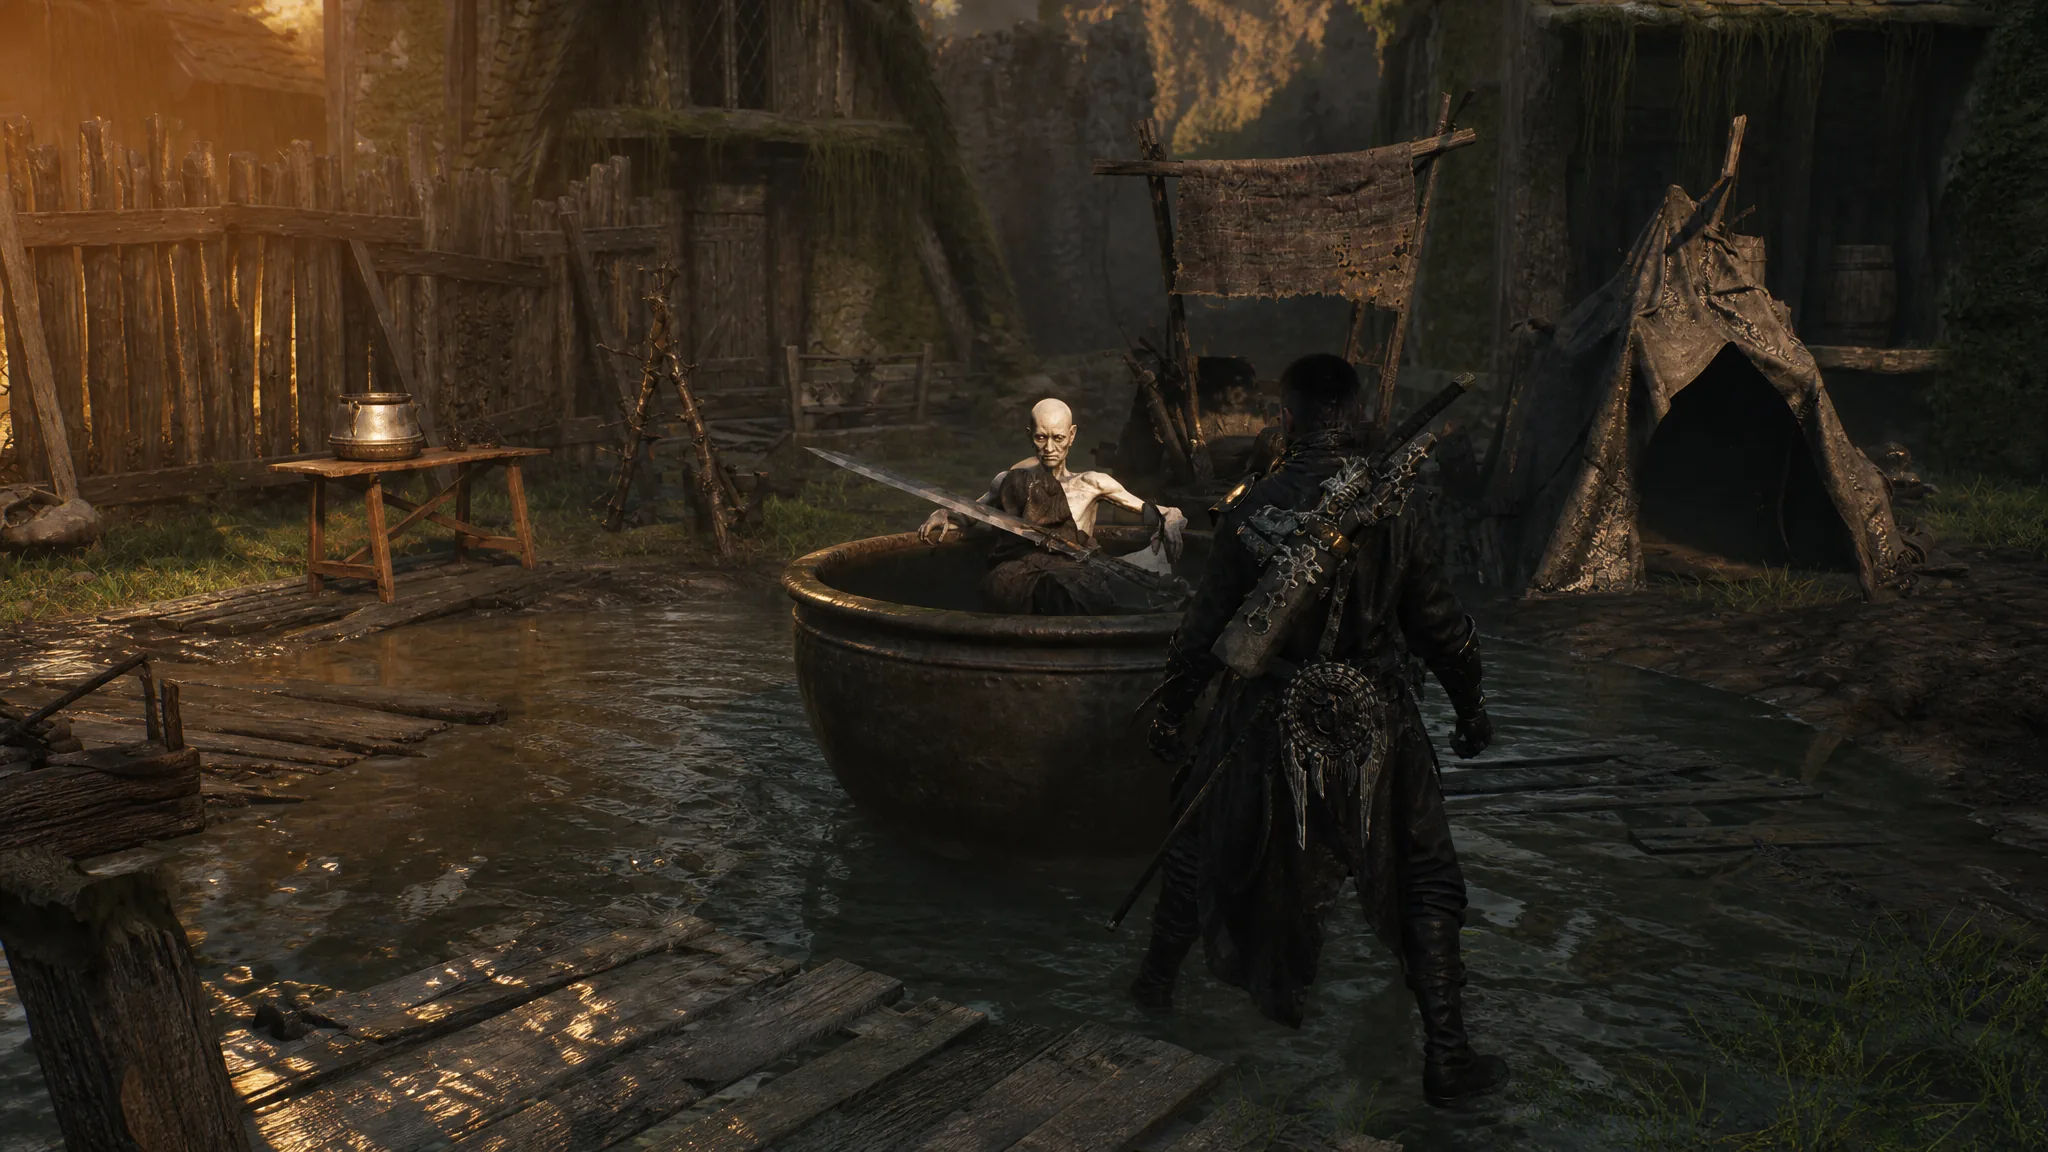
Hilga is one of the few things in Mushroom Village that won’t try to kill you. She’s a frog-obsessed witch who spends her days boiling a man named Grom in a pot, and her story only moves when you rest at a Beacon and come back. Miss enough of those visits and you’ll skip straight to the ending without seeing most of it.
Quick answer: Rest at a Beacon between every visit to Hilga’s camp east of the Mushroom Village Beacon until you’ve seen all seven scenes there, then hand her the Poisoned Dagger from Gorf’s questline and give Gorf one Common Moonshine at Widow’s Overlook.
Where to find Hilga and Grom in Mushroom Village
Hilga and Grom sit in a fenced enclosure east of the Mushroom Village Beacon. From the Beacon, head right and follow the path until you reach a crossroads near the posts with hanged bodies, then take the short wooden bridge on the left into the walled camp.
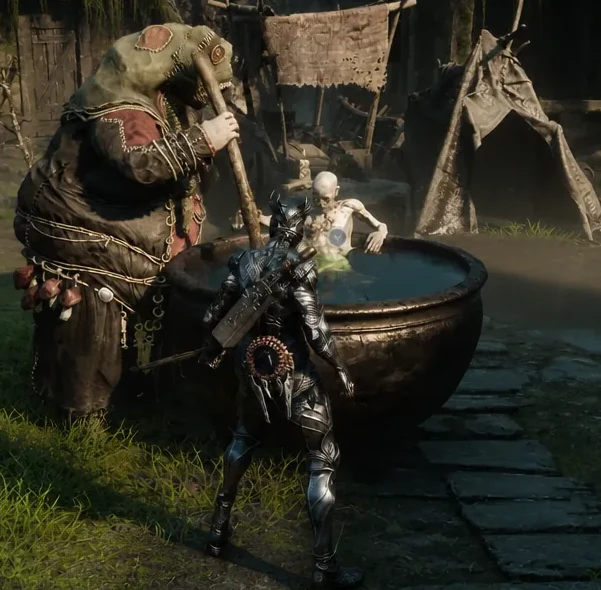
Inside, Grom is stewing in a large pot while Hilga stands at a table with a smaller cauldron in front of her. Neither is hostile. The camp also doubles as a rest stop, since the brew in the small cauldron restores your health and can be used whenever you’re in the area.
How Beacon rests move the questline forward
There is no quest log entry and no marker. Each stage of Hilga’s story is tied to a world reset, so the loop is always the same: talk to everyone until the dialogue repeats, examine anything new in the camp, rest at a Beacon, then walk back in.
Fast travel counts, so you can cleanse the Mushroom Village Beacon early and cycle through visits quickly. The only thing that matters is that a rest happens between each visit.
Do these Mushroom Village visits before you push Gorf’s questline very far. Getting the Poisoned Dagger too early lets you hand it over immediately, which skips several of Hilga and Grom’s scenes for good.
Every Hilga and Grom scene in Mushroom Village
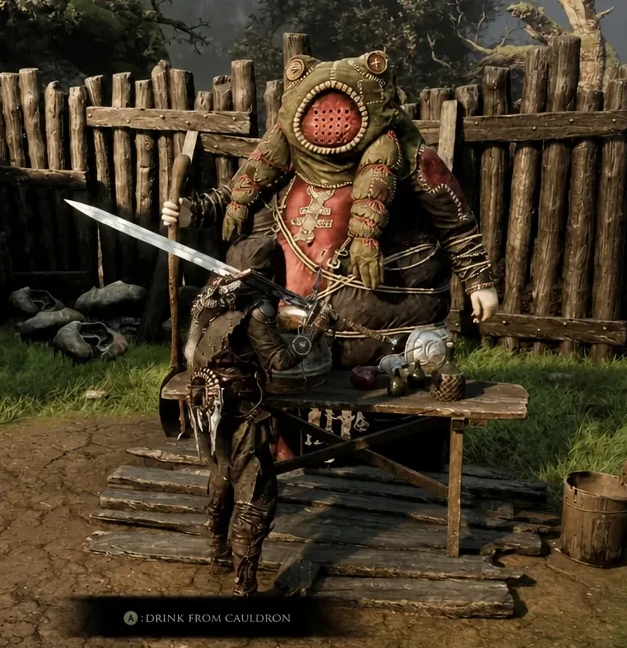
Before you leave, examine Harwald, the frog sitting nearby. He matters later, and Hilga is openly devoted to him.
Getting the Poisoned Dagger from Gorf
After Grom is caged, Hilga stops responding. The only way forward is Gorf, the sickly toad found just north of the Widow’s Overlook Beacon. You can hear him coughing before you see him.
Gorf works on the same Beacon-rest loop. Give him what he asks for, exhaust his dialogue, rest, and come back.
| Visit | What Gorf wants | What you get |
|---|---|---|
| First | Weltcap | Marsh Pearl |
| Second | Weltcap | Marsh Pearl |
| Third | Common Moonshine | Marsh Pearl |
| Fourth | Common Moonshine | Marsh Pearl |
| Fifth | Nothing — loot the dead Cultists that appear around him | Gloom and new dialogue |
| Sixth | Nothing | Poisoned Dagger |
Weltcaps grow on trees around Widow’s Overlook and are sold by the Grisha Hunter near the caged Grisha Pup in Mushroom Village. Common Moonshine turns up in dungeons and brigand camps. If you’re already deep into the game when you start this, Gorf asks for fewer items before handing over the dagger.
Curing Gorf at Widow’s Overlook
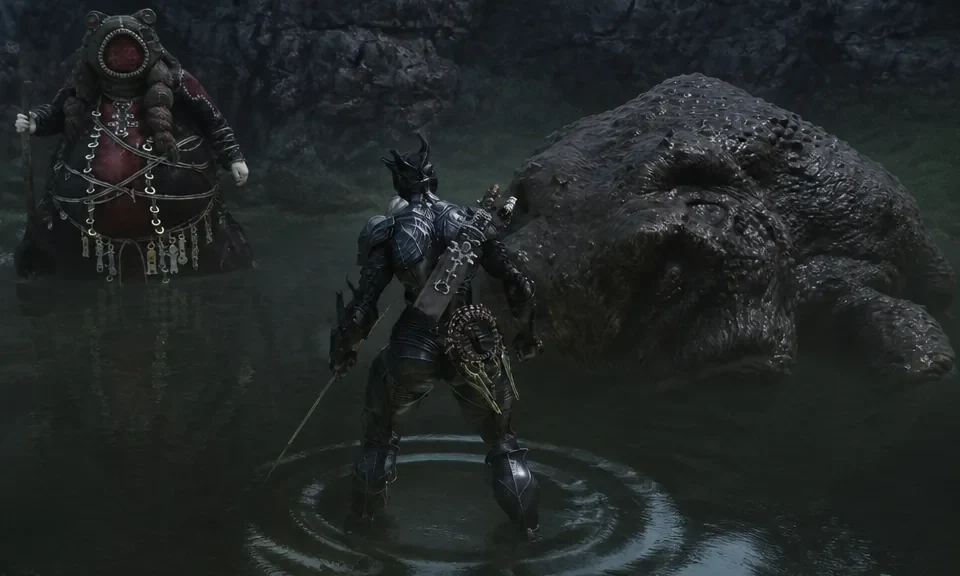
If you’ve picked up the Troubadour’s Lute, play it in front of the pair. They’ll bob along to it.
Rewards and how to confirm it’s finished
The payout is Marsh Pearls, which sell for 2,000 Coin each at the merchant in Marrow Keep. Following both questlines from the start leaves you with five of them, which covers a decent chunk of early weapon upgrades. There’s no weapon, Shell, or Tarstone at the end of it.
You know it’s over when the toads appear in Gorf’s clearing and his dialogue stops advancing. Back in Mushroom Village, Grom stays caged permanently, and Harwald’s grave and Hilga’s letter can still be examined at the corner of the shed next to the table.
Why the questline stops responding
- You didn’t rest between visits. Walking out of the camp and back in does nothing. The stage only changes after a Beacon rest.
- Hilga only sighs at you. That’s the stall point after Grom is caged. She has nothing new until you’re holding the Poisoned Dagger.
- Scenes are missing. Handing over the Poisoned Dagger jumps Hilga forward, so pushing Gorf’s questline first permanently cuts the Mushroom Village scenes you hadn’t seen yet.
- You’re out of items. Gorf won’t move past a request until you actually give him the Weltcap or Common Moonshine he’s asking for.
It’s a long chain of small visits for a modest amount of Coin, but it’s also one of the few threads in Fainweald that ends on something other than a corpse. The pair stay in Gorf’s clearing afterward, lute audience included.