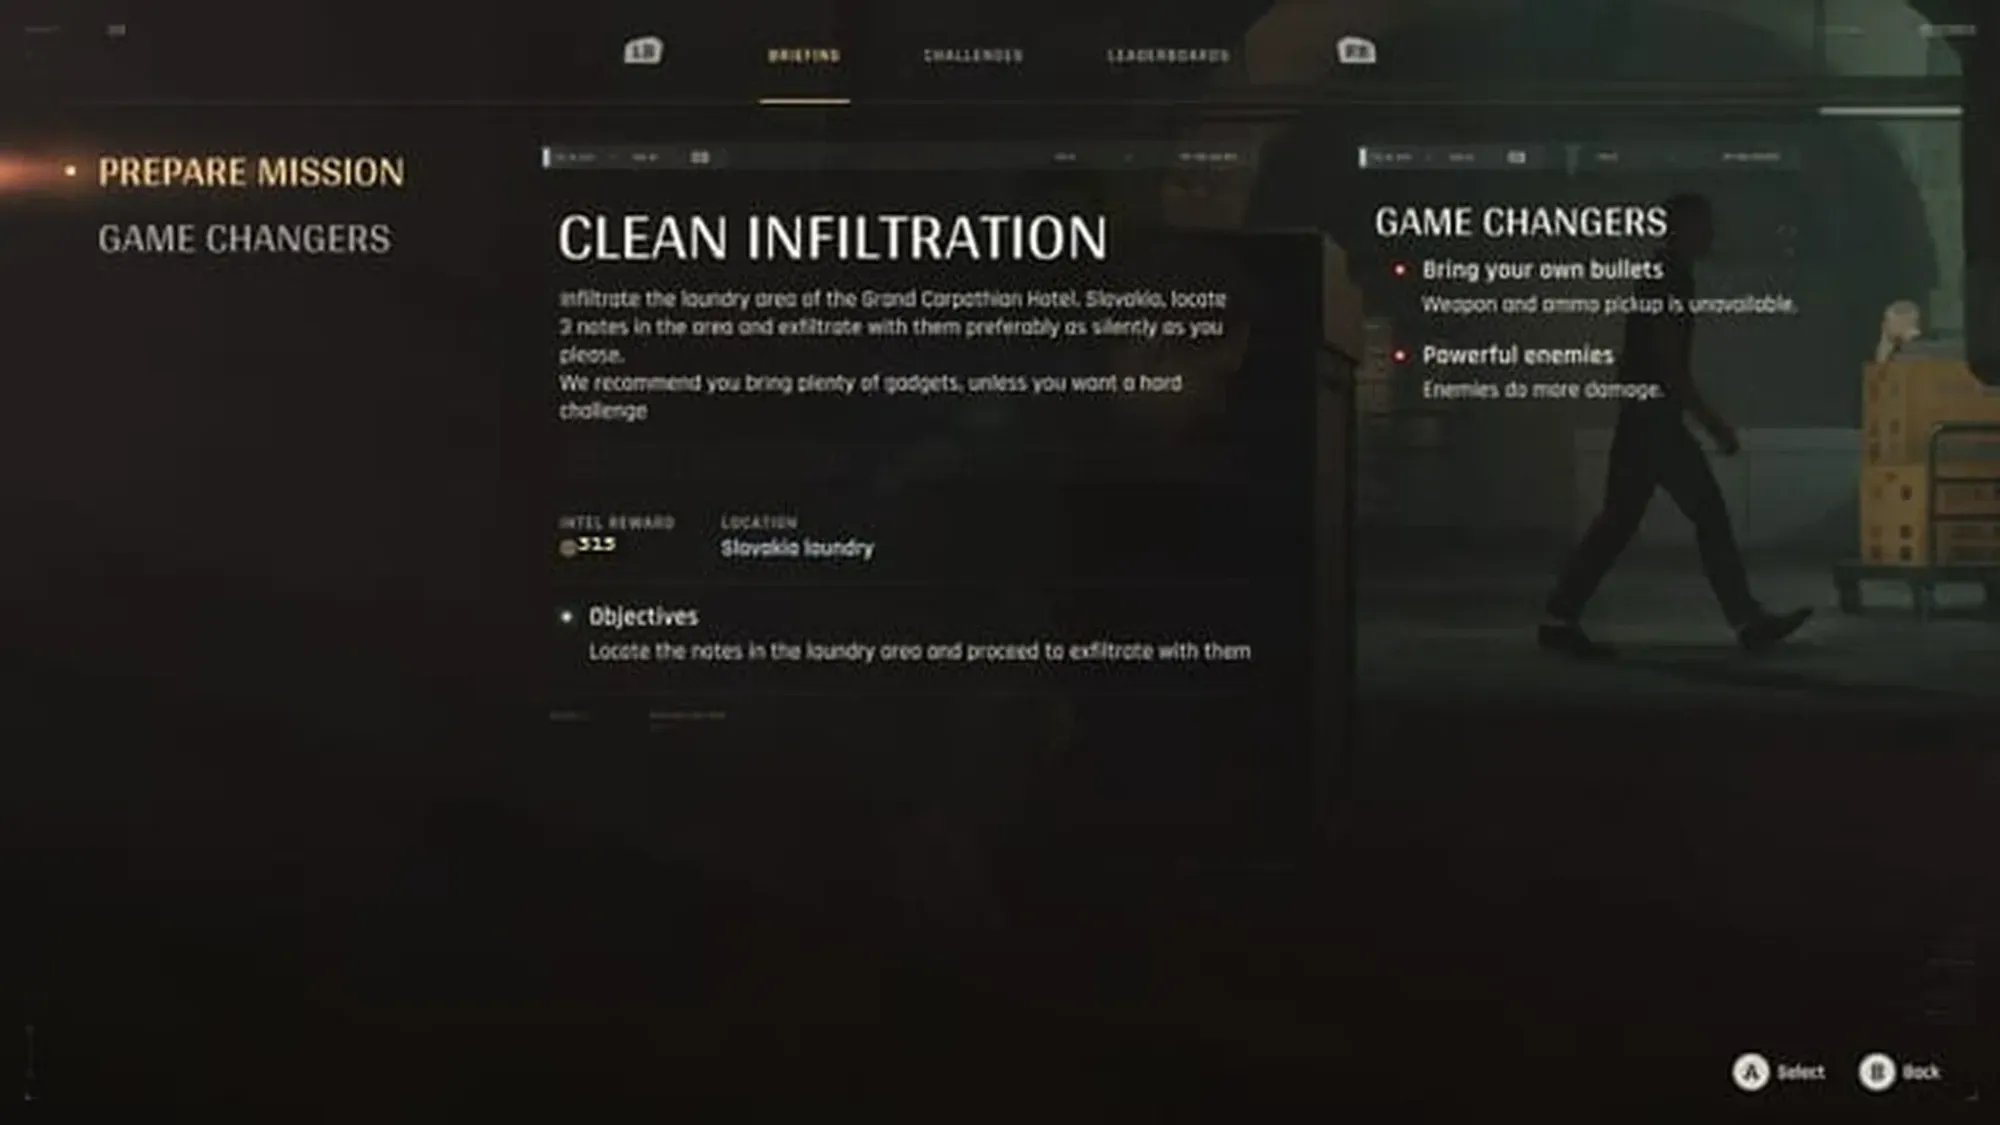
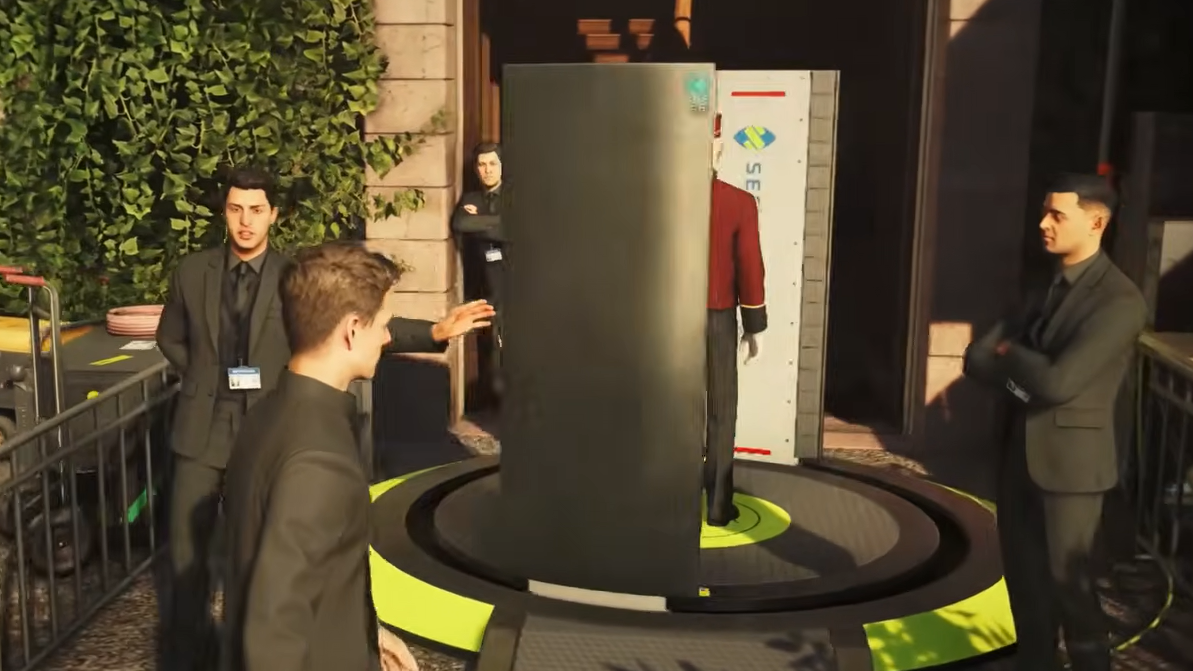
The hotel approach in 007 First Light begins right after your Operations briefing, once Bond drives the coastal road and parks the car. From there the compound is gated by a security scanner and a cluster of guards, and the mission expects you to find your own way past them. There is no single forced path. You can talk, distract, climb, or steal your way in, and a clean run means reaching the upper corridor without ever setting off an alarm.
Prepare your loadout in Operations first
Before the drive, you select gadgets at the Gadget Testing station in Operations, the same spot where you tried the Dartphone earlier. For a quiet hotel run, take the Dartphone and the Smokepod. The Dartphone handles every distraction and pickpocket prompt the infiltration throws at you, which is exactly what the stealth routes rely on.
While you are in the room, sweep it for collectibles so you are not backtracking later. The Arrowhead Report (Intel #5) sits on the desk by the whiteboard if you turn around immediately on arrival, and the 009 Profile (Intel #6) is on a desk near the Pod after Greenway’s cutscene. Speak to Moneypenny when you are ready to start the briefing.
Reach the hotel and grab Card #5 on the way
The chapter opens behind the wheel. Drive the long coastal road to the hotel without wrecking the car, then pull into the marked parking spot to trigger the next objective. Park up and head for the first stairwell on foot.
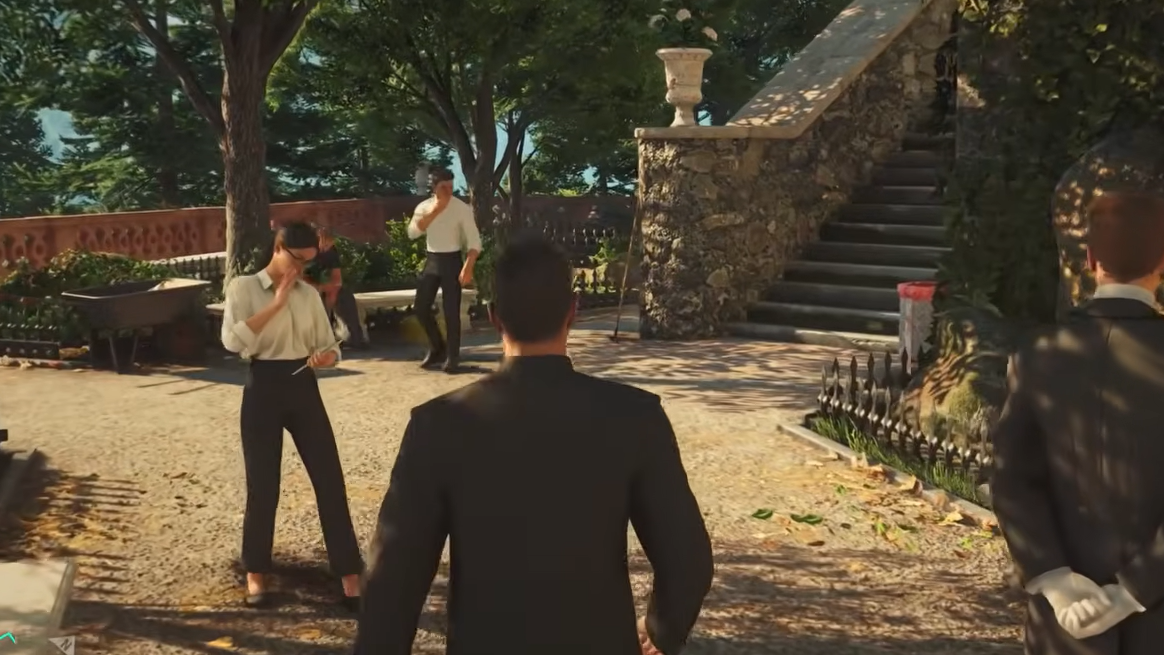
As you climb, an optional path branches off to the left down another set of stairs. Take it to pick up Card #5: Ace of Acorns before you continue. Once you have it, return to the main stairway and walk toward the hotel entrance, where the scanner and guards come into view.
The four clean infiltration routes
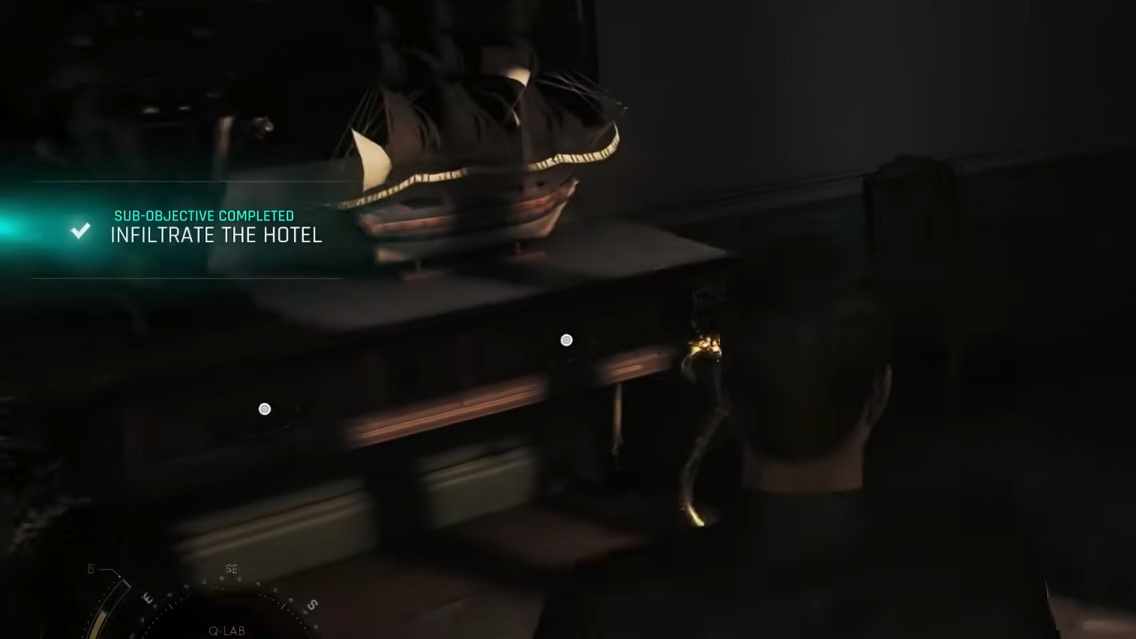
Every route ends the same way. Once inside, you walk to the far end of the corridor, push open the double doors, and step onto the balcony to close the chapter. Pick whichever approach matches your gadgets and Instinct points.
| Route | Key item | Best for |
|---|---|---|
| Steal the Press Badge | Press Badge (plant pot) | Walking straight through the scanner |
| Brute force the Press Badge | Press Badge (storage box) | Players with a Dartphone charge to spare |
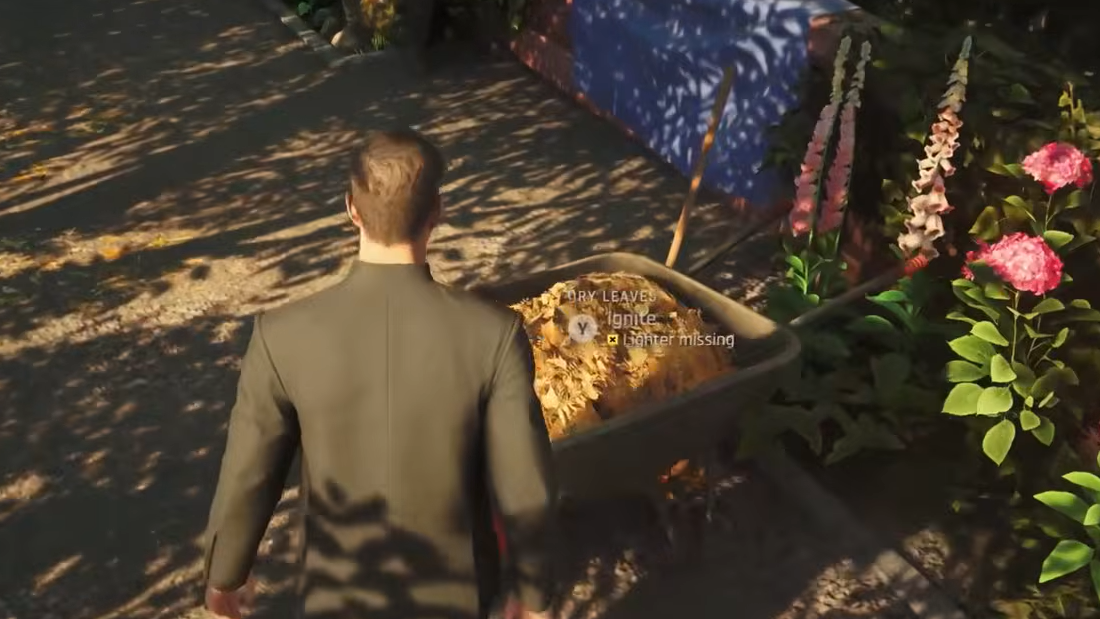
| Fire distraction | Lighter | Reaching the Staff Only window |
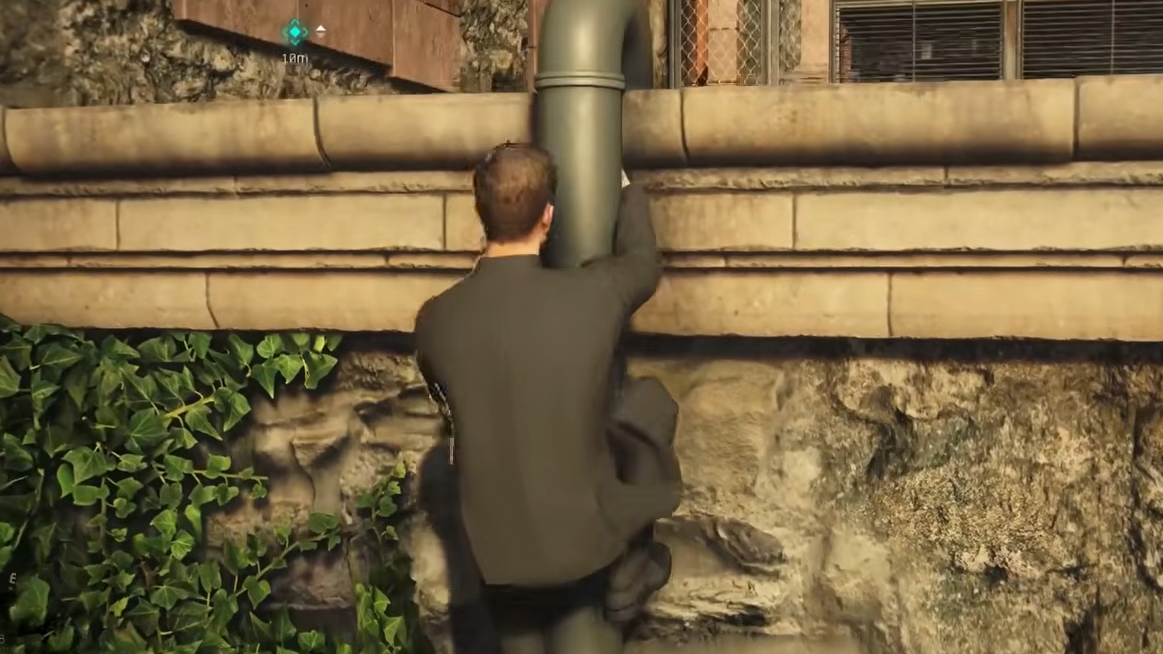
| Staff Only area | Drainpipe | Pure stealth, no badge needed |
Route 1: Find the hidden Press Badge
Route 2: Take the Press Badge by force
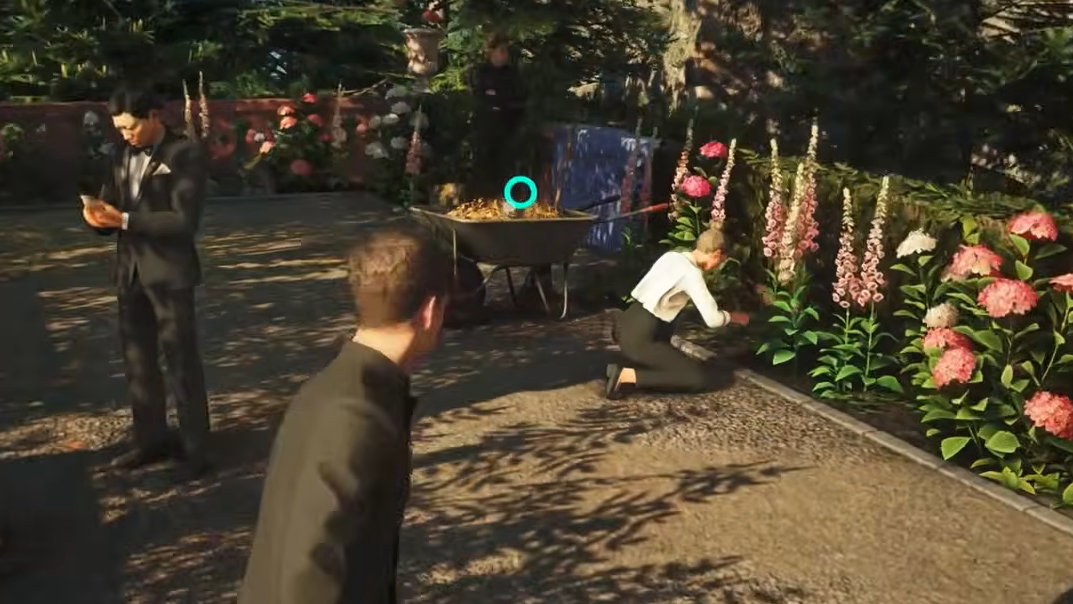
Route 3: Use the lighter and leaf fire
Route 4: Climb the drainpipe from the Staff Only area
How to confirm a clean entry
You have infiltrated cleanly when no guard radios for backup and no alarm sounds during your approach. Once you are inside the building, continue to the end of the corridor, push through the double doors, and approach the balcony. That balcony prompt ends the chapter and confirms the infiltration is complete.
Why a run gets flagged
Most failed attempts come down to timing and Instinct. When you ignite the leaves or trigger the generator, move the instant the guard turns away. Waiting gives them time to walk back to their post and spot you mid-theft. Bluffing the Staff Only guard only works if you have the Instinct points for it, so fall back on the garden hose distraction when you are short.
Of the four, the hidden Press Badge in the plant pot is the least error-prone, since it lets you skip every guard interaction and stroll through the scanner like an invited guest. If you would rather save your Dartphone charges for later, the Staff Only drainpipe climb is the cleanest stealth-only option once the garden hose pulls the first guard away.