The Hollow path in VV: Ultimatum is the longest progression in the game, and it rewards planning more than reflexes. You start weak as a Fishbone, eat your way up to Menos, branch into Adjuchas, push to Vasto Lorde for the extra trait slot, then rip off your mask to become an Arrancar. After that, a separate meditation system slowly unlocks Resurrección. The order matters because traits become permanent once you commit, so a single rushed evolution can lock you out of a fourth slot for the life of the character.
Quick answer: Pick the Gorilla Hollow, consume Hollows to reach Menos, complete the destroy-and-kill objectives to become Adjuchas, then keep progressing to Vasto Lorde so you secure all four trait slots before pressing L to become an Arrancar. Only then meditate, follow the whispers, and clear the three-phase Inner World fight to unlock Resurrección.
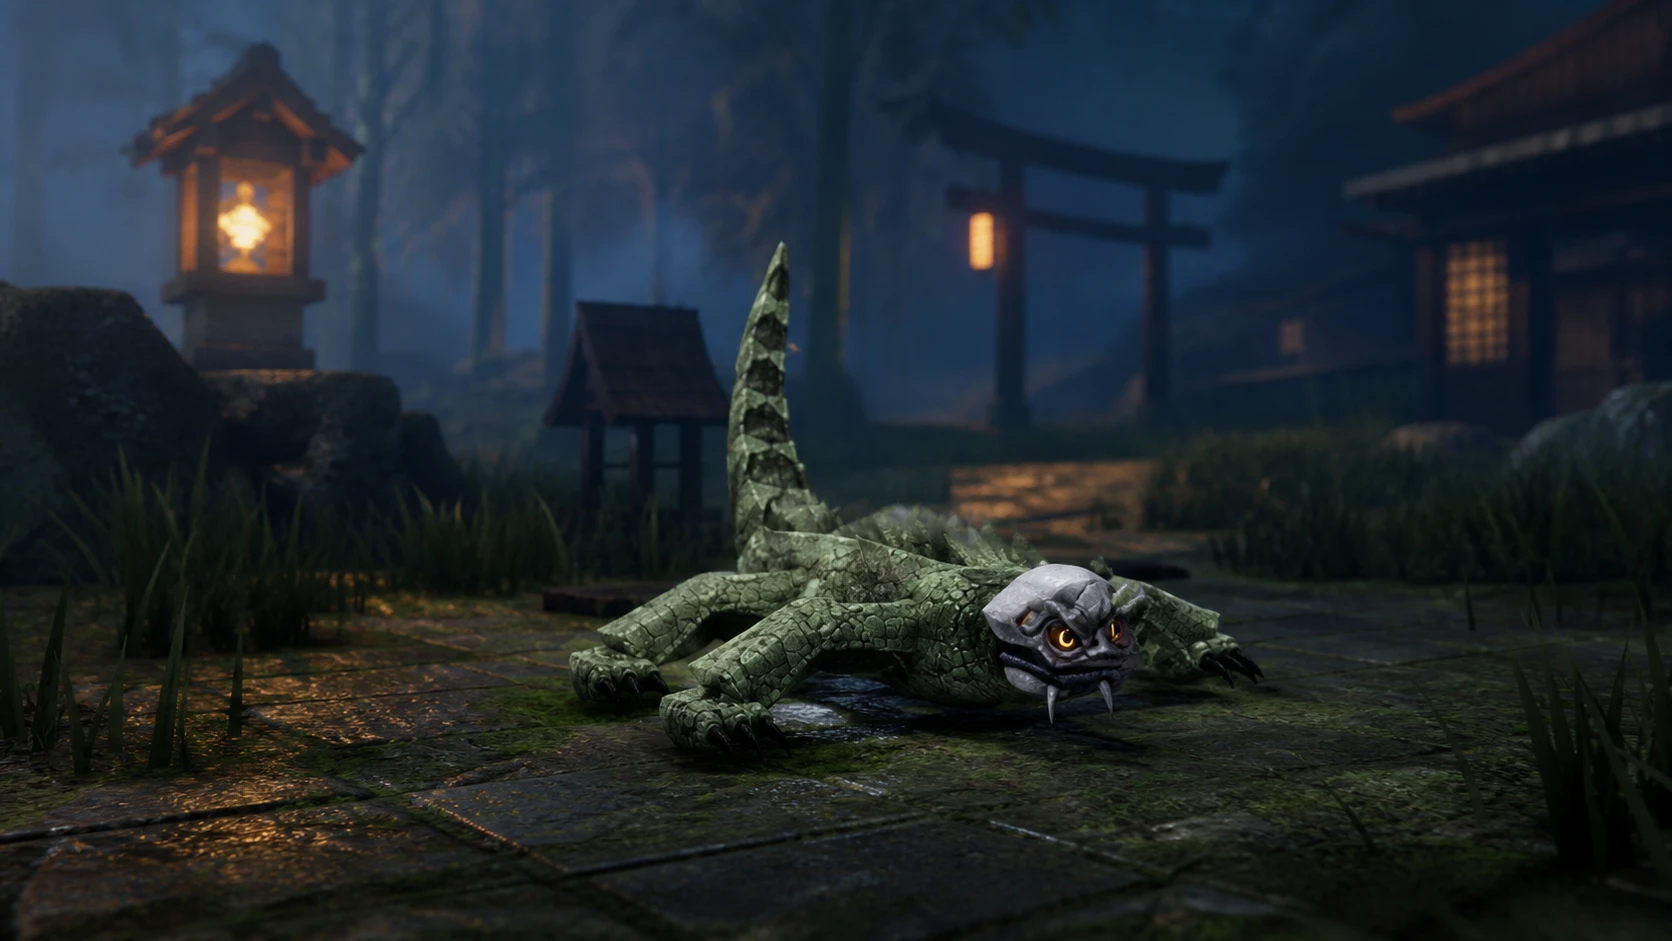
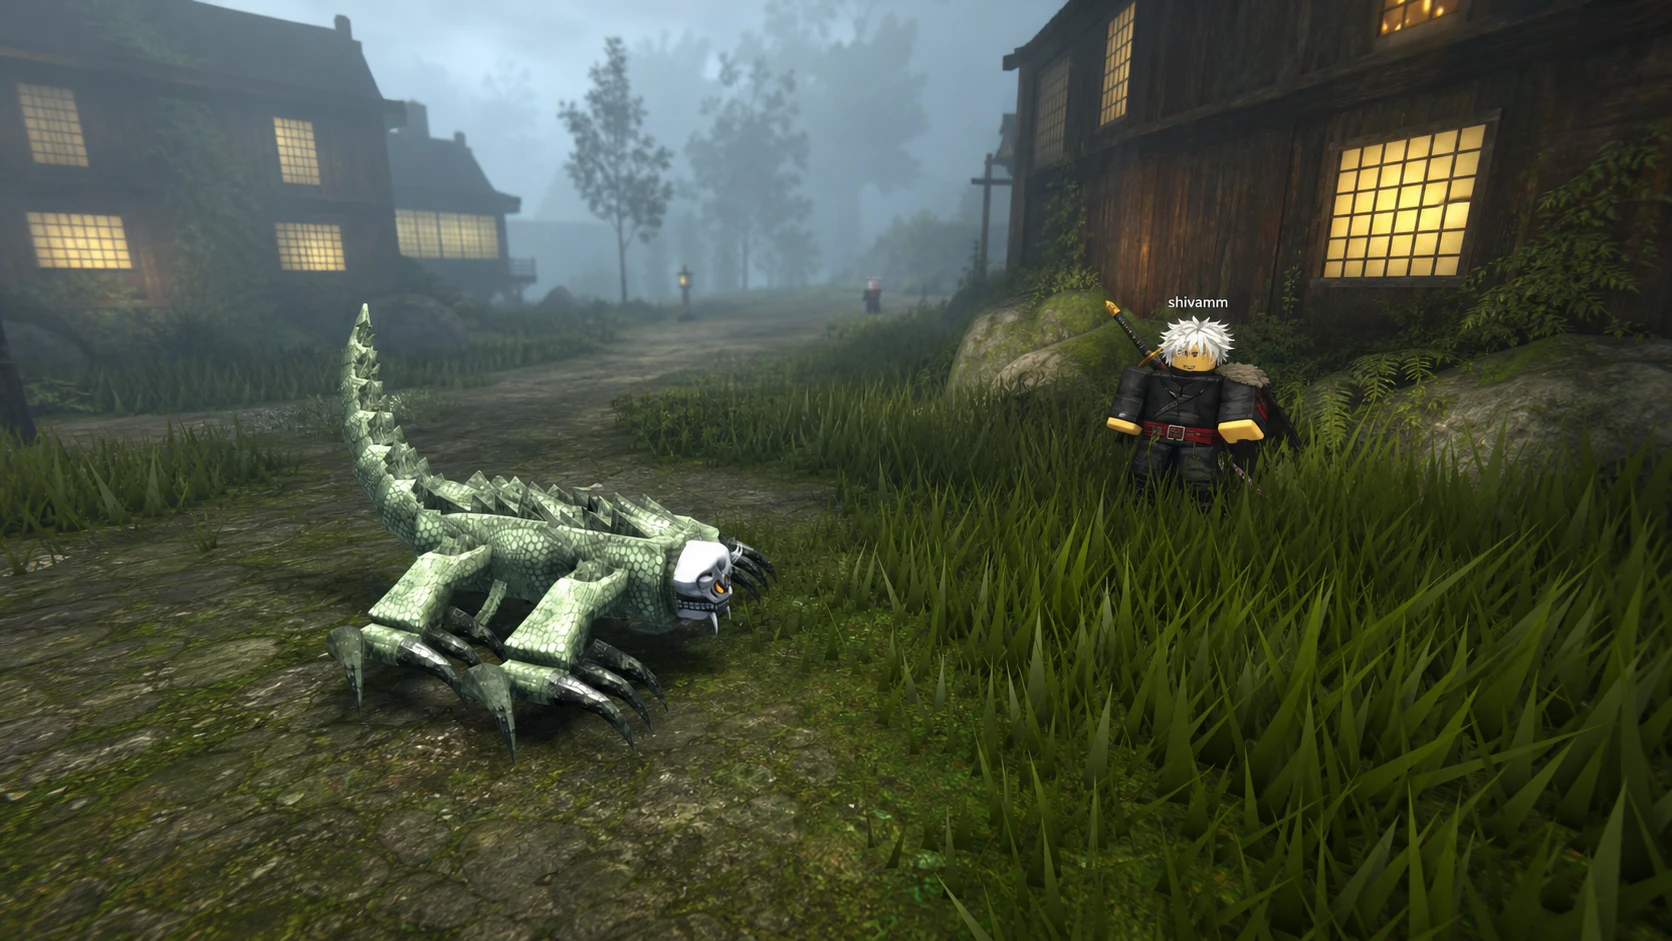
Choose the Gorilla Hollow type before you start grinding
When you select Hollow after the tutorial, you roll one of four animal-skeleton variants, and each shifts your starting stats. The choice carries a hidden cost. During the Resurrección trial you fight a copy of the exact Hollow type you picked, so the easy options to play are not always the easy options to beat later.

| Hollow type | Effect | Resurrección notes |
|---|---|---|
| Gorilla | No buffs or debuffs, balanced | Recommended, easiest mirror fight |
| Turtle | Higher defense, slower movement | Delayed attacks are hard to parry |
| Lizard | Faster, lower defense | Solid if you prefer mobility |
| Centipede | Very fast, lower defense and damage | Oppressive speed in the trial, avoid |
Gorilla is the safest pick because its mirror fight is the most readable. Lizard is fine if you want speed. Steer clear of Turtle and Centipede unless you are confident in your parry timing, since their trial versions punish the most.
Before any of this, clear the tutorial and fight Gelum, the first boss. It hands out early experience and loot, and more importantly it teaches the parry, counter, and dodge timing the later boss fights demand.
Hollow evolution order: Fishbone to Vasto Lorde
Your character starts as a Fishbone Hollow and climbs through fixed stages. Early stages are automatic or quest-driven. Later branches force a permanent choice between cutting your progression short or pushing for more trait slots.
The reason to grind that far is the trait slots. Each evolution path caps how many traits you can hold, and the cap is permanent once you become an Arrancar.
| Path | Trait slots | Key gains |
|---|---|---|
| Menoscar (Menos → press L) | 2 | Small stat bump, no further progression |
| Adjucar (Adjuchas → press L) | 3 | Stat bump, new abilities, Cero |
| Vastocar (Vasto Lorde → press L) | 4 | Full slots, becomes final Arrancar form |
Vasto Lorde is the recommended stop because four slots beat three or two for the rest of the character’s life. Pressing L at Vasto Lorde turns you into a Vastocar, the final Hollow form, and resets your stats while keeping the Arrancar identity and a unique Arrancar weapon.
How to farm and keep Hollow Traits
Traits come from defeating other Hollows and consuming their remains for a chance at the bonus. They are permanent and follow you through every later form, including your Resurrección, so only accept the ones that fit your build. When the game prompts you, press “No” to reject a trait you do not want and free the slot for something better.

Traits stop dropping the moment you become an Arrancar. Finish your trait collection while you are still a Vasto Lorde with the fourth slot open. Iron Skin, Deadly Claws, and Wings are widely favored, while Exoskeleton is popular for its broad defensive value.
| Trait | Effect |
|---|---|
| Iron Skin | +4% Melee Defense, +35% Posture Regen |
| Deadly Claws | +3% Hakuda Damage, +0.1 Max AP |
| Wings | +3% Movement Speed, +5% Shunpo Stamina, +3% Shunpo Speed |
| Exoskeleton | +2% Melee Defense, +5 Posture, 15% bigger Resurrection healthpack, -2% Movement Speed |
| Skinny | +7.5% Movement Speed, -1.2% Melee Defense |
| Tentacles | 16% chance of poison on melee, -1% Weapon damage |
| Horns | Cero width +35%, Cero length +10% |
| Tailbone | Cero damage +20%, Cero 25% thinner |
| Back Scales | Cero charges 12% faster, +45s Resurrection, Cero damage -5% |
| Giant | +5% Melee Defense, +2% Kido Defense, 5% slower |
| Energized | +2% Kido Damage, weapon damage scales off Kido |
| Dense Muscles | +1% Weapon, +1% Hakuda, +45s Resurrection |
| Innocuous Presence | Hides name and reiatsu, +20s Resurrection, +5% Movement Speed |
Becoming an Arrancar and rolling your clan
Once your traits are set, press L to remove the mask. You then customize your Arrancar look, roll a clan, and receive your personal Arrancar weapon, which becomes a core part of your kit through early and mid game. The Spear is a strong default thanks to its reach in most encounters.
Clans give small passive stat bonuses through a gacha-style reroll. They are useful but not build-defining, so a common roll does not ruin a character. Cifer is the standout legendary for Hollow builds.
| Clan | Drop chance | Buffs |
|---|---|---|
| Cifer | 1% | +20% longer Resurrección, +2% Kido Damage, +5 Reiatsu, +2.5 Shunpo Stamina |
| Aaroniero | 1% | +2.2% Kido Damage, +5 Reiatsu, +1.5% Kido Defense, -1.5% Melee Defense |
| Jaegerjaquez | 9% | +3% Hakuda Damage, +3 Shunpo Stamina |
| Antenor | 9% | +1.5% Lightning Damage, +7.5% Posture Regen |
| Kufang | 9% | +2.5% Weapon Damage, +0.5% Kido Defense |
| Murciellago | 60% | +5 Shunpo Stamina, +10 Shunpo Speed |
| Gingerbuck | 30% | +2% Melee Defense, +5 Posture |
| Lousienbairn | 30% | +5 Health, +3.5 Posture |
| Calius | 60% | +5 Equipment Load |
How to unlock Resurrección through meditation
Resurrección is a separate progression that runs on active combat, not passive leveling. Running around the map does nothing. Fighting Hollows, attacking enemies, and joining missions, invasions, and PvP all feed it, with whispers reported most often during missions and invasions.
Note: if you head into the Marsh during this stretch, craft a Respirator first or the environmental hazard kills you quickly.
The Inner World and the three-phase Resurrección trial
Eventually meditation drops you into your Inner World with the objective to uncover it. The single rule here is to follow the red eyes every visit. At first little seems to happen, but each successful visit adds buildings and structures until the world is fully developed. When it is complete, the red eyes lead straight to your Inner Hollow and the trial begins.
The fight runs in three phases and gives no health packs, so conserve resources from the start.
- Phase 1: Your original Hollow type. This is why the Gorilla pick pays off here.
- Phase 2: The Menos. Its attacks are slow and delayed, so be patient with stomp timings and block Cero when needed. Most losses come from impatience.
- Phase 3: A stronger Hollow form with extra abilities that punishes greedy attacks hard.
Treat the whole trial as roughly 90% defense and 10% offense. Parry whenever you can and aim for posture breaks rather than raw aggression. Failing costs nothing permanent, since you can re-enter by meditating again as many times as needed.
How to confirm Resurrección unlocked and keep it growing
Clearing all three phases unlocks Resurrección, which adds a transformation mode, new abilities, increased combat strength, and an ability progression track. You trigger it with your weapon’s transformation command. From there, abilities keep scaling through Ability Levels, and the fastest way to raise them is to actively use those abilities in combat. The more you fight, the faster your Resurrección develops, which closes out the full Hollow journey from a fragile Fishbone to a self-sufficient Arrancar.