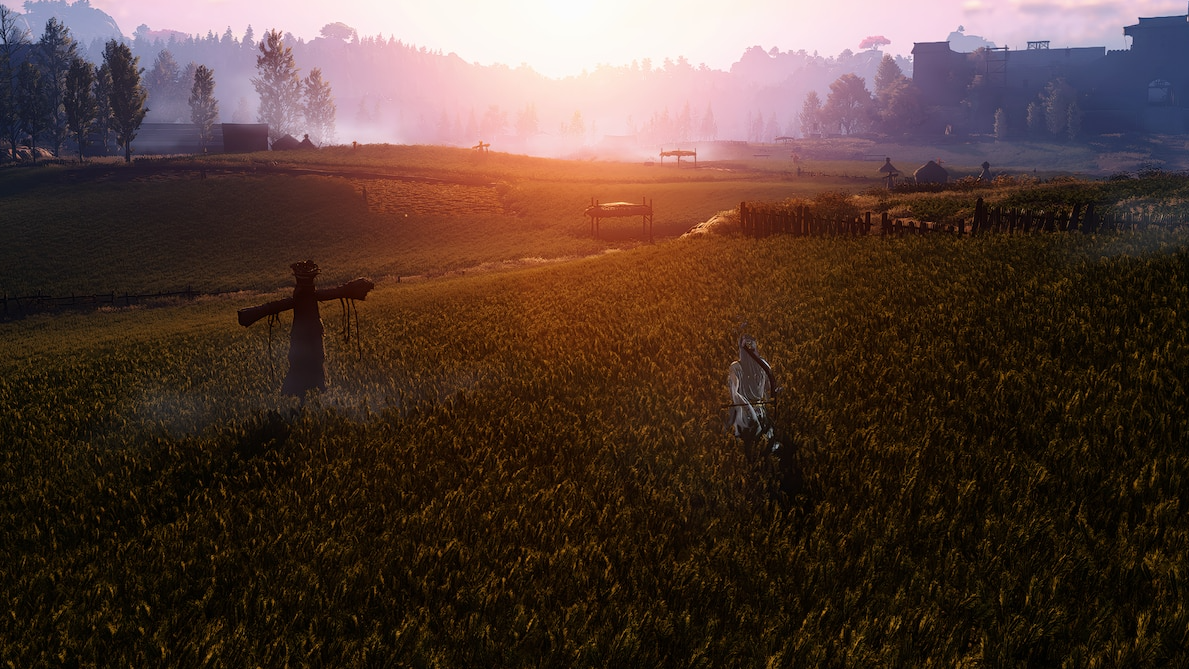
The world of Where Winds Meet hides more in its granaries than sacks of grain. Two different places use keys and locked doors to gate important rewards: the small village granary in Harvestfall Village, and the sprawling Ever-Normal Granary complex tied to a major Campaign quest in Kaifeng. Both are easy to miss or get stuck on if you are exploring without a plan.
Harvestfall Village granary key (Eternal Flame wandering tale)
Harvestfall Village contains a locked granary door and a wandering tale that both rely on the same key. The door itself shows a “requires granary key” prompt and hides a chest and hostile NPCs inside.
The key is not in a chest or on a table. It is carried by a worker in the nearby storage area:
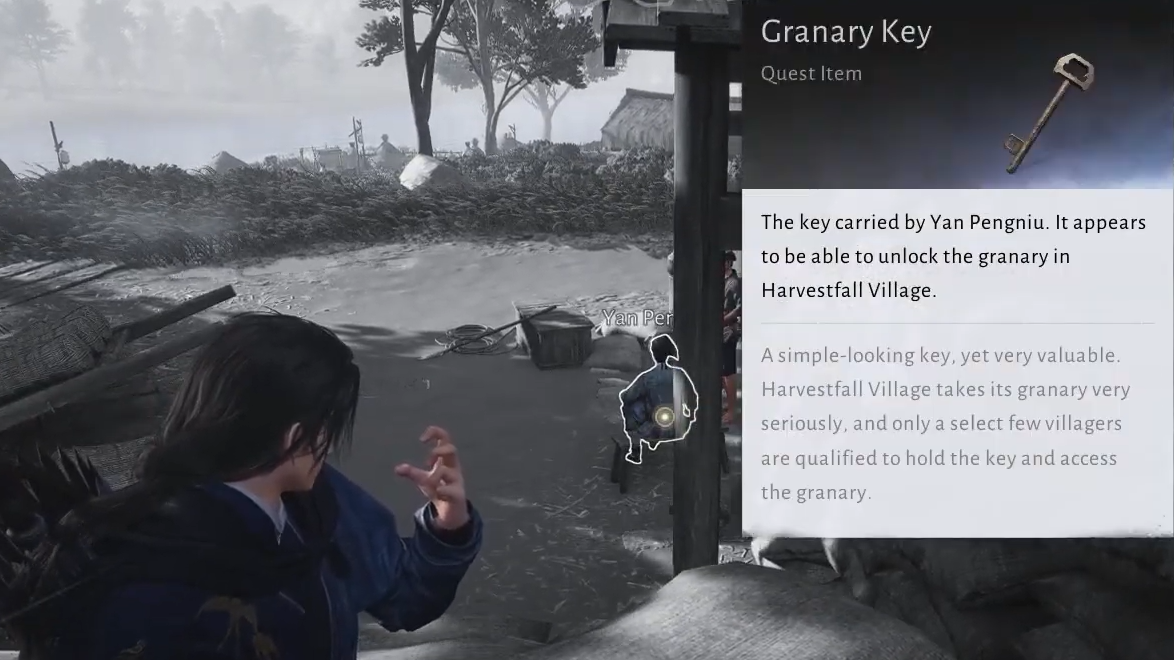
Go to Harvestfall Village and head toward the storage or prep area where harvest goods are stacked. Look for a worker sitting on a stool by the structure, chatting about being trusted with a key. His name is Yan Pengniu.
Approach Yan Pengniu and use the Celestial Seas stealing ability to take the granary key from him. Treat this as a pickpocket: you do not need to attack him and should avoid drawing aggro while you steal.
Steal the Granary Key from Yan Pengniu | Image credit: NetEase (via YouTube/@ON Game)
Once the theft succeeds, move away from his line of sight before you manually pick up or equip the key. Grabbing it right in front of him can cause the nearby workers to turn hostile and attack.
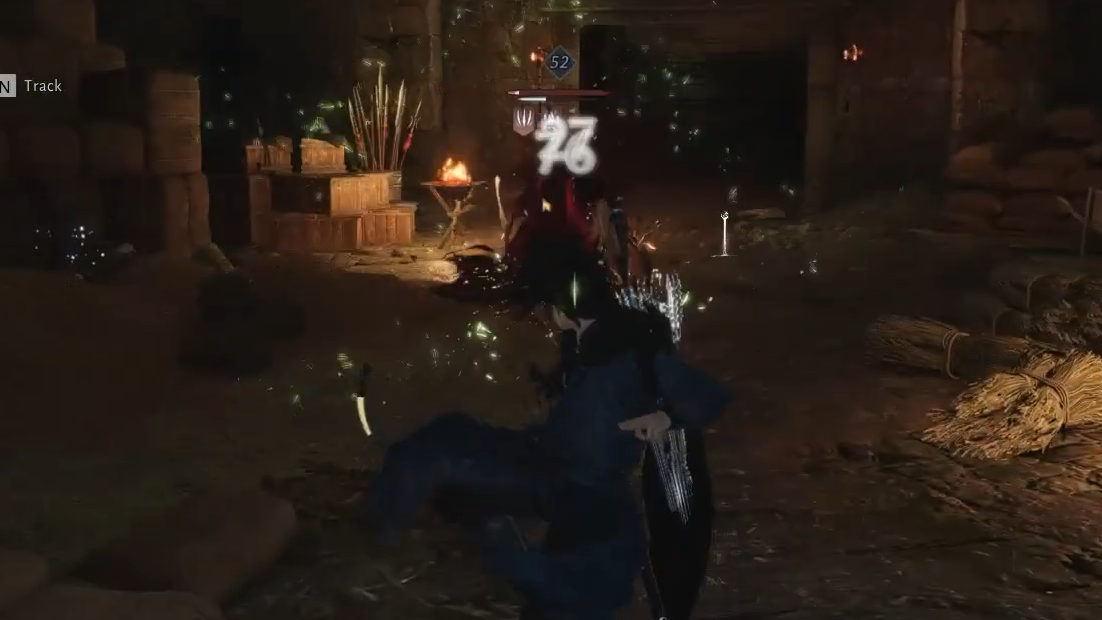
With the key in your inventory, return to the locked granary door in the village and unlock it. Inside, you will find several enemies and the chest that was previously unreachable.
You will find enemies and a locked chest inside the granary | Image credit: NetEase (via YouTube/@ON Game)
This key is also required for the Harvestfall Village wandering tale, Eternal Flame. For that tale:
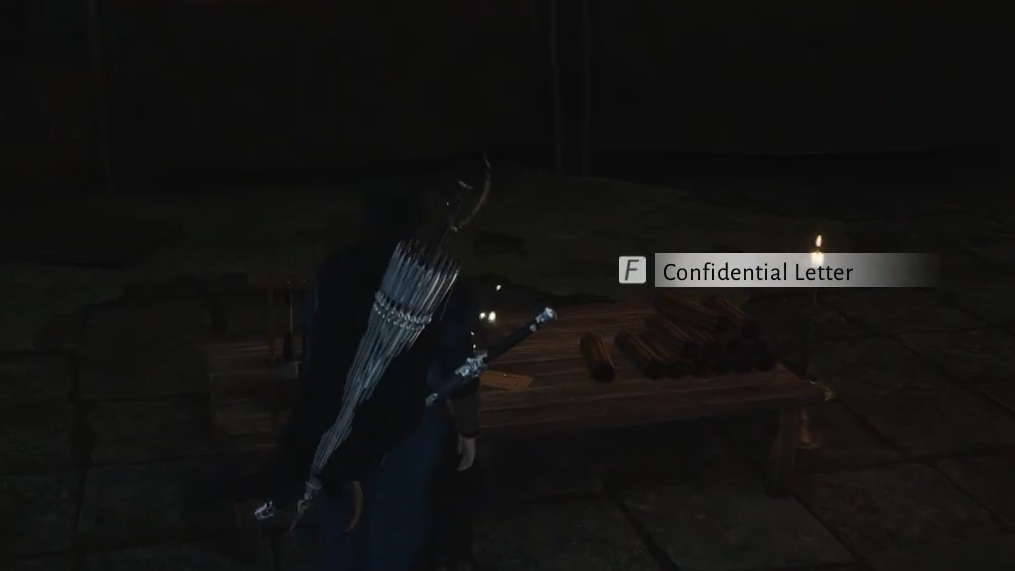
Return to the Harvestfall Village chief and hand over the Confidential Letter to complete the wandering tale.
Whether you are just chasing the chest or also wrapping up Eternal Flame, the critical detail is that the key is always on the worker, not in the locked building itself.
Ever-Normal Granary quest overview
The Ever-Normal Granary is a larger Campaign-side quest in the Kaifeng region. It takes place in and under a fortified granary complex, combines stealth, combat, and traversal puzzles, and culminates in a boss encounter with Zheng E (Zheng the Frostwing).
Ever-Normal Granary is tracked from the broader Granary of Plenty activities. It becomes available once Kaifeng is unlocked at around level 32.
Image credit: NetEase (via YouTube/@GuidingLight)
How to unlock the Ever-Normal Granary quest
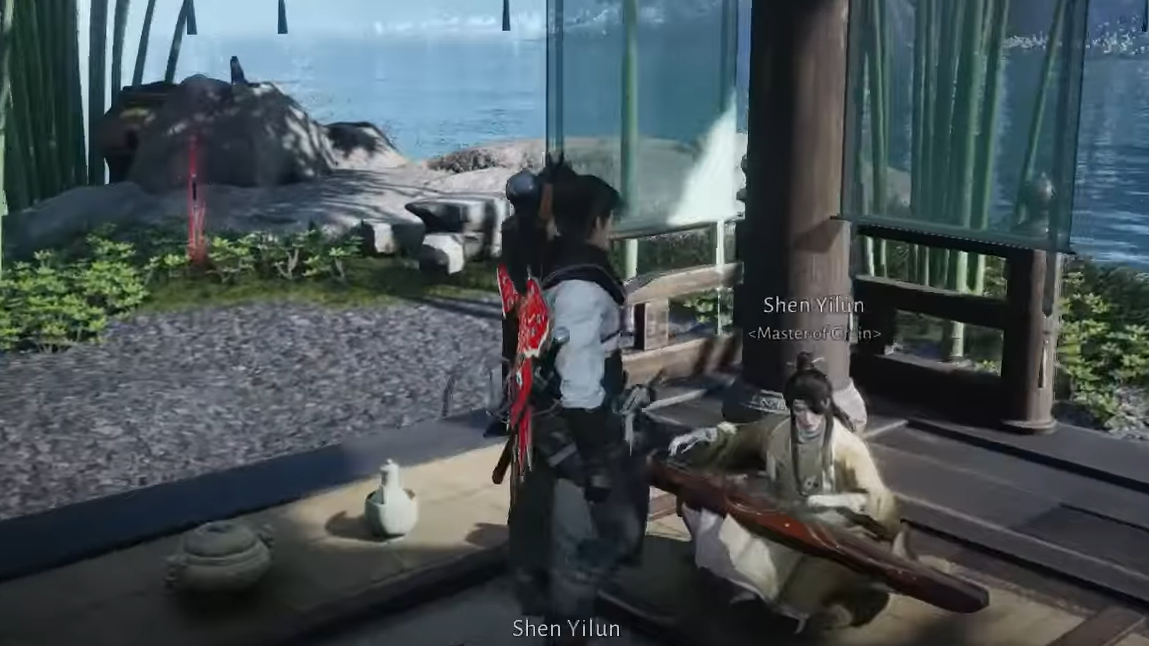
Access to the granary is restricted at first, so you need a token from Lord Shen’s residence to proceed.
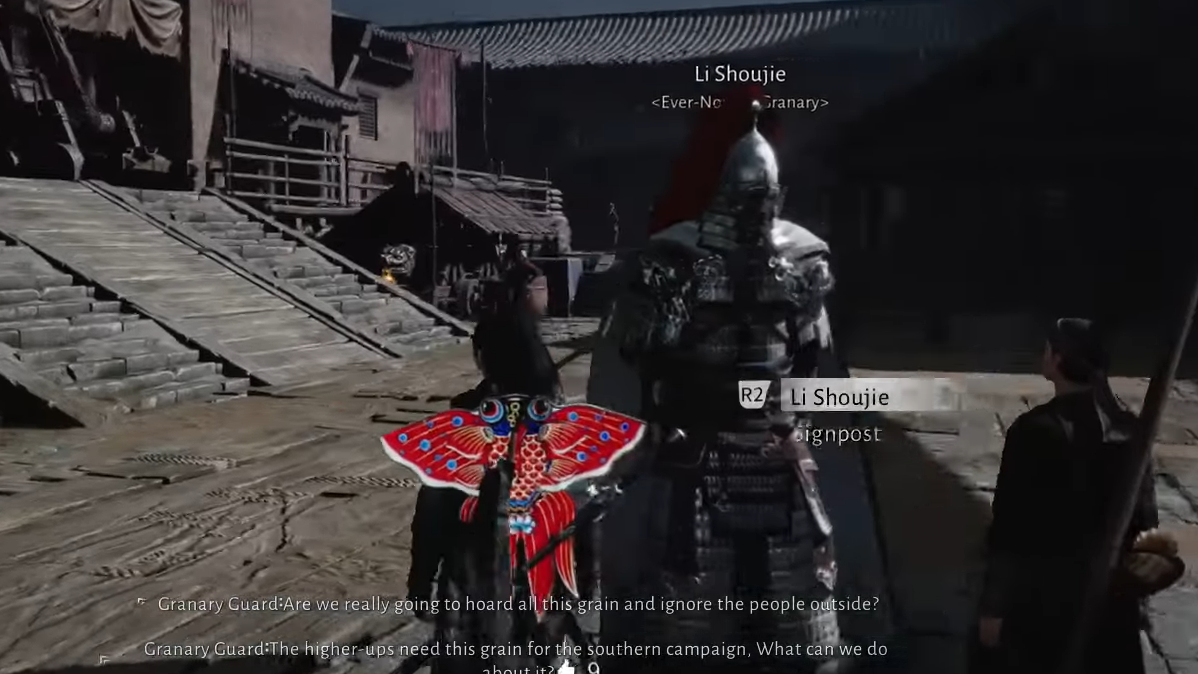
Travel to the Granary of Plenty region in Kaifeng and speak to the Wayfarer near the Ever-Normal Granary exterior dispute to track the Ever-Normal Granary quest.
Return to the granary gate and talk to the guard again. Present the Ever-Normal Token to gain entry to the inner compound.
Inspecting the granary and reaching the underground vault
Once inside, the story shifts from political dispute to a conspiracy surrounding missing grain. The early sequence is still above ground, then the layout leads into an underground mine and a hidden storage area.
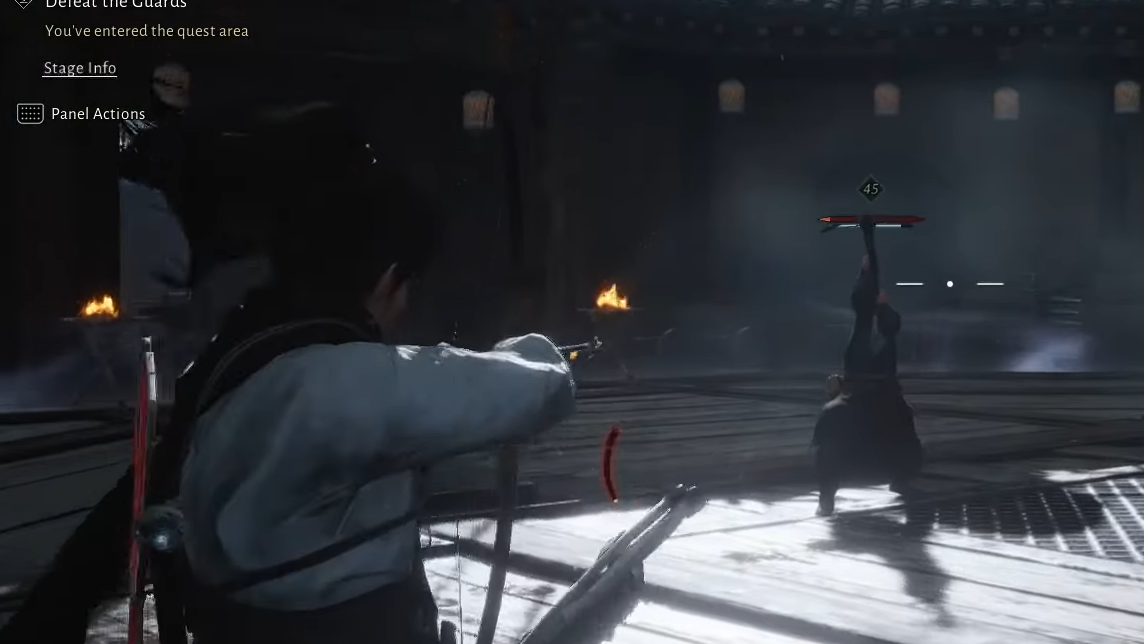
Discover that the granary stores are empty. Li Shoujie will confront you with accusations, triggering a fight against him and two subordinates. Defeat them to obtain a layout clue showing a marked spot in the complex.
Defeat the guards to get the clue | Image credit: NetEase (via YouTube/@GuidingLight)
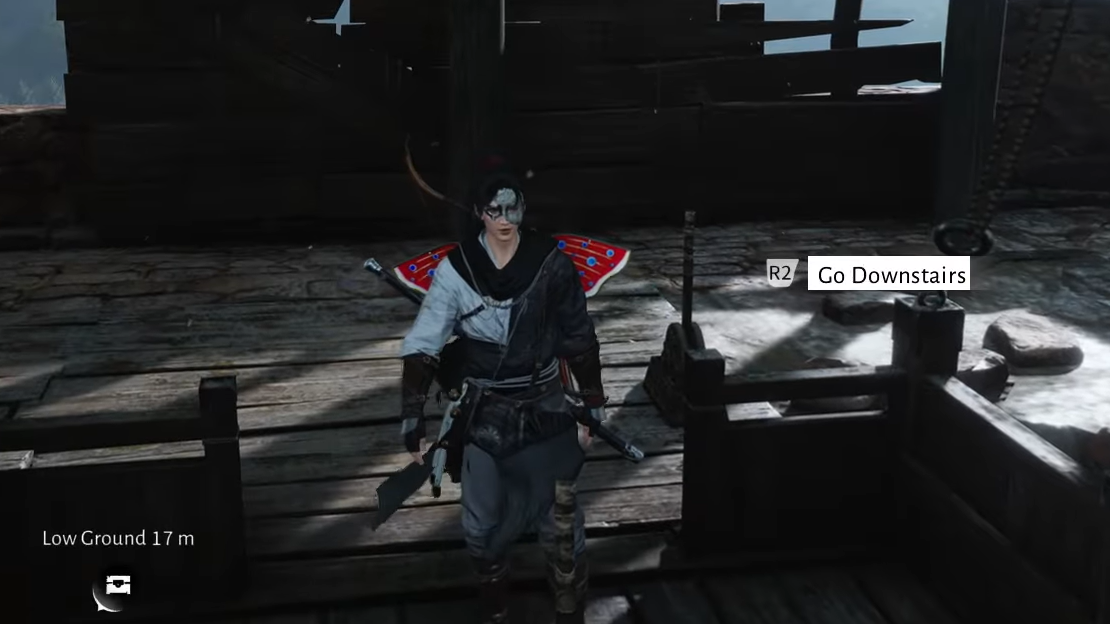
Cut through or bypass enemies on your way to the tower. Inside, climb up to a higher level and reach the watchtower-style room. Use the boxes to reach a window, slip outside, then continue climbing ladders and platforms.
Climb up the tower | Image credit: NetEase (via YouTube/@GuidingLight)
Clear the crossbowman or other guards stationed at the top of the tower. Locate the central lever for an elevator platform and activate it while standing on the platform so you descend safely into the underground area.
Activate the lever to descend | Image credit: NetEase (via YouTube/@GuidingLight)
Tip: If you activate the elevator while standing off to the side, the platform will drop without you and you will have to either fall, risking a sprain, or recall the elevator.
Ever-Normal Granary underground puzzles and traversal
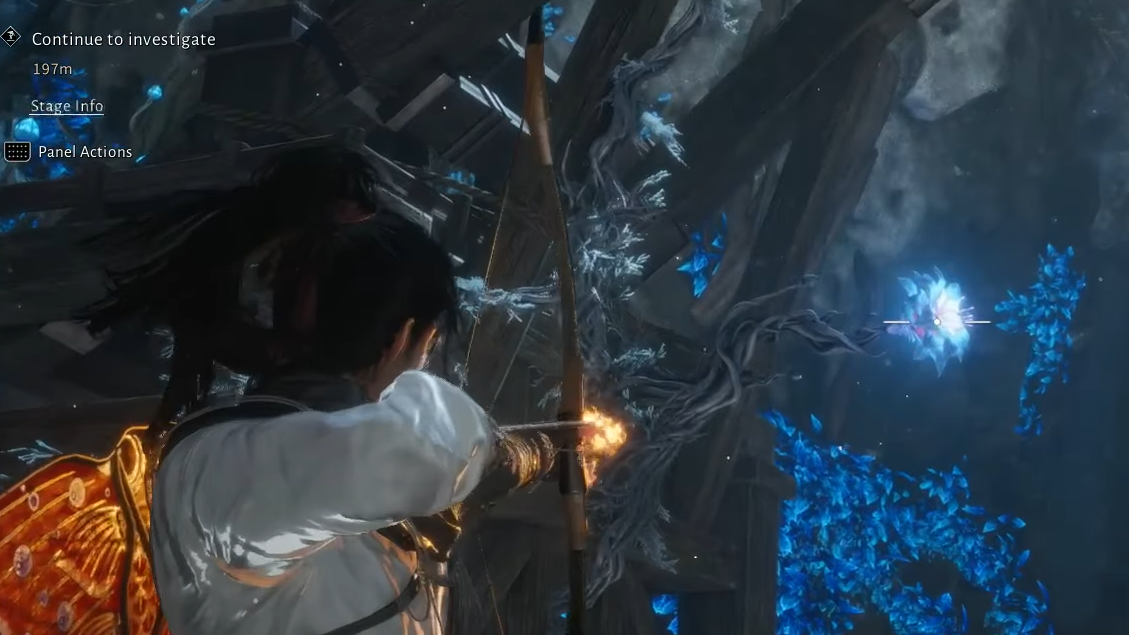
The underground section plays more like a dungeon than a simple corridor. Most progression checks are tied to Dawn-to-Dusk Blossoms, glowing buds that anchor thick vines. Burning the buds with fire arrows removes the vines, opens paths, or enables forced leaps across gaps.
Pick up the fire arrows scattered nearby. Aim at the two visible Dawn-to-Dusk Blossoms that feed the vine barrier and burn them in quick succession. If you wait too long between shots, the buds regenerate, and the vines re-form.
Use fire arrows to burn the blossoms | Image credit: NetEase (via YouTube/@GuidingLight)
Move through the opened passage and defeat the enemy directly ahead. You will come to a wooden bridge with more Blossoms at its base. Burn the supporting buds to drop or extend the bridge, then proceed deeper into the mine.
Crossing the chasm with leap prompts
The next major obstacle is a multi-step chasm crossing that relies on burning Blossoms from specific angles to unlock long-distance leaps.
Reach the edge of the large chasm and pick up the nearby fire arrows. Face left and burn the Dawn-to-Dusk Blossoms that anchor the first set of vines. A leap icon will appear on the rock surface once the vines are gone.
Burn the buds and jump to the platform when the prompt appears | Image credit: NetEase (via YouTube/@GuidingLight)
From this new vantage point, burn another set of Blossoms to reveal the next traversal route, then perform the leap to the upper platform. Open the chest at the top before advancing if you want the extra reward.
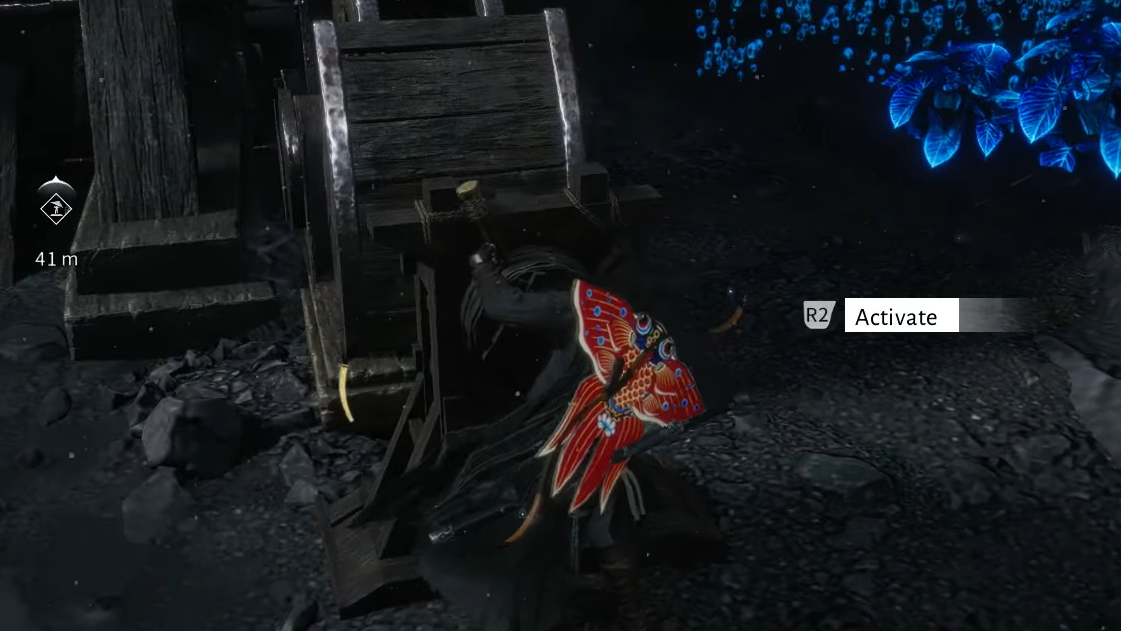
Continue into the dim tunnel, fighting through or avoiding the enemies that guard each gate. Lift the next gate using its nearby mechanism and ride the elevator down when prompted.
Use the mechanism to open the gate | Image credit: NetEase (via YouTube/@GuidingLight)
In the lower area, look for a side path to the left that leads along a rocky stream. Follow it to reach a broken water wheel wrapped in Dawn-to-Dusk Blossoms.
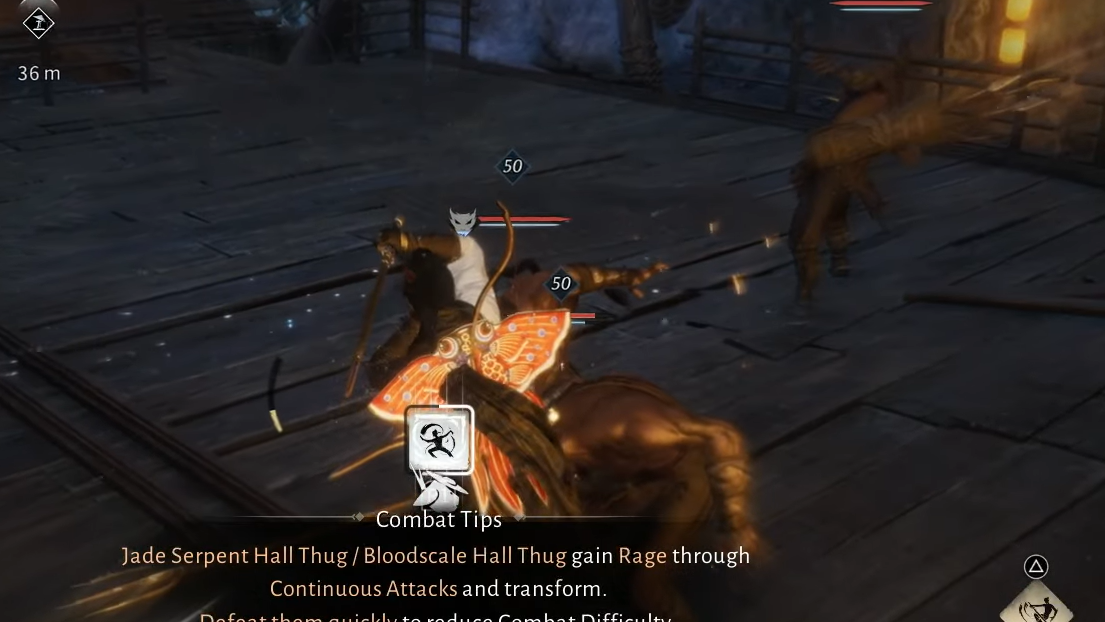
Carefully fight or bypass the enemies around the wheel. Their attacks build up Rage, which can spike into high damage if you let them repeatedly connect.
Fight or bypass the enemies around the wheel | Image credit: NetEase (via YouTube/@GuidingLight)
Use fire arrows to burn the flower buds binding the wheel or its surrounding vines. Once all relevant buds are gone, the mechanism will clear and open the next gate, allowing further progress.
Additional underground buds puzzle and “save the man” objective
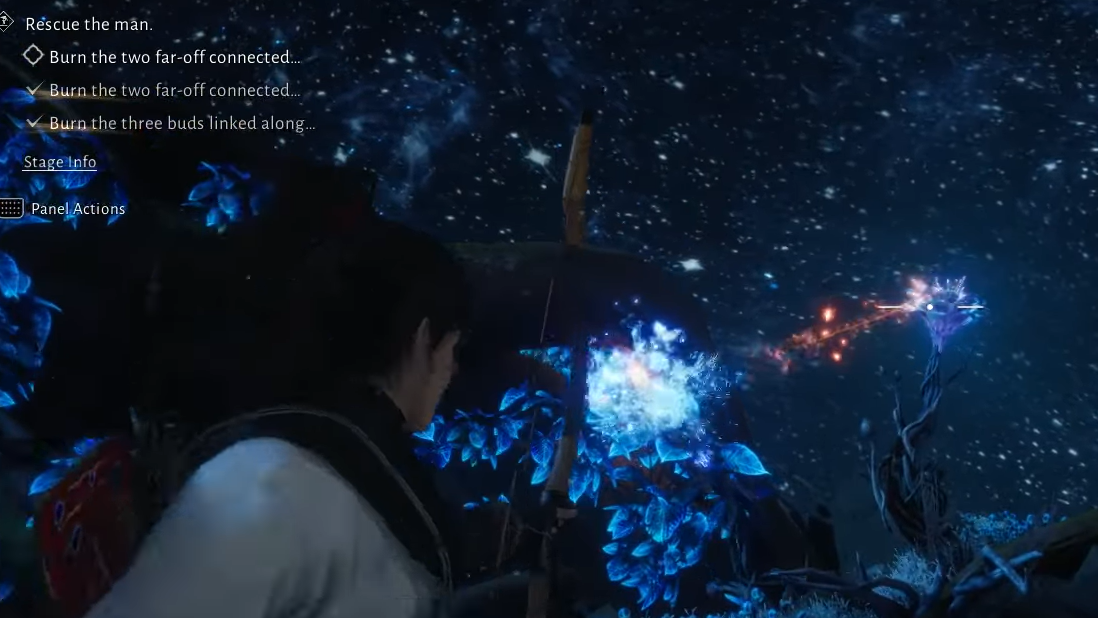
Later in the complex, the quest returns to a familiar objective: save the man. This time, the target is trapped behind a more layered Dawn-to-Dusk Blossoms puzzle where buds regrow if you do not find them all.
Enter the large chamber marked by the objective. Three obvious buds appear at first; shooting one or two causes them to regrow after a moment, which signals that you have not yet destroyed the full set.
Move to the back of the room and stand on a raised rock that provides a wider angle over the vines. From this spot, you can see additional buds tucked into corners that are otherwise hidden.
Identify and burn the buds in order, covering all the visible ones, including the one high in the right corner and the cluster visible after jumping across. Once every linked bud is destroyed, the vines release, and the captive is freed.
Free the captive by destroying all the buds | Image credit: NetEase (via YouTube/@GuidingLight)
Speak with the man again to update the objective. This conversation also grants a Dark Surge fragment, a collectible used for broader progression.
Note: The underground areas contain multiple Dark Surge or dark page fragments, including interactable letters and flags in small dock-like side rooms. These are easy to skip, and returning later can be more confusing than picking them up during the first run.
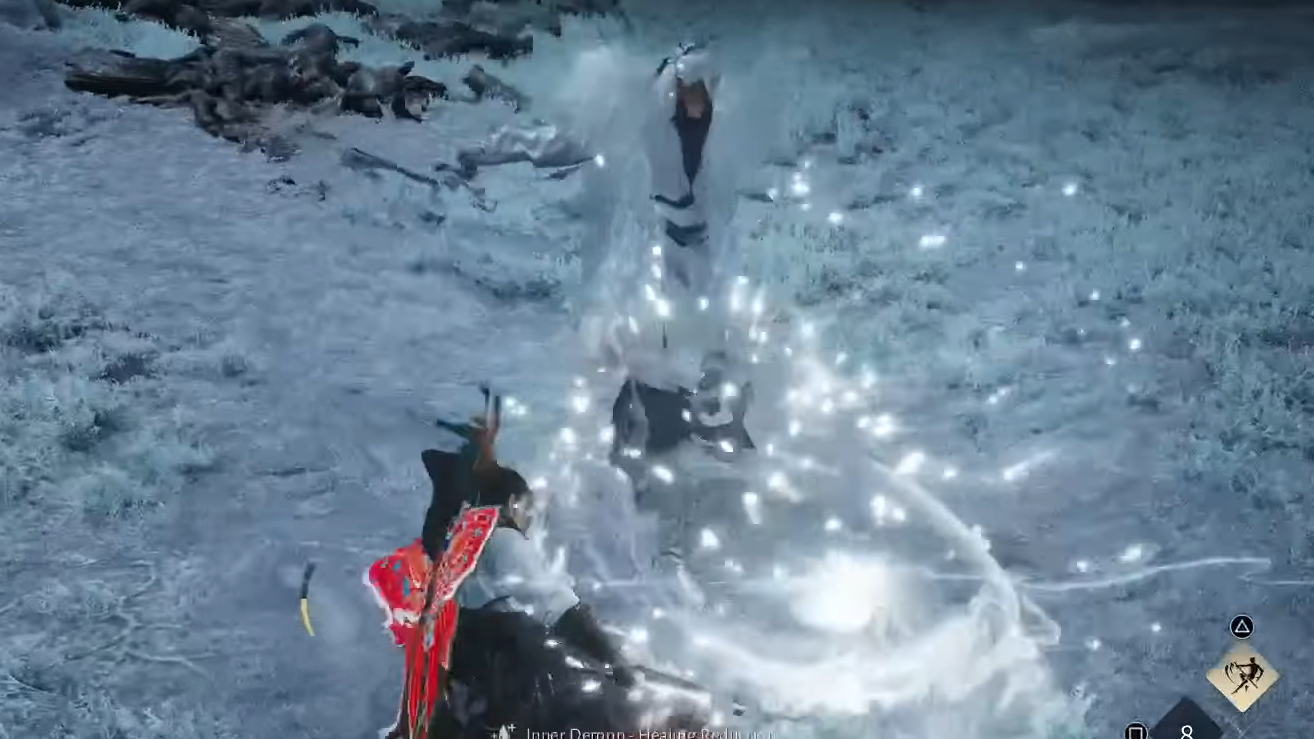
Zheng E (Zheng the Frostwing) boss in Ever-Normal Granary
The final stretch leads to a ghostly ruin where you face Zheng E, also known as Zheng the Frostwing. This boss is part of the narrative payoff for Ever-Normal Granary and later appears as a Campaign boss you can fight repeatedly for rewards.
Key traits of the fight:
Attack pattern: In the first phase, Zheng uses a fan attack that glows red and is difficult to parry reliably.
Recommended tools: The martial art Meridian Touch and the Inkwell Fan style are effective. Meridian Touch can cancel his dangerous fan move and knock him down for a brief opening.
Strategy focus: Emphasize parries to drain Zheng’s Qi bar, then use Executions to strip large chunks of health when his Qi breaks.
Mid-fight phase: Roughly halfway through, he takes to the air and becomes untargetable. Survive this section by dodging ground effects and incoming projectiles until he lands.
Tip: There is an achievement tied to defeating Zheng within a tight time limit (around 120 seconds). If your first clear is slow, complete the quest normally and return later with stronger gear to chase the timed achievement.
Defeating Zheng E unlocks him for the campaign | Image credit: NetEase (via YouTube/@GuidingLight)
After defeating Zheng in the Ever-Normal Granary storyline, a separate Campaign run unlocks, where you can challenge him again for repeatable rewards such as Ivorybloom or Whirlsnow set pieces and Cosmetic Chests.
Ever-Normal Granary quest rewards and Campaign reruns
Ever-Normal Granary pays out several currencies and items across the initial clear and subsequent Campaign runs. The exact distribution varies by run, but the key reward categories remain consistent.
Cosmetic Chests have a low chance of dropping full cosmetic pieces. More often they yield Cosmetic Tickets. Collecting 80 Cosmetic Tickets allows you to buy high-end accessories like Fading Boom or Jade of Remembrance from the Season Shop.
Zheng E’s notes and Apricot Village follow-up
After the boss fight, the story does not end immediately. There is a quiet epilogue that takes you to a small village and awards an achievement if you see it through.
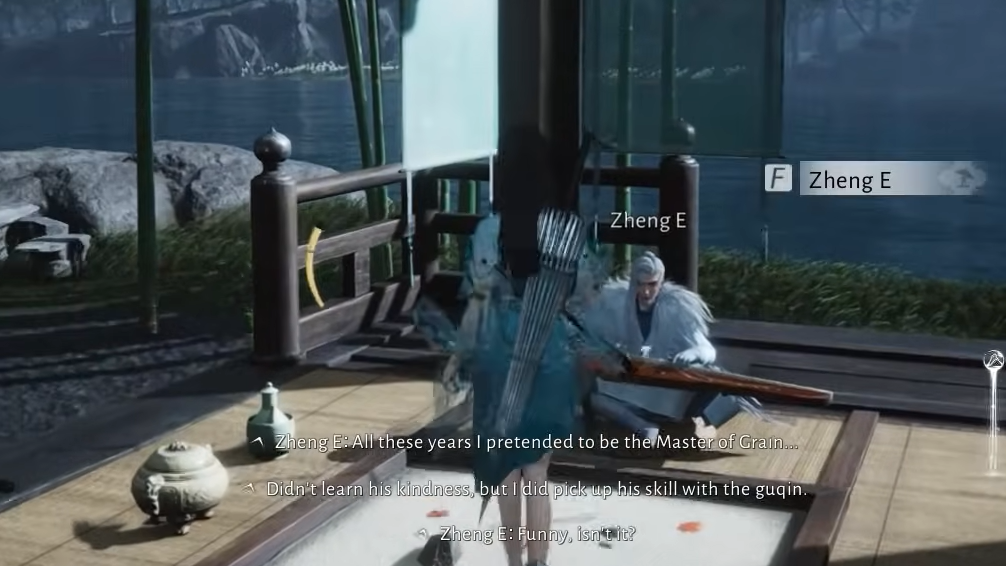
Speak with Zheng E at Autumn Dusk Dwelling once time has passed. He will hand you his personal notes and ask that you place them in a specific house in Apricot Village.
Speak with Zheng E to get his personal notes | Image credit: NetEase (via YouTube/@Northalix)
Travel to Apricot Village, located at the northernmost edge of the Granary of Plenty. First, interact with the local Boundary Stone to lock in the fast travel point if you have not already.
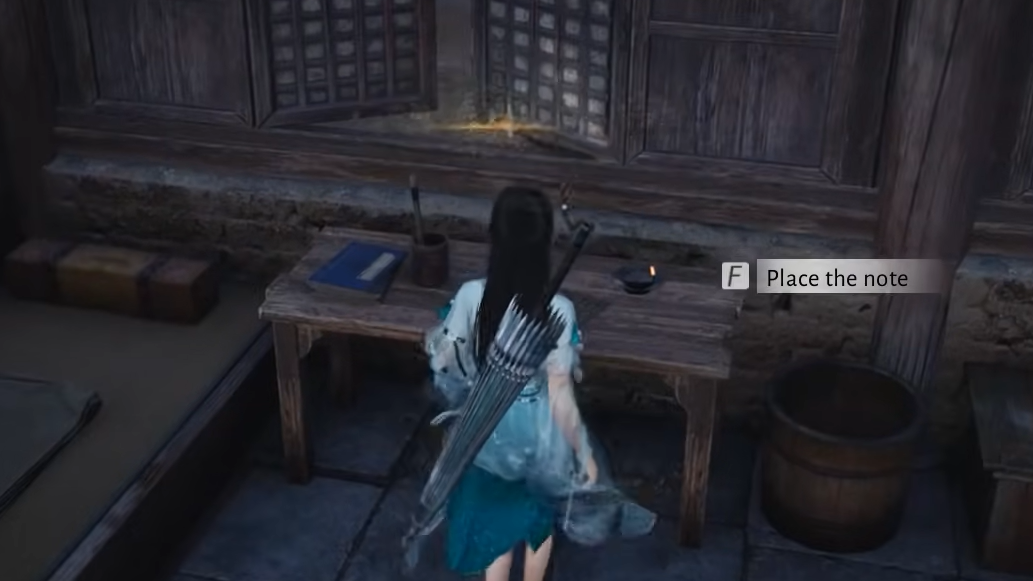
From the Boundary Stone, walk south and stop at the larger house just before the bridge leading out of the village. Enter the bigger building that sits under a white apricot tree.
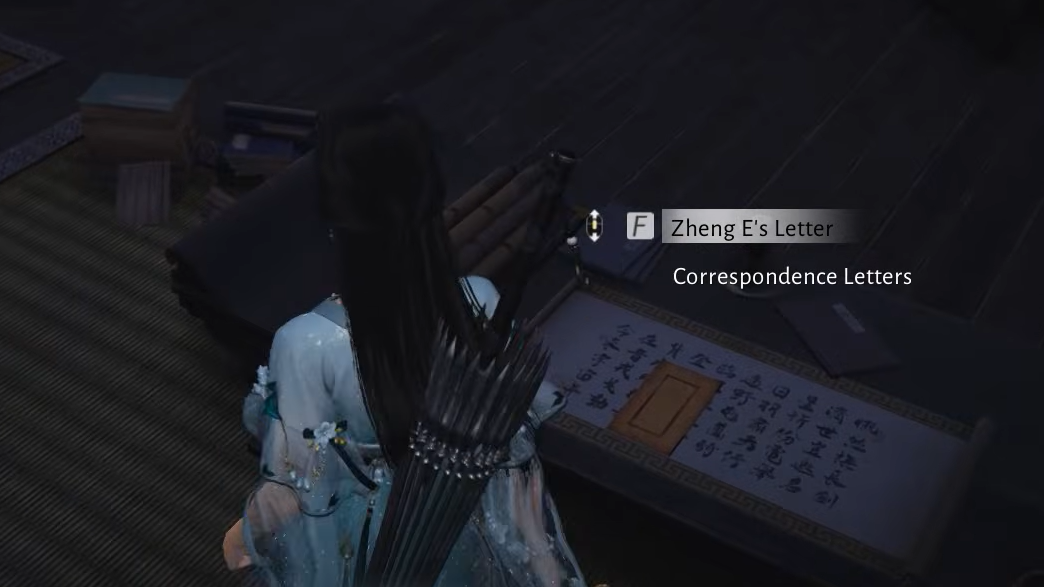
Return to Autumn Dusk Dwelling one last time. Zheng E will no longer be present. Enter the house and read Zheng E’s Letter on the table. This final interaction grants the achievement A Promise Fulfilled.
Read Zheng E’s letter | Image credit: NetEase (via YouTube/@Northalix)
Clearing both the dramatic underground vault and this quieter epilogue ties off the Ever-Normal Granary storyline and unlocks its repeatable Campaign, making it one of the more substantial side arcs in Where Winds Meet.