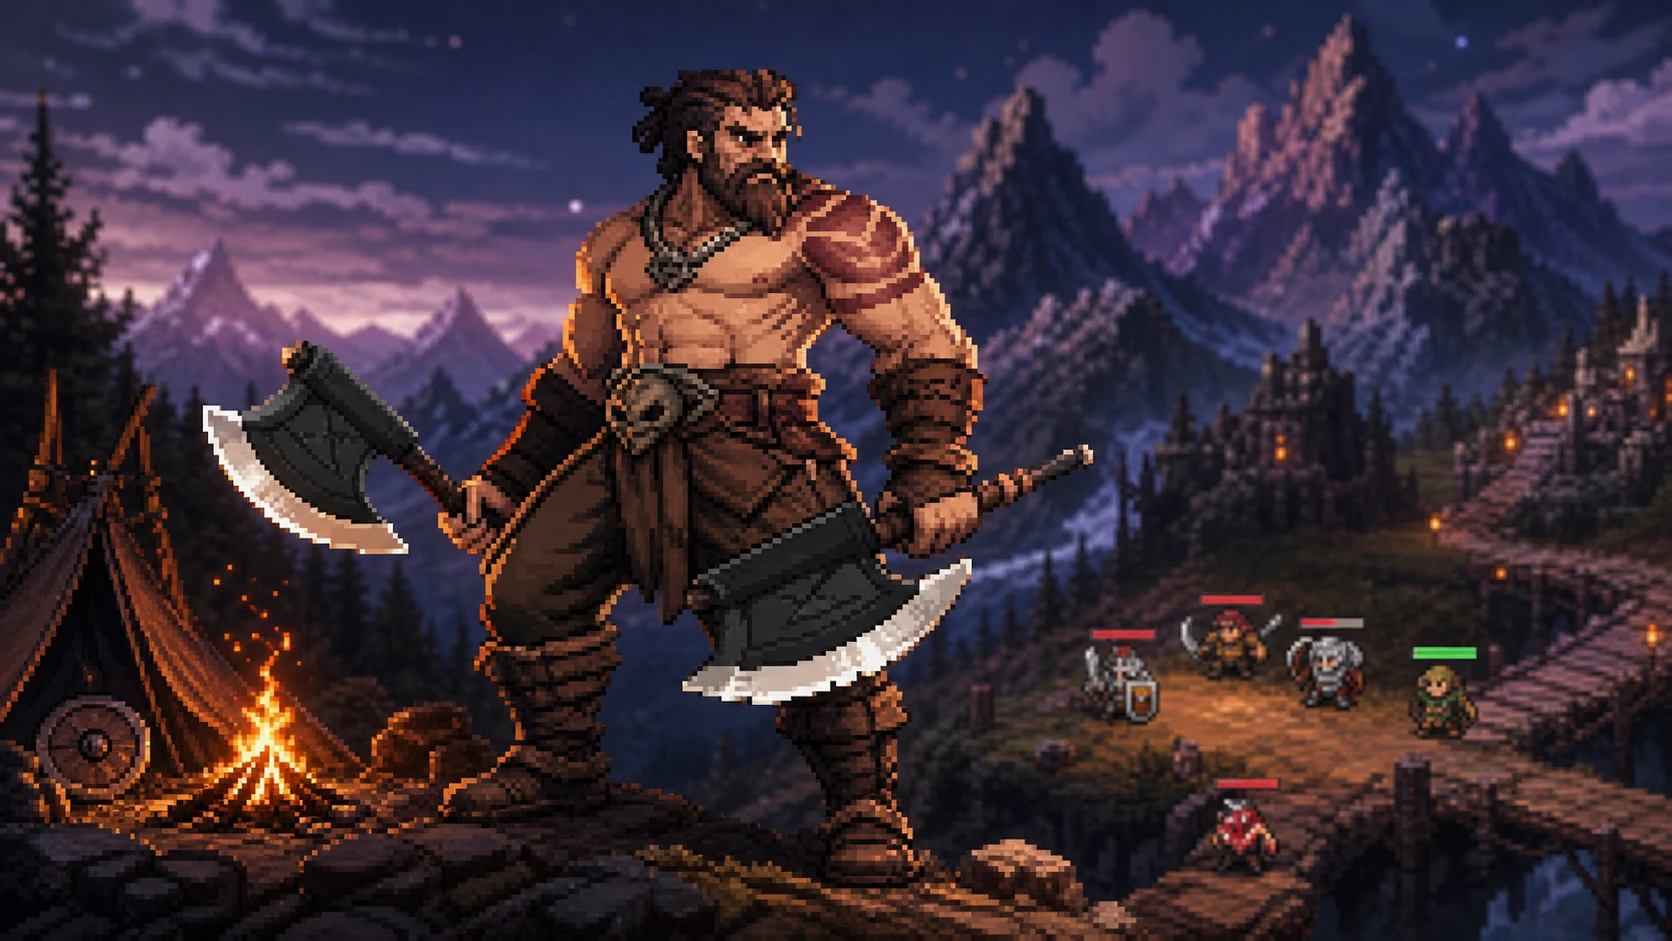
The Slayer is the melee bruiser of TBH: Task Bar Hero, a paid DLC class built around heavy axe pressure and a damage curve that climbs as it racks up kills. He hits single targets and whole packs depending on which skill fires, and his payoff comes from getting that kill snowball rolling fast. The trade-off is that he starts soft and needs survival support to stay in the fight long enough to matter.
Quick answer: Stack Attack Damage first, then Crit Chance, take a few survival stats so the farming route stays stable, and field him behind a Knight tank with a Priest healing and buffing. Build entirely into his offensive role rather than spreading stats thin.

Slayer base stats and equipment identity
The Slayer opens with low numbers and a clear melee identity. His base attack damage is just 2, which is why his early build is about laying the groundwork for the kill-based ramp rather than expecting big hits from the start.
| Property | Value |
|---|---|
| Base HP | 115 |
| Base attack damage | 2 |
| Main weapon | Axe |
| Sub weapon | Hatchet |
| Team role | Heavy melee pressure |
| Tier | A |
| Unlock | Paid DLC |
Slayer stat priority
Treat the Slayer as a pure damage dealer and build into that role completely. Attack Damage comes first, then Crit Chance to speed up the kill momentum, with Attack Speed filling in once your base damage is high enough to make percentage bonuses worthwhile. Take flat Attack Damage at low levels, since attack-speed percentages do little until your raw numbers climb.
| Priority | Stat | Why it matters |
|---|---|---|
| 1 | Attack Damage | Raises raw hit value and feeds the kill-based snowball. |
| 2 | Crit Chance | Gets the ramp going faster; it has no hard cap and can exceed 100%. |
| 3 | Attack Speed | Scales once base damage is high; also uncapped in this engine. |
| 4 | Survival (Armor / HP) | Enough to keep the farming route stable and avoid losing stages. |
Because Crit Chance and Attack Speed have no hard ceiling, a damage-focused Slayer scales almost endlessly into both. That is what makes the kill snowball feel rewarding in a strong run.
Balance offense with survival
A damage upgrade is only useful if the Slayer survives long enough to use it. If your numbers go up but stage success goes down, defensive gear is the real bottleneck, not more attack. Add Armor and HP until the farming route is stable, then return to pushing offense.
Tip: When you test heavy melee changes, keep your team composition stable so you can tell whether a gain came from the Slayer or from a teammate. Changing two things at once makes the result noisy and hard to read.
Axe gear and skills to cross-check
The axe is the Slayer’s main weapon, so filter axe records first and compare any drop by grade, level, and class fit before committing resources. A good-looking axe is not automatically an upgrade. Do not cube melee gear until you know whether it supports the Slayer, the Knight, or a future build path, since both classes use similar equipment.
- Common axes you will see early: Wooden Axe, Iron Axe, Battle Axe, Steel Axe, War Axe, and Knight’s Axe.
- Compare axe results against armor and accessory pressure before locking in.
- Match gear stats to his role, so Attack Damage, Crit, and Attack Speed over defensive rolls once survival is fine.
On skills, check whether his pressure comes from direct hits, passives, or modifier support before investing. His kit includes Slam Jump, Crushing Blow, Commander’s Cry, Ground Slam, and Axe Spin alongside his base attack, mixing single-target and group damage. Choose runes that support the offensive plan only after survival is acceptable.

Best team for the Slayer
If the Slayer becomes your damage focus, surround him with sustain to cover his weak early survival. A Knight up front absorbs hits while the Slayer builds momentum, and a Priest heals the team and buffs attack, which feeds directly into his ramp. That frontline-plus-support frame is what lets an aggressive melee plan hold up in longer runs.
Keep in mind the Slayer overlaps heavily with the Knight, who covers similar ground while also tanking. Run the Slayer when you specifically want a melee-focused, kill-snowball squad rather than the safer all-purpose lineup.
Unlock hero slots before buying the Slayer DLC
The Slayer is a paid DLC class, so the order you buy in matters. Purchasing him before you have enough hero slots limits how much you can experiment with team compositions, which is exactly what makes a melee bruiser worth running. Unlock more slots first through the Runes Tree, then add the Slayer once you have room to pair him with a tank and a healer.
You will know the build is working when his hits scale up noticeably after kills, stages keep clearing without you dropping runs, and your Priest’s buff plus the Knight’s frontline keep him alive long enough to snowball. If damage rises but stages start failing, pull back into survival gear before adding more attack.