Diamonds still gate almost everything worth building toward in survival Minecraft, from the first enchanting table to a full set of armor before you ever step into the Nether. Where you stand when you start swinging the pickaxe matters more than how long you mine, because diamond ore is not spread evenly through the world. The deeper you go toward bedrock, the more of it generates around you.
Quick answer: Mine at Y = -59 for the single highest diamond density, or sit at Y = -53 if you want to avoid the lava lakes that pool around Y = -54. Both are correct for current Java and Bedrock worlds.
Best Y level for diamonds right now
Diamond ore can spawn anywhere from Y = 16 down to Y = -64, but the chance of finding it is not the same across that range. The distribution forms a triangle that peaks at Y = -59 and then drops off sharply as bedrock takes over the floor. At that peak level you encounter several times more diamond ore per chunk than you would near Y = 0.
That peak is why -59 wins for raw yield. The trade-off is lava. Open lava lakes tend to generate around Y = -54, so a lot of players park one block lower at Y = -53 to keep solid stone underfoot and lose only a small amount of ore frequency. Anywhere in the Y = -53 to -59 band is strong; the difference between them is mostly about how much you want to deal with lava and uneven bedrock.
| Goal | Best Y level | Why |
|---|---|---|
| Maximum diamond yield | -59 | Highest ore density, right above bedrock |
| Safest high-yield mining | -53 | Sits above the lava lakes common at -54 |
| Balanced cave routes | -54 to -57 | Good visibility and movement in deepslate caverns |
| Old worlds (1.17 and earlier) | 11 to 15 | Pre Caves & Cliffs generation |
How diamond ore distribution works
Before the 1.18 Caves & Cliffs Part 2 update, diamonds spawned uniformly between Y = 1 and Y = 15, so every layer in that band had the same odds. That flat system was replaced with a triangular distribution that rewards digging deep. The triangle peaks at Y = -59, then falls off toward the bedrock floor at Y = -64.
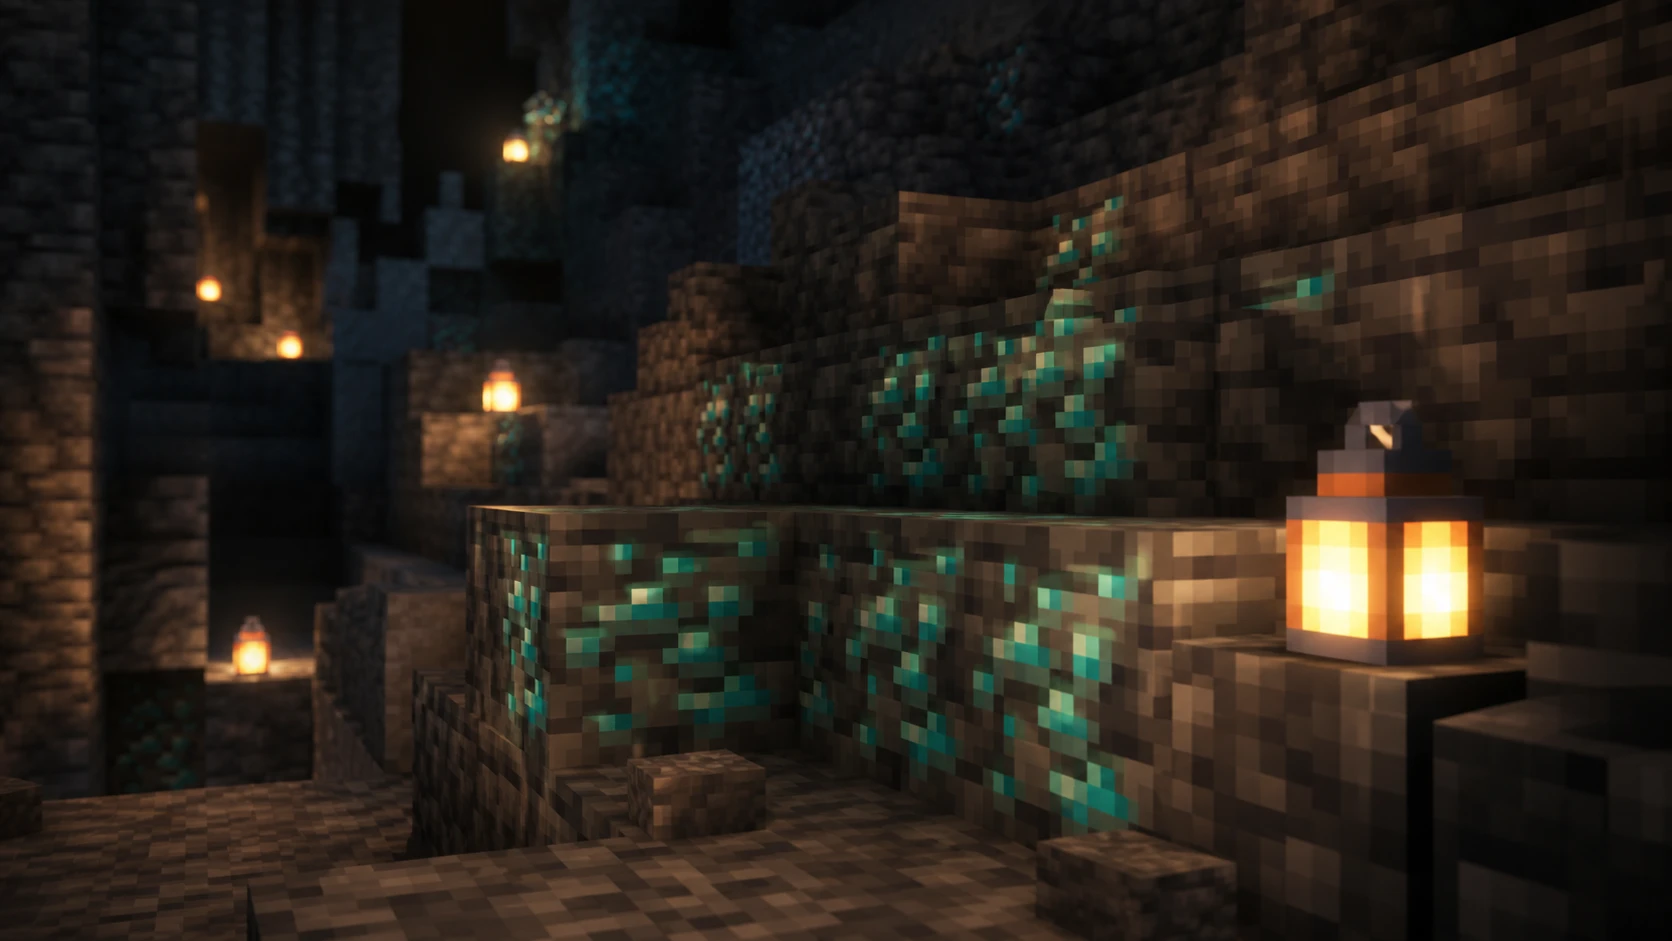
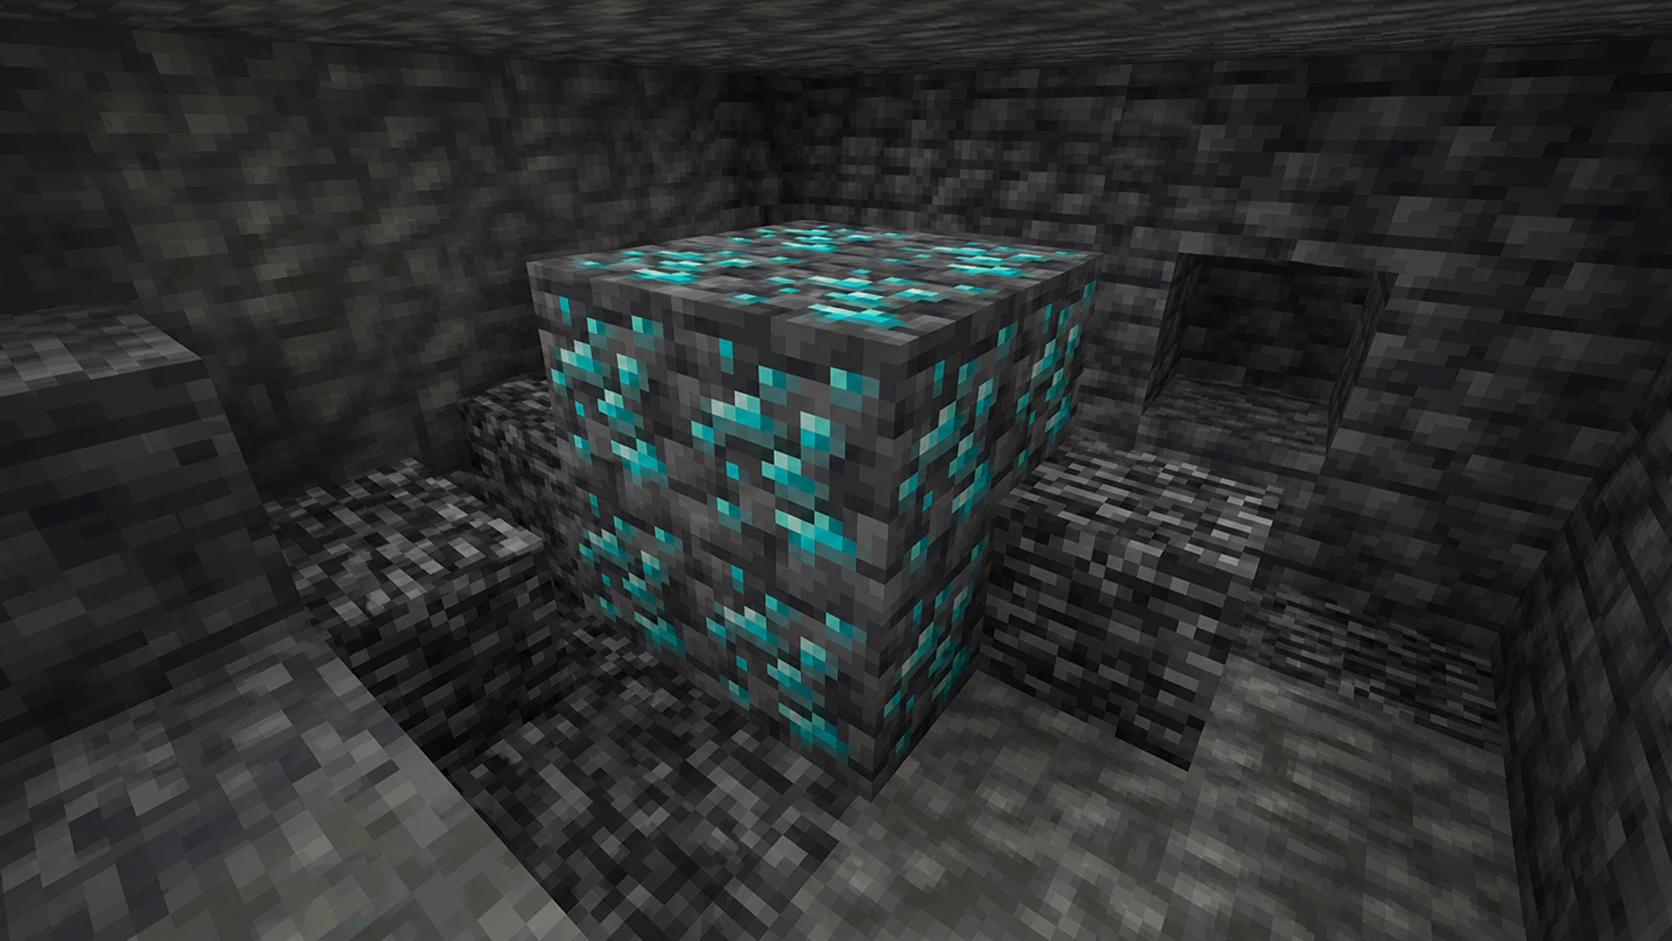
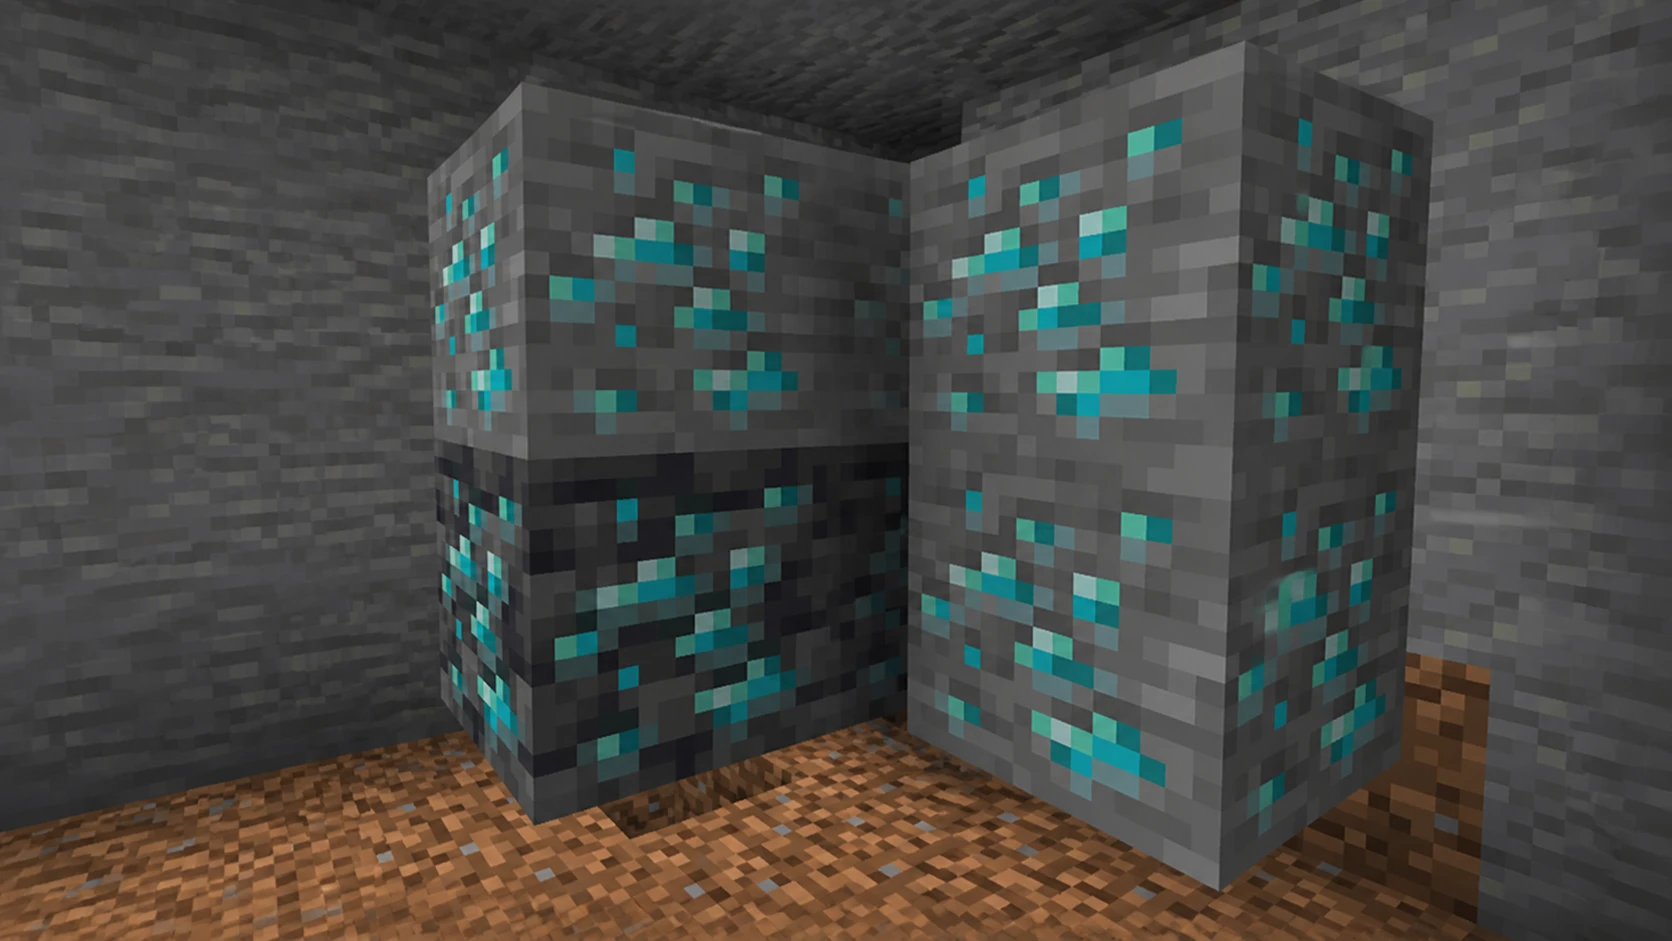
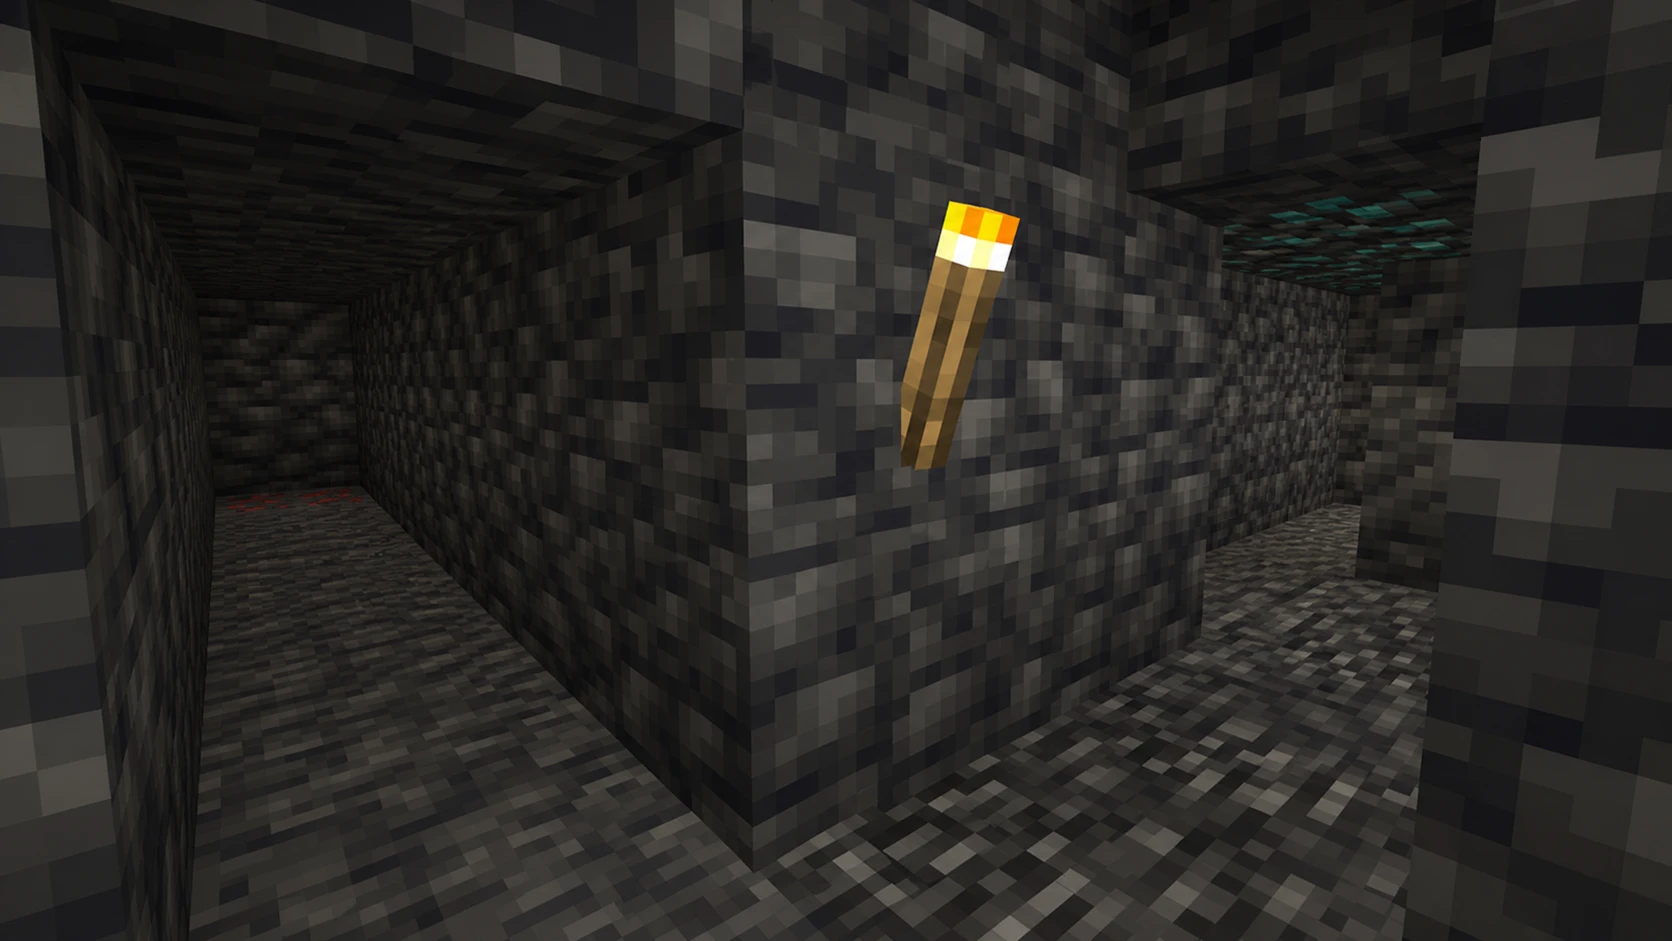
One mechanic shapes everything about how you should mine. Diamond ore generation is reduced near air. Most diamond veins are placed only where no adjacent block is air or liquid, which means the majority of ore is sealed inside solid stone and never touches an open cave wall. This is the reason huge caverns rarely shower you with diamonds even at the right depth, and why so many new players assume generation is broken. The ore is there. It is just buried.
Water is the exception worth knowing. Water blocks do not count as air for this rule, so flooded caves underwater are not penalized. If you can dive with water breathing and night vision, submerged cave systems can expose more ore than dry ones at the same depth.
Java vs Bedrock and console differences
Ore generation is functionally the same across Java Edition, Bedrock Edition, and every console version. The peak level, the Y range, and the air-exposure rule do not change between platforms. What differs is how you turn on coordinates so you can confirm your depth.
- Java Edition: press F3 to open the debug screen and read your Y value.
- Bedrock Edition: enable Show Coordinates in the world settings menu.
- PlayStation, Xbox, and Switch: enable Show Coordinates in the same world settings menu.
Best mining methods for diamonds
The right depth only pays off if your pattern actually exposes the buried veins. Three methods cover almost every situation, from a fresh iron pickaxe to a late-game stockpile of gunpowder.
Strip and branch mining
This is the most reliable way to find diamonds and the easiest to repeat. It cuts through the solid stone where buried veins remain intact, which is exactly where the air-exposure rule hides them.
A typical branch session at this depth yields roughly three to five diamond ore per 100 blocks mined, depending on the seed. Tighter one-block spacing finds the same veins but burns extra durability on redundant tunnels, while three-block spacing risks skipping single-wide veins entirely.
Cave exploration
If you are early game with iron gear, large deepslate caves are a fast way to find your first diamonds. Big cave systems below Y = -30 usually hold at least a vein or two, and the deeper and more enclosed the system, the better. Because of the air-exposure penalty, caves open to the surface tend to hold fewer diamonds than caves sealed by solid stone, so keep mining inward rather than chasing the brightest openings.
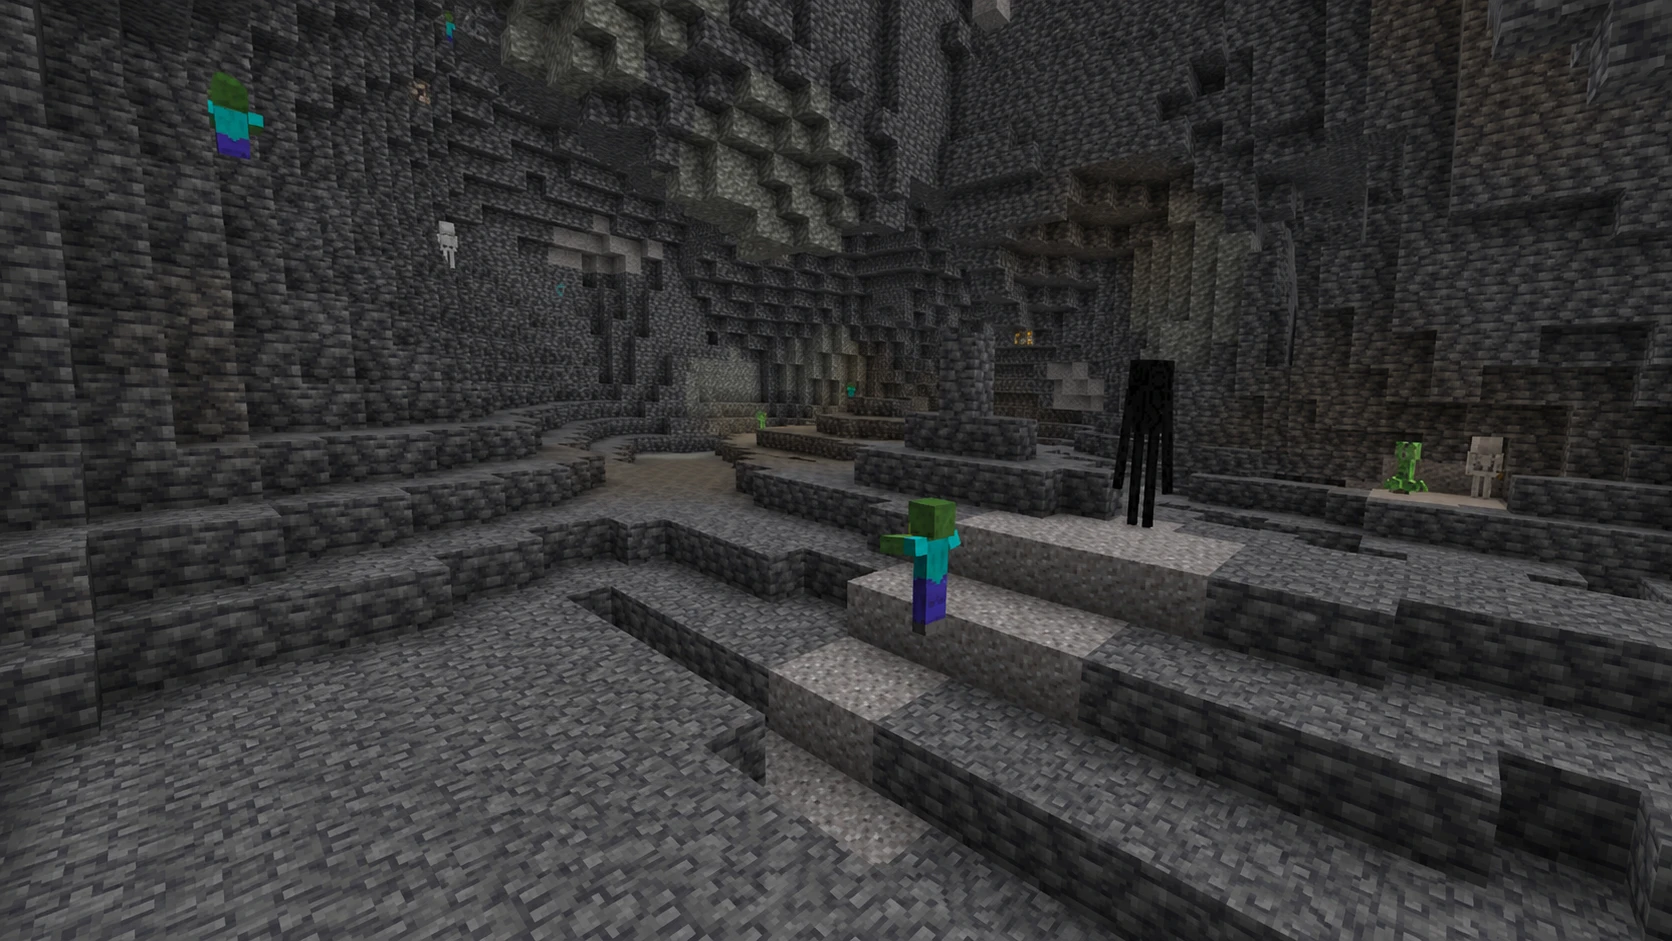
Caves are higher risk. Open dark spaces let zombies, skeletons, and spiders spawn, so carry a shield, armor, and food. The payoff is variance. One ravine can beat a half hour of neat tunnels, and you pick up redstone, lapis, and mob XP along the way.
TNT and bed mining
For late-game players with stacks of gunpowder, TNT is the fastest way to clear deepslate. Each charge destroys a large sphere of blocks and instantly exposes any ore in range, and explosions still drop diamonds from the ore they break. Dig a tunnel to around Y = -59, line it with TNT, prime it from a safe distance, then sweep the blast zone for ore.
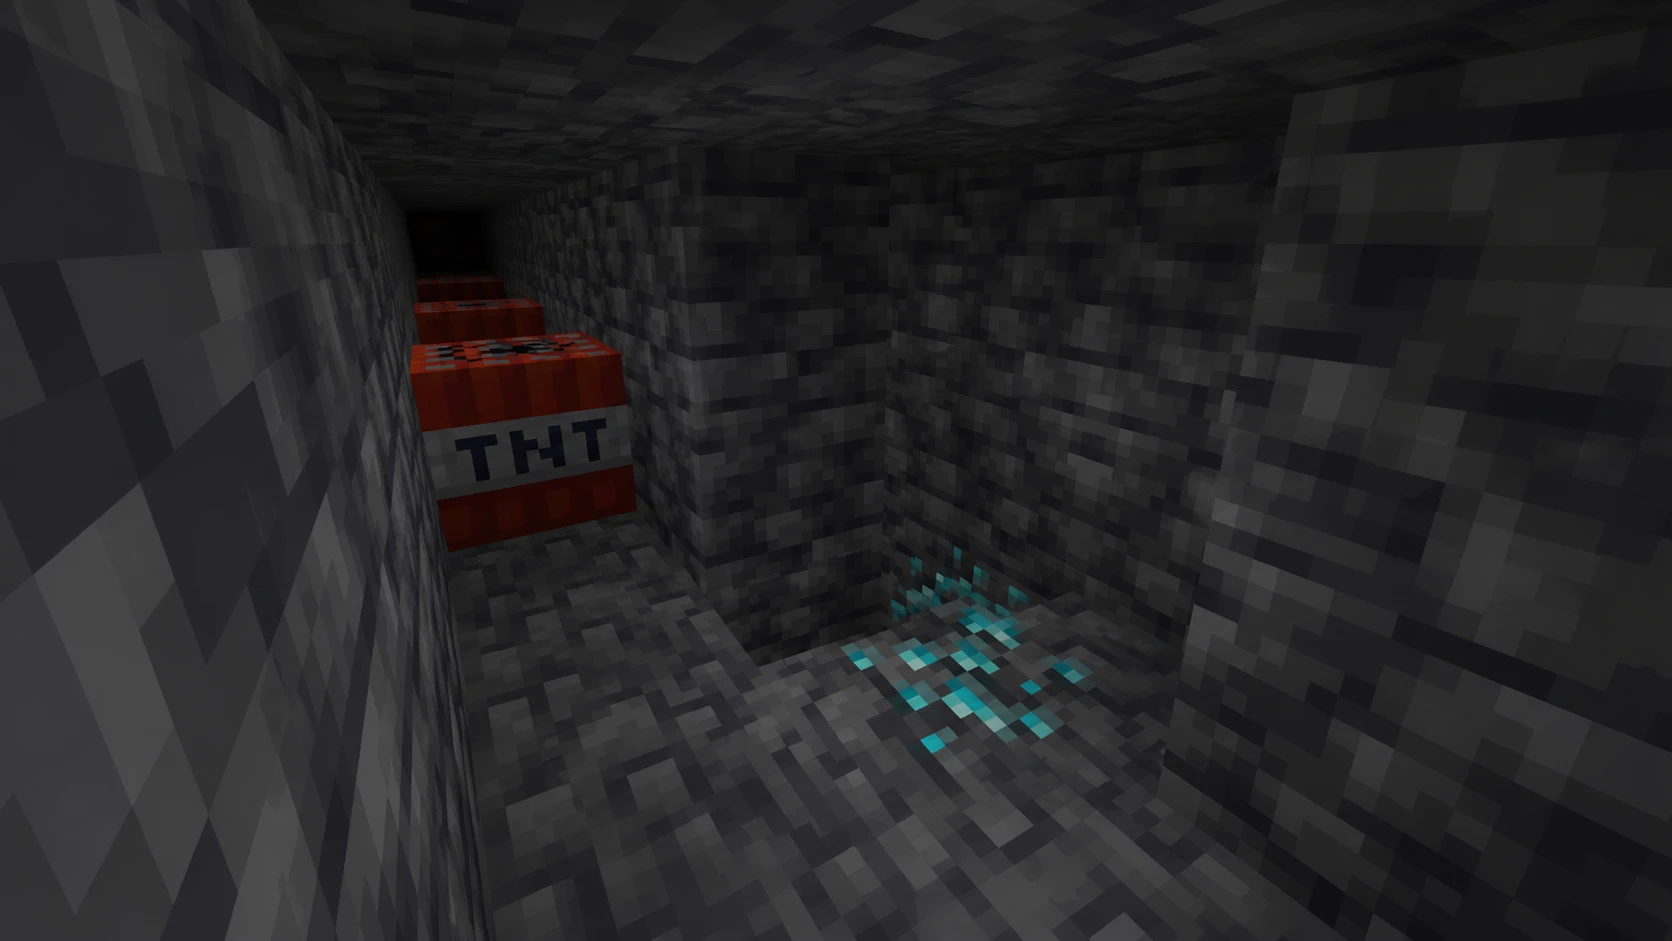
The downsides are cost and risk. TNT is expensive to craft, the terrain it leaves is rough, and detonating near hidden lava can ruin a run. The same blast logic is what players use with beds in the Nether to expose ancient debris around Y = 15.
Fortune III diamond yield
Fortune is the single most impactful enchantment for diamond mining, and it changes how much each vein is worth. You need at least an iron pickaxe to drop diamonds at all; a stone pickaxe breaks the ore and gives you nothing. Once you have Fortune III, every ore block you break returns far more than one diamond on average.
| Enchantment | Min drop | Max drop | Average | Yield increase |
|---|---|---|---|---|
| No Fortune | 1 | 1 | 1.00 | Baseline |
| Fortune I | 1 | 2 | 1.33 | +33% |
| Fortune II | 1 | 3 | 1.75 | +75% |
| Fortune III | 1 | 4 | 2.20 | +120% |
With Fortune III, 10 ore blocks return about 22 diamonds instead of 10. The practical rule that follows is simple. If you find diamonds before you have Fortune III, mine the ore with Silk Touch and store the blocks, then break them later with a Fortune III pickaxe. In every other situation, mine directly with Fortune III. Using Silk Touch when Fortune III is available throws away the entire bonus.
Tools and gear to bring
Preparation matters more at this depth because lava is common and trips back to base waste time. Pack a kit that lets you stay underground through a full session.
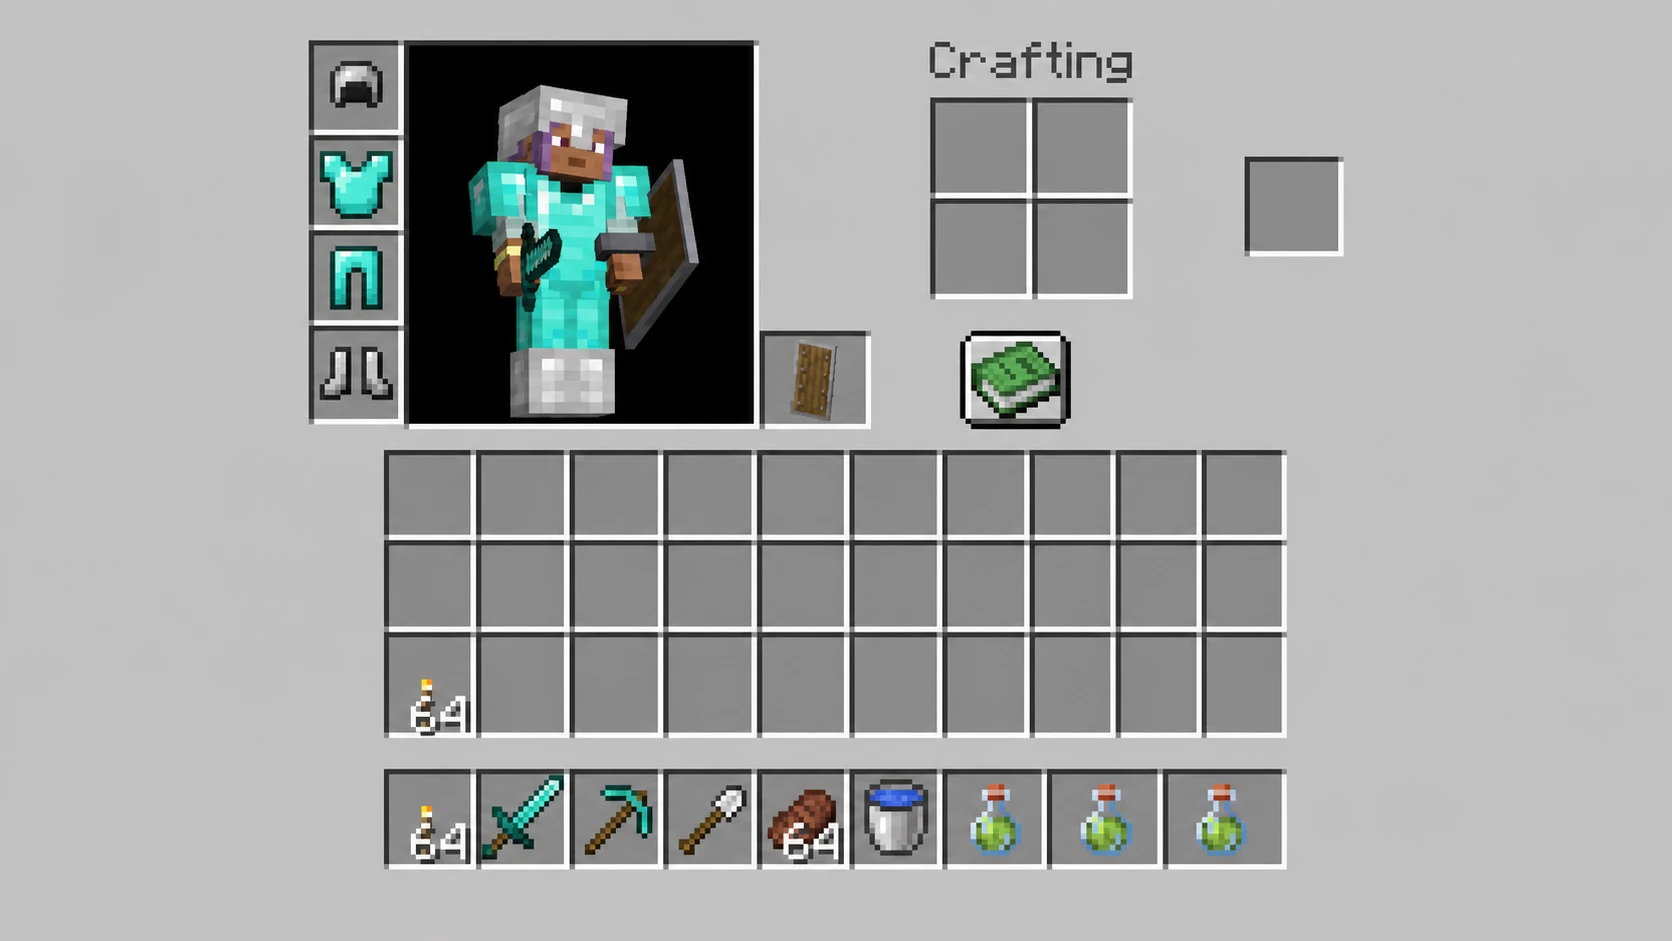
| Item | Purpose |
|---|---|
| Iron pickaxe (minimum) | Required to drop diamonds from ore |
| Fortune III enchantment | Up to 4 diamonds per ore block |
| Efficiency enchantment | Breaks deepslate faster |
| Silk Touch pickaxe | Stockpile ore blocks to break later with Fortune |
| Water bucket | Turns lava to obsidian and stops fire |
| Night vision potion | Spots ore in dark caves |
| Torches | Lights tunnels and blocks mob spawns |
| Shield, armor, and food | Survive mobs and long sessions |
Bring two pickaxes so a broken tool does not end the run, and set up a small chest and furnace outpost at depth so you can drop building blocks and keep only the valuables.
Where not to mine
Two zones quietly waste your time. Above Y = -50, diamond density drops off hard, so tunneling there returns far less ore for the same effort. Below Y = -60, bedrock teeth break up your tunnels and lava becomes more frequent, which slows you down without raising your odds enough to matter. Stay inside the Y = -53 to -59 band and you sidestep both problems.
Biome choice does not change diamond spawn rates at all. What biomes change is cave access. Badlands, savannas, and mountains often open into large cave systems that make it easier to reach the deepslate layers, but the ore frequency at a given Y level is identical everywhere.
The short version: stays the same across versions. Stand at Y = -59 for the most ore, drop to Y = -53 when lava is in your way, mine with Fortune III, and let a clean branch pattern do the work. Discipline at the right depth beats chasing rumors every time.