
Huge plants in Grow A Garden 2 are not pure luck. The dependable way to force them is to crowd every sprinkler you own into one tiny patch, plant a strong crop inside the overlapping spray, and harvest the same spot over and over while the boost is active. Small plants almost always mean spread-out sprinklers, weak seeds, or wasted spray time.
Quick answer: Place all your sprinklers together in one small empty zone so their radii overlap, plant bamboo or pineapple inside that overlap, equip as many deer pets as you can, water immediately, then harvest and regrow on the same spot until you keep the heaviest plant.
Core setup for huge plants
The aim is not to grow your whole garden at once. You are building a single boosted zone and pushing one crop as heavy as it will go. Everything you own should point at that one spot.
| Item | Best choice | Why it matters |
|---|---|---|
| Seed | Bamboo or pineapple | The most practical crops for heavy results |
| Gear | Stacked sprinklers | Concentrates the boost in one area |
| Pet | Deer | Faster growth means more harvest attempts |
| Tool | Watering can | Speeds up each grow cycle |
| Target | One heavy crop | Best for guild score and sale value |
Best seeds for huge plants: Bamboo and pineapple
Do not burn strong sprinklers on weak crops. Carrot and strawberry are fine for brand-new players, but they are not worth your serious gear. Bamboo and pineapple are the two seeds that reliably turn a boosted zone into a heavy plant.
Bamboo is the safe pick. It is cheap, easy to restock, and it produces heavy plants when boosted properly. Use it if you are early or mid-game, short on Sheckles, want lots of repeat attempts, or you are still learning sprinkler placement.
Pineapple is the upgrade once you have money and stronger gear. It has a higher weight ceiling, which matters when you are chasing guild points. Use it if you can afford repeat runs and you own rare, legendary, or super sprinklers.
| Seed | Best for | Verdict |
|---|---|---|
| Bamboo | Beginners and mid-game | Best cheap huge-plant method |
| Pineapple | Richer players and guild push | Better weight potential |
| Carrot or strawberry | Very new players only | Not worth serious sprinklers |
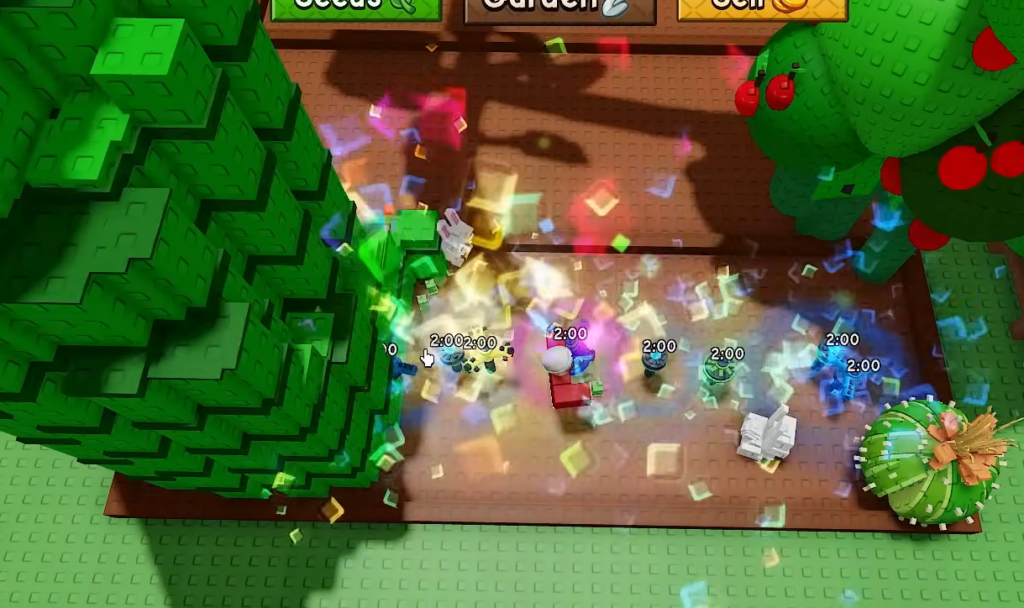
How to stack sprinklers correctly
Sprinklers are the engine of this method. The rookie mistake is scattering them across the whole garden, which leaves you with ten lightly boosted crops instead of one massive one. Overlapping radii on a single spot is the entire point.
Your first harvest does not need to be huge. The weight builds from repeated boosted attempts in the same overlap, so the loop matters more than any single grow.

Sprinkler priority by quality
| Sprinkler setup | Power | Use case |
|---|---|---|
| Common only | Low | Beginner testing |
| Common + uncommon | Basic | Cheap bamboo runs |
| Common + uncommon + rare | Good | Solid early farming |
| Rare + legendary | Strong | Serious huge plants |
| Full stack + super | Best | Guild score pushing |
Note: Save legendary and super sprinklers for your most important runs. Do not waste them on random crops you plan to sell off quickly.
Deer pets speed up each cycle
Deer pets matter because they raise growth speed, which lets you squeeze more harvests out of a single sprinkler window. More attempts means more chances at a heavy crop before the spray runs out. Equip your deer before you place the sprinklers so the boost is active from the first grow.
| Deer count | Approx. growth boost | Result |
|---|---|---|
| 1 | 10% | Slightly faster |
| 2 | 20% | Noticeable |
| 3 | 30% | Good for sprinkler runs |
| 5 | 50% | Strong huge-plant setup |
If you do not have deer yet, run the method anyway. You will still get heavier plants from the stacked sprinklers, just at a slower pace.
Best setup by player level
Even an incomplete setup pushes bamboo far heavier than normal. A small sprinkler stack can land around 15 kg on a basic attempt, and the ceiling climbs sharply once you add better sprinklers and more deer.
| Player level | Seed | Sprinklers | Pets |
|---|---|---|---|
| Beginner | Bamboo | Common / uncommon | Any deer |
| Early mid-game | Bamboo | Common + uncommon + rare | 1–3 deer |
| Mid-game | Bamboo + pineapple | Rare + legendary | 3+ deer |
| Advanced | Pineapple | Full stack | Multiple deer |
| Guild pusher | Best available | Full stack + super | Full deer setup |
Why your plants stay small
Most failed attempts come from setup errors, not bad luck. If plants stay tiny, check the sprinkler range first. If they grow quickly but come out light, upgrade your seed or sprinkler quality.
| Mistake | Fix |
|---|---|
| Sprinklers spread across the garden | Stack them in one spot |
| Crop planted outside sprinkler range | Plant inside the overlap |
| Weak seeds used | Switch to bamboo or pineapple |
| No deer equipped | Add deer for faster cycles |
| Waiting around after placing sprinklers | Prepare everything first, then place |
| Harvesting once and stopping | Regrow and repeat the same spot |
| Not watering | Water every cycle |
Guild points strategy
For guild score, your single biggest harvest counts for more than raw volume, so stop boosting everything at once. Lean on pineapple or the best seed you have, stack all sprinklers, keep deer equipped, and water nonstop to fit in more boosted harvests. Keep only the heaviest crop, then repeat on each restock for more chances. This is exactly when high-tier sprinklers earn their keep.

Checklist before you start a run
Sprinkler time is too valuable to waste, so confirm you have everything ready before you drop your best gear. If you are missing seeds, pets, or a clear spot, fix that first.
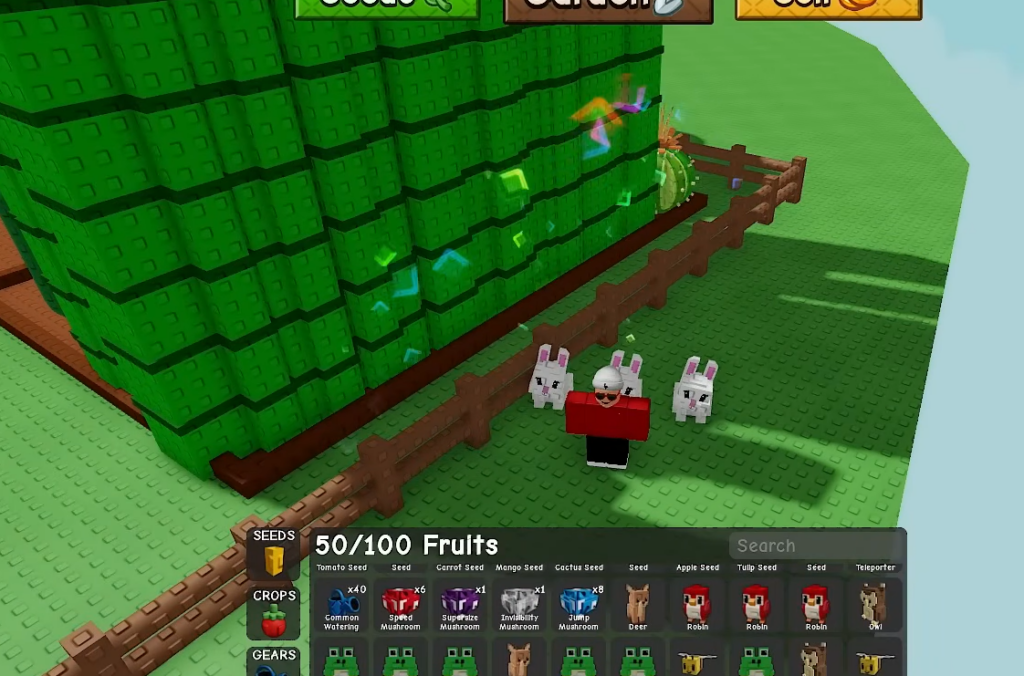
- Bamboo or pineapple seeds in hand
- As many sprinklers as possible ready to place
- Deer pets equipped
- Watering can ready
- An empty boost zone with the crop sitting inside the radius
- Enough time to run several repeat harvests
Once the loop is running, you will see plants come out heavier than your usual harvests, with the weight climbing each time you regrow on the boosted spot. Keep the biggest one, sell or recycle the rest, and reset the zone for your next push. The method rewards patience and focus far more than scattering gear across a full garden.