Chapter 5 of Deltarune, titled Festival Day, adds eight standard enemies you can befriend and send back to Castle Town instead of defeating them. Each one lives in the Flower Kingdom, the Dark World tied to Asgore’s Flower King shop, and every type carries its own spare requirement before it counts as recruited.
Quick answer: Spare every enemy type instead of killing it. The recruitable types are Floradinn, Terakota, Shinobeetle, Sheary, Kawkaw, Shi, Leafling, and Netskie. Confirm you got them all using the RSVP menu at Green’s Shop at the Top of Castle before the chapter ends.
Chapter 5 recruits and required spare counts
Every recruit type has a tally. You must spare that many of the same enemy before they move into Castle Town. Two of them function like the chapter’s solo recruits and only need a single spare, while the rest ask for two or more.
| Recruit | Spares needed |
|---|---|
| Netskie | 1 |
| Terakota | 1 |
| Floradinn | 2 |
| Sheary | 2 |
| Kawkaw | 2 |
| Leafling | 2 |
| Shinobeetle | 3 |
| Shi | 4 |
Note: The exact remaining count for each type is always shown in-game when you spare an enemy, so treat the live counter as the final word if a number ever looks off on your save.
How to recruit each enemy
Recruiting works only on standard enemies, not bosses. To add a type to your roster, end its encounters peacefully until you reach the required number of spares.
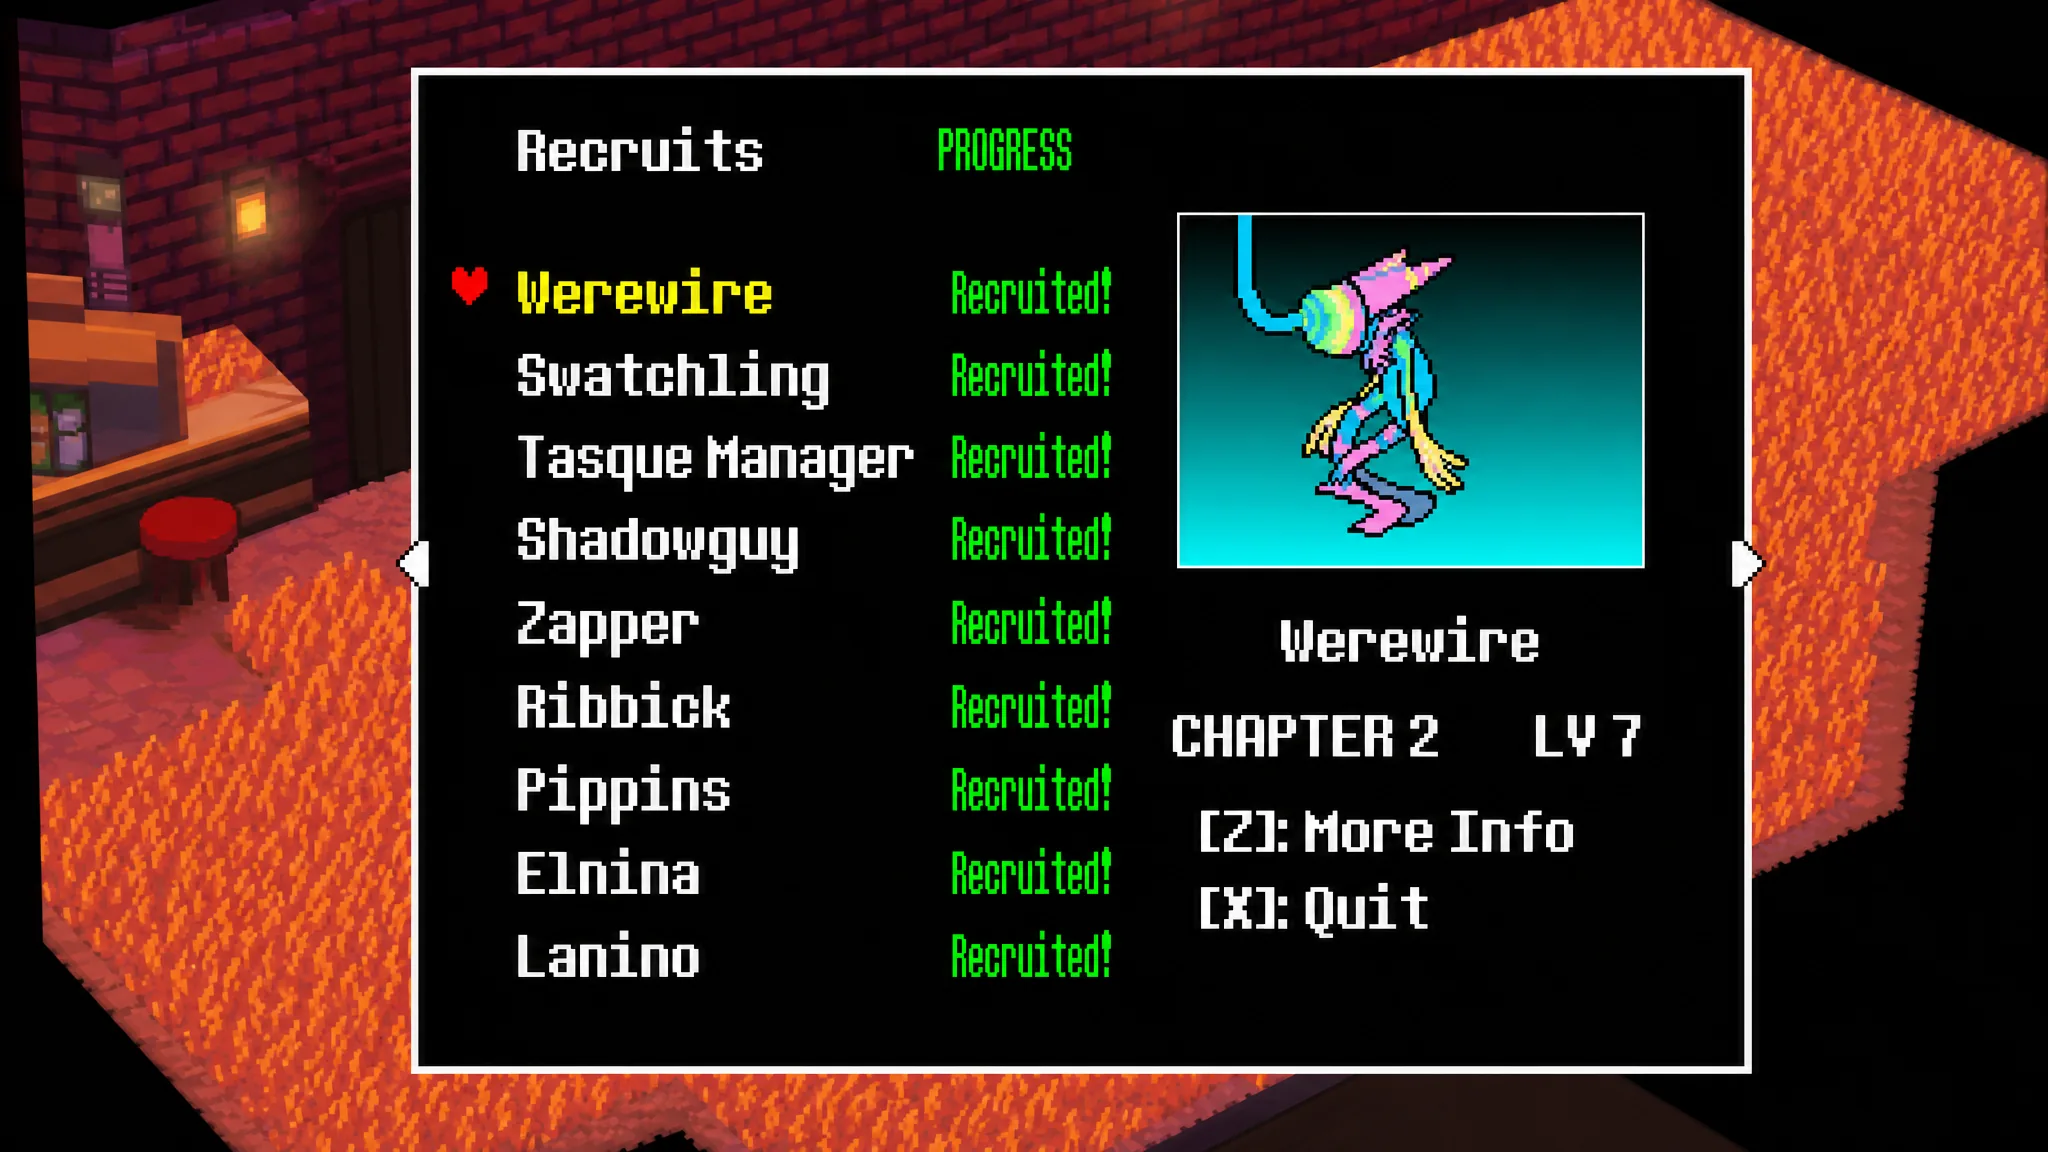
Recruited enemies appear around Castle Town and carry into later chapters through the Completion FILE. You can review everyone you have collected at any SAVE point, where the Recruits menu lists each enemy’s level, Attack, Defense, Element, Likes, Dislikes, and the new Wish category added in this chapter.
Confirm your recruits at the RSVP menu
Before the chapter locks you out of earlier areas, you can verify that nobody was missed. The RSVP menu inside Green’s Shop, located at the Top of Castle, tells you whether every Flower Kingdom enemy has been recruited.
If the menu shows a complete roster, you are done. If it flags a gap, return to an encounter for the missing type and spare more of that enemy until its tally fills. Checking here is the reliable way to know your save is clean, since it pulls directly from your recruitment data rather than memory.
Avoid the LOST status
Defeating an enemy with FIGHT marks it as LOST. A LOST enemy can never be recruited, and worse, it strips out any recruits you already earned of that same type. If that happens on a save you care about, the only fix is to reload an earlier file from before the kill.
There is one safe exception. Battles fought in the Party Dojo do not affect recruitment, so you can defeat enemies there violently without turning them LOST. Outside the Dojo, keep every fight peaceful if you want a full roster.
Keep that single rule in mind and the rest takes care of itself. Spare every type to its required count, drop by Green’s Shop to double-check the RSVP list, and all eight Flower Kingdom recruits will be waiting for you in Castle Town.