Trading in SAND: Raiders of Sophie runs entirely through a shop built into your storage menu, not a wandering merchant you have to track down. You haul loot out of the dunes, drag the junk you do not want into a trade window, and turn it into currency you can spend on supplies for the next run. The catch is that none of it happens until you survive the trip home.
Quick answer: After a successful extraction, open the storage tab in your hub, find the shop section on the right side, move items into the central trade window, check the payout total, then press and hold the spacebar until the transaction confirms.
Extract first or the shop stays locked
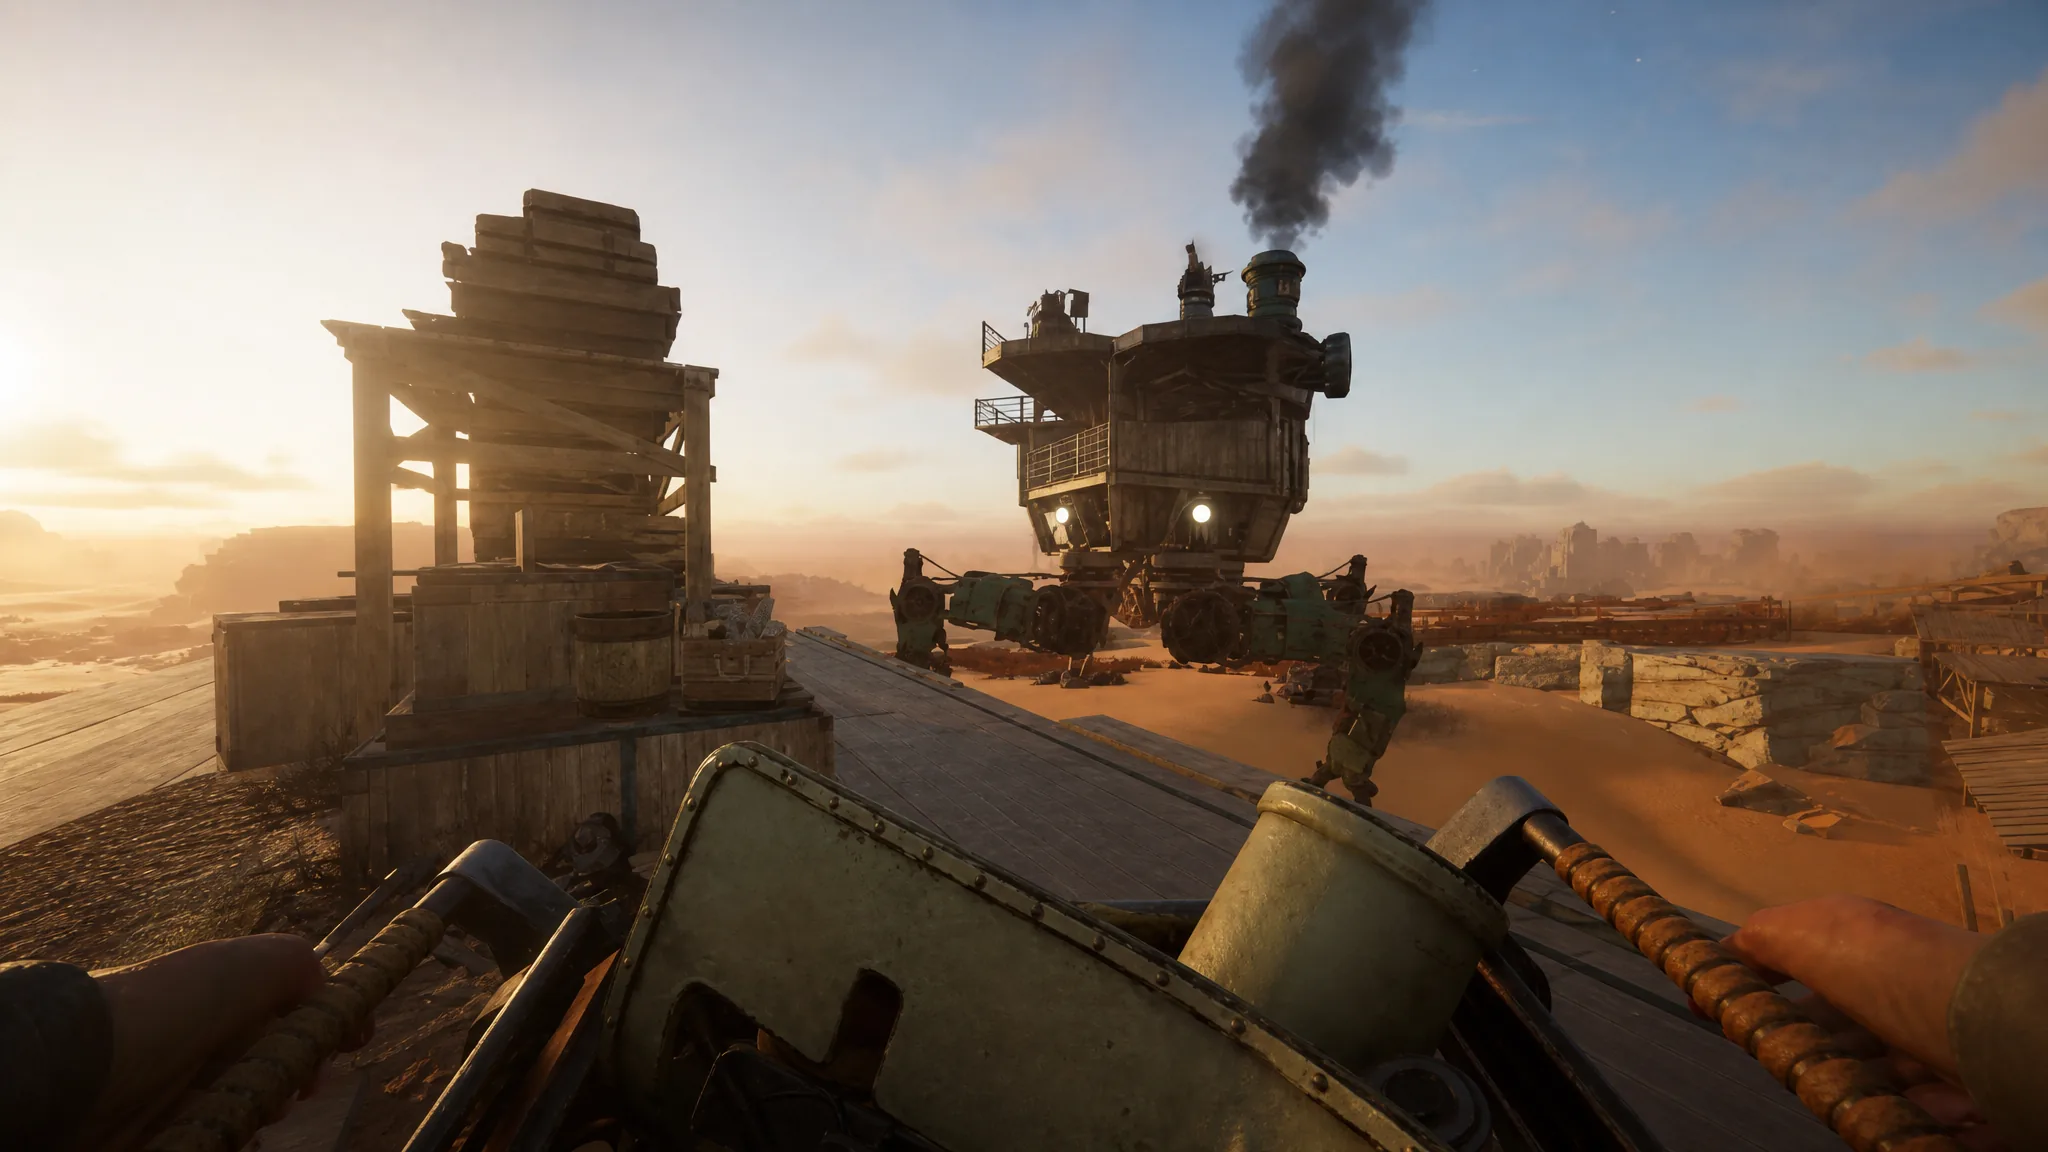
The shop only opens once you are back in a hub after a clean extraction. Anything you collected during an expedition is yours to sell only if you make it out alive. Die in the dunes before you reach an evacuation point, and the loot you planned to liquidate is gone, which also means you have nothing to trade until your next successful run. This is the whole risk-reward loop in a sentence.
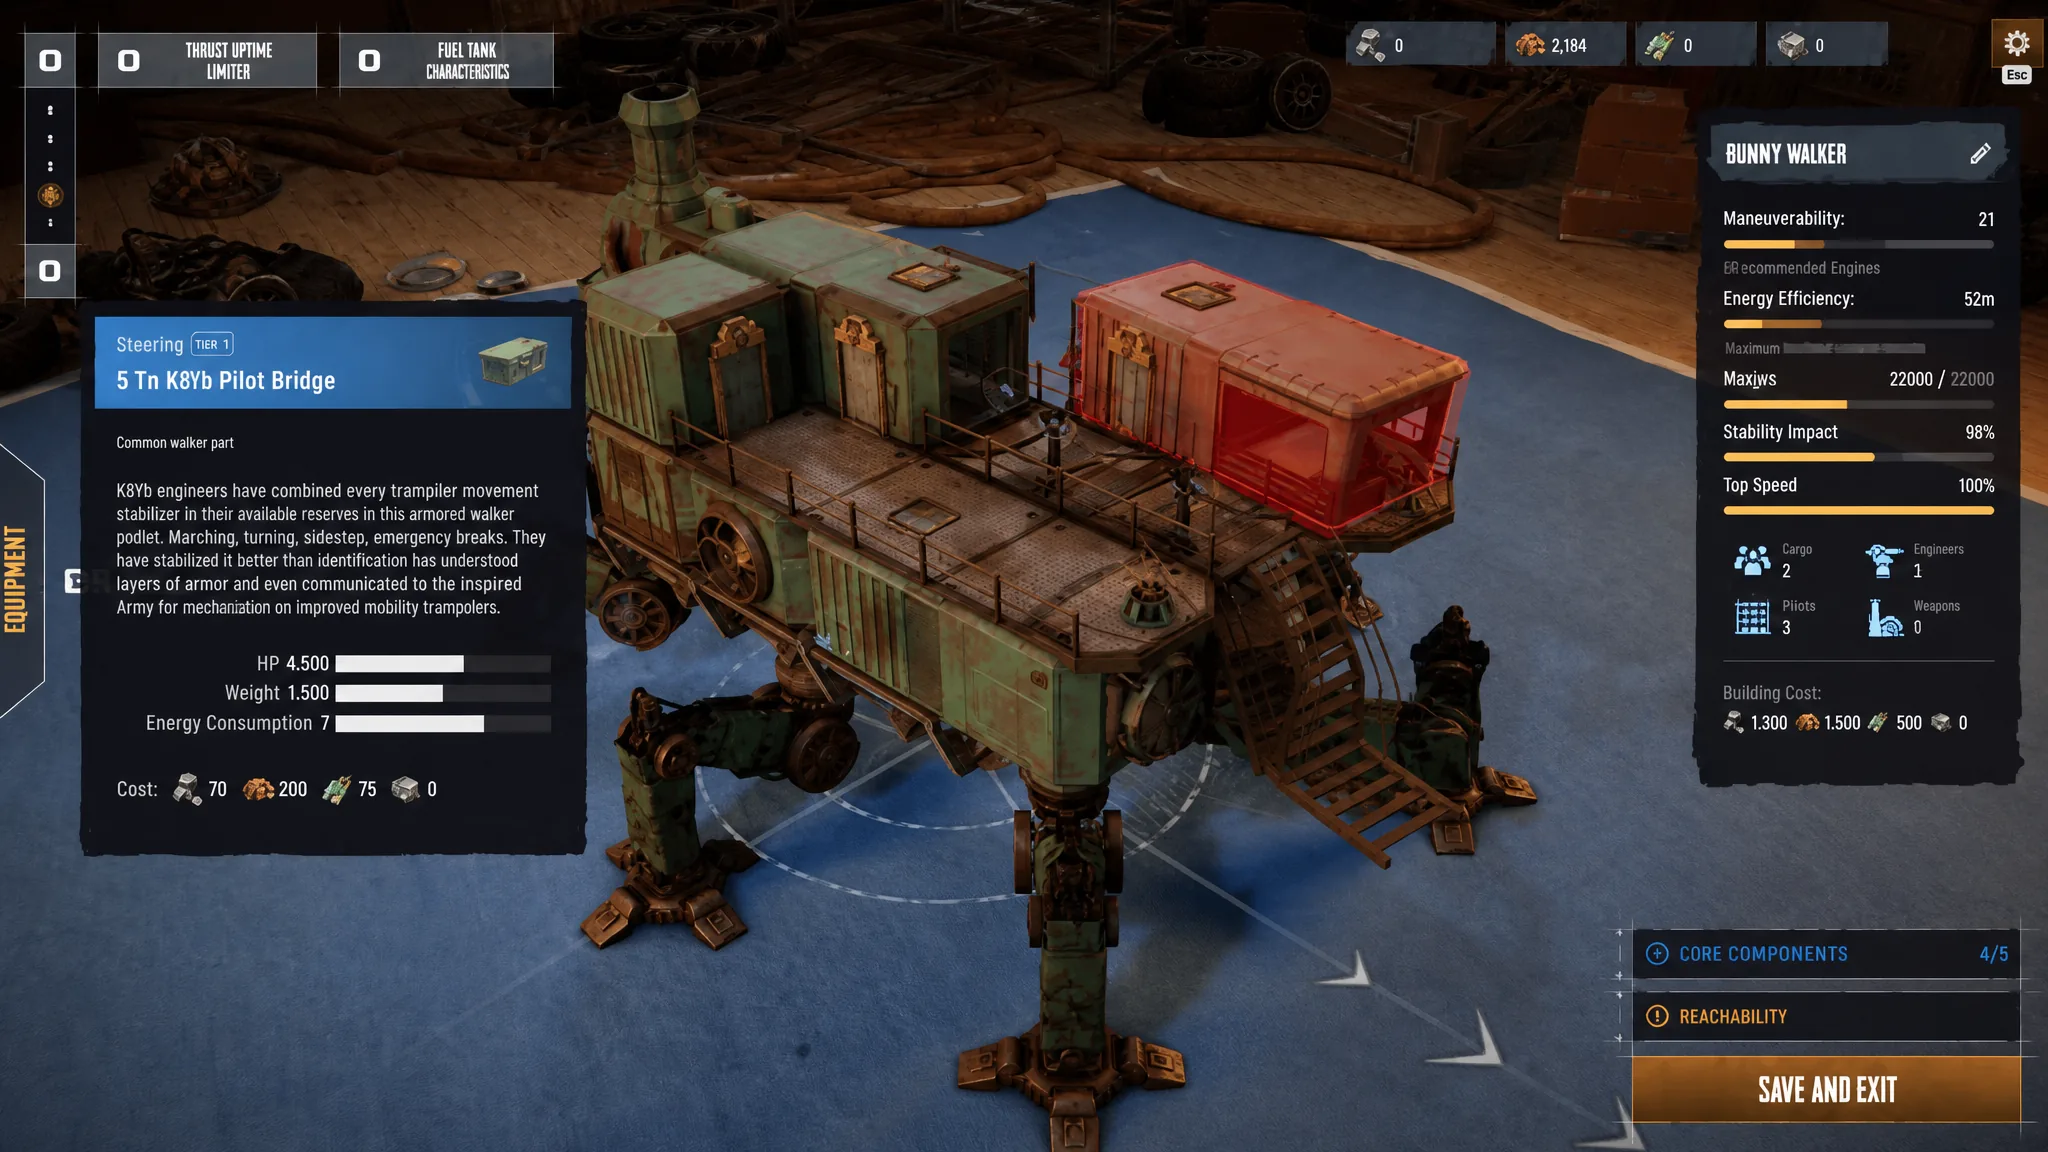
From the hub, open your storage tab and look toward the right side of the screen for the shop. The exact label can read as “Shop” or “Trader” depending on the build, but the location does not move. You access buying and selling directly inside the storage menu, so there is no separate NPC to talk to. Keeping the transaction inside storage cuts the time you spend fiddling around the base between expeditions.
How to sell items in the shop
Note: You can sell almost anything you brought back from an expedition, which makes it easy to dump something you actually need by mistake. Double-check what is in the sell window against your upgrade plans before confirming.
How to buy supplies in the shop
What to sell and what to keep
The fastest way to bankrupt yourself is selling supplies you mistook for junk. New players regularly offload medical items and ammunition, then re-enter the dunes under-equipped. Lead with the common, heavy, low-utility items and hold onto the things that keep you alive.
| Item type | Decision | Why |
|---|---|---|
| High-tier ammo and meds | Keep in personal storage | Re-supplying for the next run costs more than they sell for |
| Rare keys | Keep | Needed to open high-value containers later |
| Common, bulky, low-value loot | Sell first | Frees space and cash without losing useful gear |
| Stacks of ammo or consumables | Right-click to sell part of the stack | Raises capital while keeping a working reserve |
There is also a weight problem to watch on the way out. Filling your Trampler’s backpack with cheap junk instead of compact, high-value loot means you carry home a worse return. Prioritize items with a strong value-to-weight ratio so the haul you sell is worth the cargo space it occupied.
Why the shop stock grows with your Trampler
If the shop looks thin early on, that is by design. The inventory starts small and expands as you progress and unlock upgrades, adding more items and equipment over time. That expansion is tied directly to your Trampler, which doubles as your mobile base and main loot storage.
Your Trampler’s cargo capacity sets the ceiling on how much you can haul out of the dunes in the first place, and bigger hauls fund the higher-tier stock you unlock. Upgrading its storage is the practical bottleneck. Larger cargo means bulkier extractions, more currency on sale, and access to better gear in the shop.
Confirming it worked and common mistakes
A sale is done when the payout currency appears in your account, and a purchase is done when the items land in your personal storage. If nothing happens after you select items, you likely released the spacebar before the hold completed. The full hold is the confirmation step, so keep it pressed until the trade registers.
Two things are worth knowing before you expect a transaction to go through. You cannot trade directly with other players. The in-game shop is a terminal for converting loot into currency and buying supplies, and any external real-money markets are unofficial and not part of the game. And again, you can only sell what you successfully bring back, so a clean extraction is the real first step of every trading run.