The Relic Construct is a stone golem companion in Fisch that you tame by feeding it relics, and the relic you pick controls both your odds of taming it and the buff it hands you afterward. It only shows up at one location, and the encounter is chance-based, so knowing which relic to bring changes how many attempts you need.
Quick answer: Go down to Keeper’s Altar through the mine near the Statue of Sovereignty, wait for the Relic Construct to appear along the outer edges during a Power Burst or Sovereign Weather, then feed it a relic. A Sovereign Relic tames it on the first try at 100%.
Where the Relic Construct spawns
The Relic Construct only appears inside Keeper’s Altar, walking along the outer edges of the area. Its base spawn chance is low, but it turns up far more often during Sovereign Weathers and Power Bursts. Timing your visit around one of those events is the reliable way to catch it walking the perimeter.
Taming chances by relic
Every relic has its own taming chance. Cheaper, lower-tier relics are fine if you just want to secure the companion, but they can take several attempts. If you want a guaranteed tame in one feed, the Sovereign Relic is the only one that lands at 100%.
| Relic used | Taming chance |
|---|---|
| Enchant Relic | 10% |
| Exalted Relic | 25% |
| Cosmic Relic | 40% |
| Twisted Relic | 40% |
| Invincible Relic | 40% |
| Song of the Deep | 50% |
| Sovereign Relic | 100% |

Note: A failed feed does not consume your relic. If the roll misses, you keep the item and can try again, and the game shows a message reading “Relic Construct needs more power…”.
All Relic Construct buffs
Feeding a relic also assigns a buff that stays active as long as the companion is equipped. Buffs fall into two categories, Primary and Secondary, and only one buff from each category can be active at a time. The effect you get always matches the last relic you fed. Each buff also has a companion level requirement before it switches on.
| Relic | Level | Buff | Type |
|---|---|---|---|
| Enchant Relic | 1+ | +20% XP | Primary |
| Exalted Relic | 3+ | +10% Resilience, Luck and Fish Weight | Primary |
| Cosmic Relic | 5+ | +3% Shiny/Sparkling chance, +3% Forced Progress Speed | Primary |
| Twisted Relic | 8+ | 50% chance every 2 seconds to grant +3% Progress | Primary |
| Sovereign Relic | 10+ | 10% chance for Sovereign (8.5×), +1% Shiny/Sparkling, +5% Resilience/Luck/Fish Weight, +1% Forced Progress Speed, +10% XP, 25% chance every 3 seconds to grant +3% Progress | Primary |
| Invincible Relic | 6+ | +100 Durability | Secondary |
| Song of the Deep | 9+ | +5% True Progress Speed | Secondary |
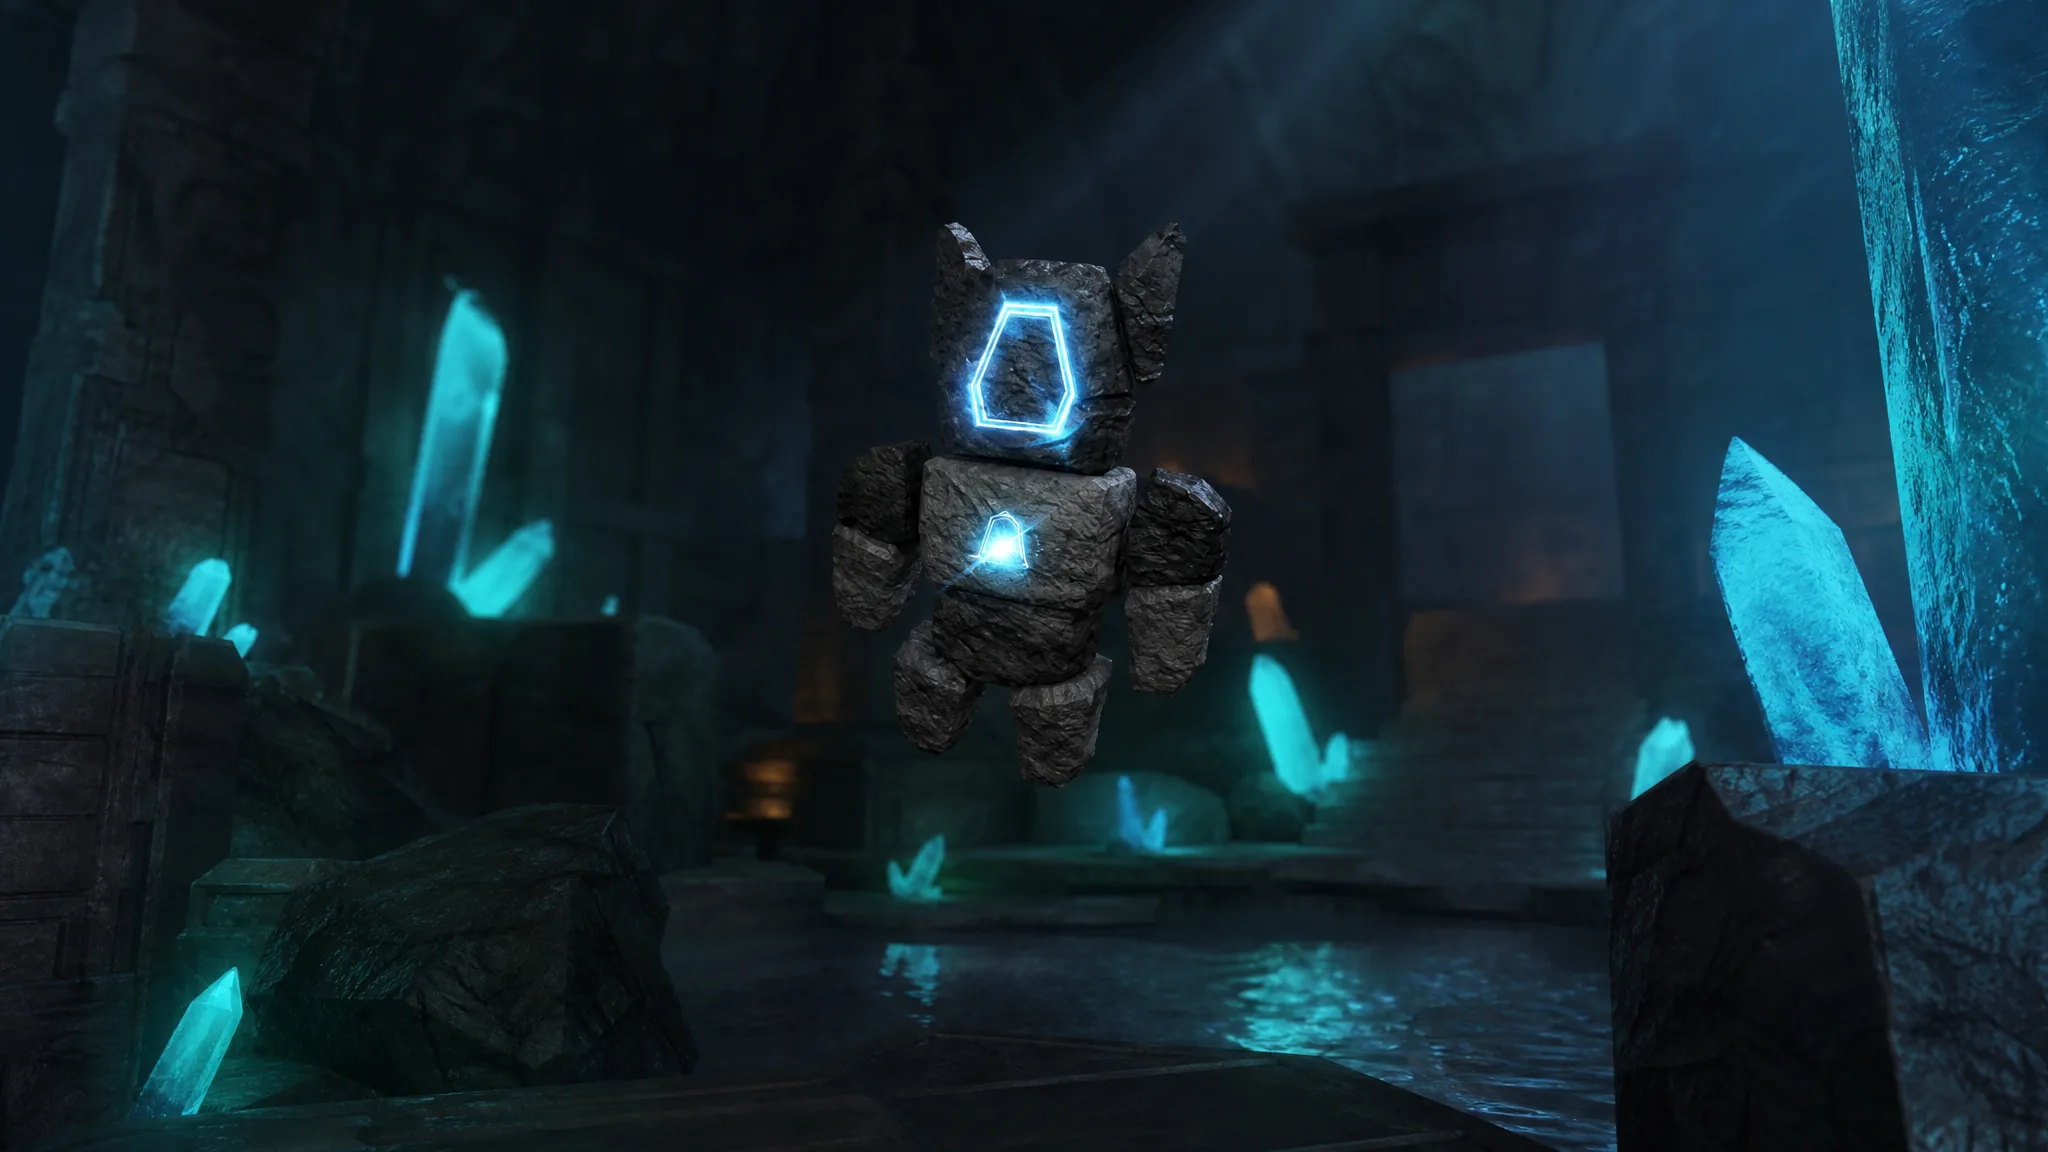
The stronger buffs only activate once the Construct reaches the listed level. That is why an early Enchant Relic feed mainly exists to secure the companion and start the XP bonus, while the Sovereign Relic buff at level 10 rolls nearly every useful stat into one effect. The Construct also changes color to match the primary buff it is currently holding, so its glowing core reflects the last relic fed.
Passives that stay on no matter the buff
Two effects run constantly while the Relic Construct is equipped, separate from whichever buff you loaded. Catch rates for Enchant Relics, Exalted Relics, and Sovereign Relics are doubled, which makes it easier to restock the relics you need for its own upgrades. It also cuts Keeperbound power loss in half, so Keeperbound Rods stay effective longer across a session.
Which buff to use for your goal
The right buff depends on what you are doing. If you are leveling, the Enchant Relic buff at level 1 gives a flat 20% XP boost that works well with active grinding. When you are chasing rare fish, the Twisted or Sovereign buff adds periodic Progress ticks that help clear Progress-Locked catches. For an all-round setup that covers both progression and endgame fishing, the Sovereign Relic buff at level 10 stacks every useful stat at once, making it the strongest single option once the companion is high enough.
Confirming the tame and common misses
A successful feed claims the Relic Construct as your companion and adds it to your pet roster. The assigned effect is permanent while the companion is equipped and is restored or removed when you equip or unequip it. If the attempt fails, the roll simply did not hit, since every relic except the Sovereign Relic is probability-based.
The two usual reasons a tame does not happen are feeding a low-chance relic like the 10% Enchant Relic, or trying to interact before the Construct has actually spawned. To remove the guesswork entirely, feed a Sovereign Relic at level 10 for a single guaranteed tame, and show up during a Power Burst so the golem appears faster.