Secret bosses in Anime Warriors 3 sit off to the side of each world, usually parked on a rooftop, a cliff, or a floating island you simply cannot reach on foot. They hold the rarest weapons and accessories in the game, which turns them into the main farming target once you finish a region’s story. There is one per world, and knowing exactly where they hide saves you from flying in circles.
Quick answer: Bring a Flying Mount, then head to each boss: Freeze (2nd) atop the Planet Namek waterfall, Super Cel (Prime) on a Future City rooftop, Orochi across the Sand Village chasm, Enil (Storm) on the floating island above Sky Island, Deva (True Destruction) in the Rain Village alley, Byaku (Unleashed) at the edge of the Soul District, and Tear (Summer) on the second beach of Summer Isles.
Before you start hunting
A Flying Mount is not optional. Almost every secret boss spawns somewhere you can only reach by flying up or across a gap, and a few (Orochi and Deva in particular) are effectively unreachable without one. For every world except Planet Namek, the fastest way to orient yourself is the world’s Waystone, so unlock fast travel in each region first.
These fights scale steeply. Health pools jump from 15 million on Planet Namek up to 175 billion in the Soul District, so bring your strongest weapon and accessory setup before attempting the later worlds. Damage you deal counts toward your rewards even if you do not land the killing blow, which means joining a fight already in progress on a busy server is rarely wasted effort.
Every secret boss, world, and health pool
| Boss | Image | World | HP |
|---|---|---|---|
| Freeze (2nd) | 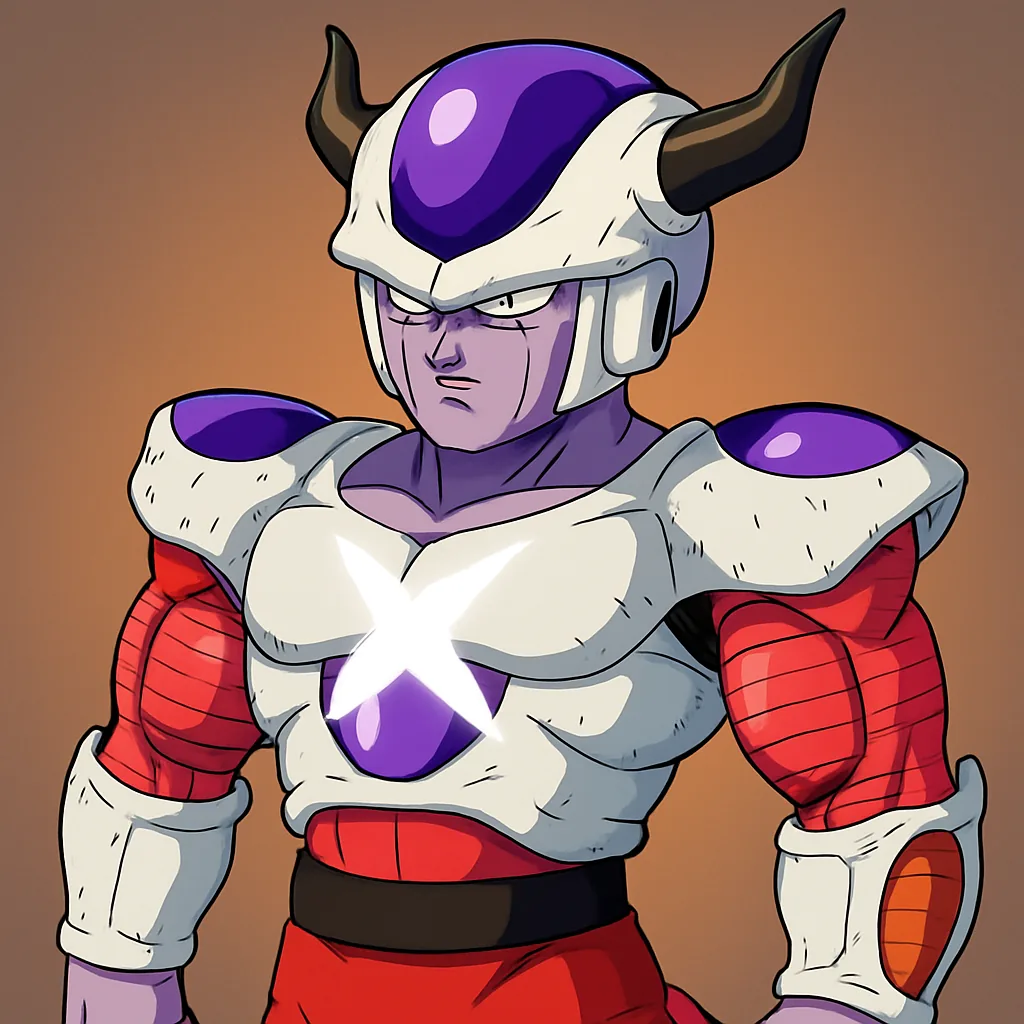 | Planet Namek | 15M |
| Super Cel (Prime) | 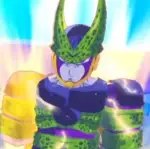 | Future City | 162M |
| Orochi | 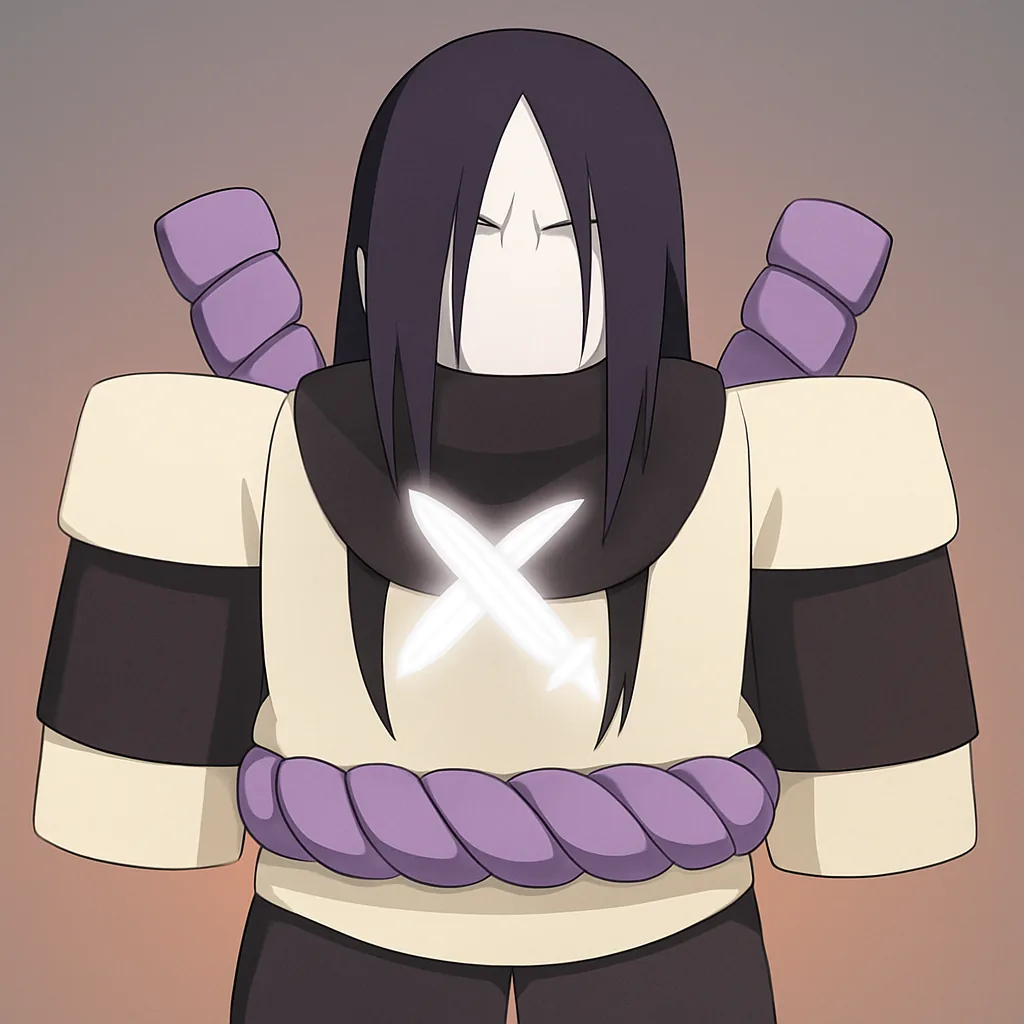 | Sand Village | 2B |
| Enil (Storm) | 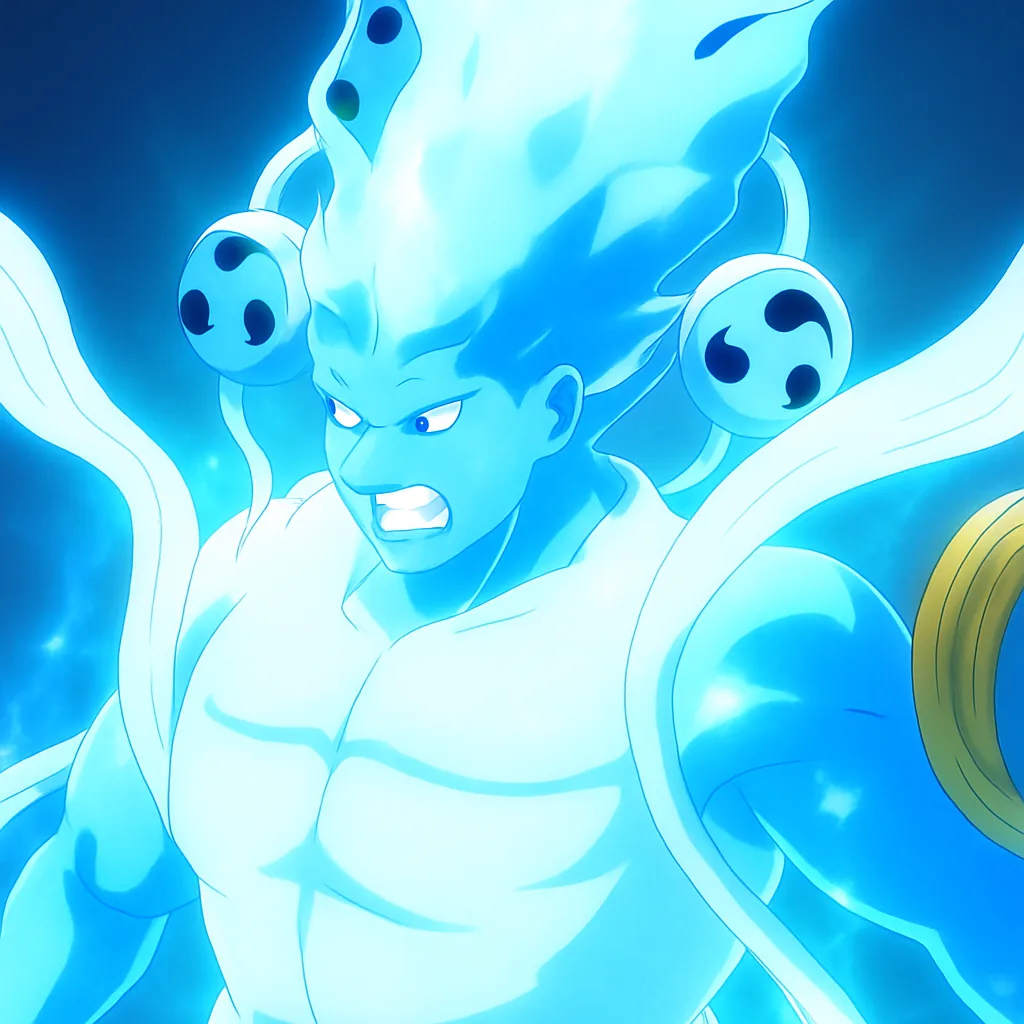 | Sky Island | 8.29B |
| Deva (True Destruction) |  | Rain Village | 80B |
| Byaku (Unleashed) |  | Soul District | 175B |
| Tear (Summer) | TBA | Summer Isles | 999M |
Note: A separate boss, Deo (Greatest High), appears in Cairo World. Its health pool has not been confirmed.
Freeze (2nd) – Planet Namek
Freeze (2nd) is the easiest secret boss and the best place to learn the routine, sitting at just 15 million HP. From the Planet Namek Waystone, look for the large waterfall to its left, near the Giant Genyu area. Fly to the top of that waterfall with a mount, or double-jump up the cascade if you are mountless, and Freeze (2nd) is waiting there.
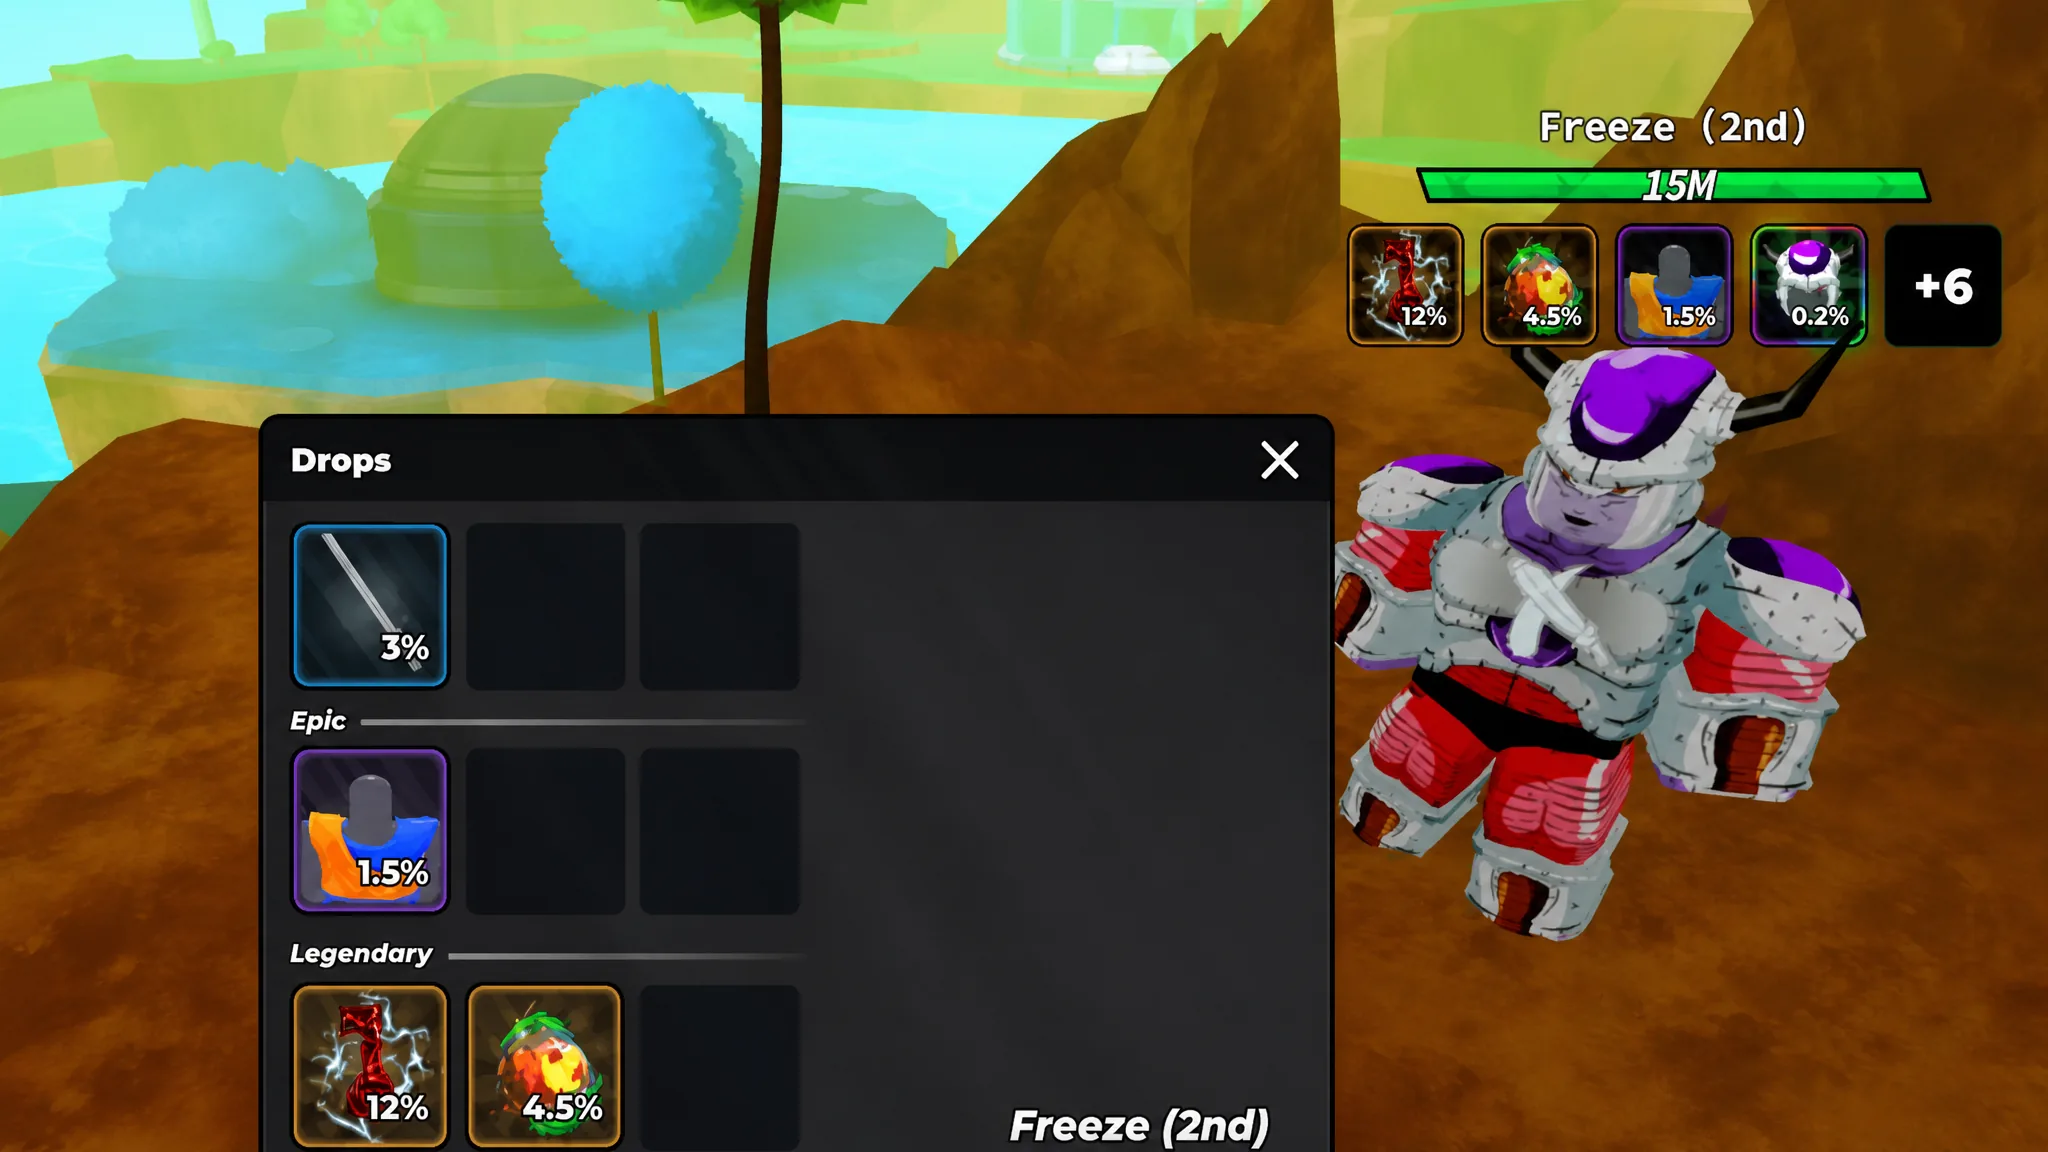
The standout drop is Freeze’s Helmet, a Mythical accessory at a 0.2% chance that reduces ultimate cost and boosts ultimate and raw damage, which lands it near the top of most DPS builds.
| Drop | Type |
|---|---|
| Destroyed Namek Key | Key |
| Dragon Fragment | Material |
| Freeze’s Helmet | Accessory |
| Carrot’s Outfit | Accessory |
| Scouter | Accessory |
| Pickle’s Cape | Accessory |
| Freeze Force Uniform | Accessory |
| Raygun | Weapon |
| Power Pole | Weapon |
| Trunko’s Sword | Weapon |
Super Cel (Prime) – Future City
Super Cel (Prime) stands on a rooftop in Future City with 162 million HP. Start at the Trunko NPC, hop on your Flying Mount, and go left and then upward, or follow the path between the Vegeta and Trunks NPCs toward the building with the helicopter landing pad. He is on that roof, and his attacks can knock you off ledges, so watch your footing.
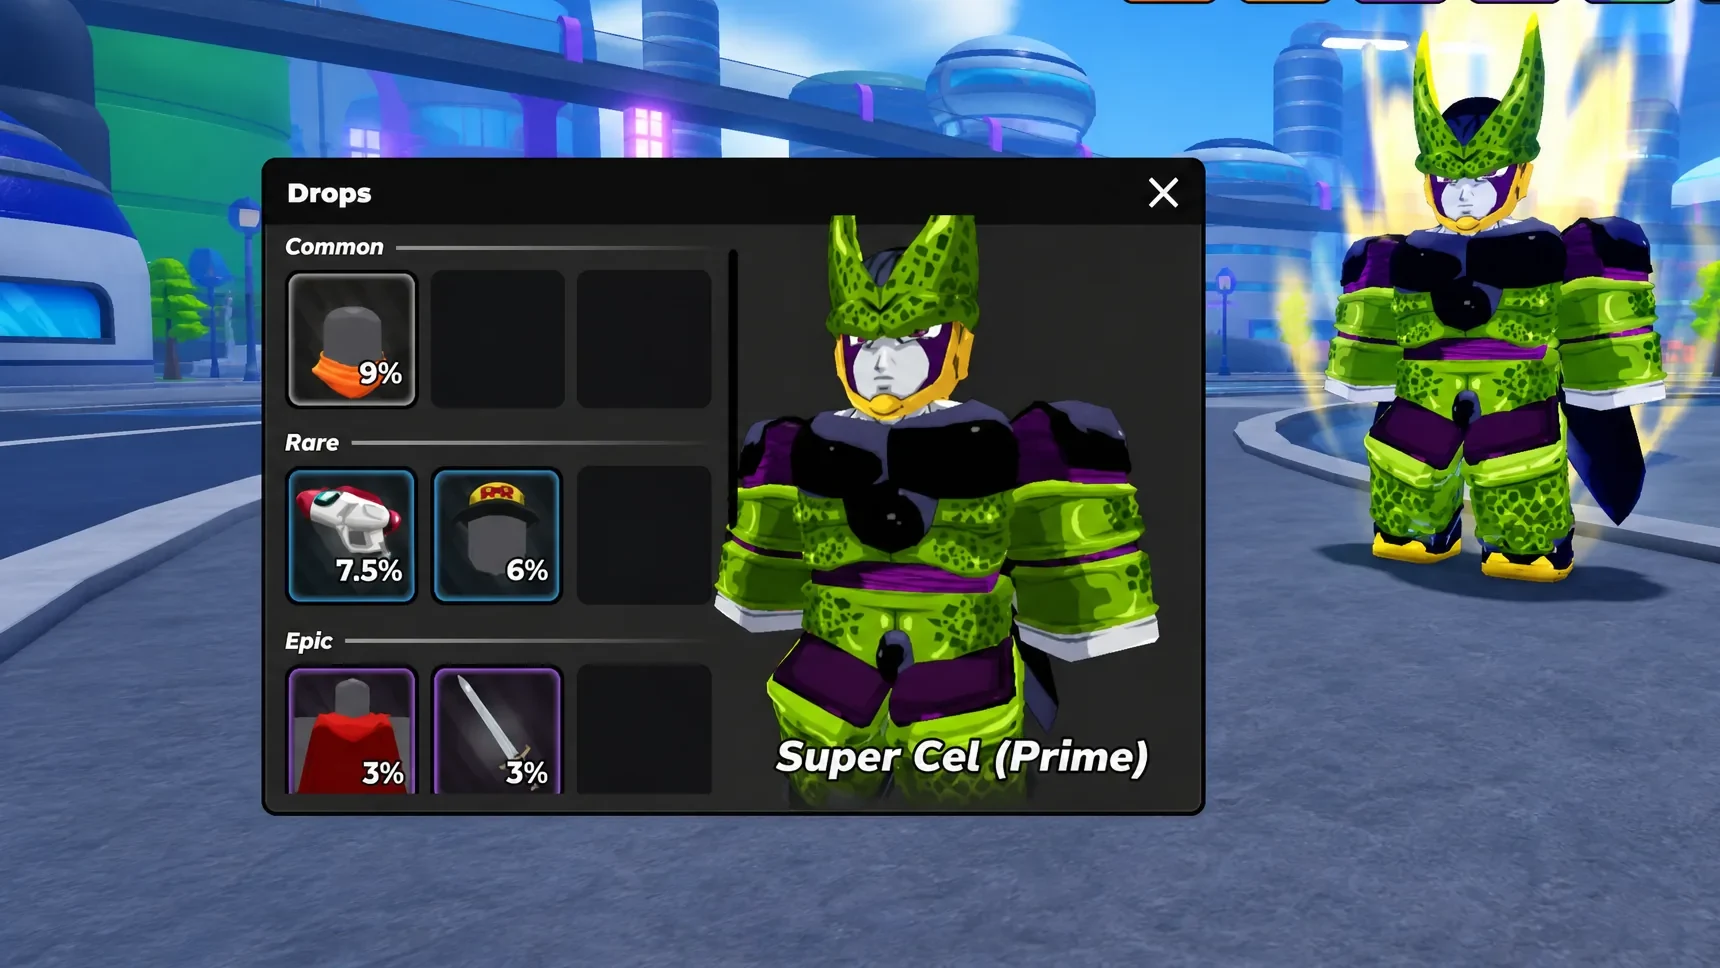
Super Cel’s Wings is the prize here, a Mythical accessory that stacks walk speed, luck, and drop rate, making it ideal for compressing future farming runs.
| Drop | Type |
|---|---|
| Red Ribbon Key | Key |
| Capsule Fragment | Material |
| Super Cel’s Wings | Accessory |
| Plasma’s Cape | Accessory |
| 17’s Bandana | Accessory |
| Red Ribbon Hat | Accessory |
| Plasma Blaster | Weapon |
| Z Sword | Weapon |
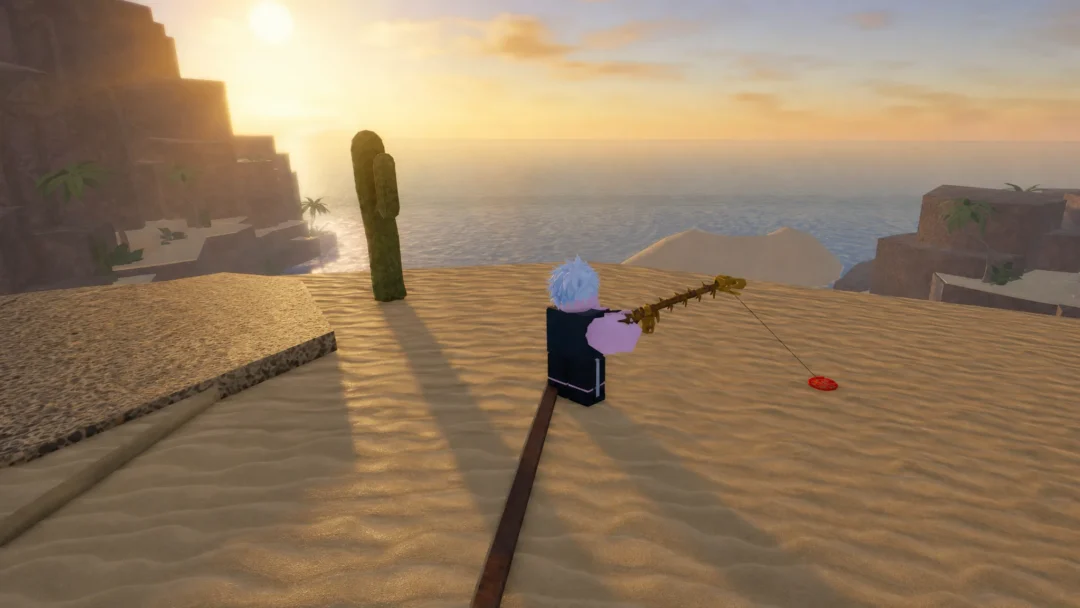
Orochi – Sand Village
Orochi waits across a wide chasm in the second area of the Sand Village, and a Flying Mount is mandatory here. From the Waystone, fly up above the buildings, then push toward the mountains in the background until you reach a cliff with stone towers. Orochi spawns between the first two towers you hit. The boss has 2 billion HP, a sharp step up from the first two fights.
The drop pool is one of the largest in the game. Hebi is the highlight, a Mythical accessory that layers raw damage with crit chance and crit damage for endgame builds.
| Drop | Type |
|---|---|
| Clan Hideout Key | Key |
| Sand Fragment | Material |
| Hebi | Accessory |
| Orochi’s Obi | Accessory |
| Ninja Headband | Accessory |
| Jonin Vest | Accessory |
| Fox Mask | Accessory |
| Adamantine Staff | Weapon |
| Clan Tanto | Weapon |
| Kunai | Weapon |
Enil (Storm) – Sky Island
Enil (Storm) floats on a smaller island directly above the main Sky Island area, at 8.29 billion HP. From the Sky Island Waystone, or from the Robin NPC, look straight up and fly to the first small floating island, which has a tree on it and sits behind a large vine. If you have no mount, climb the green stalk rooted to the island with double jumps.
Enil drops the Thunder God Staff, the strongest weapon in the game right now, at a punishing 0.2% chance, so expect a long grind. Thunder Drums pairs directly with it to form the top weapon-and-accessory combo available.
| Drop | Type |
|---|---|
| Desert Key | Key |
| Ancient Tablet Fragment | Material |
| Thunder God Staff | Weapon |
| Thunder Drums | Accessory |
| Sky Wings | Accessory |
| Robin’s Hat | Accessory |
| Cutlass | Weapon |
| Iron Cloud | Weapon |
| Heat Lance | Weapon |
Deva (True Destruction) – Rain Village
Deva (True Destruction) is hidden in an alley behind the regular Deva boss in Rain Village, carrying 80 billion HP. Head to the Deva boss spawn, then move toward the left corner of the map and look for the narrow alley between two buildings. If you are pathing from the spawn, run straight until you spot Jinryo, turn left toward the Rain Star, then fly over the structure ahead and cut right into the alleys.
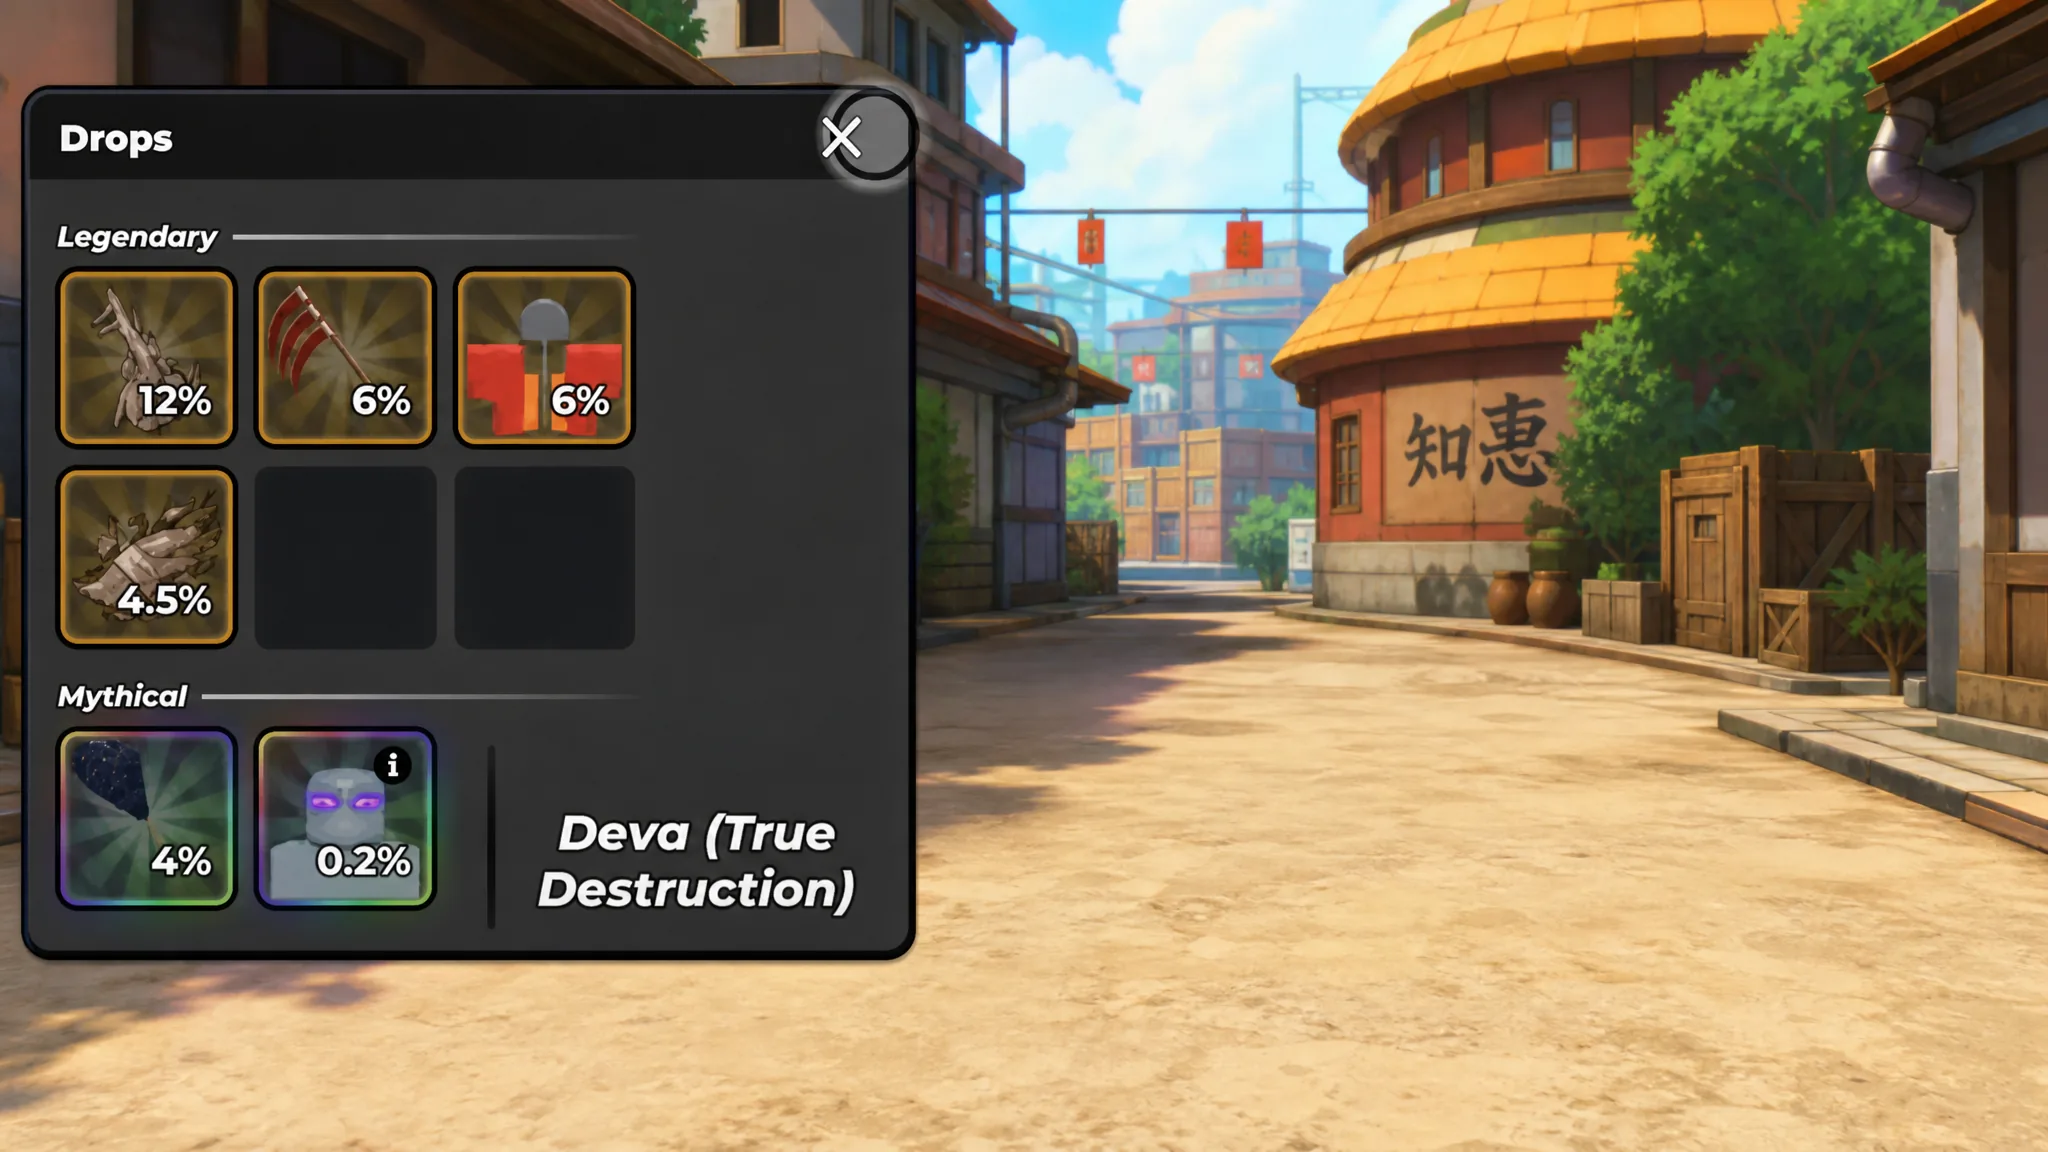
Given the health pool, team up or join an ongoing server fight. The Rinnegon accessory sits at a 0.2% drop rate and adds damage and HP.
| Drop | Type |
|---|---|
| T1 Holy Key | Key |
| Demonic Key | Key |
| Demonic Fragment | Material |
| Rinnegon | Accessory |
| Sage Outfit | Accessory |
| Sage Scroll | Accessory |
| Rain Headband | Accessory |
| Shark Blade | Weapon |
| Blood Scythe | Weapon |
| Puppet Blades | Weapon |
Byaku (Unleashed) – Soul District
Byaku (Unleashed) is the toughest secret boss currently in the game at 175 billion HP. From the Soul District Waypoint, find the Kisoke NPC, then fly past the building directly behind the waypoint and keep heading toward the edge of the island. Look for the five-storey pagoda and the rocky formation nearby; Byaku stands right in front of the rocks and is easy to spot from above.
The rarest drop here is a Mythical weapon at 0.2%, alongside a strong set of Soul District keys and accessories.
| Drop | Type |
|---|---|
| T1 Holy Key | Key |
| Butterfly Key | Key |
| Soul Fragment | Material |
| Captain Robe | Accessory |
| Byaku’s Scarf | Accessory |
| Kenny’s Eyepatch | Accessory |
| Holy Bow | Weapon |
| Zabi | Weapon |
| Zang | Weapon |
Tear (Summer) – Summer Isles
Tear (Summer) is a welcome break from the billion-HP fights, sitting at just 999 million HP. From the Summer Isles spawn point, travel to the opposite side of the island until you reach the second beach. Tear is standing out in the open there, easy to spot.
| Drop | Type |
|---|---|
| Sun Key | Key |
| Sunshine Fragment | Material |
| Flippers | Accessory |
| Duck Floaty | Accessory |
| Watermelon Hat | Accessory |
| Yuki | Weapon |
| Muza | Weapon |
| Death Stinger | Weapon |
| Shark Empress Blade | Weapon |
Deo (Greatest High) – Cairo World
Deo (Greatest High) hides in Cairo World. As you enter, look at the AW3 neon signs placed on top of the buildings. Most face outward, but one is turned inward. Head to that inward-facing sign, and Deo is standing on the rooftop right beside it.
| Drop | Type |
|---|---|
| Holy Key | Key |
| Death 13 Key | Key |
| Dream Fragment | Material |
| Joturo’s Hat | Accessory |
| Joturo’s Coat | Accessory |
| Deo’s Headband | Accessory |
| Silver Rapier | Weapon |
| Emperor | Weapon |
| Anubis | Weapon |
| Deo Style | Weapon |
Farming the bosses efficiently
Secret bosses respawn after a short cooldown, so the fastest loot loop is a rotation across every world. Kill one, fast travel to the next, and by the time you finish the circuit the first boss is usually back up. Because damage counts toward rewards, hopping into fights other players have already started rarely wastes a run.
The best items are rare on purpose. The Thunder God Staff and Rinnegon both sit at 0.2%, so plan on dozens of attempts. Drop-boosting accessories like 17’s Bandana and Super Cel’s Wings help, but the rotation itself does more for your hourly loot than any single multiplier. You will know a run paid off when the rare item shows up by name in the end-of-fight loot popup and lands in your inventory ready to equip.