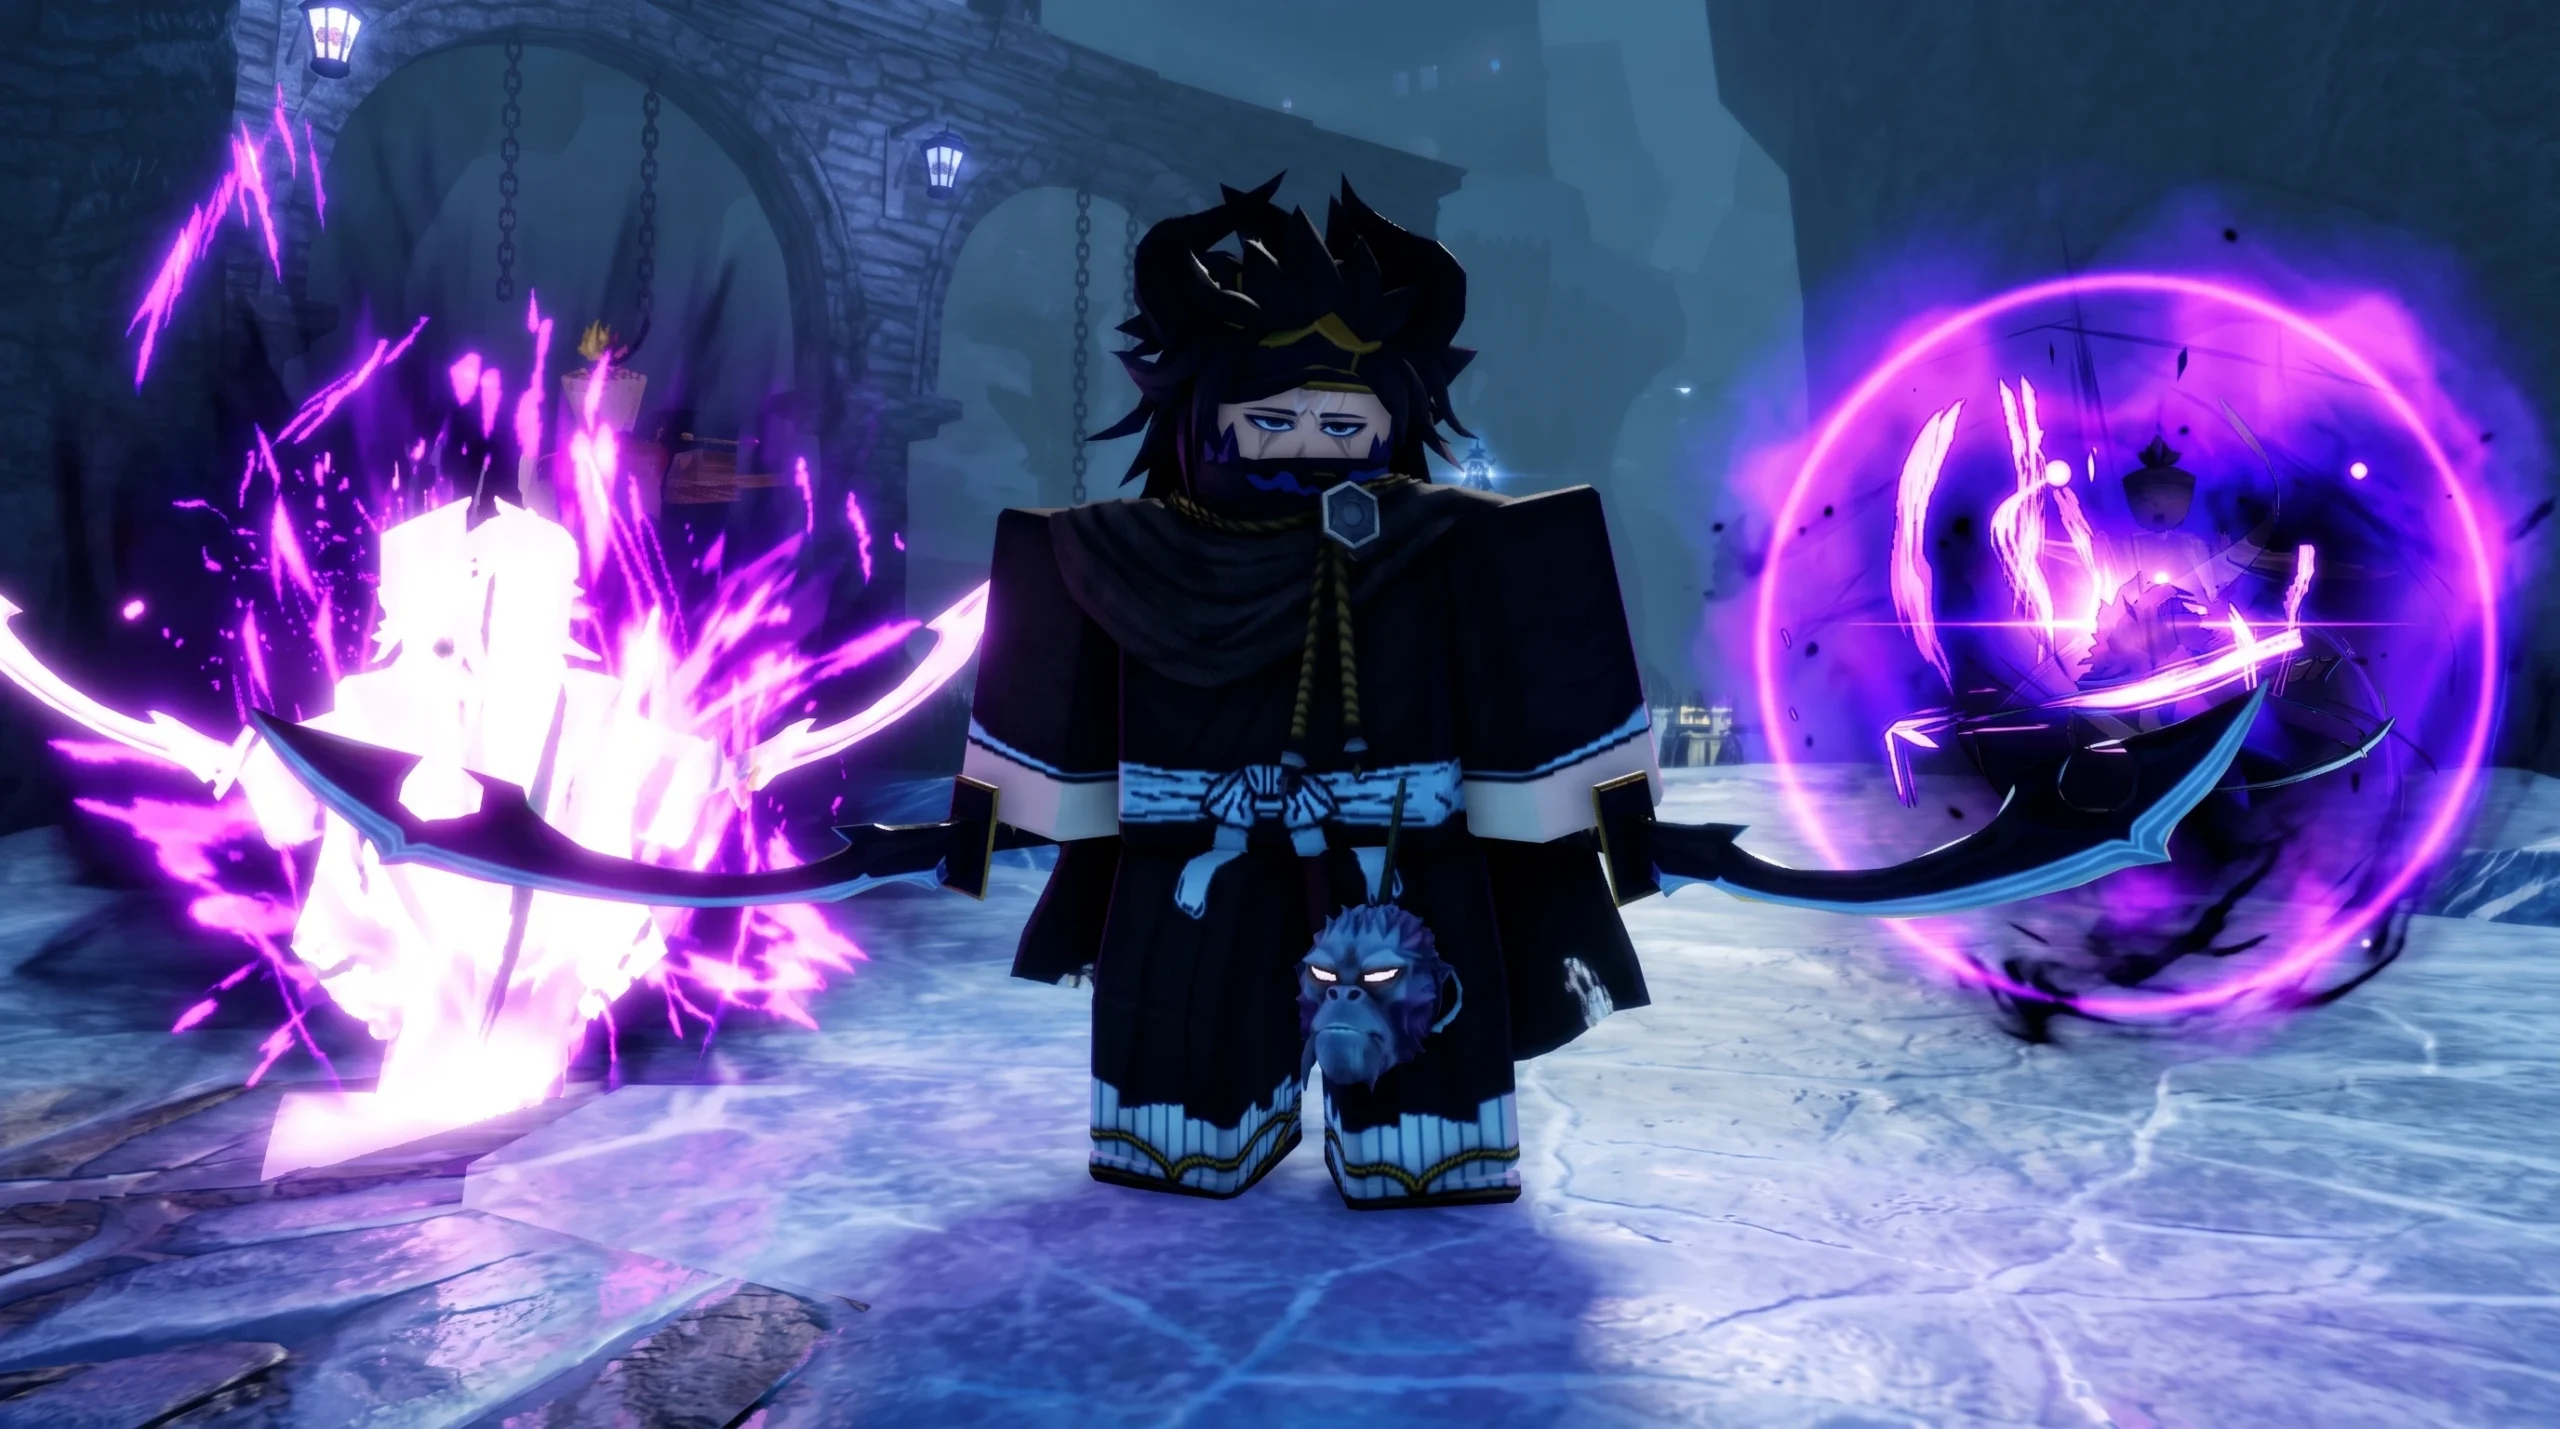
Blooming Madness is a Legendary Shikai for the Sword Reaper class in VV: Ultimatum, and it does not reward random button spam. It builds its damage around two condition skills, Shadow Game and Mountain Game, that force short exchanges. Win the condition, then cash out with burst hits, execute pressure, or its Irony ultimate.
Quick answer: Redeem the code UPDATE2 in the in-game Codes menu for 20 Ability Rerolls, then reroll toward Blooming Madness, which has a 1% Legendary roll chance. Once you own it, prioritize the Shadow Booting upgrade first for longer skill windows and faster Irony charge.
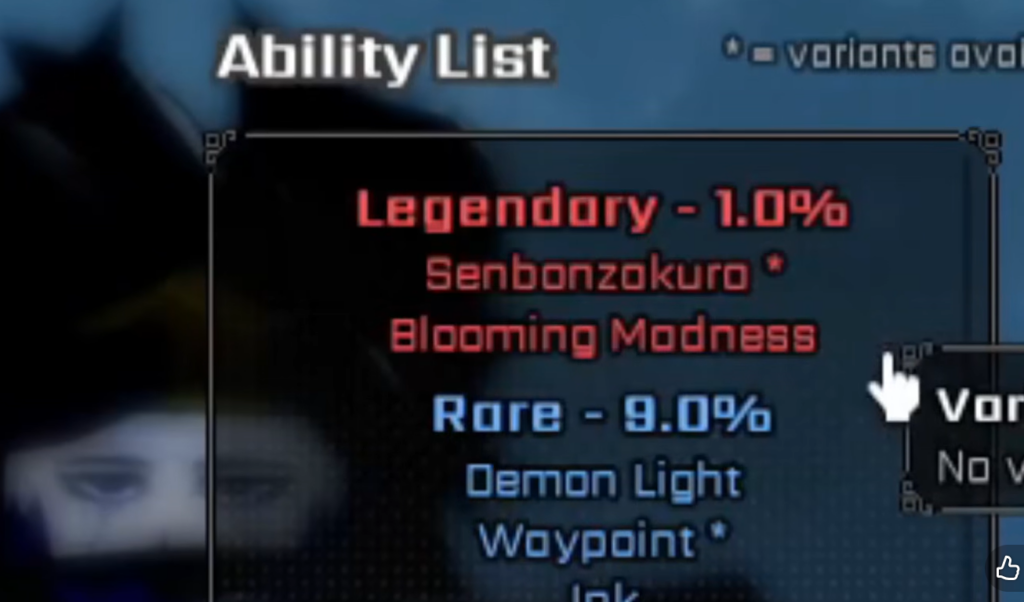
Blooming Madness Shikai at a base level
The whole kit is designed for close range. You need to be near the enemy before either game skill matters, which is why the new dual sword weapon type pairs well with it. Below are the core facts you need before you commit rerolls to it.
| Feature | Value |
|---|---|
| Shikai | Blooming Madness |
| Rarity | Legendary, 1% roll chance |
| Class | Sword Reaper |
| Core skills | Shadow Game, Mountain Game |
| Ultimate mechanic | Irony |
| New weapon type | Dual Swords |
Dual swords are a pressure tool rather than a full combat rework. The M1 chain keeps enemies locked in melee, the heavy attack punishes blocks and whiffs, and both help you stay close enough to trigger a game skill. Force movement with M1s first, then activate your Shikai.
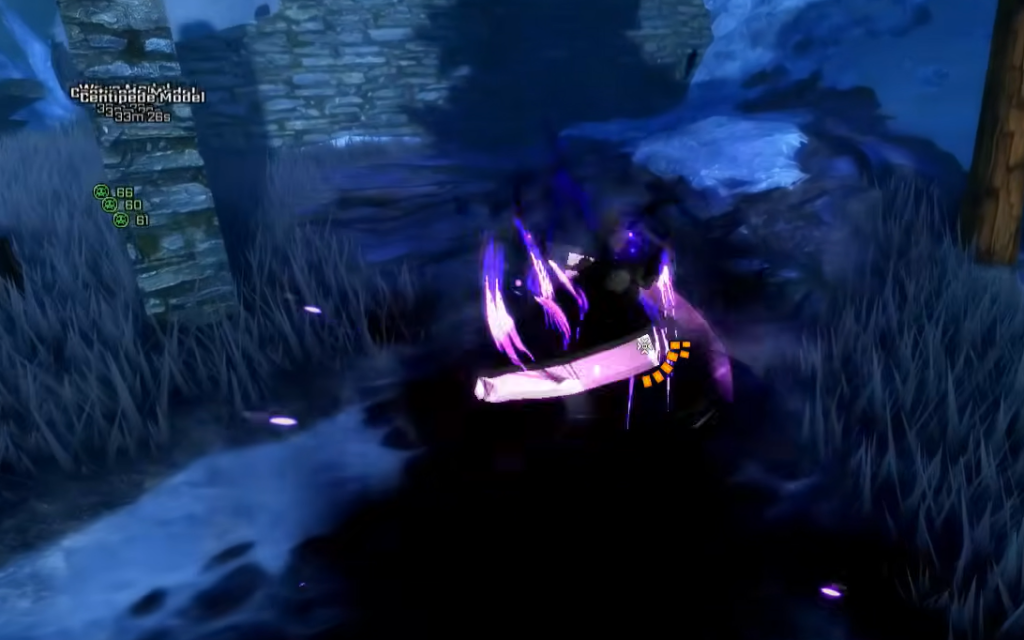
How Shadow Game and Mountain Game work
Shadow Game is your main pressure skill. It creates a shadow zone and swaps your follow-ups into fast attacks. Shadow Slash is the close-range punish, and Shadow Fall is stronger when the target tries to escape. Do not open with it from maximum range. Use it after the enemy is already reacting to your M1 pressure, so their block or panic dash turns into free damage.
Mountain Game is the positioning skill, and its rule is blunt. Whoever is higher wins. Terrain becomes part of your kit, so stairs, ledges, rooftops, slopes, and platforms all matter. Observed follow-ups include Takioni and aerial slash pressure similar to Flash Flip.
| Condition | Result |
|---|---|
| You are higher | You gain the advantage |
| Enemy is higher | You risk losing value |
| Flat ground | Less reliable |
| Uneven terrain | Much stronger |
Only gamble Mountain Game when you already hold the high ground. On flat terrain, it becomes a coin flip that can hand your opponent the advantage instead.
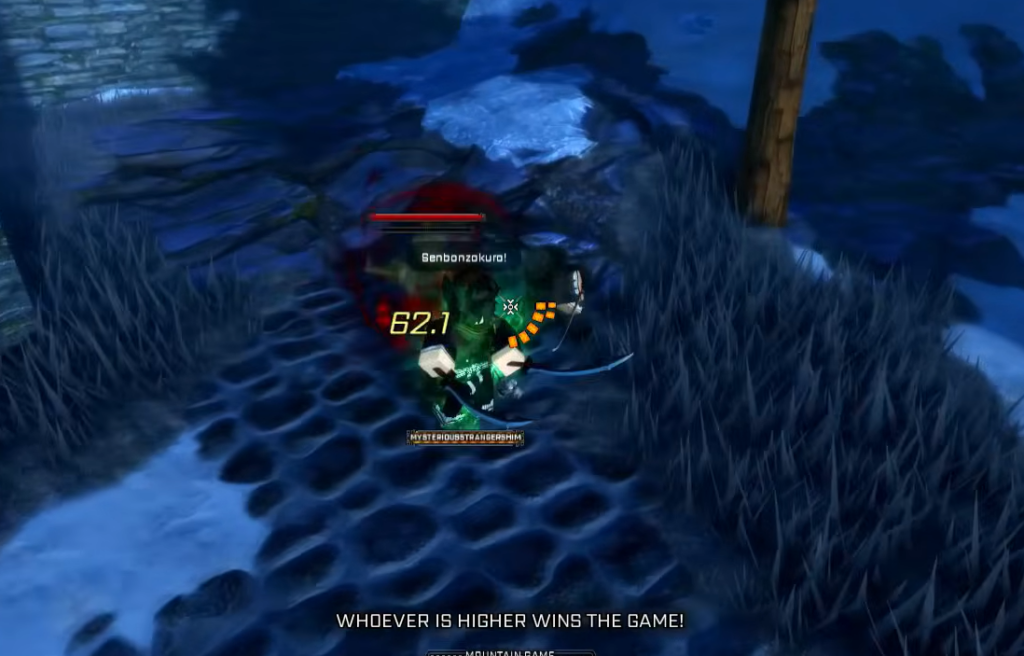
Irony ultimate and how to charge it
Irony is the payoff of the whole kit. You build it during Shikai mode by staying active and applying pressure, so passive play just wastes charge time. The Shadow Booting upgrade speeds this up considerably.
Timing matters more than raw availability. Pressure with M1s, force the enemy to spend movement, then trigger Shadow Game or Mountain Game before you cast Irony while their escape options are limited. Do not throw it into a fresh opponent who still has every cooldown ready, and do not panic-cast, since a missed Irony removes your biggest threat.
Best Blooming Madness build and upgrade order
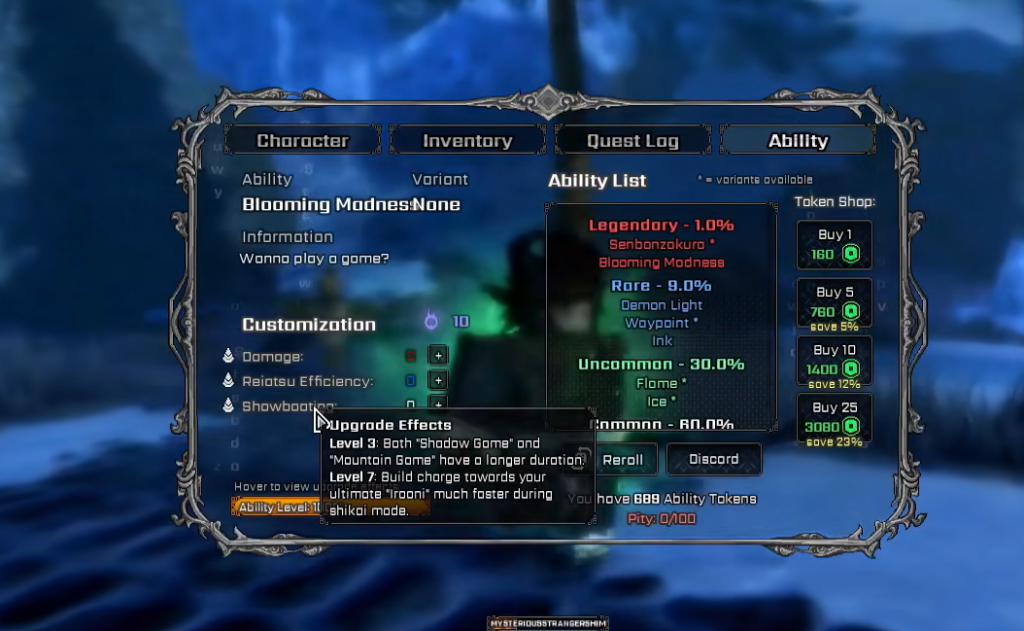
The general best build takes Shadow Booting first. Blooming Madness runs on tight windows, so longer skill duration gives you more time to confirm hits, and faster Irony charge means more kill pressure. Chasing pure damage early is a trap, because a missed high-damage window still deals zero. Consistency wins more fights.
| Priority | Upgrade | Effect |
|---|---|---|
| 1 | Shadow Booting | Longer Shadow/Mountain Game duration, faster Irony charge |
| 2 | Damage | More punishment when enemies lose a game |
| 3 | Execution | Can execute enemies on game loss at higher level |
| 4 | Reiatsu Efficiency | Better critical consistency later |
A few upgrade thresholds are worth noting. Shadow Booting Level 3 extends both game durations, and Level 7 builds Irony much faster in Shikai mode. The damage path increases Shadow Game and Mountain Game damage when the opponent loses. Execution Level 7 lets a game loss execute opponents, and Reiatsu Efficiency Level 10 turns your normal critical attack into Bushama.
Blooming Madness combos for PvP and farming
Every reliable line follows the same loop. Apply M1 pressure, force enemy movement, trigger a game skill, then cash out. Start with the safe combo while you learn the timing, then branch based on how the enemy reacts.
| Combo | Sequence |
|---|---|
| Safe starter | M1 chain, Shadow Game, Shadow Slash, M1 follow-up, back off if cooldowns are down |
| Anti-runner | M1 pressure, wait for dash, Shadow Game, Shadow Fall, re-engage with dual swords |
| Mountain Game height | Take high ground, Mountain Game, Takioni, aerial slash pressure, build toward Irony |
| Irony finish | M1 pressure, bait dash or block, Shadow Game, Irony, chase only if they survive |
In PvP, the real strength is stacking pressure until the opponent panics. Most players lose value by wasting cooldowns from bad range. If Shadow Game keeps missing, hold it until after your M1 pressure lands. If Mountain Game feels weak, take the high ground first. If Irony misses, bait movement before casting.
PvE is easier because mobs are predictable. Group enemies, open with dual sword M1s, cast Shadow Game, and use a follow-up slash. Save Irony for elites or bosses instead of low-health mobs, and stay close on bosses while rotating Shadow Game into M1 pressure. Only use Mountain Game when your positioning is safe.
The UPDATE2 code and how to redeem it
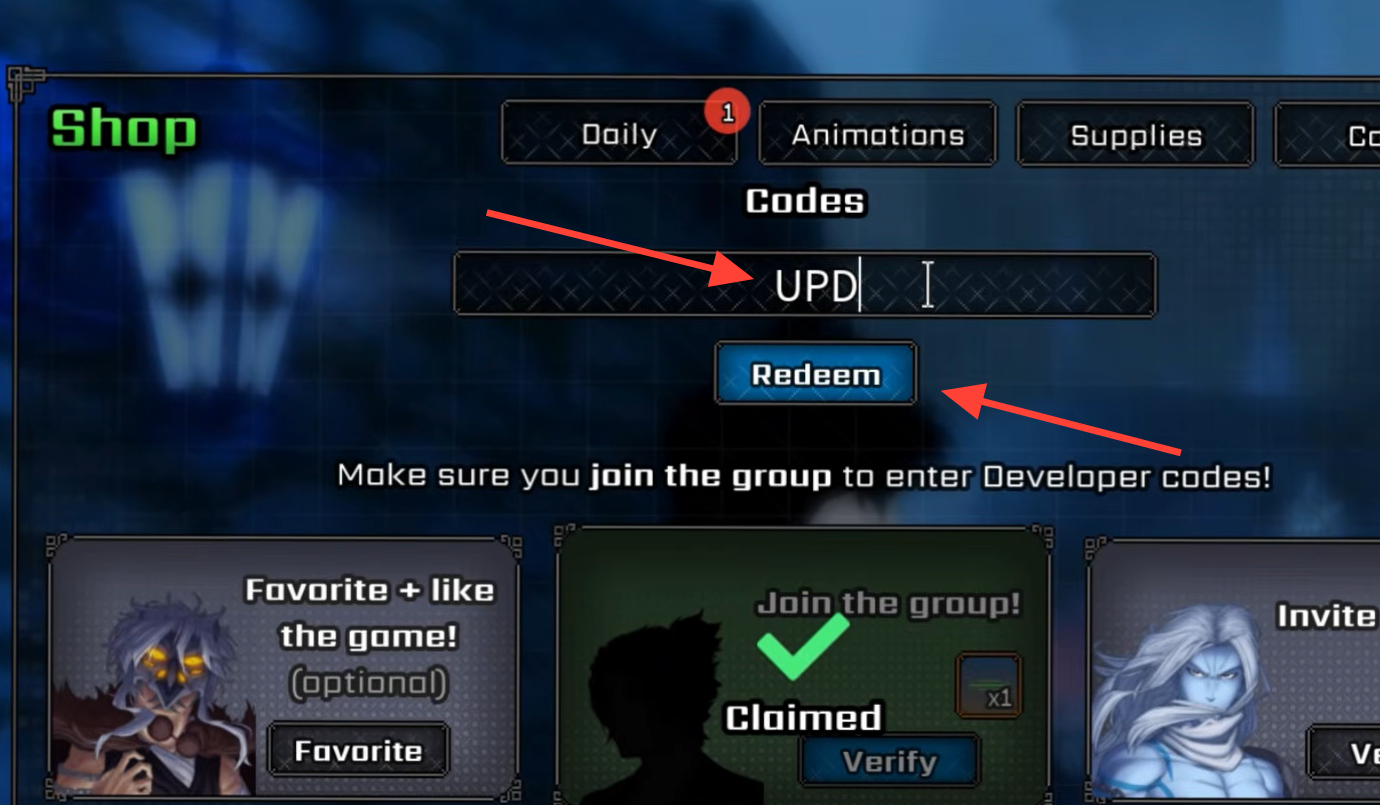
Because Blooming Madness sits at a 1% Legendary rate, every reroll counts, and the current code hands you a stack of them. Enter UPDATE2 to receive 20 Ability Rerolls. Roblox update codes often expire without warning, so redeem it quickly.
You know it worked when the reroll count in your account updates after redemption. If it fails, check for typos or capitalization mistakes, since codes are case-sensitive. Newly released codes may only work in updated servers, so rejoin the game or switch servers if a valid code will not redeem.
Used with intent, Blooming Madness becomes one of the harder Sword Reaper picks to fight against. Lead with M1 pressure, respect range and height, and treat Irony as a finisher rather than an opener, and the 1% roll starts to feel worth the grind.