Outdated or incomplete search results in Windows 11 often point to a corrupted or stale search index. This can cause files, apps, or Start Menu entries to go missing from search, slow down search performance, or return incorrect results. Manually rebuilding the search index resets the search database, prompting Windows to scan selected locations and file types again. This process restores reliable search functionality and ensures new or recently changed files are discoverable.
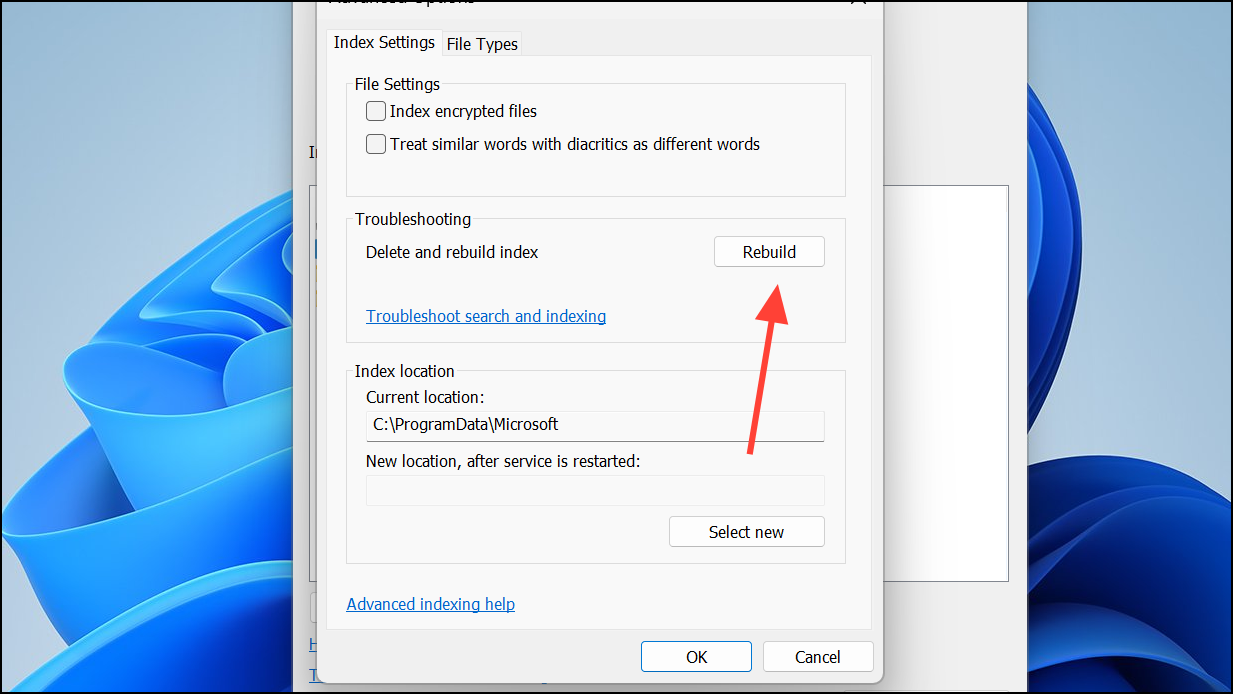
Rebuild Search Index Using Indexing Options
Windows + I. Navigate to Privacy & security in the sidebar, then click Searching Windows on the right.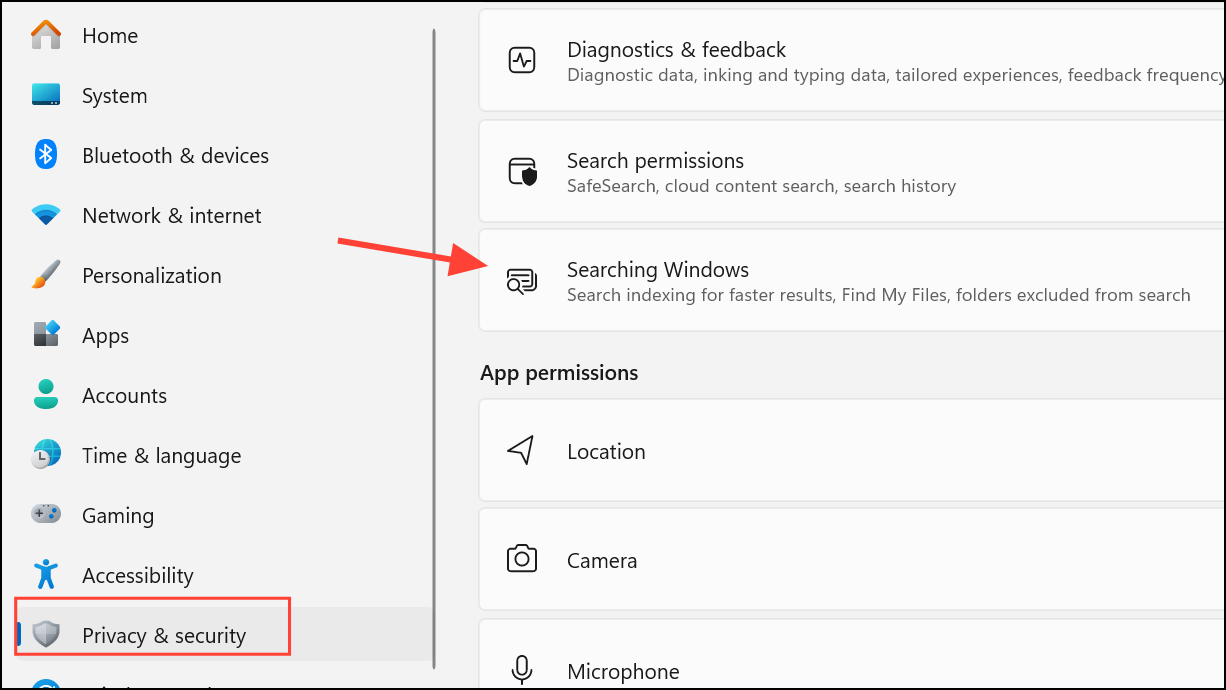
Rebuild Search Index Using Command Prompt or Batch File
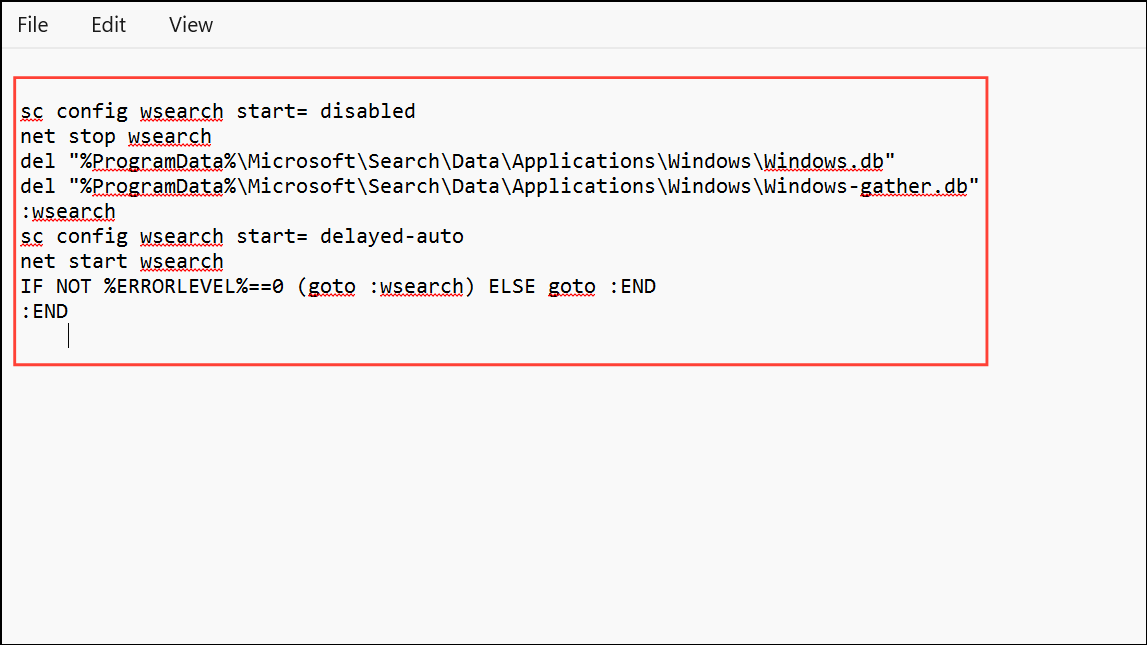
For advanced users, rebuilding the search index can also be done via an elevated Command Prompt or a batch file. This approach is useful when the graphical tools are inaccessible or if you want to automate the process.
sc config wsearch start= disabled
net stop wsearch
del "%ProgramData%\Microsoft\Search\Data\Applications\Windows\Windows.db"
del "%ProgramData%\Microsoft\Search\Data\Applications\Windows\Windows-gather.db"
:wsearch
sc config wsearch start= delayed-auto
net start wsearch
IF NOT %ERRORLEVEL%==0 (goto :wsearch) ELSE goto :END
:END
.bat extension, such as rebuild_search_index.bat. Right-click the file and select Run as administrator. Approve any UAC prompts.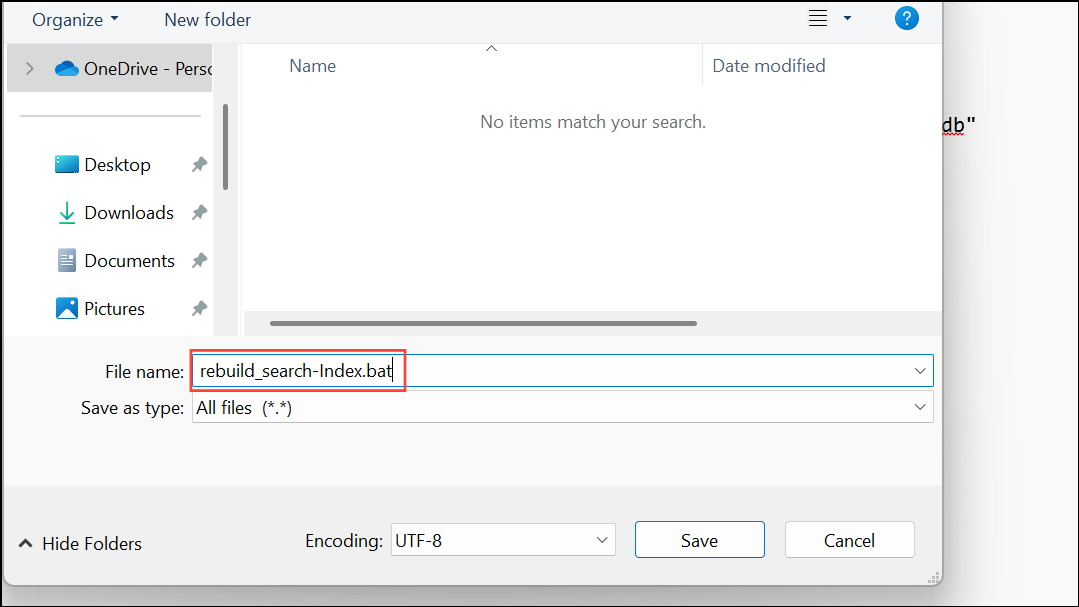
This method deletes and recreates the search index database, which can resolve deeper corruption or persistent search issues.
Reset and Rebuild Search Index Locations to Default
If custom indexed locations or file types are causing problems, resetting the search index to default locations and then rebuilding can resolve configuration issues. This action removes all customizations, returning the index to its default state.
sc config wsearch start= disabled
net stop wsearch
REG ADD "HKLM\SOFTWARE\Microsoft\Windows Search" /v SetupCompletedSuccessfully /t REG_DWORD /d 0 /f
del "%ProgramData%\Microsoft\Search\Data\Applications\Windows\Windows.db"
del "%ProgramData%\Microsoft\Search\Data\Applications\Windows\Windows-gather.db"
:wsearch
sc config wsearch start= delayed-auto
net start wsearch
IF NOT %ERRORLEVEL%==0 (goto :wsearch) ELSE goto :END
:END
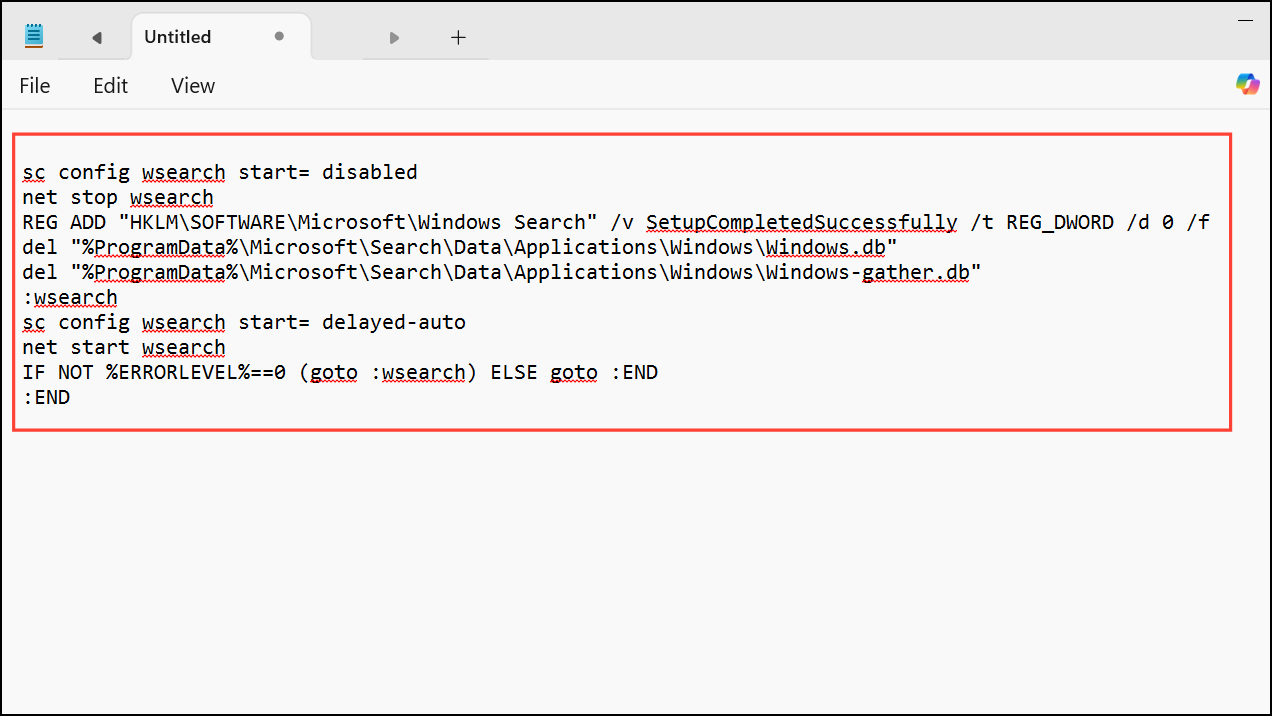
reset_and_rebuild_search_index.bat. Run it with administrator privileges. The script resets the indexed locations in the registry, deletes the index database, and restarts the search service. Windows will now use default index locations and begin rebuilding.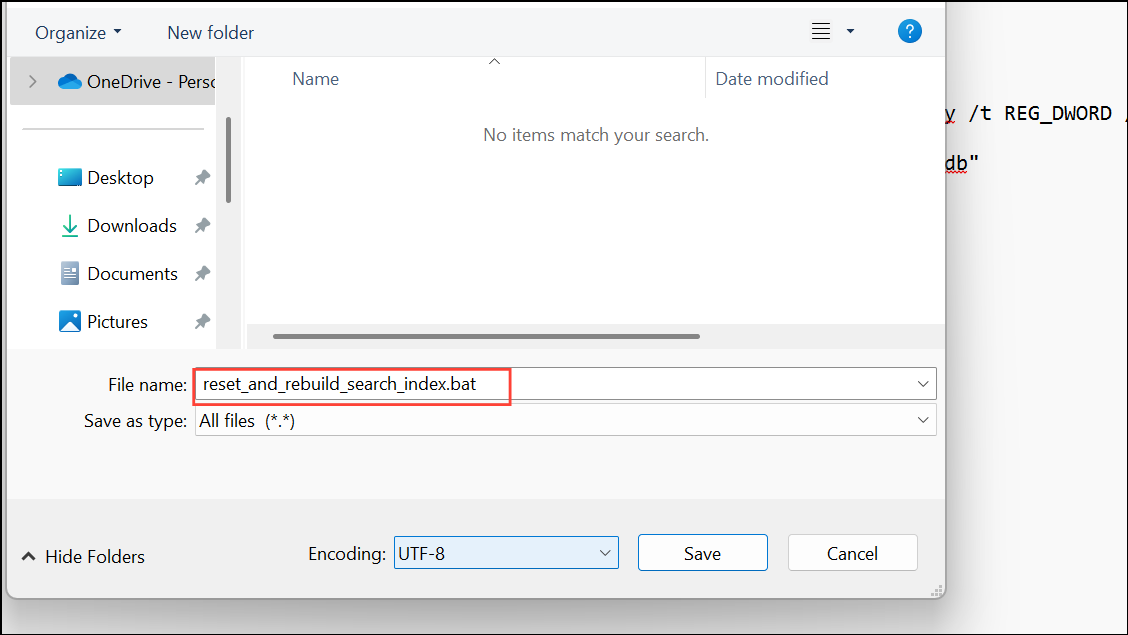
Troubleshooting and Additional Tips
Rebuilding the search index can take anywhere from several minutes to several hours, depending on the number of files, the speed of your drive, and the indexing mode (Classic or Enhanced). During indexing, search results may be incomplete or missing. Indexing pauses or slows when the system is in active use and resumes at full speed when idle.
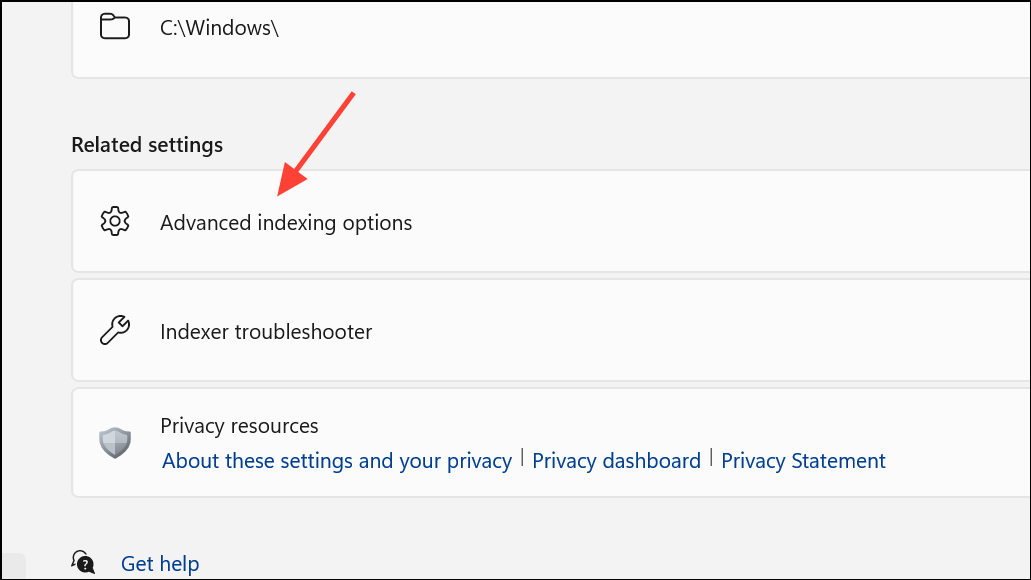
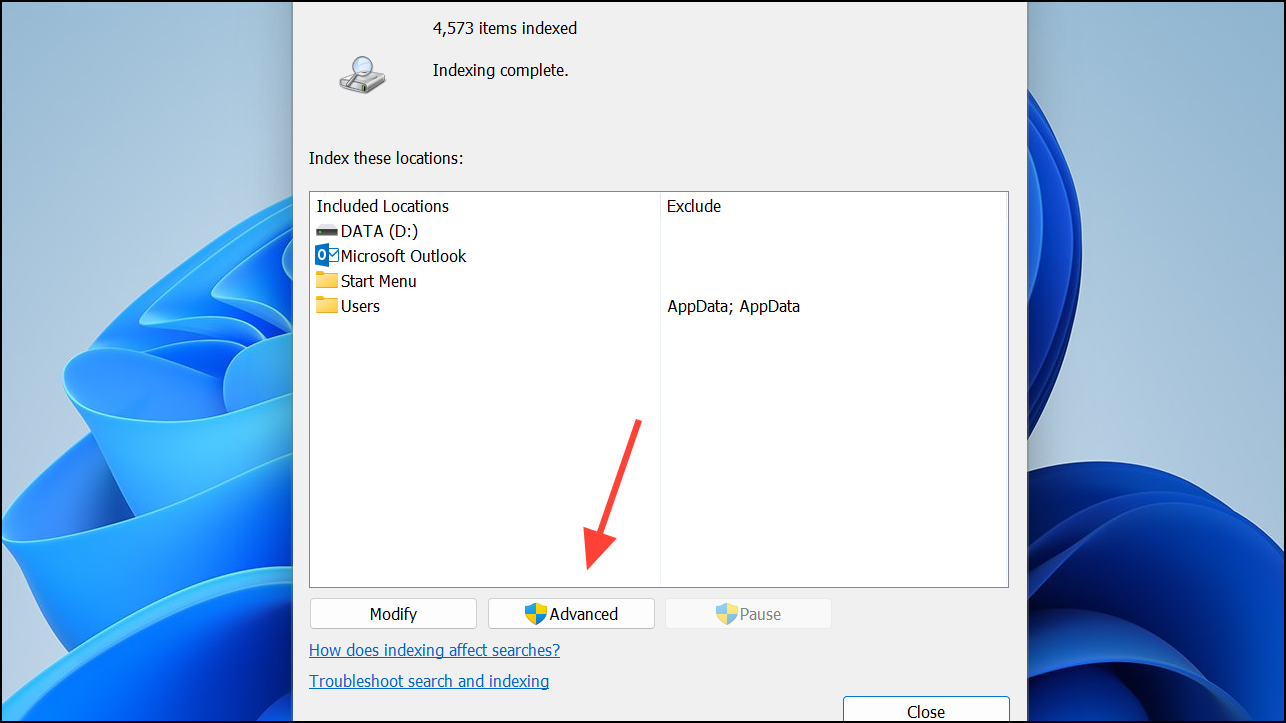
To check the status of indexing, open the Indexing Options window. The “Items indexed” number should steadily increase. If the number of pending items fluctuates, this is normal—Windows may discover additional files as it scans.
If your device restarts during indexing, Windows Search will resume the process automatically. However, abrupt shutdowns can sometimes cause index corruption, requiring another rebuild.
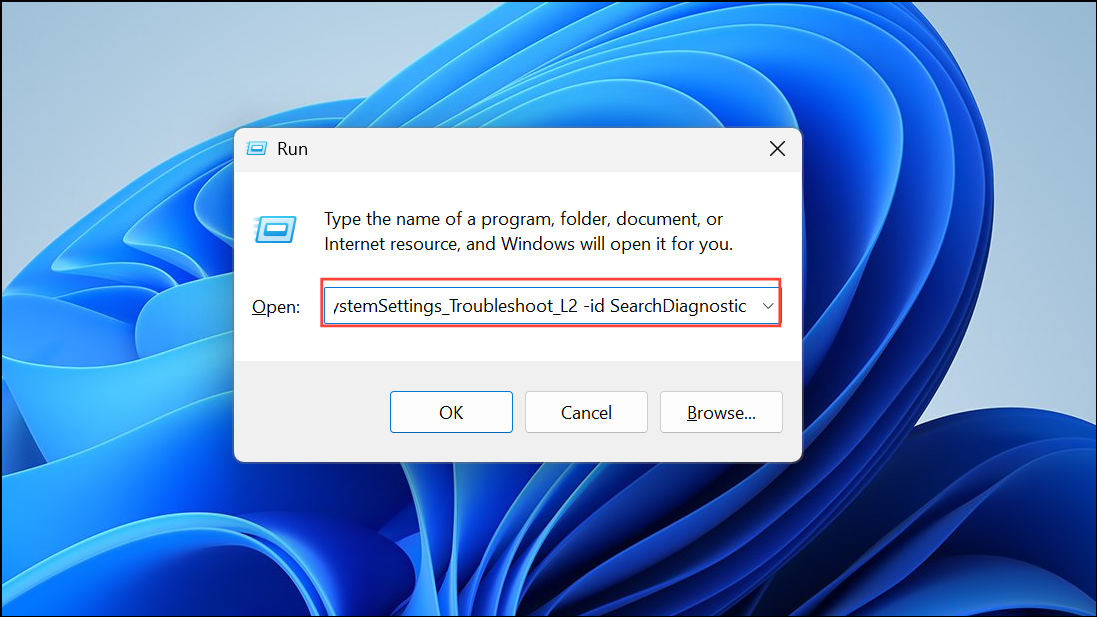
For persistent search failures, run the built-in Search and Indexing Troubleshooter. Press Windows + R, type msdt.exe -ep SystemSettings_Troubleshoot_L2 -id SearchDiagnostic, and follow the prompts.
To optimize indexing performance, limit indexed locations to folders you frequently search, and avoid including large system folders like C:\Windows unless necessary.
Refreshing the search index restores accurate, up-to-date search results and can resolve most Windows 11 search issues. Regular maintenance or an occasional rebuild keeps searches fast and reliable.